- VMware
- 03 August 2022 at 13:57 UTC
-


When you create a datastore on your VMware ESXi hypervisor, you can use an entire physical disk or only a part of it.
If you are only using a part of a physical disk, you can then expand your datastore by using some or all of the free space remaining on it.
- Create a datastore on a part of a physical disk
- Increase the capacity of a datastore on a single physical disk
1. Create a datastore on a part of a physical disk
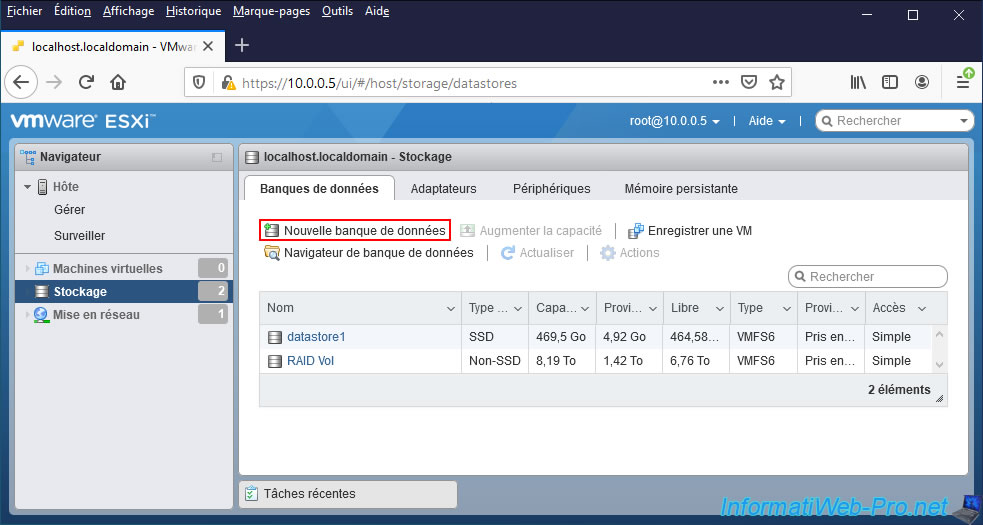
To create a datastore on a physical disk without using all the space present on it, go to "Storage -> Datastores" and click on "New datastore".
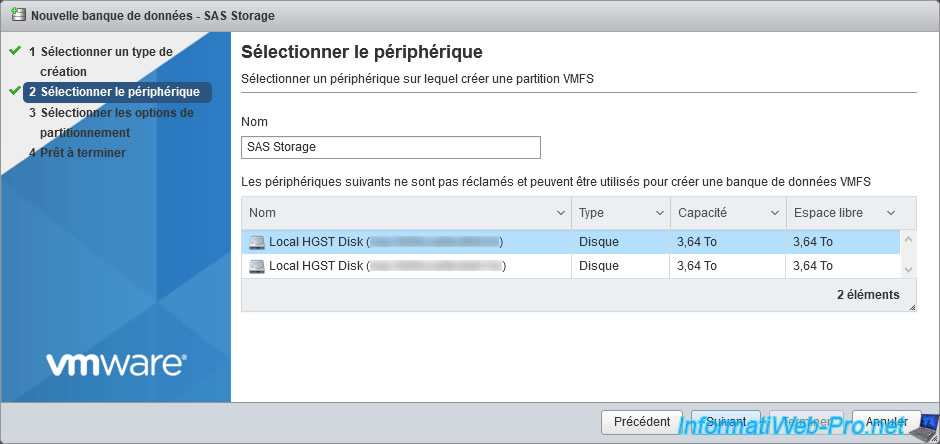
Then, provide a name for this new datastore and select the device (physical disk) on which you want to create it.
In our case, we are going to use a HGST (Hitachi) brand SAS hard drive.
As you can see, this is a 3.64TB SAS hard drive.
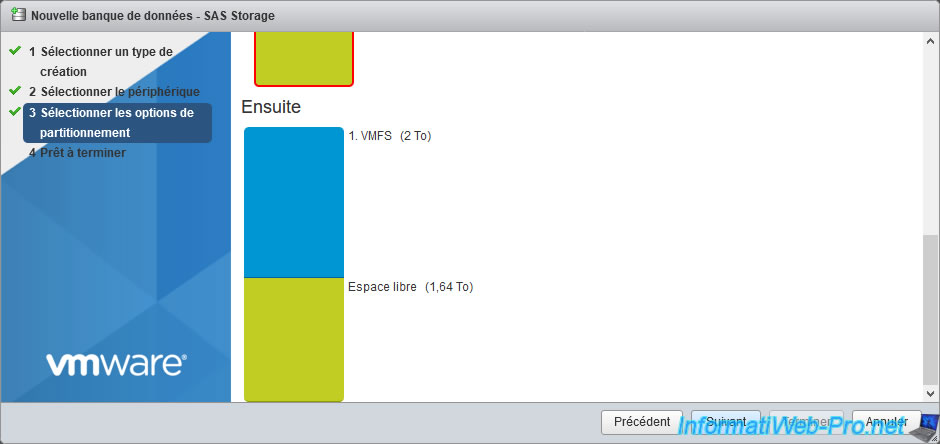
For partitioning options, select "Custom" in the 1st list, click on the yellow block once to bring up the cursor, then indicate the desired size for the VMFS partition (= the storage space that will be available in the bank of data).
In our case, we have specified "2097152 MB" (which corresponds exactly to 2 TB).
Note that 1 TB = 1024 GB and 1 GB = 1024 MB.
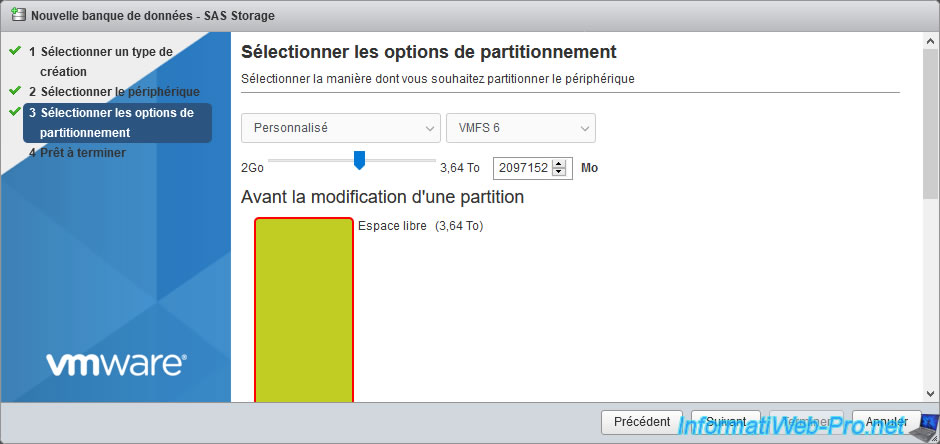
In our case, we can see that VMware ESXi will create a 2TB VMFS file system on our physical disk and therefore there will be 1.64TB free space left on it.
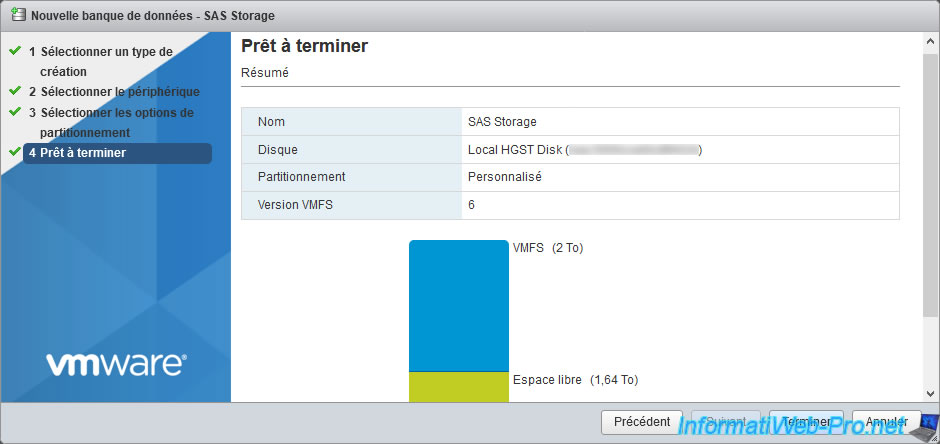
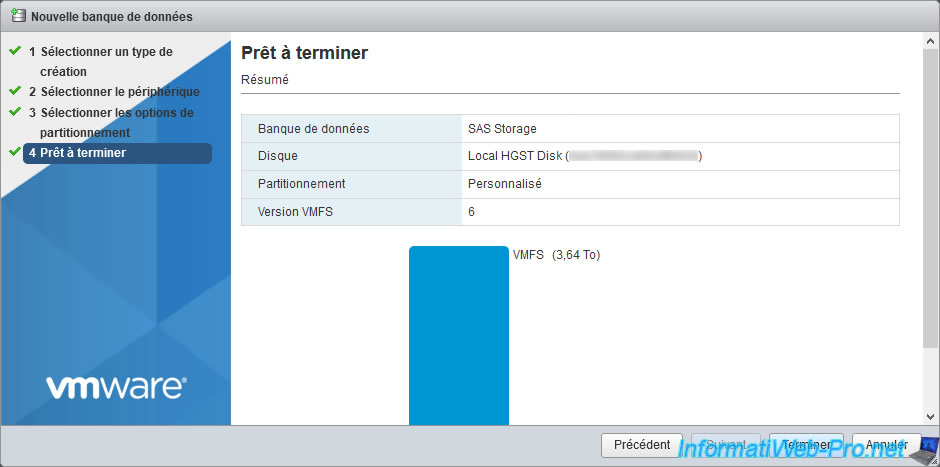
A summary of your datastore configuration appears.
Click on Finish.
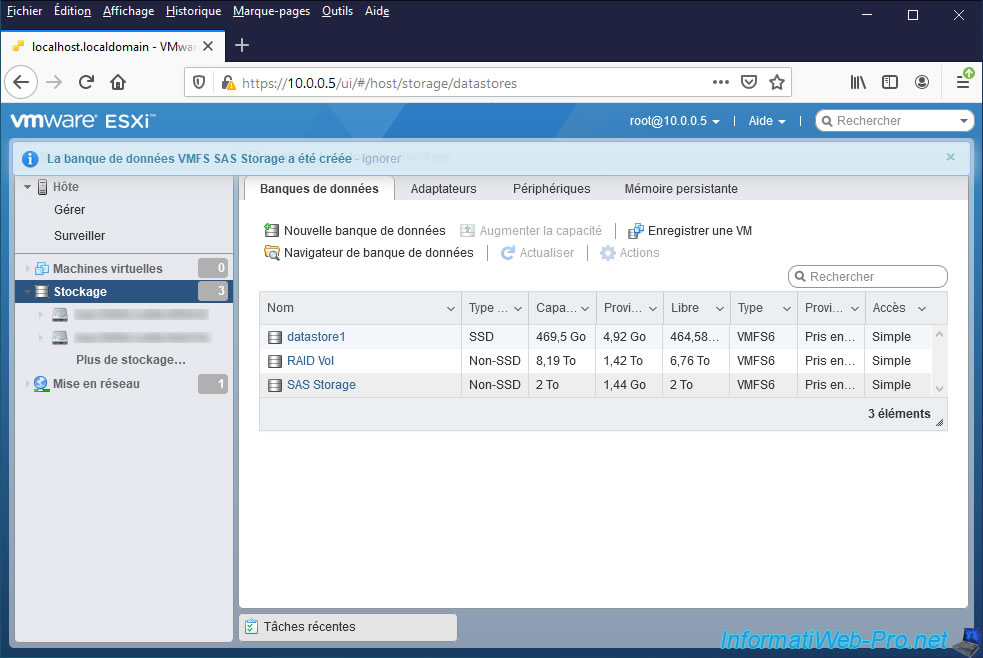
The "VMFS datastore [datastore name] successfully created" message appears.
As you can see, our "SAS Storage" datastore has a capacity of 2 TB.
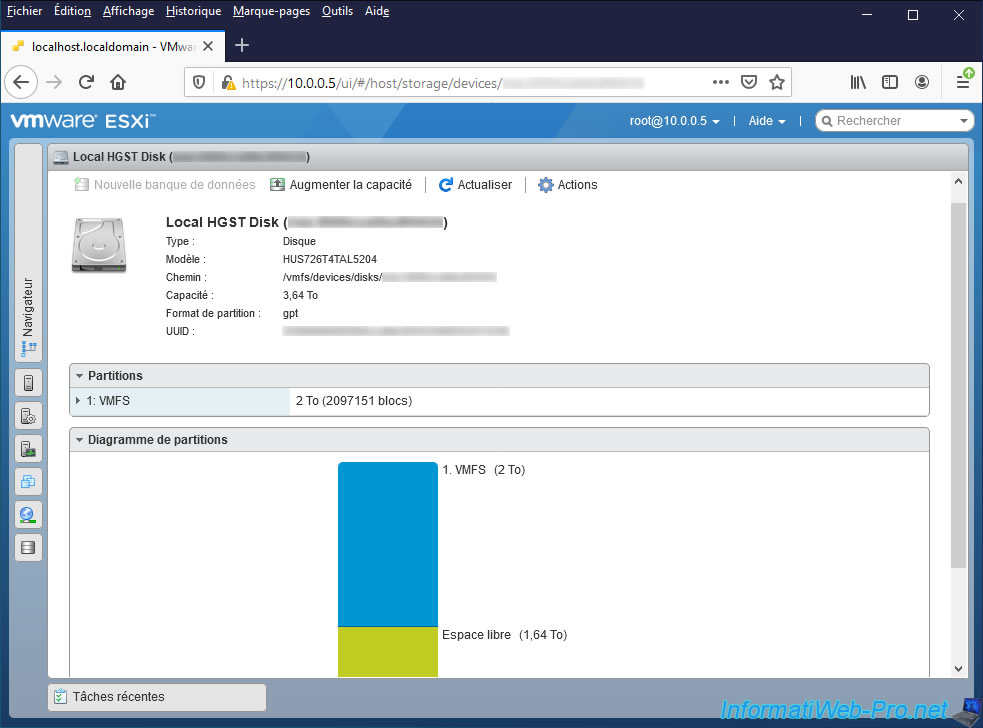
If you display the information of the physical disk used by this datastore, you will see from its partition diagram that only a part of it is used for the VMFS file system.
2. Increase the capacity of a datastore on a single physical disk
As explained previously, for the moment, our datastore can only use a part of the storage space available on our physical disk.
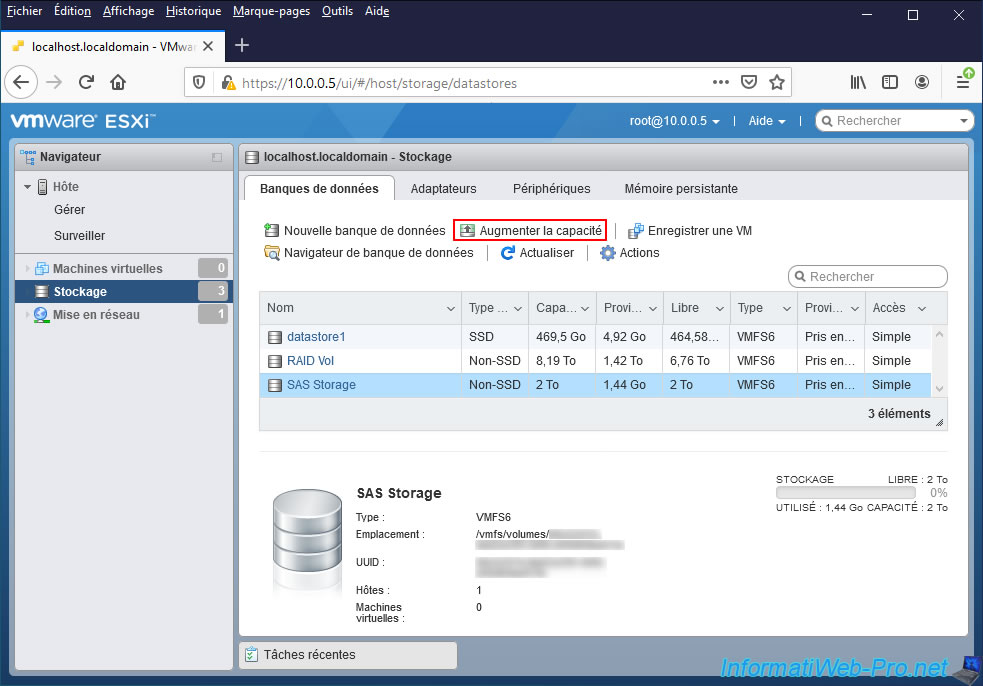
To increase the capacity of a datastore on one of its physical disks, select it and click : Increase capacity.
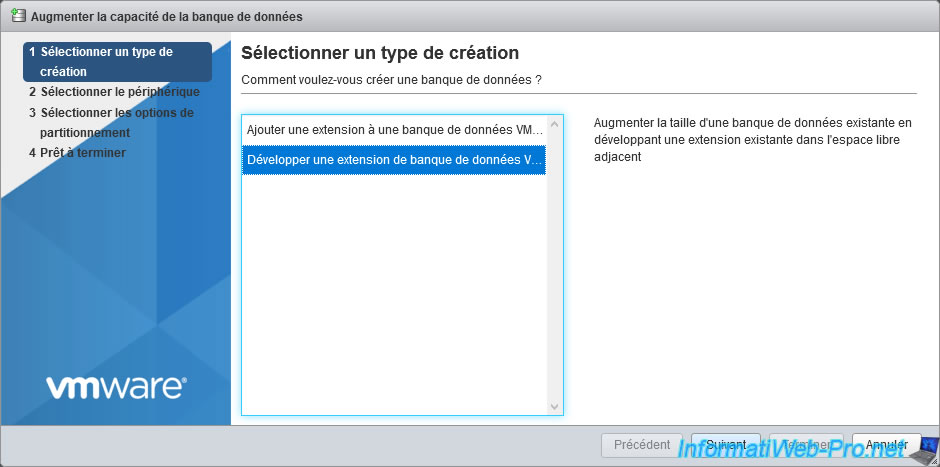
In the "Increase datastore capacity" window that appears, select "Expand an existing VMFS datastore" and click Next.
As indicated by the VMware ESXi wizard, this option allows you to increase the size of a datastore by growing an existing an existing extent in adjacent free space. In other words, on the free space of a physical disk already in use by the datastore being modified.
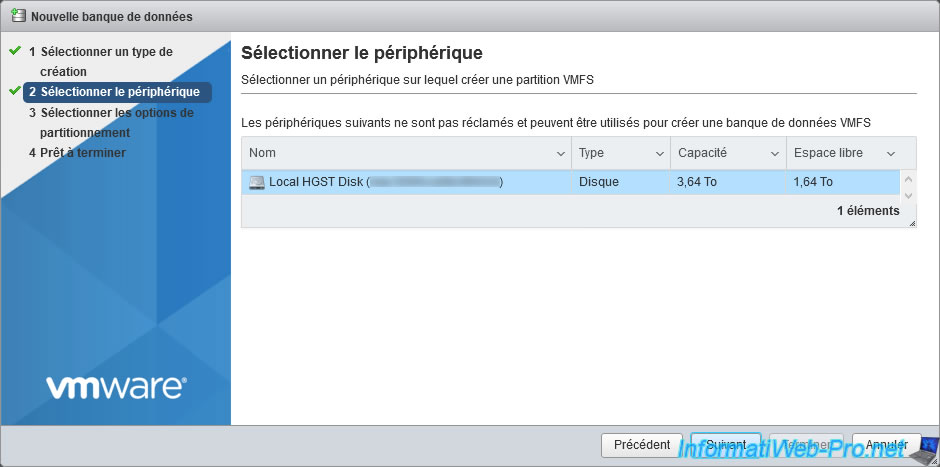
As expected, our 3.64 TB hard drive which is already part of this datastore appears in the list with a capacity of 3.64TB and a free space of 1.64TB.
Select it and click Next.
By default, this is displayed, but nothing else appears on the screen.
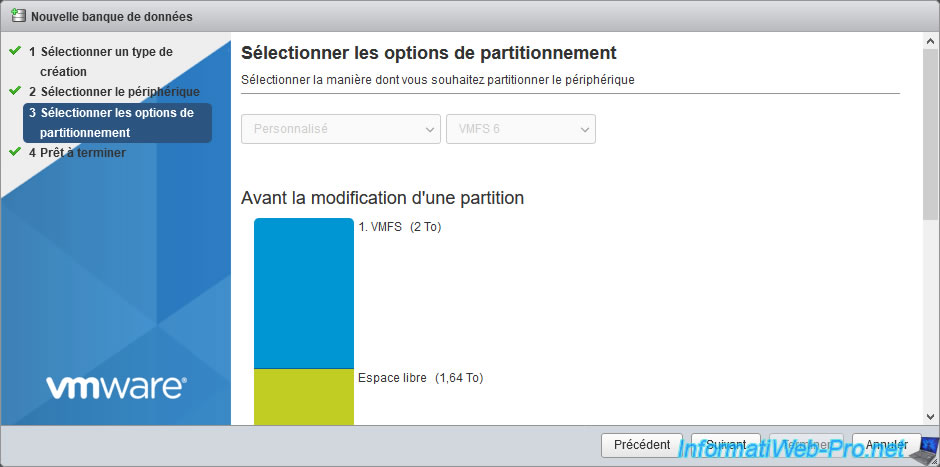
To increase the size of your datastore, you need to click once on the VMFS partition displayed in blue.
Once you have clicked on it, a red frame will appear and you can adjust the size of this partition.
In our case, we have recovered all the free space by moving the cursor to the right as far as possible.
Then, click on Next.

A summary is displayed. Click on Finish.
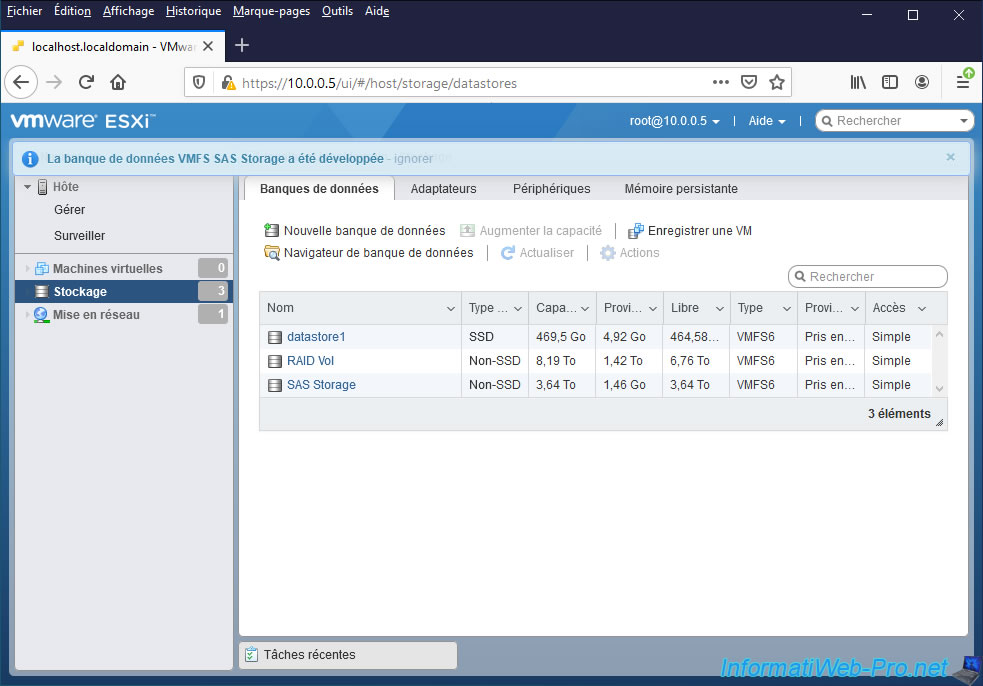
Wait a few seconds, and the "VMFS datastore [datastore name] successfully expanded" message will appear.
As you can see, the capacity of our "SAS Storage" datastore is now 3.64 TB.
If you view your datastore information, you will see that only the capacity has changed.
Indeed, the extension is always the same. It's only the size of it that has changed.
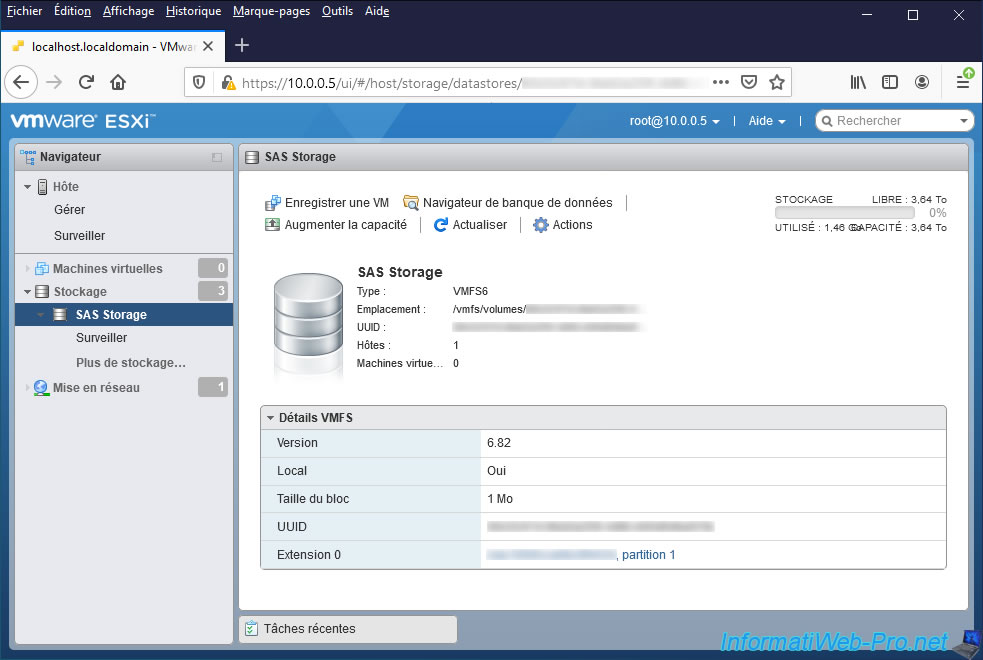
If you click on the name of this extension, you will arrive on the page concerning the physical disk used by this one.
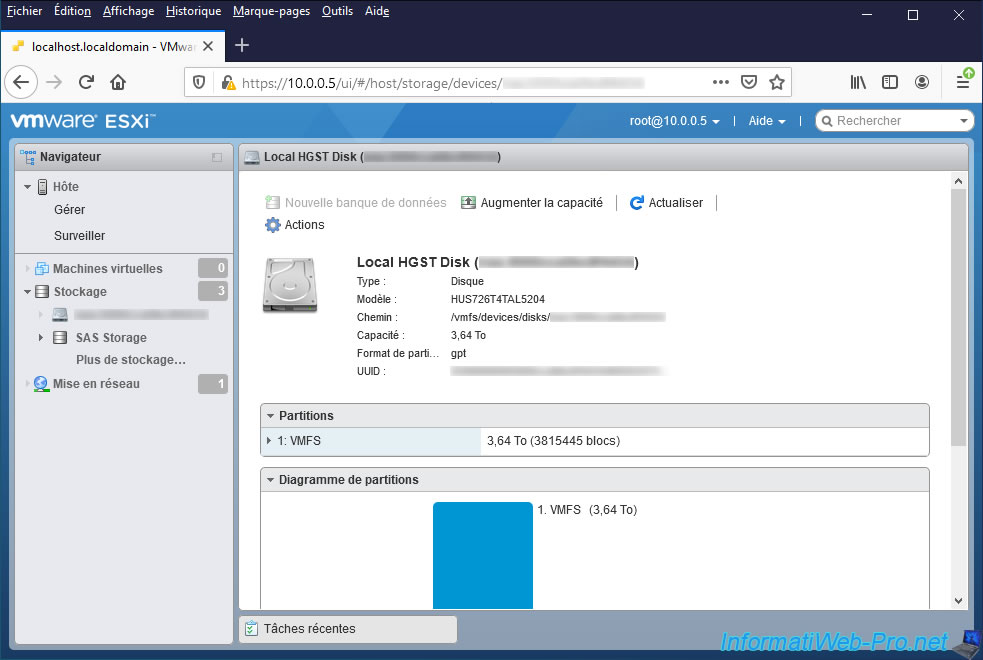
And as you can see, the VMFS partition has been enlarged on it.
In our case, the VMFS partition is now the same size as the capacity of the physical disk.
Share this tutorial
To see also
-
VMware 4/21/2023
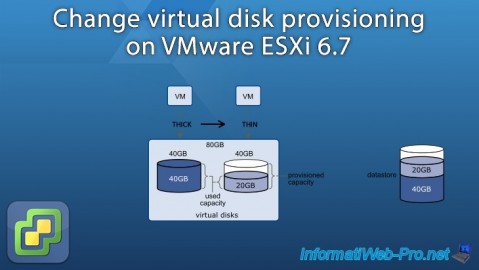
VMware ESXi 6.7 - Change virtual disk provisioning
-
VMware 5/19/2023
VMware ESXi 6.7 - Create an iSCSI datastore
-
VMware 5/5/2023
VMware ESXi 6.7 - Direct Attached Storage (DAS)
-

VMware 12/23/2022
VMware ESXi 6.7 - Improve the performance by using a physical HDD
You must be logged in to post a comment