Enable virtualization-based security (VBS) on virtual machines on VMware ESXi 6.7
- VMware
- 27 January 2023 at 17:59 UTC
-

- 2/2

4. TPM 2.0 module recognized on Windows 10
To verify that our configuration was functional, we installed Windows 10 on an USB key in Windows To Go mode and we installed the drivers for this PC.
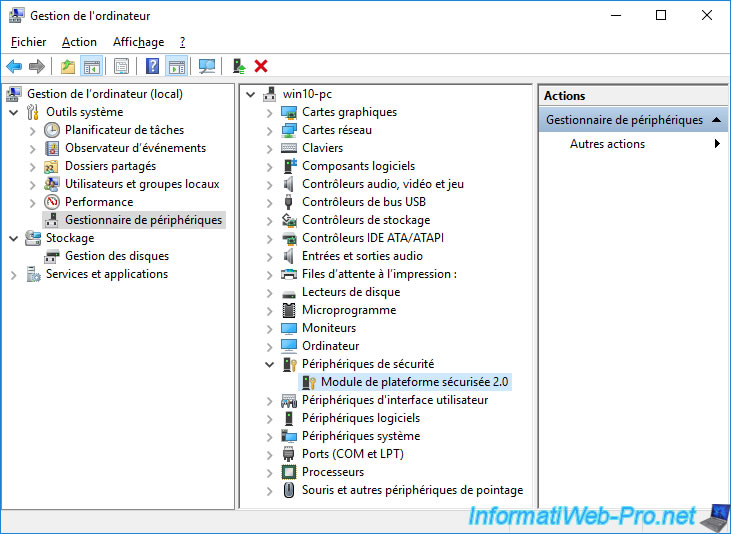
Then, we went to the device manager.
As expected, Windows 10 does detect a "Trusted Platform Module 2.0" in the "Security devices" section.
This is only for testing, this step is not necessary.
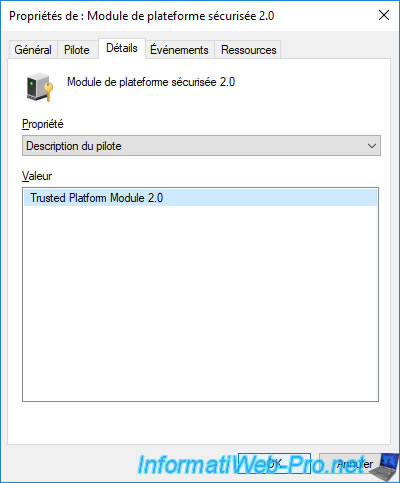
Right click "Properties" on this "Trusted Platform Module 2.0", go to the "Details" tab and select the "Driver Description" option from the list.
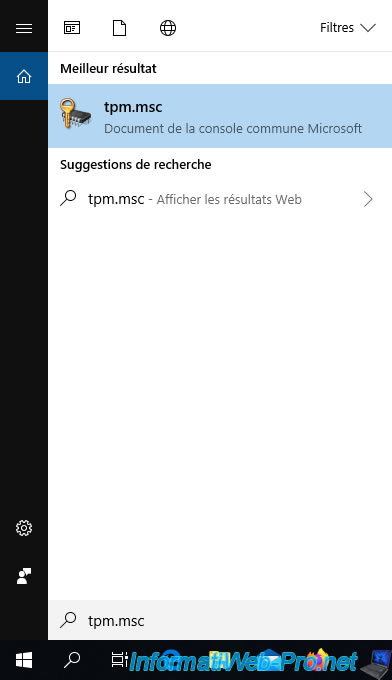
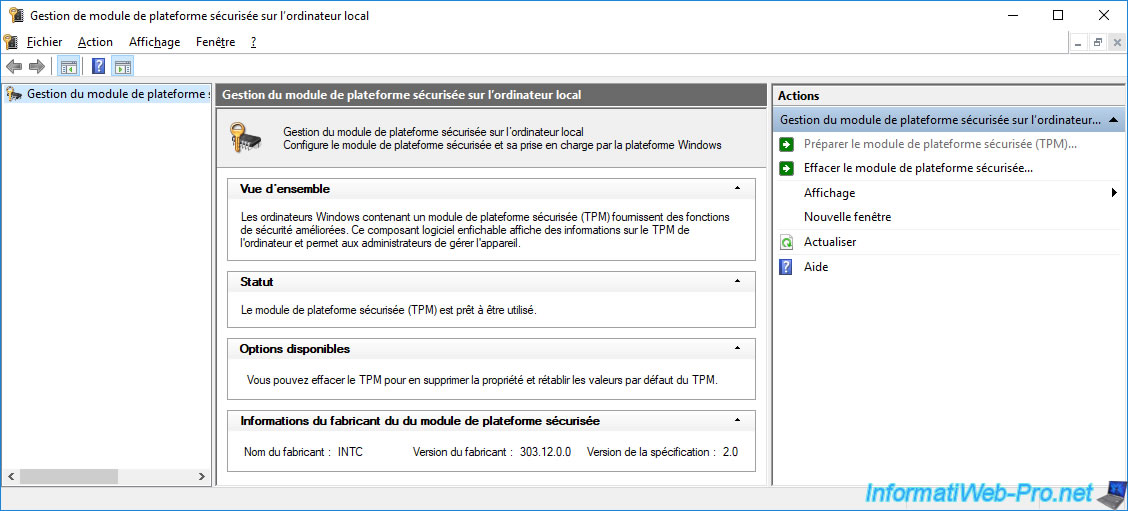
You can also check your hardware's compatibility with TPM by looking for "tpm.msc" in the Windows 10 start menu.
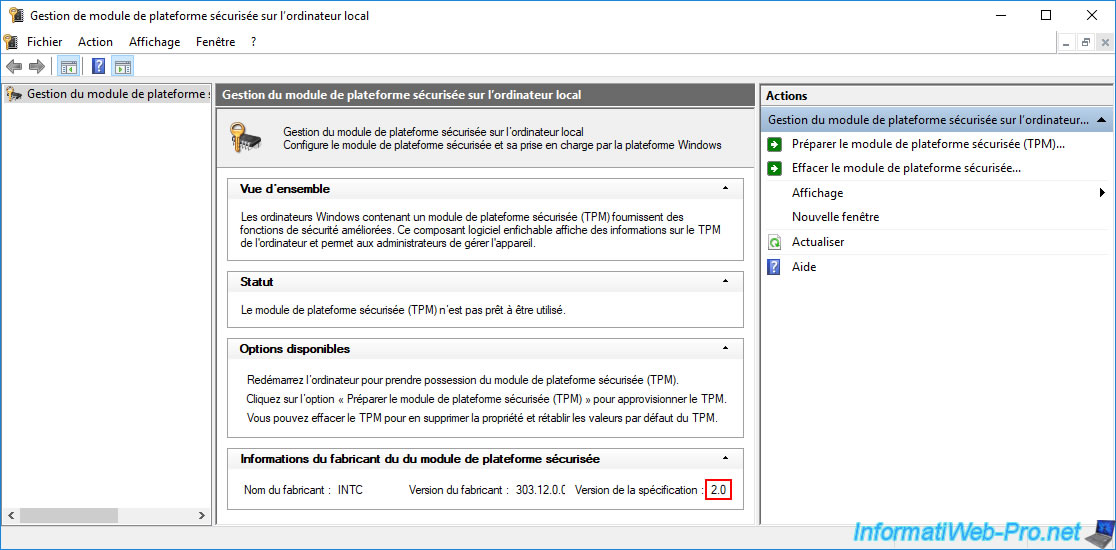
As expected, it's stated that the version of the specification is : 2.0.
Otherwise, a message would appear telling you that the TPM was not found.
In this case, either your hardware doesn't have a TPM module, or the necessary option is not enabled in the BIOS of your motherboard.
Note that the TPM module is never enabled in your motherboard when it leaves the factory. It's up to you to enable it manually by enabling the correct option in the BIOS of your motherboard.
Note : in our case, Windows is telling us that our Trusted Platform Module (TPM) is not ready for use.
Nevertheless, you can ignore this status in this case, because it's simply due to the fact that we did not pre-prepare it for Windows 10.
If you click on "Prepare the TPM" (in the "Actions" menu on the right), you will see that it's now ready for use.
However, this is not necessary for its use with VMware ESXi.
5. Create a VBS compatible virtual machine
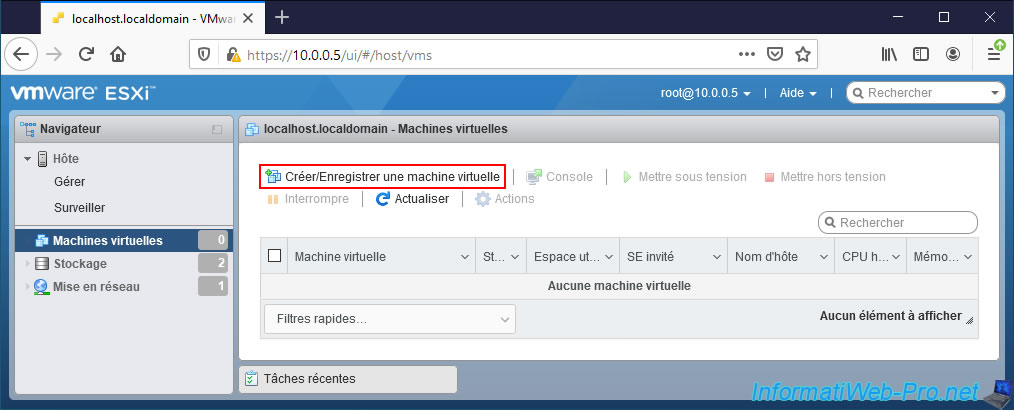
To start, create a new virtual machine by clicking on : Virtual Machines -> Create / Register VM.
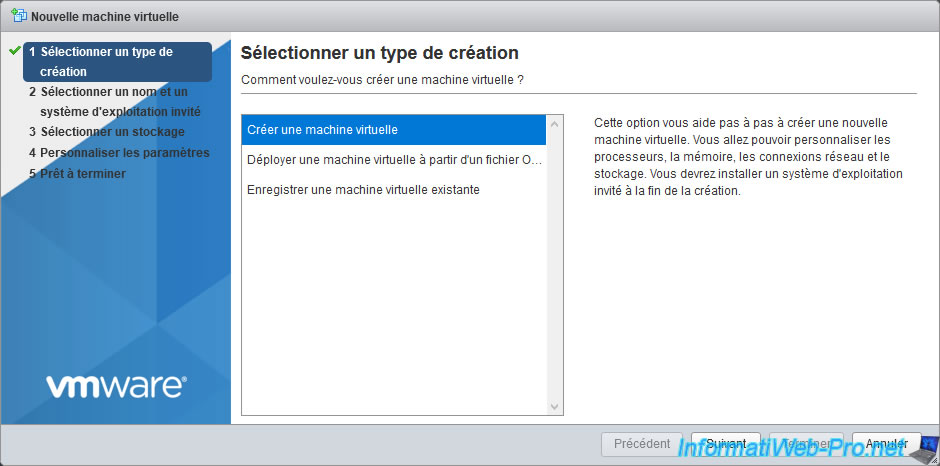
Then, select "Create a new virtual machine" and click Next.
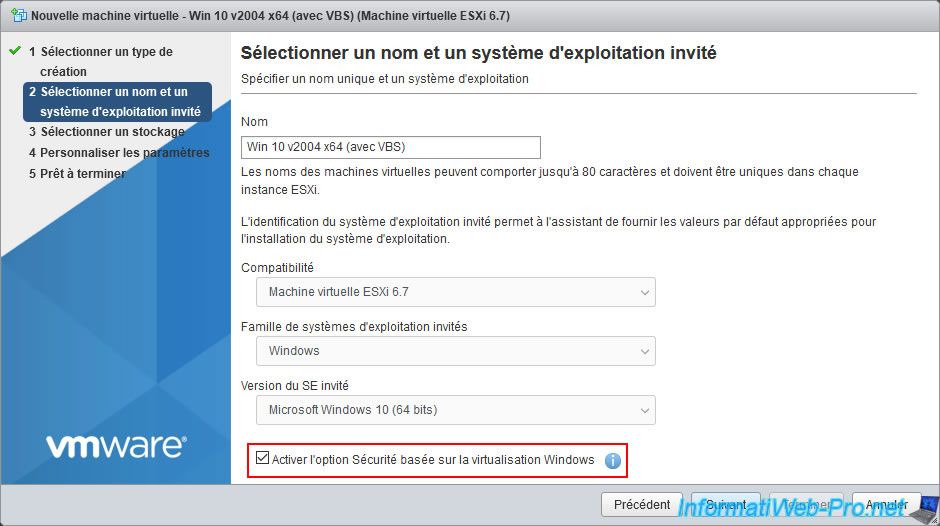
Choose "Microsoft Windows 10 (64-bit)" or "Microsoft Windows Server 2016 (64-bit)" for the guest OS version.
Indeed, these are the only guest operating systems for which VMware ESXi supports the activation of this VBS option.
Then, check the box next to "Enable Windows Virtualization Based Security" which will appear just below and click Next.
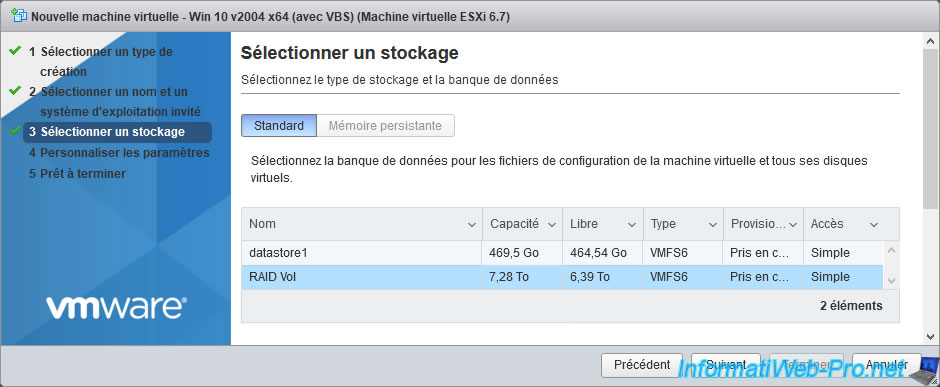
Select the datastore where you want to store this new virtual machine.
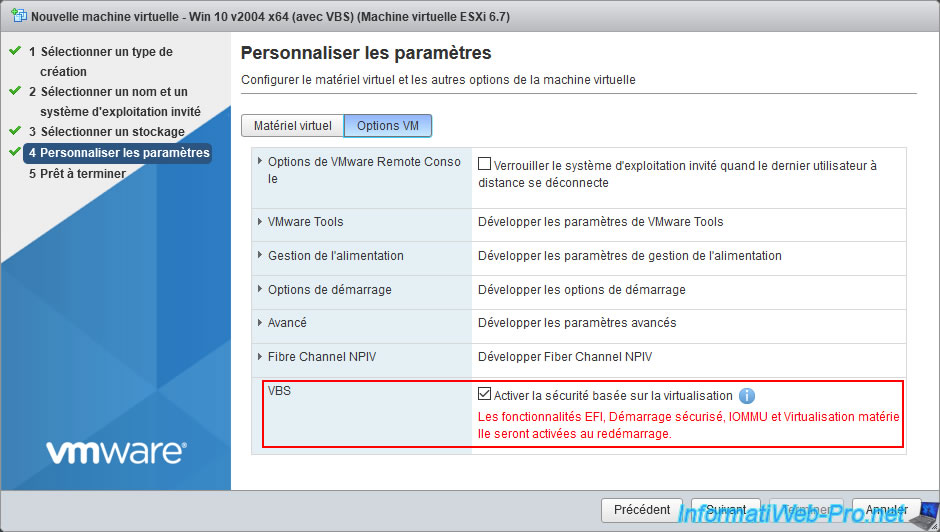
In the "VM Options" tab, you will see that the VBS option is already enabled (since you checked the corresponding box in the previous step).
As you can see, VMware ESXi warns you that the EFI, Secure Boot, IOMMU, and hardware virtualization features that are required by this VBS option will be automatically enabled when the virtual machine is restarted.
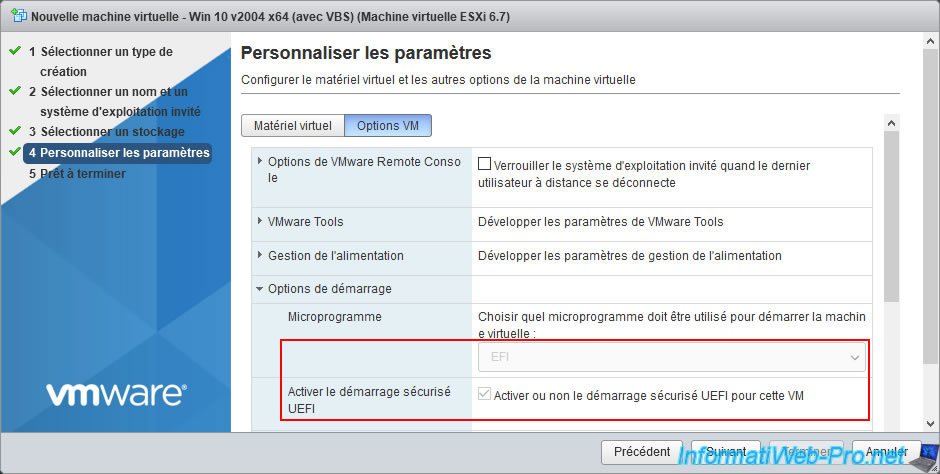
If you want to enable the VBS option on a Windows 10 x64 and Windows Server 2016 x64 virtual machine that is already created, here is what will need to be changed in your virtual machine configuration.
To begin, in this "VM Options" tab, check the "Enable Virtualization Based Security" box.
In the "Boot Options" section, select "Firmware : EFI" and check the "Whether or not to enable UEFI secure boot for this VM" box.
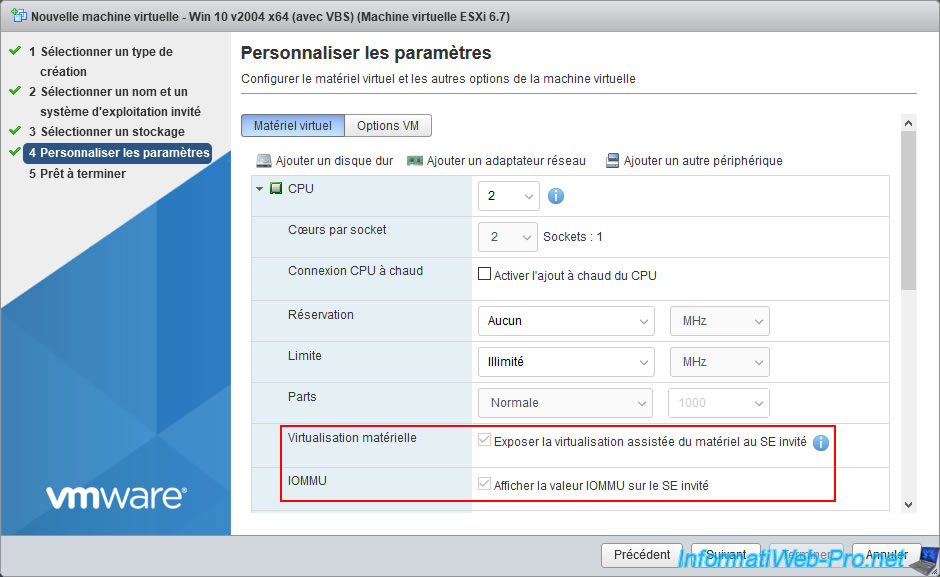
For virtual hardware, deploy the "CPU" node and check the boxes :
- Expose hardware assisted virtualization to the guest OS
- Expose IOMMU to the guest OS
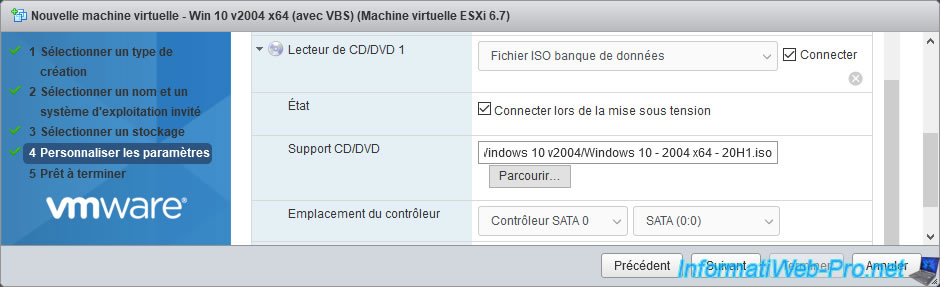
To finish creating this virtual machine, don't forget to select the ISO of Windows 10 or Windows Server 2016 to install it in it.
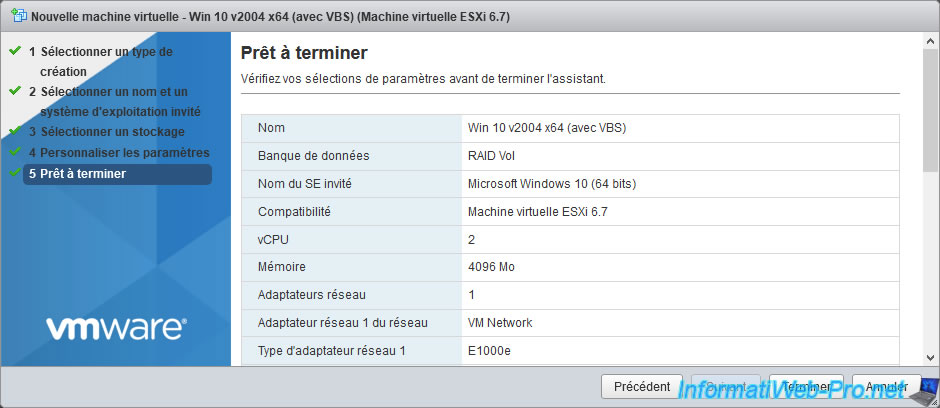
A summary of the configuration appears.
Click on Finish.
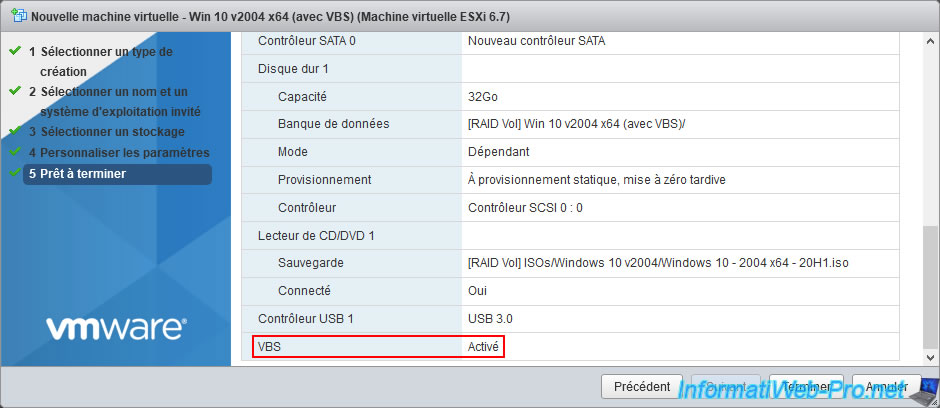
At the bottom of the summary, you will see that VBS will be enabled on this Windows 10 virtual machine.
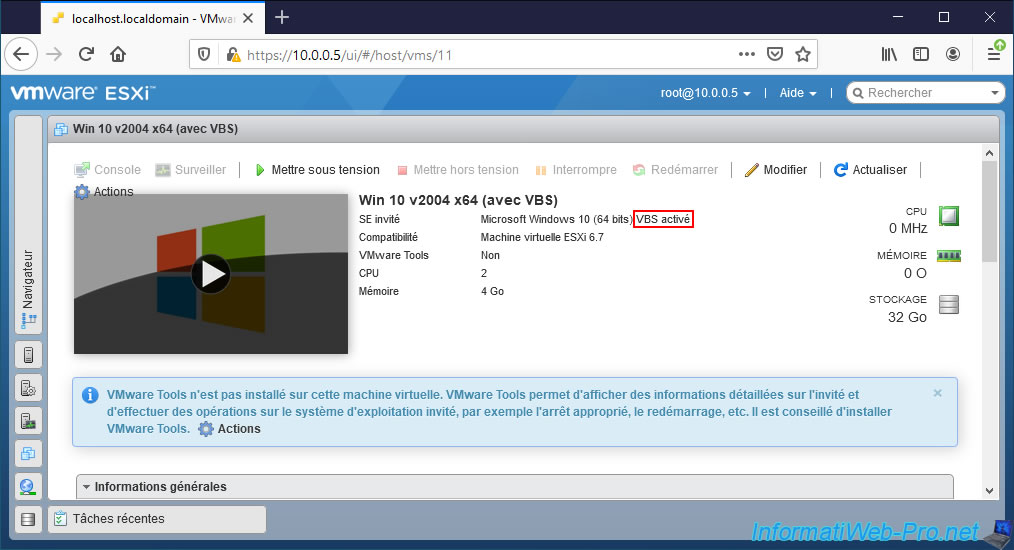
The "Virtual machine Win 10 v2004 x64 (with VBS) was successfully created" message appears.
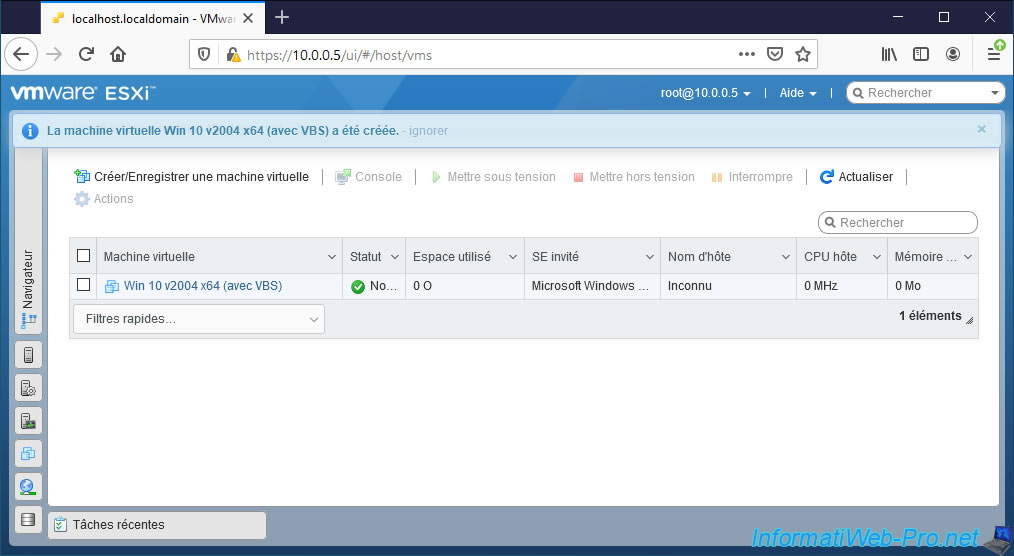
If you look at the name of the "Guest OS" displayed by VMware ESXi, you will see that it says "VBS enabled" after its name (in our case : Microsoft Windows 10 (64 bit)).
6. Install Windows 10 and VMware Tools
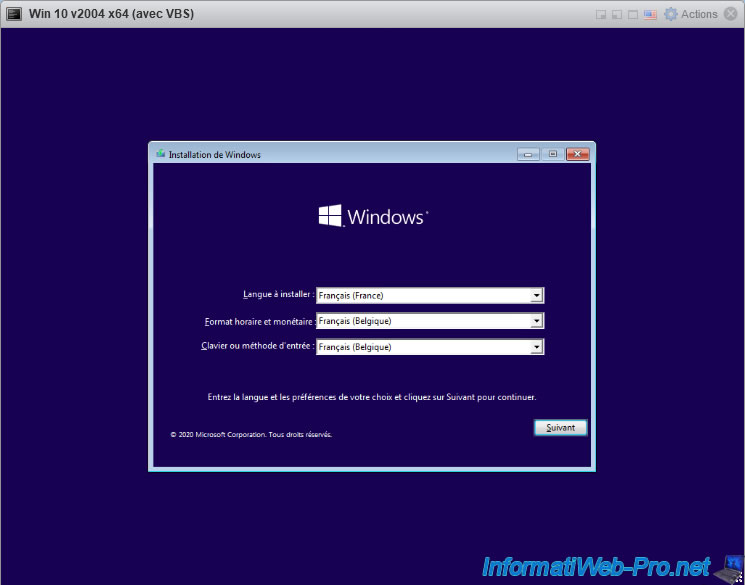
For installing Windows 10 or Windows Server 2016, there is nothing special.
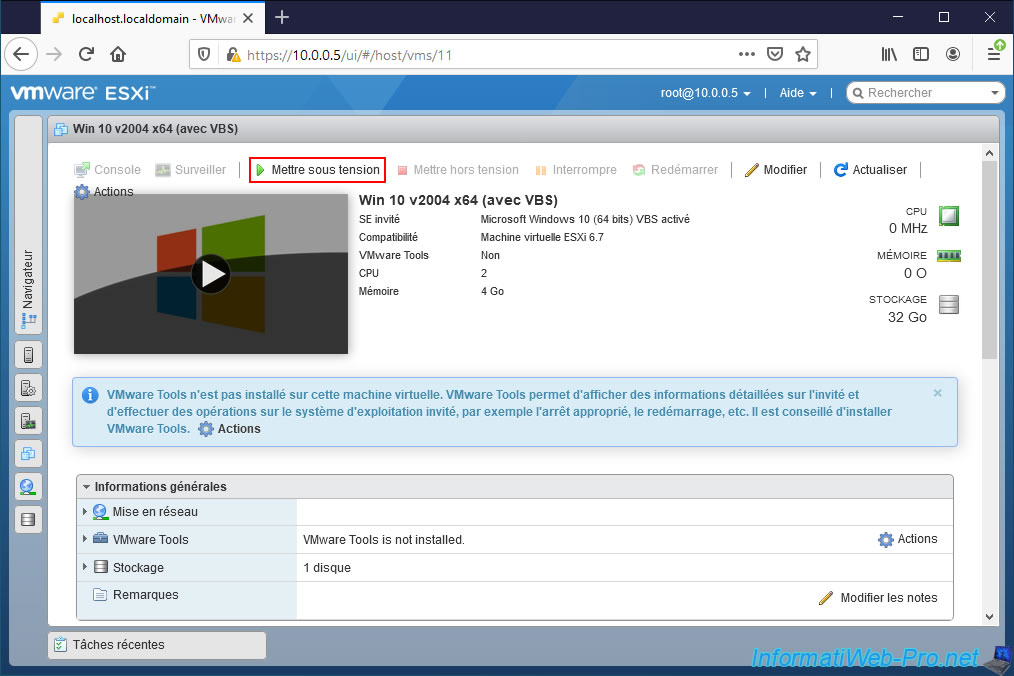
Start the virtual machine.
Install Windows normally in the virtual machine.
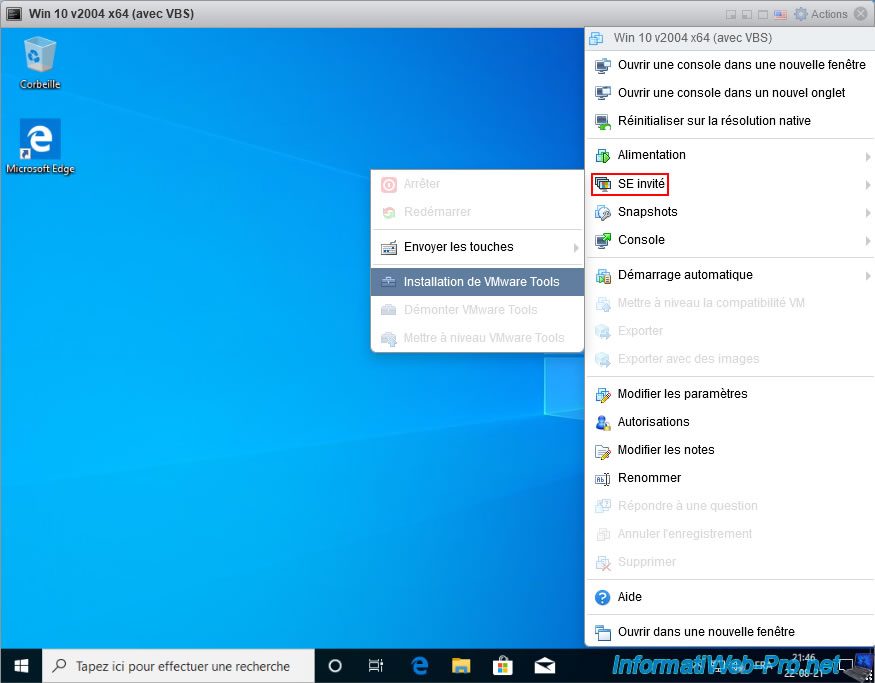
Then, install the VMware Tools inside the virtual machine as you normally would.
7. Enable Hyper-V hypervisor
To protect your virtual machine, VBS uses Microsoft's hypervisor (Hyper-V) available in particular on Windows 10 and Windows Server 2016 to isolate the virtual machine.
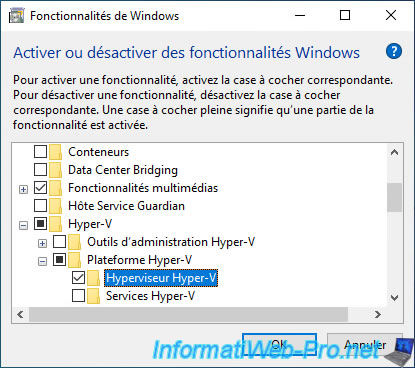
You will therefore need to enable the "Hyper-V Hypervisor" feature available on Windows 10.
To do this, open the control panel, then go to : Programs : Uninstall a program -> Turn Windows features on or off.
Then, check the "Hyper-V Hypervisor" box available in : Hyper-V -> Hyper-V Platform.
Then, click on OK.
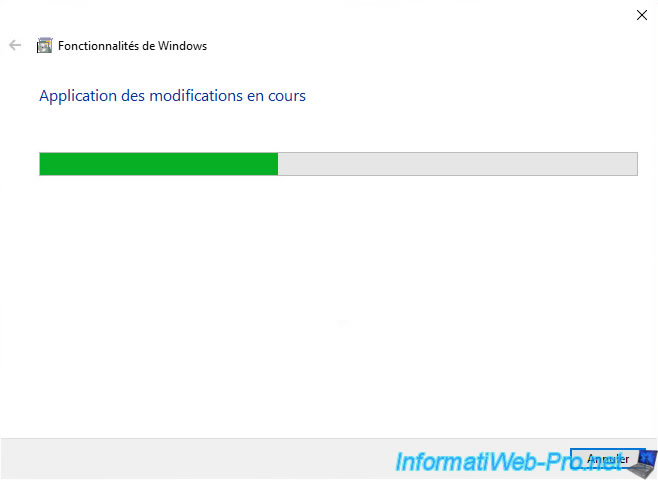
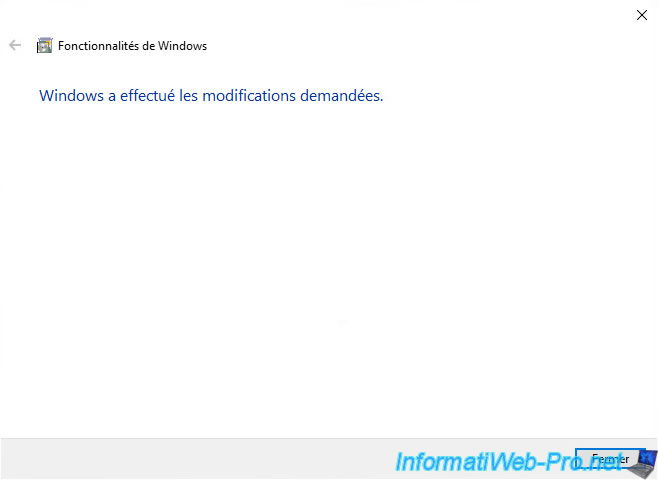
Windows applies the necessary changes.
Then, click on Close.
8. Enable VBS feature in the guest operating system
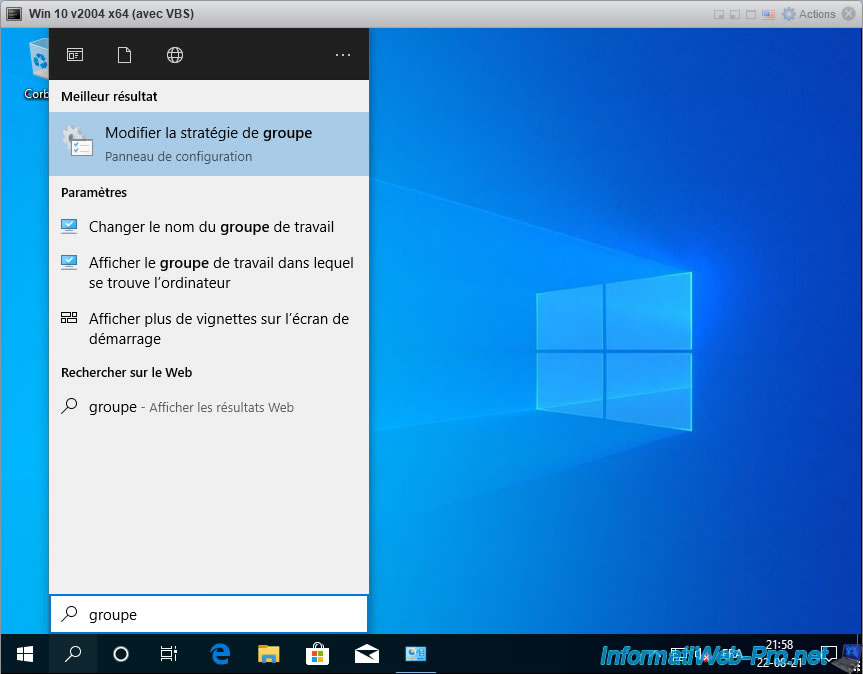
Open the Windows 10 start menu, type "group" and click on the "Edit group policy" result.
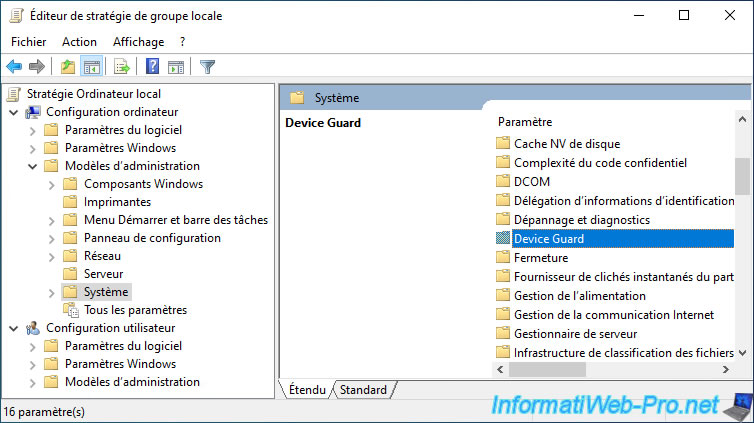
In the Local Group Policy Editor that appears, go to : Computer Configuration -> Administrative Templates -> System -> Device Guard.
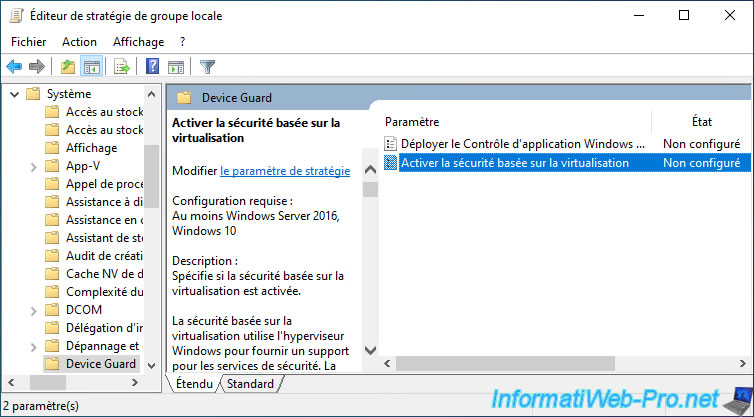
In the "Device Guard" folder, double-click on the "Turn On Virtualization Based Security" policy.
Note : enabling this group policy enables the "Windows Defender Credential Guard" feature available on Windows 10, Windows Server 2016 and Windows Server 2019.
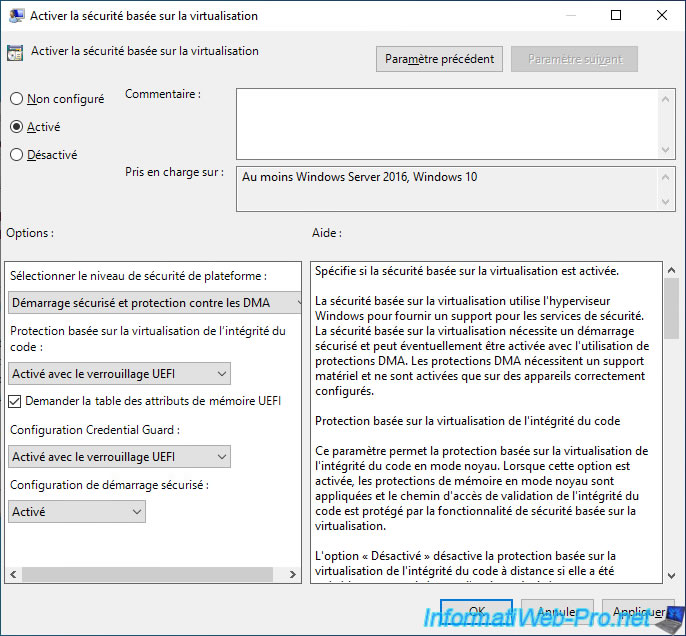
Enable this "Turn On Virtualization Based Security" policy and configure the available options according to your needs :
- Select the platform security level :
- Secure Boot : VBS requires secure boot.
- Secure Boot and DMA Protection : allows the use of DMA protections in addition to Secure Boot. However, these DMA protections require IOMMU support in the physical host and virtual machine hardware.
Source : Use registry keys to enable virtualization-based protection of code integrity.
- Virtualization Based Protection of Code Integrity :
- Enabled with UEFI lock : ensures that this virtualization-based protection (VBS) can't be disabled remotely.
- Enabled without lock : allows you to allow this virtualization-based protection (VBS) to be disabled remotely using group policies.
- Disabled : allows you to disable this virtualization-based protection (VBS) if it was previously enabled with the value "Enabled without lock".
- Not Configured : this setting will not be configured in the computer registry and the computer will therefore remain unconfigured.
However, in the event that this parameter will be configured on the client computer and you manage this Group Policy from a domain controller, selecting "Not configured" will allow the value configured beforehand on the client workstation to be used.
- Require UEFI Memory Attributes Table : enables virtualization-based security (VBS) to be enabled only on computers (or virtual machines) that support UEFI and that are compatible with this feature.
Indeed, the activation of this VBS feature on an incompatible computer can lead to various problems (incompatibilities, loss of data, ... as specified in the description of this policy). - Credential Guard Configuration : allows you to enable or disable Credential Guard with VBS to protect credentials.
Again, you will have the choice between 4 values :- Enabled with UEFI lock : allows you to prevent the remote deactivation of this "Credential Guard" feature.
- Enabled without lock : allows the deactivation of this "Credential Guard" feature remotely using GPOs.
- Disabled : allows you to disable this "Credential Guard" feature remotely if it had been enabled previously with the value "Enabled without lock".
- Not Configured : this setting will not be configured and it will therefore remain unconfigured.
But, if you select "Not Configured" on a domain controller and this policy had also been configured on the client computer. So, this keeps the value configured on this client computer.
- Secure Launch Configuration :
- Enabled : allows you to enable secure launch (secure boot) if the hardware (virtual in this case) supports it.
- Disable : allows you to disable secure launch (secure boot)
- Not Configured : allows you not to configure this setting on this client computer and thus configure this setting remotely from a domain controller.
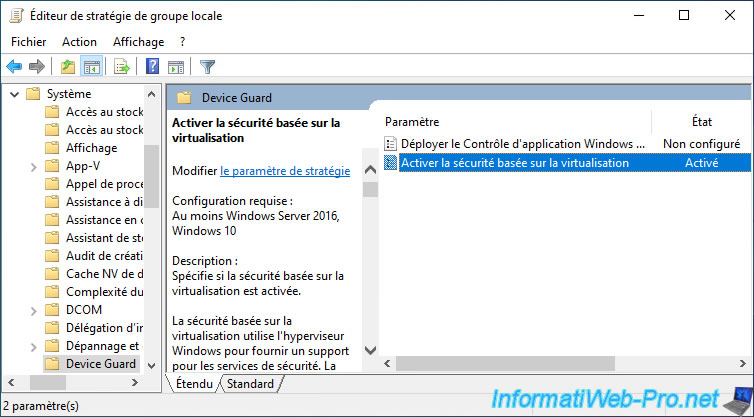
The "Turn On Virtualization Based Security" policy has been enabled.
Once this Group Policy is configured, remember to update the Group Policy by restarting the virtual machine or by using the command :
Batch
gpupdate /force
Share this tutorial
To see also
-

VMware 5/25/2022
VMware ESXi 6.0 - Install the VMware Host Client web client
-

VMware 5/27/2022
VMware ESXi 6.5 - Add a network driver in the installation ISO
-

VMware 12/2/2022
VMware ESXi 6.7 - Install and use the VMRC console on Linux
-
VMware 12/30/2022
VMware ESXi 6.7 - Install VMware Tools on Win Server in Core mode
No comment