Create a Hyper-V 3.0 failover cluster on WS 2012 R2 or WS 2016
- Microsoft
- 29 November 2019 at 10:34 UTC
-

- 2/6

2. Creating the cluster
2.1. Installing the feature : Failover Clustering
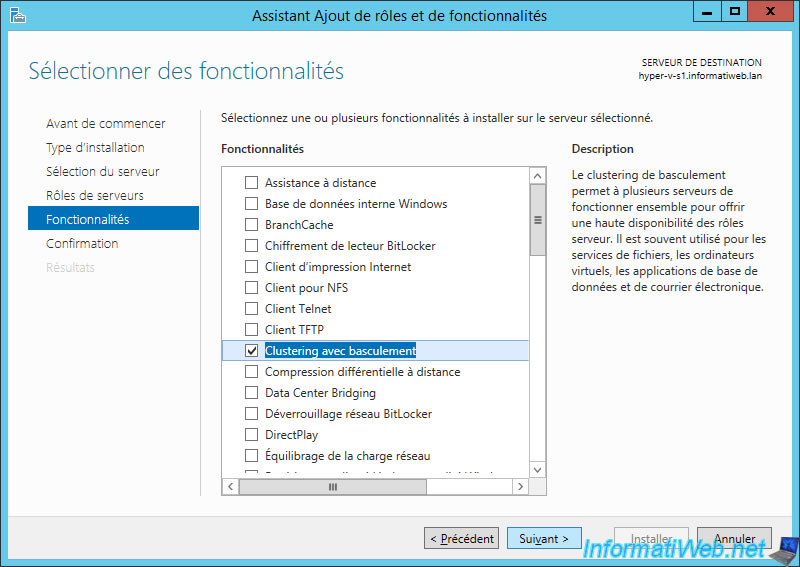
On your Hyper-V servers, launch the Add Roles and Features Wizard and install the "Failover Clustering" feature.

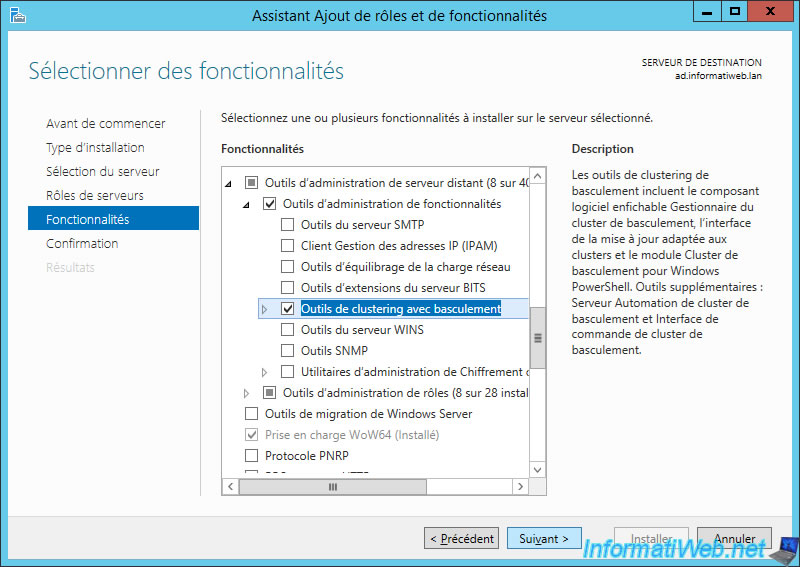
Since a node of your cluster may fail at any time, you will probably manage your cluster from a server outside your Hyper-V cluster.
For this, you will need the management tools of your cluster.
On a server of your network, install the "Failover Clustering Tools" feature available in : Remote Server Administration Tools -> Feature Administration Tools.
As well as the "Hyper-V Management Tools" feature available in : Role Administration Tools.
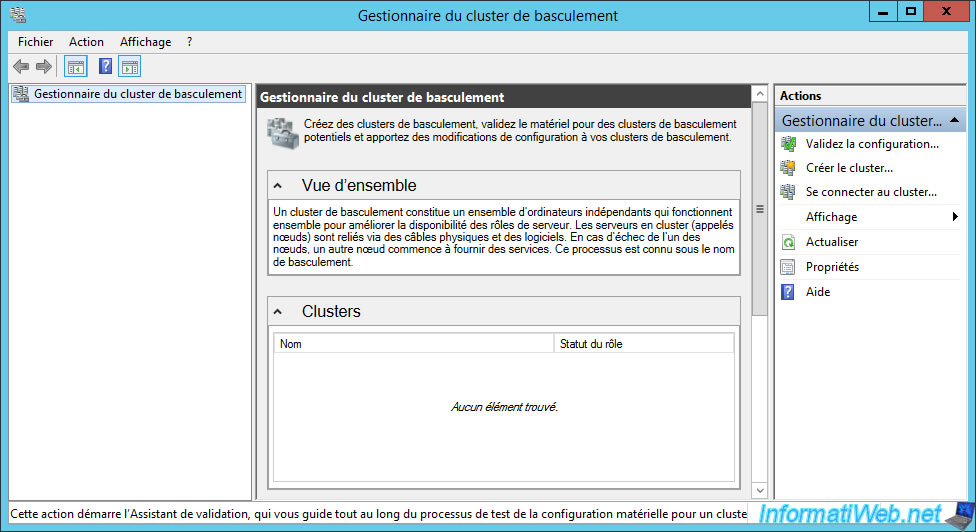
2.2. Validate the configuration of your servers for the cluster
Before creating your Hyper-V cluster, it's very important to validate the configuration of the servers that will be part of it.
To do this, open the Failover Cluster Manager and click : Validate the configuration.
Add one by one the servers to check.
In our case :
- hyper-v-s1.informatiweb.lan
- hyper-v-s2.informatiweb.lan
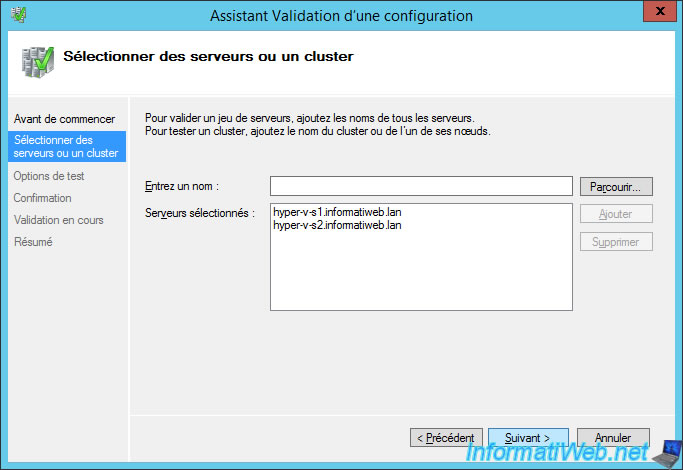
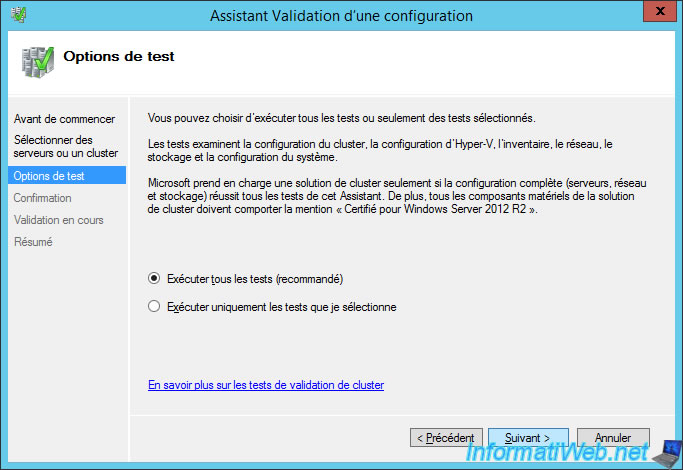
Leave the "Run all tests (recommended)" option selected and click Next.
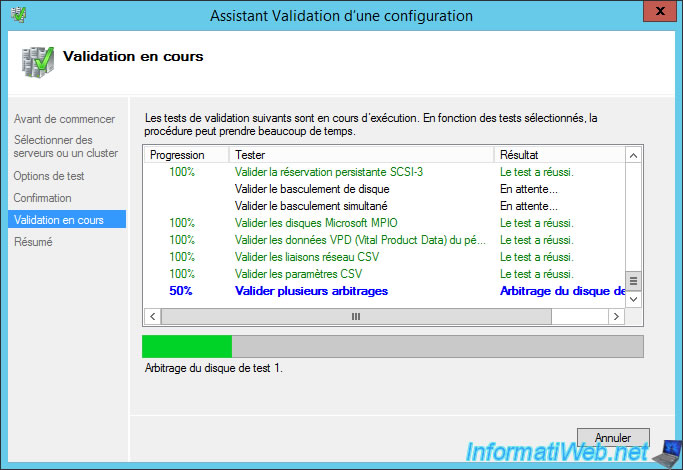
Wait while validating the configuration of your servers AND the Hyper-V configuration of each one.
Because, you will see that errors can also occur about the configuration of Hyper-V settings.
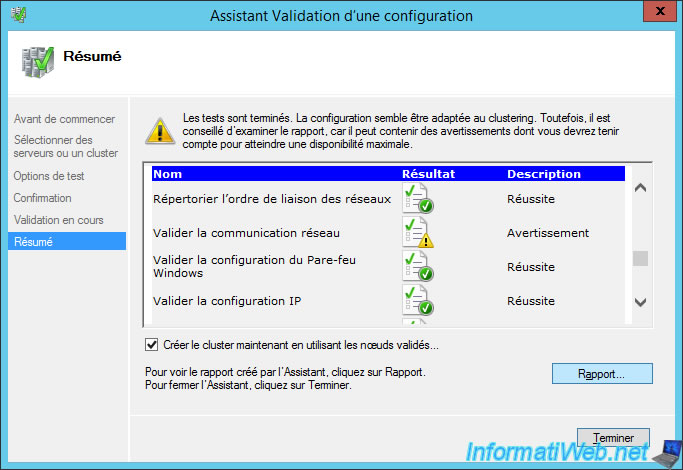
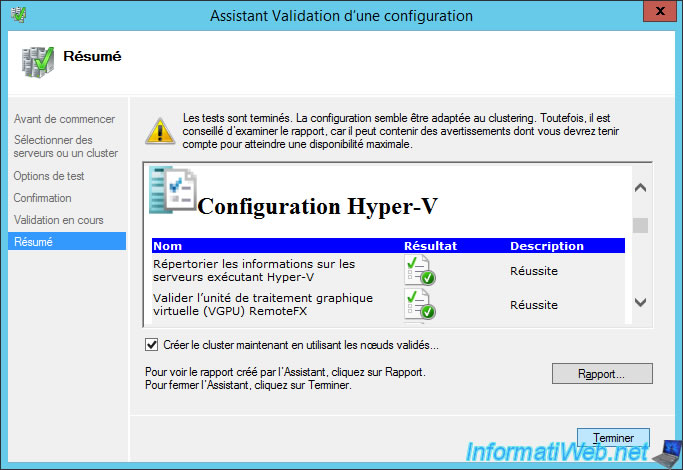
When all the tests have been done, you will be able to consult the report generated by the wizard.
Click on the "Report" button.
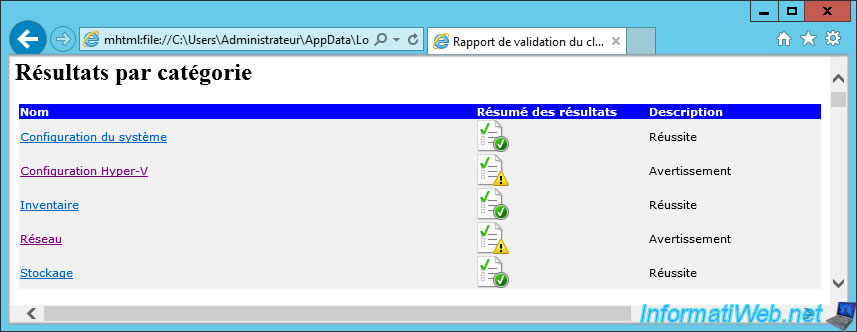
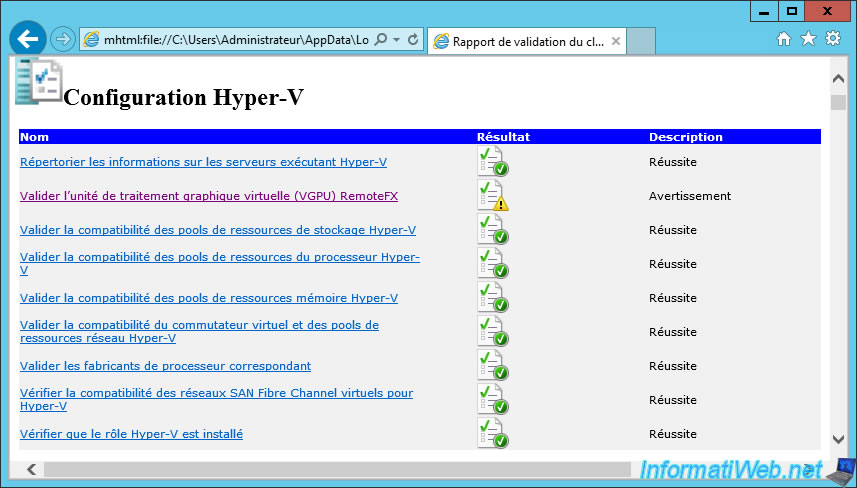
A web page appears with a summary by category at the top.
In our case, we have warnings (not errors) for :
- the Hyper-V configuration
- the network
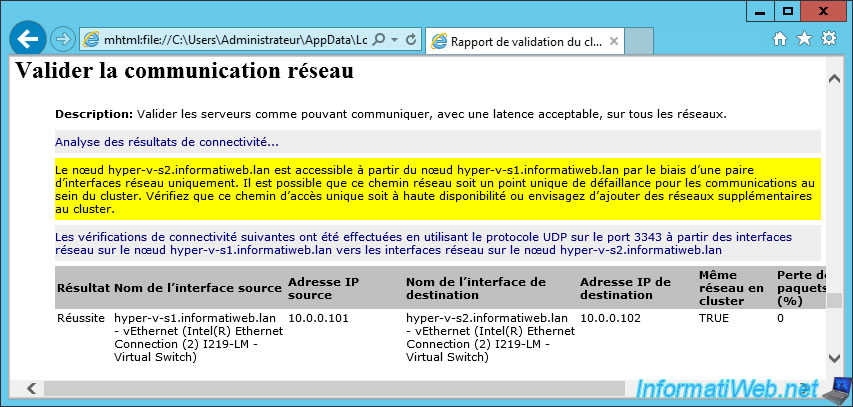
For the network configuration, it's simply network communication that is possible by a single path instead of 2.
This creates a single point of failure.
Nevertheless, we did not have the possibility (at the hardware level) to use 2 network cards for this tutorial.
That said, in production, it's obviously strongly recommended to be able to obtain 2 network communication paths to avoid :
- that a node is excluded in the event that its network card fails
- or that the whole cluster doesn't fall because of a faulty switch
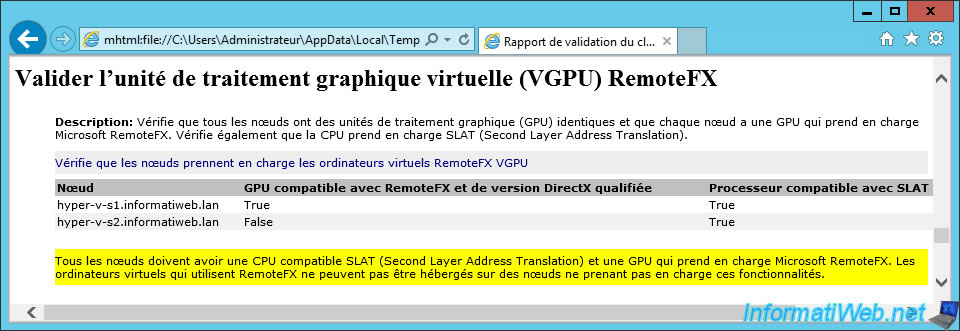
For the Hyper-V configuration, the warning is for the RemoteFX virtual graphics processing unit (VGPU).
As you can see, the wizard checks that your nodes use identical graphics cards (GPUs) and that they are compatible with Microsoft RemoteFX.
The wizard has also verified that the processor (CPU) of your nodes supports SLAT (Second Layer Address Translation).
As you can see, in our case, the wizard tells us that the 1st server is compatible with RemoteFX and that the 2nd is not.
However, our 2 servers are strictly identical and they therefore have exactly the same processor and the same graphics card.
The only difference is that one of our Hyper-V servers was configured to support Microsoft RemoteFX and the other was not.
2.3. Enable RemoteFX support on your Hyper-V servers
In order to enable RemoteFX support on your Hyper-V servers, you will first need to install the Remote Desktop Virtualization Host role service on them.
This prerequisite is also indicated in the Hyper-V settings of your Hyper-V servers when this role is not installed.
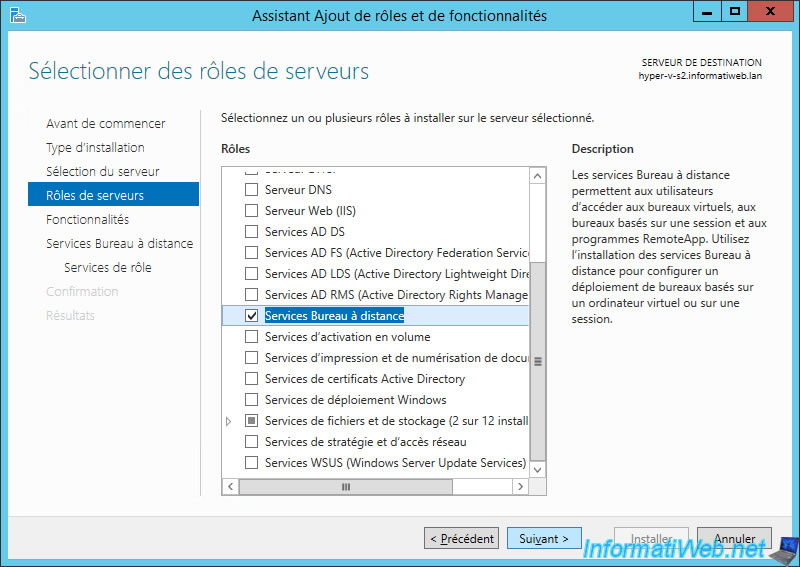
On your Hyper-V servers, check the "Remote Desktop Services" role (which is RDS).
Then, in the available role services, check only the "Remote Desktop Virtualization Host" box.
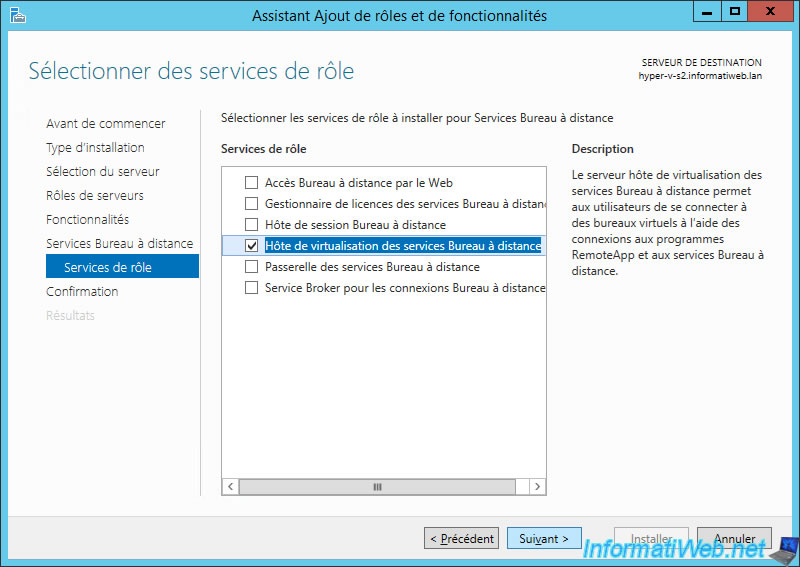
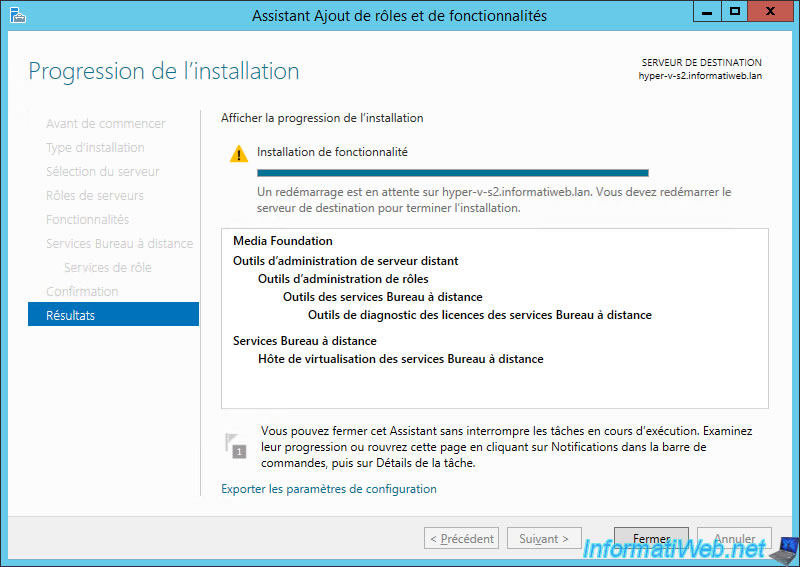
Note that a restart will probably be necessary to complete the installation of this role service.
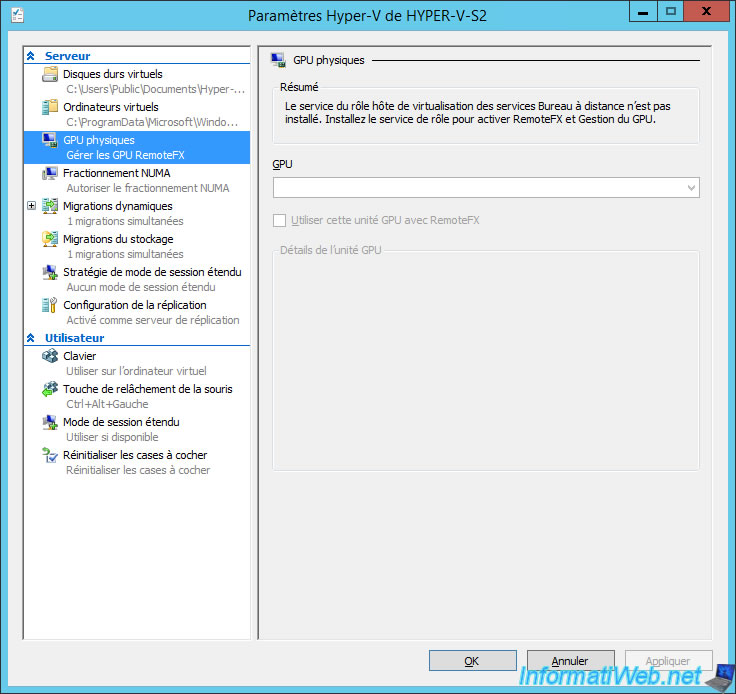
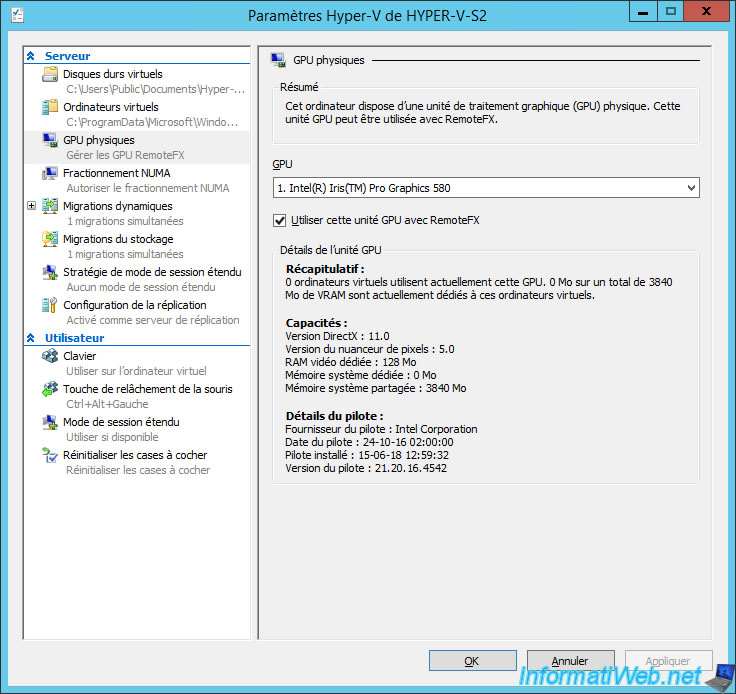
Then, in the Hyper-V settings of your Hyper-V servers :
- go to : Physical GPUs
- select the graphics card of your server you want to use
- check the "Use this GPU with RemoteFX" box
Once RemoteFX support is installed and configured identically on your Hyper-V servers, the "Validate RemoteFX virtual graphics processing unit (VGPU)" test will be validated.
Note : we restarted the validation wizard to prove that this warning was simply due to this small detail.
At the end of the Validate a Configuration Wizard, leave the "Create the cluster now using the validated nodes" box checked and click Finish.
2.4. Creating the Hyper-V cluster
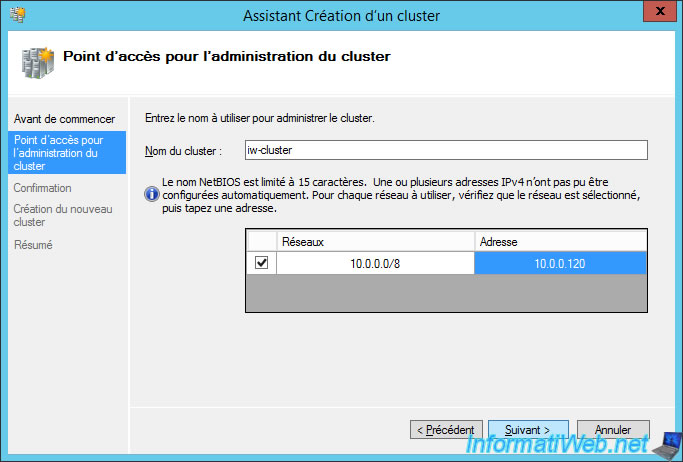
The Create Cluster Wizard appears.
Provide a name for your cluster, and the IP address that will be assigned to it for access.
Indeed, to manage your cluster, you will have to connect to this name or this IP address and not to one of the nodes of the cluster.
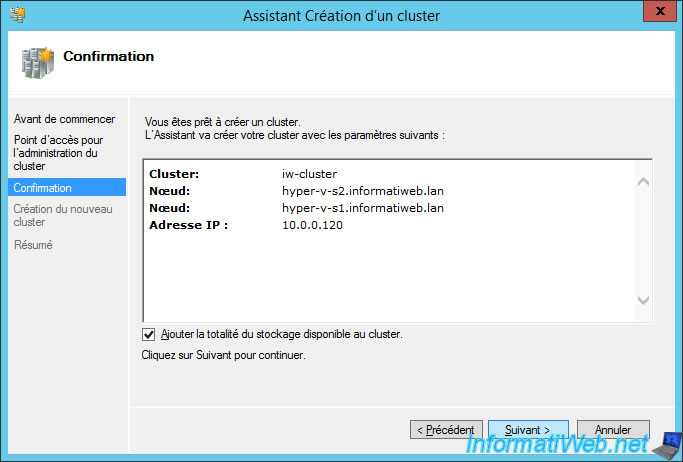
Check the "Add all eligible storage to the cluster" box and click Next.
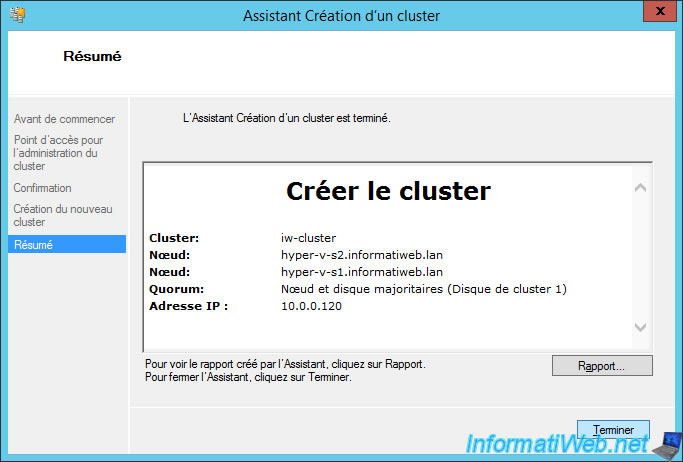
The cluster is created.
Note : to learn more about quorum configuration, refer to our tutorial : Create a failover cluster of file servers.
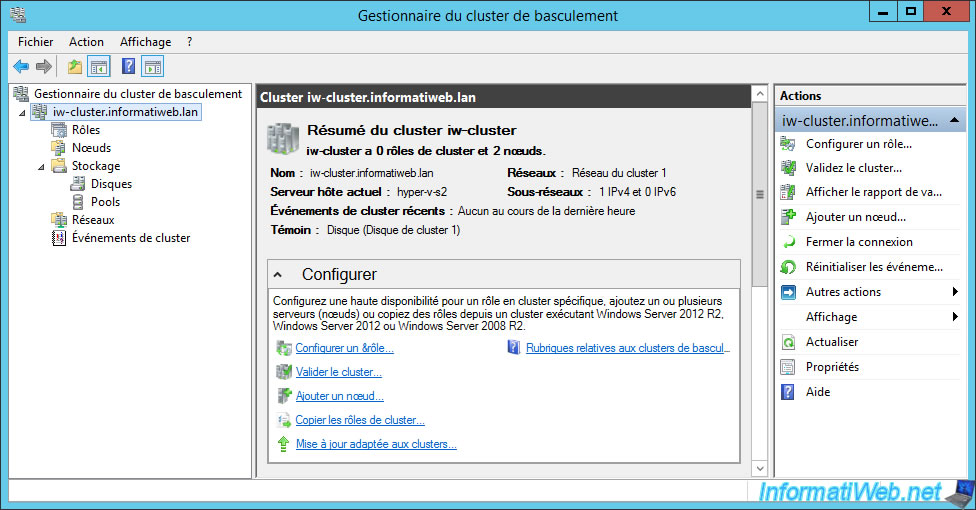
Your cluster appears.
Note that from now, you should manage your virtual machines only from the Failover Cluster Manager and not from the Hyper-V Manager.
When you want to create new virtual machines, you will need to do this from the Failover Cluster Manager so that the virtual machine can be migrated from one node to another automatically if necessary and not from the Hyper-V Manager of the affected server.
Indeed, if you go through the Hyper-V Manager, the virtual machine will be created locally on your Hyper-V server and not in your cluster.
In the storage of our cluster, we find our 2 previously created iSCSI disks :
- the 1 GB witness disk that was automatically added as a witness disk in the quorum
- the 2nd disk (of 500 GB in our case) which is currently available
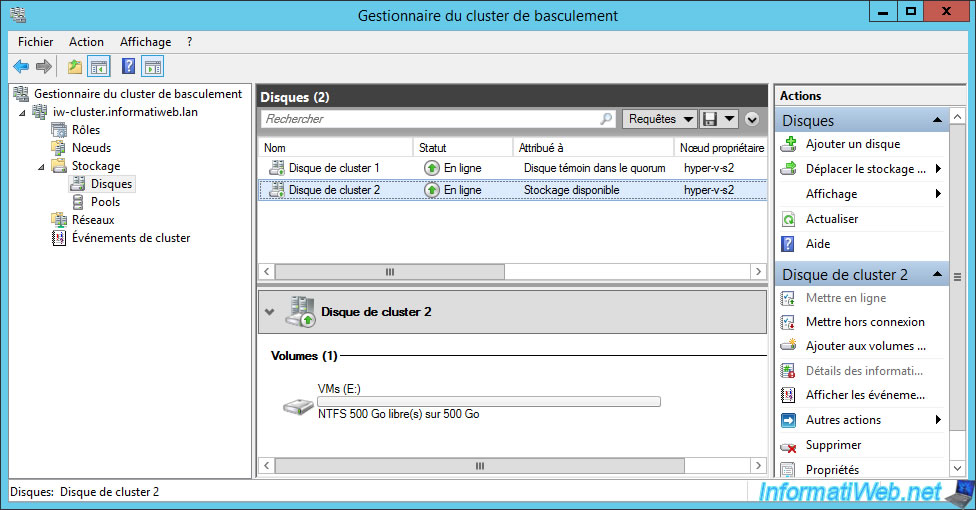
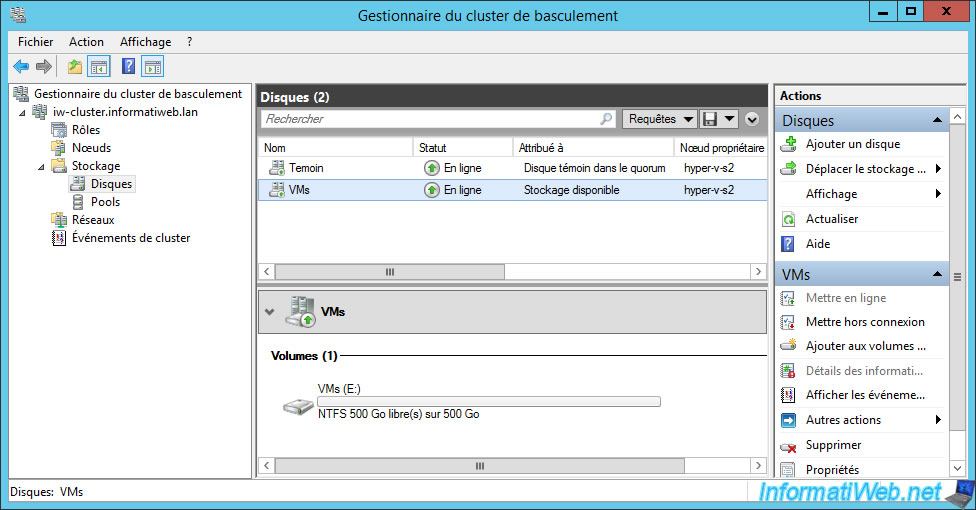
We recommend that you rename your disks directly for clarity.
To do this, double-click on a disk or right-click "Properties" on it, then change its name.
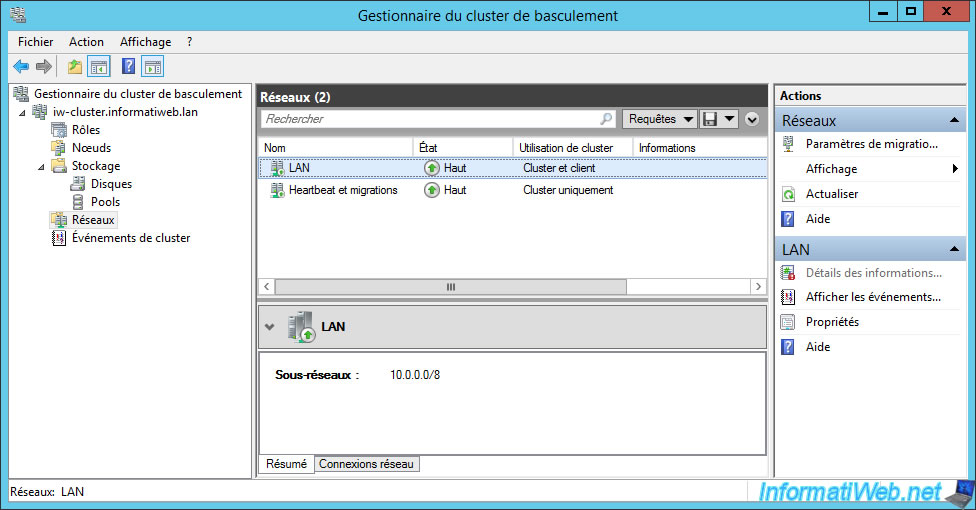
For networks, you will see that we have 2 networks in our case.

Note that as Hyper-V is of course installed on our 2 nodes, the network card for the LAN is called in this case : vEthernet (...).
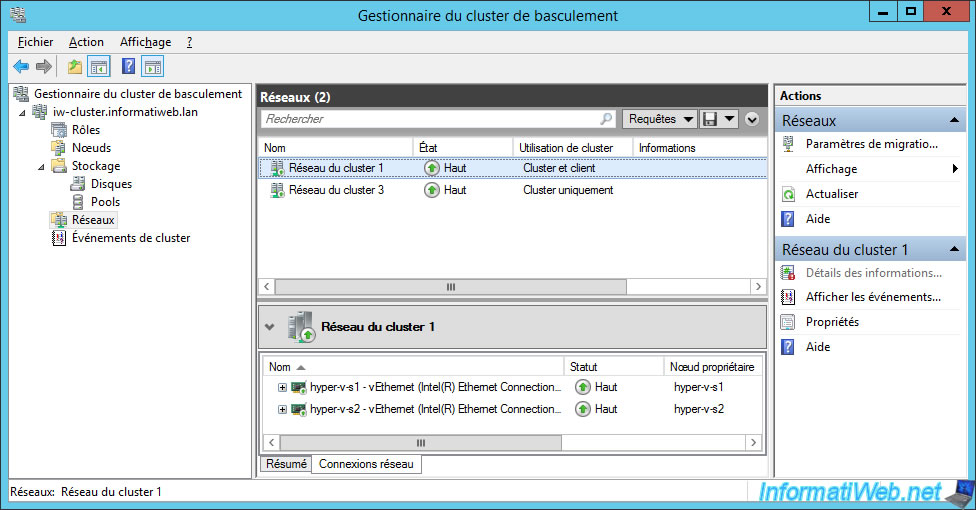
For the Heartbeat network that allows nodes to detect whether other nodes are still available or not, it's configured as "Cluster Only".

Note that for this tutorial we also use this network adapter for live migrations.
However, in production, we recommend using at least 5 NICs per node for your Hyper-V cluster :
- 1 for the LAN
- 1 for the Heartbeat network
- 2 for access to the iSCSI server via multiple paths (MPIO)
- 1 for Hyper-V live migrations

Again, we recommend that you rename your networks in the Failover Cluster Manager to see more clearly in the future.
Share this tutorial
To see also
-
Microsoft 9/6/2019
Hyper-V (WS 2012 R2 / 2016) - Create a generation 2 VM
-
Microsoft 8/10/2019
Hyper-V (WS 2012 R2 / 2016) - Install Hyper-V and create your first VM
-
Microsoft 11/8/2019
Hyper-V (WS 2012 R2 / WS 2016) - Automatically replicate virtual machines
-
Microsoft 11/15/2019
Hyper-V (WS 2012 R2 / WS 2016) - Automatically replicate virtual machines (securely)
No comment