Configure live migration with CredSSP or Kerberos constraint delegation for Hyper-V on WS 2012 R2 or WS 2016
- Microsoft
- 22 November 2019 at 10:37 UTC
-

- 3/3
7. Configure live migration to use Kerberos constrained delegation
For this tutorial, we will migrate the same virtual machine again, but in the other direction (from server 2 to server 1).
To do this, create a new folder on the destination server (which is now server 1).
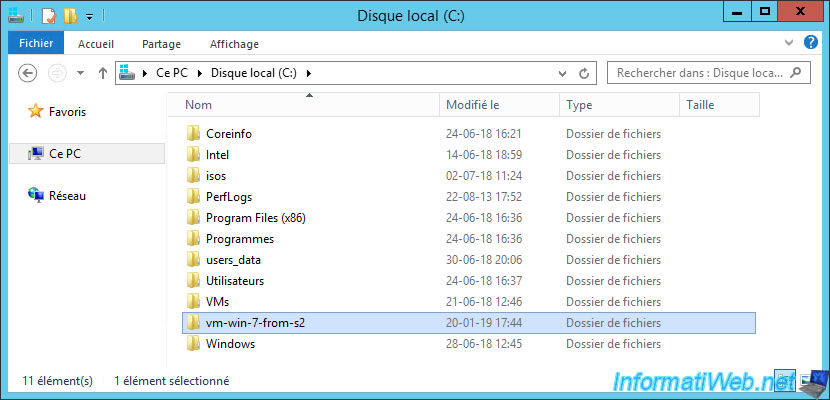
Then, for Kerberos authentication to be usable for dynamic migration, you must first configure Kerberos constrained delegation on your Active Directory server.
On your Active Directory :
- go to Computers
- select the source Hyper-V server
- right click Properties on this one
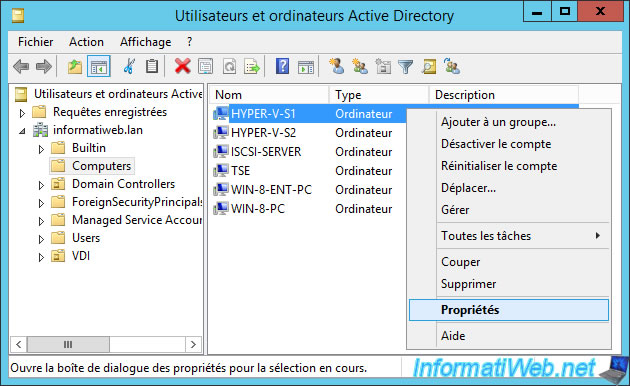
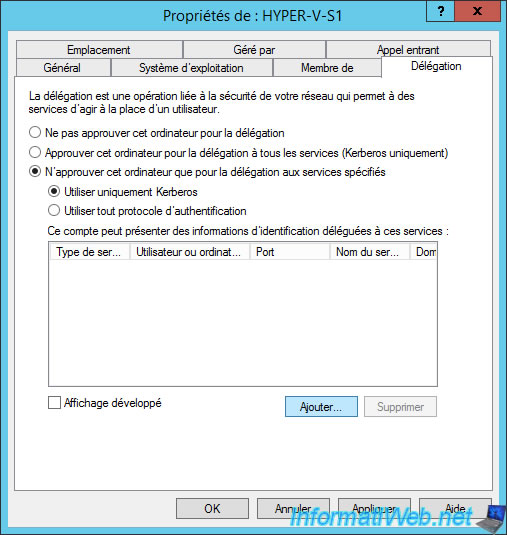
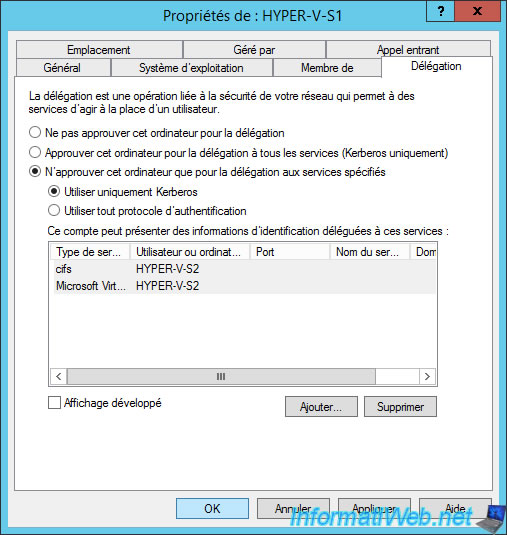
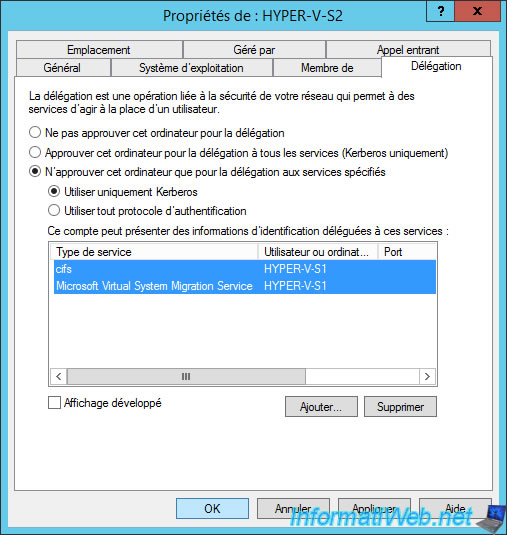
Go to the "Delegation" tab and select the "Trust this computer for delegation to specified services only" option.
Then, select "Use Kerberos only" and click Add.
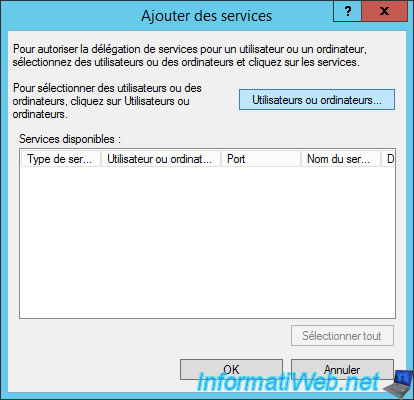
In the "Add Services" window that appears, click : Users or Computers.
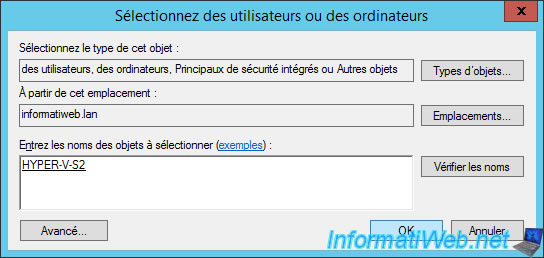
Enter the name of your remote servers.
In our case, this is server 2 since we are configuring this delegation on server 1.
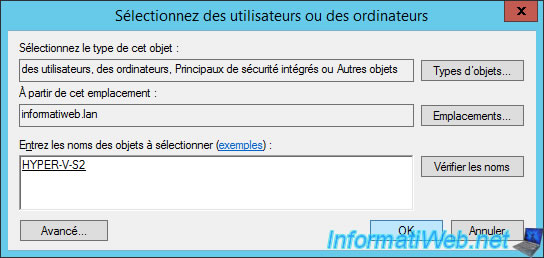
Select the "Microsoft Virtual System Migration Service" service.
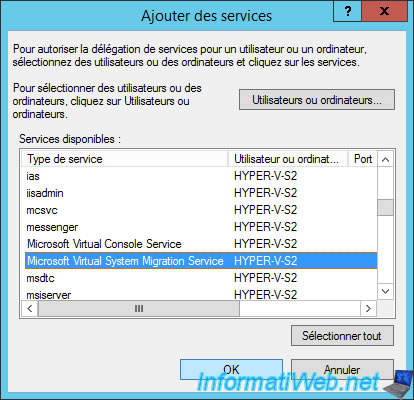
For now, the live migration will work with the Kerberos authentication protocol.
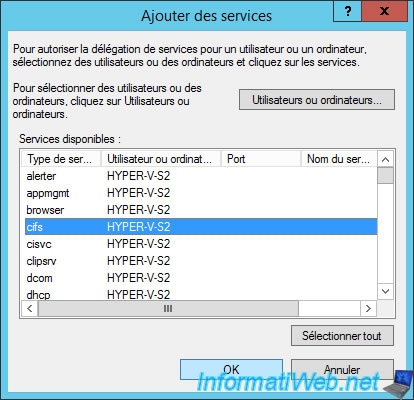
However, if you want to use live migration to migrate virtual machines to a SMB share, you will also need to add the "cifs" service.
To do this, click Add again.
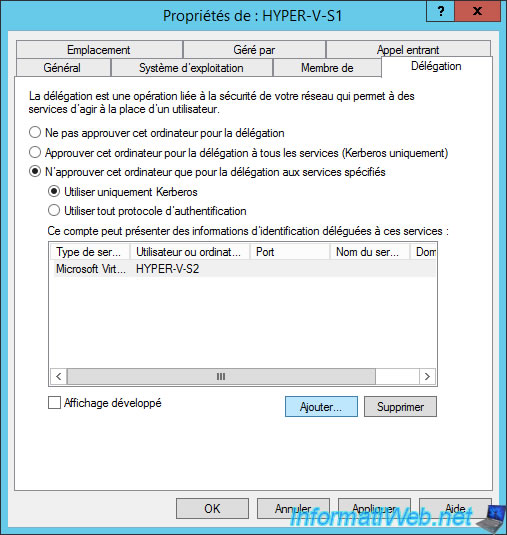
Click : Users or Computers.
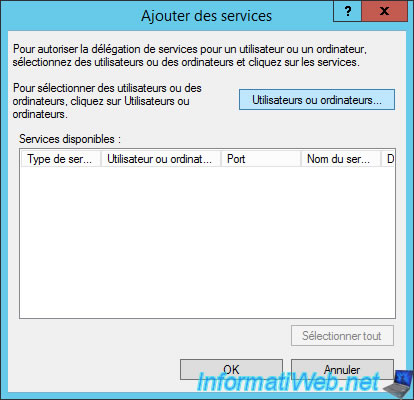
Specify the remote server again.
So, again, the server 2.
And select the "cifs" service.
Now, the Kerberos delegation is configured for :
- the live migration : Microsoft Virtual System Migration Service
- the live migration to a SMB share : cifs
Do the same for the computer account of the remote server.
In our case, it's the server 2.
In the Delegation tab, select "Trust this computer for delegation to specified services only," and then "Use Kerberos only".
Then, click Add.
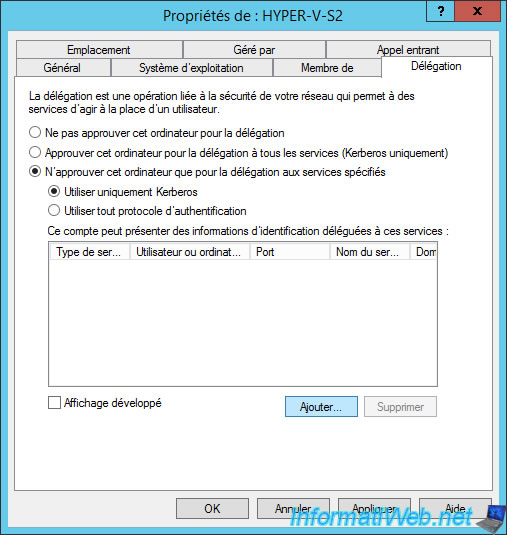
Add the two "Microsoft Virtual System Migration Service" and "cifs" services as before, but this time, you will have to add them for the "HYPER-V-S1" computer.
8. Live migration using Kerberos constrained delegation
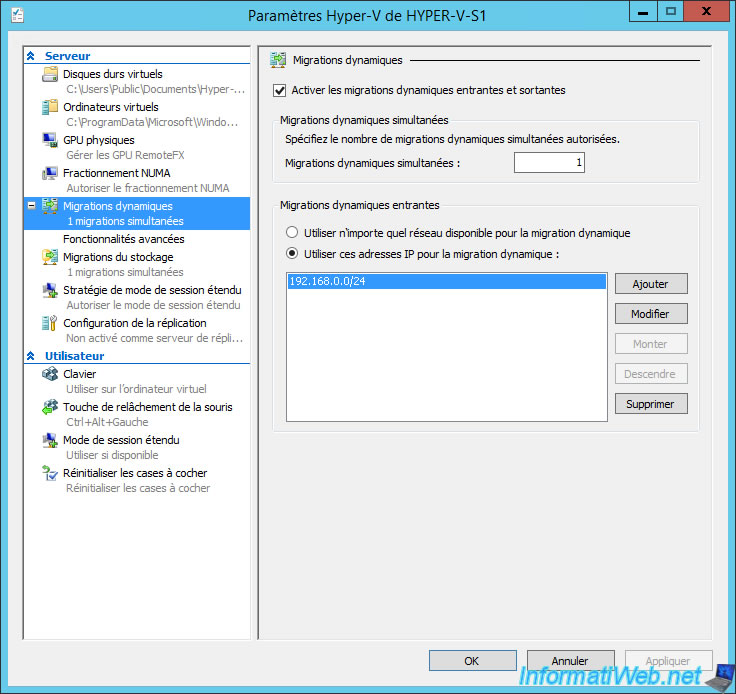
On your Hyper-V servers, return to the Hyper-V settings and enable live migrations (if you have not already done so).
Choose the network to use if you want.
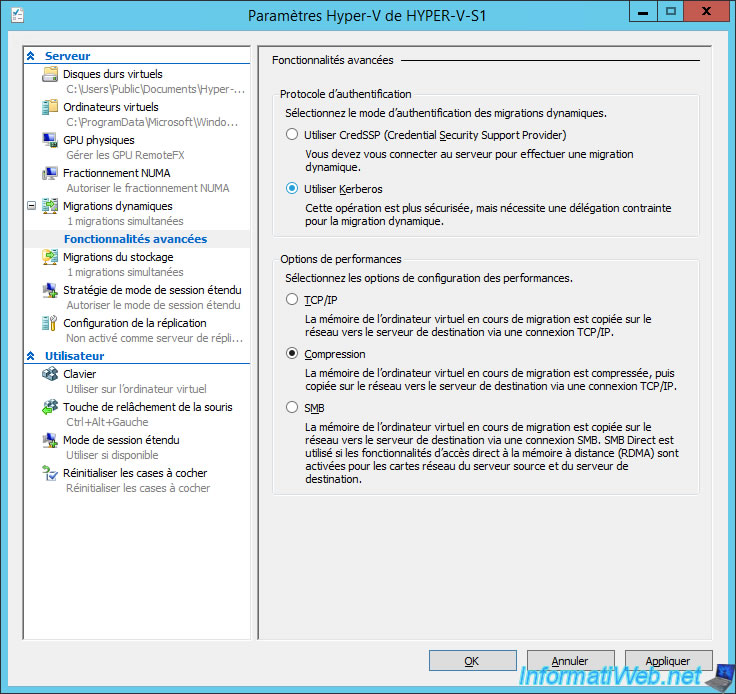
Deploy the "Live Migrations" item and click on "Advanced Features".
This time, select "Authentication protocol : Use Kerberos".
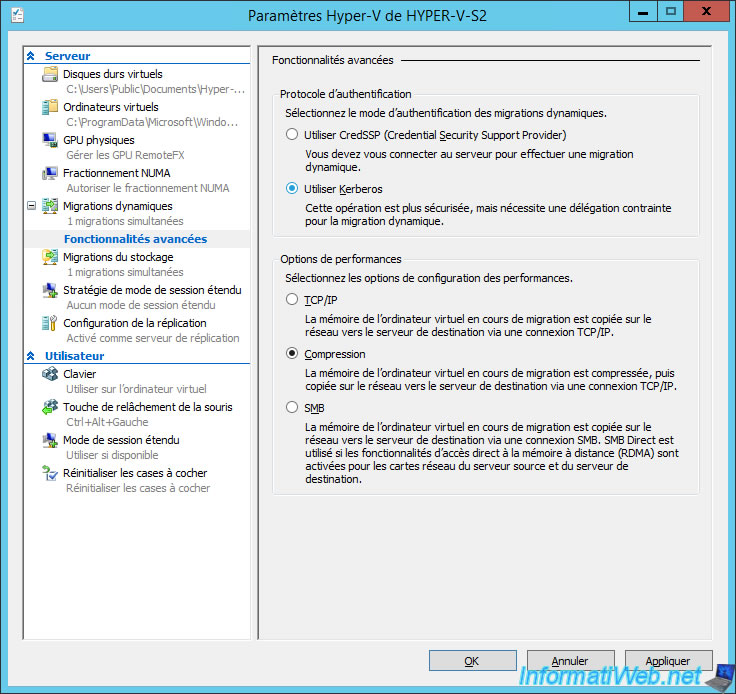
Remember to use the same configuration on the remote Hyper-V server.
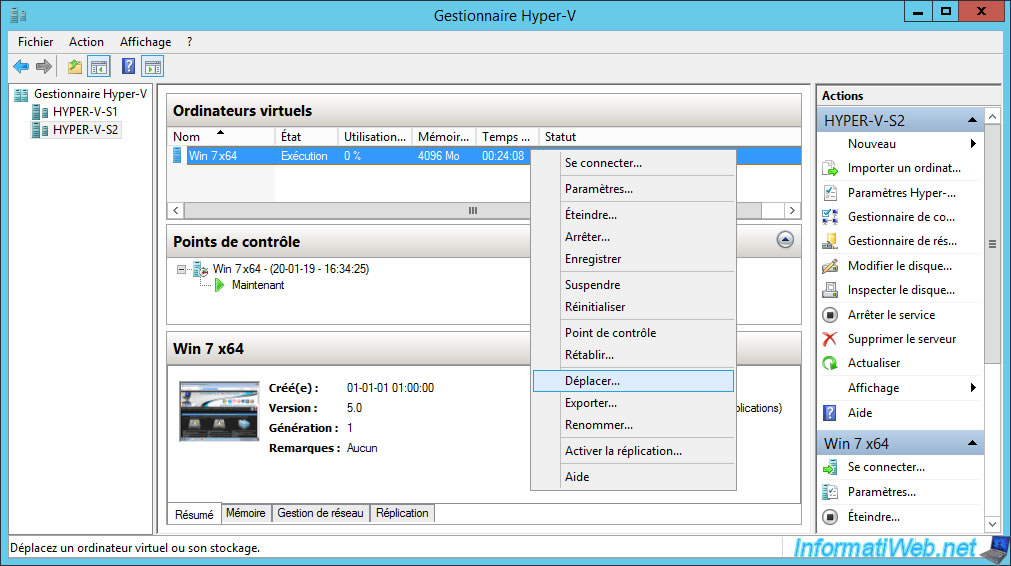
Once both servers are configured, select the virtual machine to migrate and right click "Move" on it.
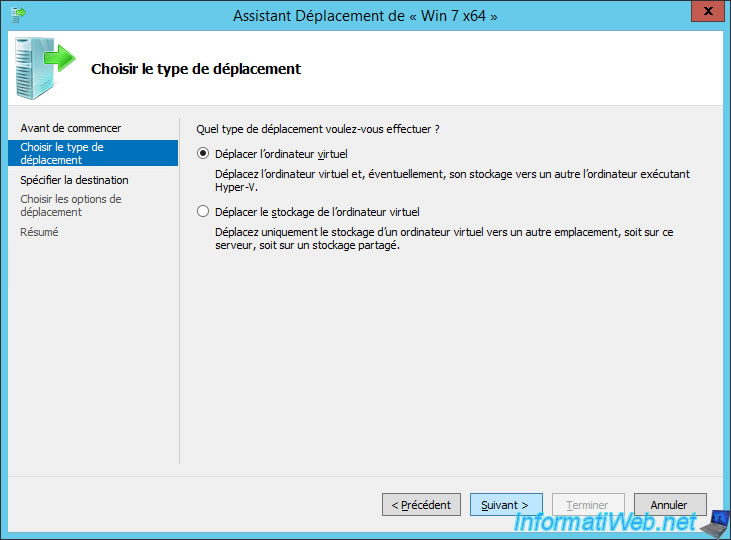
Choose : Move the virtual machine.
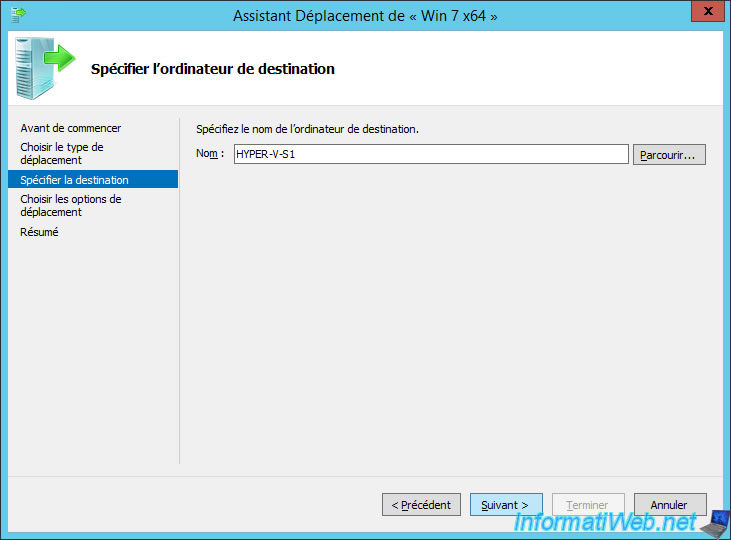
Specify the name of the remote server.
This time, we migrate our virtual machine from Server 2 to Server 1.
So, we specify in our case : HYPER-V-S1.
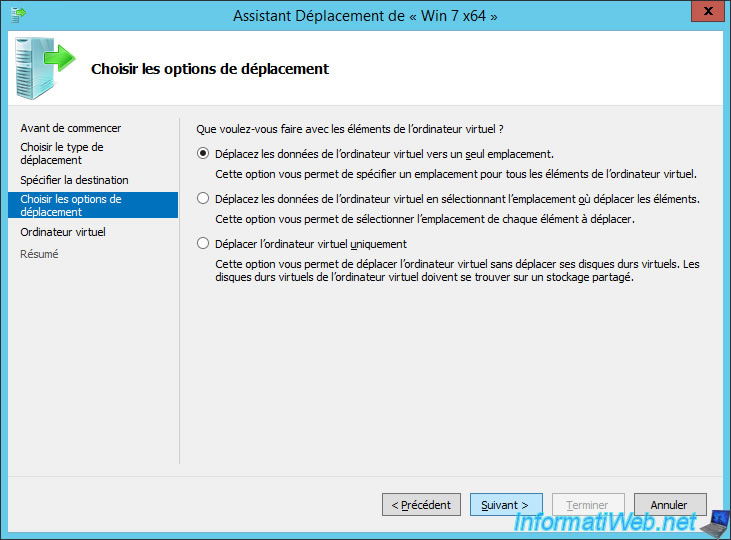
Select : Move the virtual machine's data to a single location.
Select a location on the destination server and click Finish.
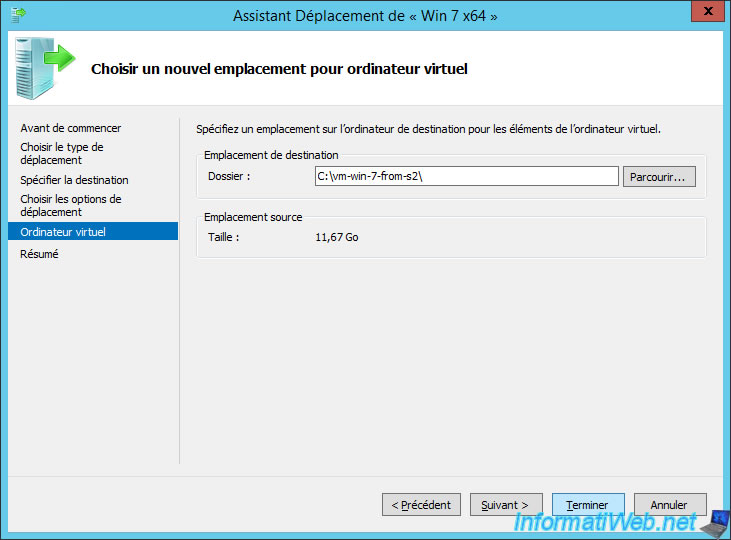
The "Moving in progress" window is displayed.

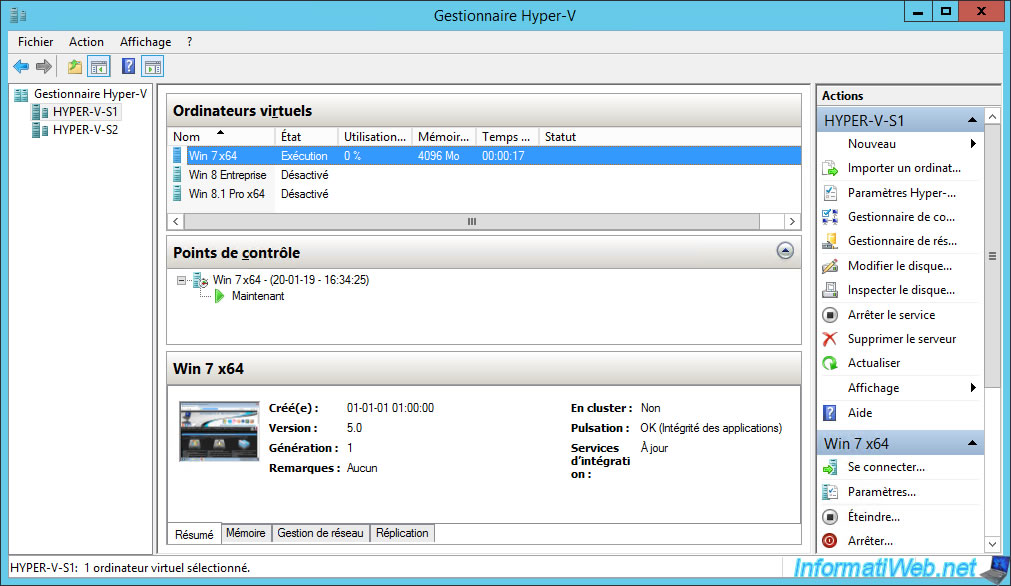
Once the computer is migrated, it disappears from the source server and appears on the destination server.
Share this tutorial
To see also
-

Microsoft 9/6/2019
Hyper-V (WS 2012 R2 / 2016) - Create a generation 2 VM
-

Microsoft 8/10/2019
Hyper-V (WS 2012 R2 / 2016) - Install Hyper-V and create your first VM
-

Microsoft 11/8/2019
Hyper-V (WS 2012 R2 / WS 2016) - Automatically replicate virtual machines
-
Microsoft 11/15/2019
Hyper-V (WS 2012 R2 / WS 2016) - Automatically replicate virtual machines (securely)

No comment