- Citrix
- Citrix XenApp / XenDesktop
- 31 May 2015 at 15:13 UTC
-

- 1/5

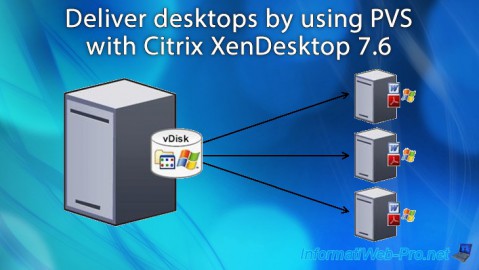
Citrix XenDesktop allows you to provide desktops (virtual) for a list of predefined users. This technology allows you to save money, because only the server needs to be efficient (where virtual desktops, used by authorized users, are running). Clients receive a picture (a set of pixels) of the desktop used remotely.
The client allowing to use a desktop (virtual or not) remotely is named "Citrix Receiver". This program can be downloaded from the XenDesktop server that you will install.
In this tutorial, we will use a virtual machine under Windows 7, as a model (template) for the desktops that will be provided through a PVS server. These virtual machines are created on a "Citrix XenServer" server.
PVS can create many virtual desktops while saving disk space on the XenServer server (in our case).
- When you use MCS (which is much easier to use), the machine serving as a model is duplicated as many times as desired. Which takes a lot of space and requires a IT maintenance for each virtual machine.
- When you use PVS (more complicated and take longer to implement), the hard disk of the machine serving as a model, is copied to the PVS server using the "Imaging Wizard" program. Virtual machines created using PVS boot all over the network (using PXE and TFTP server provided by Citrix) and the hard disk is streamed over the network. Changes made by the user on his virtual desktop are stored on a personal disk (Personal vDisk) if you choose this option during the creation of the machines catalog.
If you have never used XenDesktop begin with our tutorial : "Citrix XenDesktop - Installation, configuration and desktops delivery by using MCS".
In this tutorial, we'll show you :
- How to install and configure a PVS server (Provisioning Services)
- Create a virtual machine on XenServer server, as a model to create a catalog of machines in XenDesktop
- Managing administrators of virtual machines (created using PVS) in Active Directory
- Bind virtual machines created using PVS, XenDesktop. To use them with Citrix Receiver
Note : This tutorial was made with the same machines that our tutorial "Citrix XenDesktop - Installation, configuration and desktops delivery by using MCS".
Configuration used :
- Server 1 / IP : 10.0.0.101 / A server under Win. Server 2012 with an Active Directory (and a Root certification authority created to avoid paying SSL certificate) + a DHCP server
- Server 2 / IP : 10.0.0.102 / A server under Win. Server 2012 where XenDesktop is installed. This server is linked to the Active Directory, and it serves as the main server (everything goes through that server)
- Server 3 / IP : 10.0.0.103 / The XenServer 6.2 virtualization server with :
- A virtual machine under Windows 7 x64, where we will install : PVS Target Device and Virtual Delivery Agent.
- 2 virtual machines that will be created by PVS (using the PVS server console).
- Serveur 3 / IP : 10.0.0.104 / The PVS (Provisioning Services) server that will be used to stream the hard disk for virtual machines created over PVS.
- computers under Windows or any other operating system, to test the desktops made available by XenDesktop.
Note : The Certificate Authority is not required, but it allows you to test your configuration without paying SSL Certificate. This can also be used if you use this technology only in a local network (intranet).
Information about the DHCP server :
- In our case, we set the scope of our DHCP server to send the IP address of our Active Directory server (and therefore of the DNS server where the zone corresponding to our domain "informatiweb.lan" is located) and the IP address of the router (where the IP addresses of the DNS servers of our ISP are located) for Internet access.
- The DHCP server is used to distribute IP addresses to virtual machines that boot on the PVS server over PXE (boot on the network).
- PVS server installation
- SQL Server configuration to accept external connections
- PVS server configuration
- Link the XenServer server to XenDesktop
- Adding future administrator accounts in Active Directory
- Create a GPO for virtual machines created using PVS
- Creating a virtual machine that will serve as model (template) for PVS
- Enable WinRM to improve compatibility with Citrix Director
- Improved network traffic TCP / IP
- Creating virtual hard disks for the caching system and the personal vDisk
- PVS client installation (PVS Target Device)
- Configuring the template virtual machine in PVS
- VDA installation
- Converting the virtual machine to a template
- Creating the machines catalog in XenDesktop using the PVS server console
- Overview of changes made in XenDesktop, XenCenter and the Active Directory
- Creating a provisioning group for this machines catalog
- Tests virtual desktops through Citrix Receiver
1. PVS server installation
To begin, set a static IP address for the server and link it to the domain.
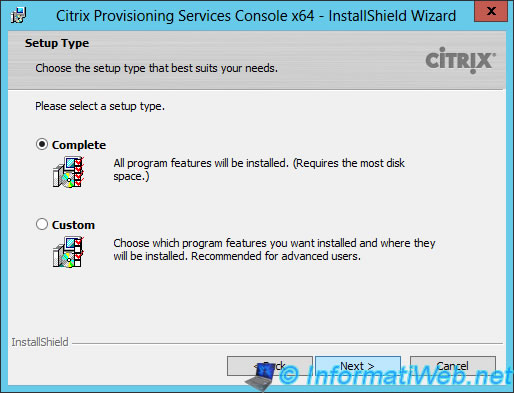
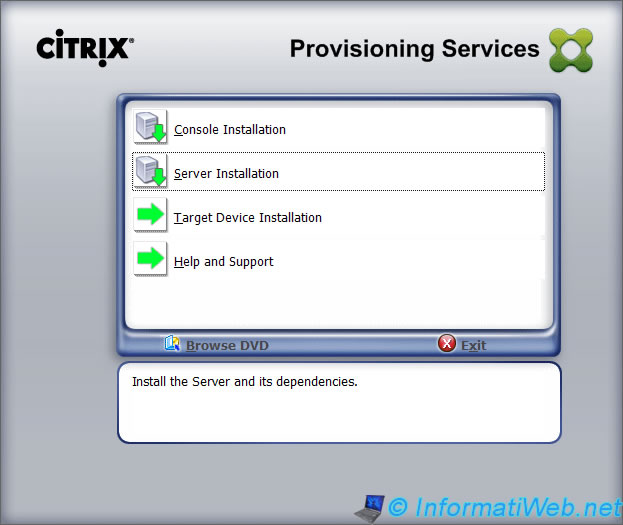
Then, download and install "Provisioning Services" by beginning with the installation of the Console.
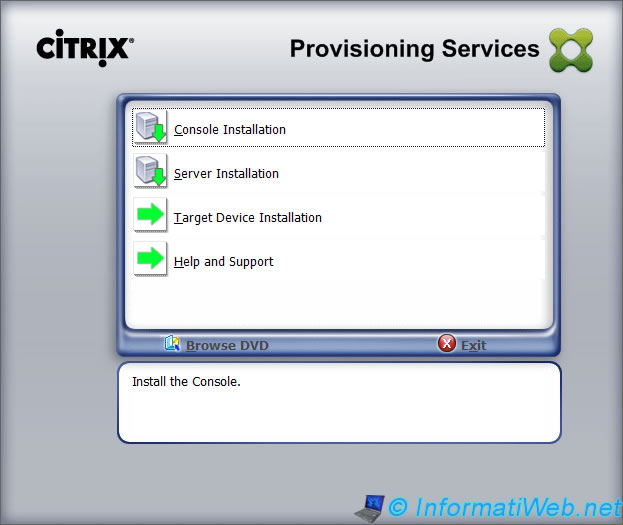
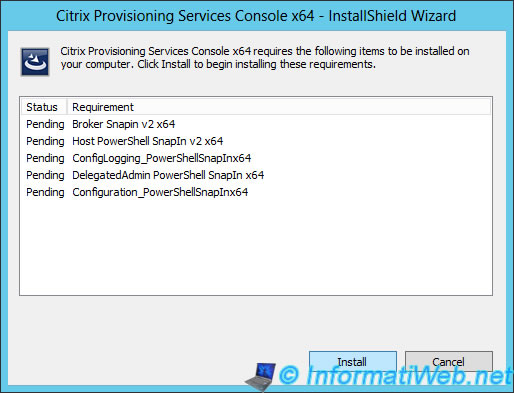
The wizard will install the components required by the PVS console.
Nothing special for the installation of the console.
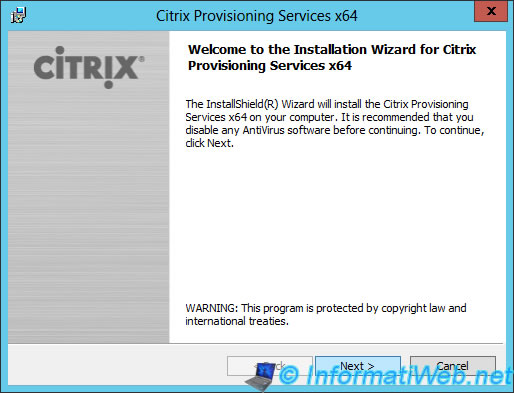
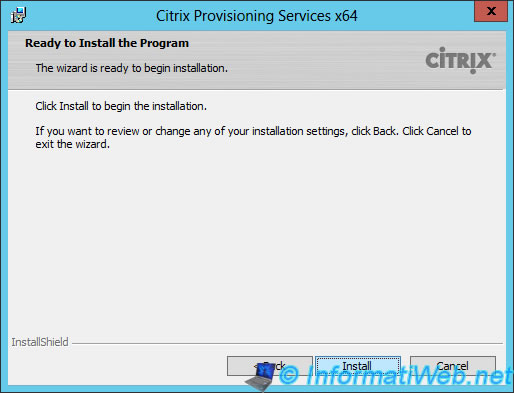
Then, install the PVS server.
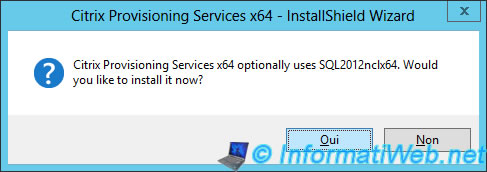
Same : prerequisites for the PVS server.
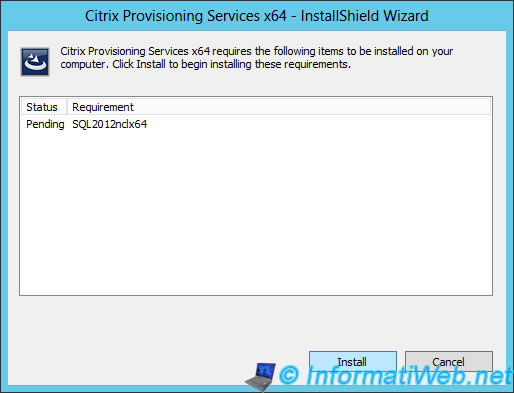
SQL2012nclx64 corresponds to the SQL Native Client. This client is necessary for the implementation of mirror databases (SQL Server).
If you don't use this function, the client isn't required.
Note : This feature will be removed in later versions of SQL Server 2014.
Nothing special for the PVS server installation.
2. SQL Server configuration to accept external connections
During the configuration of the PVS server, the wizard will ask SQL server connection information (installed together with XenDesktop, by default).
However, SQL Server requires a little configuration to allow remote access to the server.
To allow connections from outside to the SQL Server, we will use a fixed port.
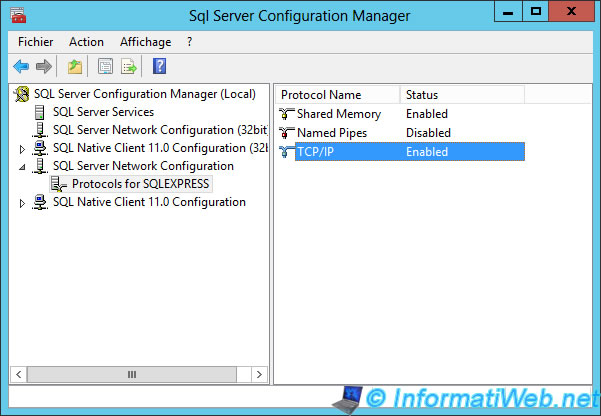
To do this, open the "Sql Server Configuration Manager" program and go to "SQL Server Network Configuration -> Protocols for SQLEXPRESS". Then, double-click on "TCP / IP".
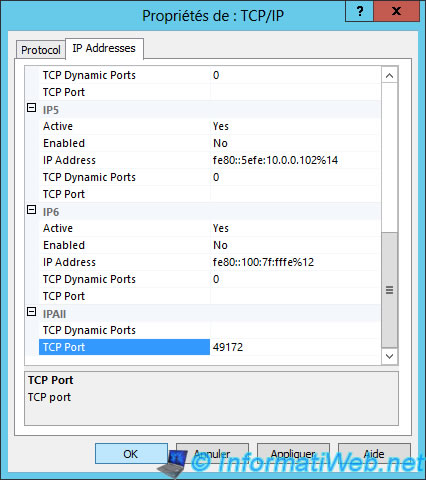
In IPAll section, you will find the values "TCP Dynamic Ports" and "TCP Port".
As stated in the Microsoft documentation, you can use the port "1433" for the default instance, or "49172" if you have a named instance (which is our case).
Note : You can not fill in the two values together, otherwise, SQL Server will not restart.
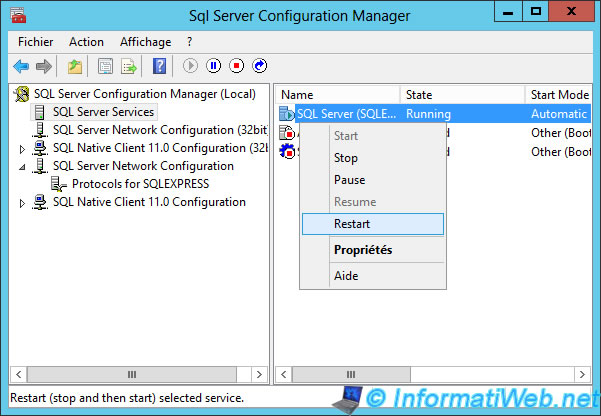
Restart the SQL server.
Note : If the SQL server displays an "SQL Server could not spawn FRunCommunicationsManager thread" error, this is because the specified port is already used by another program. In this case, use the port "49194" (for example).
Finally, allow the port that you used for TCP protocol, in the Windows firewall.
If necessary, refer to our tutorial : Configure the Windows Firewall and the Firewall of Internet Security solutions
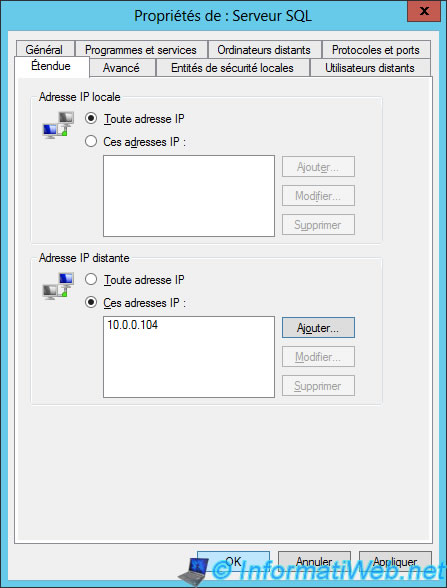
In Windows 7, you can use a restriction for the remote IP address (IP of the machine that connects to the SQL Server), if you wish. To do this, right click -> "Properties" on the rule you just created and go to the "Extended" tab.
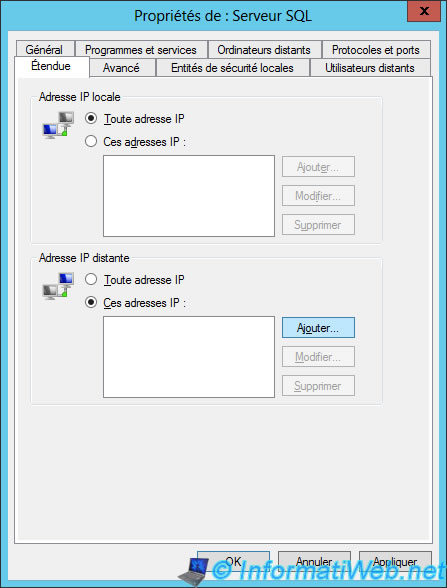
Enter the IP address of the PVS server.
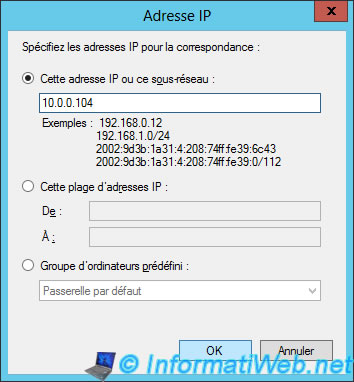
Click "OK".
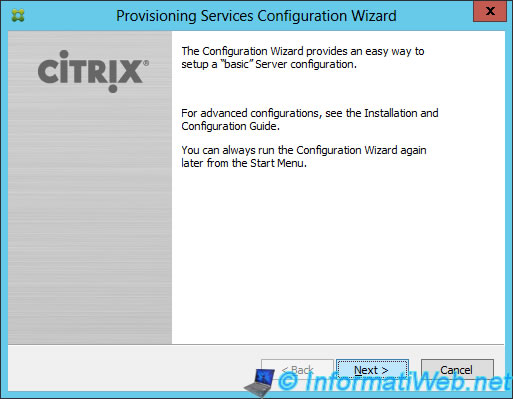
3. PVS server configuration
Now that the SQL server is accessible via the network, return to the PVS server.
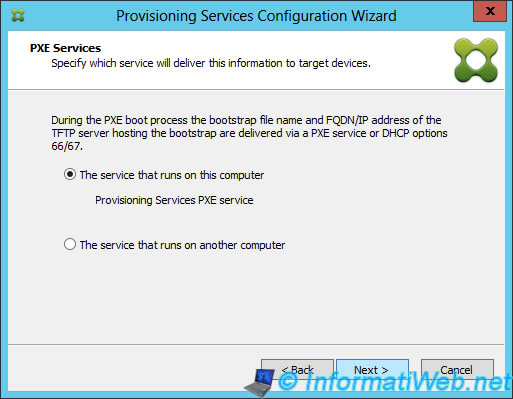
In our case, the DHCP server is running on another server than the server where you installed the PVS server.

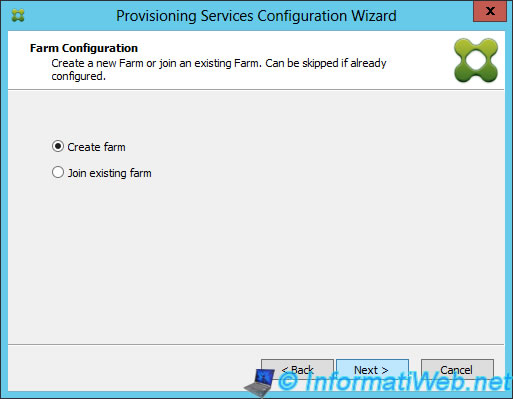
For the boot over the network (PXE), we will use the PXE service on the PVS server.
Select "Create farm".
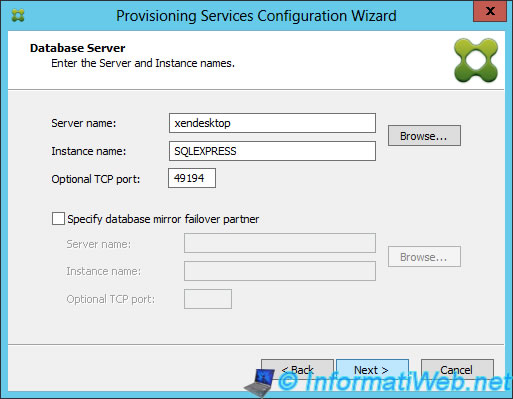
Specify :
- the NETBIOS name (not the machine domain name) of the server where the SQL server is installed. By default, SQL Server is installed on the same server as XenDesktop.
- the instance name : If you use the SQL server installed with XenDesktop, the instance name is : SQLEXPRESS
- the TCP port : the fixed port that you specified in the SQL Server configuration. In our case, we use the port "49194" because the "49172" port indicated by Microsoft, was already used by "Lsass.exe".
Note: To use the "mirror database" option, answer "yes" when the PVS server installation wizard ask you for the "SQL2012nclx64" (SQL native client) installation.
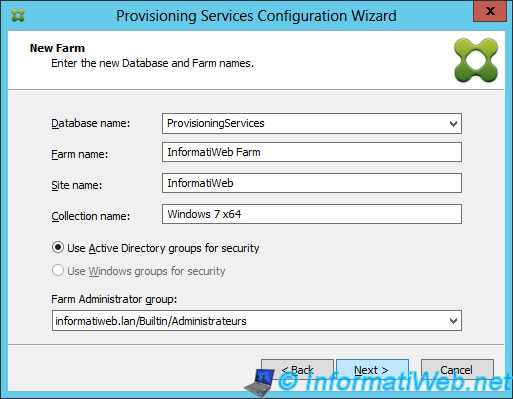
Specify what you want for the farm, the site and the collection names.
Select the administrator group for this farm.
Note: If the server is a domain member, the "Use Active Directory ..." option is selected. Otherwise, it will be the other option.
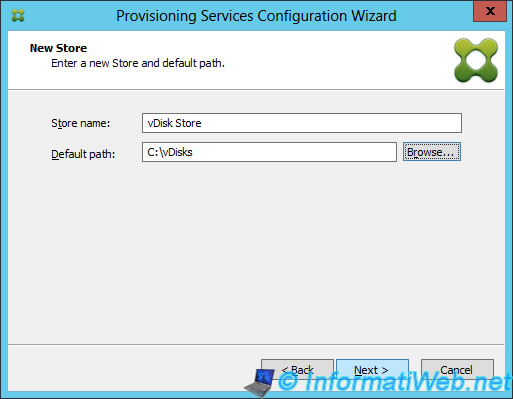
Create a "vDisk" folder on the server and specify the path here.
Note: This folder will contain the virtual disks that will be streamed to clients virtual machines (which boot by PXE on the PVS server).
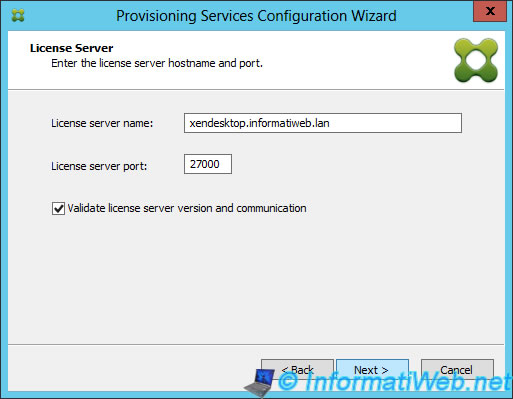
Enter the domain name server where you installed the license server and check the "Validate licence server version and communication".
By default, the license server is installed together with XenDesktop.
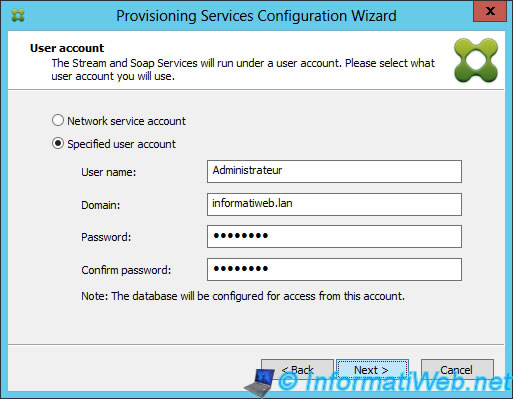
Choose the account that will be used to perform the "stream" and "saop" services.
In our case, we use the domain administrator account but you can use another account. The account used must be created first.
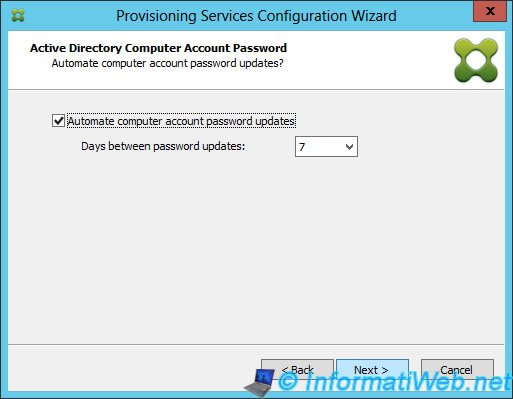
For security reasons, the password should be updated regularly.
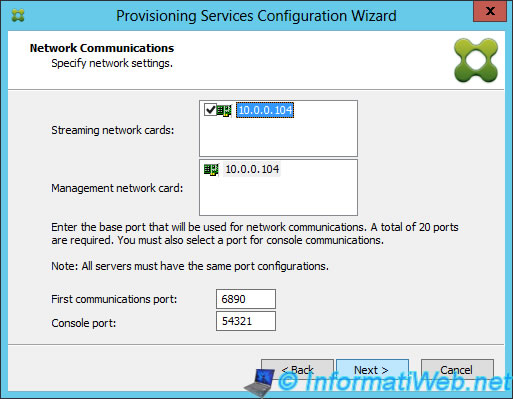
Select network cards on which the PVS server should listen.
Check the "Use the Provisioning Services TFTP Service" box to use the PVS TFTP server.
Note : When starting on the network (PXE), the machine downloads a boot file (in this case : ARDBP32.BIN) from a TFTP server.
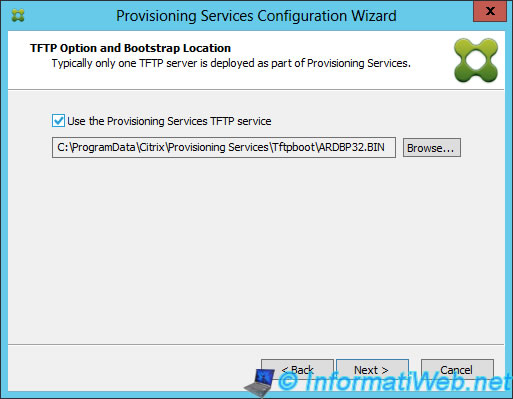
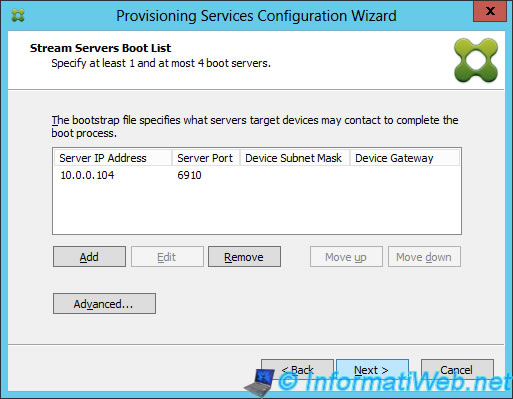
As indicated in this step, the bootstrap file downloaded by the client machine, allows him to know the server to contact to continue his boot.
By default, the client machine will start on the PVS server we are configuring.
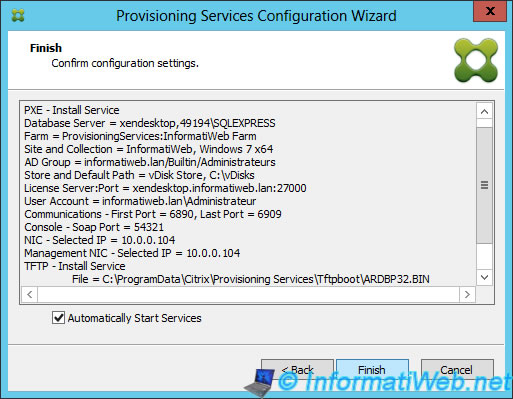
The wizard displays a summary of the configuration.
By clicking on "Finish", the wizard will warn you that the Windows Firewall is activated and that it will interfere with the functioning of the PVS server.
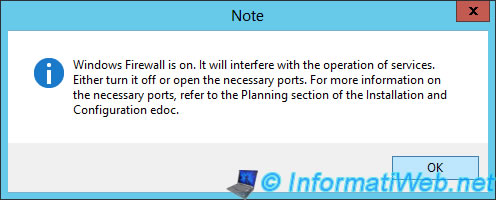
To solve this problem, you must open ports listed in the official documentation of Citrix concerning PVS.
Official documentation : Communication Ports Used By Citrix Technologies (Section : ProvisioningServices)
Note : Note that some ports work with the "UDP" protocol and others with the "TCP" protocol.

Here is an overview of the Windows Firewall configuration for our PVS server :
- Network boot using a CD or an USB stick : 6969 (UDP)
- Boot server : 6910 (UDP)
- Communications ports : 6890 to 6909 (UDP)
- Console (SOAP port) : 54321 and 54322 (TCP)
- Network boot (PXE) : 67 and 4011 (UDP)
- TFTP server : 69 (UDP)
- vDisk Streaming : 6910 à 6930 (UDP)
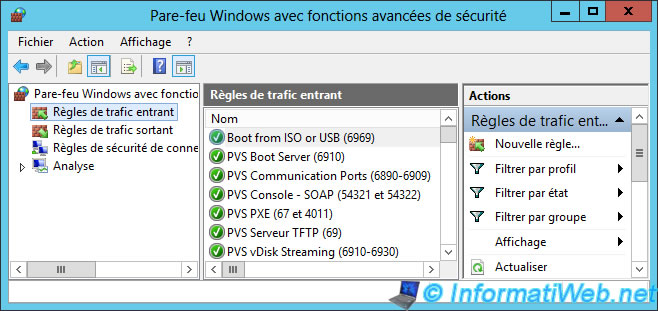
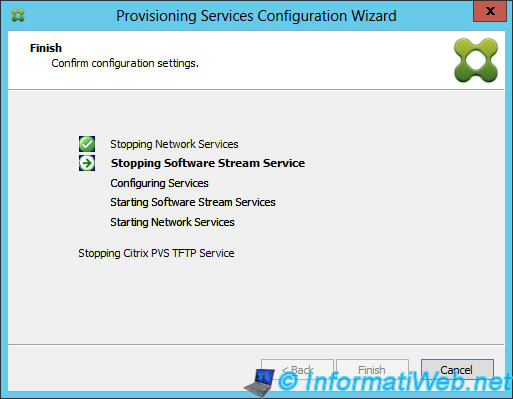
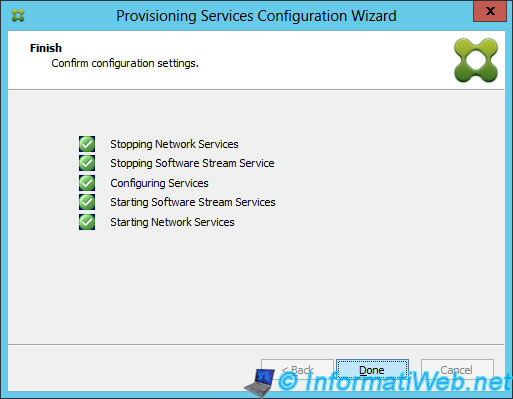
Once the firewall is configured, click Finish and wait during the PXE, the TFTP server, ... configuration.
Share this tutorial
To see also
-
Citrix 4/9/2016
Citrix NetScaler Gateway 11.0 - Configuration and integration with XenApp/XenDesktop
-
Citrix 8/2/2016
Citrix XenApp / XenDesktop 7.6 - Single Sign-On (SSO)
-
Citrix 3/22/2015
Citrix XenApp 7.6 - Applications delivery
-
Citrix 5/13/2015
Citrix XenDesktop 7.6 - Deliver desktops by using MCS
You must be logged in to post a comment