Deliver desktops by using PVS with Citrix XenDesktop 7.6
- Citrix
- Citrix XenApp / XenDesktop
- 31 May 2015 at 15:13 UTC
-

- 2/5

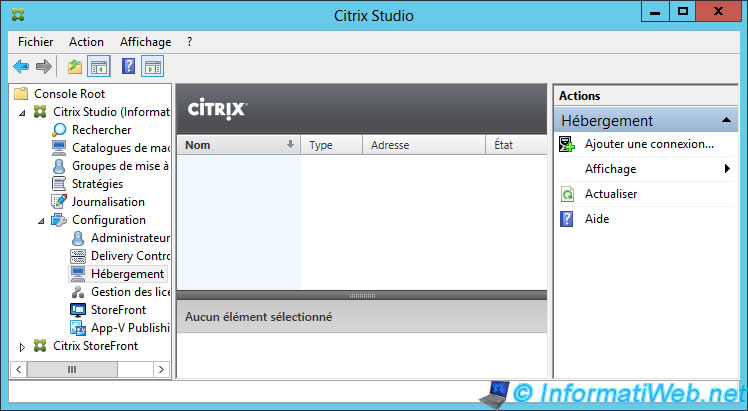
4. Link the XenServer server to XenDesktop
To add a connection to a XenServer server in XenDesktop, open Citrix Studio and go to "Hosting".
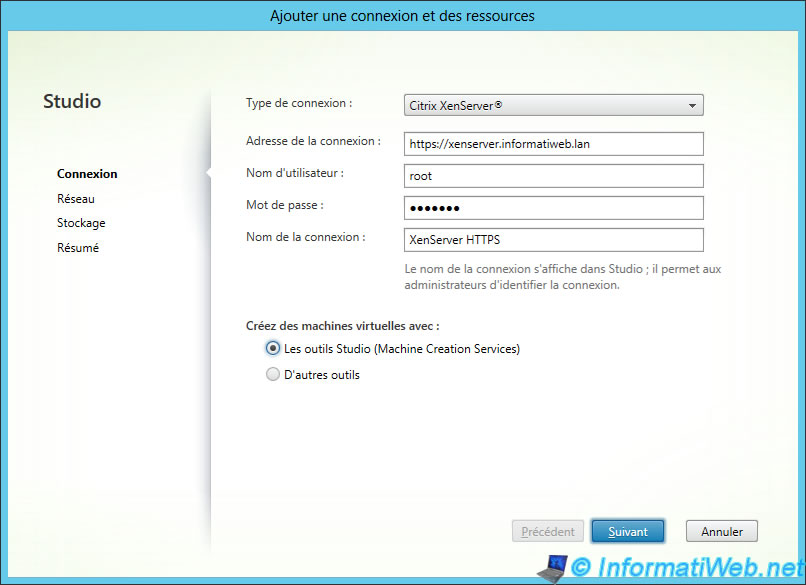
Select "Citrix XenServer" and specify connection information to your XenServer server
- Connection address: https://xenserver.informatiweb.lan (you can use the http or https protocol but https is secure while the http is not secure)
- Usernam : root
- Password : password of the used account
- Connection name : What you want. This name will be displayed in Citrix Studio.
Notes :
- To secure your XenServer server with HTTPS, refer to our tutorial : XenServer - Securing the connection using SSL (HTTPS).
- If the connection to xenserver server fails, make sure you have created the "xenserver.votre-domaine.lan" record in your local DNS server.
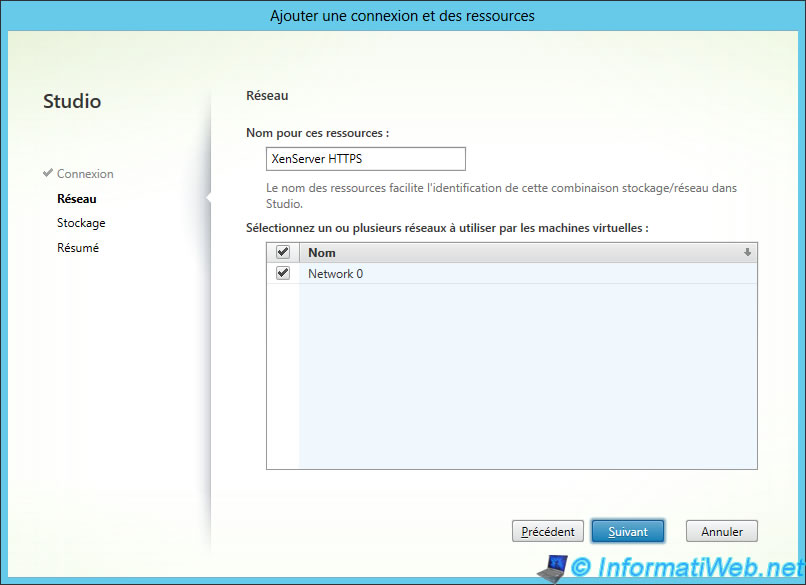
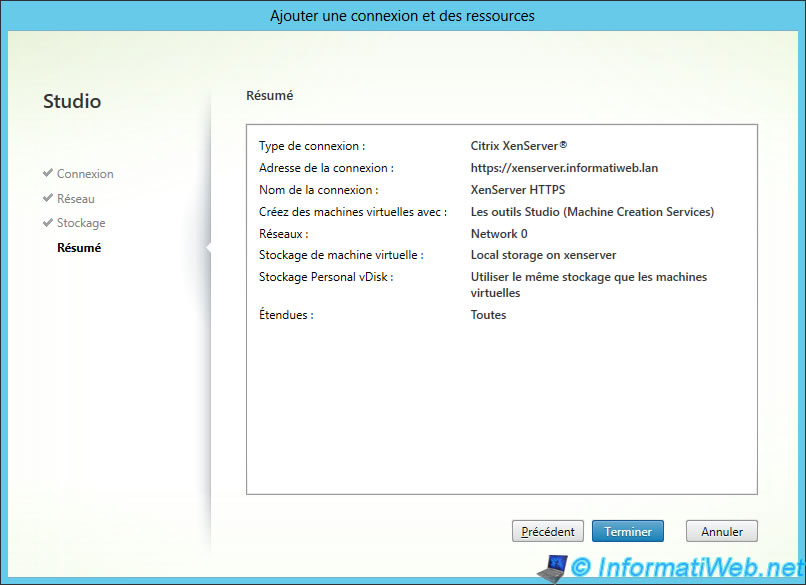
Enter a name for these resources and select the server's network to use for these virtual machines.
Select the local storage space to use on the XenServer server.
Note: If desired, you can store personal vDisks on another local storage of the XenServer server.
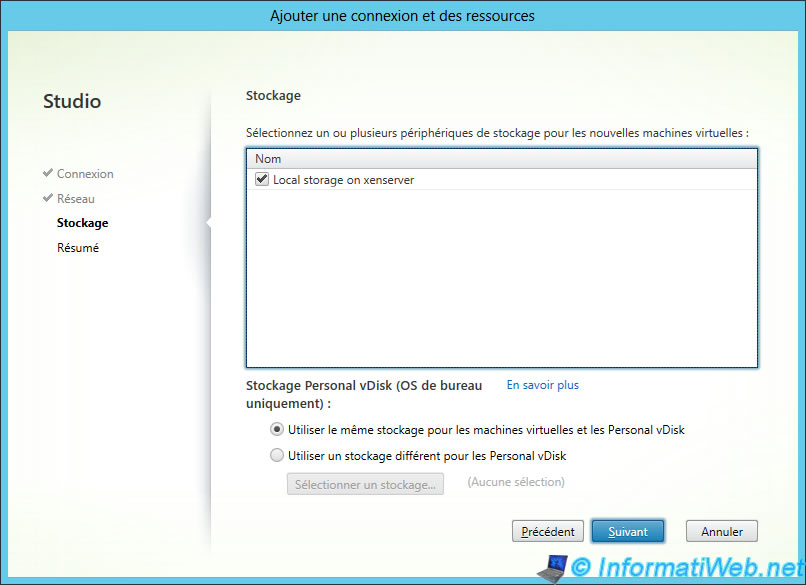
Click "Finish".
5. Adding future administrator accounts in Active Directory
For simplicity and flexibility, we will :
- create users in Active Directory
- create a "PVS-Admins" group in the Active Directory
- import this group of users in virtual machines streamed by the PVS server (more info in the next section of the tutorial) through Group Policy
Thus, the management of "Administrator" accounts of our virtual machines will be entirely managed in the Active Directory and not on each virtual machine. These accounts allow administrators to perform these tasks as an administrator on your user's virtual machines.
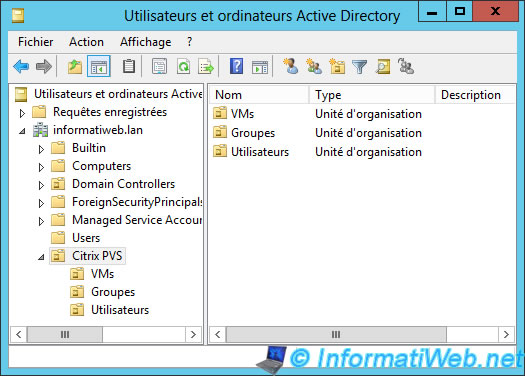
Before creating our users, we created several folders with the following structure :
- Citrix PVS
- VMs
- Groups
- Users
Note : An organizational unit in an Active Directory is similar to a folder that contains files.
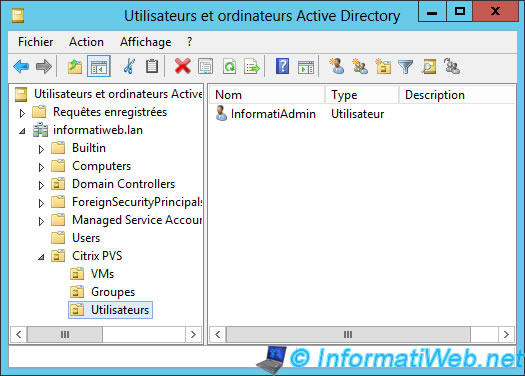
We create a user "InformatiAdmin" in the "Users" folder.
Note : Right click -> New -> User.
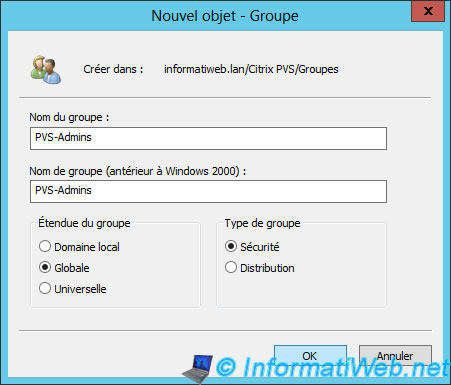
We create a "PVS-Admins" group with : "Global" scope and a "Security" type.
Note : Right click -> New -> Group.
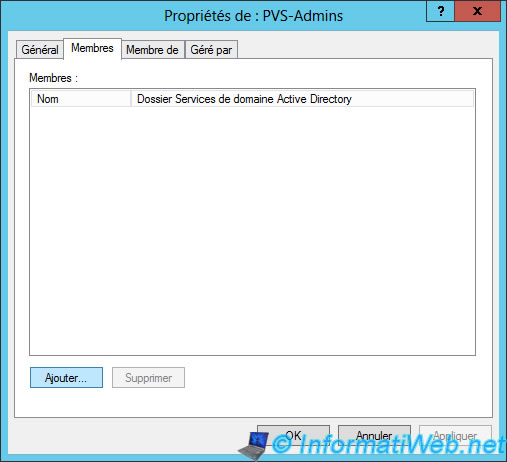
Once you have added the group, right click on it and click "Properties".
Then, go to the "Members" tab and click "Add".
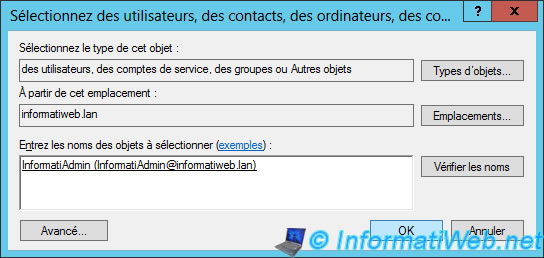
Select the users to add to this group.
Note : click on "Advanced" to perform a search in Active Directory.
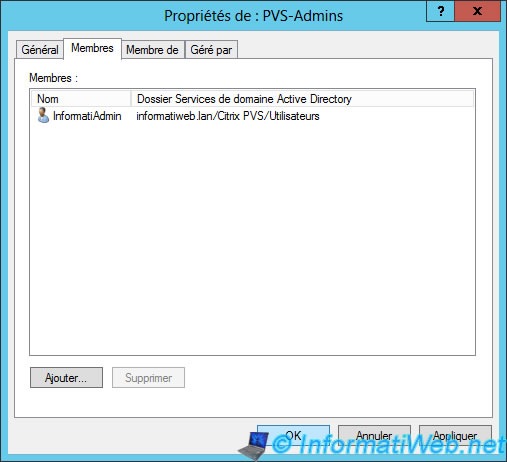
Now, our "InformatiAdmin" user is member of the "PVS-Admins" group.
6. Create a GPO for virtual machines created using PVS
A GPO can manage policies for a group of computers linked to the Active Directory.
In our case, our GPO will be applied to computers that are located in the "Citrix PVS" folder or one of its subfolders.
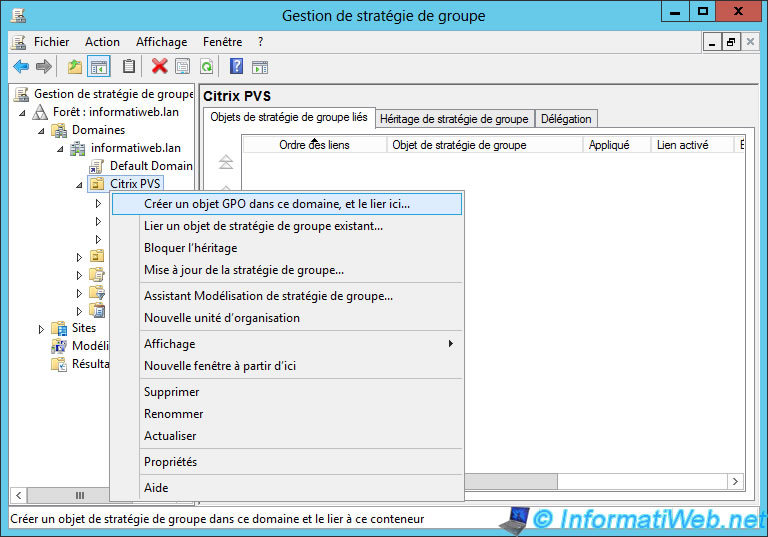
Specify a name for this GPO.

Right-click on the GPO you just created and click "Edit".
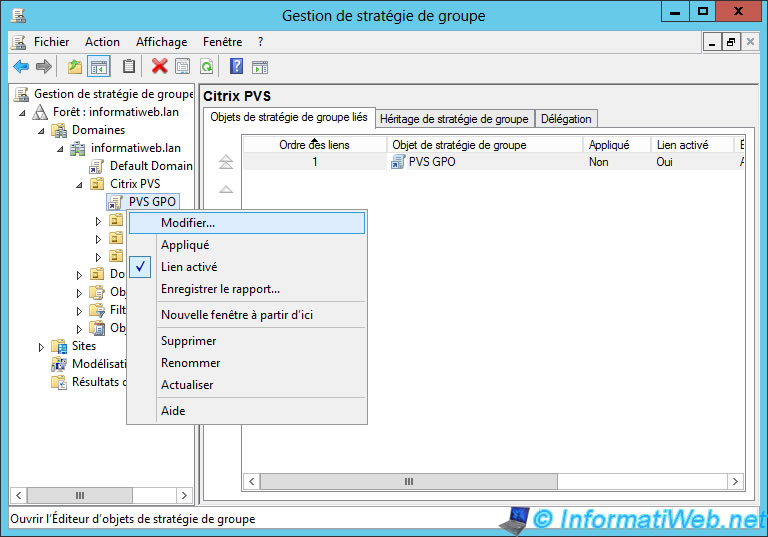
In this GPO, we will create three strategies :
- Redirect Windows event logs in the write cache : for that system administrators can refer to them in case of problems with the virtual machine. Otherwise, they will be deleted at every restart.
- Manage administrators in the Active Directory : for centralized management of administrator accounts of our virtual machines
- Disable the notification icon of the maintenance center : To prevent the user to see safety notification on his virtual desktop.
6.1. Windows event logs redirection in the write cache
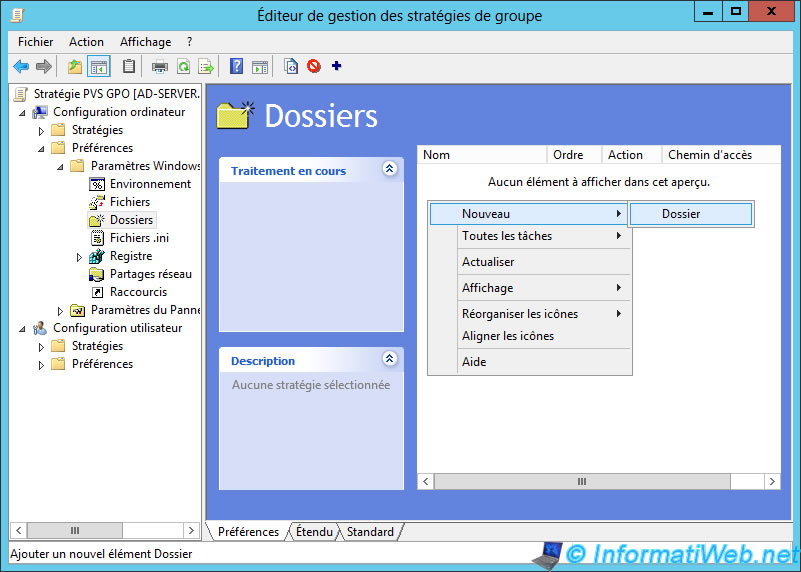
To redirect the "Application", "Security" and "System" event logs of Windows in the virtual disk that will serve as write cache, we will first create or update a "EventsLogs" folder on this virtual disk.
For this, go to "Computer configuration -> Settings -> Windows settings -> Files". Then, right-click in the right side and click on "New -> Folder".
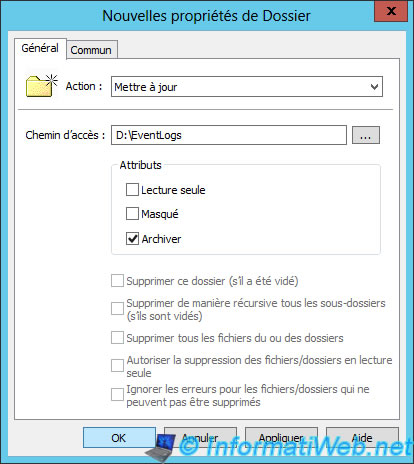
As our virtual machine will own only one partition (the C partition that will hold Windows), the disk serving as the write cache automatically obtain the letter "D".
Select "Action: Update" and specify "D:\EventLogs" as path.
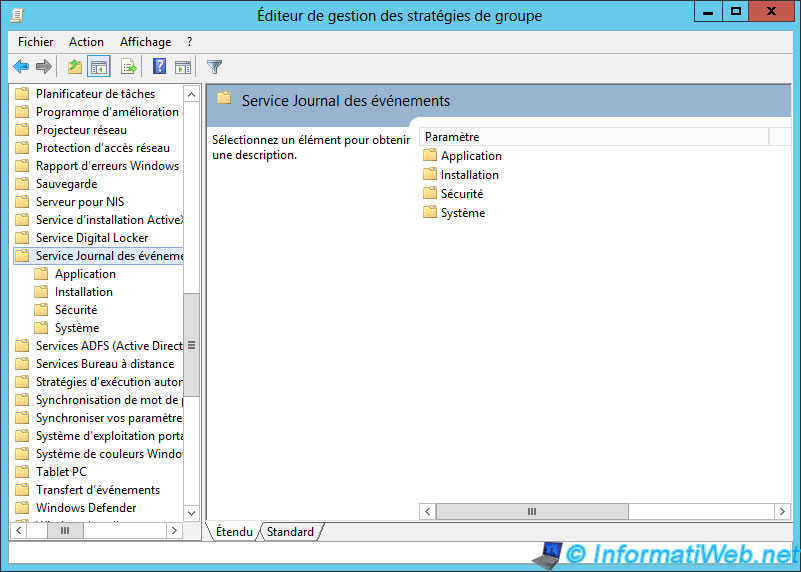
To redirect the "Application" events log of Windows in this folder, go to : Computer Configuration -> Policies -> Administrative Templates -> Windows Components -> Event Log Service -> Application.
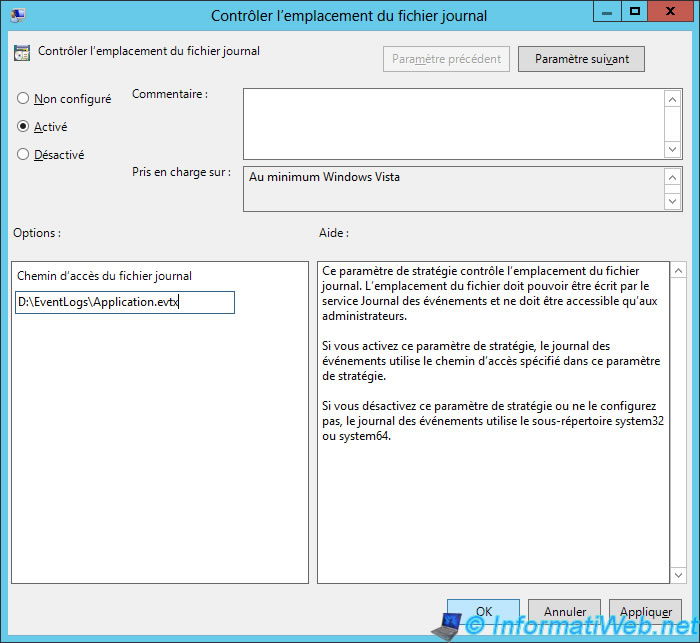
Right click on "Control the location of the log file" and click "Edit".
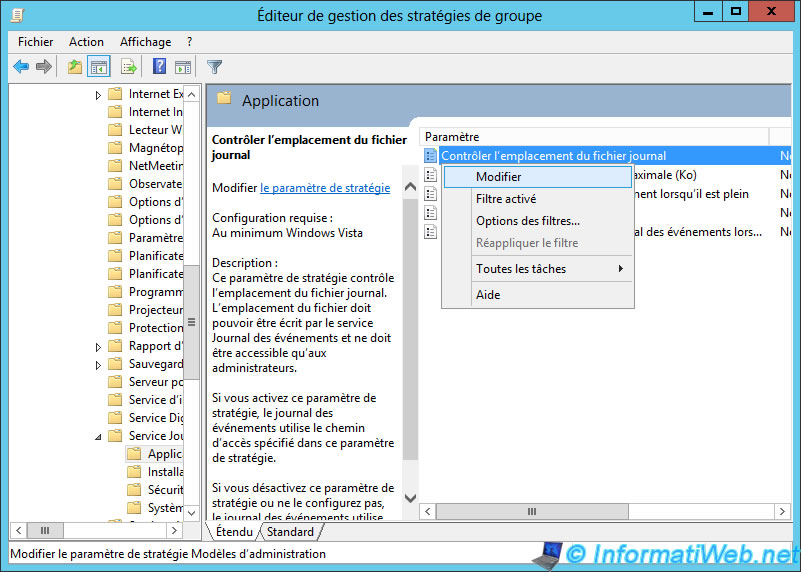
Check "Enabled" and specify "D:\EventLogs\Application.evtx" as log file path.
Do the same for the 2 other events logs :
- Security | Path : D:\EventLogs\Security.evtx
- System | Path : D:\EventLogs\System.evtx
6.2. Administrators management in Active Directory
For now, the group and users that we have created in Active Directory, users are simple and a simple group. In order for these users are recognized as administrators in these virtual machines, we need to add them in the "Administrators" group of these virtual machines.
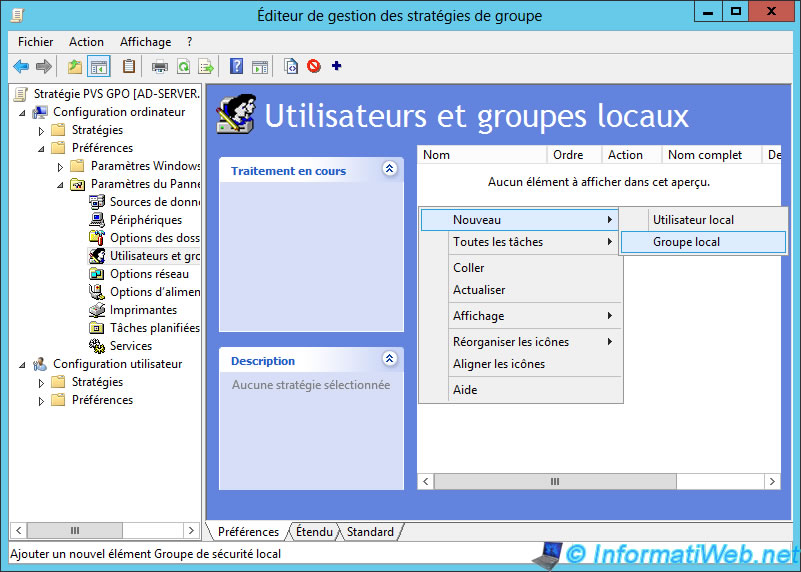
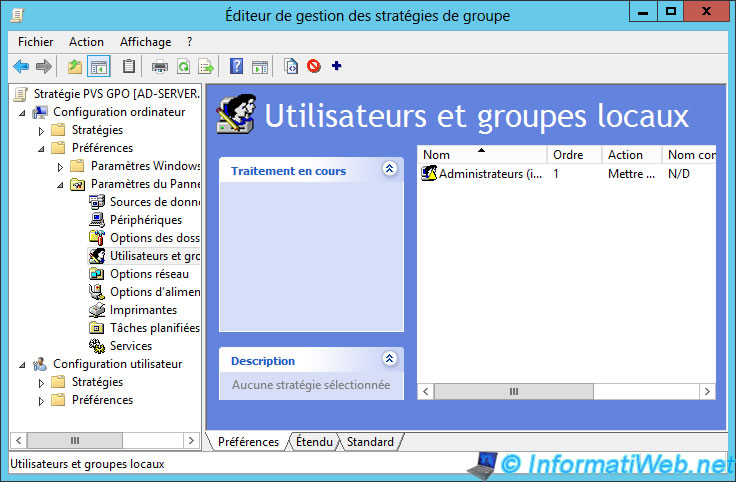
For that, go to: Computer Configuration -> Preferences -> Control Panel Settings -> Local Users and Groups.
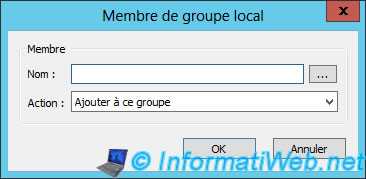
Right-click in the right side and click on "New -> Local Group".
Select "Action : Update" and "Group name : Administrators (integrated)", then, click "Add" (at the bottom).
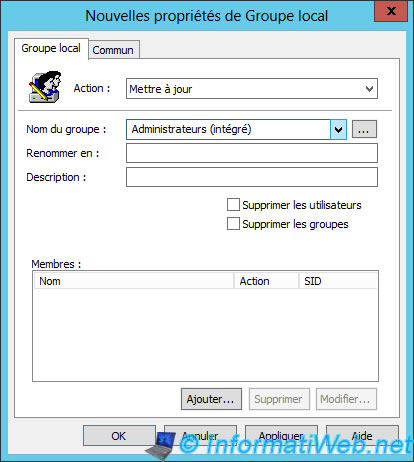
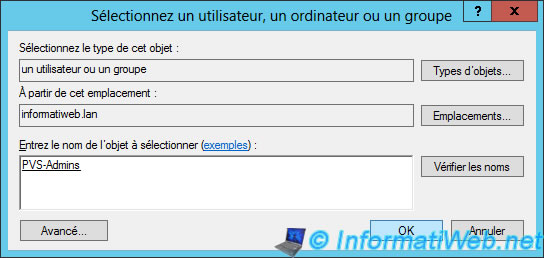
Click on the "..." button.
Specify the name of the group that we created in the Active Directory.
In our case : PVS-Admins.
Note: If necessary, click the "Advanced" button to perform a search in the Active Directory.
Our group will be a member of the "Administrators" group of our virtual machines.
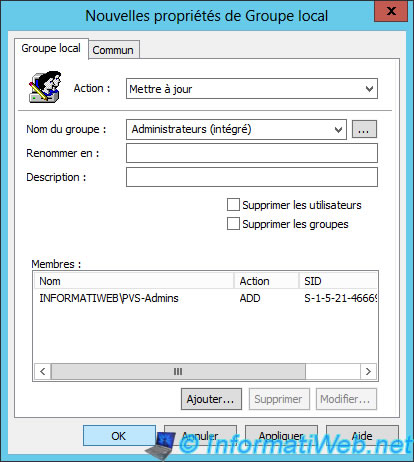
A line has appeared in the list.
6.3. Disable the notification icon of the maintenance center
To prevent the user from receiving security notifications of his virtual machine, we will disable this icon (it's the little white flag located next to the time).
For that, go to : User Configuration -> Policies -> Administrative Templates -> Start Menu and Taskbar.
Right-click on "Remove the Action Center icon" and click "Edit".

Select "Enabled" and click "OK".
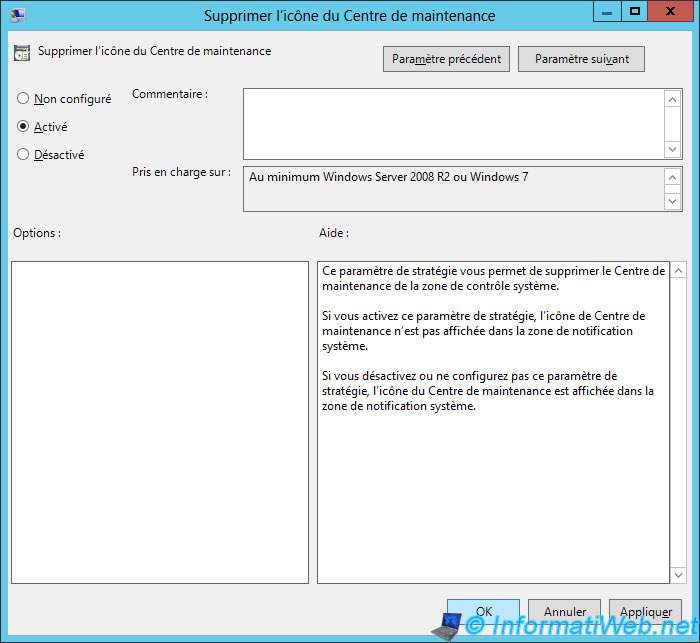
The GPO is configured.
Share this tutorial
To see also
-
Citrix 4/9/2016
Citrix NetScaler Gateway 11.0 - Configuration and integration with XenApp/XenDesktop
-
Citrix 8/2/2016
Citrix XenApp / XenDesktop 7.6 - Single Sign-On (SSO)
-
Citrix 5/13/2015
Citrix XenDesktop 7.6 - Deliver desktops by using MCS
-
Citrix 3/27/2016
Citrix XenDesktop 7.6 - PVS - vDisks updates
No comment