Deliver desktops by using PVS with Citrix XenDesktop 7.6
- Citrix
- Citrix XenApp / XenDesktop
- 31 May 2015 at 15:13 UTC
-

- 4/5

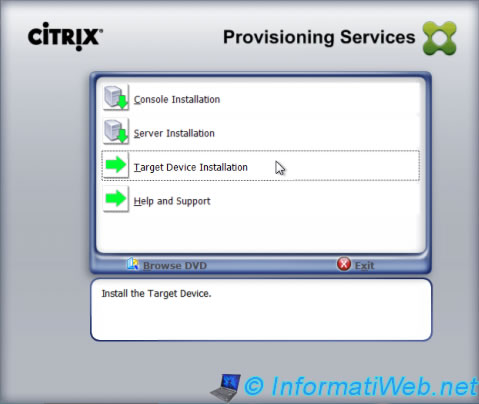
11. PVS client installation (PVS Target Device)
Before installing PVS on the client machine (in our case: the virtual machine under Win 7 x64), install the programs you want and Windows updates (this is not mandatory, but it improves security Windows).
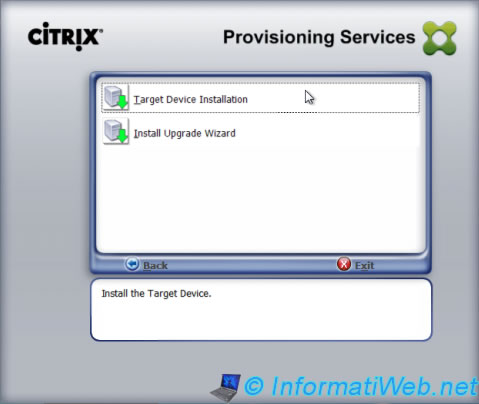
Then, install PVS choosing "Target Device Installation".
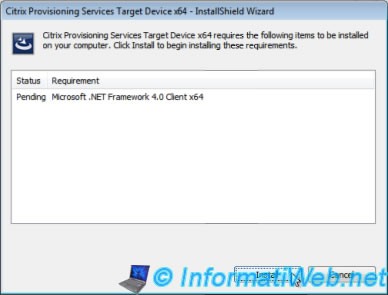
InstallShield will install the prerequisites for the PVS client.
Nothing special for the client installation.
A la fin de l'installation, laissez la case "Launch Imaging Wizard" cochée et cliquez sur "Finish".
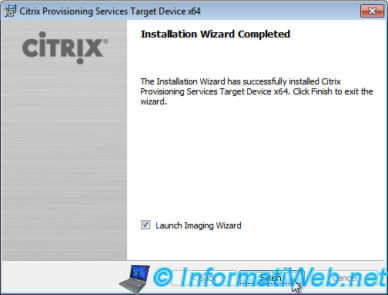
At the end of the installation, leave the "Launch Imaging Wizard" box checked and click "Finish".
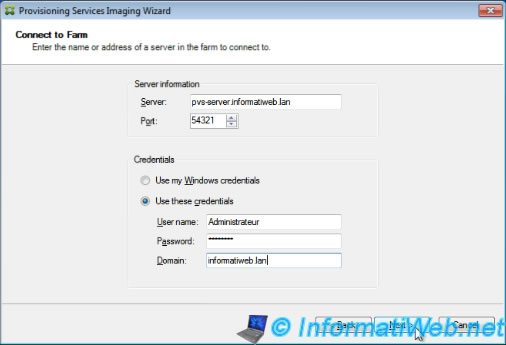
Note : If the connection fails, check that :
- 54321 and 54322 TCP ports are open in the Windows Firewall of the PVS server.
- the virtual machine knows the address of your local DNS server (to know the IP address corresponding to the domain name specified in the "Server" box)
- the account used has the access rights to the PVS server
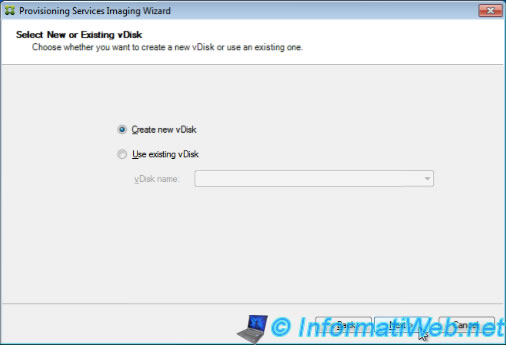
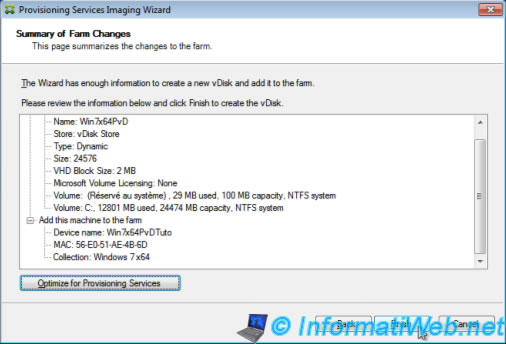
Select "Create new vDisk".
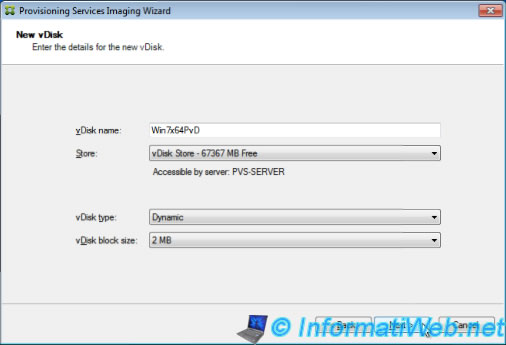
Enter a name for the virtual disk, select the store (location) where you want to create this vDisk and select "vDisk Type : Dynamic" thus, the copy is faster (the program will copy only the data present on the disk instead of creating a file with the size of the hard disk of the virtual machine).
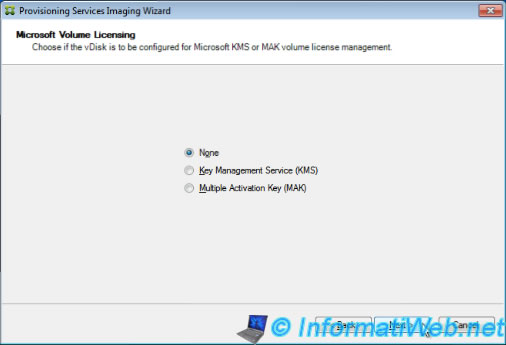
Select the type of license to use for virtual machines provided through the PVS server.
In our case, this is an evaluation version of Windows so we select "None".
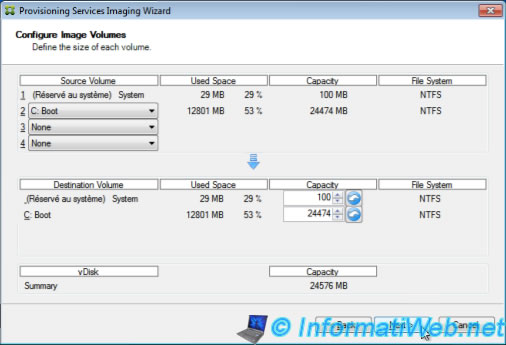
Resize partitions for client machines if you wish.
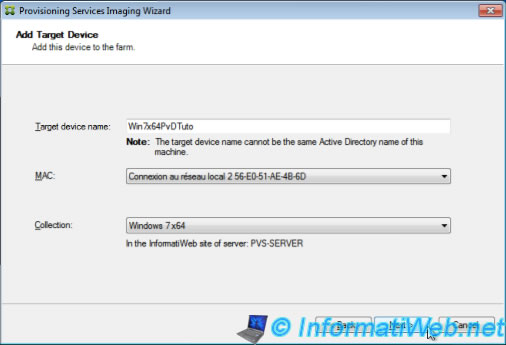
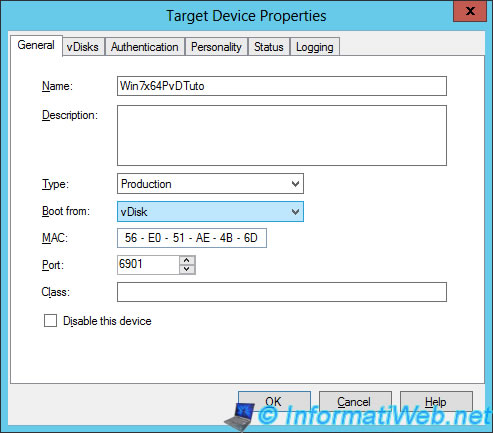
Specify a name for this virtual machine. This machine will be added to the list of "devices" on the PVS server.
Select the collection where you want to save this machine.
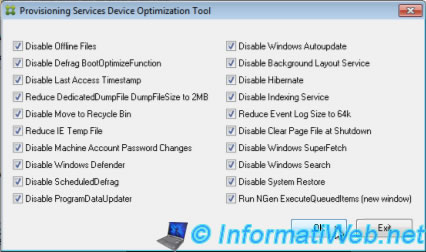
At the end of the wizard, click "Optimize for Provisioning Services".
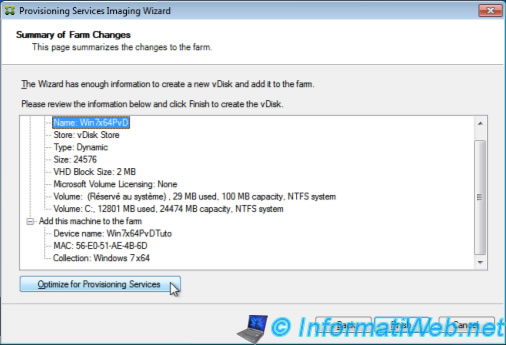
And click "OK" to start the optimization process.
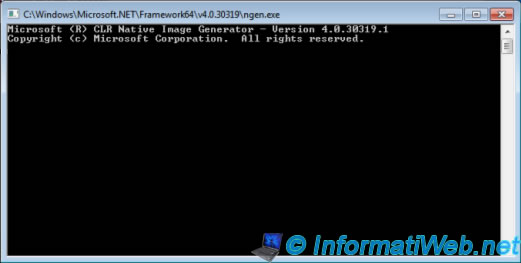
A "ngen" window will appear and close automatically.
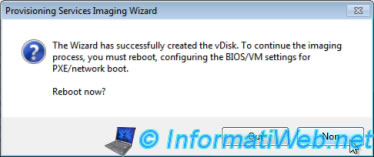
Once the window has disappeared, click "Finish".
The wizard will ask you to configure the BIOS/VM settings for PXE/network boot and restart the machine.
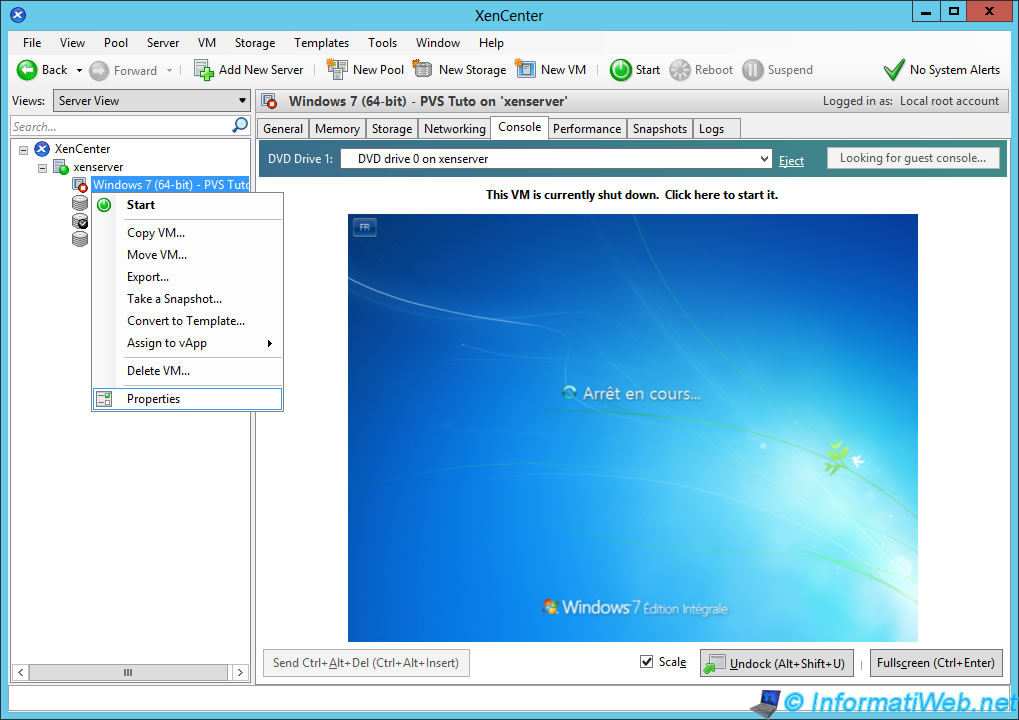
For now, click "No" for these 2 messages and turn off the machine.

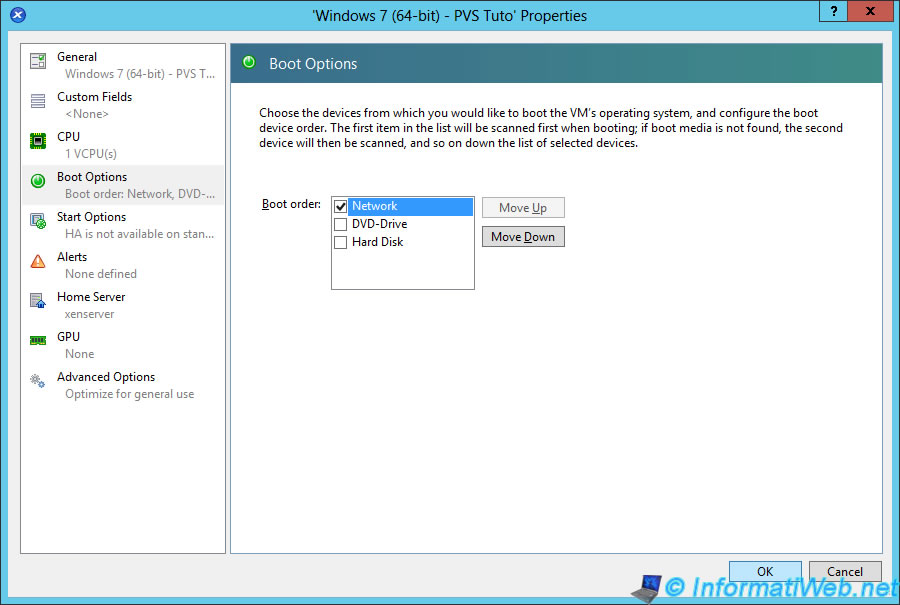
Once turned off, right-click on the virtual machine and click on "Properties".
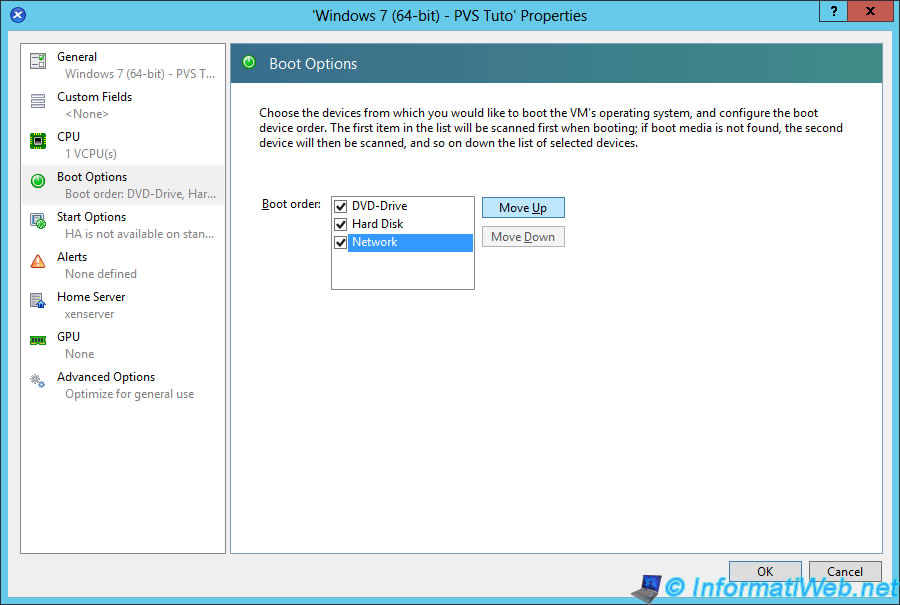
Go to "Boot Options", select the line "Network" and click "Move Up" to put this line at the top of the list.
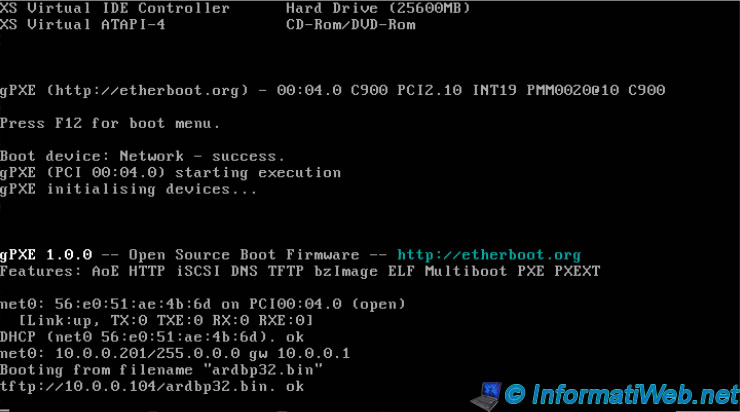
Then, start the virtual machine.
If all goes well, the virtual machine will boot on the network and the virtual machine :
- receive an IP address that it will be assigned by the DHCP server on your network
- will receive a boot file (in this case : ardbp32.bin) from your TFTP server
- This file will allow it to boot and to contact the PVS server
If not, check that the necessary ports are open in Windows Firewall on your PVS server.
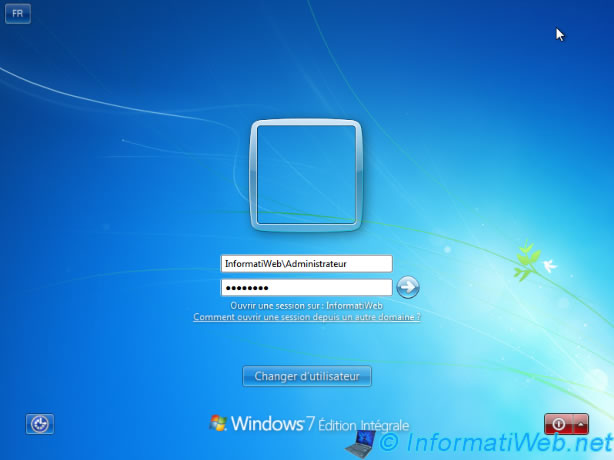
Login with a domain account.
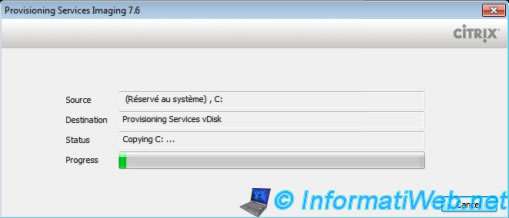
Then, a "Provisioning Services Imaging" window will appear.
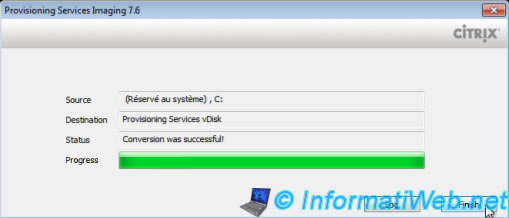
Note: This program will copy the hard drive of the virtual machine to your PVS server. In the store selected before the restart.
Click "Finish".
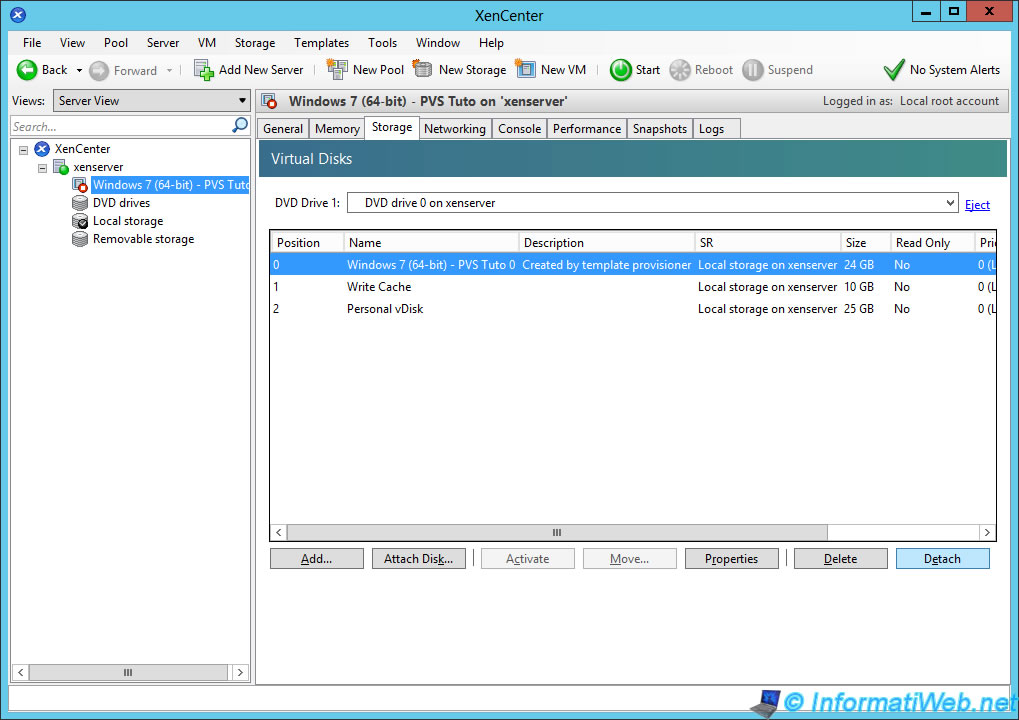
Now that the hard disk of the virtual machine has been copied on the PVS server, the main hard drive of the virtual machine is no longer needed.
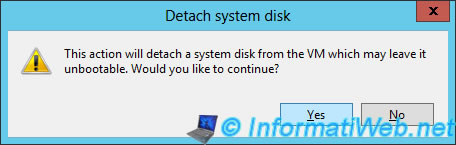
Turn off the virtual machine, if it is not already, and remove the main hard drive of the virtual machine.
Click "Yes".
Finally, change the boot order of the VM (virtual machine) to keep only the boot over the network (Network / PXE).
12. Configuring the template virtual machine in PVS
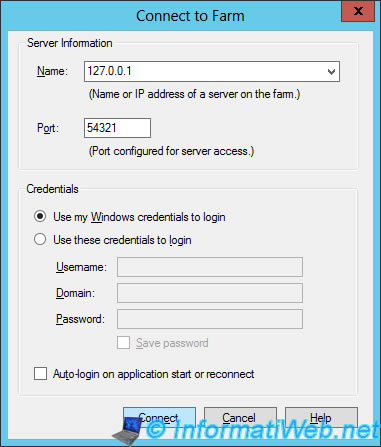
Return to the PVS server and start the "Provisioning Services Console" program.
Enter the IP address or the name of the PVS server. Since we are on the PVS server, we can use the local IP address "127.0.0.1" to connect to the PVS server console.
In the "vDisk Pool" section, you will find a copy of the hard disk of the virtual machine. In our case, this copy is stored in the "vDisk Store" store which corresponds to "C:\vDisks" folder.
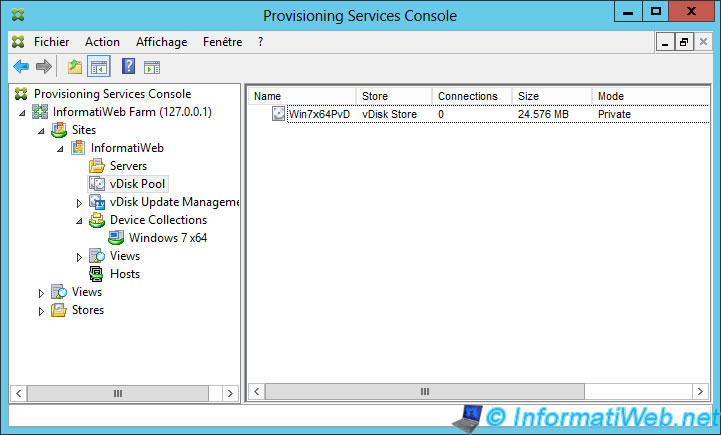
In the "Windows 7 x64" collection, you will find the machine used to create the image which will serve as a model for virtual machines generated using PVS.
As we have removed the hard drive of the virtual machine, we need to change the startup type of this virtual machine because this one is set to start on its hard drive (which no longer exists).
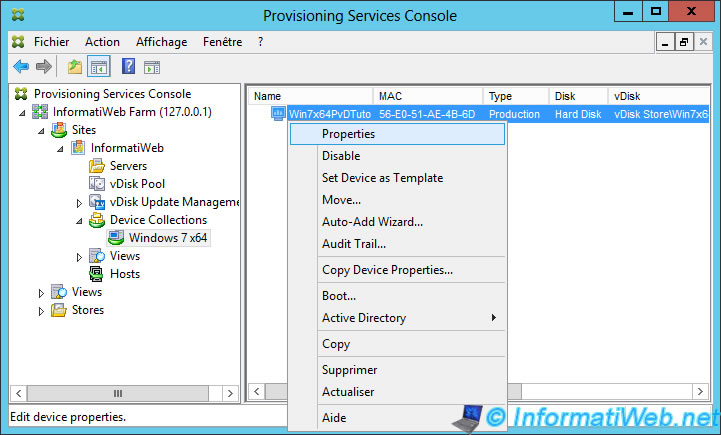
Select "Boot from : vDisk".
Note : The vDisk is the virtual hard disk that is located on the PVS server.
Before starting this machine, you must create an active directory account for it.
To do this, right click on it and click "Active Directory -> Create Machine Account".
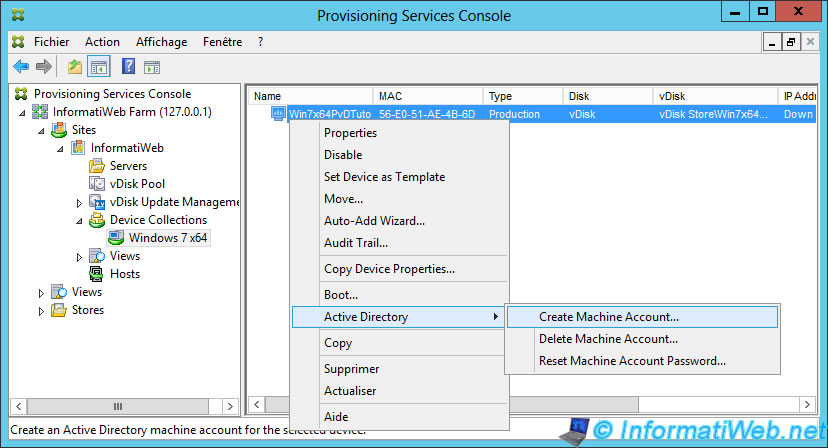
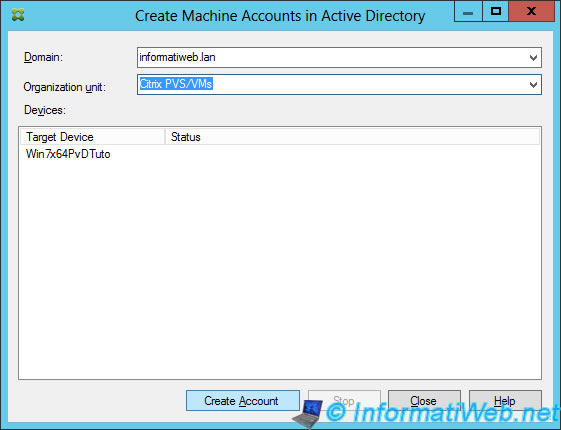
Select "Citrix PVS / VMs" to apply our GPO to this virtual machine and click on "Create Account".
If adding is performed without error, the status will be "Success".
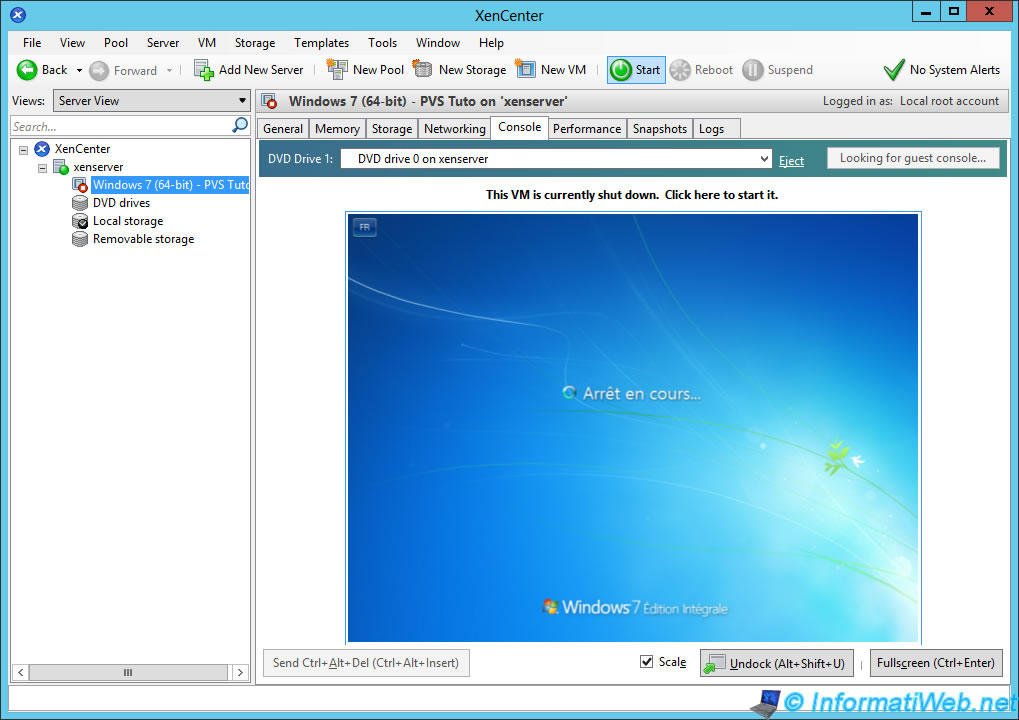
Finally, start the virtual machine.
Connect with a domain account and locate the icon about the vDisk status.
![]()
As you can see :
- This virtual machine booted on the server : 10.0.0.104 (the PVS server)
- She started on the vDisk (present on the PVS server)
- the vDisk mode is : Read / Write
Any changes made on the machine will be stored in the vDisk on the server.
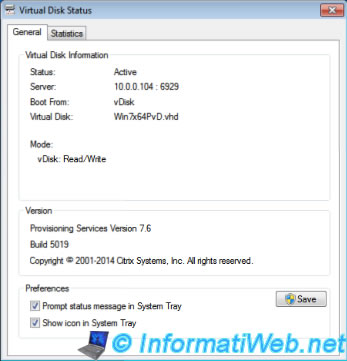
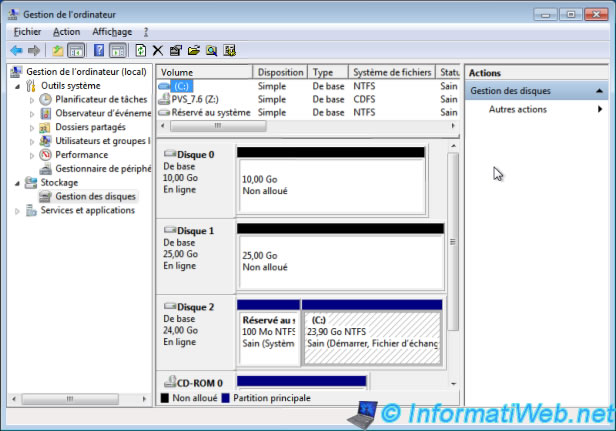
For now, given that the vDisk is read and write, the 2 virtual disks (Write Cache and Personal vDisk) unpartitioned are still visible.
13. VDA installation
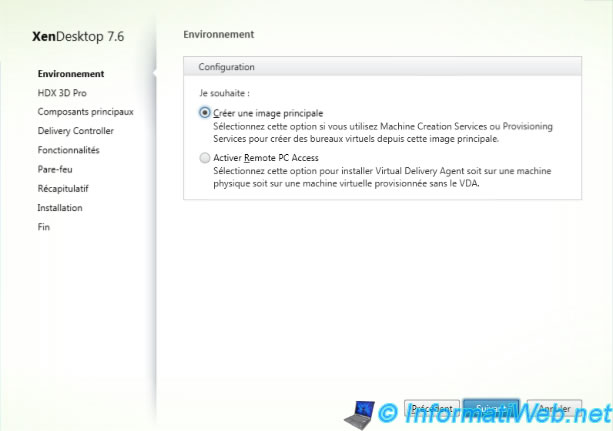
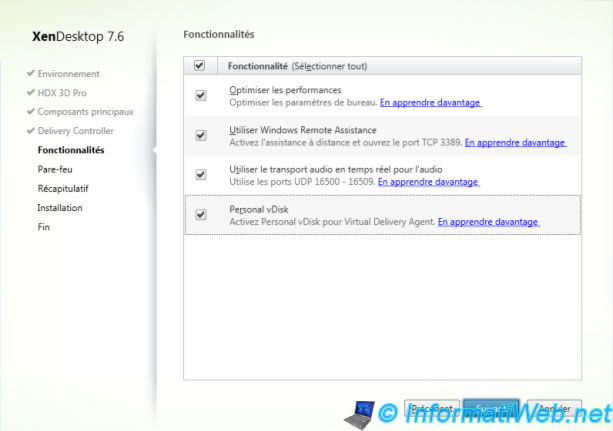
To allow XenDesktop to publish this machine, you must also install the Virtual Delivery Agent (VDA).
For this, refer to section 6 of our tutorial "Citrix XenDesktop - Installation, configuration and delivery of desktops" because the procedure for the installation is the same as when using MCS.
Note : Select "Create a master image" and check the "Personal vDisk" box during installation.
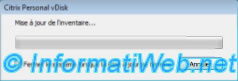
Once you have installed the VDA and you restart the virtual machine (at the end of the installation of the VDA), go to the start menu and click on "Update Personal vDisk".
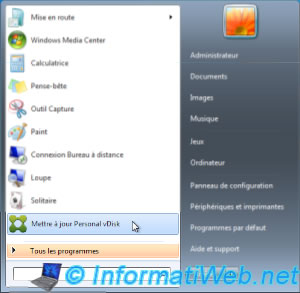
At the end of the update, the machine will automatically shut down.
Share this tutorial
To see also
-
Citrix 5/14/2016
Citrix XenApp / XenDesktop 7.6 - Load balancing
-
Citrix 8/2/2016
Citrix XenApp / XenDesktop 7.6 - Single Sign-On (SSO)
-
Citrix 5/13/2015
Citrix XenDesktop 7.6 - Deliver desktops by using MCS
-
Citrix 3/27/2016
Citrix XenDesktop 7.6 - PVS - vDisks updates
No comment