- Windows Server
- 13 August 2021 at 07:41 UTC
-

- 1/2

When you deploy an Active Directory infrastructure, you can create many users through the GUI, but also from the command line (through PowerShell).
You can also add a lot of information in the properties of your users, as well as configure a lot of settings on them.
1. Create users through the GUI
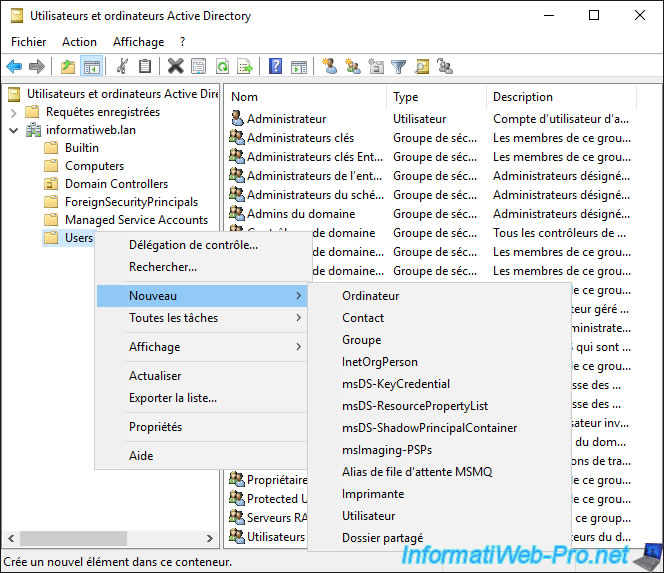
To create users, you can use the "Active Directory Users and Computers" console.
To create a user, right-click on the "Users" folder (or an organizational unit you created) and click : New -> User.
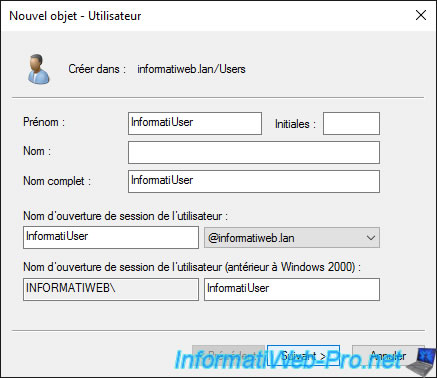
Provide at least a first name and a logon name (so, a user name).
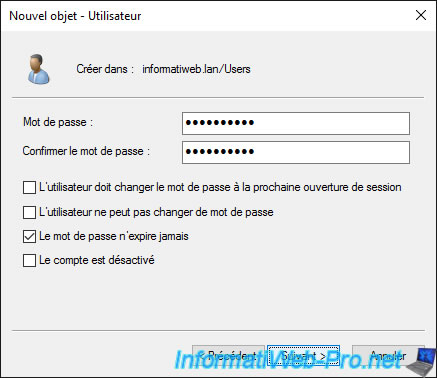
Then, enter a password respecting the complexity required by your server (in particular a minimum length of 8 characters) and choose whether :
- the user must change the password at the next logon : which you will most likely do in production most of the time
- user cannot change password
- password never expires
- the account is disabled
2. Create users via the command line
When you create users from the command line, they are created by default in the "Users" folder of your domain if you don't specify a destination folder.
PowerShell
New-ADUser -Name "Lionel" -SamAccountName "InformatiUser" -UserPrincipalName "InformatiUser@informatiweb.lan" -AccountPassword(Read-Host -AsSecureString "Input Password") -Enabled $true
Input Password: **********
As expected, the user was created in the "Users" folder by default.
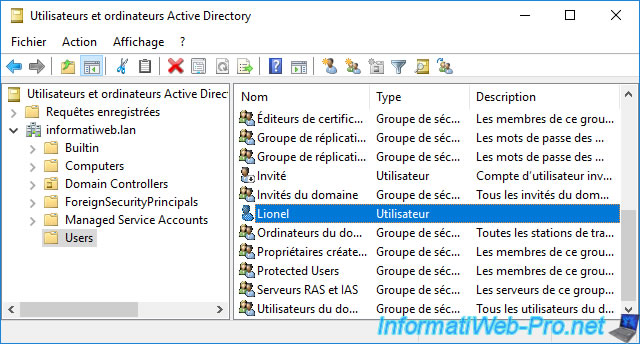
And his username is : InformatiUser.
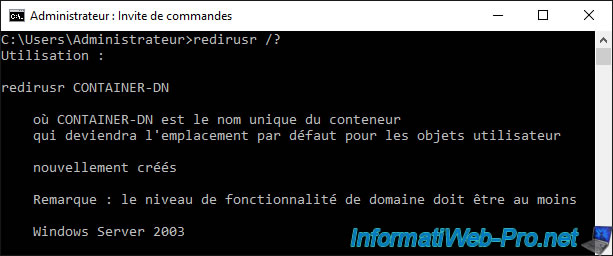
To change the default folder, use the "redirusr" command and specify the DN (so, the absolute name) of the desired container or organizational unit as a parameter.
Batch
redirusr [absolute name of target folder]
To find the absolute name (also called DN for Distinguished Name in LDAP), all you have to do is right-click "Properties" on the desired container or organizational unit, then go to the "Attribute Editor" tab.
In the list of available attributes, you will find the "distinguishedName" attribute which corresponds to the LDAP path of this Active Directory object.
Note that you must have enabled the advanced features of the "Active Directory Users and Computers" console for this tab to be displayed.
If this is not the case, go to the "View" menu of this console and click on : Advanced Features.
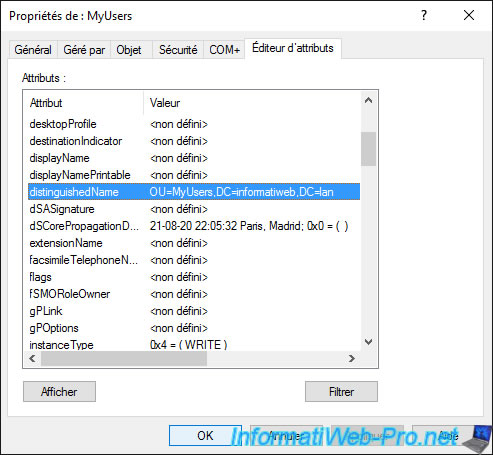
In our case, we will redirect the creation of future users to the organizational unit : OU=MyUsers,DC=informatiweb,DC=lan
Batch
redirusr OU=MyUsers,DC=informatiweb,DC=lan
And we create a new user from the command line :
PowerShell
New-ADUser -Name "TestUser" -SamAccountName "TestUser" -UserPrincipalName "TestUser@informatiweb.lan" -AccountPassword(Read-Host -AsSecureString "Input Password") -Enabled $true
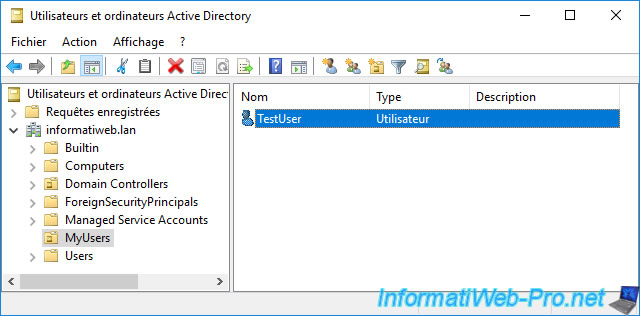
As expected, the user appears in our folder that we specified previously with the "redirusr" command.
3. Users properties
By right-clicking "Properties" on a user, you can add/edit many properties on this one.
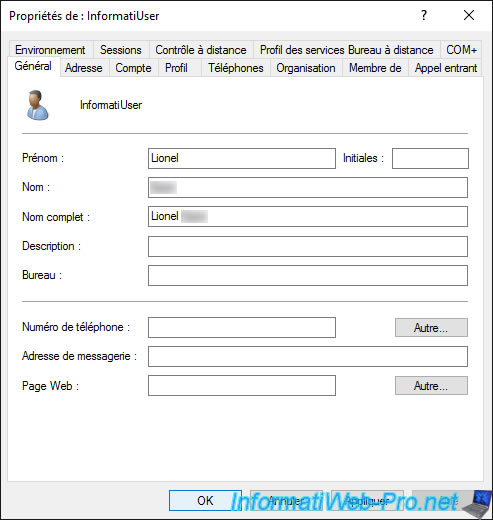
3.1. General tab
In the "General" tab, you can specify :
- his first and last name
- the office where he or she works
- his telephone number. Knowing that you can enter other phone numbers via the "Telephones" tab.
- his e-mail address
- and more
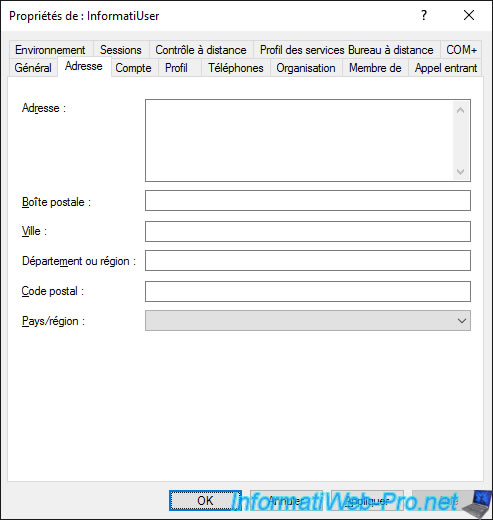
3.2. Address tab
In the "Address" tab, you can specify :
- his postal address
- his city
- its department, region or province (depending on the country where he is located)
- his postal code
- his country
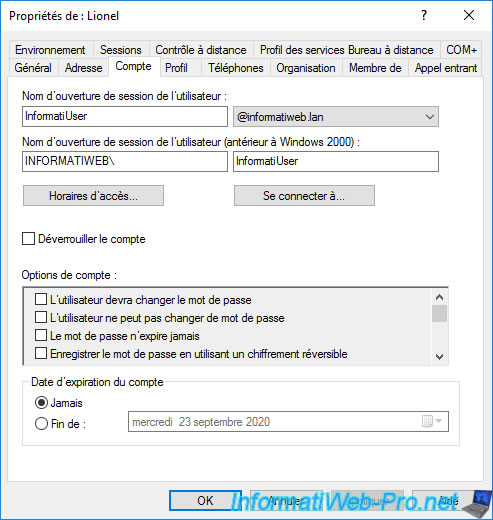
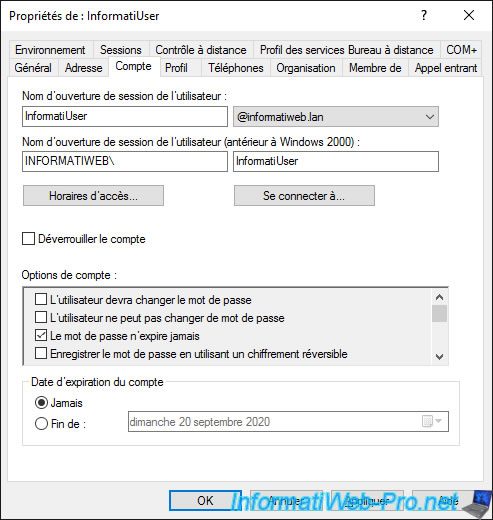
3.3. Account tab
In the "Account" tab, you can :
- change its login name. So, the username he will use to connect to client PCs and servers (if applicable)
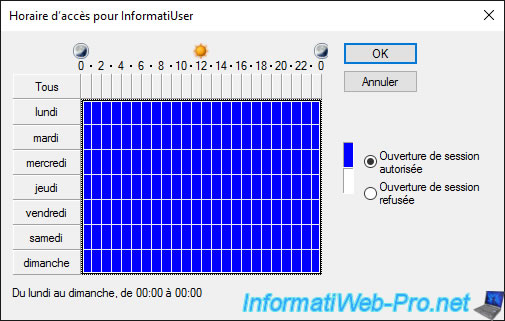
- define access times for it. This makes it possible, for example, to prevent a user from being able to log in outside working hours.
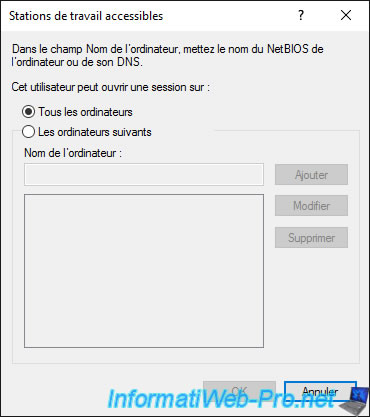
- choose which computers and/or servers he can connect to by clicking on the "Connect to" button
- unlock this user's account if this account has been previously blocked
You will also find several account options :
- User must change password at next logon : when you create users in production, you should check this box, because only the user is supposed to know his password.
- User cannot change password : since it's recommended that users change their password regularly for security reasons, this option should not be used in production.
- Password never expires : as explained previously, in production it's often recommended that users change their password. However, if you are using your server as an individual, you can afford to never expire your account password if you wish.
- Store password using reversible encryption : this option is not recommended, but is required by some applications (including VMware Horizon 7 if you are using DIGEST-MD5 authentication) that require the password from the user for their authentication.
- Account is disabled : simply allows you to deactivate the account by checking this box
- Smart card is required for interactive logon : once this box has been checked, the user will no longer be able to connect with the "username / password" combination and will always have to connect with a card reader. This requires that a smart card reader be available on each computer and each server to which this user wishes to connect.
- Account is sensitive and cannot be delegated : this option allows you to block all types of delegation (including Kerberos delegation) and thus allows better protection of sensitive accounts (such as administrator accounts, for example)
- Use only Kerberos DES encryption types for this account : allow only DES encryption to be accepted for Kerberos authentication with this account.
- This account supports Kerberos AES 128 bit encryption : allows the use of 128-bit AES encryption over Kerberos.
- This account supports Kerberos AES 256 bit encryption : same, but for AES 256-bit encryption.
- Do not require Kerberos preauthentication : by default, Kerberos pre-authentication is used to add an additional layer of security. But, you can disable it to support alternative implementations of the Kerberos protocol.
You can also set an expiration date for this user account if you wish.
This option is very convenient in schools, universities or training centers, because you usually know in advance when students or interns are expected to leave your institution.
As a result, you can schedule the expiration of their accounts so that these accounts are automatically deactivated when they finish their studies or training.
Sources :
- Enable Reversible Password Encryption
- Store passwords using reversible encryption
- Interactive logon: Require smart card - security policy setting
- Microsoft security advisory: Update to harden use of DES encryption: July 14, 2015
- Settings for default local accounts in Active Directory
If you click on the "Logon Hours" button, you will be able to choose which days and at which times this user can log in with his account.
If you click on the "Log On To" button, you will be able to choose whether this user can log on to :
- all computers : from the domain, but also from other domains if a domain trust (external trust) or a forest trust allows it
- the following computers : in this case, the user will only be able to connect to the computers specified here.
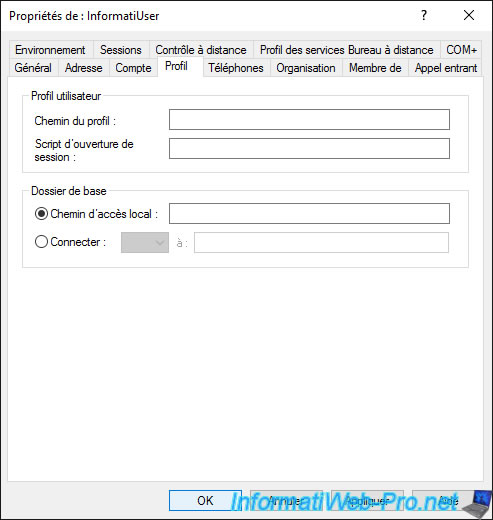
3.4. Profile tab
In the "Profile" tab, you can specify :
- profile path : allows you to store the user profile folder in another folder than the default one (C:\Users\[user name]). This parameter is mainly used to set up roaming profiles.
- logon script : this is the path to a script that you want to run when this user logs on. But, you can also do it through the "User Configuration" section of the Group Policy Objects.
- local path : the local path of the user's home folder which by default is : C:\Users\[user name]
- connect to : the user profile will be stored on a network share, but also accessible via a network drive whose the letter you define here
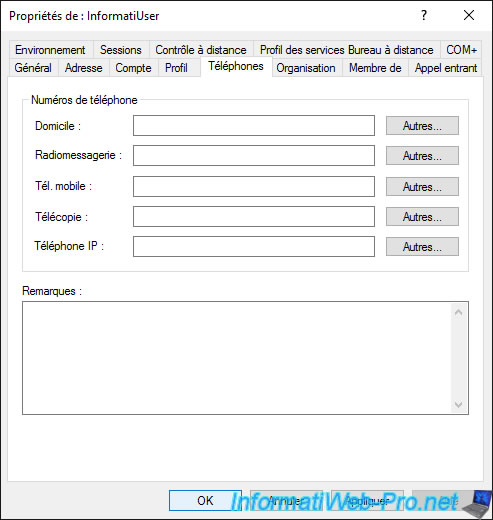
3.5. Telephones tab
In the "Telephones" tab, you can specify :
- Home : his / her landline number
- Mobile : his mobile number
- Fax : his fax number
- IP phone : its IP phone number if you have VoIP installed on your network
- and more
Share this tutorial
To see also
-

Windows Server 4/16/2021
Windows Server - AD DS - How Active Directory replication works
-
Windows Server 4/30/2021
Windows Server - AD DS - Overview of Active Directory functional levels
-
Windows Server 4/3/2021
Windows Server - AD DS - The basics of Active Directory
-
Windows Server 5/21/2021
WS 2016 - AD DS - Add a domain controller to an existing AD domain
You must be logged in to post a comment