What is a certificate template, how to configure them and create new ones on Windows Server 2016 ?
- Windows Server
- 29 September 2023 at 11:07 UTC
-

- 3/3
6.2. Request certificate for IIS web server from mmc console
For the example, we will launch the "mmc" console on this new web server to request a certificate from it.
Note that it's important to request the certificate from this server since we chose the "Build from this Active Directory information" option in the "Subject Name" tab when creating our new certificate template.
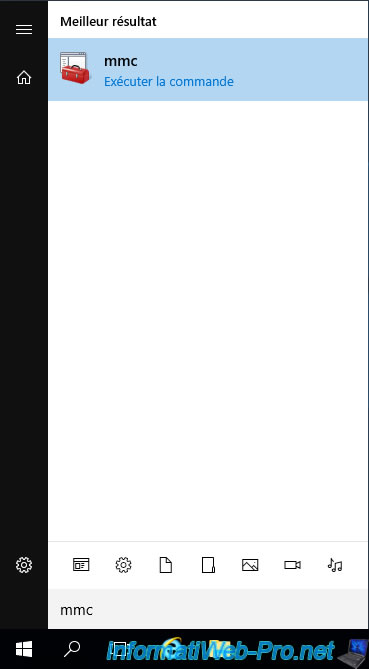
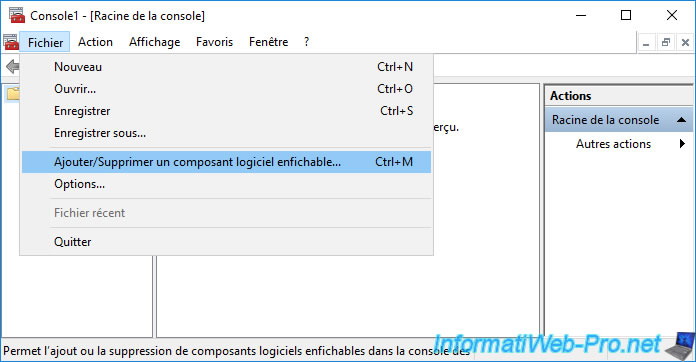
In the "mmc" console that appears, click : File -> Add/Remove Snap-in.
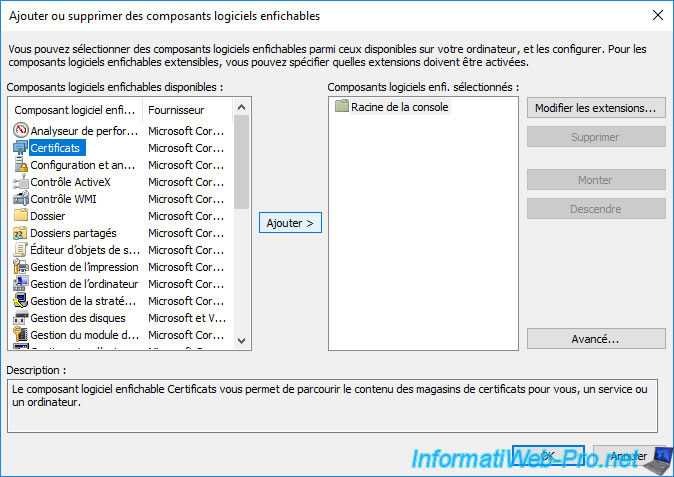
Select the "Certificates" component and click : Add.
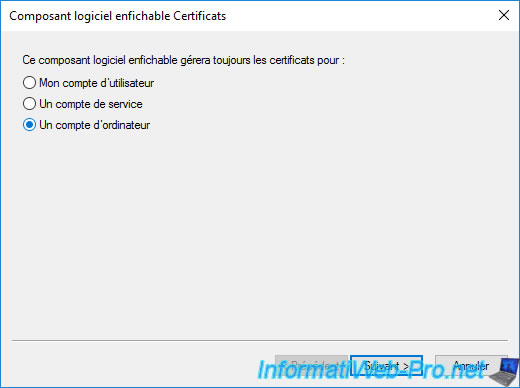
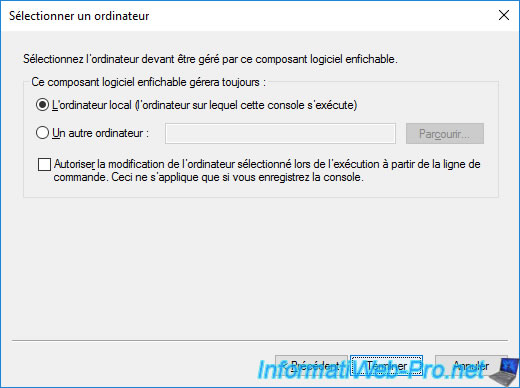
Select "Computer account" as the certificate will need to be generated using the name of the computer object corresponding to your server.
Leave the "Local computer ..." option selected and click Finish.
Click OK.
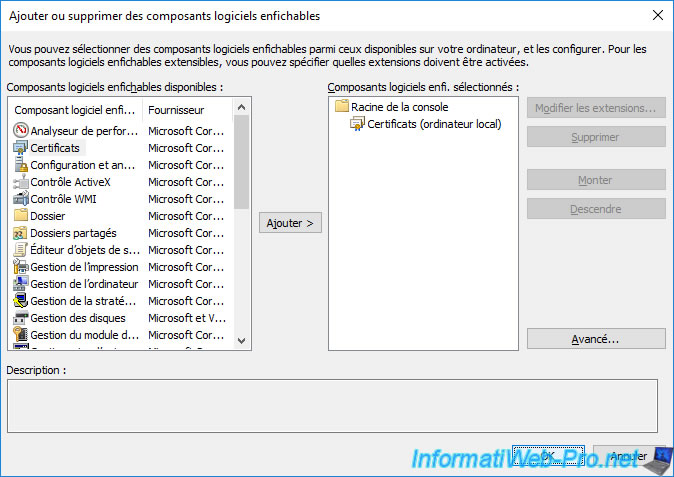
Once the "Certificates" component has been added, you will see it appear under the name "Certificates (Local Computer)".
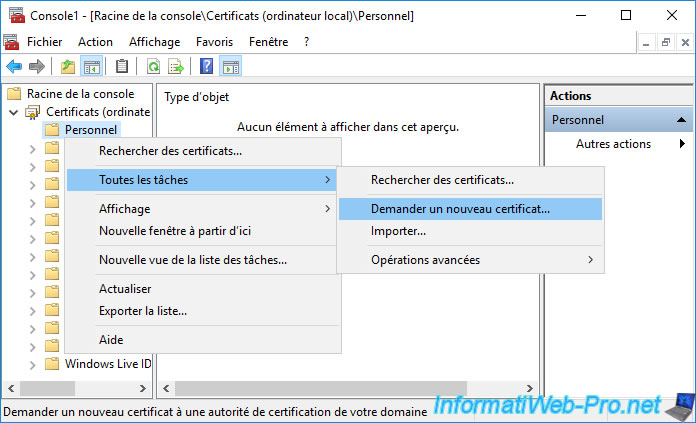
Deploy this and right click "All Tasks -> Request New Certificate" on "Personal".
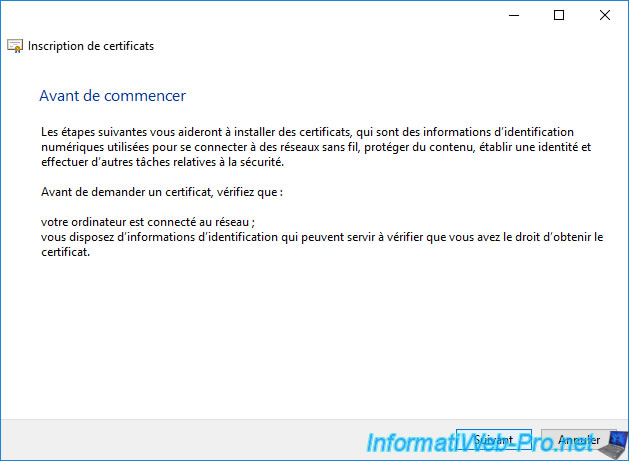
The "Certificate Enrollment" wizard appears.
Click Next.
Click Next.
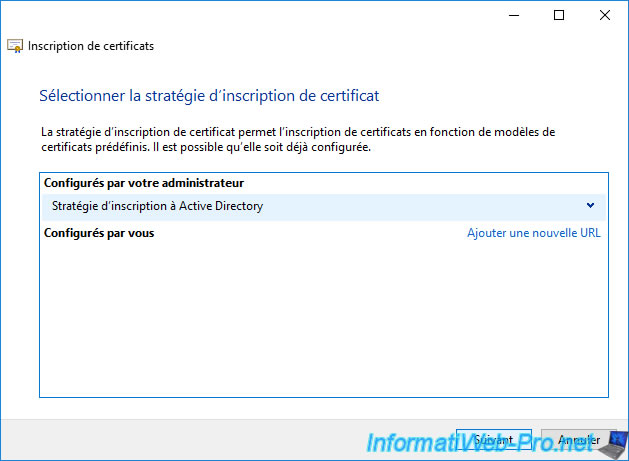
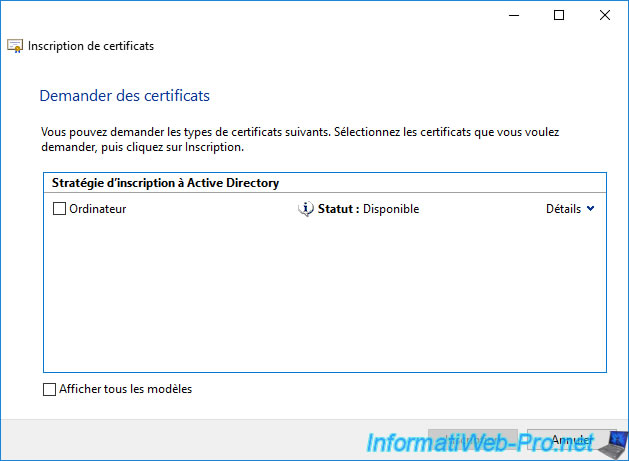
If the certificate template you just created doesn't appear, check the "Show all templates" box to get more information on why it doesn't appear.
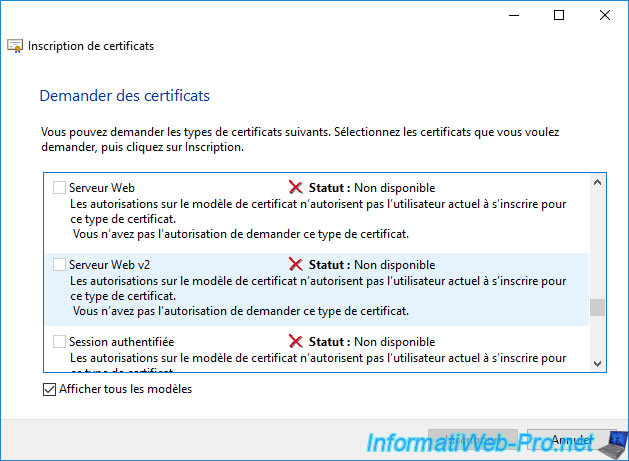
The 1st possibility is :
Plain Text
Status : Unavailable.
The permissions on the certificate template do not allow the current user to enroll for this type of certificate.
You do not have permission to request this type of certificate.
Cause : this error means that the user you are logged in with and/or the computer or server you are trying to request a certificate from doesn't have permission to enroll a certificate using this certificate template.
Workaround : to fix this issue, make sure you have granted "Enroll" permission to the user you are logged in as, as well as to the computer where you are running the current "mmc" console.
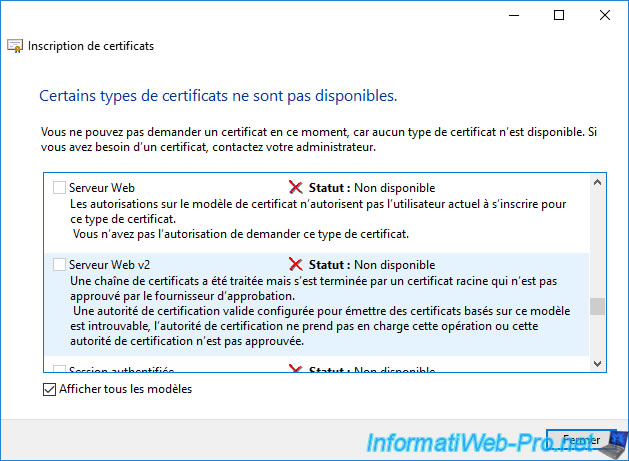
The 2nd possibility is :
Plain Text
Status : Unavailable.
A certificate chain processed but terminated in a root certificate which is not trusted by the trust provider.
A valid certification authority (CA) configured to issue certificates based on this template cannot be located, or the CA does not support this operation, or the CA is not trusted.
Cause : this error means that your enterprise CA certificate is not one of your computer or server's trusted CAs.
Solution : to fix this problem, force the update of your computer or server policy by running the "gpupdate /force" command so that the certificate of your enterprise CA is automatically added to the "Trusted Root Certification Authorities" certificate store of your computer or server via the Active Directory.
OR, export your CA certificate WITHOUT the private key (thus in ".cer" format), then import it manually into the "Trusted Root Certification Authorities" certificate store of your computer or server via the "mmc" console currently open.
Then, run this certificate enrollment wizard again.
Once any issues (above) have been corrected, your new certificate template will appear.
Select it and click Enroll.
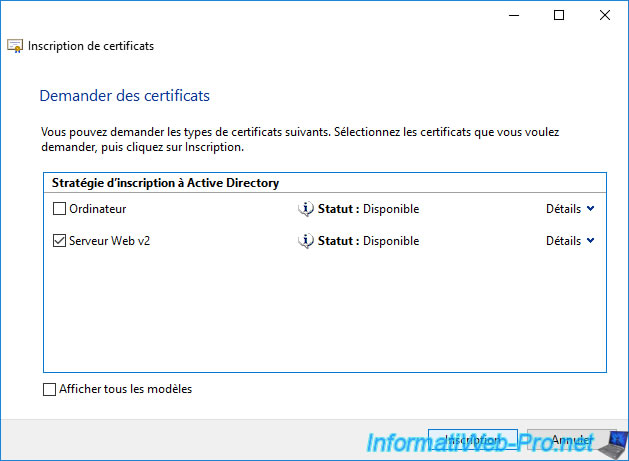
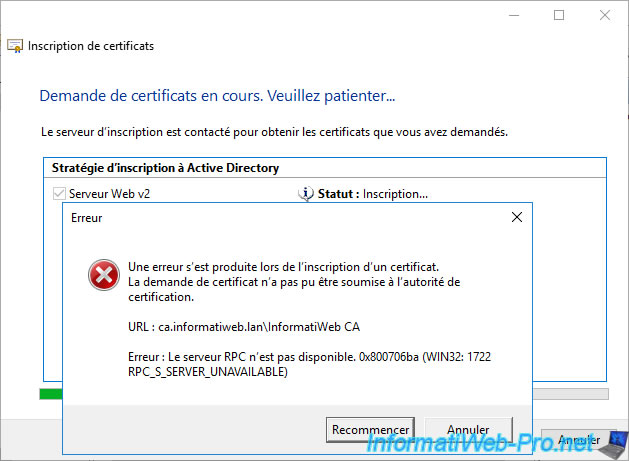
If you get a "The RPC server is unavailable. 0x800706ba" error message appears and you just installed your CA, completely restart the server where you installed Active Directory Certificate Services (Certificate Authority) and try again.
The error should no longer occur.
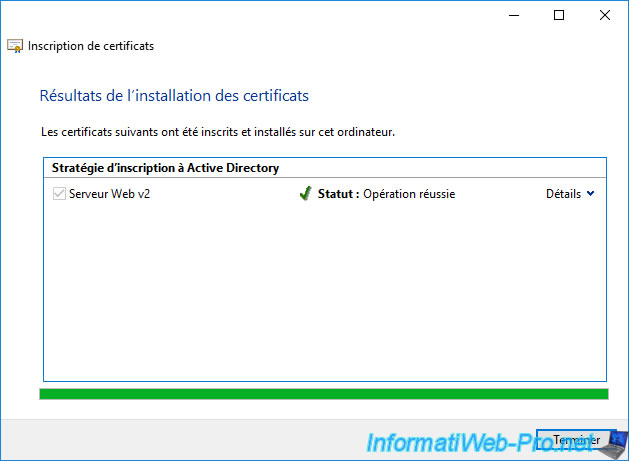
If all goes well, the certificate enrollment will succeed.
Click Finish.
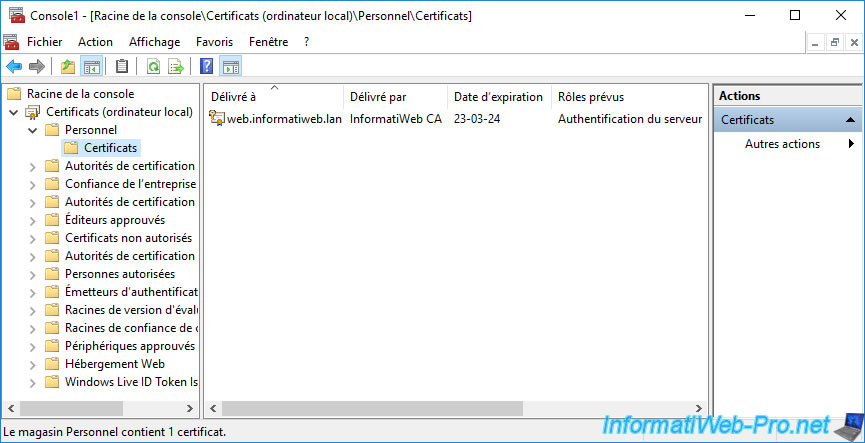
In the "Personal" certificate store of your server, you will see a new certificate appear and as you can see :
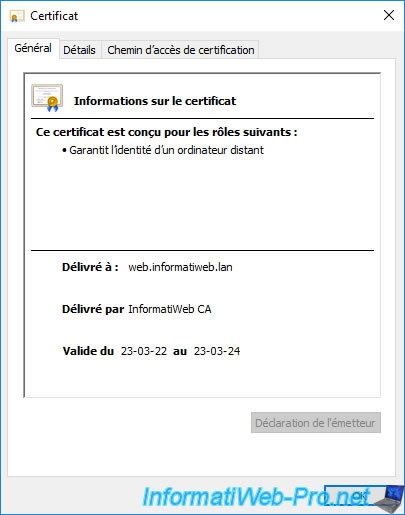
- Issued To : this certificate is valid for your web server's domain name.
- Issued By : this certificate was issued by your certificate authority.
- Expiration Date : this certificate expires in 2 years.
- Intended Purposes : this certificate is used for server authentication.
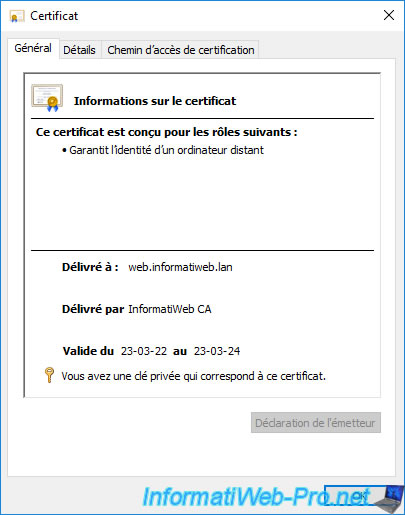
If you double-click on this certificate, since it's your own certificate (certificate store : Personal), you also have the private key associated with this certificate.
At the top of the window, you can also see that this certificate is designed to guarantee the identity of a remote computer (in this case : our web server).
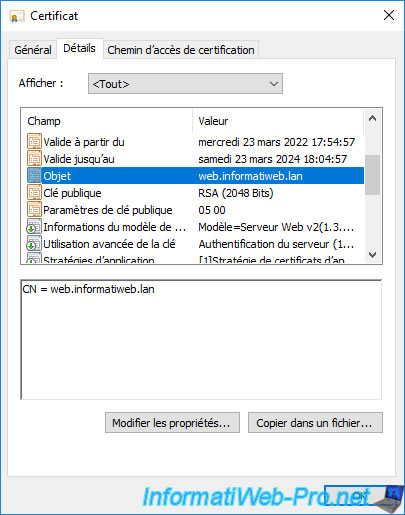
In the "Subject" field, you will see that the common name (CN) has been indicated in this certificate from your Active Directory domain information.
In this case, it's the domain name of the web server for which we have just requested this certificate.
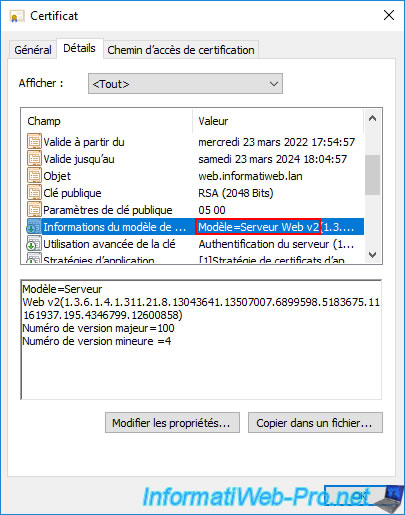
In the "Certificate Template Information" field, you'll see the name of your new certificate template appear, along with a long unique identifier (composed of dots and numbers) that uniquely identifies this template.
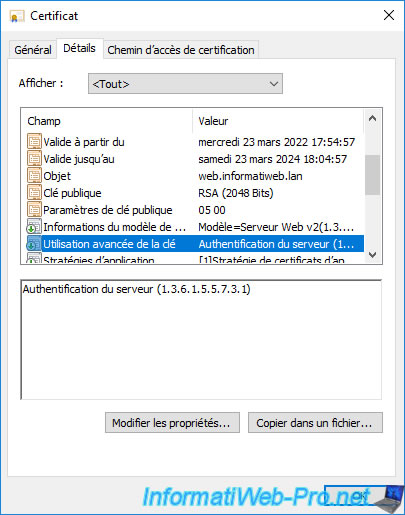
In the "Enhanced Key Usage" field, you will see that this certificate is used for server authentication (in other words : proving the identity of the server concerned).
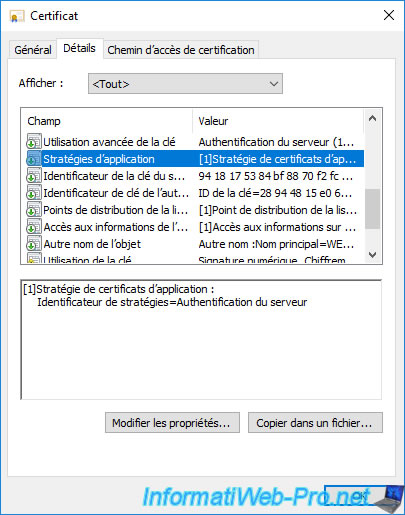
In the "Application Policies" field, you will again see the "Server Authentication" policy appear.
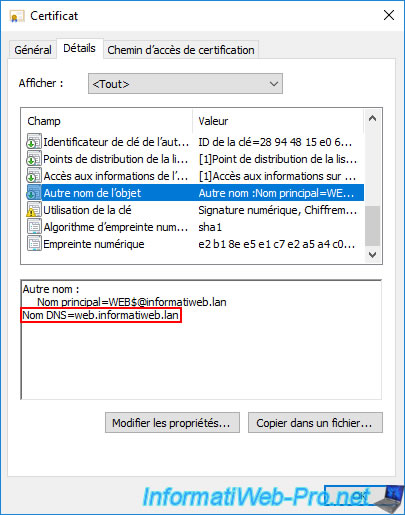
In the "Subject Alternative Name" field, you will see the DNS name appear.
Note : a certificate is valid for the common name (CN) indicated in it, as well as the DNS name(s) that are also included in it.
This is useful for securing a web server with a single certificate that would be valid for an "example.lan" domain, as well as its "www" subdomain (therefore : www.example.lan).
Note that when your certificate authority issues a certificate (whether server, computer, domain controller or user), a copy of it will be available in the "Issued Certificates" section of your certificate authority.
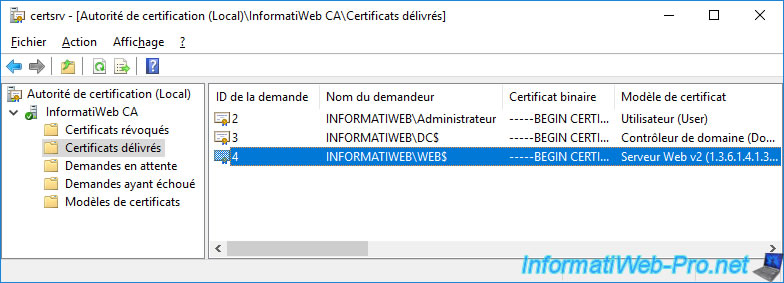
Warning : the copy of the certificate available on your certification authority will not contain the associated private key.
6.3. Secure the IIS web server with the requested certificate
On the server where you installed the "Web Server (IIS)" role, open IIS Manager and select your server name (on the left).
Then, in the center, double click on "Server Certificates".
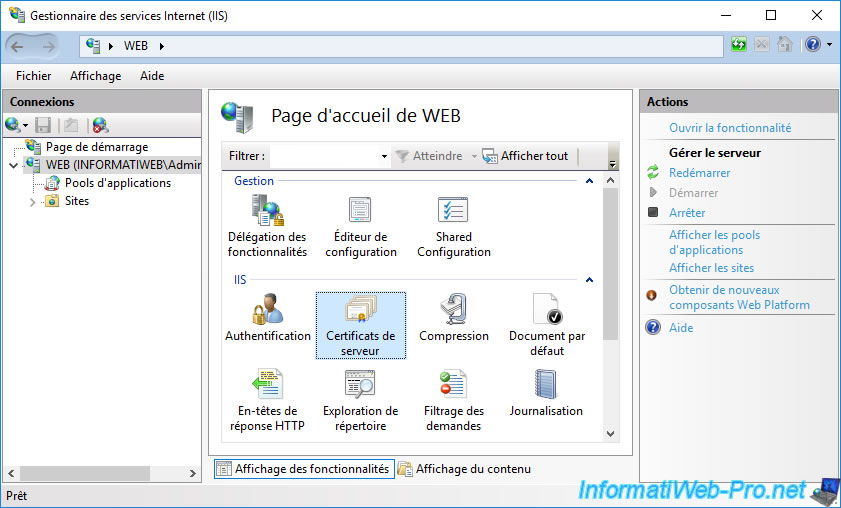
The list of server certificates appears.
Since the certificate and its associated key are already in our server's "Personal" store, IIS automatically detects it.
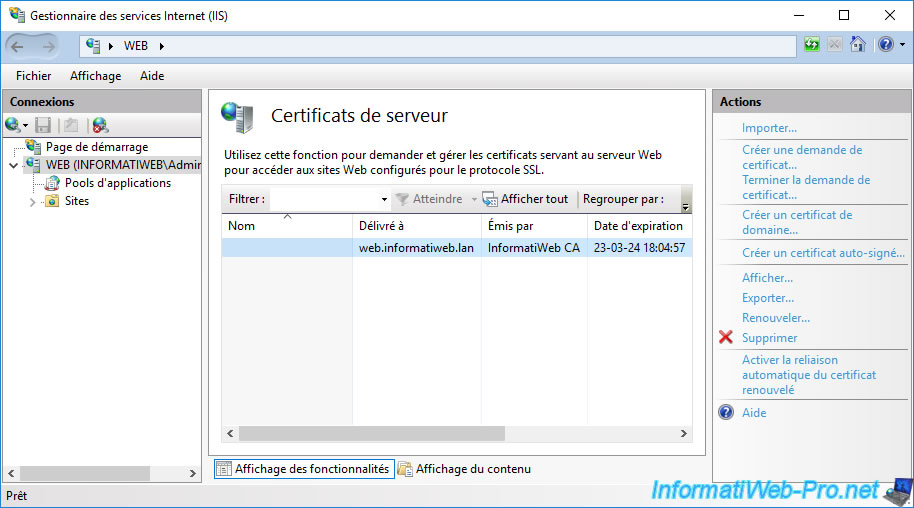
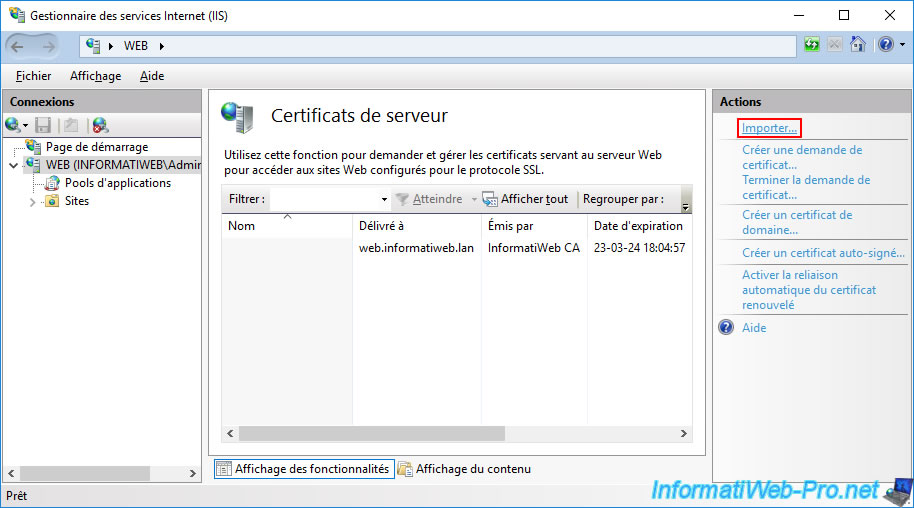
If it doesn't appear here, export it in ".pfx" format using the "mmc" console (for example), then click on the "Import" link (top right).
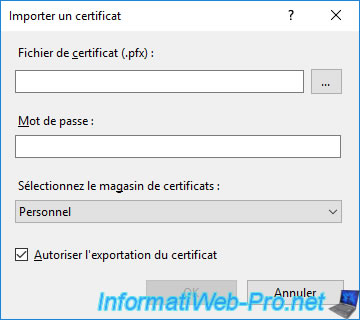
Click the "..." button to select the previously exported certificate, provide the password protecting the private key (specified when exporting the certificate and private key), then click OK.
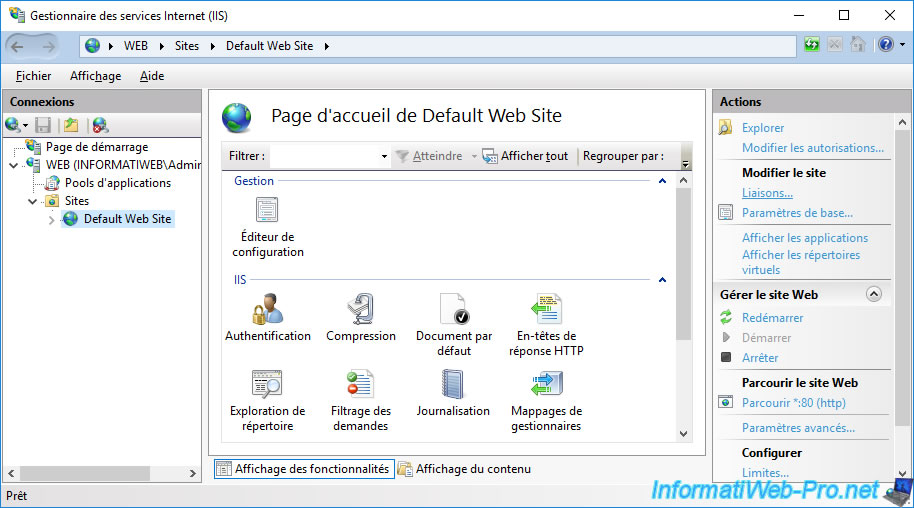
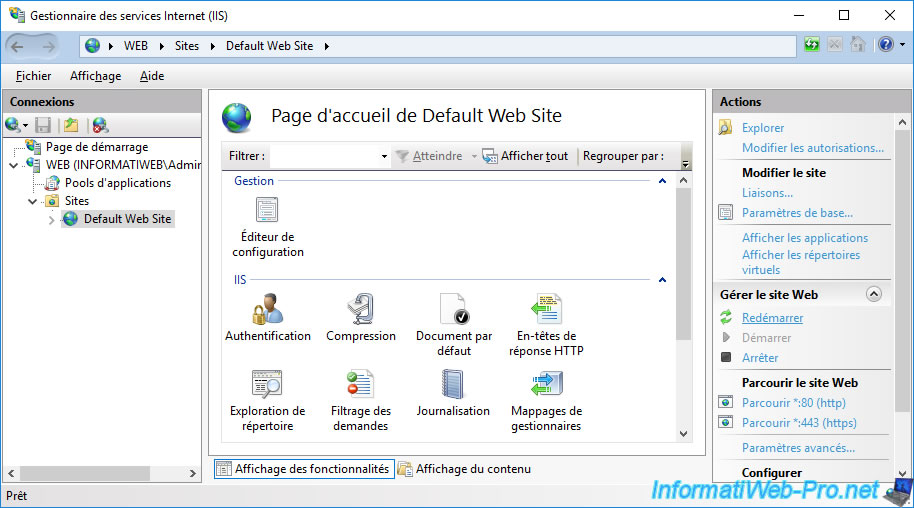
Once your IIS server knows the existence of your certificate and its associated private key, you will need to go to "[your web server name] -> Sites -> Default Web Site" and click on the "Bindings" link (top right).
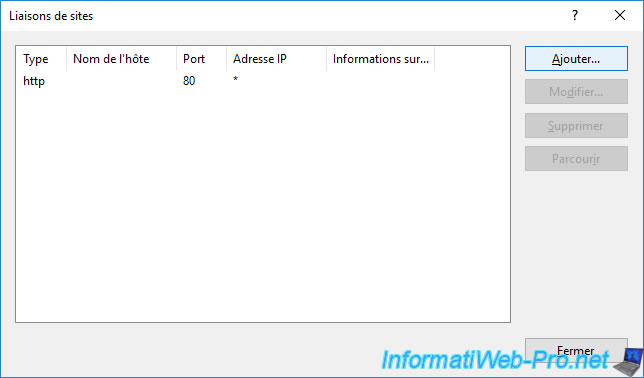
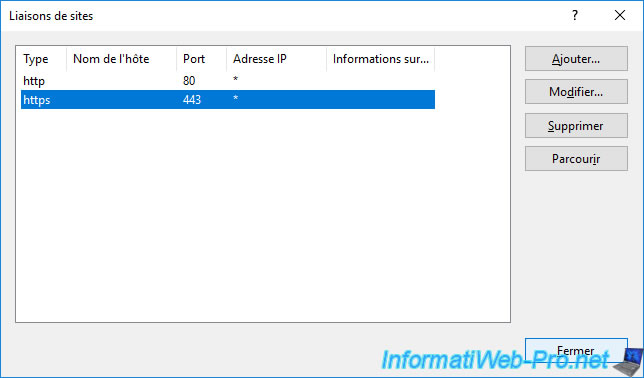
In the "Site Bindings" window that appears, click on : Add.
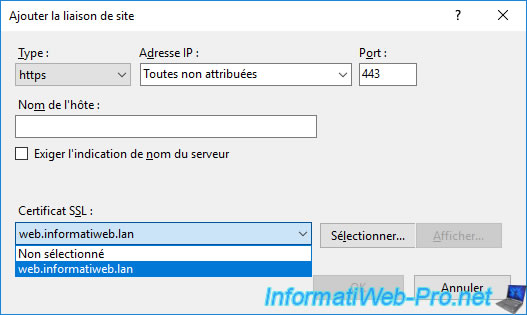
Select "Type : https", then select your certificate from the "SSL certificate" list that appears.
Then, click OK.
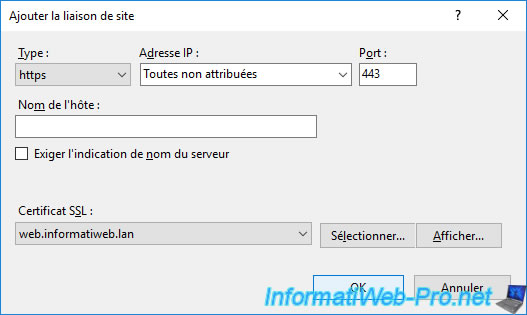
The new "https" binding (listening on TCP port 443) appears.
Click Close.
Click on the "Restart" link (on the right).
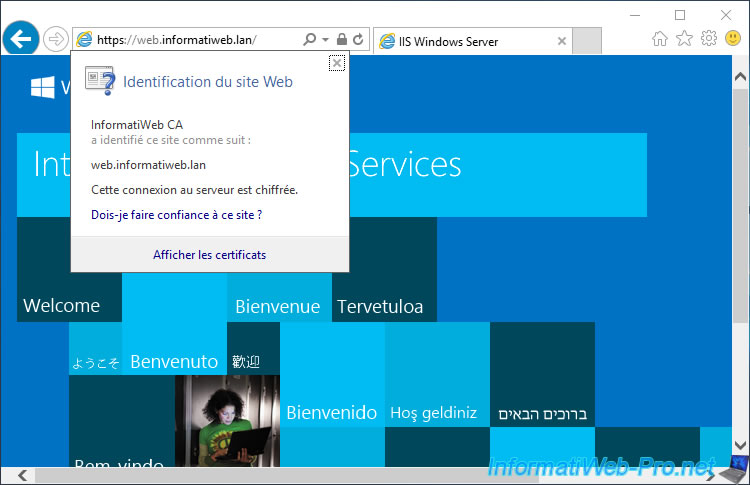
To test the validity of the certificate, specify the name of your web server in the address bar of Internet Explorer or Google Chrome using the "https" protocol.
As you can see, no warning appears and Internet Explorer tells you that "[your CA name]" has identified this site as : [common name of your web server].
Share this tutorial
To see also
-
Articles 1/26/2024
SafeNet Authentication Client (SAC) - Installation and overview
-
Articles 9/8/2023
What is encryption and how does it work ?
-
Windows Server 12/29/2023
WS 2016 - AD CS - Backup and restore a certificate authority (CA)
-

Windows Server 1/19/2024
WS 2016 - AD CS - Buy smart cards and log in via them

No comment