What is a certificate authority (CA) and install enterprise CA on Windows Server 2016
- Windows Server
- 15 September 2023 at 15:39 UTC
-

- 2/5

6. Initial configuration of your certificate authority
As explained previously, to be able to install and configure an enterprise certification authority, you must be part of the "Enterprise Administrators" group.
Click Next.

Check the "Certification Authority" role to configure it and click Next.
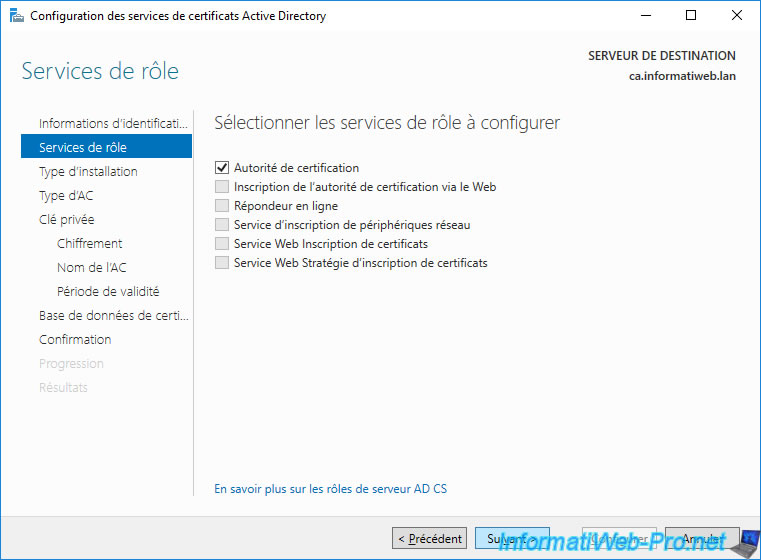
As explained earlier, we will create an enterprise CA on a server that is already joined to our Active Directory domain.
To understand what these 2 types of certification authorities are for, refer to step "2. Standalone or enterprise CA ?" of this tutorial.
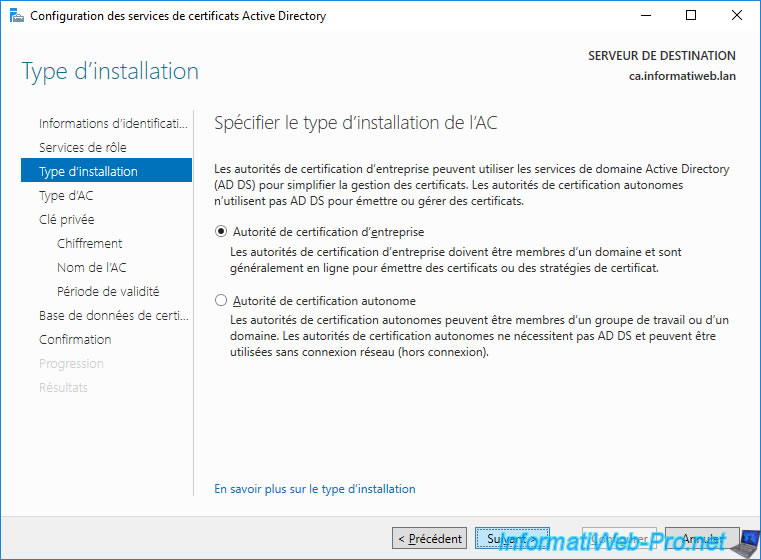
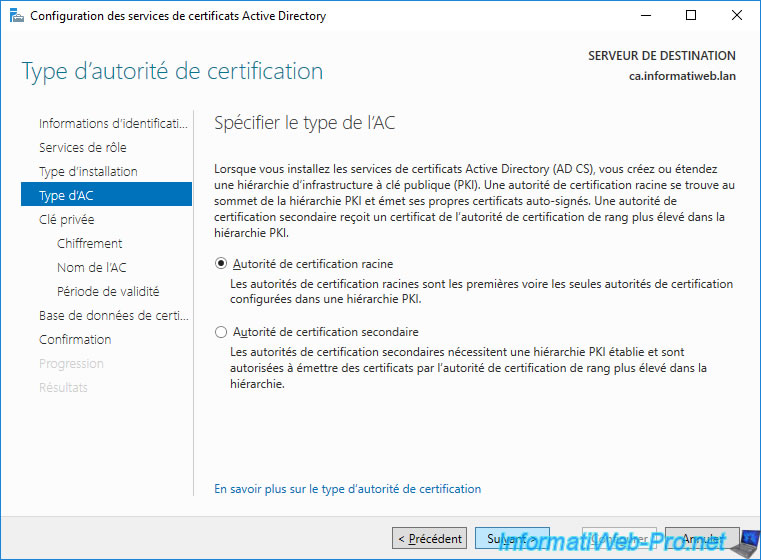
Since this is your 1st CA, you will need to create a root CA.
In the case of a test environment, the use of a root certification authority will be sufficient.
Important : in an enterprise, you will instead use a standalone CA for the root CA and multiple enterprise CAs as subordinate CAs.
This way, you will be able to revoke the certificate of a secondary CA in the event of a problem with it without your entire infrastructure going down. This is because when you revoke a CA's certificate, all certificates issued by it will become invalid.
When you create a CA, you must create a private key for it.
Indeed, it's thanks to this key that your certification authority will sign the certificates that it will issue.
When you want to create a certificate authority, you must have seen the term "PKI" (which stands for "Public Key Infrastructure").
Which refers to the use of asymmetric encryption. If you don't know what asymmetric encryption is, refer to our "What is encryption and how does it work ?" article to better understand how your CA will work.
Once you know how asymmetric encryption works, you know that it's based on a "public key / private key" combination which has a mathematical link. In other words, what is encrypted by a private key can only be decrypted with the public key.
When your certification authority issues a certificate, it will sign it with its private key.
Then, the client will decrypt this signature with the public key of your certification authority and will thus be able to check if this certificate really comes from it.
You will see later how the client (server, computer, ...) can know the public key of your certification authority.
Note : the "Use existing private key" option allows you to reinstall your certification authority later with the same private key in case you have a problem with the server installed in the past. The advantage being that the certificates already installed on your various servers, computers or user accounts will continue to be valid since the pair of keys (public key / private key) will not have changed.
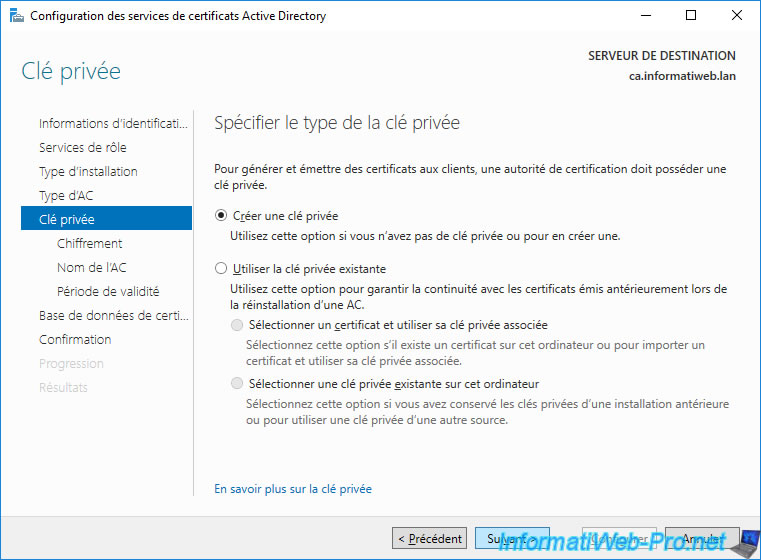
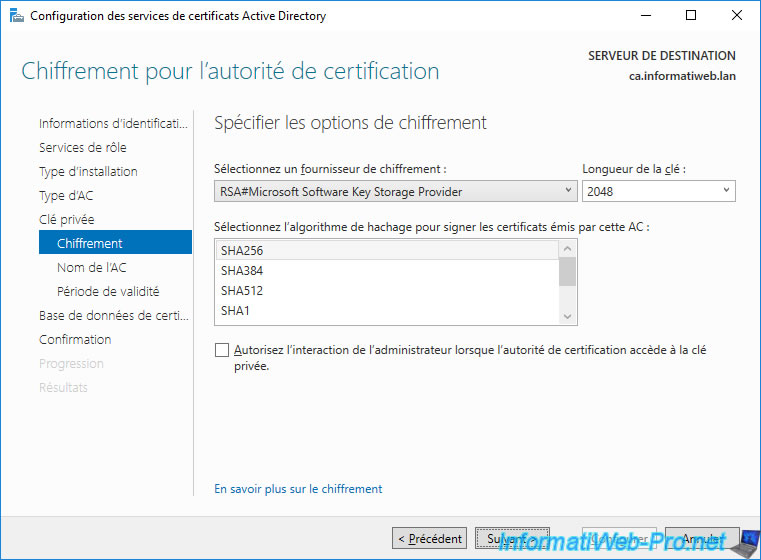
When creating a private key for your CA, you will need to select :
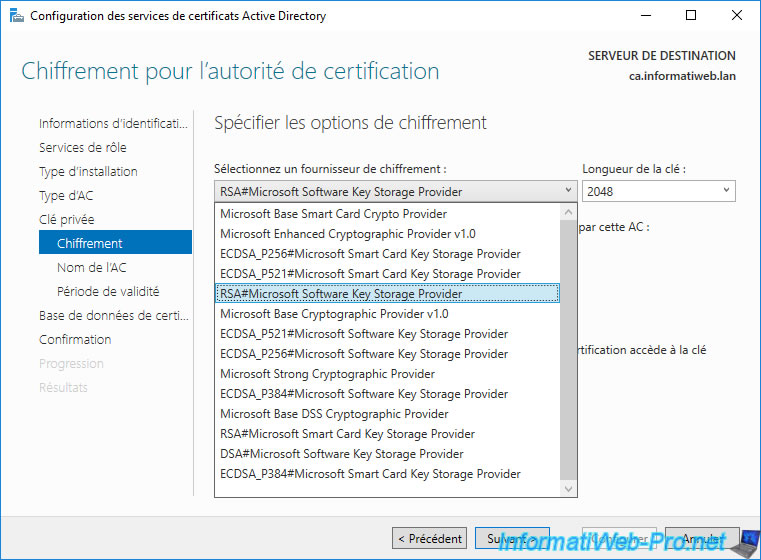
- a cryptographic provider : leave the default one or change it if this cryptographic provider is not supported by all the devices (if any) and applications that you need to secure using certificates.
Note that this will influence the possible values of the other 2 settings : key length and hash algorithm. - a key length : the larger the key size, the more secure the connection will be between the client and the server where you have installed one of your certificates.
Nevertheless, it's important to check the compatibility of your different services to use a sufficiently secure key length while respecting their compatibility.
Note that this key length will be used for your CA's certificate, as well as those issued by it.
Also, if you want to change the key length later, you will need to reissue any certificates issued by your CA. - a hash algorithm : this algorithm will be used to sign the certificates that your certification authority (CA) will issue (deliver).
The default choice on Windows Server 2016 is "SHA256".
Warning : the SHA-1 hashing algorithm has been detected as insecure and Microsoft Edge also blocks websites using this hashing algorithm.
Microsoft recommends using SHA-2 (which includes : SHA256, SHA384, and SHA512).
For the "Allow administrator interaction when the private key is accessed by the CA" box, this one allows to require an additional action on behalf of the administrator when one tries to use the private key of your certification authority.
This option is typically used with hardware security modules (HSMs). Otherwise, the administrator password will be requested with any encryption operation.
If in doubt, leave the defaults. Indeed, this is sufficient in most cases.
Sources :
Here is the list of cryptographic providers available on Windows Server 2016.
For more information about key lengths and the hashing algorithms they support, refer to the "Certification Authority Guidance" source cited above.
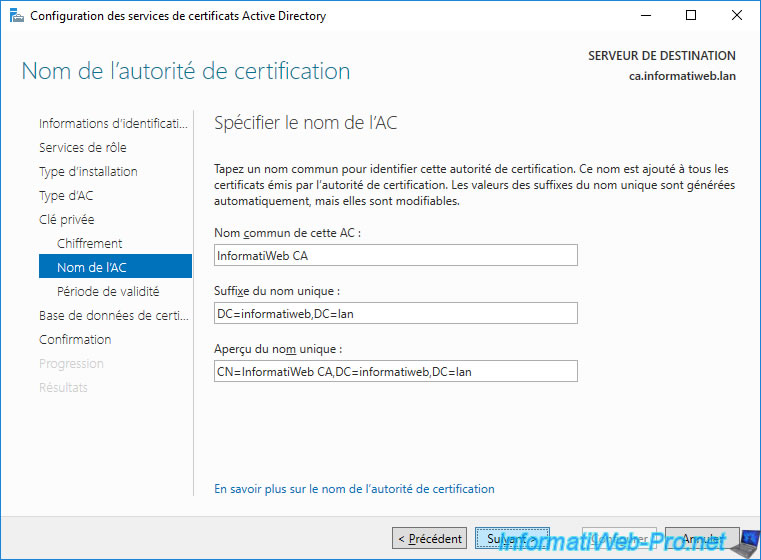
By default, the name chosen by the wizard for your CA name is based on the NETBIOS name of your server, as well as the NETBIOS name of the Active Directory domain to which this server is joined.
Since the common name of a certificate authority (CA) is the name that will appear on the client side, it's recommended to specify a simpler one.
For example : [your company name] CA.
Which gives in our case : InformatiWeb CA.
The other 2 fields ("Distinguished name suffix" and "Preview of distinguished name") will be updated automatically with the new common name chosen for your certificate authority (CA).
Note : the format used for these 2 fields is LDAP.
As explained previously, your certification authority also has a certificate.
Since this is a root CA (in this case), it will be a self-signed certificate since your CA will issue it to itself.
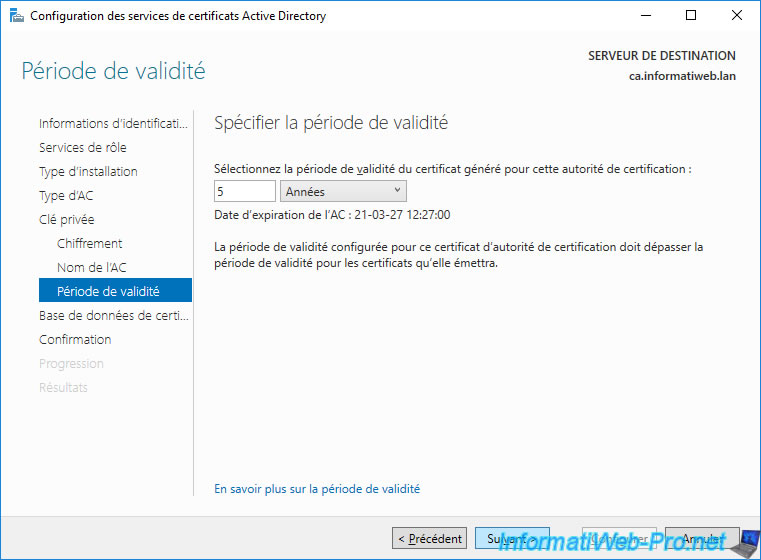
In the "Validity Period" step, you have the possibility to define for how long the certificate of this certification authority will be valid.
Important : for security reasons, you will use a validity period that is not too high. Thus, in the event of theft of the certificate, this will limit the damage.
However, the validity period must still be long enough not to spend your time renewing it.
Also, if your CA's certificate expires, all certificates issued by that CA (and child ones, if any) will become invalid. This will block access to all services secured with these certificates.
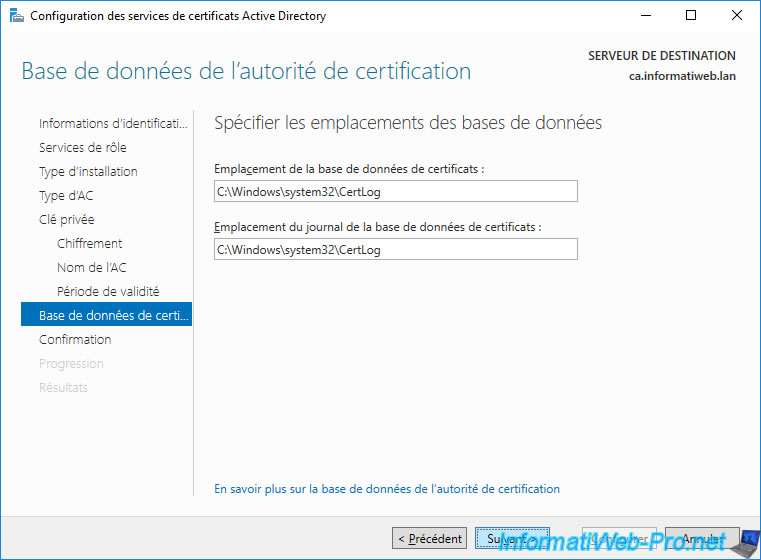
By default, the certificates database, as well as the log files created by your certification authority, will be stored in the folder : C:\Windows\system32\CertLog.
Note : if you want to store these data elsewhere, be sure to configure Access Control Lists (ACLs) on these folders to prevent unauthorized people or computers from gaining access to this data.
Source : Install the Certification Authority.
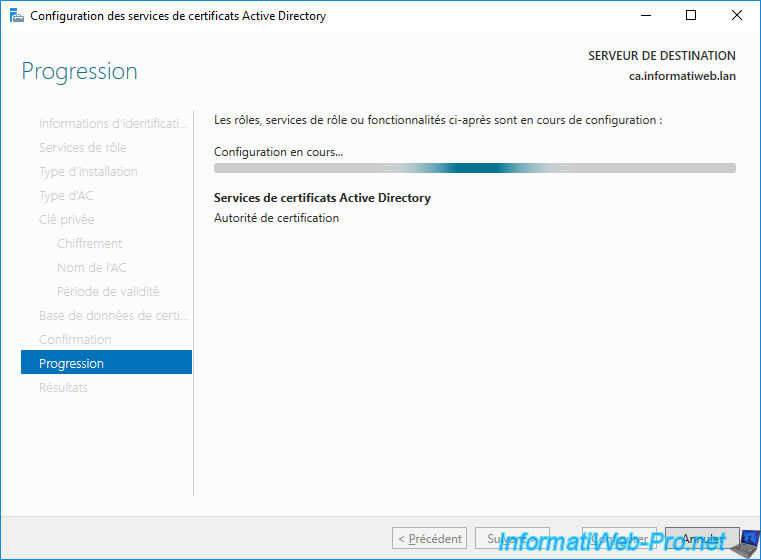
A summary of your authority configuration appears.
Click Configure.

Wait while configuring your CA.
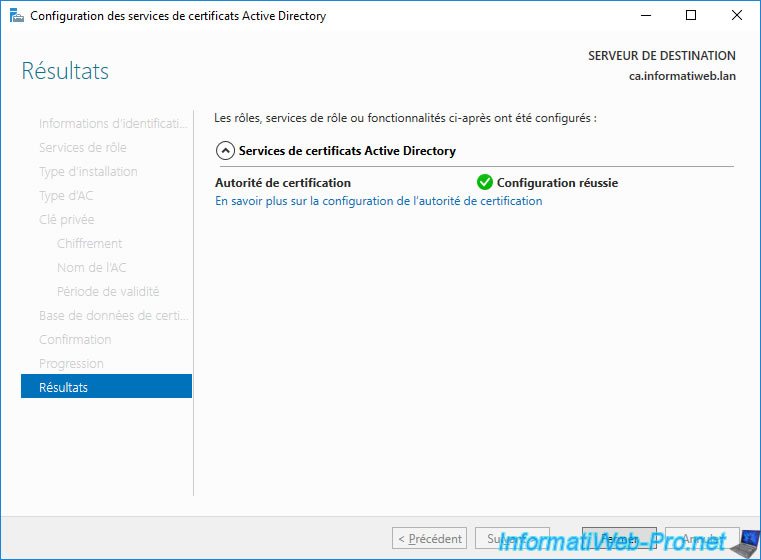
The "Configuration succeeded" message appears.
Click Close.
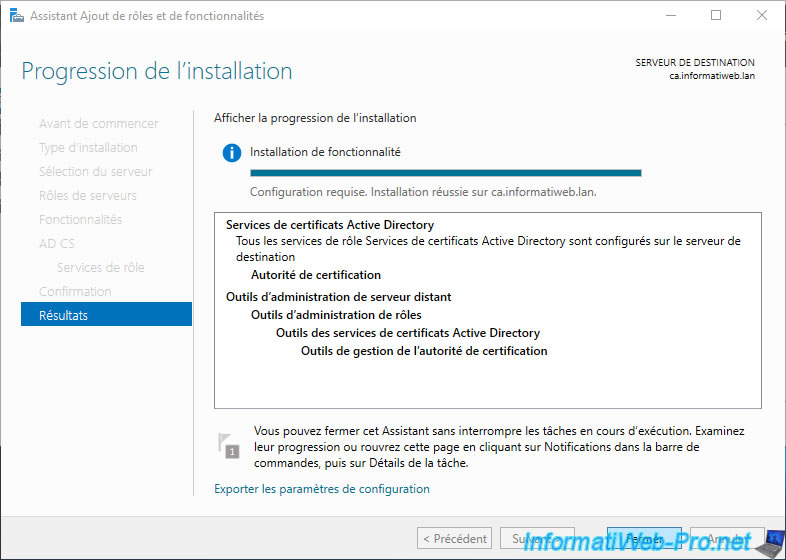
Now that the Active Directory Certificate Services role services have been configured, click Close.
7. Revocation list
When you issue certificates from your certification authority, you have the option of revoking (invalidating) one of these certificates to block its use.
This can be practical when a certificate has been stolen or the key associated with a certificate has been compromised by a hacker, for example.
So that the client is aware of this problem (and therefore this revocation of certificates), your certification authority provides one or more revocation lists. These revocation lists allow you to list all the certificates that have been revoked by your certification authority.
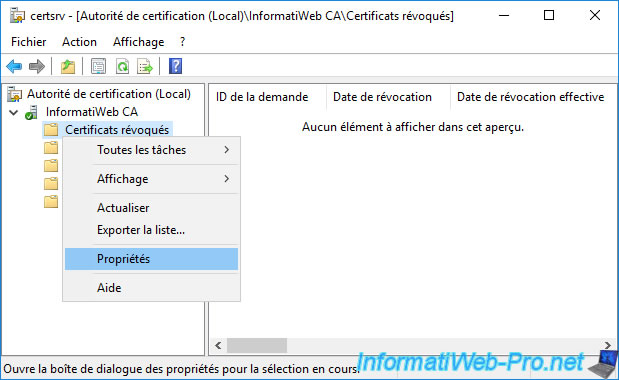
To see the revocation lists available on your CA, open the "Certification Authority" console (certsrv) and right-click "Properties" on the "Revoked Certificates" folder.

In the "View CRLs" tab that is displayed, you will see that a 1st certificate revocation list has already been published (although this one is currently empty).
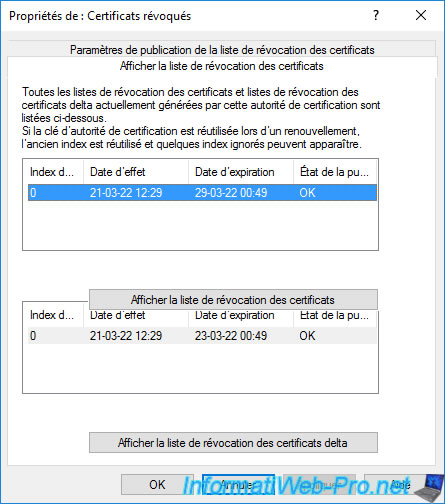
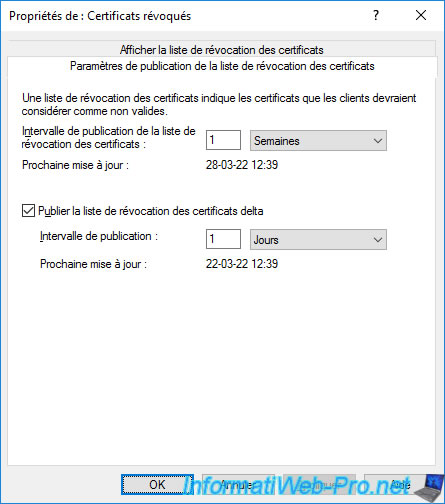
In the "CRL Publication Parameters" tab, you can choose how often your CA should publish a Certificate Revocation List (CRL).
Your certificate authority may also publish delta Certificate Revocation Lists (CRLs) more frequently.
The difference between a Certificate Revocation List (CRL) and the delta Certificate Revocation List (CRL) is that :
- the certificate revocation list (CRL) contains the list of all certificates that have been revoked up to the time this CRL was published
- the certificate revocation list (CRL) delta contains the list of all certificates that have been revoked between the date of publication of the base CRL and the date on which this CRL delta was published.
The main advantage being that it saves clients from having to re-download the full list each time a new certificate is revoked.
Note that these parameters can also be modified on the command line if you wish using the "certutil" tool :
Batch
Certutil -setreg CACRLPeriod Weeks
Certutil -setreg CACRLPeriodUnits 1
Certutil -setreg CACRLDeltaPeriod Days
Certutil -setreg CACRLDeltaPeriodUnits 1
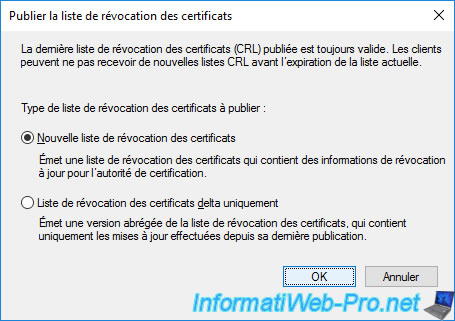
If there is no CRL in your case, you can easily publish your 1st CRL by right clicking "All Tasks -> Publish" on "Revoked Certificates".
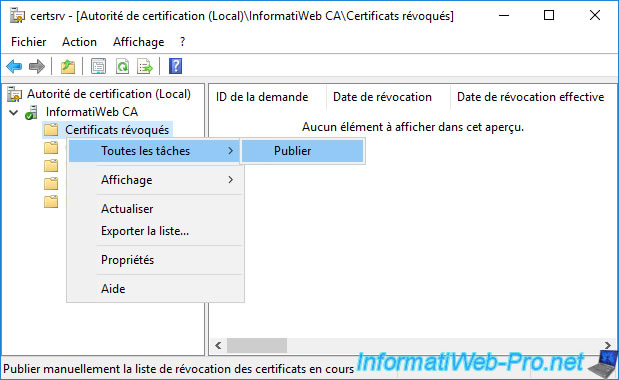
In the "Publish CRL" window that appears, select "New CRL" and click OK.
Then, right-click "Properties" again on "Revoked Certificates".
The published revocation list will appear in the "View CRLs" tab.

Share this tutorial
To see also
-

Articles 1/26/2024
SafeNet Authentication Client (SAC) - Installation and overview
-

Articles 9/8/2023
What is encryption and how does it work ?
-
Windows Server 12/29/2023
WS 2016 - AD CS - Backup and restore a certificate authority (CA)
-

Windows Server 1/19/2024
WS 2016 - AD CS - Buy smart cards and log in via them
No comment