Deploy a multi-site PKI infrastructure on Windows Server 2016
- Windows Server
- 22 December 2023 at 11:41 UTC
-

- 2/5

5. Storing standalone root CA information in Active Directory
In order for your clients to know about the existence of your standalone root CA, as well as its revocation lists, you need to publish this information in your Active Directory infrastructure.
When you deploy an enterprise CA, this process is automatic since it requires binding to an Active Directory domain.
However, this is not the case for the standalone root CA since it has no knowledge of your Active Directory domain.
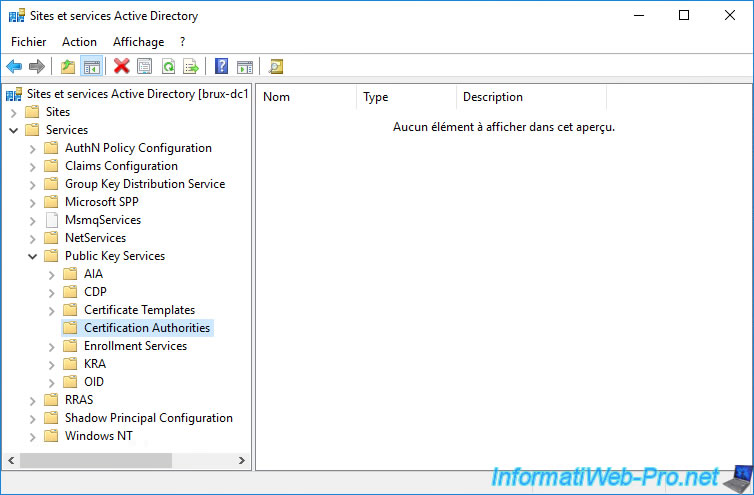
On one of your domain controllers at your company headquarters (in our case : in Brussels), open the "Active Directory Sites and Services" console and select the "Active Directory Sites and Services" root node.
Next, add the "Services" node by clicking on : View -> Show Services Node.
If you go to the "Services -> Public Key Services -> Certification Authorities" folder, you will see that it's empty and therefore your standalone root CA doesn't appear.
On your standalone root CA, run this command to let it know where in your Active Directory domain to store its information.
Batch
certutil -setreg CA\DSConfigDN CN=Configuration,DC=informatiweb,DC=lan
Which will display this:
Plain Text
HKEY_LOCAL_MACHINE\SYSTEM\CurrentControlSet\Services\CertSvc\Configuration\InformatiWeb Root CA !0028Brux!0029\DSConfigDN:

New Value :
   DSConfigDN REG_SZ = CN=Configuration,DC=informatiweb,DC=lan
CertUtil: -setreg command completed successfully.
The CertSvc service may need to be restarted for changes to take effect.
As indicated by the command earlier, restarting the "CertSvc" service may be necessary.
To restart it, use the command :
Batch
net stop certsvc && net start certsvc
Which will display this :
Plain Text
The Active Directory Certificate Services service is stopping.
The Active Directory Certificate Services service was stopped successfully.

The Active Directory Certificate Services service is starting.
The Active Directory Certificate Services service was started successfully.
To check that the 1st command has been taken into account, run the command :
Batch
certutil -getreg CA\DSConfigDN
Which will display this :
Plain Text
HKEY_LOCAL_MACHINE\SYSTEM\CurrentControlSet\Services\CertSvc\Configuration\InformatiWeb Root CA !0028Brux!0029\DSConfigDN:

  DSConfigDN REG_SZ = CN=Configuration,DC=informatiweb,DC=lan
CertUtil: -getreg command completed successfully.
6. Change autonomous root CA CDP and AIA publishing locations
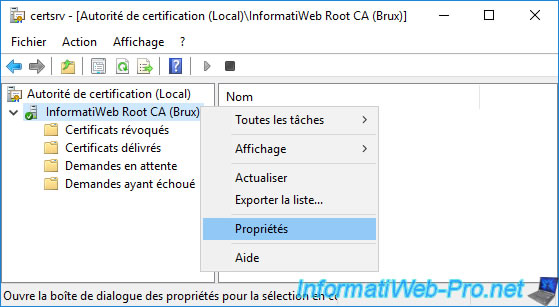
On your standalone root CA, launch the "Certification Authority" console and right-click "Properties" on its name.
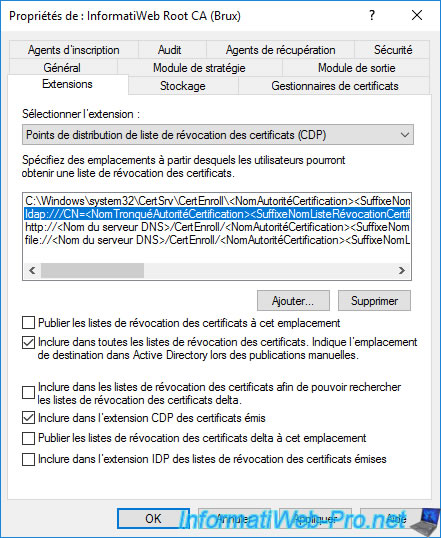
In the properties window that appears, go to the "Extensions" tab and select : CRL Distribution Point (CDP).
Then, select the "ldap://..." path and check only the boxes :
- Include in all CRLs. ...
- Include in the CDP extension of issued certificates.
For the other paths (http://... and file://), uncheck all the boxes since these will be useless in this case.
This is because your standalone root CA will need to stay offline for security reasons and therefore these paths will never be accessible over the network.
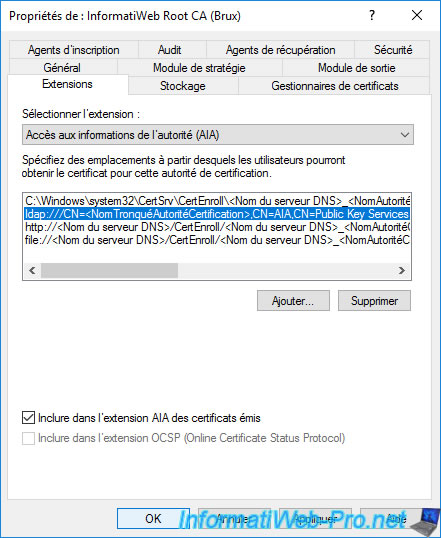
Then, select "Authority Information Access (AIA)" at the top of the window and select the "ldap://" path.
Check the "Include in the AIA extension of issued certificates" box.
Again, for the other paths (http://... and file://), uncheck all the boxes as these will be useless in this case.
Now, configuring these CDP and AIA options allows your standalone root CA to specify in the certificates it will issue that its revocation information (CDP) and authority information (AIA) resides within your Active Directory infrastructure.
Click OK to save these new settings.
Confirm restarting Active Directory Certificate Services by clicking Yes.
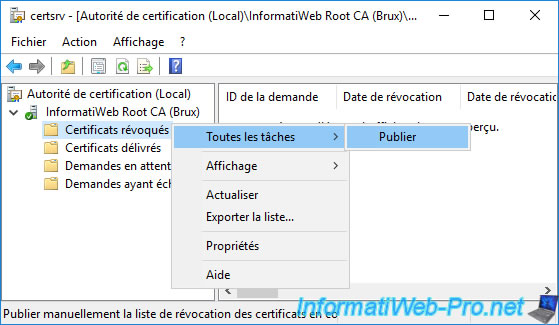
Publish a first revocation list (even if it will be empty for the moment) and right-click "All Tasks -> Publish" on : Revoked Certificates.
Note : without this revocation list, the secondary certification authorities will not be able to function, because they will not be able to check the revocation of the certificate of your root certification authority.
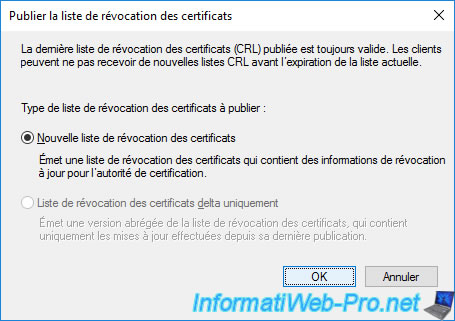
Click OK to publish your complete Certificate Revocation List (CRL).
Note : as you can see, you can't publish a delta certificate revocation list on a standalone root CA.
Moreover, it would be of no interest given that this authority must remain offline as much as possible for security reasons.
7. Publish your standalone root CA information to your Active Directory
Now that your standalone root CA is configured to tell your clients that its revocation (CDP) and authority (AIA) information is in your Active Directory infrastructure, you need to manually publish that information there.
To do this, retrieve the certificate and Certificate Revocation List (CRL) of your standalone root CA from its "C:\Windows\System32\CertSrv\CertEnroll" folder.
Then, copy them to one of your Active Directory domain controllers to be able to import this data into your Active Directory infrastructure.
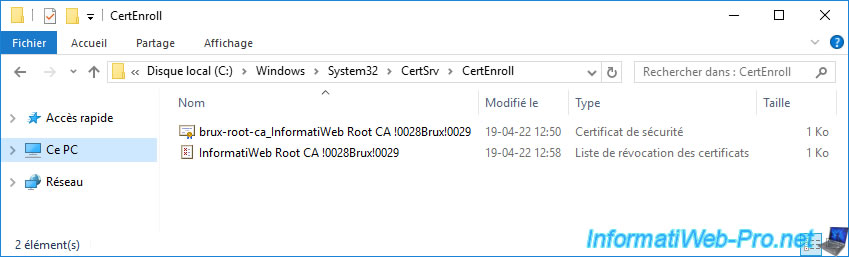
In our case, we copied the 2 files above into the "C:\Root CA data" folder of our domain controller located in Brussels.
To get started, import your standalone root CA certificate.
Note : the last parameter "rootca" indicates that it's a root certification authority.
Batch
certutil -dspublish -f "C:\Root CA data\brux-root-ca_InformatiWeb Root CA !0028Brux!0029.crt" rootca
Which will display this :
Plain Text
ldap:///CN=InformatiWeb Root CA !0028Brux!0029,CN=Certification Authorities,CN=Public Key Services,CN=Services,CN=Configuration,DC=informatiweb,DC=lan?cACertificate

Certificate added to DS store.

ldap:///CN=InformatiWeb Root CA !0028Brux!0029,CN=AIA,CN=Public Key Services,CN=Services,CN=Configuration,DC=informatiweb,DC=lan?cACertificate

Certificate added to DS store.

CertUtil: -dsPublish command completed successfully.
Then, import the certificate revocation list from your standalone root CA :
Batch
certutil -dspublish "C:\Root CA data\InformatiWeb Root CA !0028Brux!0029.crl"
Which will display this :
Plain Text
ldap:///CN=InformatiWeb Root CA !0028Brux!0029,CN=brux-root-ca,CN=CDP,CN=Public Key Services,CN=Services,CN=Configuration,DC=informatiweb,DC=lan?certificateRevocationList?base?objectClass=cRLDistributionPoint?certificateRevocationList

Base CRL added to DS store.

CertUtil: -dsPublish command completed successfully.
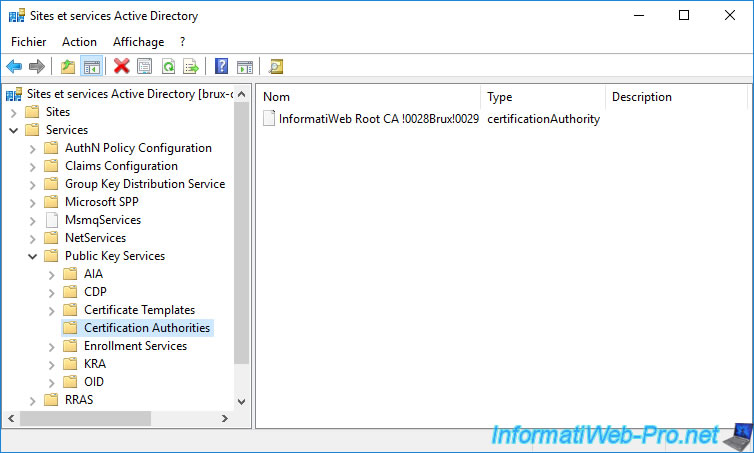
Once this information has been imported into your Active Directory infrastructure, you will be able to see it appear using the "Active Directory Sites and Services" console.
As you can see, your standalone root CA appears in the "Services -> Public Key Services -> Certification Authorities" folder.
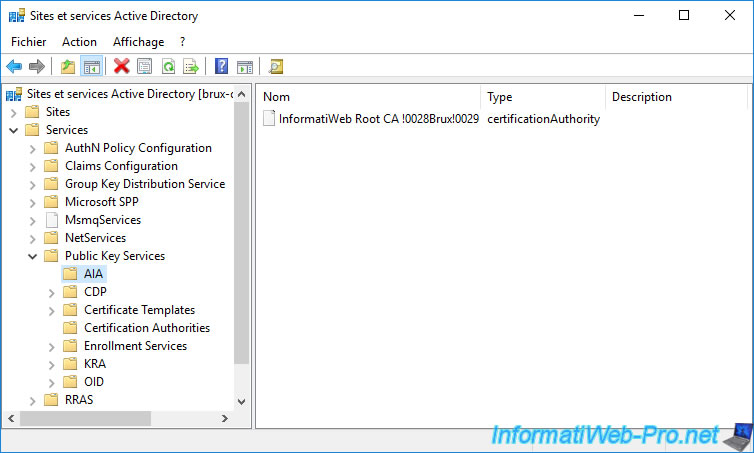
You will also see it appear in the "Services -> Public Key Services -> AIA" folder.
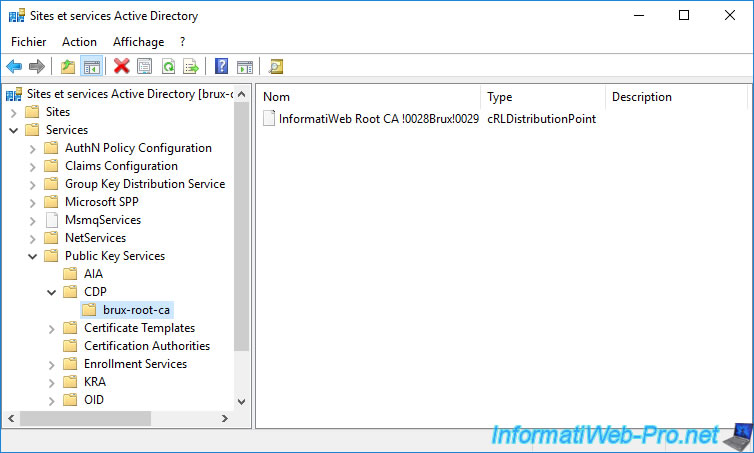
For its certificate revocation list (CRL), you will see it appear in the "Services -> Public Key Services -> CDP -> [name of the server where the root CA is installed]" folder.
8. Configure enterprise sub-certificates (at each physical site)
Now that your standalone root CA is installed, configured, and its information is published to your Active Directory infrastructure, you can configure your enterprise secondary CAs.
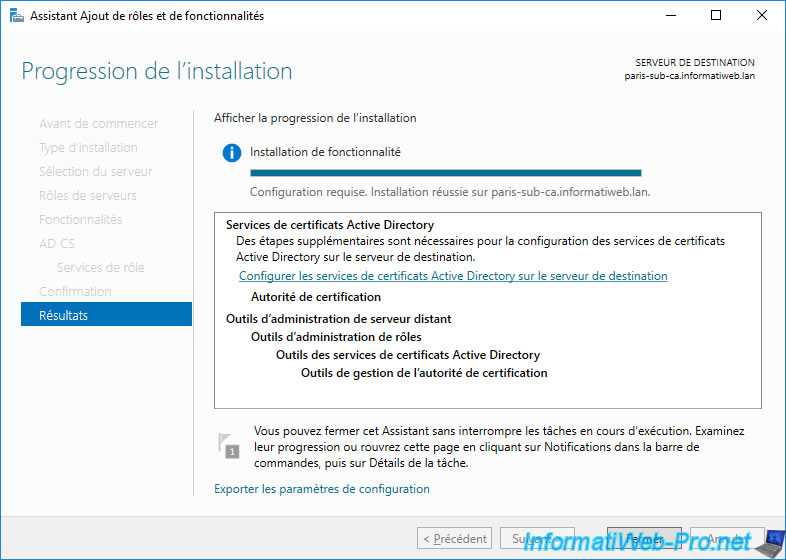
To do this, in the wizard for adding roles and features that remained open on your "brux-sub-ca" and "paris-sub-ca" servers, click on the link "Configure Active Directory Certificate Services ..." displayed.

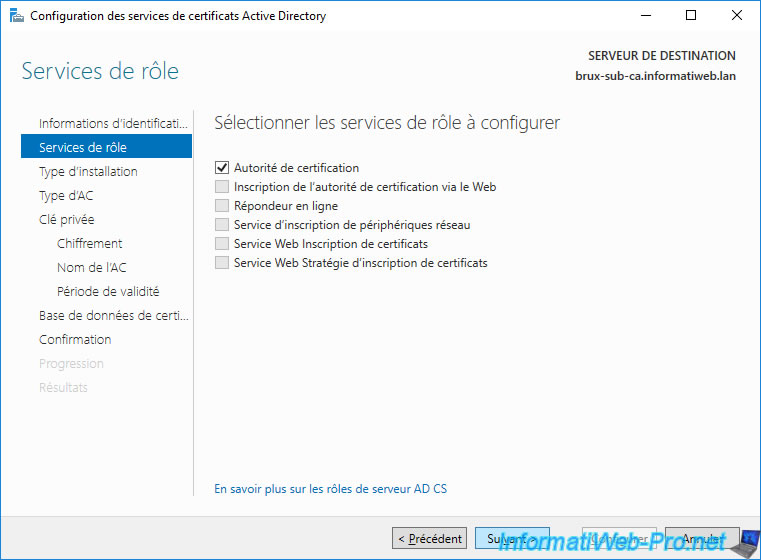
The "AD CS Configuration" wizard appears.
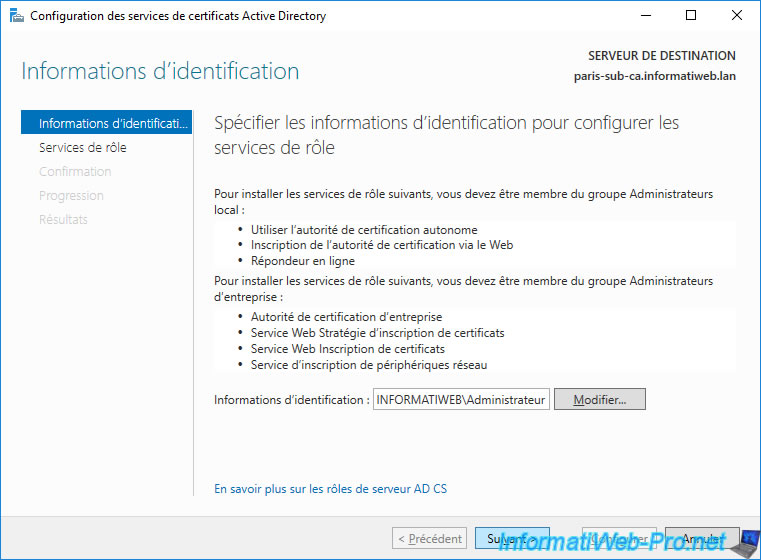
Since your servers are members of your Active Directory domain, you will configure your enterprise subordinate CAs with the Domain Administrator account.

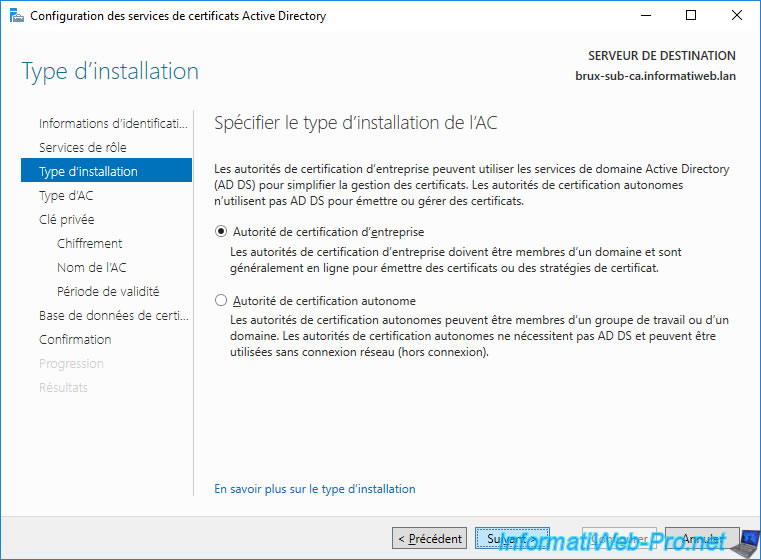
Check the "Certification Authority" box and click Next.
Select "Enterprise CA".
Note : if this option is grayed out, you forgot to join your server to your Active Directory domain.
Select "Secondary CA".

Select "Create a new private key".

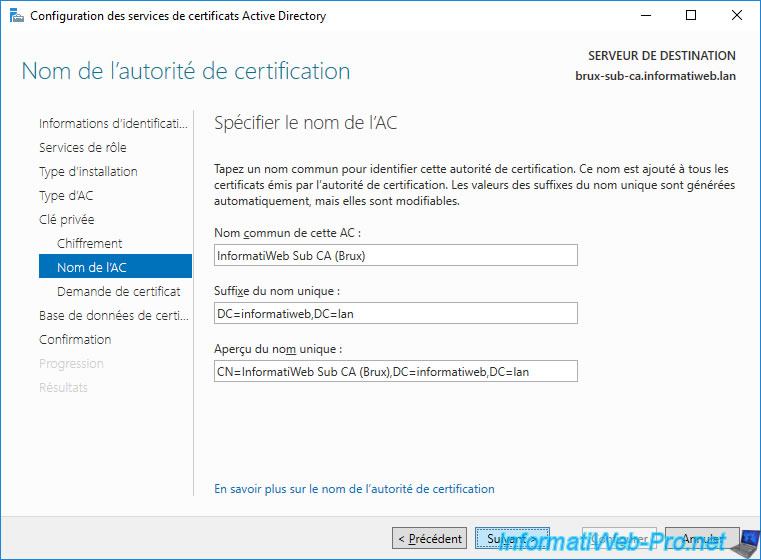
Provide a name for your subordinate CA.
For that of Brussels, we named it : InformatiWeb Sub CA (Brux).
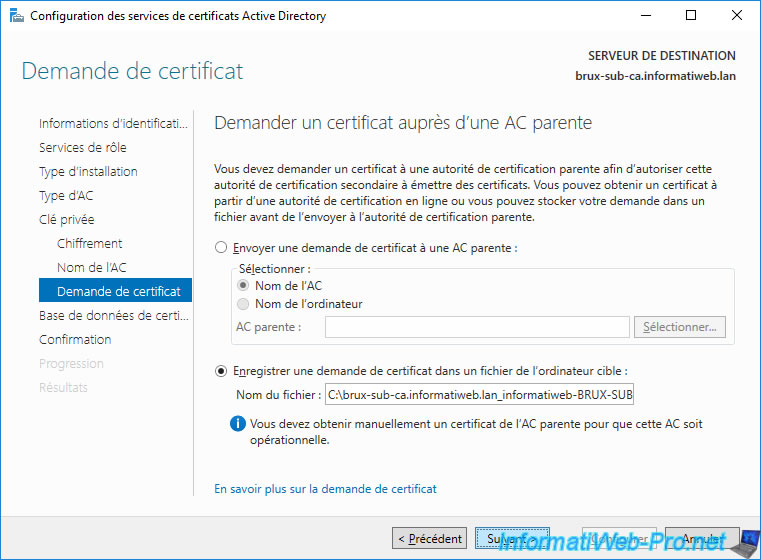
Since it's a subordinate CA, its certificate will need to be obtained and signed from a parent CA (in this case : your autonomous root CA).
However, since your autonomous root CA must remain offline, you will not be able to send the certificate request directly to it through this wizard.
So, select the option "Save a certificate request to file on the target machine" and click Next.
Note : as you can see, by default, the certificate request will be created at the root of your "C" partition.
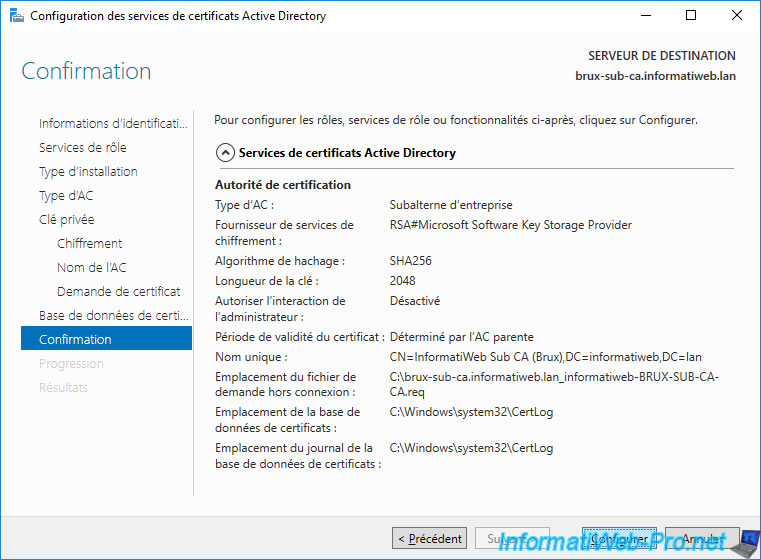
A summary of your secondary (subordinate) enterprise certificate authority configuration appears.
Click on : Configure.
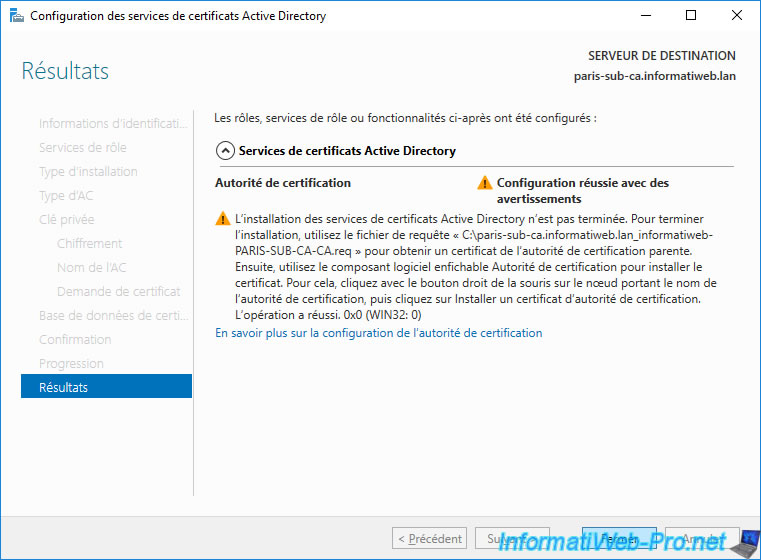
As you can see, a "Configuration succeeded with warnings" message appears.
This is because you must first submit the request file from your future enterprise secondary (subordinate) CA to your standalone root CA in order to use it.

Don't forget to also configure your 2nd secondary enterprise CA on the other physical site.
In our case, it's that of Paris.
Again, you will configure this enterprise subordinate CA with the domain "Administrator" account.
Provide a name for this 2nd subordinate enterprise CA.
In our case, that of Paris will be called : InformatiWeb Sub CA (Paris).

Again, a summary of your 2nd secondary (subordinate) enterprise CA configuration appears.
Click on : Configure.

Again, a warning is displayed as you must first submit the created certificate request to your standalone root CA.
Share this tutorial
To see also
-

Articles 1/26/2024
SafeNet Authentication Client (SAC) - Installation and overview
-

Articles 9/8/2023
What is encryption and how does it work ?
-
Windows Server 12/29/2023
WS 2016 - AD CS - Backup and restore a certificate authority (CA)
-

Windows Server 1/19/2024
WS 2016 - AD CS - Buy smart cards and log in via them
No comment