Create a recovery agent to recover certificates on Windows Server 2016
- Windows Server
- 05 January 2024 at 12:04 UTC
-

- 4/4

10. Loss of certificate
As explained previously, archiving the certificates and their associated private keys allows you as a recovery agent to be able to recover the certificates and their private keys in the event of a problem.
For example, if a server, computer, or its hard drive crashes and you are no longer able to recover the certificate on it, you will need to contact your recovery agent to provide you with your certificate and your associated private key.
For this tutorial, we will simulate the loss of a personal certificate, as well as its associated private key by right-clicking "Delete" on it.
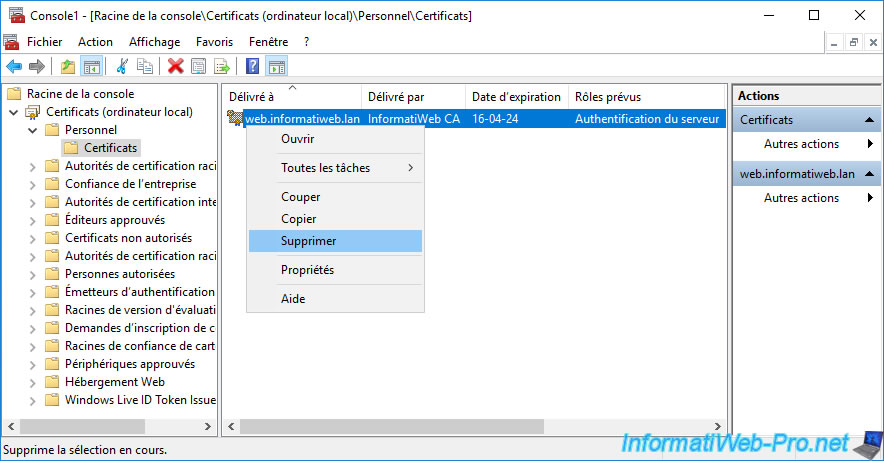
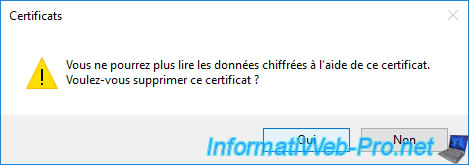
Confirm deletion of this personal certificate on this server.
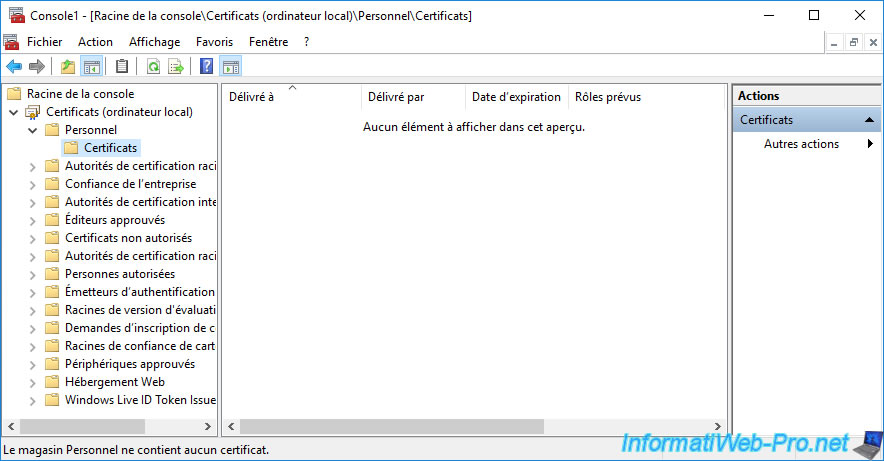
Now, your personal certificate no longer exists on your server.
11. Restore a lost certificate
11.1. Verify that the private key has been archived
Before attempting to retrieve a certificate, you can check whether the private key associated with the desired certificate has been archived.
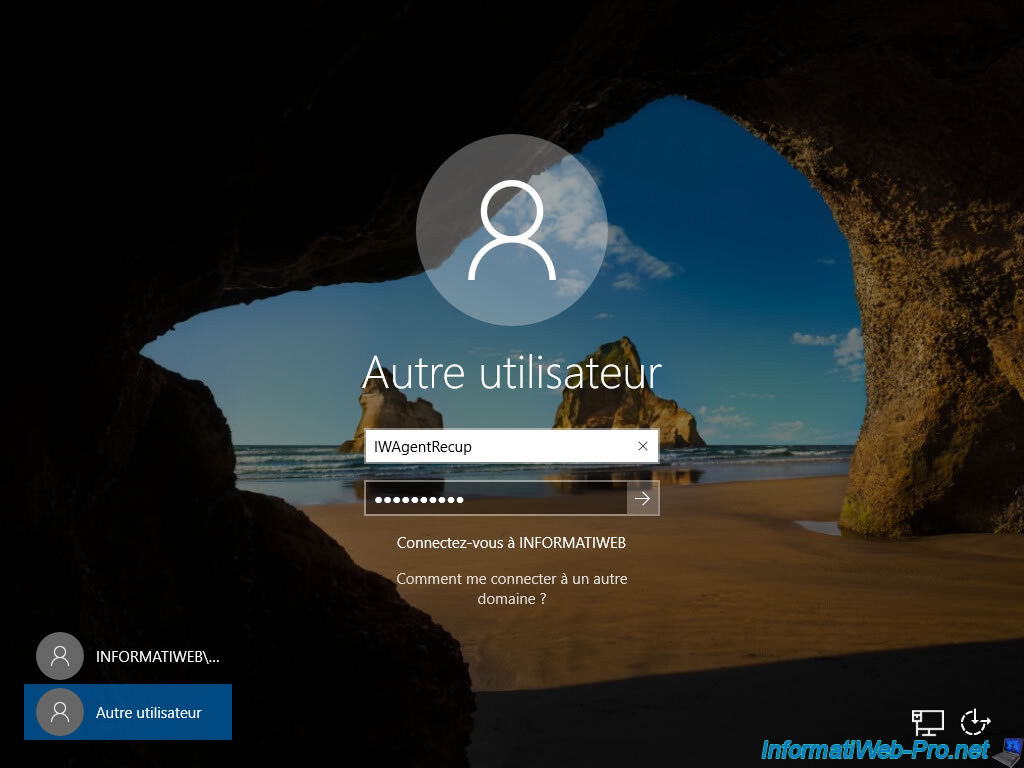
To do this, log on to your certification authority as a recovery agent.
Open the "Certification Authority" console and go to the "Issued Certificates" folder.
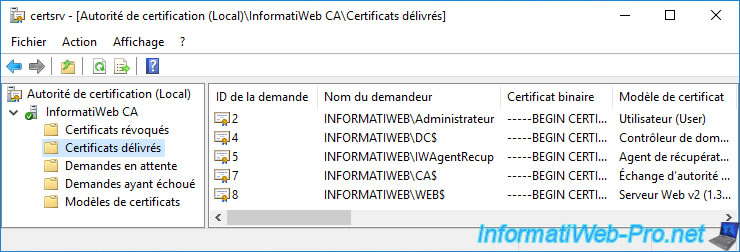
By default, key archival information is not displayed.
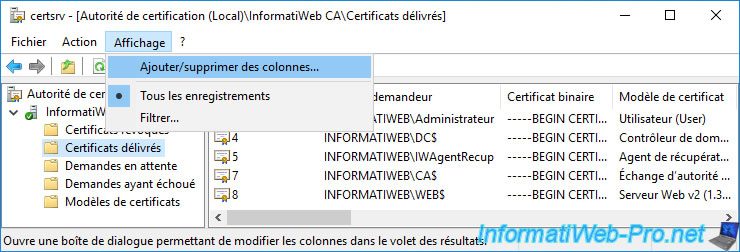
To display it, go to the "View -> Add/Remove Columns" menu.
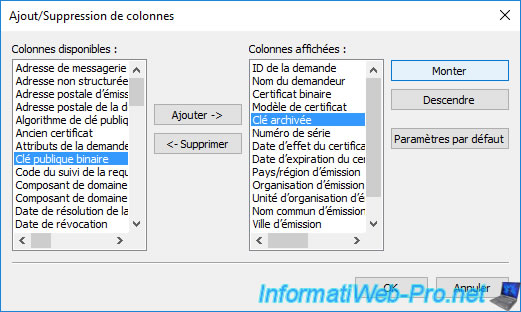
In the "Add/Remove Columns" window that appears, select the "Archived Key" column in the list on the left (Available columns) and click on : Add.

Then, go up this column in the list on the right by selecting the "Archived Key" value (on the right), then clicking several times on the "Move Up" button.
In our case, we placed it just after the "Certificate Template" column.
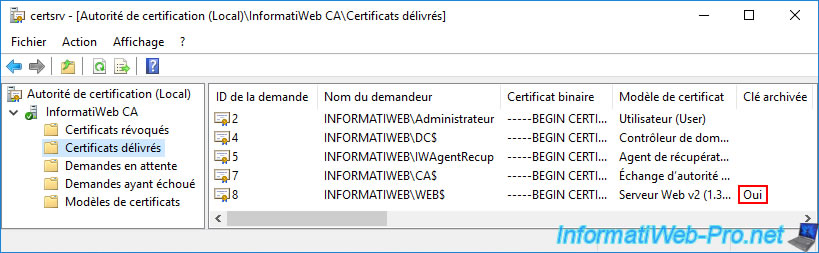
Now, you can easily see that your last issued certificate key has been archived.
Which means that it will be possible to recover this certificate, as well as its associated private key as a recovery agent.
11.2. Export the certificate in PFX format
To be able to retrieve a certificate in PFX format (certificate + associated private key), you will need its digital fingerprint.
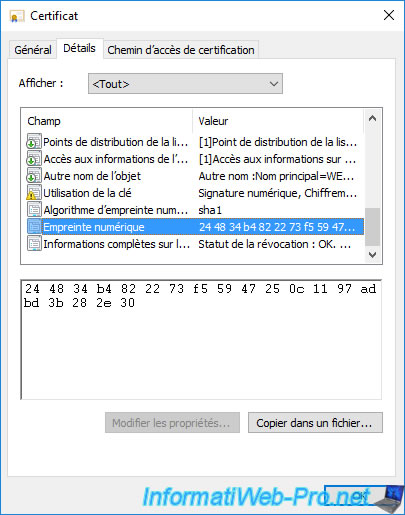
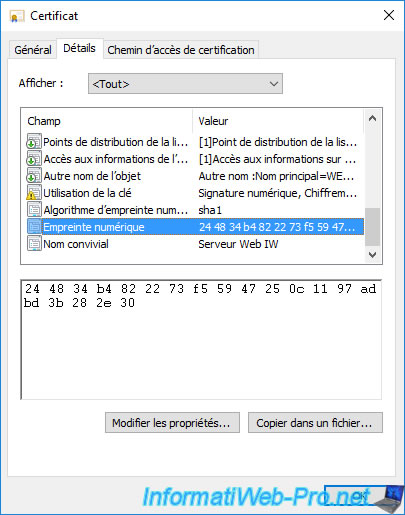
To do this, double-click on the certificate to retrieve in the "Issued Certificates" folder and go to the "Details" tab.
Then, select the "Thumbprint" field and copy it by selecting it and then using the keyboard shortcut "CTRL + C".
Note : this thumbprint is used to uniquely identify a certificate on your certification authority.
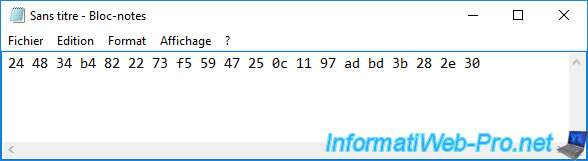
Paste this value into Notepad.
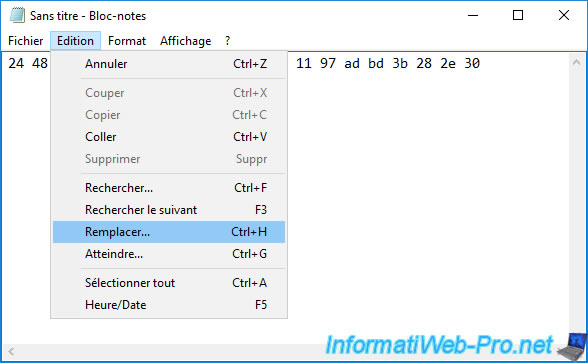
Go to the "Edit -> Replace" menu in Notepad.
Remove white spaces by indicating a space in the 1st box and leave the 2nd box empty.
Then, click : Replace All.
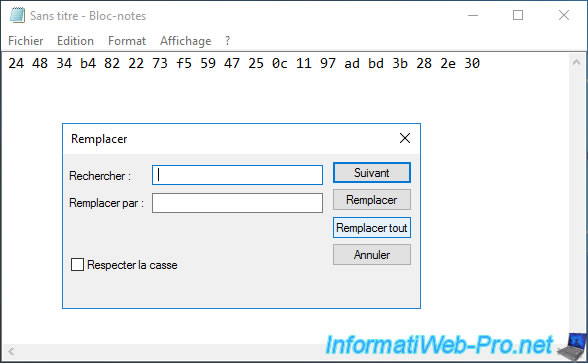
Spaces have been removed.
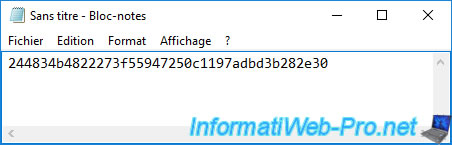
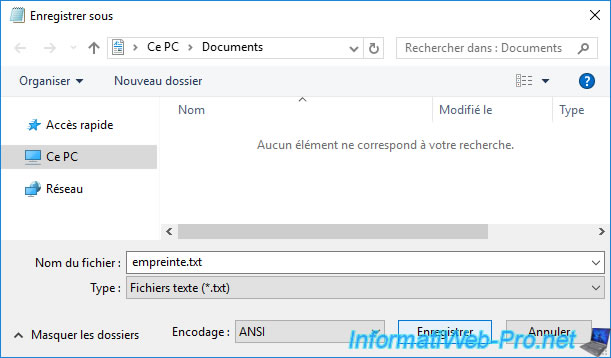
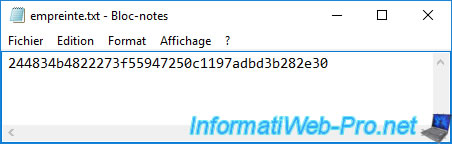
Save this thumbprint as "thumbprint.txt" (for example).
Note : as you can see at the bottom of the window, the notepad uses the "ANSI" encoding by default.
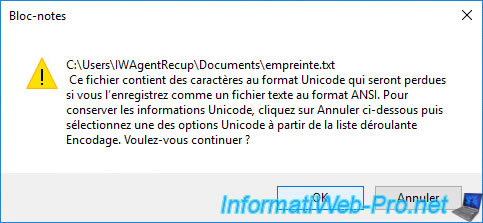
When saving this text file, Notepad will tell you that Unicode format characters are present.
Indeed, the thumbprint is stored in Unicode in your certificate.
Click OK to confirm saving this file in ANSI format.
Then, close notepad and open the file that was saved again.
As you can see, a "?" appeared at the beginning of your thumbprint.
Delete this character and save this file again (under the same name).
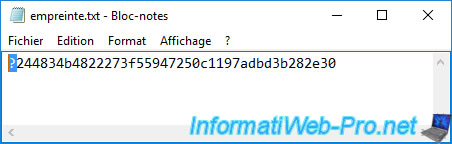
Now, you have your correct thumbprint.
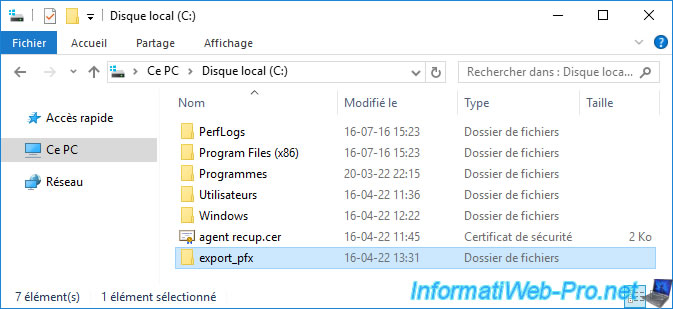
Create an "export_pfx" folder (for example) at the root of the "C" partition to store future BLOB and PFX files that will be created via the "certutil" command.
Note : it's impossible to write files without administrator rights at the root of the "C" partition.
If you try to do so, an error will occur when you use the "certutil" command as explained later in this tutorial.
To retrieve a certificate, as well as its private key, you will need 2 parameters from the "certutil" command:
- -GetKey : creates a binary file (BLOB) that will be used by the next command.
- -RecoverKey : allows you to regenerate a PFX certificate (certificate + private key) to be able to restore the desired certificate
Note : you can easily get this information by running the command :
Batch
certutil /?

To get started, use the command below, replacing the thumbprint shown here with the thumbprint of the certificate you want to recover.
Batch
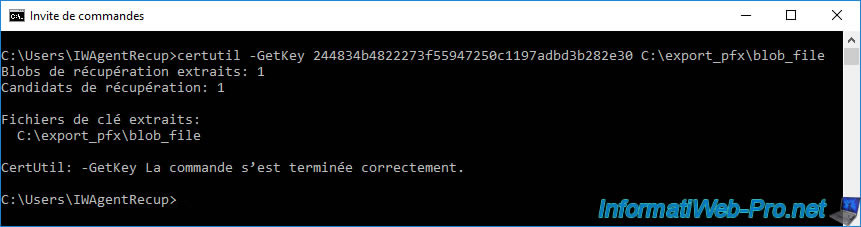
certutil -GetKey 244834b4822273f55947250c1197adbd3b282e30 C:\export_pfx\blob_file
If you have the necessary rights on your CA, as well as a valid recovery agent certificate, there will be no problem creating the BLOB file.
Plain Text
Recover blobs retrieved: 1
Recovery Candidates: 1

Retrieved keyfiles:
  C:\export_pfx\blob_file

CertUtil: -GetKey command completed successfully.
If the specified thumbprint is incorrect (which can happen if you copied it directly from the desired certificate instead of going through notepad) or if you don't have the necessary rights on your certification authority, this error may occur :
Plain Text
Recover blobs retrieved: 0
CertUtil: -GetKey command FAILED : 0x80094004 (-2146877436 CERT_SRV_E_PROPERTY_EMPTY)
CertUtil: The requested property value is empty.
![]()
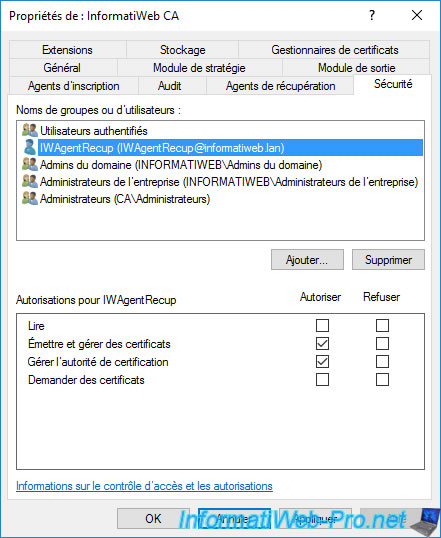
If you received the error above, log in as the domain administrator on your CA and right-click "Properties" on your CA name.
Then, go to the "Security" tab and ensure that you have granted the permissions below to your recovery agent :
- Issue and Manage Certificates : to be able to retrieve the private key via the "certutil -GetKey ..." command mentioned above.
- Manage CA : to be able to access the list of certificates issued and their thumbprint (necessary to use the command mentioned above).
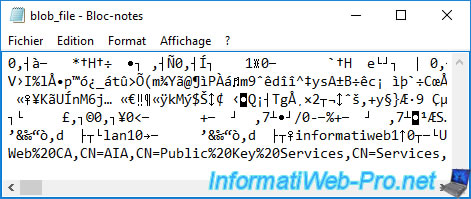
Once the "certutil -GetKey ..." command has been executed without problem, you will see that a "blob_file" has been created.
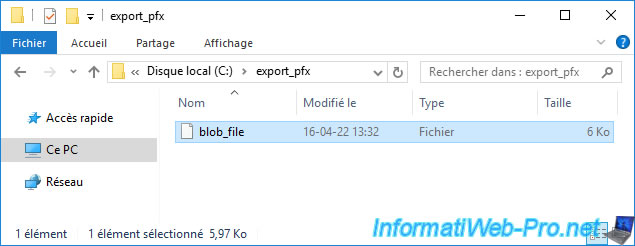
Note that this file is not human readable.
Now that you have this BLOB file, all you need to do is use the command below to regenerate the PFX certificate to restore the certificate and private key to the desired computer or server.
The 2 parameters to modify being the access path to the BLOB file generated by the previous "certutil" command, then the location where the certificate in PFX format will be saved.
Batch
certutil -RecoverKey C:\export_pfx\blob_file C:\export_pfx\WebServerIW.pfx
If the recovery of the certificate goes without problem, this command will ask you to specify a password to protect the private key which will be in the certificate in PFX format.
Which will give this :
Plain Text
Enter new password :
Confirm new password :

Recovered key files:
  C:\export_pfx\ServeurWebIW.pfx
CertUtil: -RecoverKey command completed successfully.
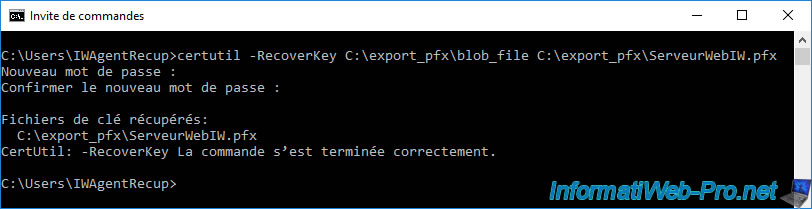
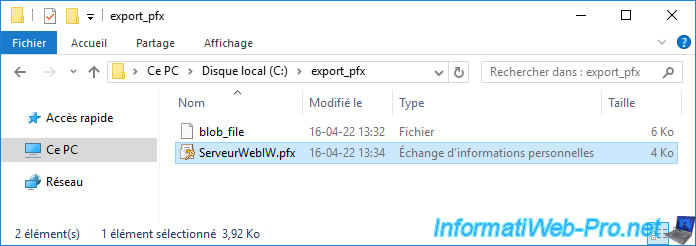
As expected, the certificate in PFX format has been recreated.
11.3. Import the retrieved PFX certificate
Now that you have recovered the certificate, along with its associated private key that had been lost, all you need to do is import the generated PFX file into your "Personal" certificate store.
To do this, double click on it.
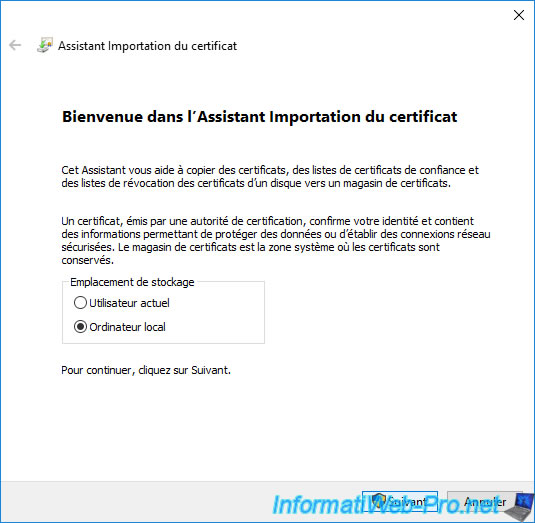
The certificate import wizard appears.
Since in our case it's a certificate for a web server, we will select "Local Machine" as the storage location.
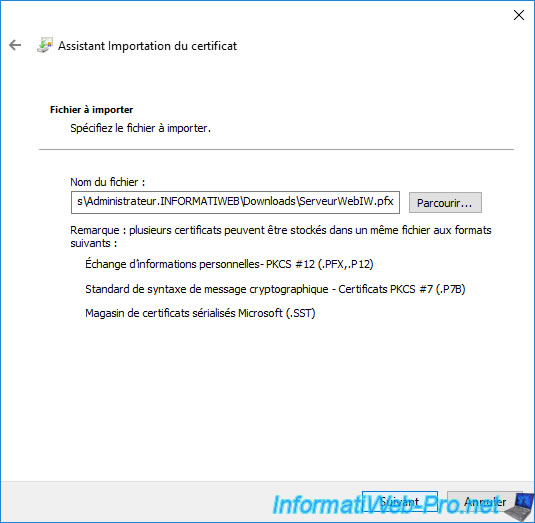
The path to the certificate to import appears automatically.
Click Next.
Specify the password protecting the private key (indicated previously via the "certutil -RecoverKey" command) and check the "Mark this key as exportable" box if you wish to be able to later export this certificate in PFX format from your certificate store.
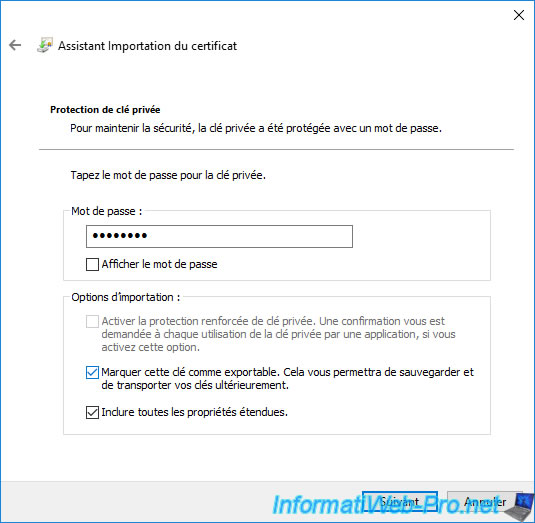
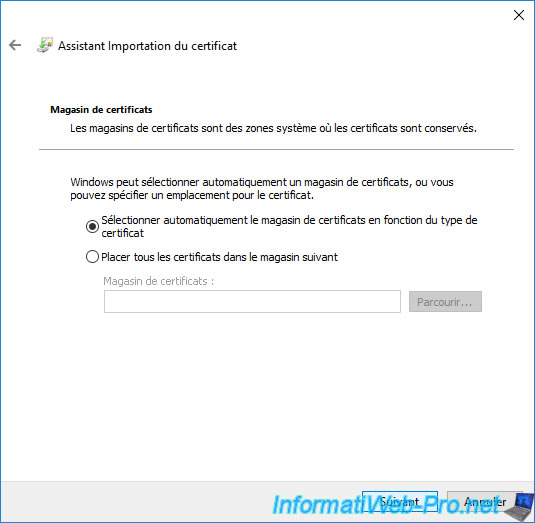
Leave the "Automatically select the certificate store based on the type of certificate" option selected and click Next.
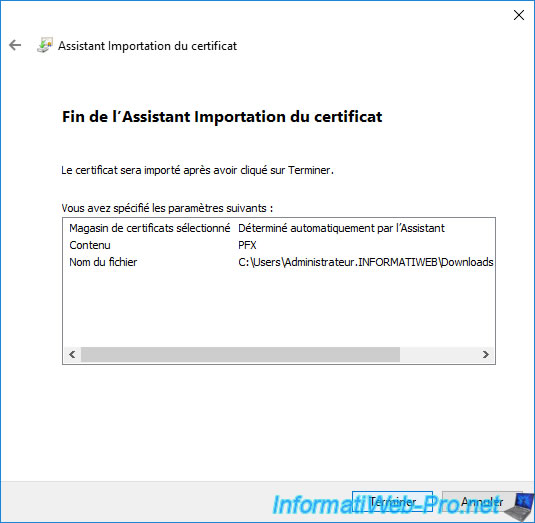
Click Finish.
The "The import was successful" message appears.
Click OK.
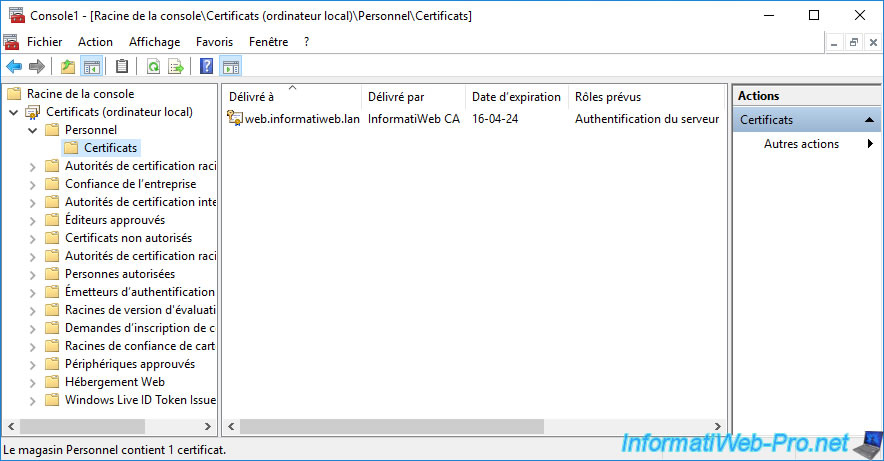
Open a "mmc" console and add the "Certificates" component for the local machine or current user (depending on the storage location selected earlier in the certificate import wizard).
As you can see, your certificate has been restored to your "Personal" certificate store.
If you double click on it, you will see that this certificate has been restored with its associated private key.
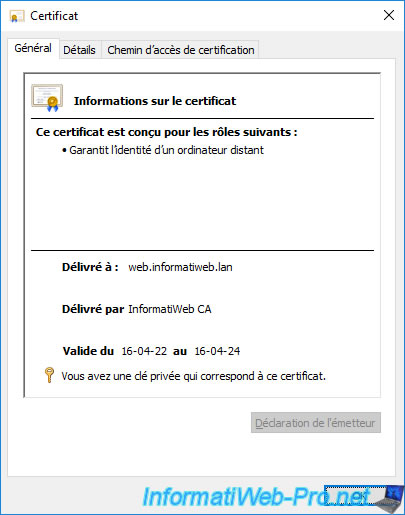
If you go to the "Details" tab of this certificate, you will be able to see that its thumbprint has not changed.
Which indicates that it's the same certificate as before.
Share this tutorial
To see also
-

Articles 1/26/2024
SafeNet Authentication Client (SAC) - Installation and overview
-

Articles 9/8/2023
What is encryption and how does it work ?
-
Windows Server 12/29/2023
WS 2016 - AD CS - Backup and restore a certificate authority (CA)
-

Windows Server 1/19/2024
WS 2016 - AD CS - Buy smart cards and log in via them
No comment