- Windows Server
- RDS
- 27 August 2014 at 09:26 UTC
-

- 1/3

On Windows Server 2012, we can publish applications that can be used by client computers. This system is called "RemoteApp". This solution allows you to run big applications on the server and use them on the client computer. Therefore applications run on the server (the application uses the CPU, RAM, ... of the server) and the client actually receives only pixels. This saves money in a company by buying a large server and small computers for users.
In this tutorial, we will show you how to set up the base of this system and how to access the "RemoteApp" programs through the browser AND by remote connections of Windows.
New tutorials available for the RDS solution
If you want to implement the RDS solution, we recommend you to follow our new tutorials :
Prerequisite :
- The server used to be a member of an Active Directory.
Warning : The "Broker" service (which used to distribute the clients) can't be installed on a server where an Active Directory is installed. You'll need 2 servers (therefore: 2 Windows Server licenses).
Nevertheless, the "Broker" service is only useful if you use multiple servers for this "Terminal Server" (RemoteApp) solution.
- A SSL certificate signed by a recognized certification authority (if you want to use remote connections of Windows). The web version will also work with a self-signed certificate (but a warning will appear concerning the certificate).
If you want to use remote connections of Windows without buying a certificate, follow our tutorial "Windows Server 2012 - Create a Root CA Enterprise (Root CA)" that will solve the problem.
- Linking the server to the Active Directory
- Install the roles of "Remote Desktop Services"
- Deployment on the server(s)
- Create a "RemoteApp" collection
- Testing and functioning
- Selection and Activation of the license server
- Generate a certificate from your authority certification (if you choose to use our free solution)
- Export the generated certificate (if you choose to use our free solution)
- Import the certificate(s) on the server(s) used
- Configuring Remote Connections in Windows (Work Resources)
1. Linking the server to the Active Directory
To link your server to an Active Directory, refer to Section 3 "Client configuration under Windows 8 Pro" of the tutorial "Windows Server 2012 - Creating an Active Directory".
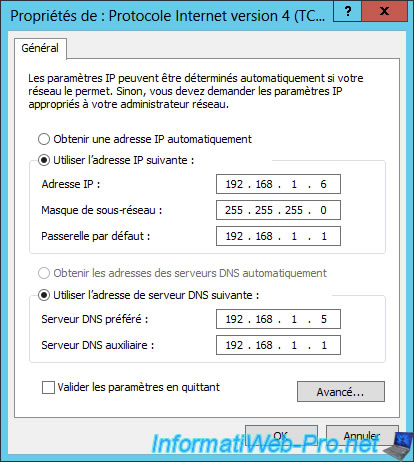
Then, we'll set a static IP address to our server.
For the tutorial, we used two servers :
- A server where we installed an Active Directory (+ a certification authority for not spending money unnecessarily, but this is optional). IP: 192.168.1.5
- The server where we will install the Remote Desktop Services (RemoteApp). IP: 192.168.1.6
2. Install the roles of "Remote Desktop Services"
Installing RemoteApp is done in 2 steps :
- Installation of the roles of "Remote Desktop Services"
- Deployment on one or more servers.
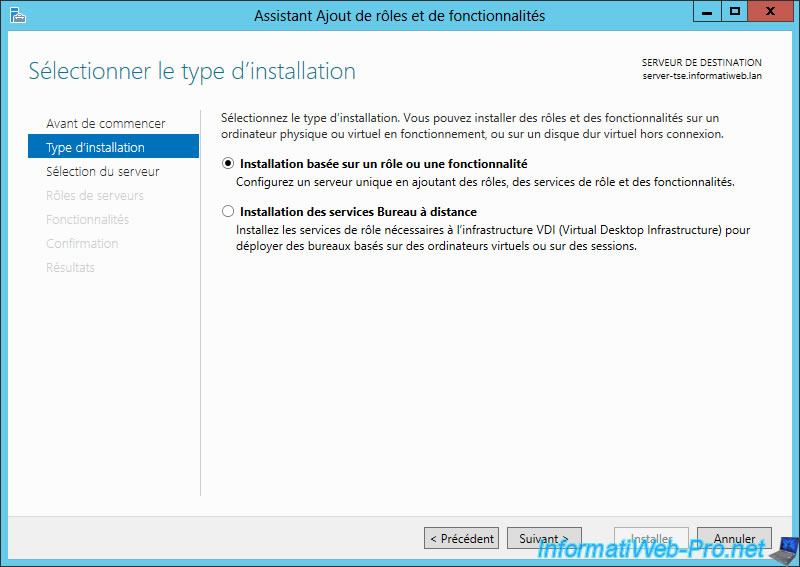
To begin, open the Server Manager and click on "Add Roles and Features". Then, select "Application based on a role or feature".
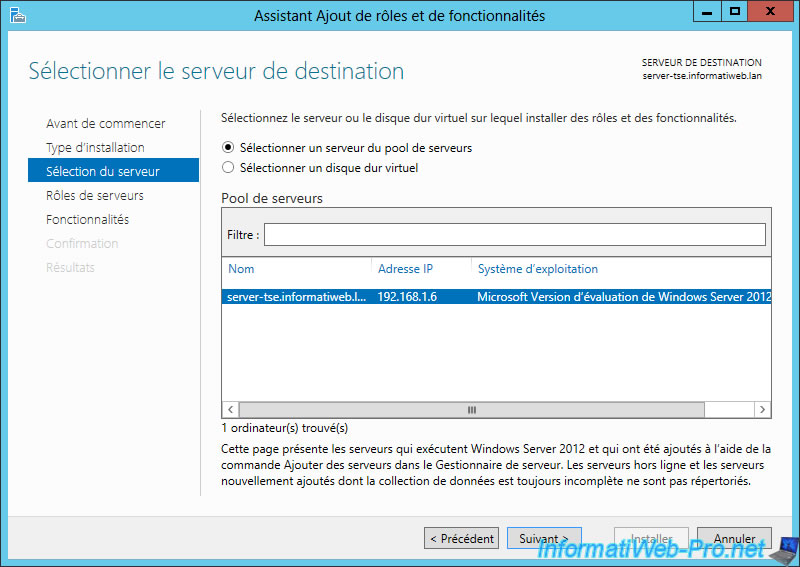
Select the destination server.
Select "Remote Desktop Services".
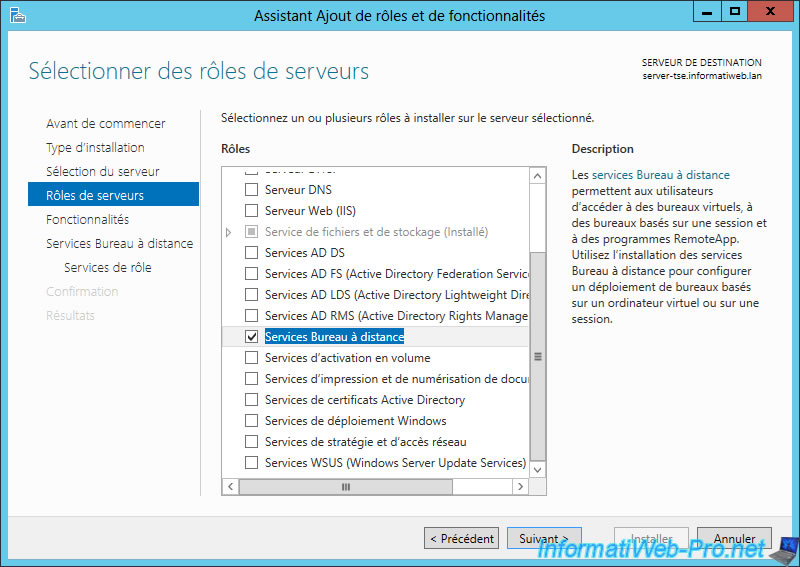
Click next.
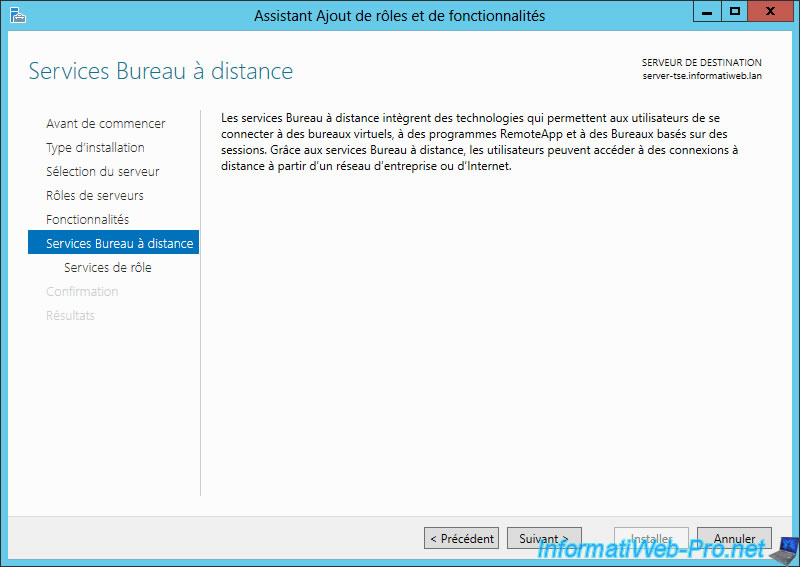
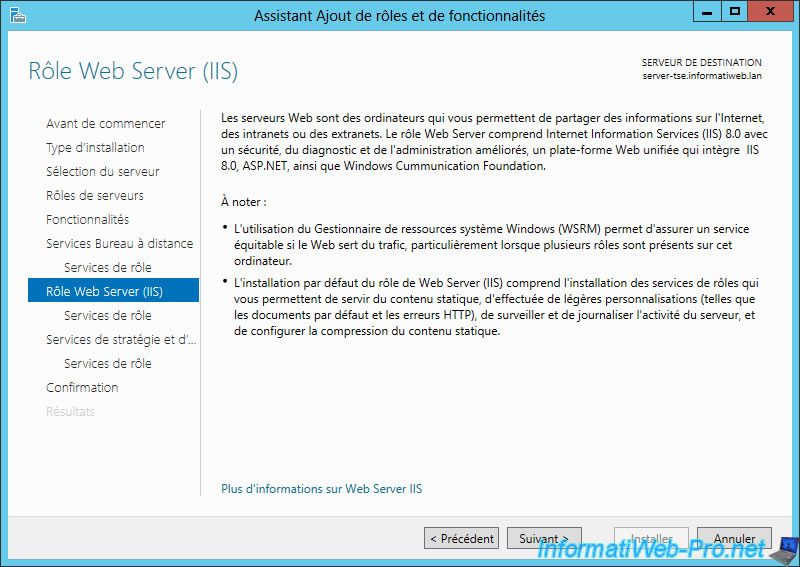
The wizard displays a description of the role : "Remote Desktop Services".
Check the boxes :
- Remote Desktop access by the Web: You can use the RemoteApp programs by accessing the adress : https://[server.domain.extension]/RDWeb
- Licensing Manager of Remote Desktop Services : Manage licenses for published softwares. Warning : You must use volume licensing (when possible) rather than Retail versions for programs to publish.
- Remote Desktop Session Host : Lets you use RemoteApp programs, or session-based desktops.
- Remote Desktop Gateway : Provides access to "RemoteApp" programs, session-based desktops or virtual desktops from outside by a secure connection (https on port 443 by default).
- Service Broker for Remote Desktop connections: To distribute the load on multiple servers and manage server failures. If a problem occurs on the server that handles your session "RemoteApp", the session will be redirected to another server. This service is only necessary if you use multiple servers.
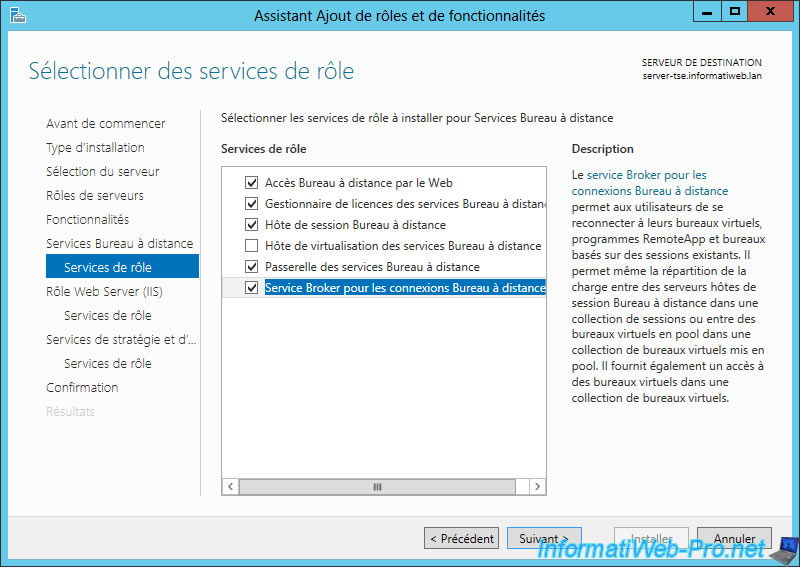
As we checked the "Remote Desktop access by the Web" box, Windows Server will install the IIS web server (if not already installed).
Note : The web server is automatically configured by the wizard.
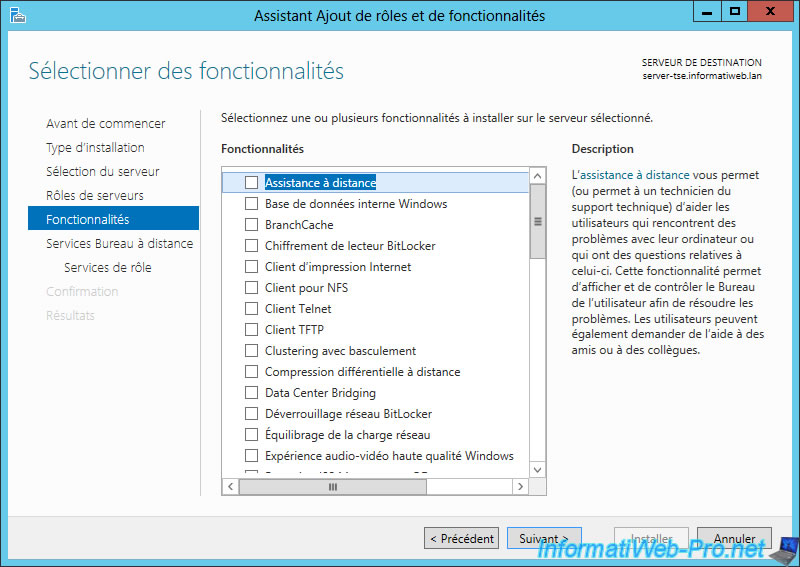
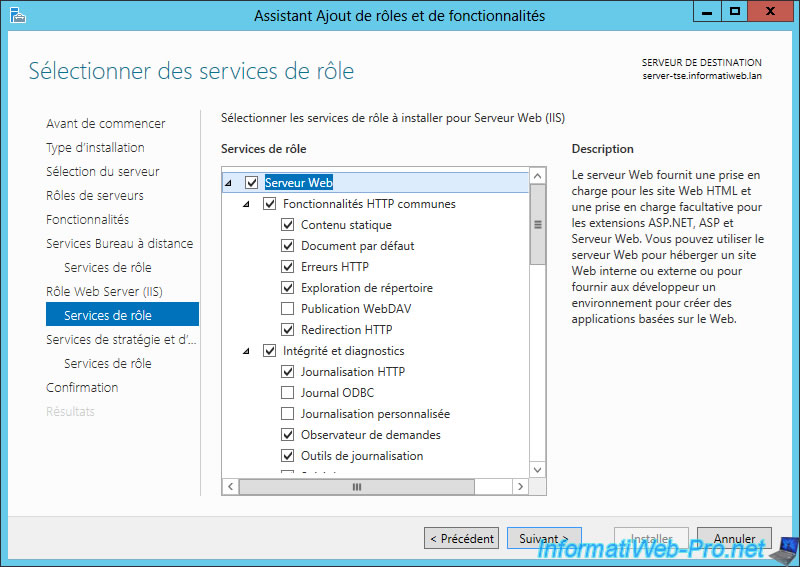
Leave the default check boxs.
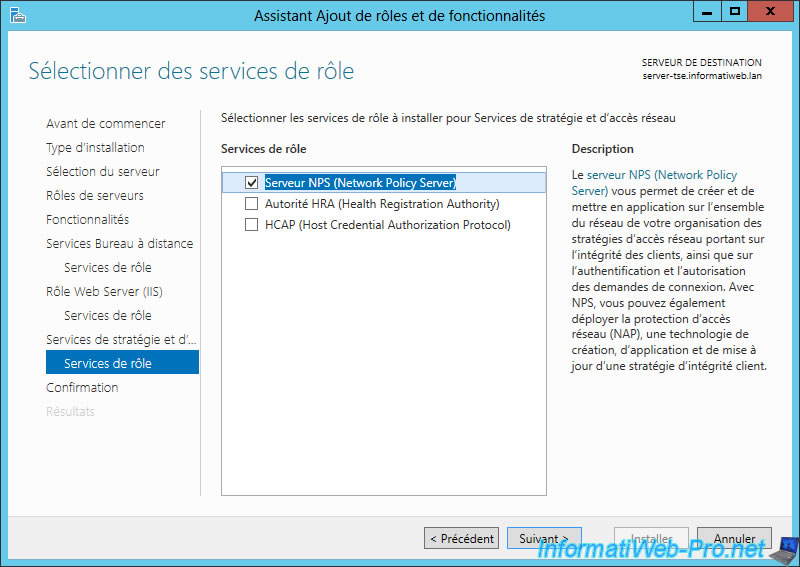
The wizard displays a description of the strategies and network access because the NPS server will be installed.
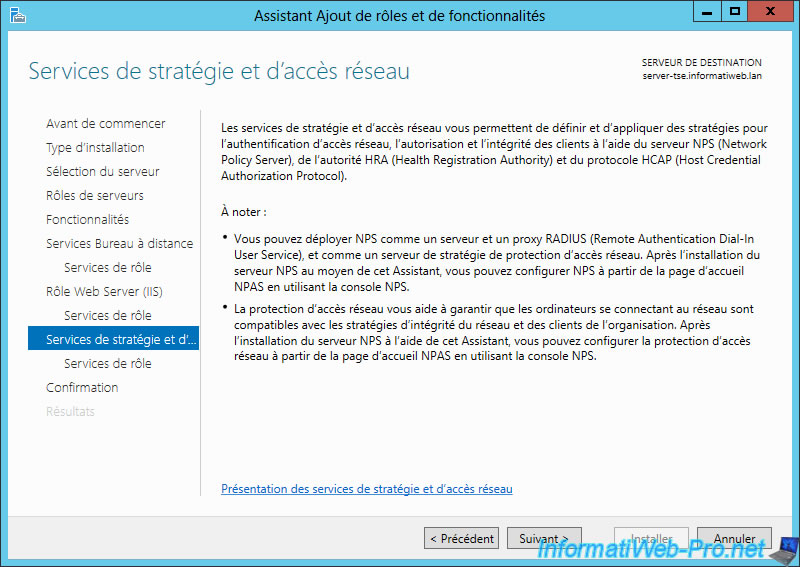
The NPS server allows you to modify network access policies but we will not talk about it in this tutorial.
However, leave this box checked.
Now that the configuration of the installation is complete, check the "Automatically restart ..." box and click "Install."
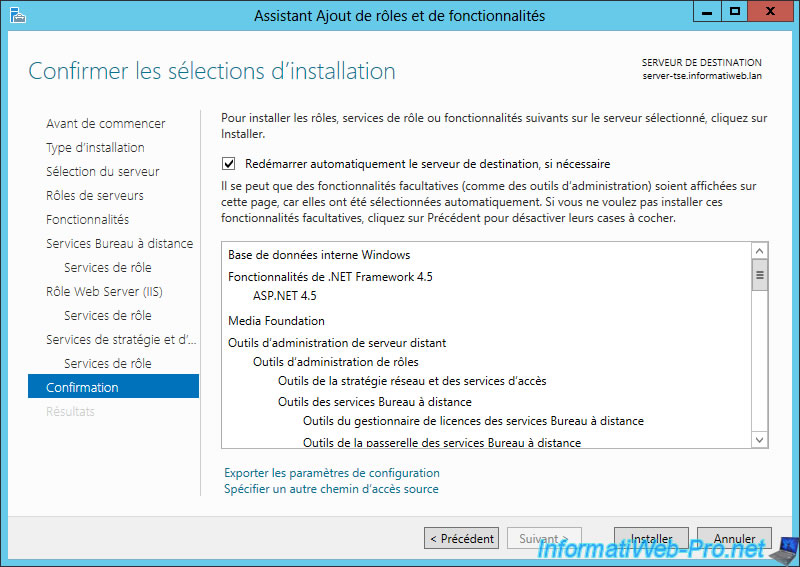
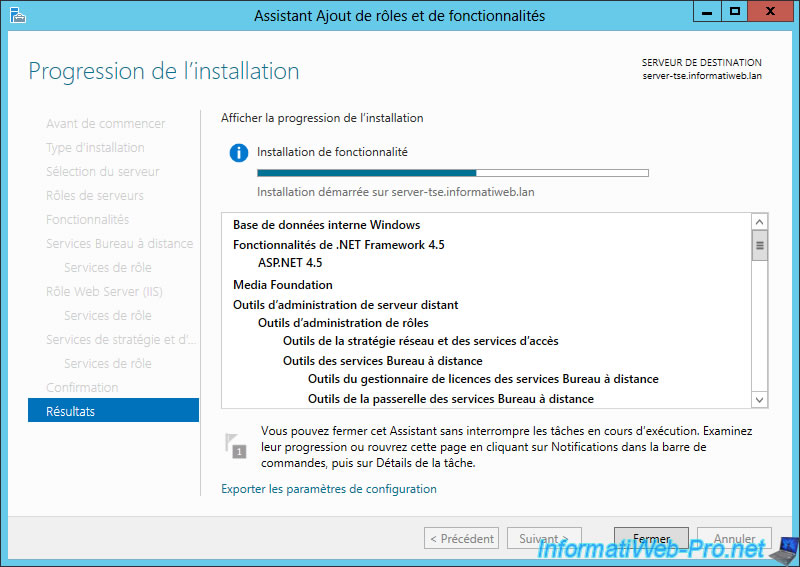
The installation starts.
3. Deployment on the server(s)
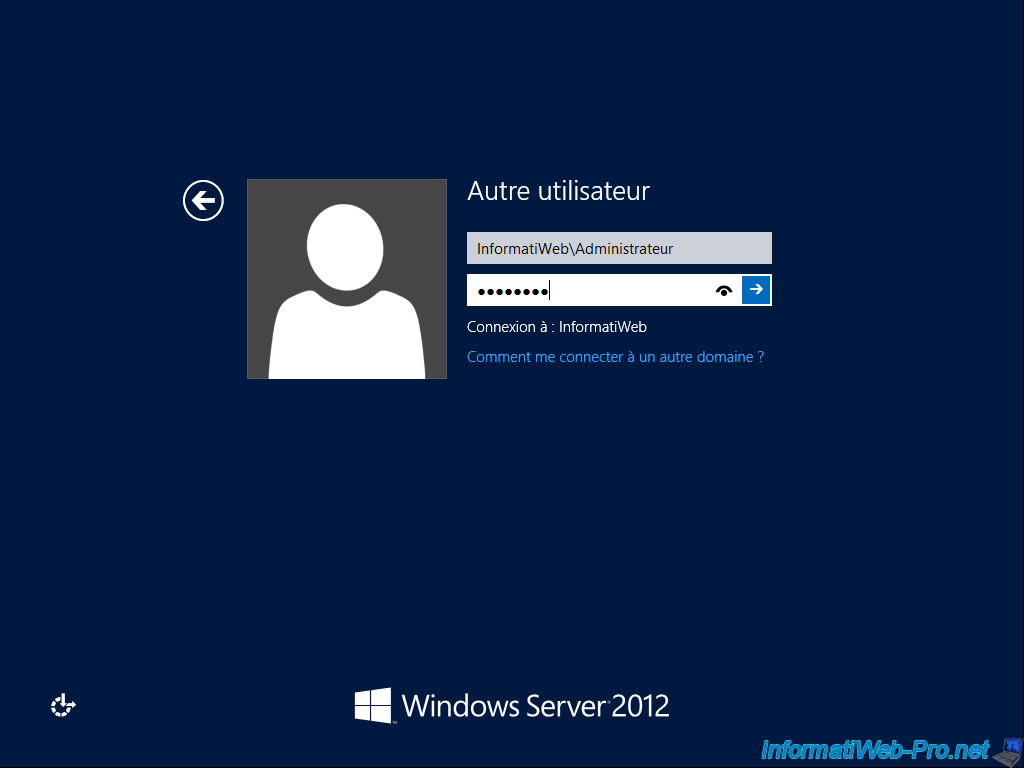
Once installation is complete, we will deploy the installed services. To do this, you must log in with the domain administrator account.
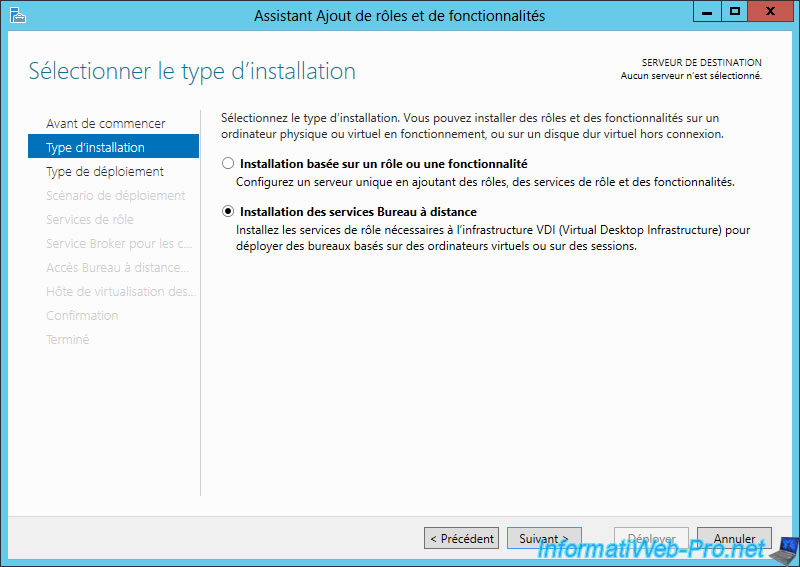
Again in the Server Manager, click "Add Roles and Features" but this time, select "Install Remote Desktop Services".
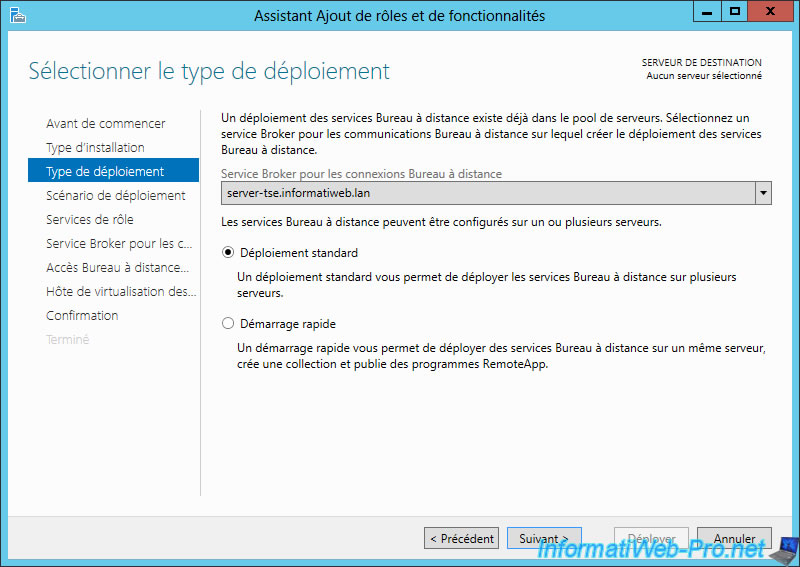
Select "Standard Deployment" to manually select the servers where you want to deploy the desired services
Note : In our case, we will deploy all services on the same server.
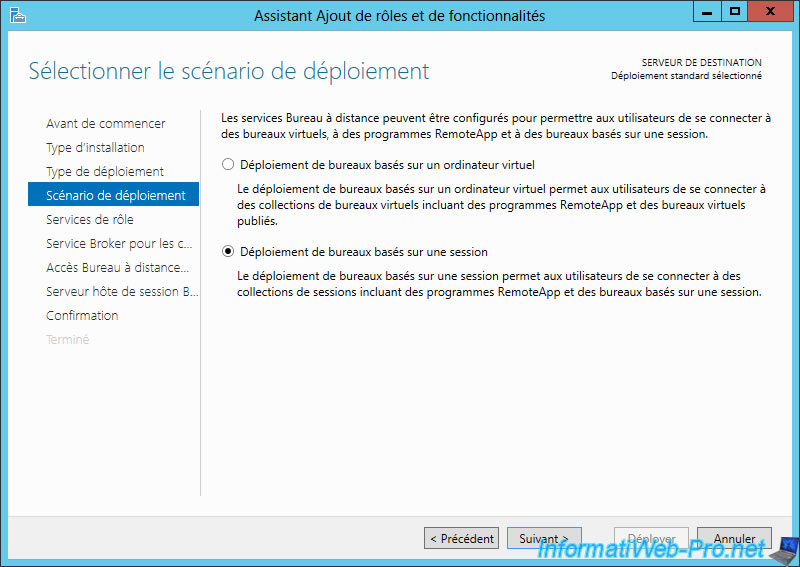
Select "Session-Based Desktop Deployment".
Differences between the two options :
- Deployment of desktops based on a virtual machine : This type of deployment uses virtual desktops. Virtual machines will run on the server and the client will use them via a remote desktop (RDP Client).
- Deployment of a session-based desktops : This deployment allows you to use RemoteApp directly on the server. The applications will run on the server in a user session and not in a virtual machine. It is lighter but less secure than using virtual machines.
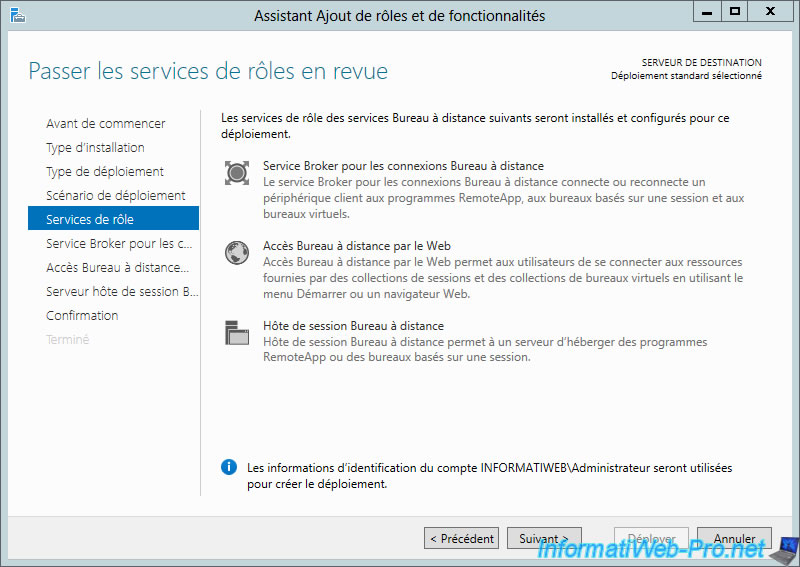
List of installed services for this deployment.
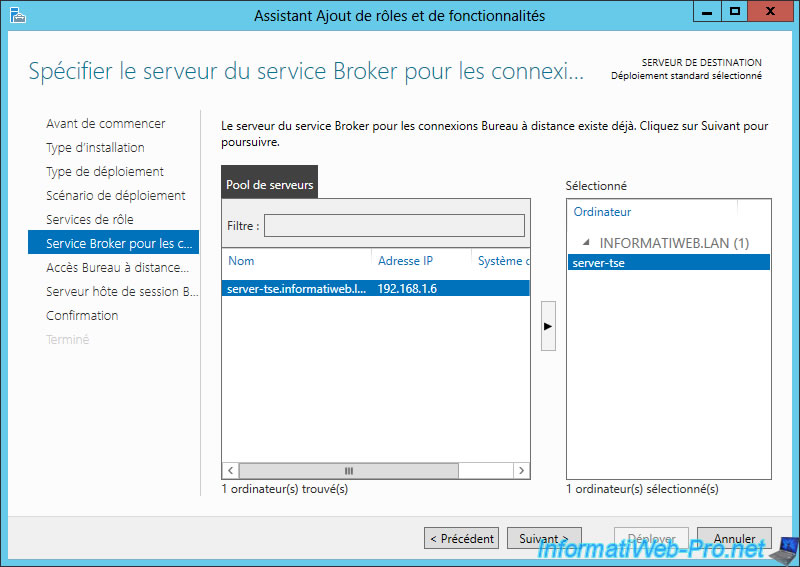
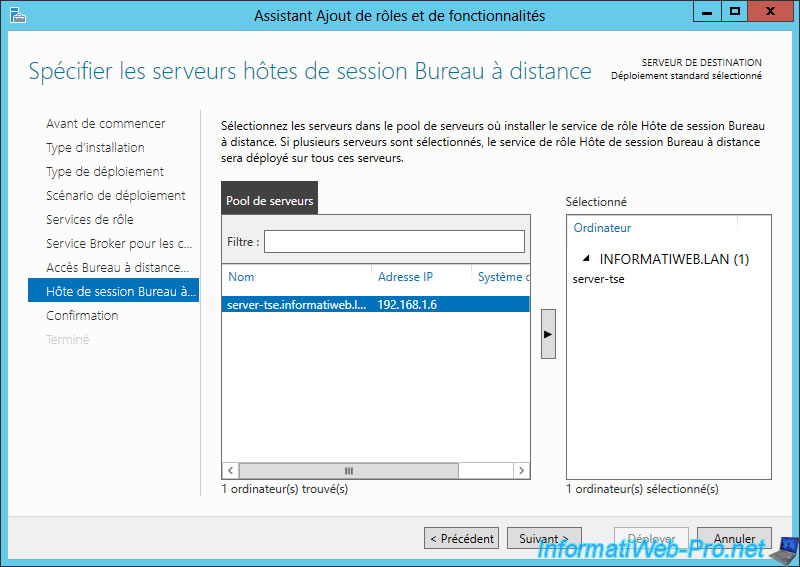
Select the server where you want to install the Broker.
Check the "Install Web access service role ..." and select the server where you want to install it.
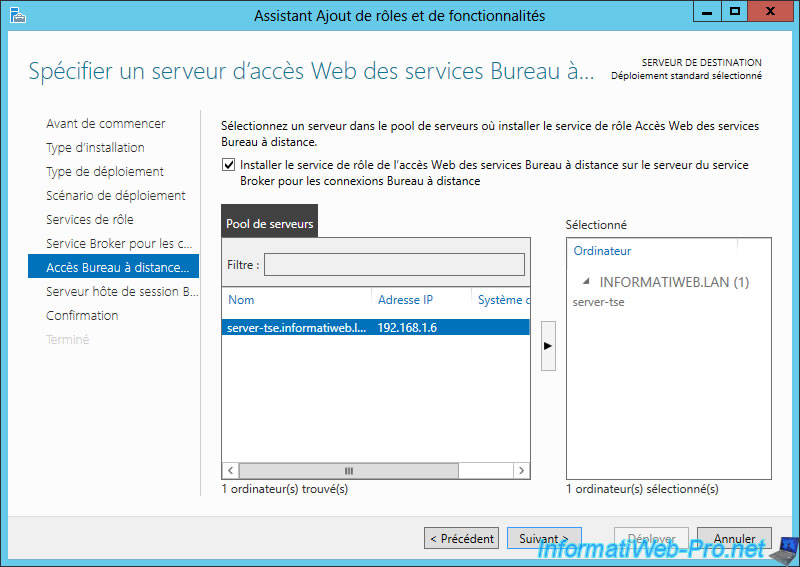
When the server isn't displayed on the right, just select the server on the left and click the arrow in the center (pointing to the right).

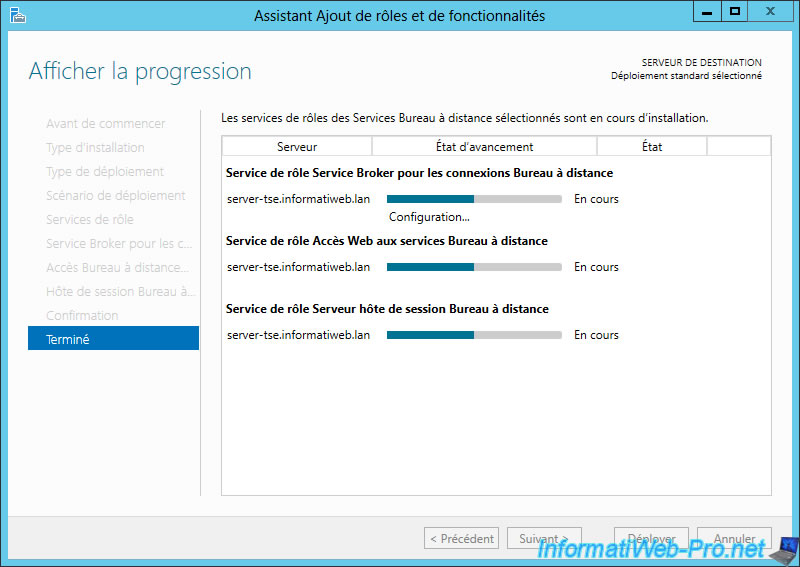
Confirm deployment.

Deployment is performed.
If an error occurs, it is probably because you are trying to install the "Broker" service on a server where an Active Directory is installed.
Source : Microsoft.com
If all goes well, the deployment will take place correctly.
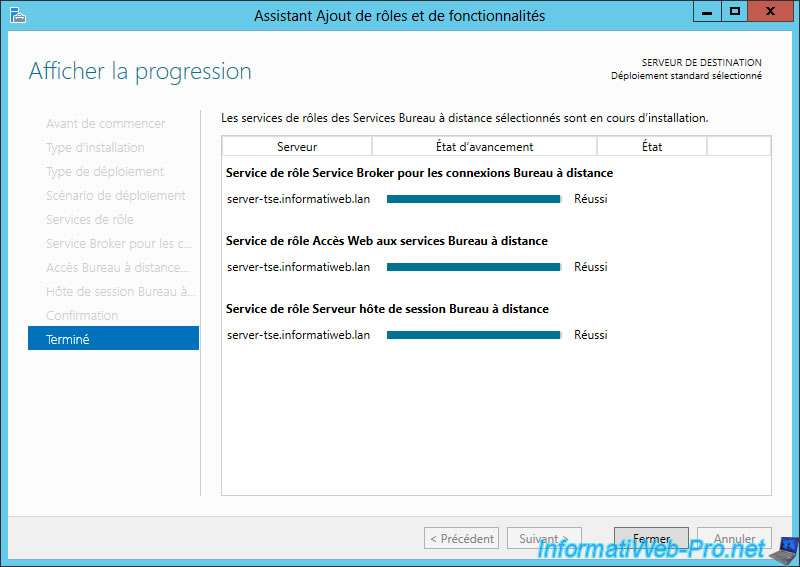
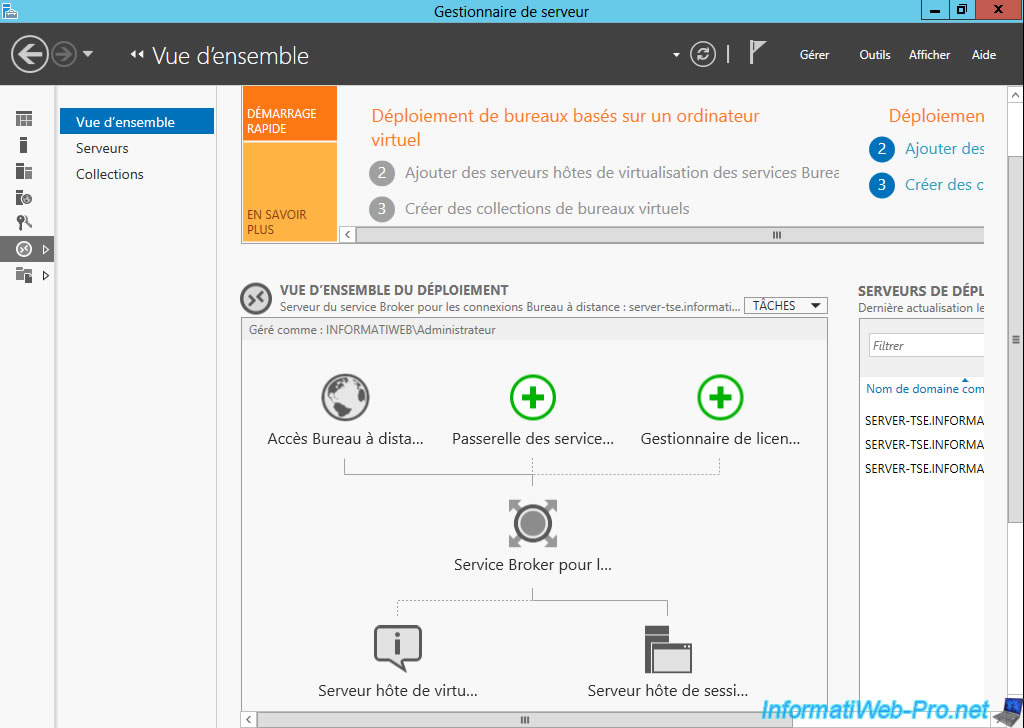
In Manager, click on "Remote Desktop Services" in the left column and then "Overview".
Share this tutorial
To see also
-
Windows Server 6/7/2019
WS 2012 / 2012 R2 - RDS - Set up HA on your RDS infrastructure
-
Windows Server 5/19/2019
WS 2012 / 2012 R2 / 2016 - RDS - Force the use of the RD gateway for local users
-
Windows Server 3/15/2019
WS 2012 / 2012 R2 / 2016 - RDS - RemoteApp distribution methods
-
Windows Server 5/3/2019
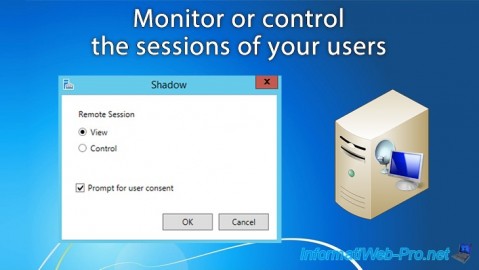
WS 2012 R2 / 2016 - RDS - Monitor or control the sessions of your users
You must be logged in to post a comment