- Windows Server
- 03 January 2020 at 09:59 UTC
-

- 1/3

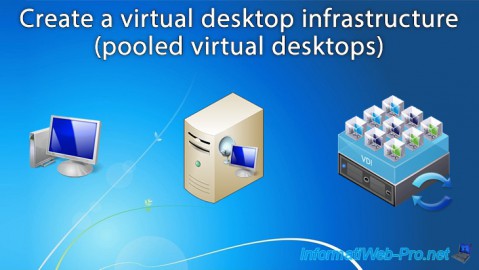
In our previous tutorial "RDS - VDI - Create a virtual desktop infrastructure (pooled virtual desktops)", we explained how to create a virtual desktop pool.
These virtual desktops were dynamically assigned to users (temporarily) according to their needs.
In this new tutorial, we will explain how to create a collection of personal virtual desktops.
This time, they will be assigned to users permanently.
- Create a personal virtual desktop collection
- Test virtual desktops
- Storing user data
- Assign a user to a virtual desktop
- Manual assignment
1. Create a personal virtual desktop collection
For the remote desktop services installation and deployment, refer to our previous tutorial : RDS - VDI - Create a virtual desktop infrastructure (pooled virtual desktops)
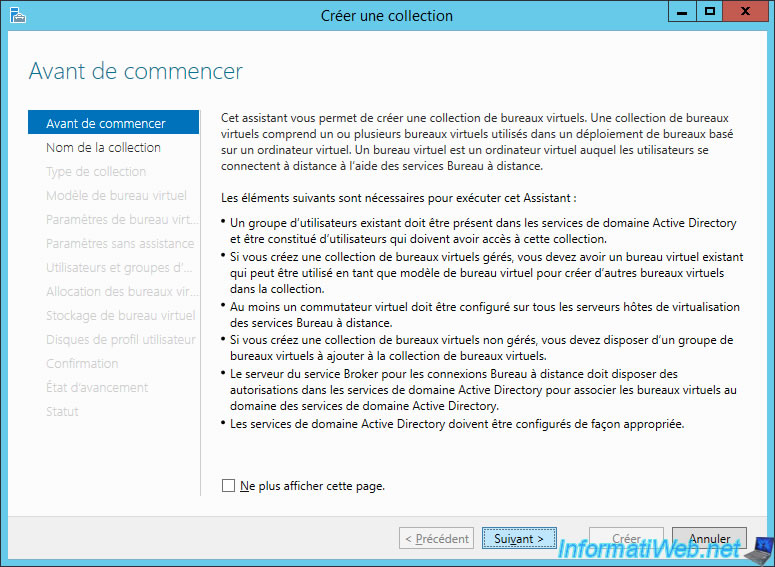
Then, launch the "Create a collection" wizard.
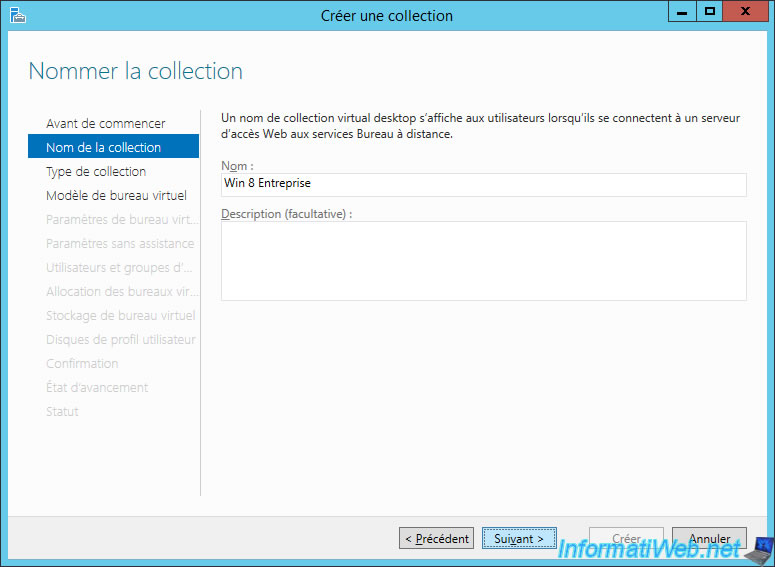
Enter a name for the collection.
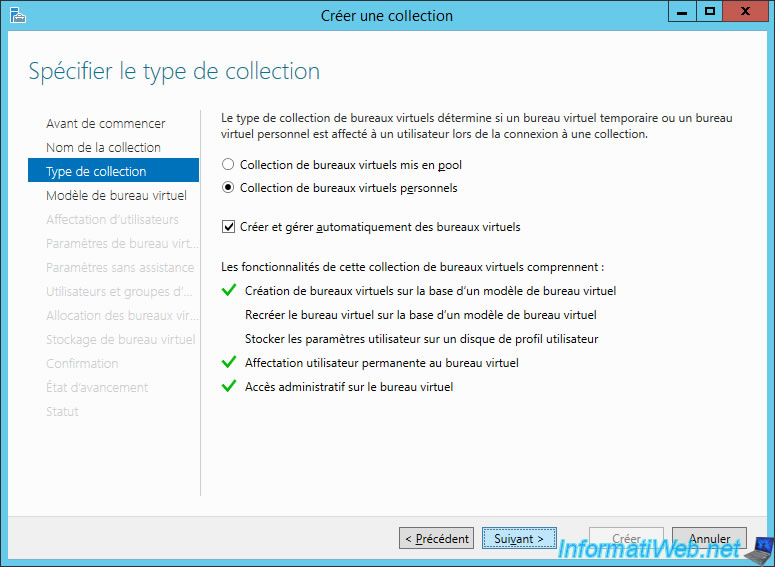
Select : Personal virtual desktop collection.
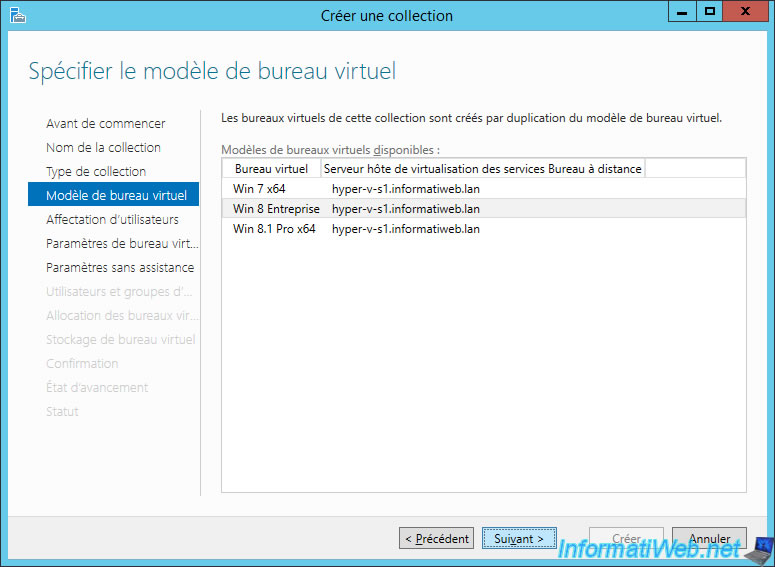
Select the virtual machine that will serve as a template.
As explained in our previous tutorial, the virtual machine must be of generation 1 and have been prepared thanks to sysprep.
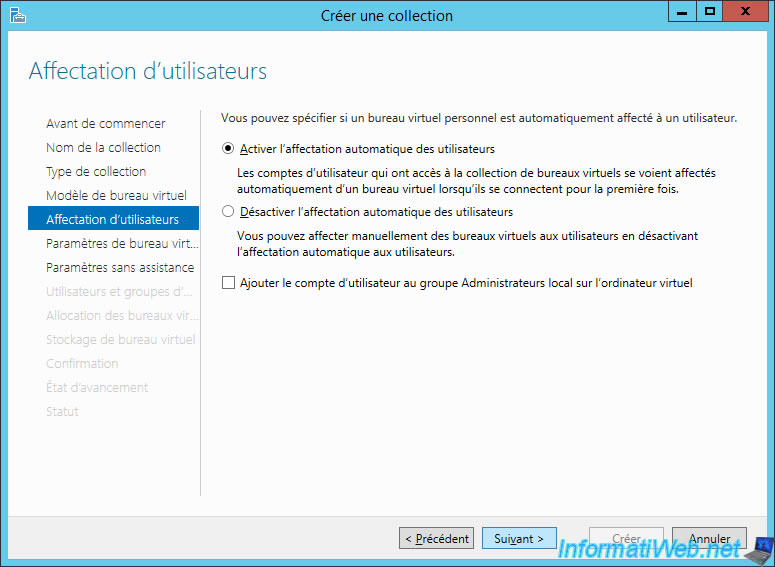
In a first time, we will activate the automatic assignment of users.
This way, the virtual desktops will automatically be assigned to the first users who will launch them.
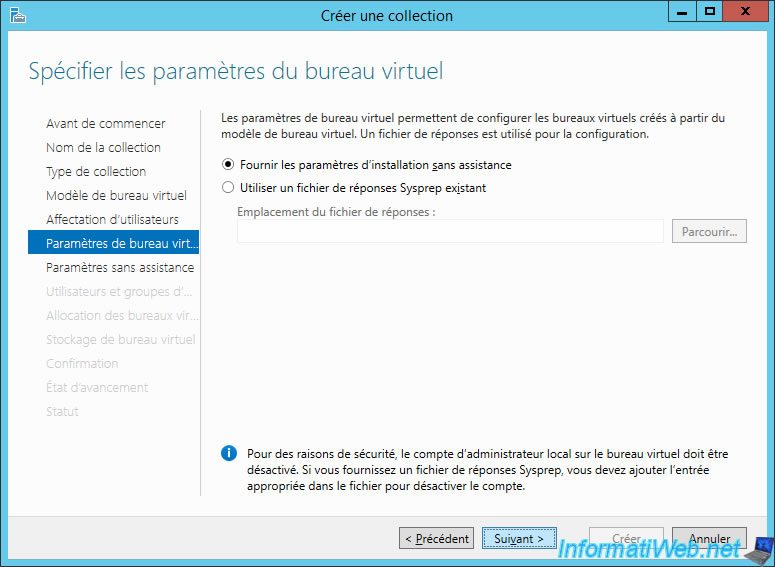
Select "Provide unattended installation settings".
Note : the other option is to use an answer file for unattended install.
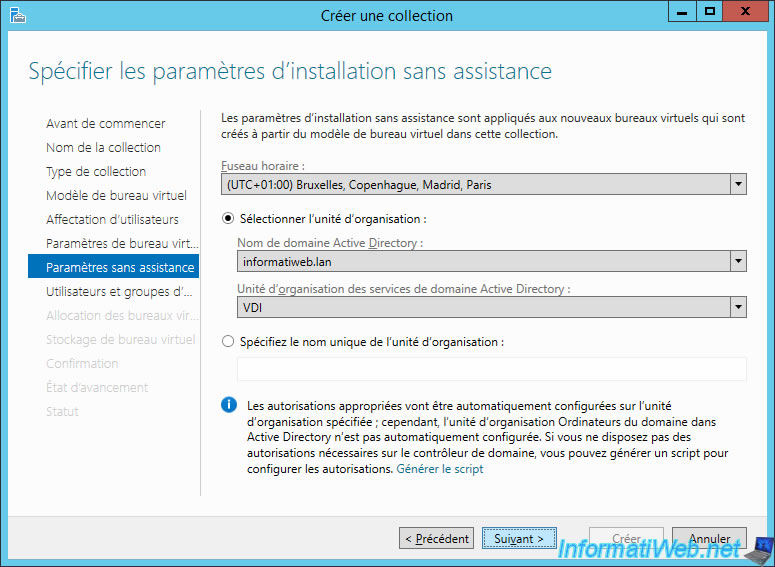
Choose the time zone, AD domain, and organizational unit where you want to place the computer accounts for the virtual desktops that will be created by the wizard.
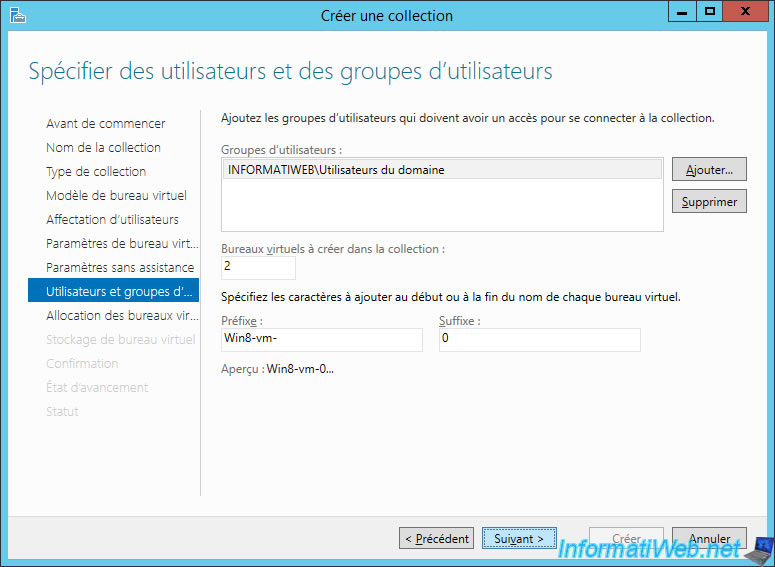
Add the user group that will be allowed to access these virtual desktops, as well as the number of virtual desktops to create and the format to use for their names.
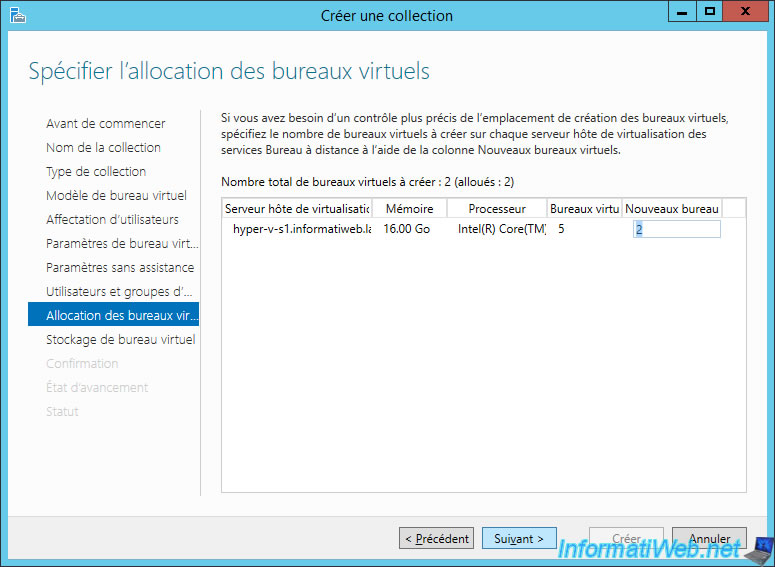
If you have multiple Hyper-V servers with the "virtualization host" role, you will be able to distribute virtual desktops across multiple servers.
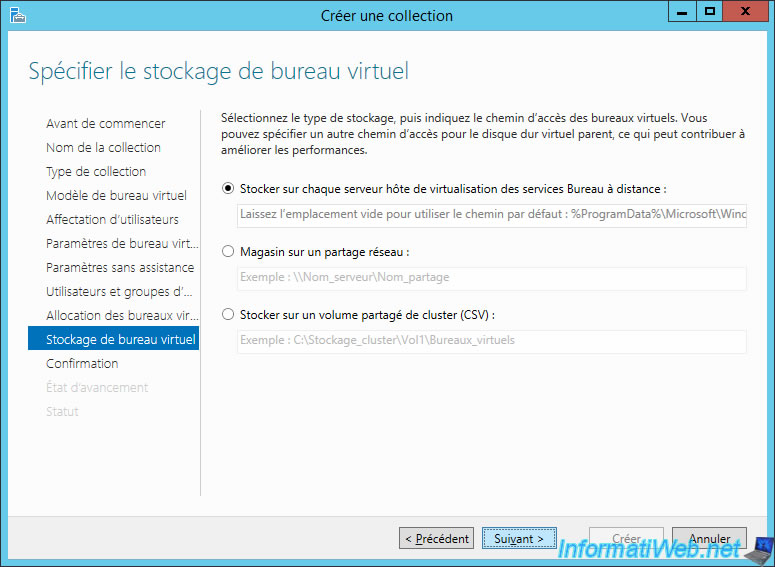
Select the location where you want to store your virtual desktops.
By default, these will be stored on each virtualization host server.
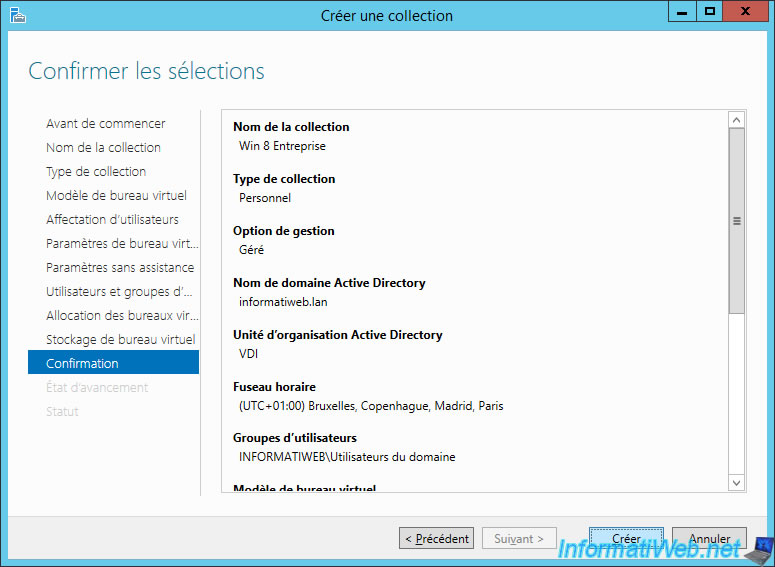
The wizard displays a summary of the configuration of your collection.
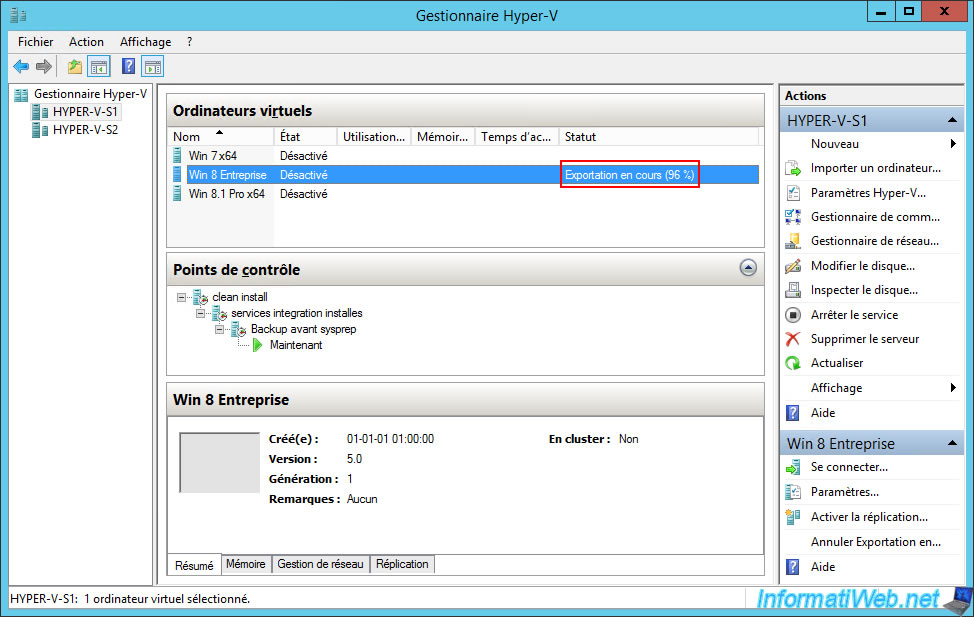
Wait while exporting the virtual desktop that will be used as a template.
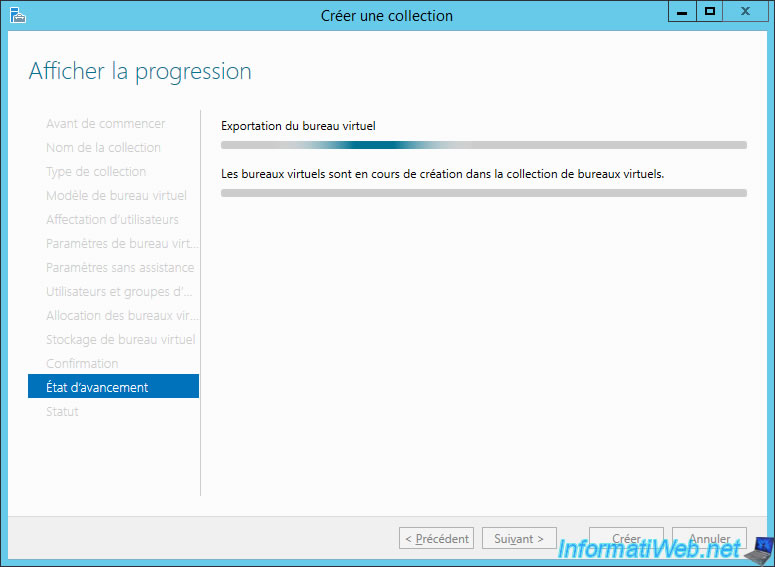
You can see its progress on your Hyper-V server.
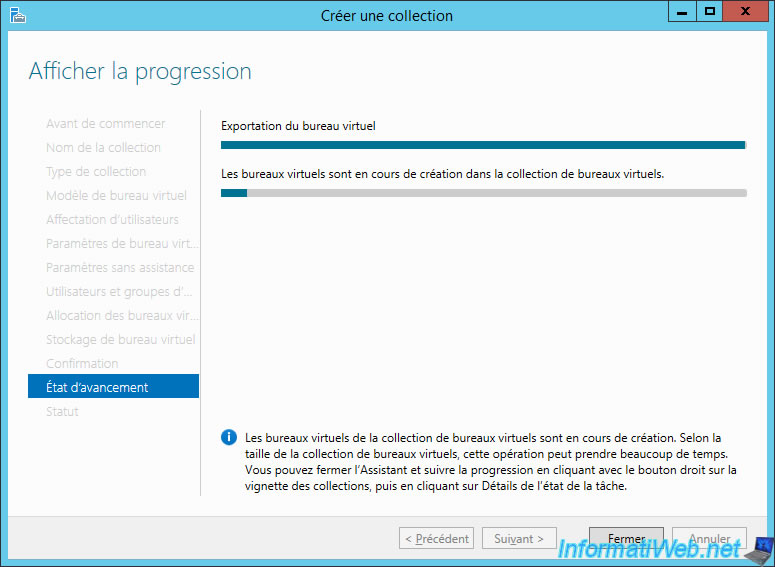
Then, the wizard will create the virtual desktops.
Feel free to take a look at your Hyper-V server to verify that the virtual machine is not stuck on a blue screen or a Windows error.
Because, in this case, the wizard will wait too long to tell you that an error has occurred in the virtual desktop.
Once the collection is created, close the wizard.
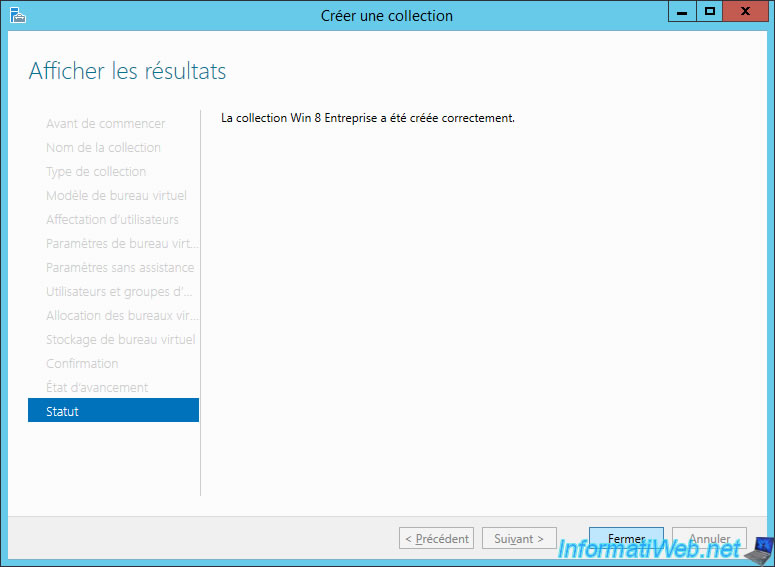
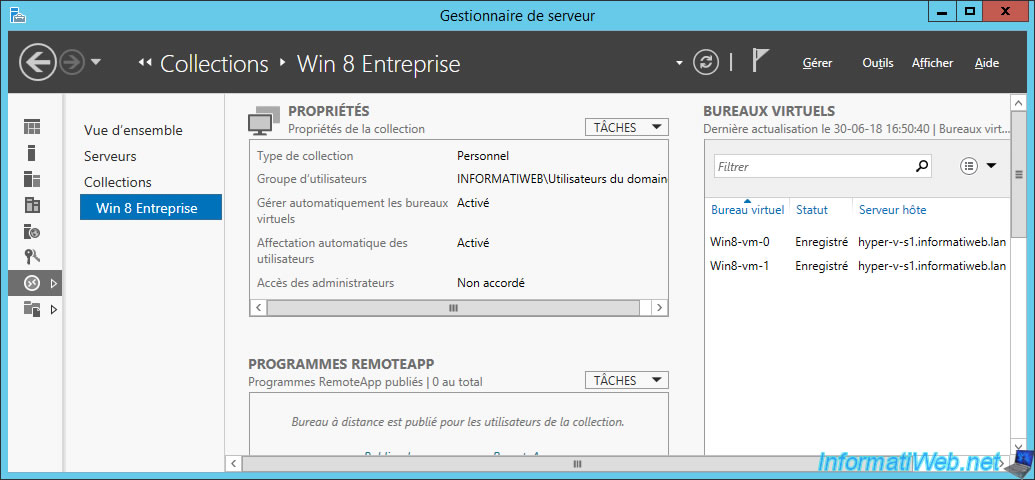
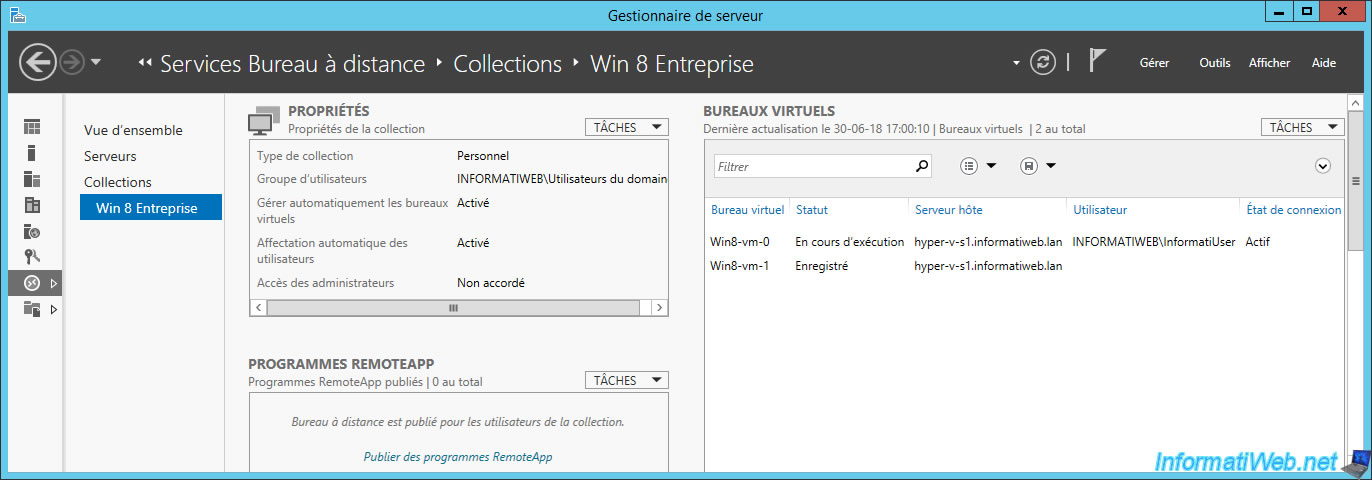
In our case, we have a collection of personal virtual desktops containing 2 virtual desktops.
2. Test virtual desktops
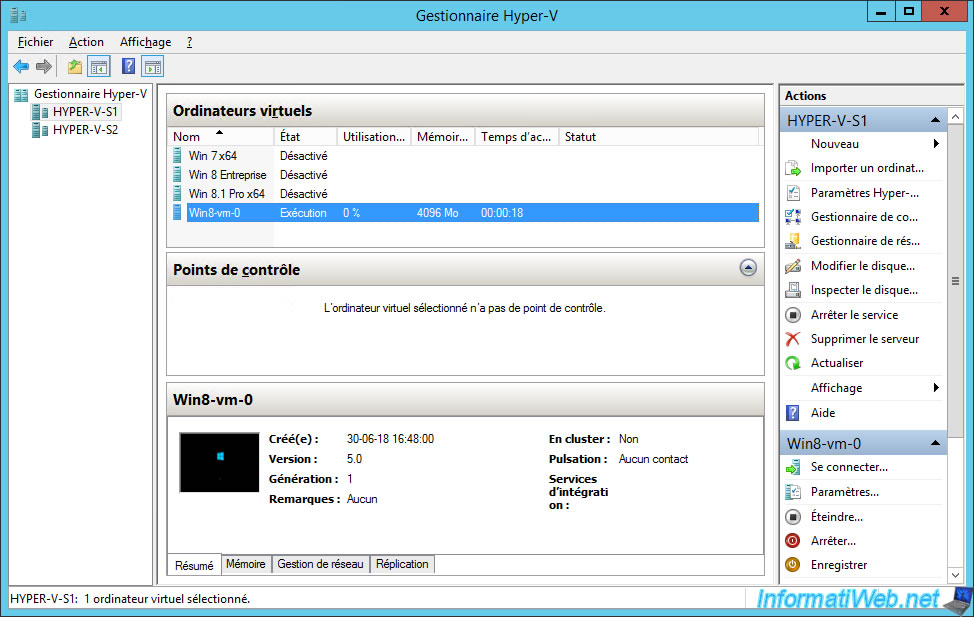
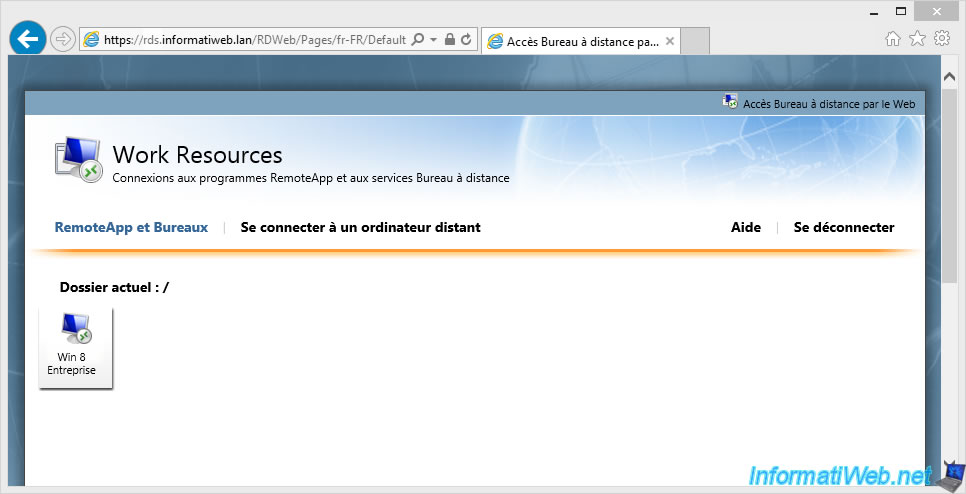
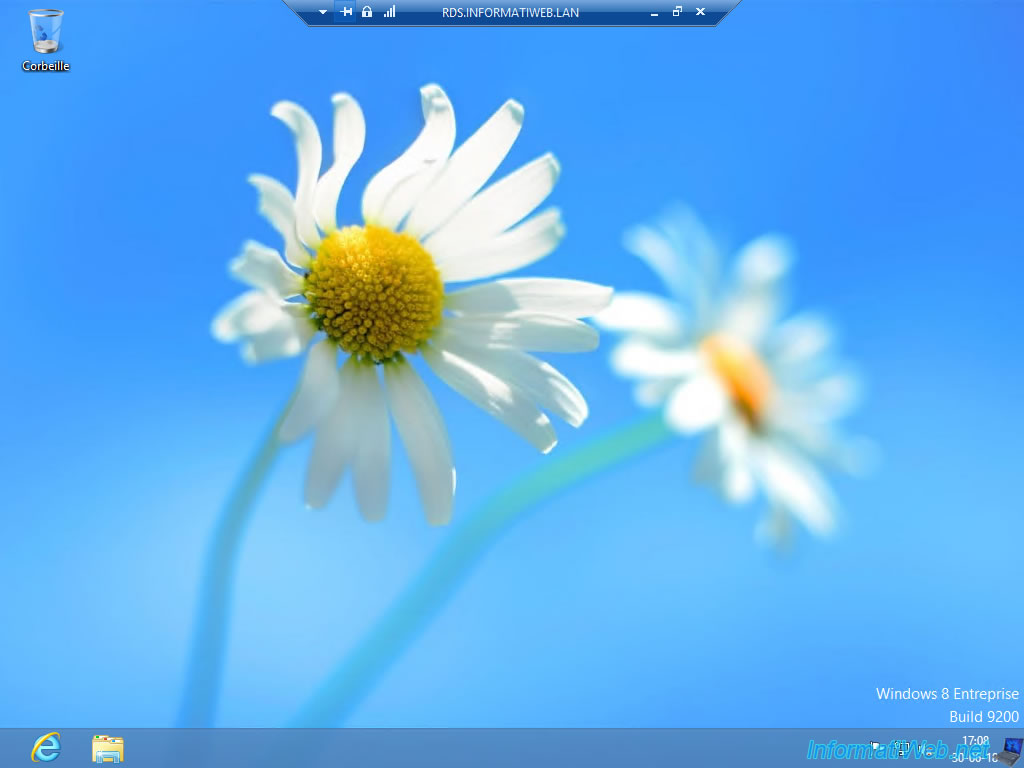
Since automatic user assignment is enabled, we can already use our virtual desktops from the web access of our RDS server.
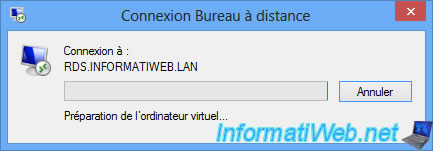
Wait while preparing the virtual machine.
Our Windows 8 Enterprise virtual desktop appears.
As you can see on your server, the "Win8-vm-0" virtual desktop is running and is currently being used by our user "INFORMATIWEB\InformatiUser" since the connection status is "Active".
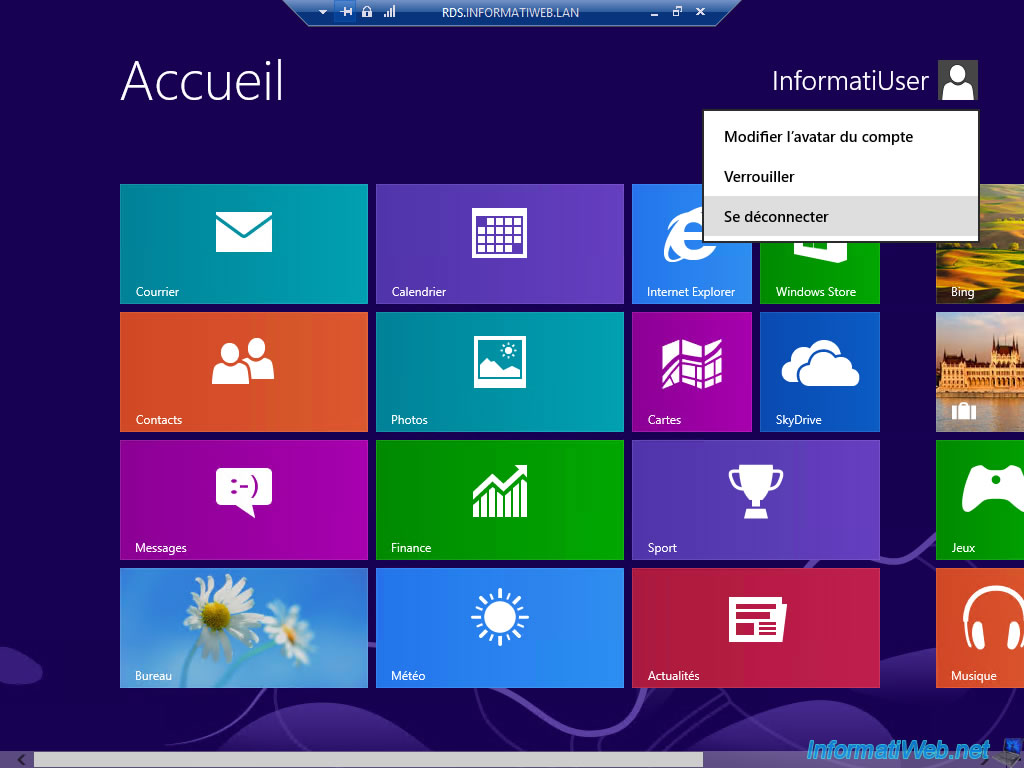
I log out of the virtual desktop from the client computer.
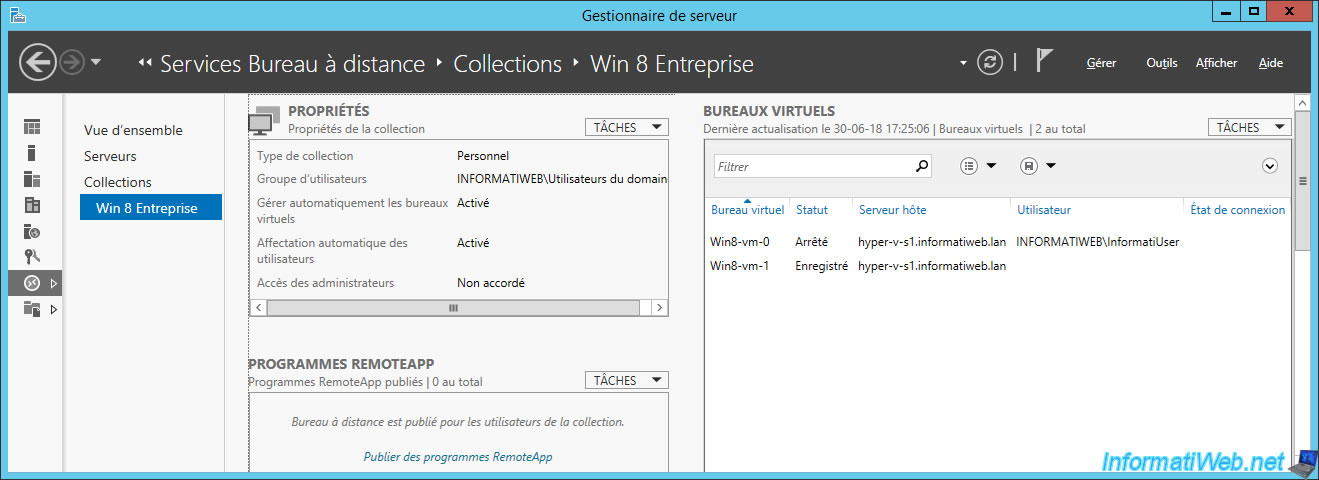
And as you can see, this virtual desktop remains assigned to this user even though it's stopped and this user is no longer connected to it.
This is one of the differences compared to pooled virtual desktops.
You must be logged in to post a comment