Create a site-to-site (S2S) VPN tunnel via PPTP/L2TP on Windows Server 2022, 2016 and 2012

10. Change the VPN protocol to use L2TP instead of PPTP
10.1. Change the VPN protocol to use L2TP on site 1 (Brussels)
To make your VPN tunnels more stable and secure, you should use the L2TP protocol instead of the PPTP protocol.
Microsoft does not recommend using the PPTP protocol due to its lack of security.
Furthermore, the L2TP protocol appears to be much more stable for site-to-site VPN connections than the PPTP protocol (at least on Windows Server).
In short, changing the VPN protocol is quite simple on Windows Server.
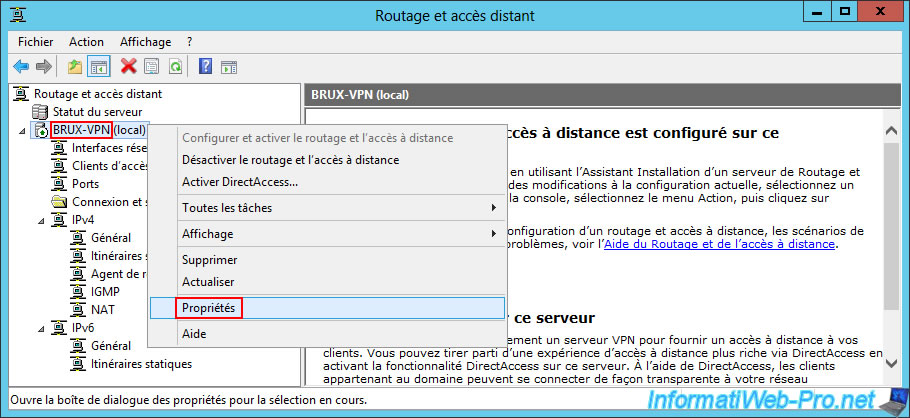
To begin, right-click "Properties" on the "Brux-VPN" VPN server at site 1 (Brussels).
Source : Install Remote Access as a VPN server | Microsoft Learn.
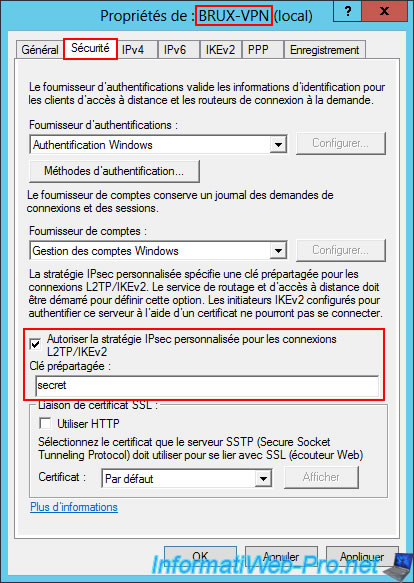
In the "Security" tab, check the "Allow custom IPsec policy for L2TP/IKEv2 connections" box and specify a complex password (in our case "secret" for the example) for the pre-shared key.
Important : checking the "Allow custom IPsec policy for L2TP/IKEv2 connections" box allows your server to act as both a VPN server for the L2TP protocol and a VPN client using the same L2TP protocol.
In other words, for this server to connect to another server via L2TP (via an on-demand connection using the L2TP protocol), this box must also be checked. Otherwise, you will receive an "The modem (or other connecting device) is already in use or is not configured properly" error.
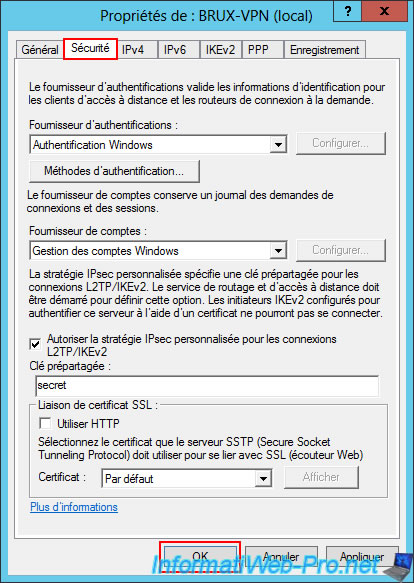
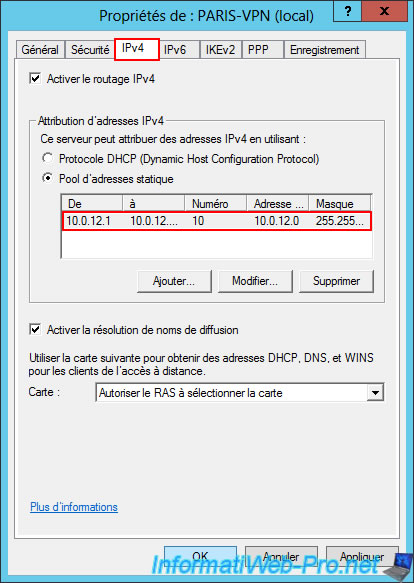
In the "IPv4" tab, the IPv4 address range to be assigned to your VPN clients is already configured (since you have already done this previously).

Click OK.
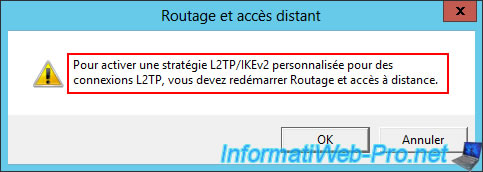
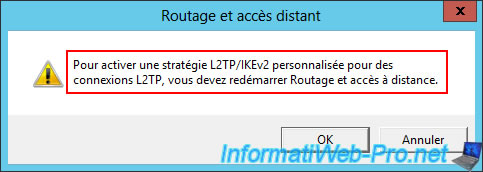
Warning : as you can see, enabling a custom L2TP/IKEv2 policy for L2TP connections requires restarting the "Routing and Remote Access" service.
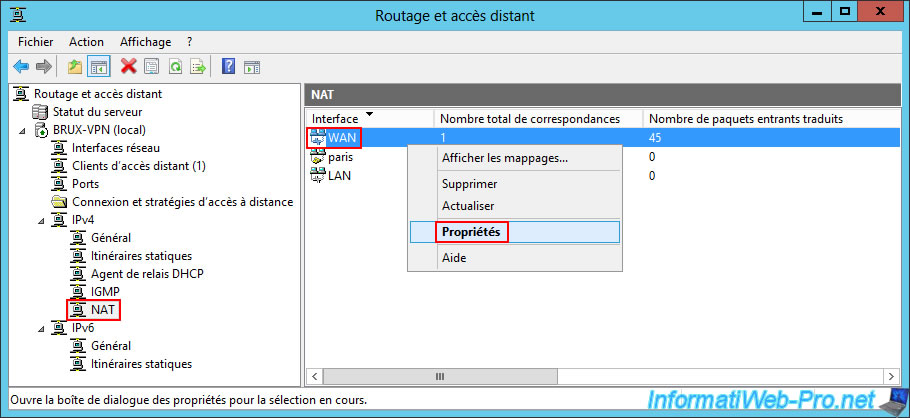
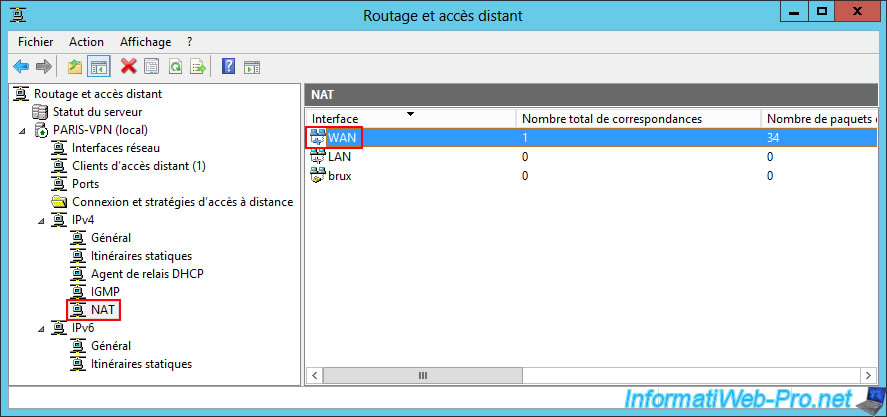
To make your "BRUX-VPN" VPN server at site 1 (Brussels) accessible via this new "L2TP" VPN protocol, you will need to modify the NAT rule in the "IPv4 -> NAT" section.
To do this, right-click "Properties" on the "WAN" interface located there.
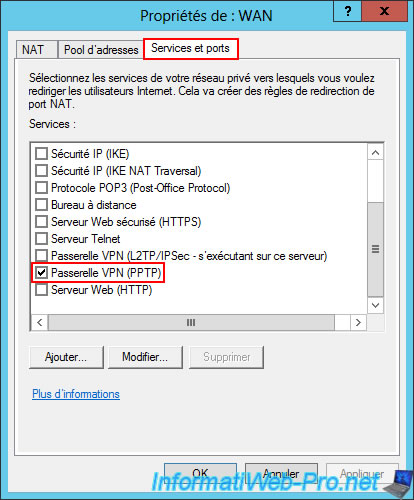
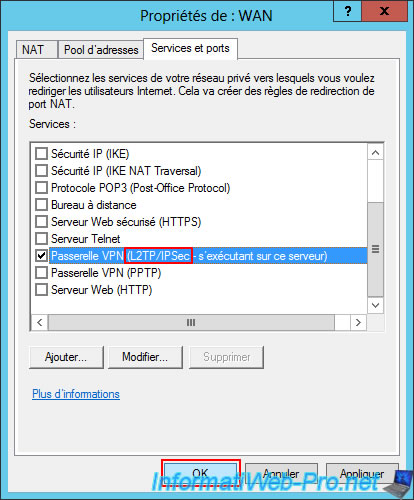
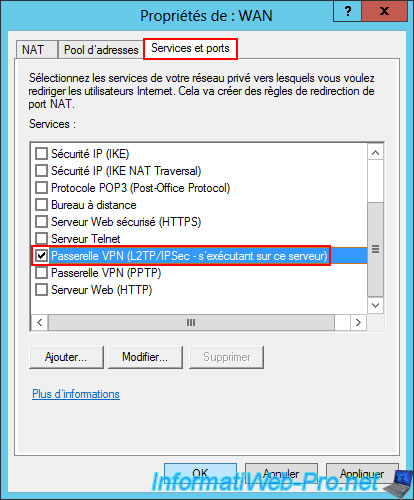
In the "Services and Ports" tab, you'll see that the "VPN Gateway (PPTP)" service is currently checked.
Uncheck this box.
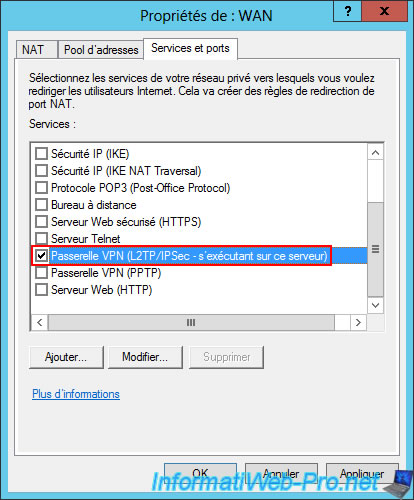
Then, check the box "VPN Gateway (L2TP/IPsec running on this server)".
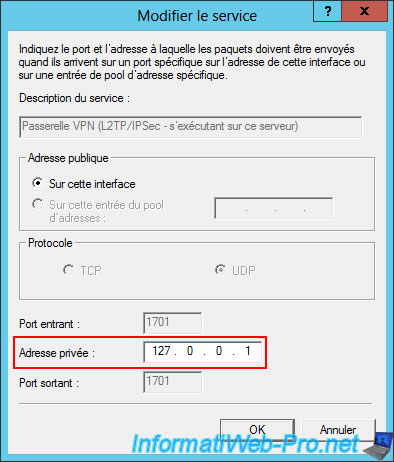
In the "Edit Service" window that appears automatically, enter "127.0.0.1" as the private address (because as explained previously, this VPN server using the L2TP/IPsec protocol is located on the same server as the server performing the routing (NAT)).
Make sure the "VPN Gateway (L2TP/IPsec)" box is checked and the "VPN Gateway (PPTP)" box is unchecked to ensure that only the "L2TP/IPsec" protocol will be used.
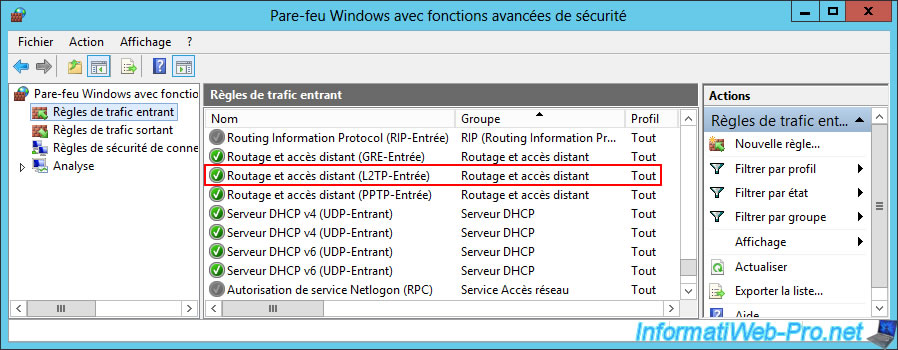
In the firewall of this VPN server, make sure that the inbound traffic rule "Routing and Remote Access (L2TP-In)" is enabled.

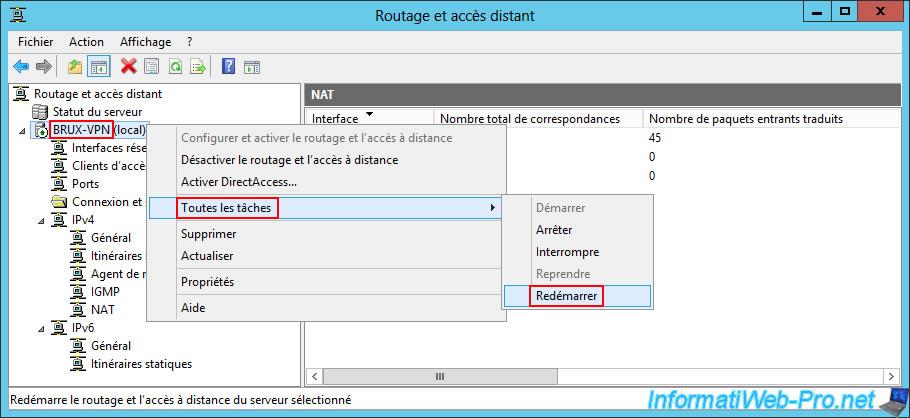
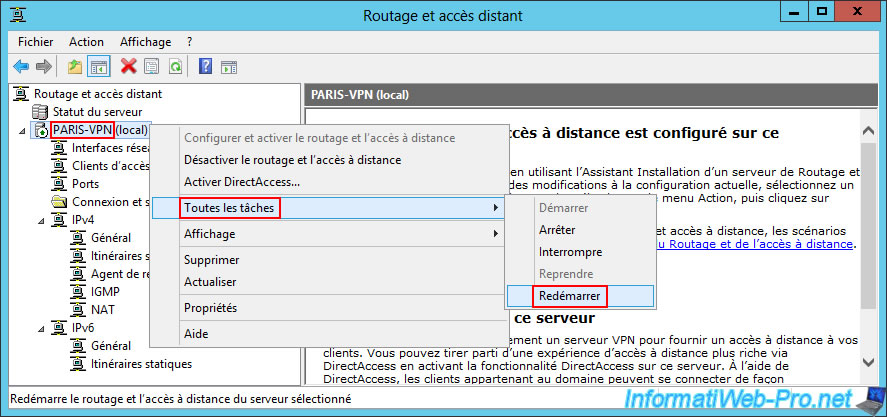
Finally, right-click "All tasks -> Restart" on your VPN server "BRUX-VPN" of site 1 (Brussels).
10.2. Change the VPN protocol to use L2TP on site 2 (Paris)
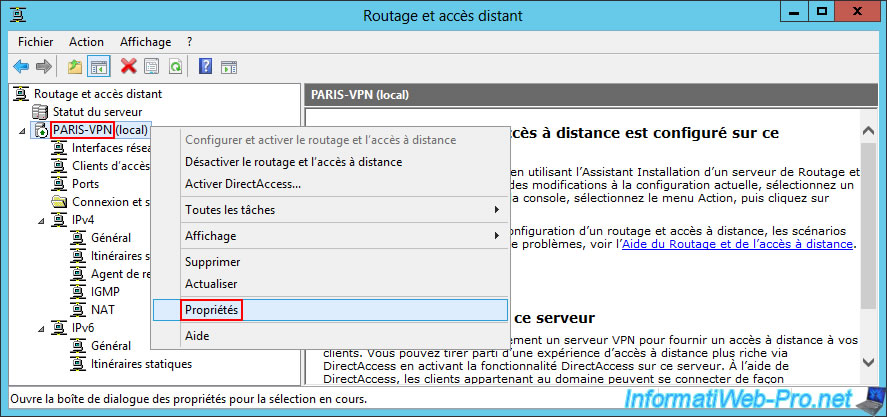
Very similarly to above, right click "Properties" on your VPN server "PARIS-VPN" of site 2 (Paris).
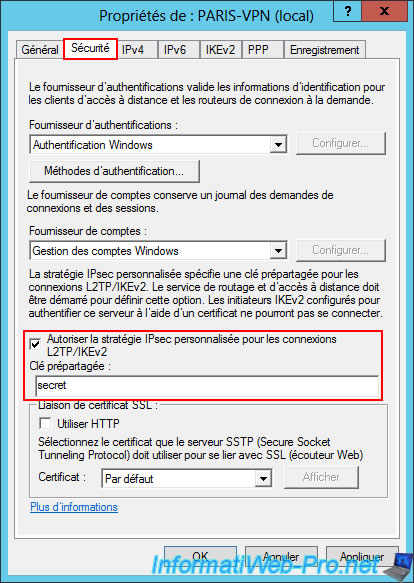
In the "Security" tab, check the "Allow custom IPsec policy for L2TP/IKEv2 connections" box and specify a complex password for the pre-shared key to use to secure the VPN connection.
Again, in the "IPv4" tab, you will see that the IP address range for VPN clients is already defined.
Click OK.
Again, Windows Server tells you that enabling the custom L2TP/IKEv2 policy requires restarting the "Routing and Remote Access" service.
Again, on this VPN server "PARIS-VPN", go to the "IPv4 -> NAT" section and right-click "Properties" on the "WAN" interface which is already there.
In the "Services and Ports" tab, uncheck the "VPN Gateway (PPTP)" box that was previously checked, then check the "VPN Gateway (L2TP/IPsec - running on this server)" box.
Again, in the "Edit Service" window that appears, specify the IP address "127.0.0.1" as the private address.
For the firewall of this VPN server at Site 2 (Paris), again make sure that the "Routing and Remote Access (L2TP-In)" rule is enabled for inbound traffic.
Finally, right-click "All Tasks -> Restart" on the name of your VPN server "PARIS-VPN" of site 2 (Paris).
Share this tutorial
To see also
-

Windows Server 4/28/2012
WS 2003 - NAT and network routing
-

Windows Server 4/22/2015
WS 2012 - NAT and network routing
-

Windows Server 12/3/2016
WS 2012 - Routing and VPN server
-
Windows Server 11/23/2017
WS 2012 / 2012 R2 - Dynamic routing (RIPv2)
No comment