Create and configure a DNS server, as well as delegate subdomains on Windows Server 2012 / 2012 R2
- Windows Server
- DNS
- 15 April 2018 at 12:45 UTC
-

- 2/6

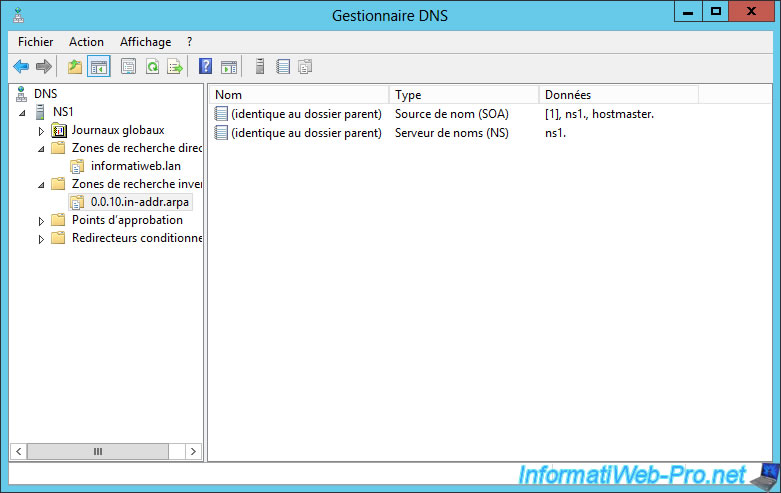
3. Create a forward lookup zone (domain -> IP address)
When you want to configure a DNS server, it's important to configure at least :
- forward lookup zones : to resolve domain names to IP addresses
- reverse lookup zones : to be able to know the domain name of a machine from its IP address
To start, right-click on "Forward Lookup Zones" and click on "New Zone".
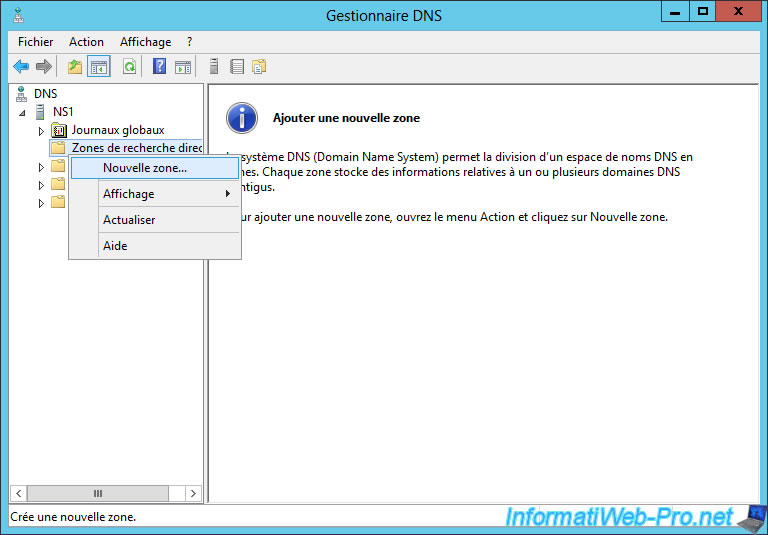
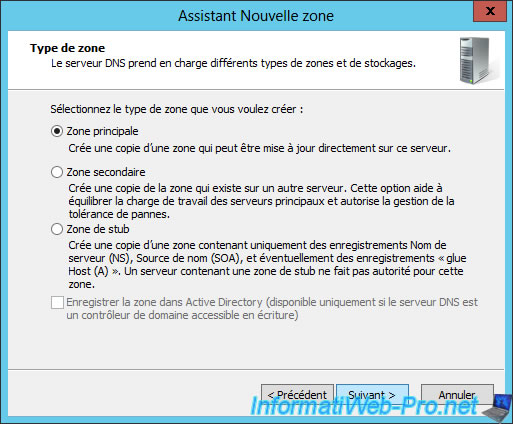
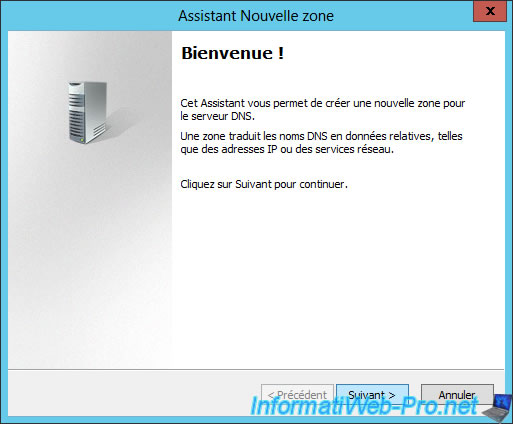
The new zone wizard is displayed.

Select "Primary zone" because we will manage this DNS zone.
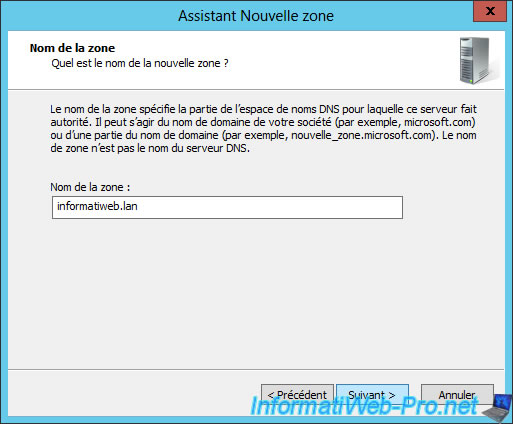
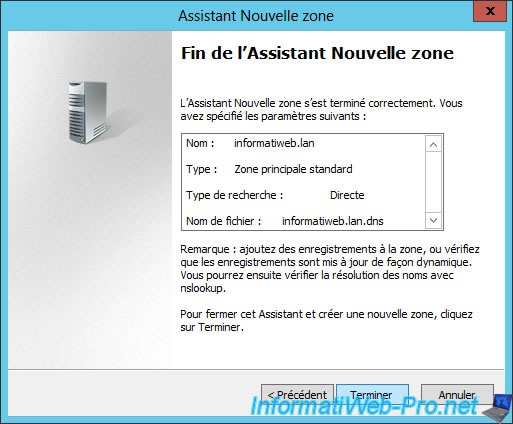
Enter the name of your zone.
In our case, we will manage the "informatiweb.lan" local domain.
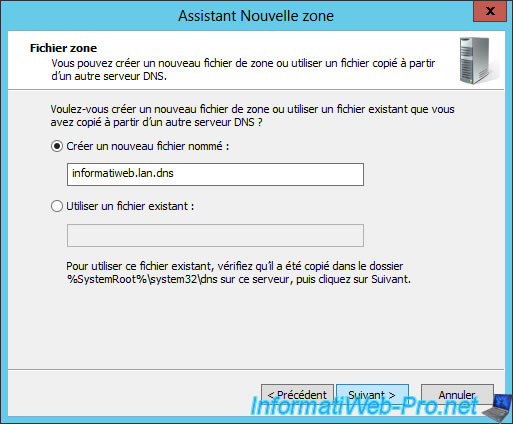
By default, Windows will create a zone file by using your local domain name and the ".dns" suffix for the forward lookup zone.
In addition, as noted in this step, the zone files are created in the "%SystemRoot%\system32\dns" folder on your server. This usually corresponds to the "C:\Windows\system32\dns" folder.
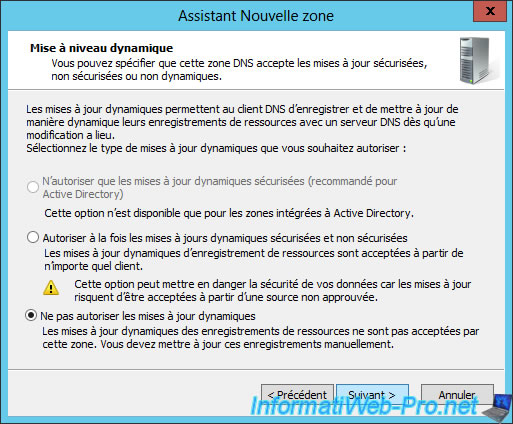
Since the Active Directory is not installed, it's best to disable dynamic updates for security reasons.
Click Finish.
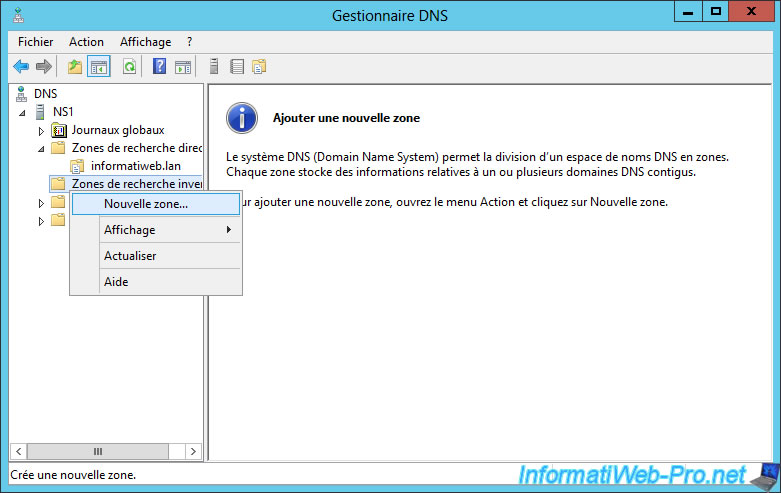
4. Create a reverse lookup zone (IP address -> domain)
To make your life easier, we recommend that you also create the reverse lookup zone before creating your DNS records.
Indeed, once the forward and reverse lookup zones are created, you will be able to create your DNS records, as well as the associated pointers at the same time.
To create the reverse lookup zone, right click on "Reverse Lookup Zones" and click on "New Zone".
The new zone wizard is displayed.
Select the "Primary zone" option for the same reason as above.

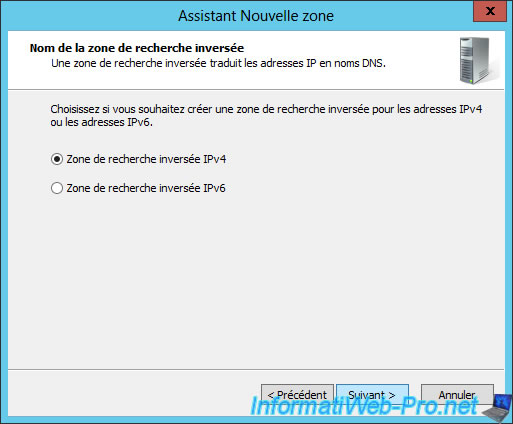
In this tutorial, we will only use the IPv4 version of the reverse lookup zone.
Enter the network ID of your network.
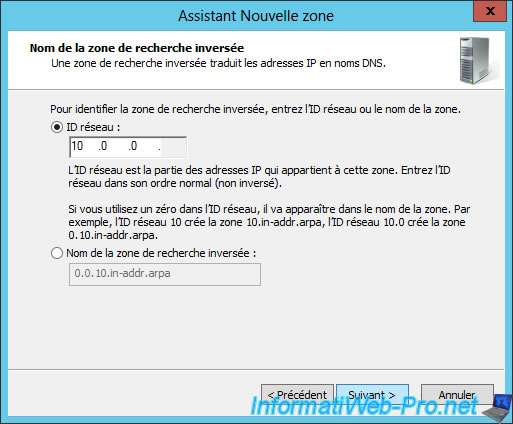
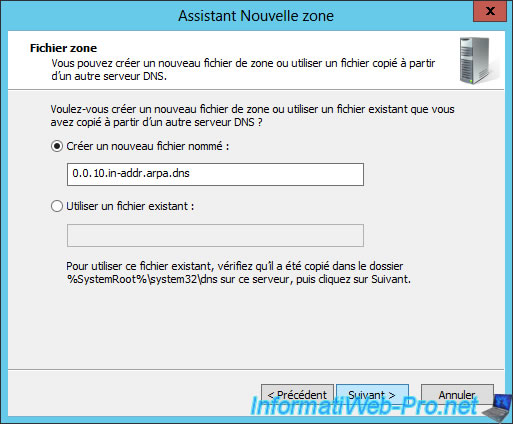
For the reverse lookup zone, Windows Server will by default create a zone file whose name is based on the inverted network ID and the "in-addr.arpa.dns" suffix.
Note : "inaddr.arpa" is a special domain (a standard) use for the reverse DNS resolution in IPv4. For IPv6, it's "ip6.arpa" or "ip6.int".
Disable dynamic updates as previously explained.

Click Finish.
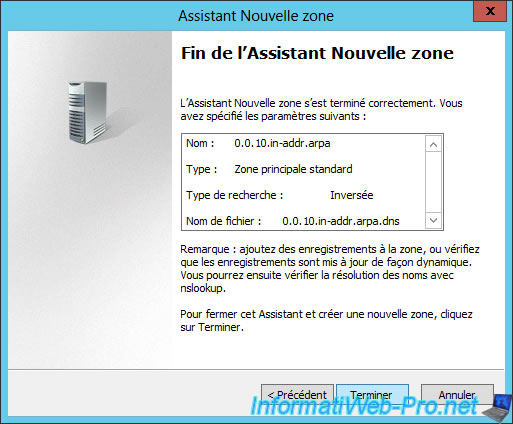
Now, we have our forward lookup zone and its corresponding reverse lookup zone.
Share this tutorial
To see also
-
Articles 5/1/2018
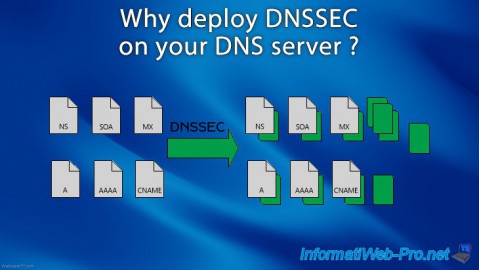
Why deploy DNSSEC on your DNS server ?
-
Windows Server 1/15/2013
WS 2008 - Create a DNS server
-
Windows Server 4/25/2018
WS 2012 / 2012 R2 - Create a secondary DNS server
-

Windows Server 5/11/2018
WS 2012 / 2012 R2 - Sign your DNS zones with DNSSEC
No comment