- Windows Server
- DNS
- 25 April 2018 at 11:02 UTC
-


Internet and especially the web are based on the DNS system and the very large number of domain names that exist at the moment.
If you have already bought a domain name on the Internet or consulted the whois of a domain, you will have surely noticed that the domain is always managed by at least 2 DNS servers (created by the host where the user bought his domain name).
Since only one DNS server can be authoritative for each zone, it was necessary to find a technique to obtain a certain fault tolerance.
This technique consists in creating at least 2 DNS servers :
- the 1st DNS server will act as the primary DNS server for the desired DNS zone (the domain name) and will therefore be authoritative for this zone.
- your other DNS servers may act as secondary DNS servers for the desired DNS zone (the domain name) if your primary DNS server allows it to retrieve a copy of its DNS zone
Note that Google's public DNS servers and those created by ISPs are not secondary DNS servers, but only DNS servers that keep information cached when their clients send them DNS queries.
These DNS servers are therefore not authoritative for the relevant DNS zones and don't contain all the relevant DNS zone information.
1. Create a DNS zone on a secondary DNS server
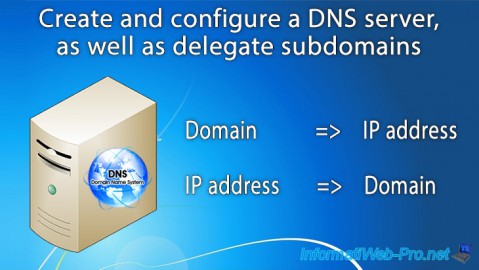
To begin, create your primary (primary) DNS server by following our tutorial : Windows Server 2012 / 2012 R2 - Create and configure a DNS server, as well as delegate subdomains
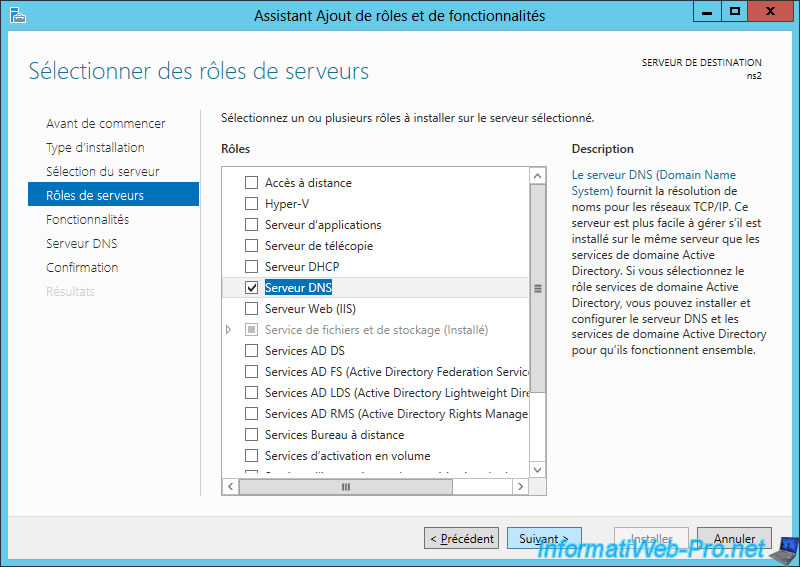
Then, install the "DNS Server" role on your 2nd server.
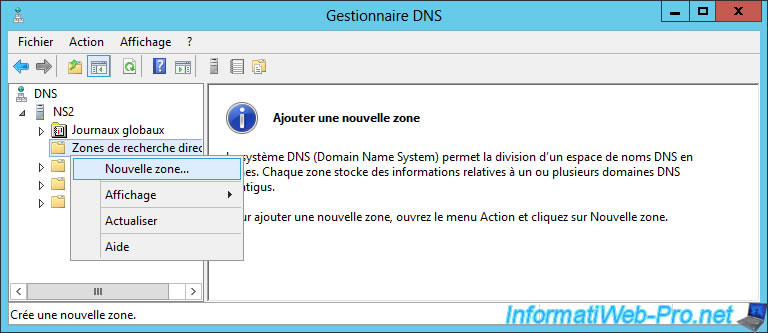
Open the DNS Manager and create a new forward lookup zone.
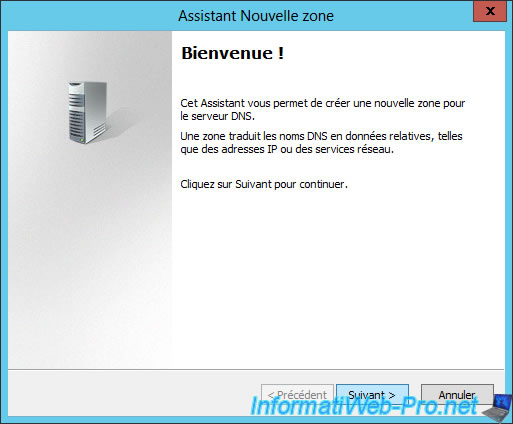
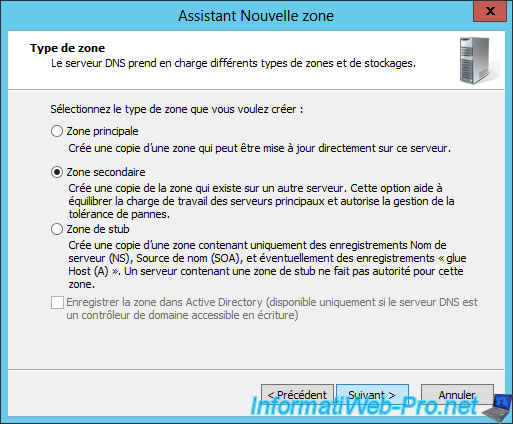
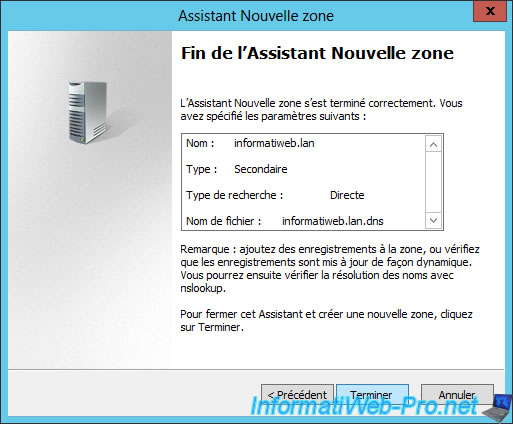
The new zone wizard appears.
Select : Secondary zone.
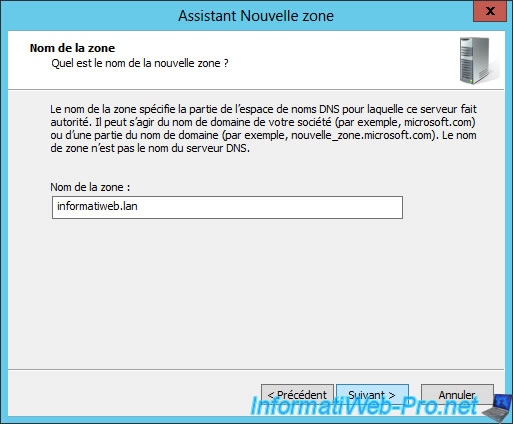
Specify the name of the zone that you manage on your primary DNS server and that you want to replicate to your secondary DNS server.
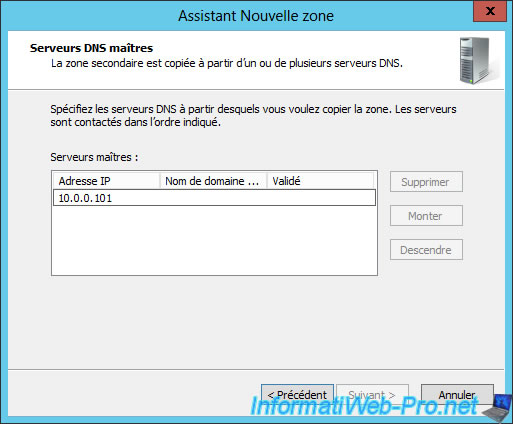
Specify the IP address of your master (primary) DNS server where you are currently managing this zone.
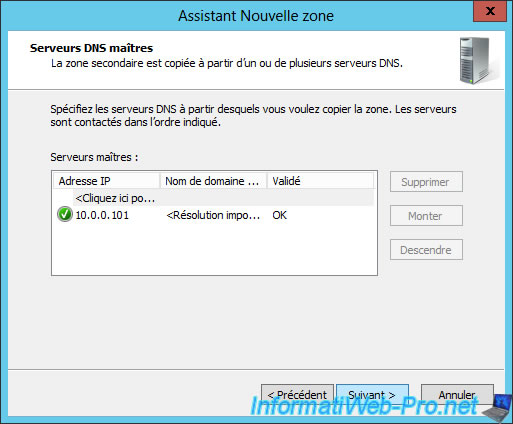
If all goes well, the validation will succeed.
The secondary zone has been created.
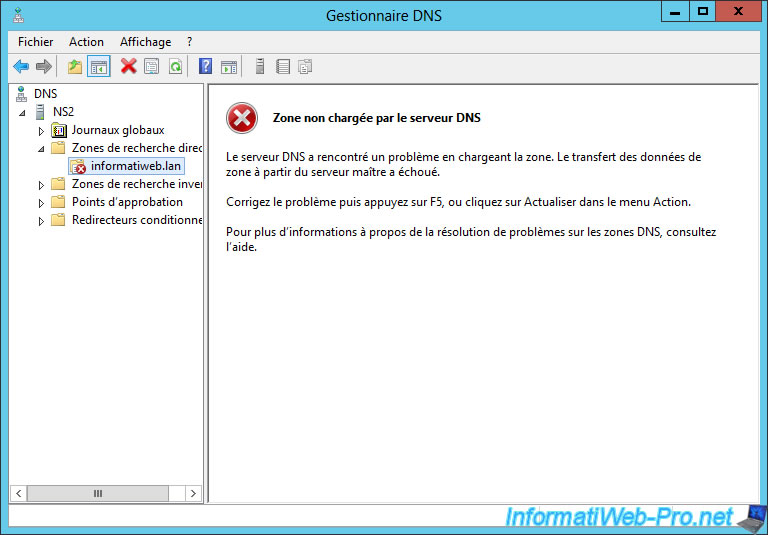
After the secondary zone is created, the "Zone Not Loaded by DNS Server" message may be displayed.
In order for the DNS server to obtain a copy of the zone from your primary DNS server, you must first authorize the transfer of the zone to your secondary DNS server.
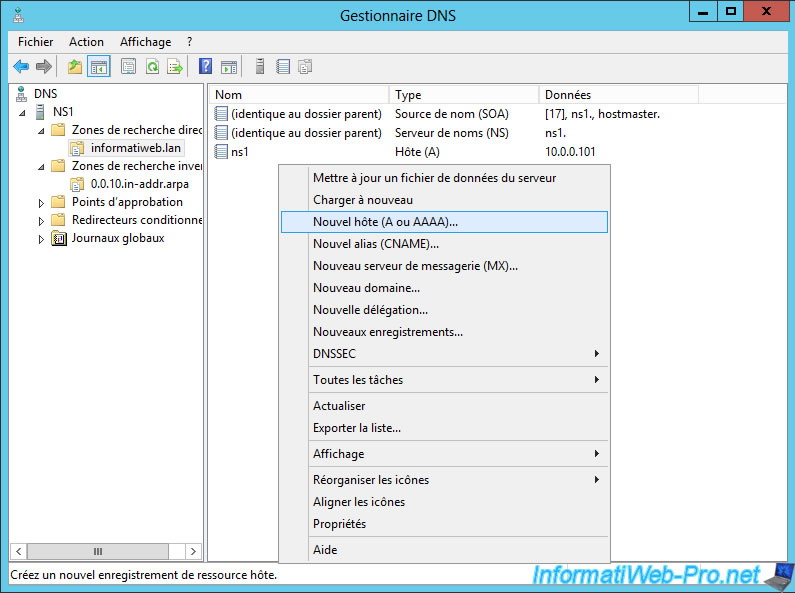
2. Allow the transfer of the DNS zone
To allow the transfer of the DNS zone from the master (primary) server to the secondary server, go to your primary DNS server and create a new host (A or AAAA).
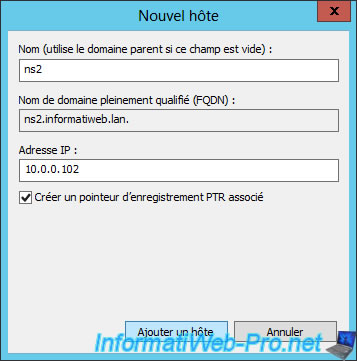
Type "ns2" (which means : name server 2 or DNS server 2 if you prefer).
Then, go to the properties of your main DNS zone and add a name server.
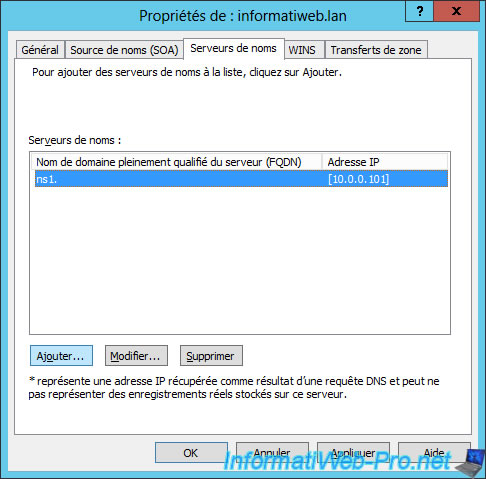
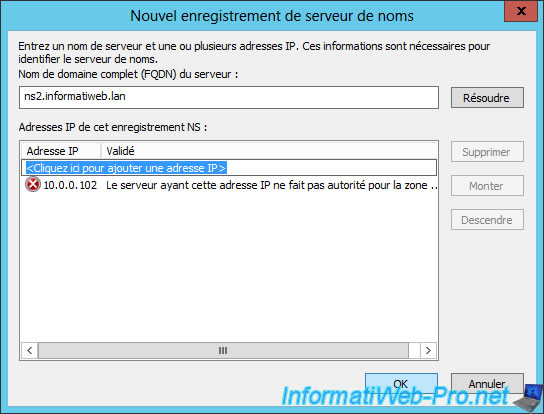
Add the name or IP address of your secondary DNS server and click : Resolve.

The secondary server is obviously not authoritative for this zone.
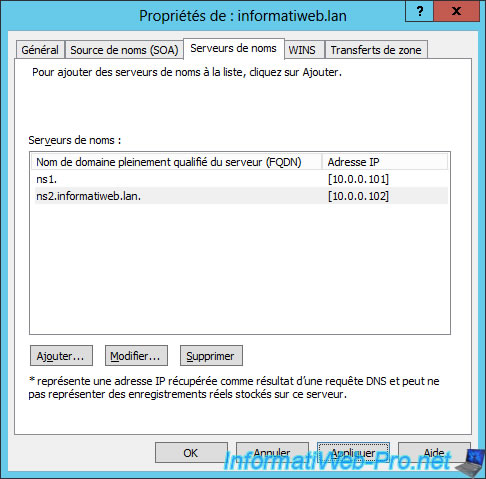
Now, your 2 DNS servers are referenced as name servers for this zone.
Finally, authorize the transfer of the zone to the servers listed in the Name Servers tab.
Note : selecting the "Only to the following servers" option by specifying the IP address of the secondary DNS server would also work.
However, since you must also add the IP address of the secondary server as a name server for the concerned zone, it's preferable to use the "Only to servers listed on the Name Servers tab" option.
![]()
As you can see, our secondary DNS server (ns2) is well referenced as a name server for this zone.
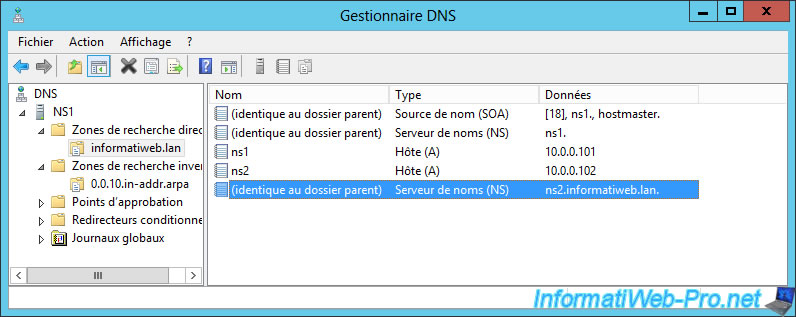
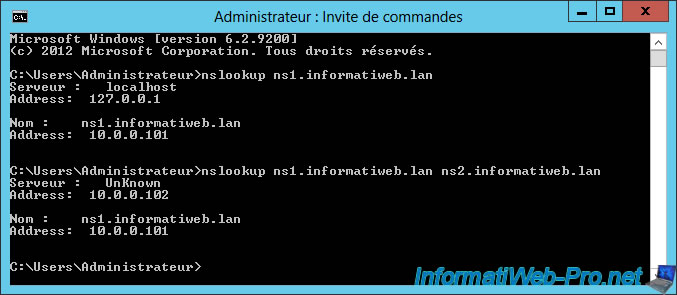
If we try to get the IP address corresponding to the "ns1.informatiweb.lan" domain using the nslookup command on our main DNS server, we get the same IP address from our 2 DNS servers.
3. Update the DNS zone
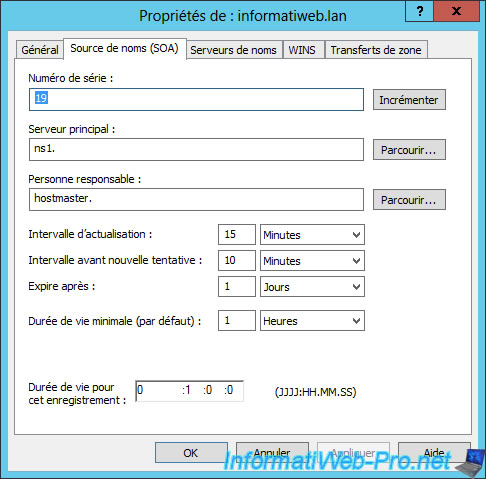
As explained in our previous tutorial, for each change, Windows Server automatically increment the serial number of the zone.
This serial number allows secondary DNS servers to know if the zone has been modified since the last time they received a copy of this DNS zone.
Currently, the serial number of our DNS zone is : 19.
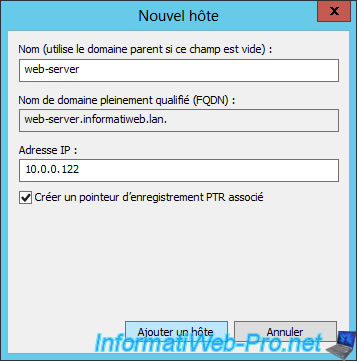
We create a new record on our primary DNS server.
And Windows Server automatically increments the serial number of our DNS zone.

Then, go to your secondary DNS server and right-click "Load again" on your fordward lookup zone to force the update of the zone.
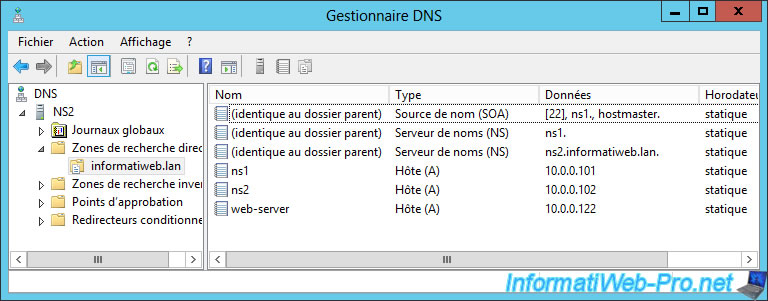
As expected, the new "web-server" record created on the primary DNS server also appears on the secondary DNS server.
Share this tutorial
To see also
-
Articles 5/1/2018
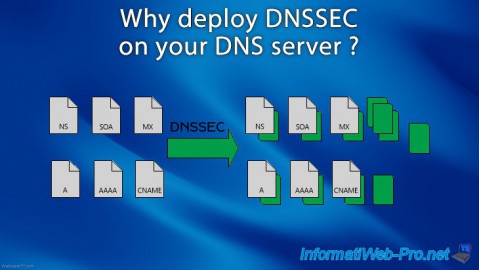
Why deploy DNSSEC on your DNS server ?
-

Windows Server 1/15/2013
WS 2008 - Create a DNS server
-
Windows Server 4/15/2018
WS 2012 / 2012 R2 - Create a DNS server and delegate subdomains
-

Windows Server 5/11/2018
WS 2012 / 2012 R2 - Sign your DNS zones with DNSSEC
You must be logged in to post a comment