How works, benefits, installation and configuration of Windows MultiPoint Server 2012
- Windows Server
- 17 January 2018 at 11:12 UTC
-

- 3/7

6. Programs available on Windows Multipoint Server 2012
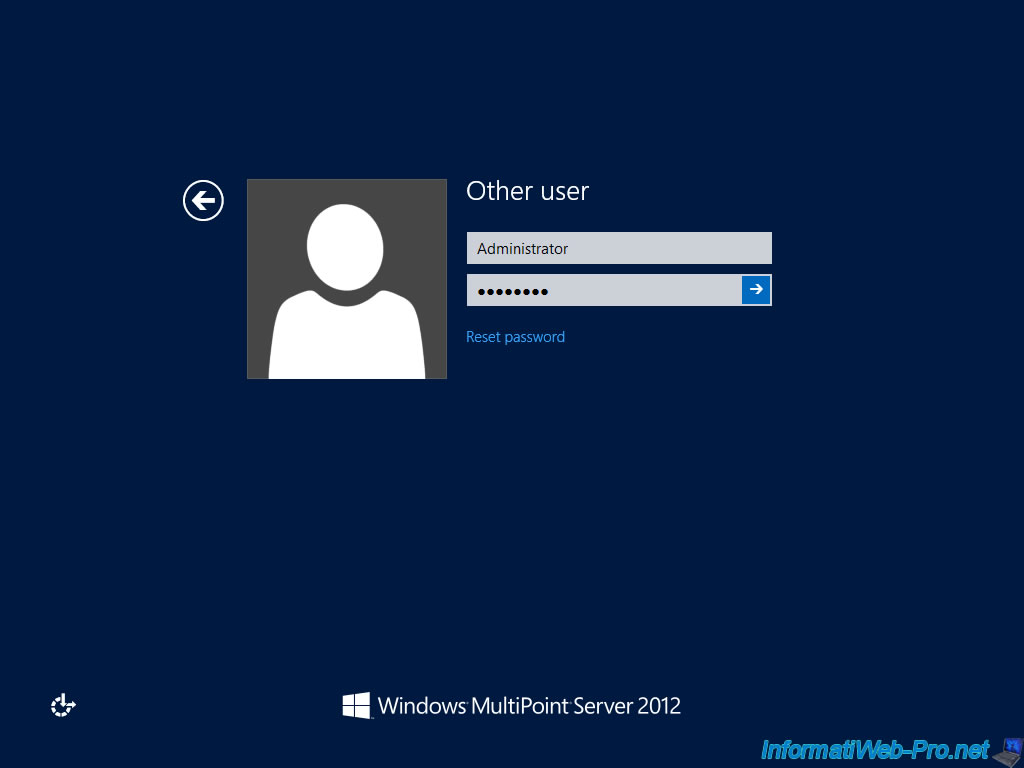
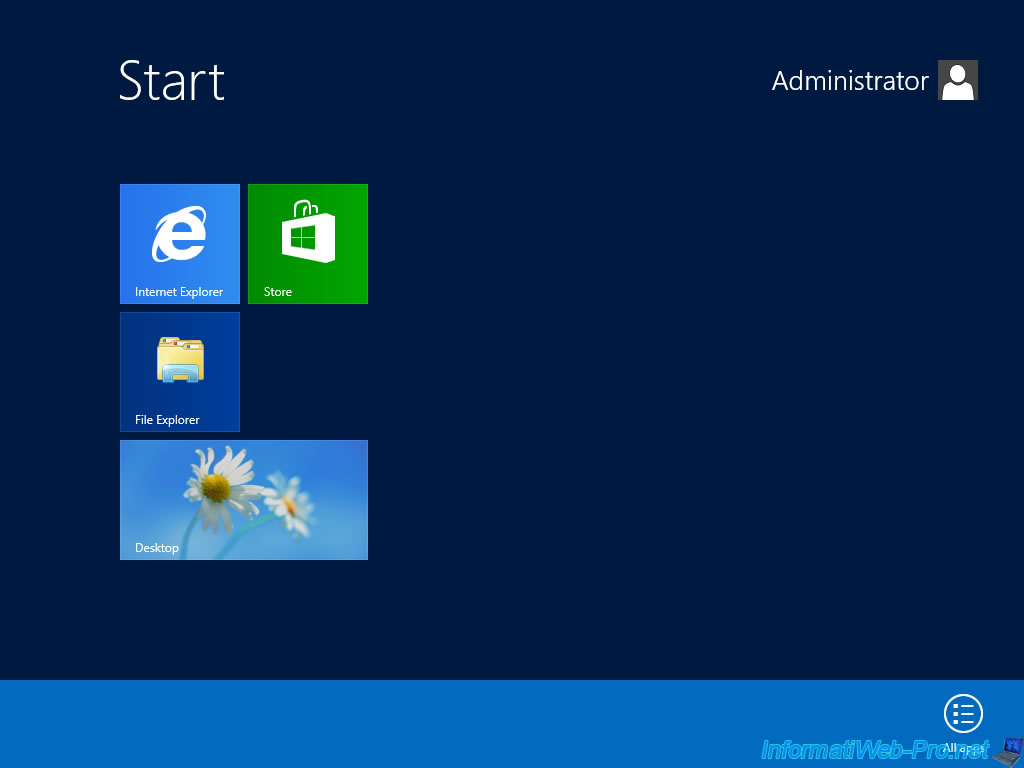
Log in with the "Administrator" account.
Click on Desktop.
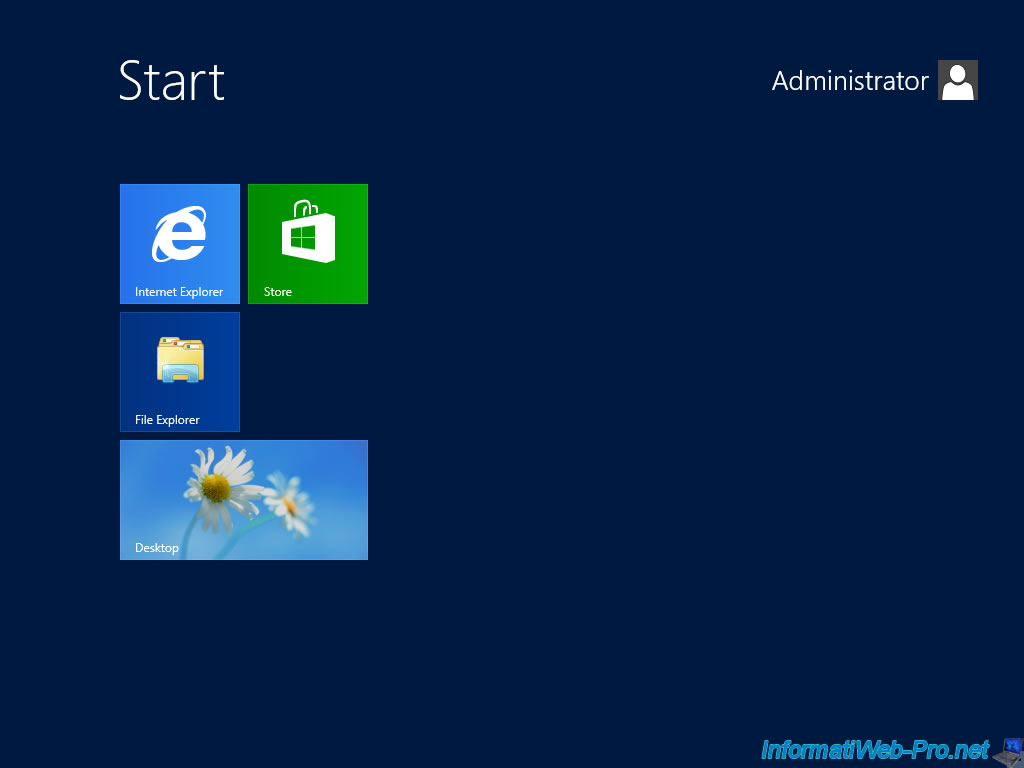
Since all users will be using a session running on the server, WMS has been configured by default to provide a Windows 8 experience to users.
Unlike the classic versions of Windows Server where the interface is very basic.
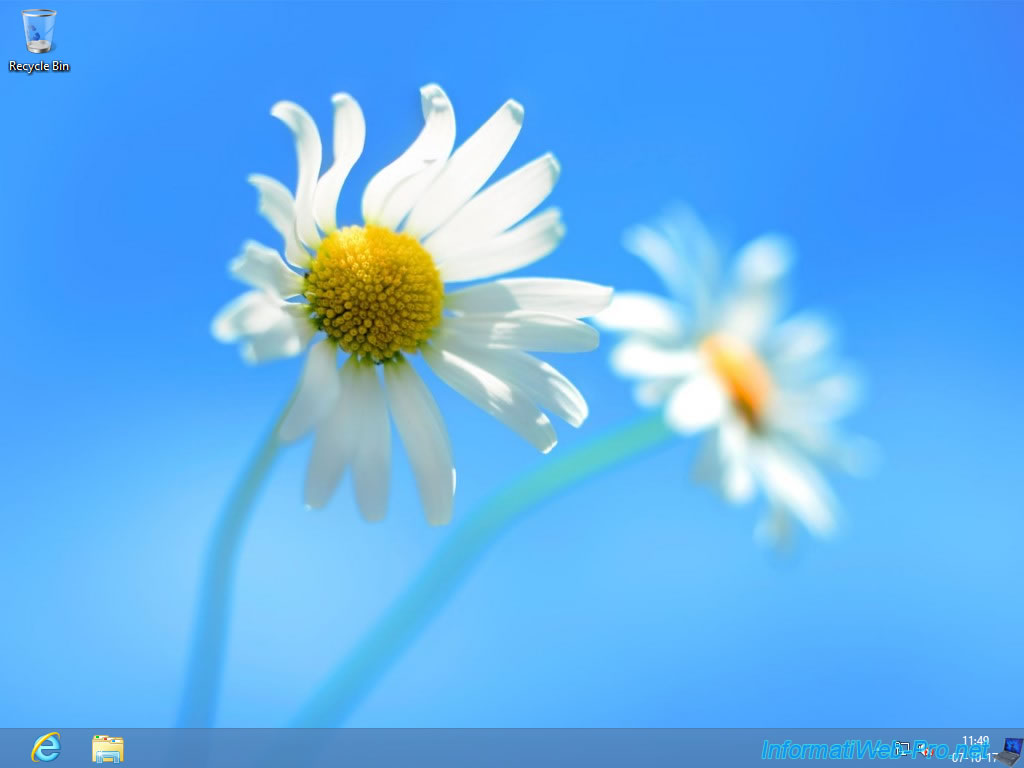
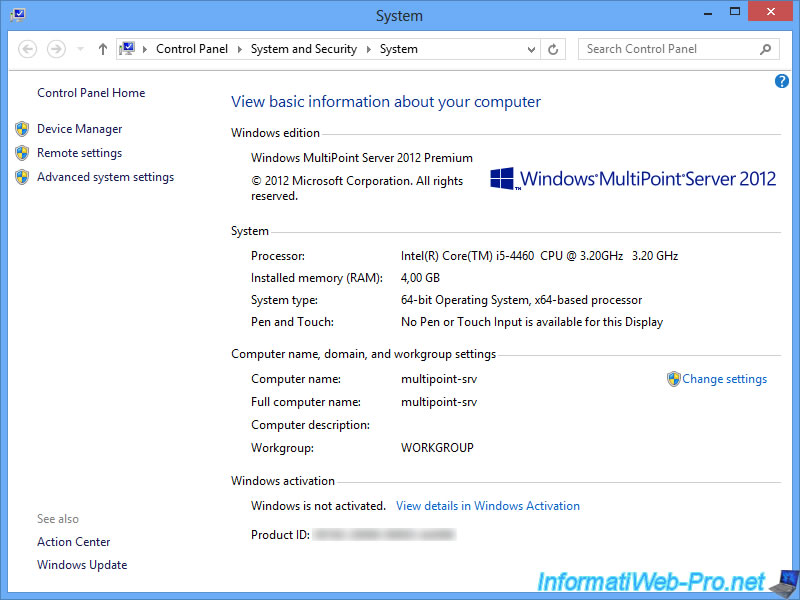
As you can see in the Windows system information, this is Windows MultiPoint Server 2012.
Start by installing the drivers for your server's motherboard.
Then, install the drivers for your graphics card.
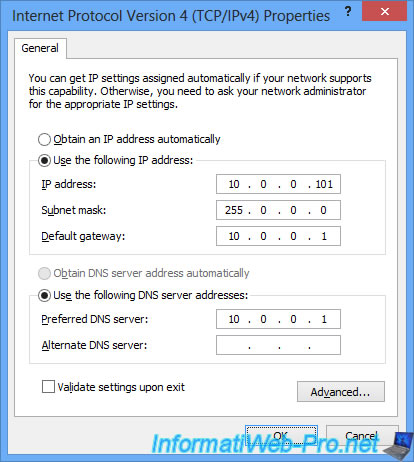
In our case, we have set a static IP address "10.0.0.101" on this server.
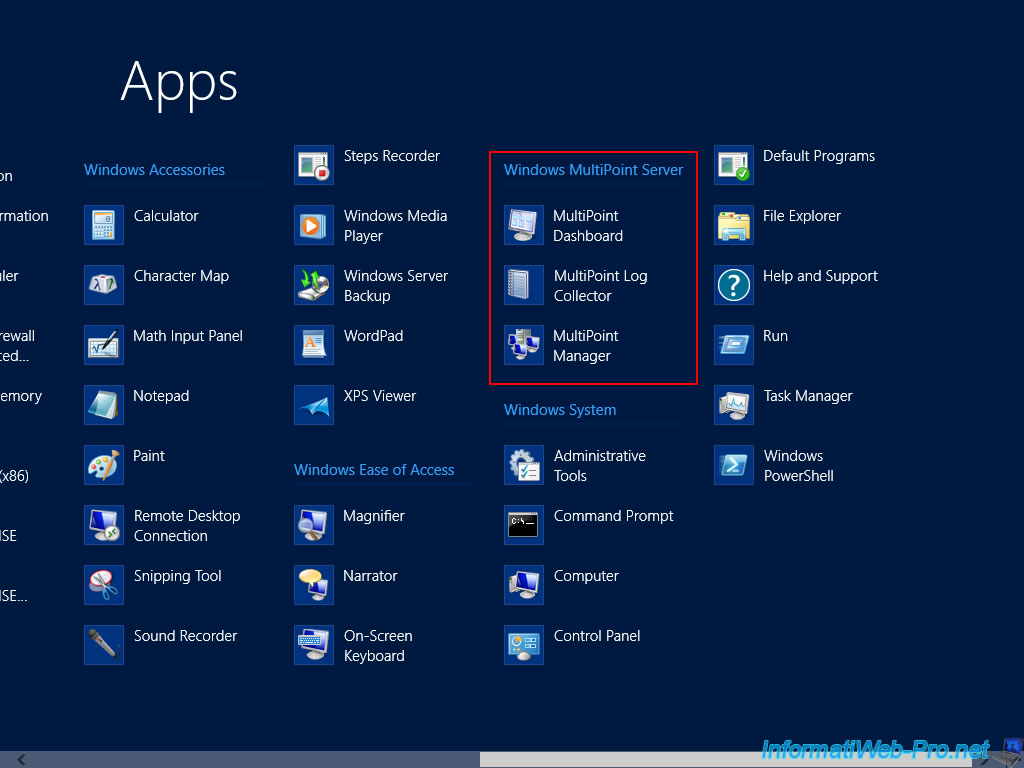
Now, to access the various Windows MultiPoint Server 2012 programs, go to the Windows home screen, right-click in the blue part of the screen and click on "All apps".
In the "Windows MultiPoint Server" section, you will find :
- MultiPoint Manager : which allows you to create users, configure stations, assign zero-clients to your server, ...
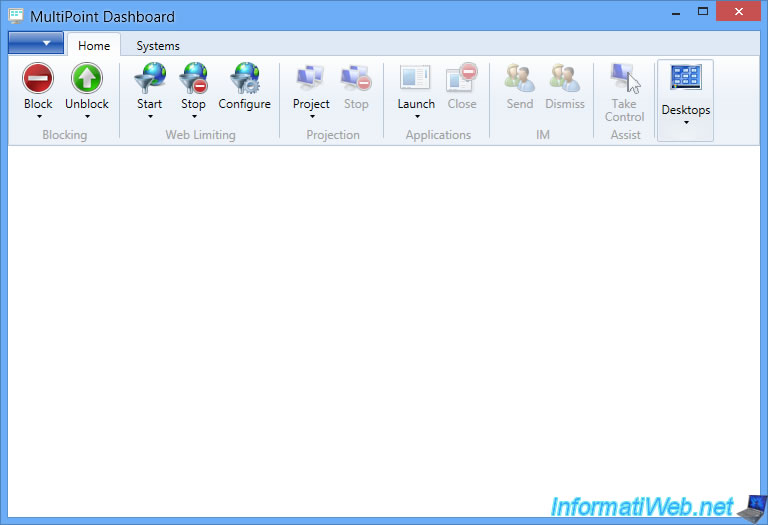
- MultiPoint Dashboard : which allows you to monitor your students, chat privately with each of them, ...
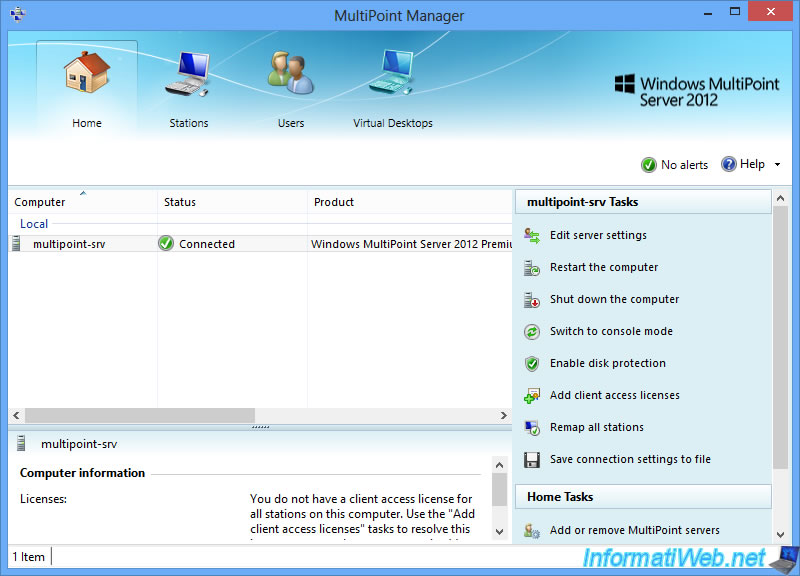
Let's start with MultiPoint Manager.
As you can see, MultiPoint Manager is the program that you will use to deploy this solution in your classroom.
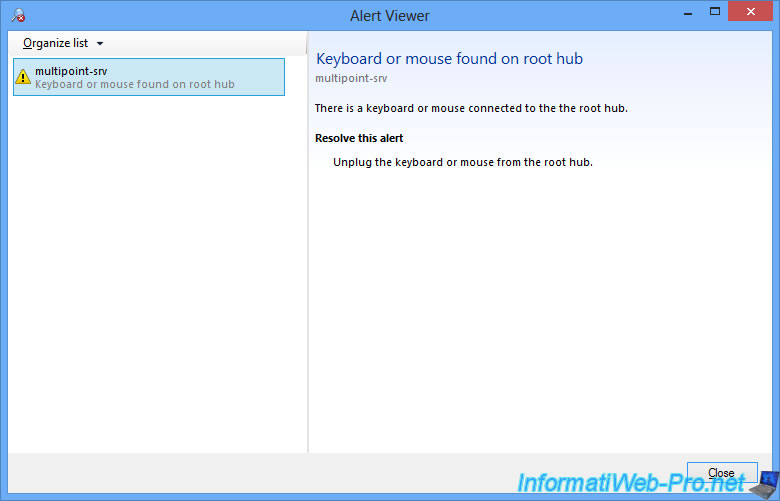
Caution: As explained at the beginning of this tutorial, each user station must be associated with an USB hub.
If you connect the keyboard and/or mouse is directly connected to an USB port on the server, this warning will be displayed.
Once the server is set up, you will only use the "MultiPoint Dashboard" program which will allow you to manage your classroom every day.
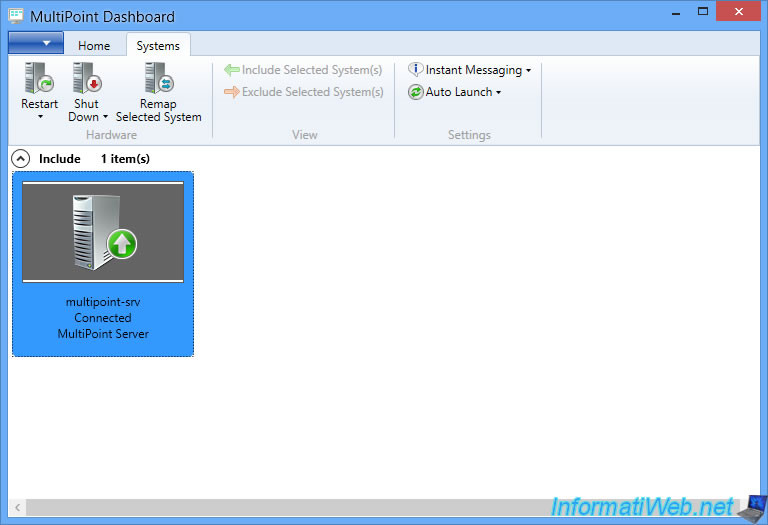
Note that you can disable internal IM if you want by going to the "Systems" tab.
Then, disable the "Instant Messaging" option.
7. Downloading and installing drivers for our Dell Wyse 1010 zero-client
7.1. Dell Wyse 1010 zero-client drivers download
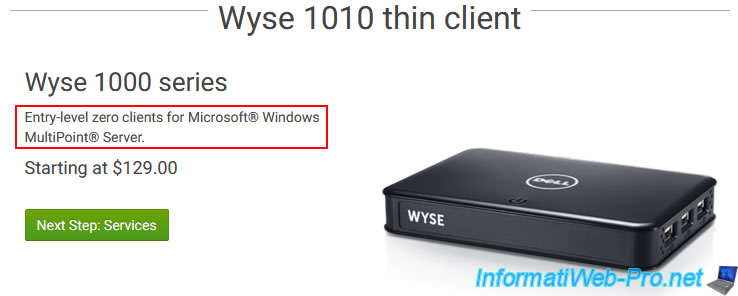
Although Dell has indicated the "thin client" term in the title, the Dell Wyse 1010 zero-client is a zero-client.
As stated on their site, this zero-client is an entry level zero-client (but enough to test this technology) created for Windows MultiPoint Server.
Note : in the product details, it's also indicated that the operating systems supported by this zero-client are WMS 2011 and WMS 2012.
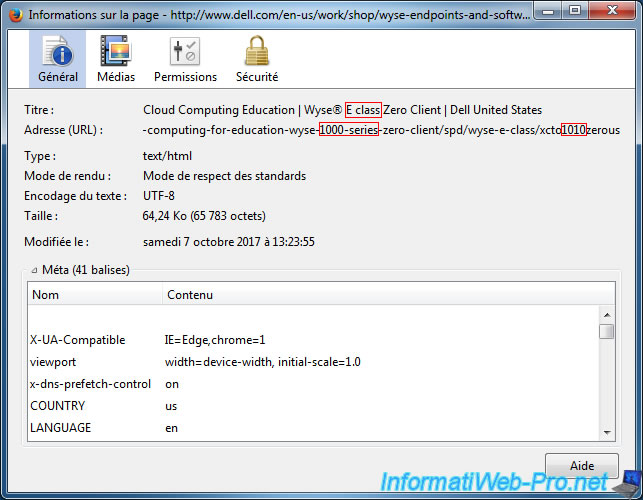
To download the drivers for this zero-client, we had to find out which class it belonged to.
As stated in the title of the page, this is a Wyse E class Zero Client.
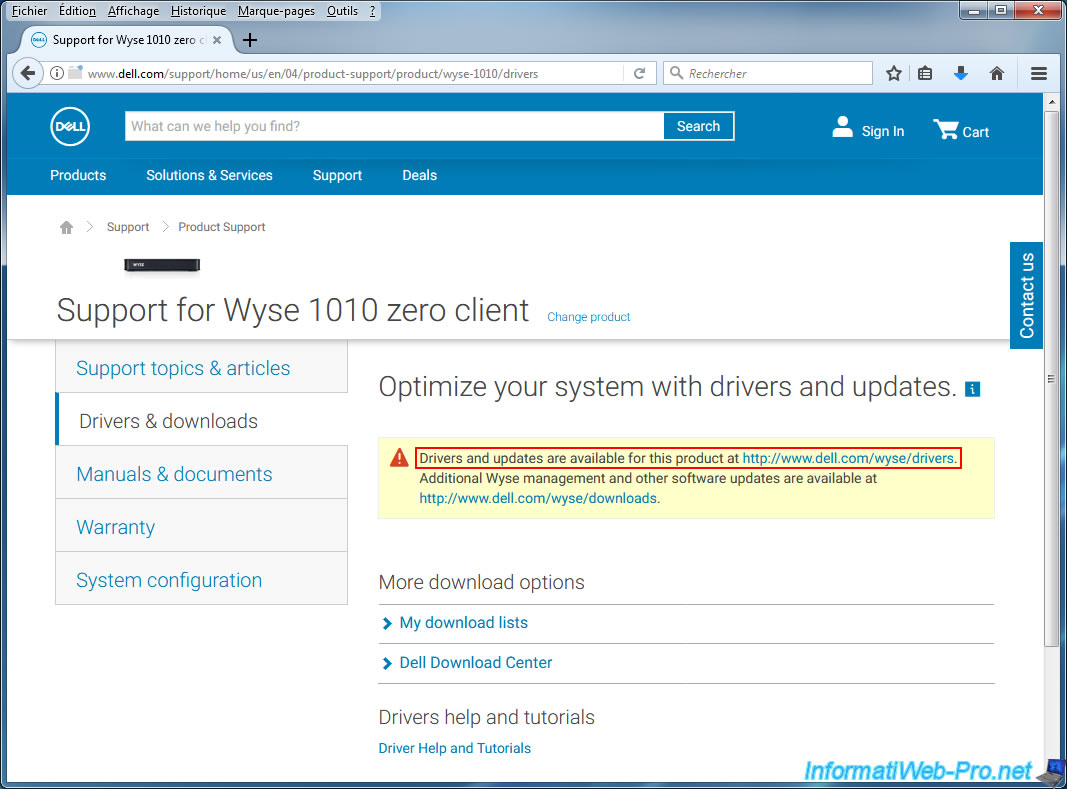
On the Dell support page for the Wyse 1010 zero client, it's stated that drivers can be downloaded from this address : https://www.dell.com/wyse/drivers
Warning : in 2022, this section of the Dell site no longer exists.
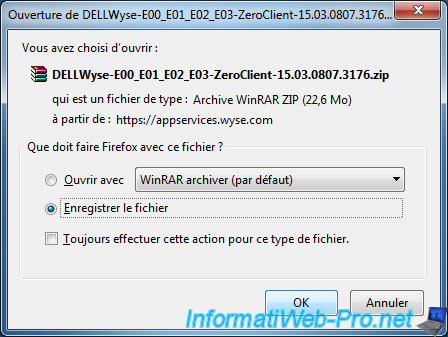
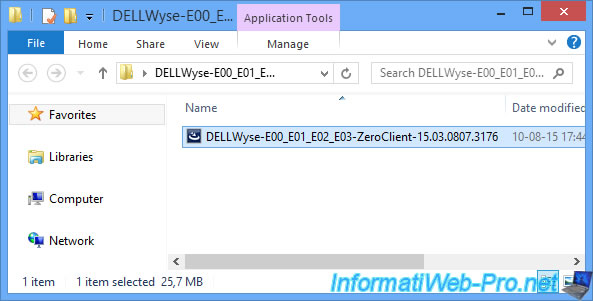
However, you can continue to download the driver used in this tutorial using this alternative link : DELLWyse-E00_E01_E02_E03-ZeroClient-15.03.0807.3176.zip.
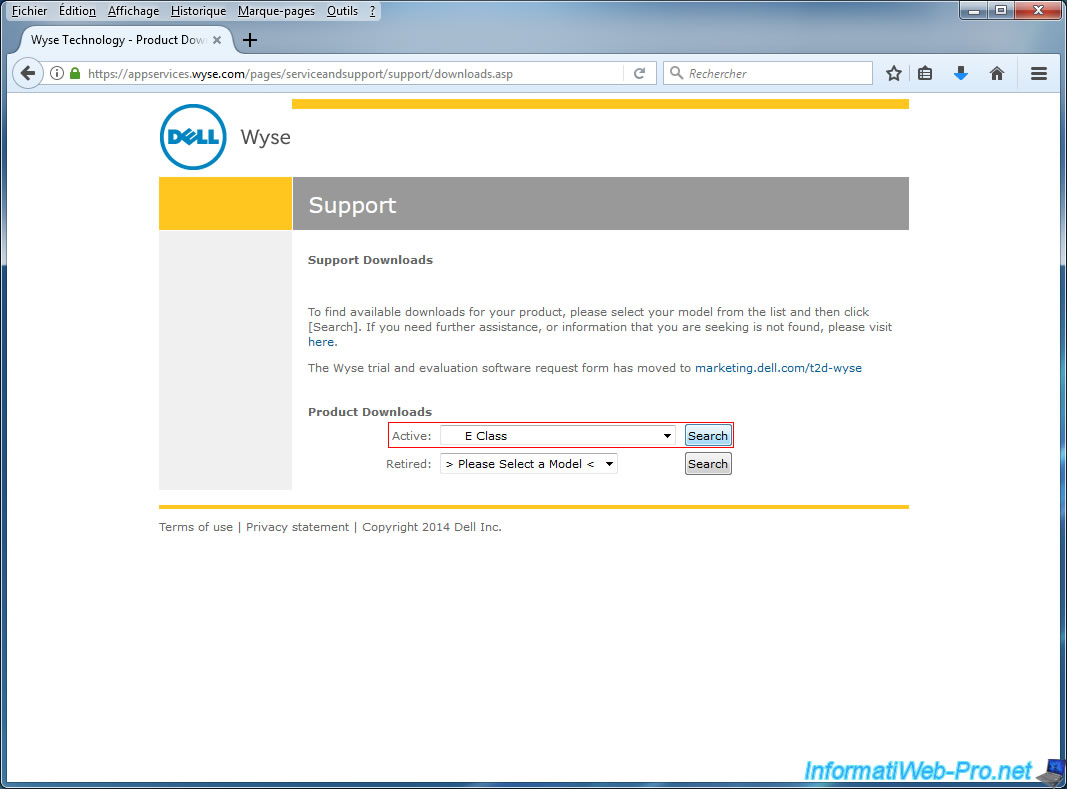
By accessing the address mentioned above, you will be taken to a Wyse download page.
In the "Active:" list, select the "E Class" option and click Search.
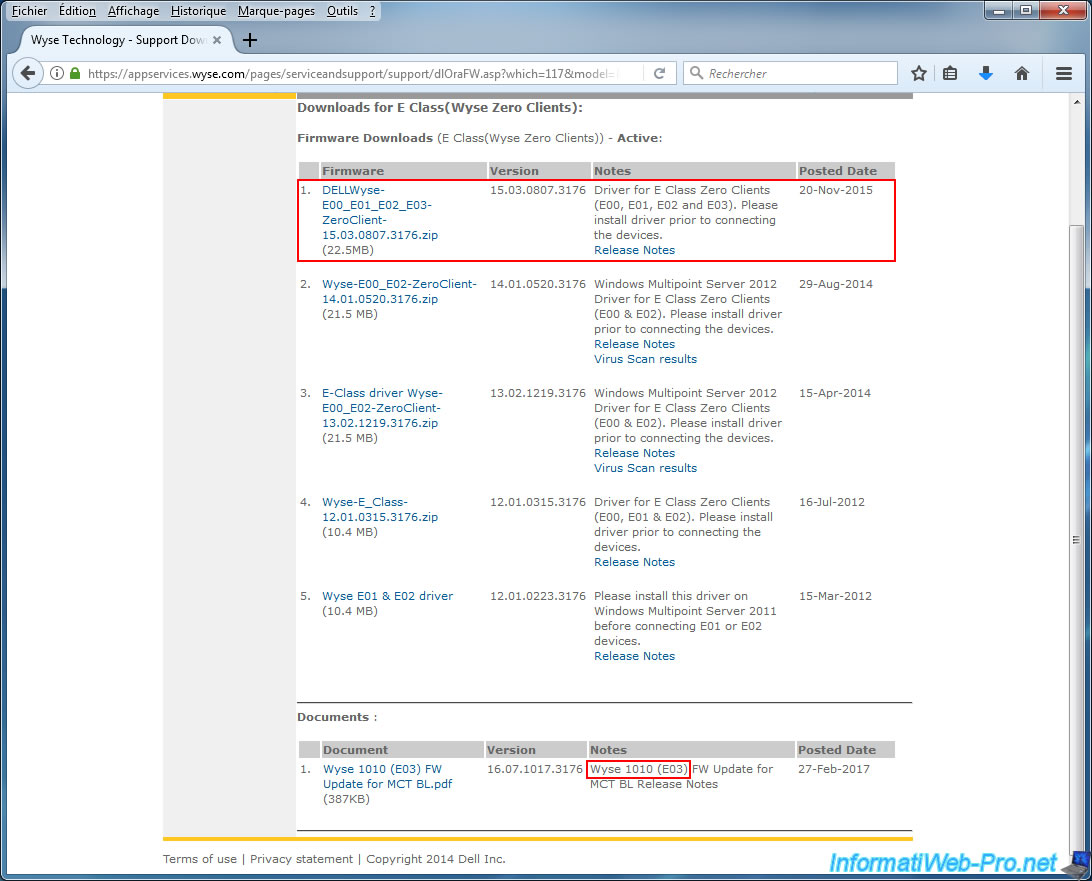
As you can see at the bottom of the page, the Wyse 1010 is also called "E03".
So, we downloaded the latest driver available for zero-clients E03.
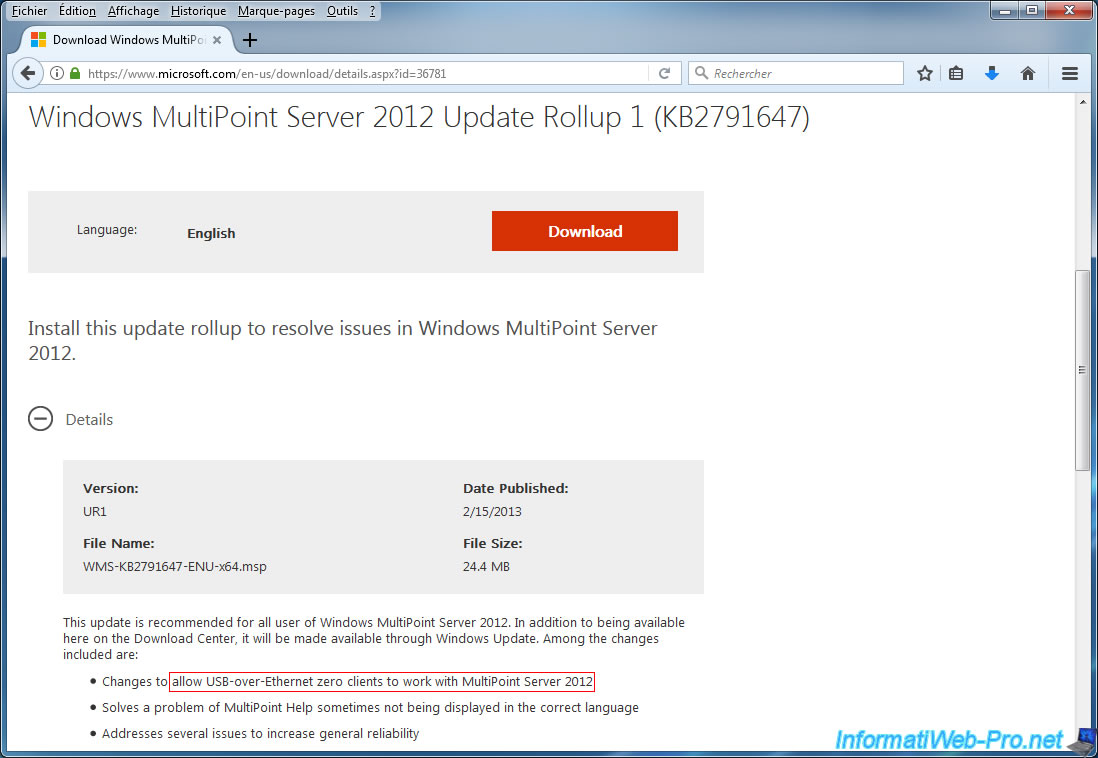
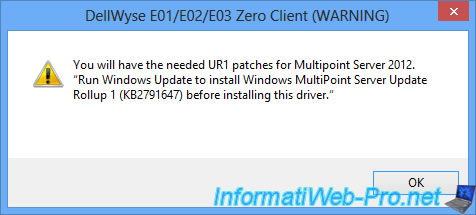
Finally, when you attempt to install the Dell-provided driver, you will receive a warning because you will need to first install the "Windows MultiPoint Server 2012 Update Rollup 1 (KB2791647)" update.
Indeed, if you look in the details of this update, you will notice that it can support Ethernet zero-clients (which is our case).
Warning : at this time, this update is no longer available from the Microsoft Download Center.
However, it's still possible to download it from the official Microsoft website (see next image).
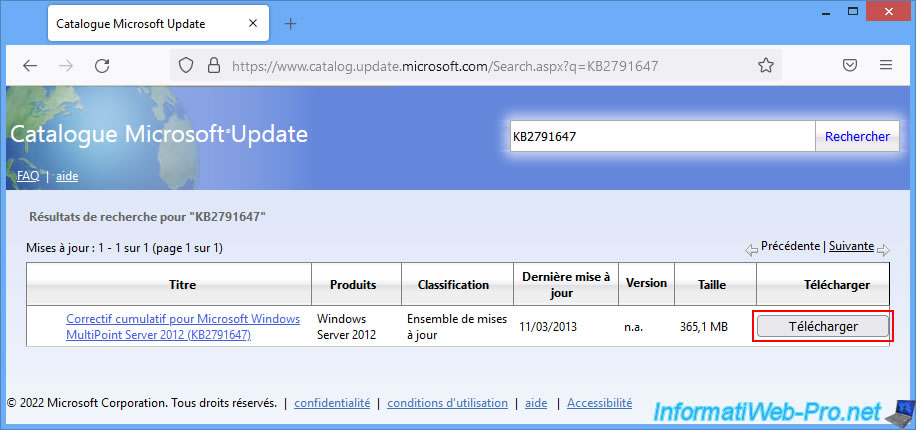
To download this "Windows MultiPoint Server 2012 Update Rollup 1 (KB2791647)" update in 2022, you will need to search for "KB2791647" on the Microsoft Update Catalog.
As you can see, this update is still available as : Update Rollup for Microsoft Windows MultiPoint Server 2012 (KB2791647).
Click the "Download" button to its right.
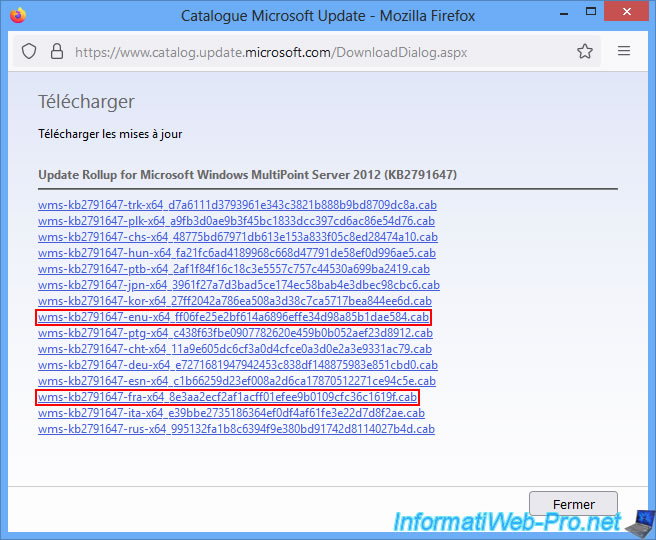
Then, download this update in the language of your Windows MultiPoint Server 2012 (WMS 2012) server.
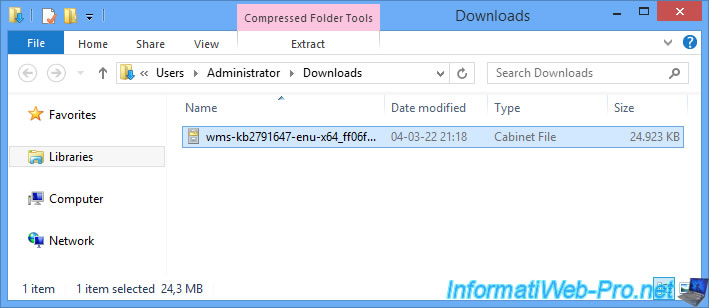
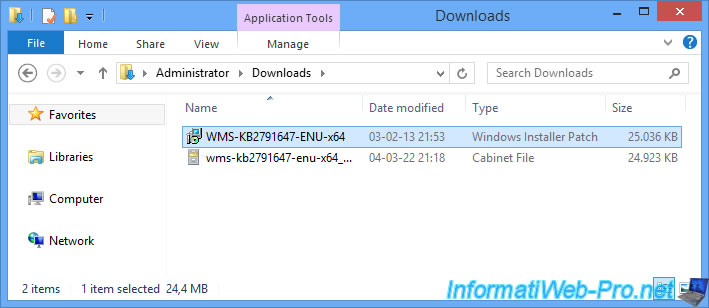
In our case, we downloaded the "wms-kb2791647-enu-x64_ff06fe25e2bf614a6896effe34d98a85b1dae584.cab" file which corresponds to the English version.
As you can see, now this update is in ".cab" format.
Which is a compressed file similar to a ".zip" or ".rar" file (for example).
So you can extract it with your favorite decompression program (such as 7-Zip which is free) if you wish.
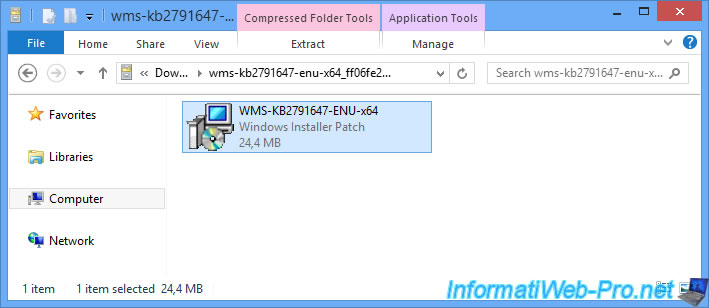
If you want to unzip this file without installing anything additionally, double click on the downloaded "wms-kb2791647-xxx-x64-xxxxx...cab" file, then double click on the "WMS-KB2791647-XXX-x64.msp" file found there.
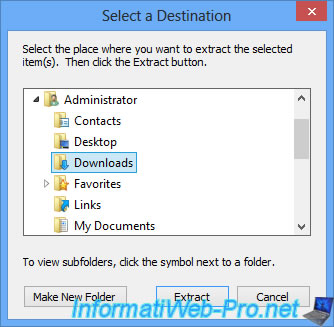
Windows MultiPoint Server 2012 will automatically offer you to extract this file.
To do this, select the folder you want (for example, the "Downloads" folder), then click Extract.
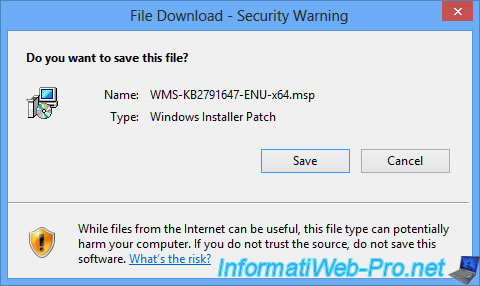
Then, click Save.
Finally, launch the "WMS-KB2791647-XXX-x64.msp" file that appeared in the desired folder.
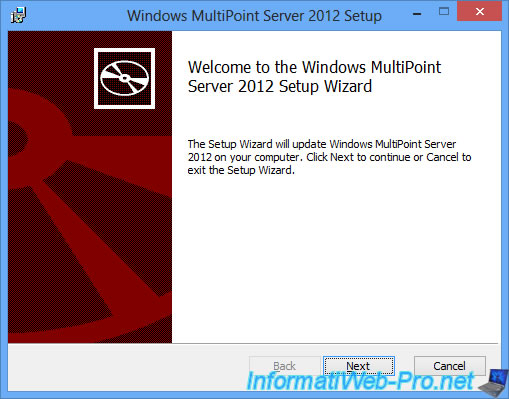
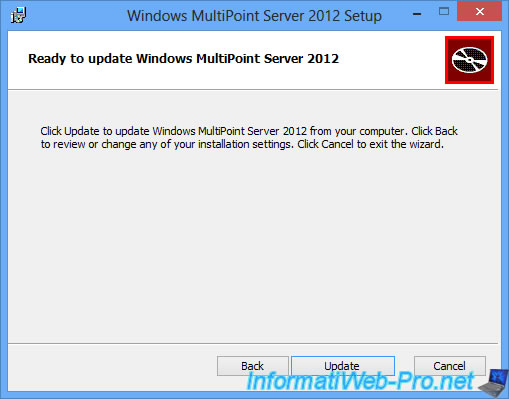
7.2. Installing the WMS 2012 UR1 update
To install the WMS 2012 UR1 (Update Rollup 1) update, nothing more simple.
Just install it.
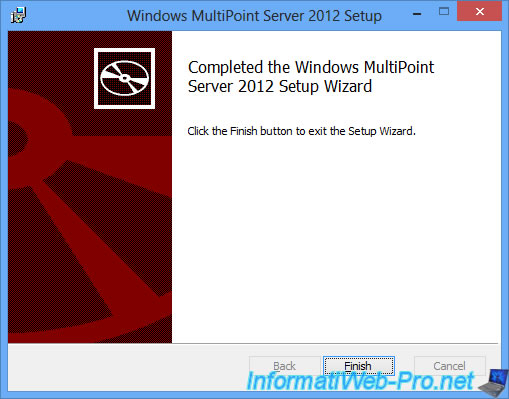
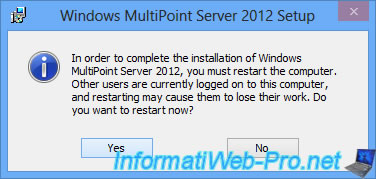
Then, restart the server.
7.3. Dell Wyse 1010 zero-client driver installation
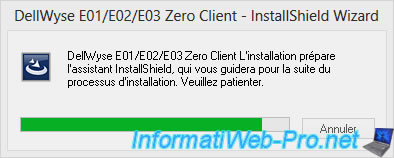
Launch the file downloaded from the Wyse website.
As previously mentioned, this driver requires the installation of the UR1 update for WMS 2012.
In our case, it's installed, so this warning will not be displayed.
Click Next.

Accept the license agreement.
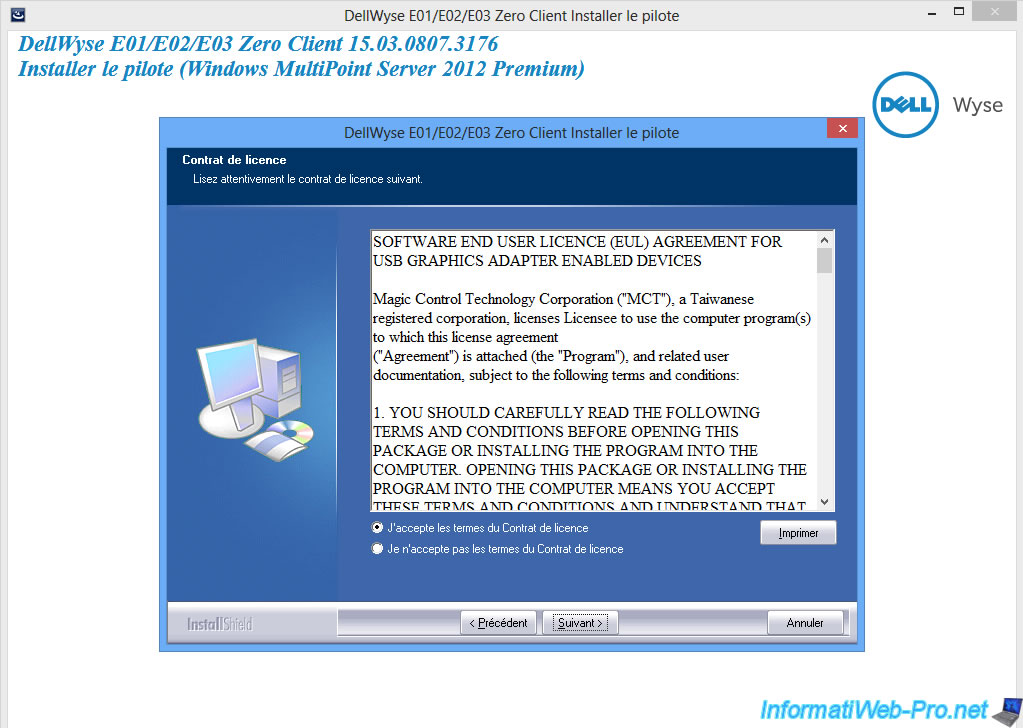
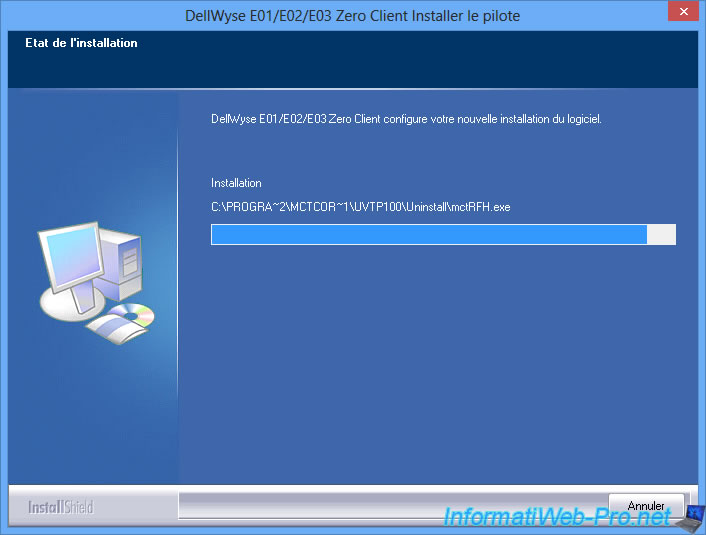
The driver installs.
Click Finish to restart the server.
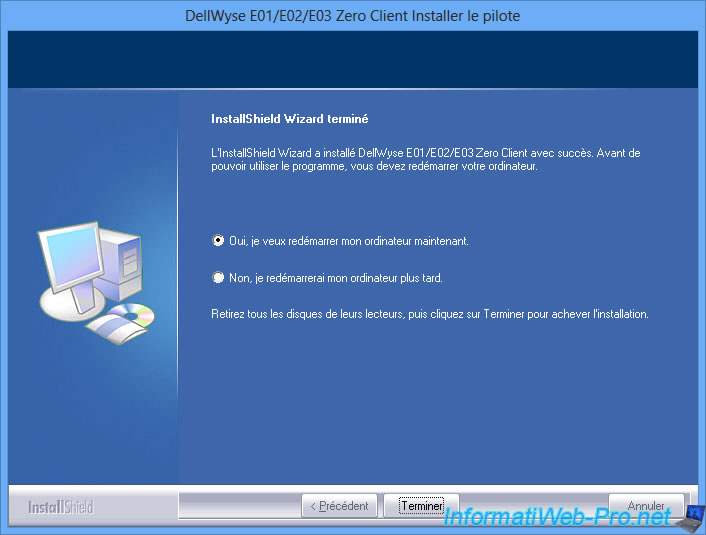
Click Yes.

Share this tutorial
To see also
-
Windows Server 2/12/2018
WMS 2012 - Enable the Disk Protection
-
Windows Server 3/24/2018
WMS 2012 - Join virtual desktops to an AD
-

Windows Server 2/21/2018
WMS 2012 - Joining an AD and use roaming profiles
-
Windows Server 2/3/2018
WMS 2012 - Manage desktop computers with the MultiPoint Connector
No comment