How works, benefits, installation and configuration of Windows MultiPoint Server 2012
- Windows Server
- 17 January 2018 at 11:12 UTC
-

- 4/7

8. Create users on the server
To create users, start the MultiPoint Manager program.
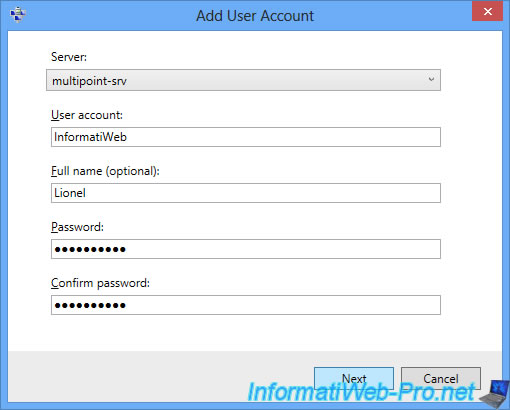
Then, go to Users and click on : Add user account.

Enter the requested information :
- User account : a user name with which the user can connect to the station
- Full name (optionel) : his full name.
- Password : his password
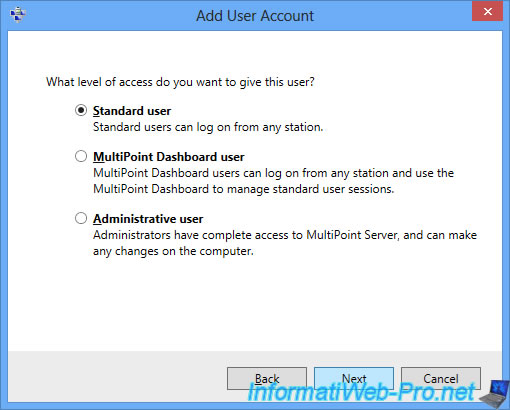
On Windows Multipoint Server 2012, there are 3 types of users :
- Standard user : each student will be able to connect to a user station to work on it (creating and editing documents, for example).
- MultiPoint Dashboard user : these users will be able to use the MultiPoint Dashboard program and thus monitor and communicate privately with each student.
- Administrative user : thanks to this privilege, you will be able to use the 2 programs (MultiPoint Manager and MultiPoint Dashboard). This will allow you to manage user stations (assigning clients, remote control of user stations, ...), create new users, manage CAL keys, ...
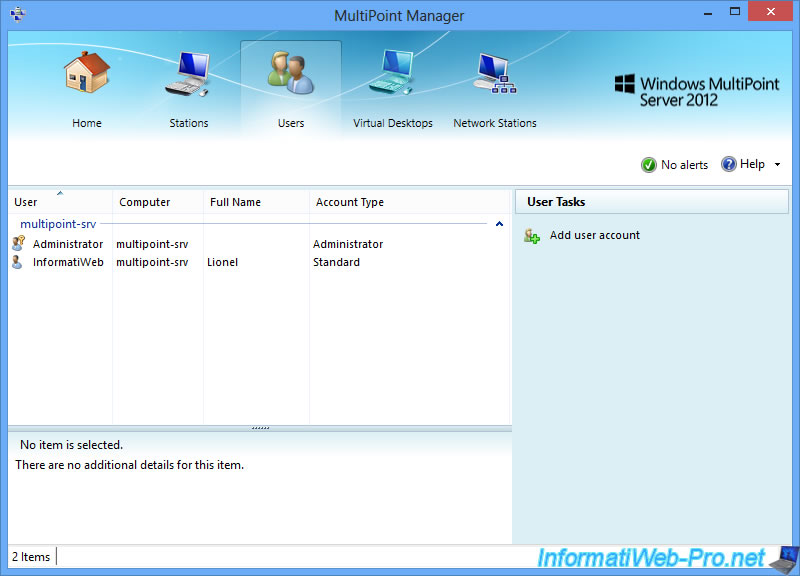
The user has been created.

Now, we have 2 users :
- Administrator : the administrator account created during the installation of the Windows MultiPoint Server 2012 server
- InformatiWeb : a standard user that we will use on our user station.
9. Assign clients to the server
In our case, we use a zero-client connected in Ethernet : Dell Wyse 1010 zero-client
So, to assign it to our server WMS 2012, we go in the "Network Stations" tab.
For the moment, the list is empty.

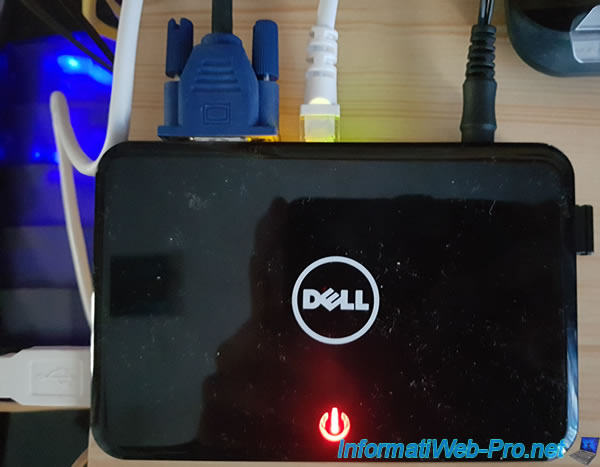
We connect the different user devices to our zero-client :
- the screen in VGA
- the RJ45 network cable
- the Dell Wyse 1010 zero-client power cable
- the USB keyboard (on the left)
- the wireless USB mouse (on the right)
Then, we turn on the zero-client with the switch at the top left.
When the zero-client is booted, it will automatically recover an IP address thanks to the DHCP server present on your network.
In our case, it's the DHCP server present in the router provided by our ISP.
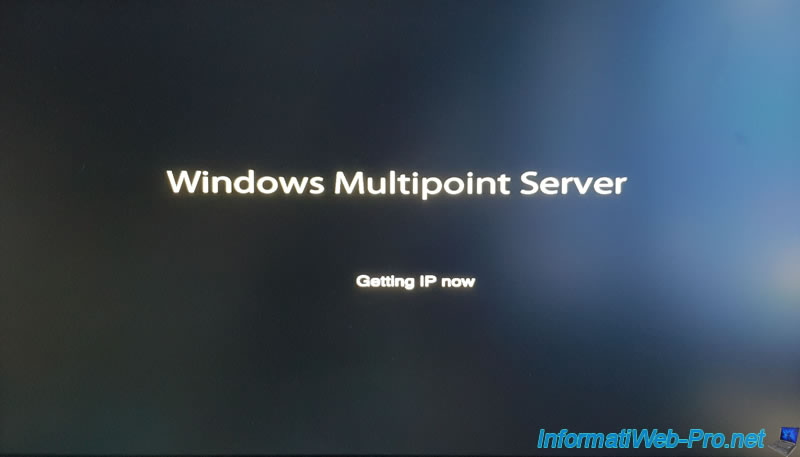
Then, it will attempt to connect to a Windows MultiPoint Server.
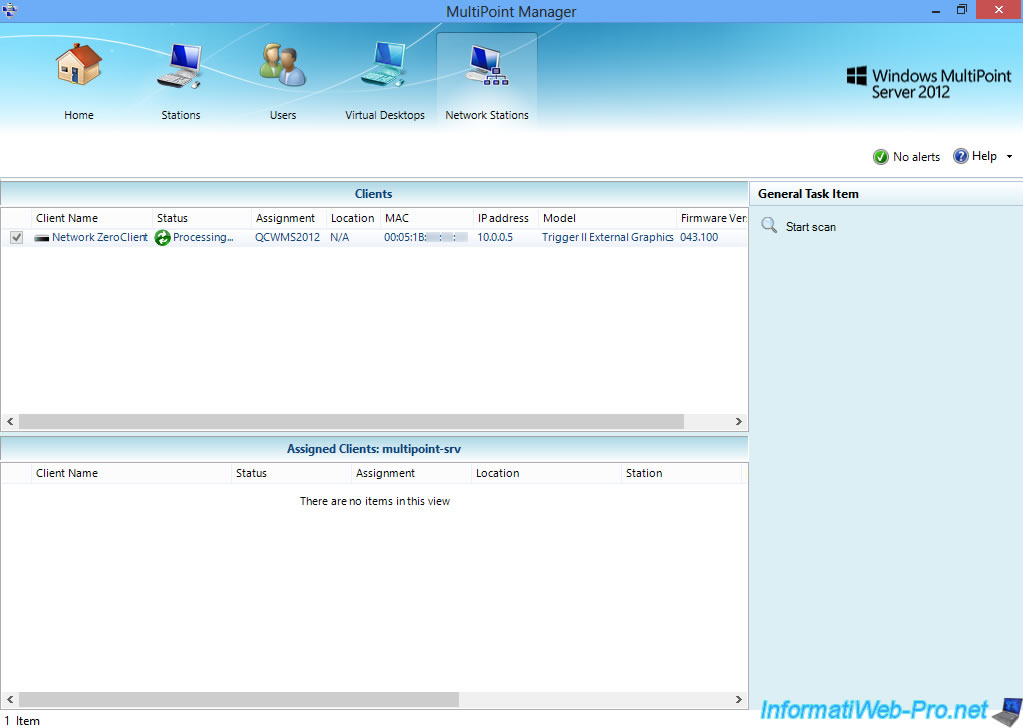
As you can see in the MultiPoint Manager, this zero-client has already been assigned to a server named "QCWMS2012".
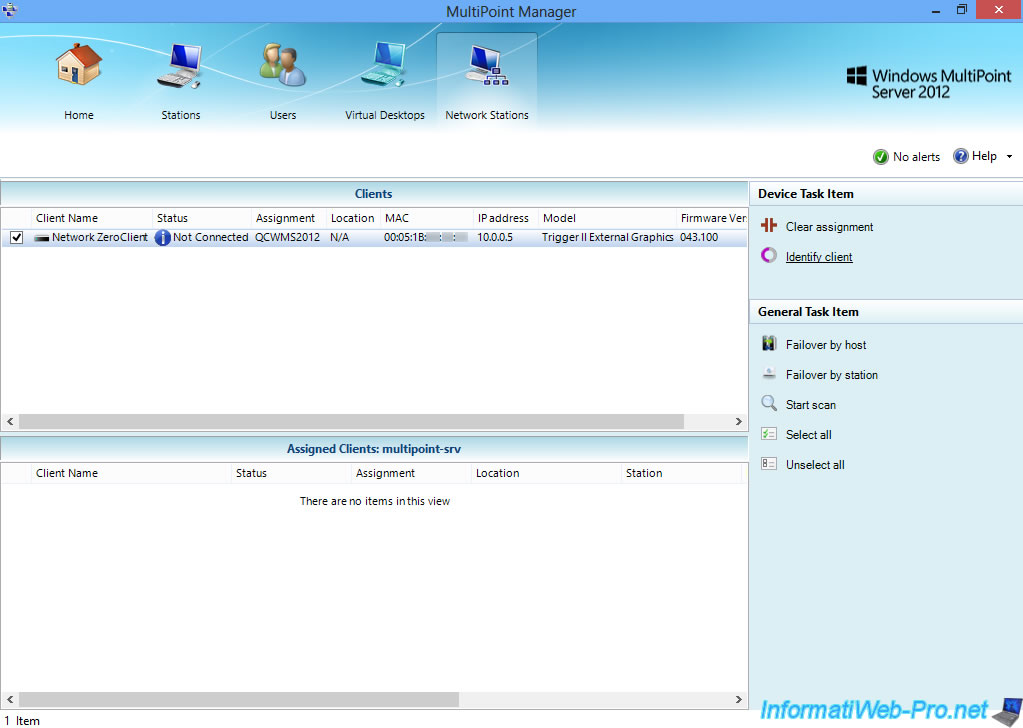
If you click on "Identify client", the program will show you the IP address and the MAC address of your zero-client.
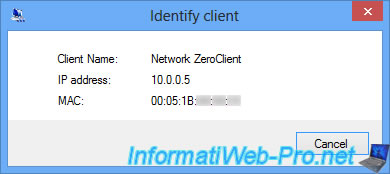
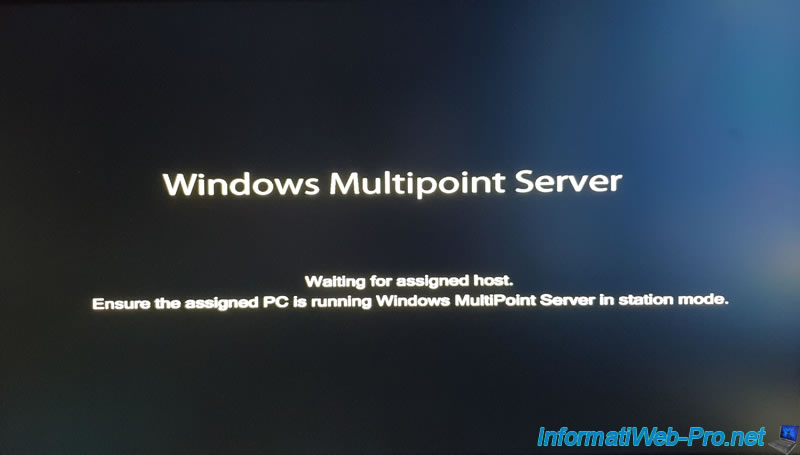
Then, the zero-client will try to connect to the server "QCWMS2012" (which does not exist).
As a result, you can not connect the zero-client to the server.
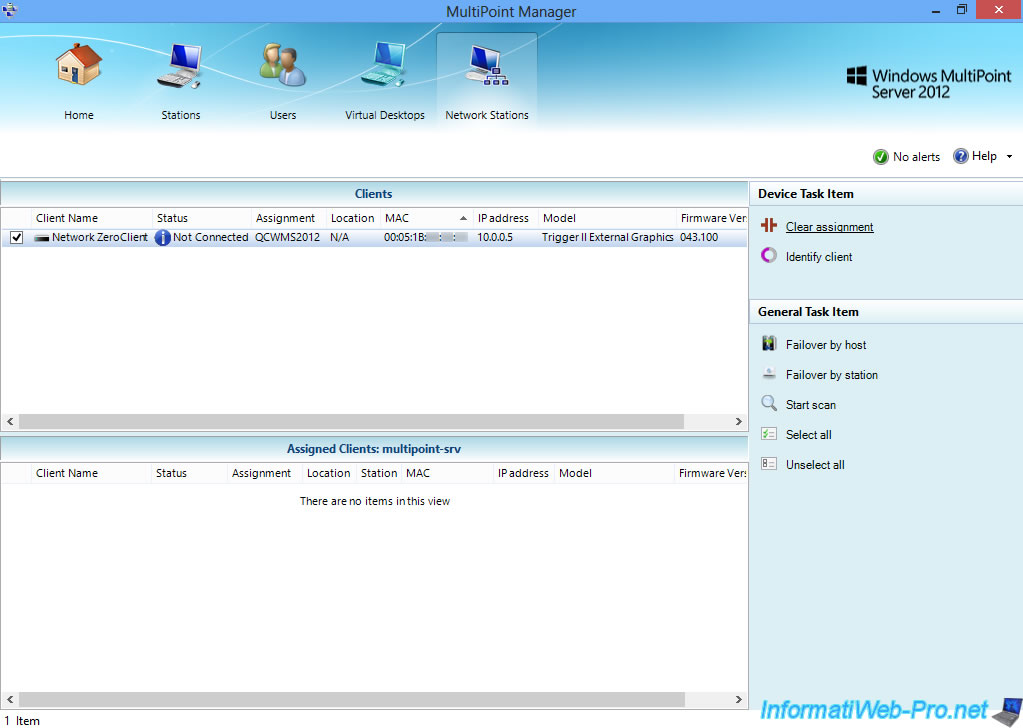
In fact, this assignment was done automatically by Dell and it's problematic because the MultiPoint Manager no longer allows us to assign it to our server at the moment.
To solve this problem, simply select the zero-client (by checking the box on the left), then click on "Clear assignment".
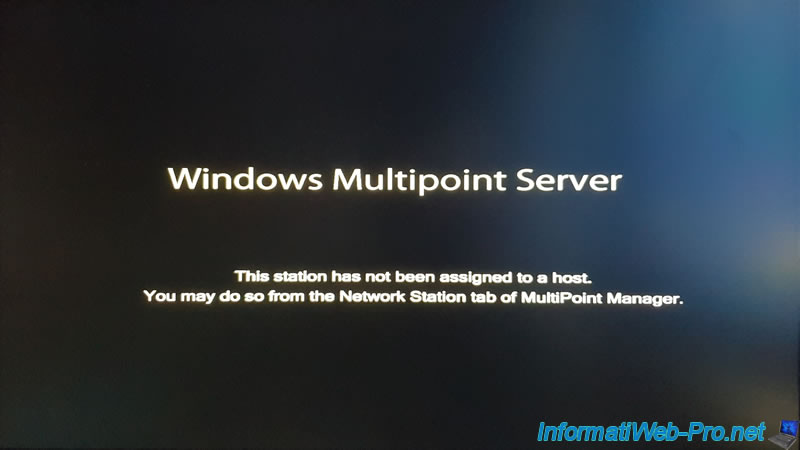
On the user station, you will see that the zero-client tells you that it's no longer assigned to a host and that we should assign it via the "Network Station" tab of the MultiPoint Manager program.
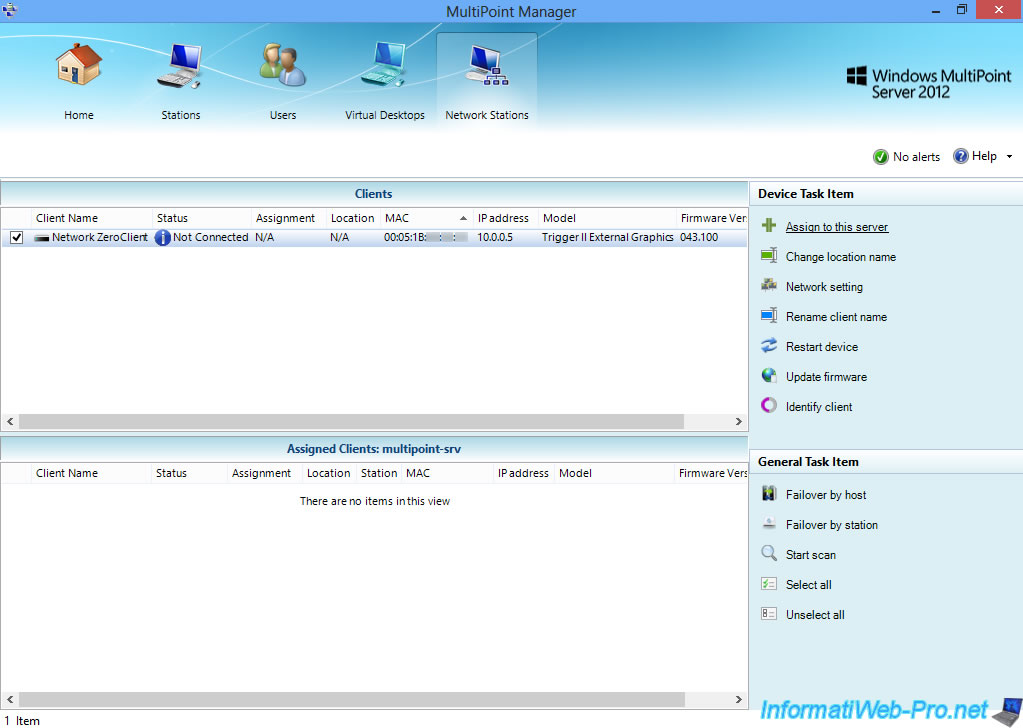
Now, we have the possibility :
- to assign this client to our WMS server : Assign to this server
- to change the location of the zero-client : Change location name
- change the network settings of the client (if you wish) : Network setting
- rename the client : Rename client name
- restart the client : Restart device
- update the client firmware : Update firmware
- identify the client : Identify client
Click "Assign to this server" to assign the zero-client to your WMS 2012 server.
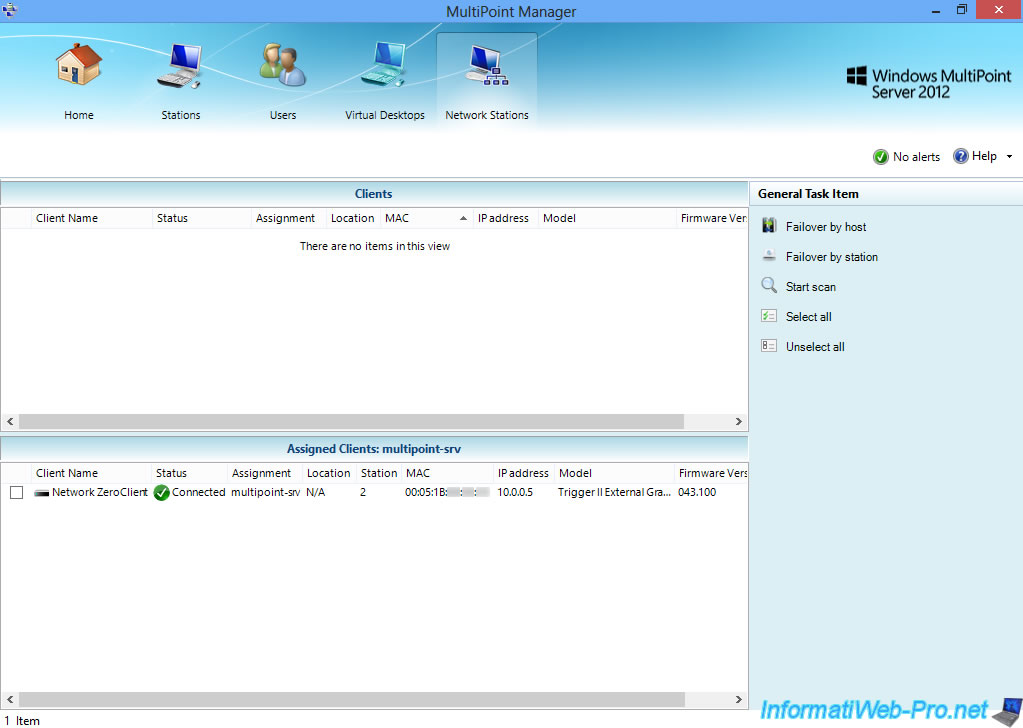
Click Yes.

Now, our zero-client is assigned and connected to our WMS 2012 server.
Share this tutorial
To see also
-
Windows Server 2/12/2018
WMS 2012 - Enable the Disk Protection
-

Windows Server 3/24/2018
WMS 2012 - Join virtual desktops to an AD
-

Windows Server 2/21/2018
WMS 2012 - Joining an AD and use roaming profiles
-
Windows Server 2/3/2018
WMS 2012 - Manage desktop computers with the MultiPoint Connector
No comment