Create a file server failover cluster on Windows Server 2012 / 2012 R2
- Windows Server
- Clusters
- 07 July 2019 at 11:20 UTC
-

- 3/5
6. Cluster creation
6.1. Installing the Failover Clustering feature
To get started, install the "Failover Clustering" feature on the servers that will form your cluster.
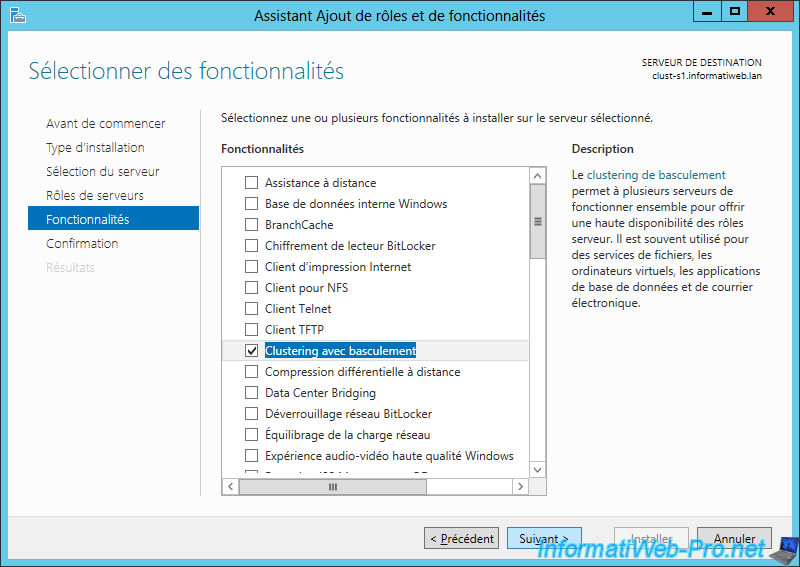
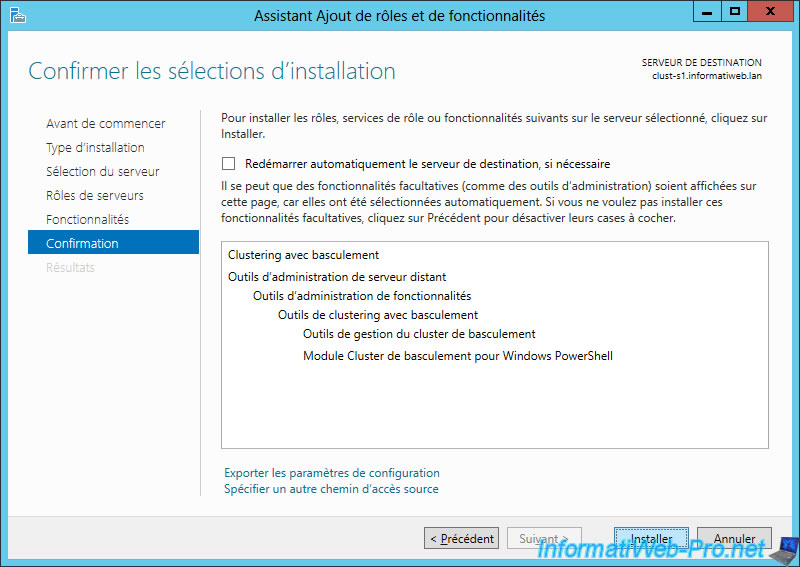
6.2. Validating the configuration for clustering
To set up your cluster, you must first validate their configuration.
This will allow you to know if your servers are well configured and if all the prerequisites are present.
Launch the Failover Cluster Manager on one of your servers and click "Validate Configuration".
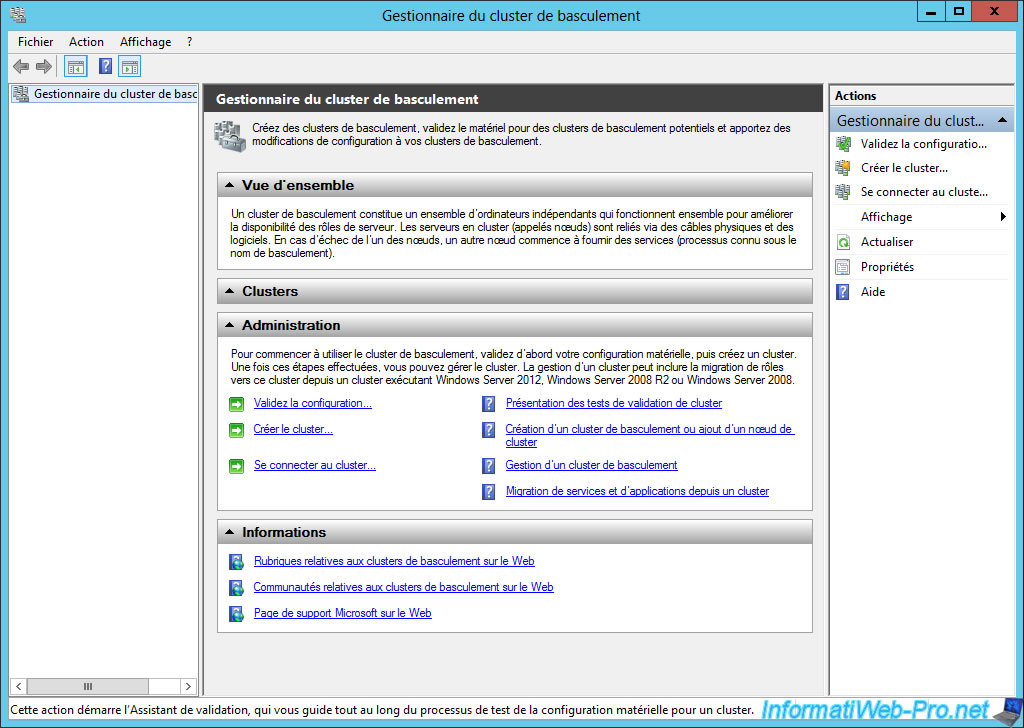
The Validate a Configuration Wizard is displayed.
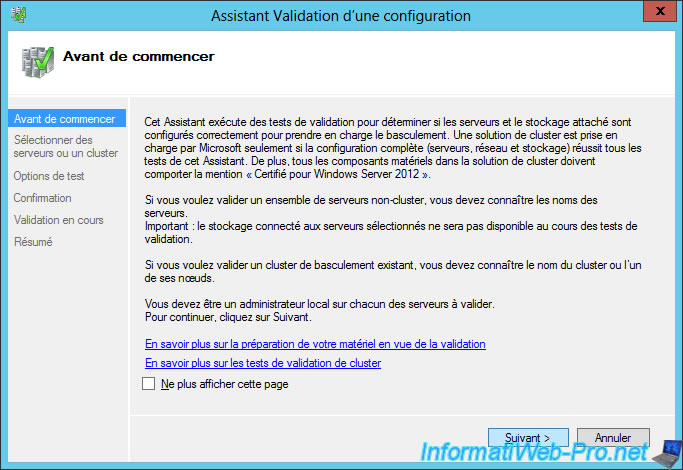
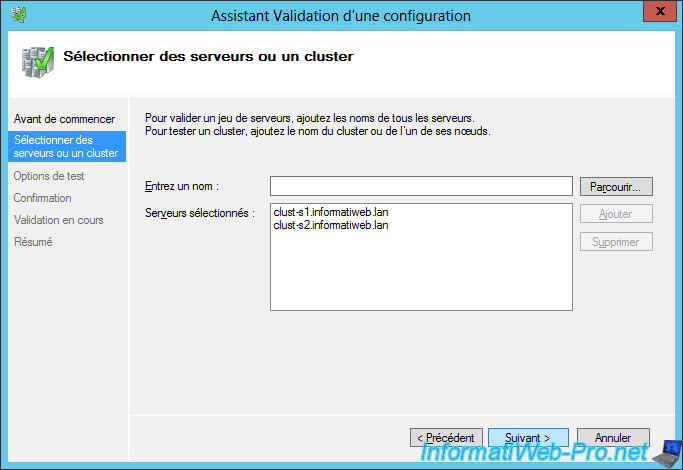
Add your servers one by one by clicking Add between each server.
If the server is accessible and the "Failover Clustering" feature is installed, then the addition will be smooth.
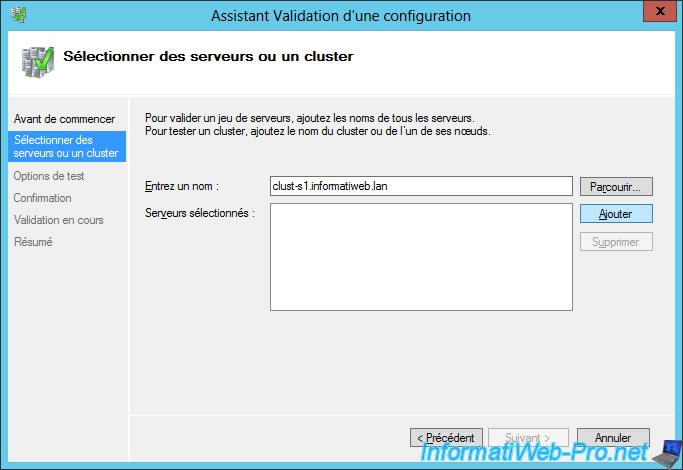
Then, click Next.
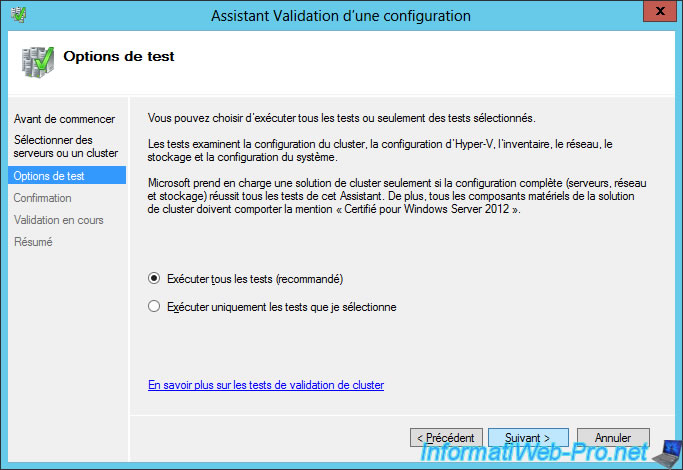
Select "Run all tests (recommended)" and click Next.
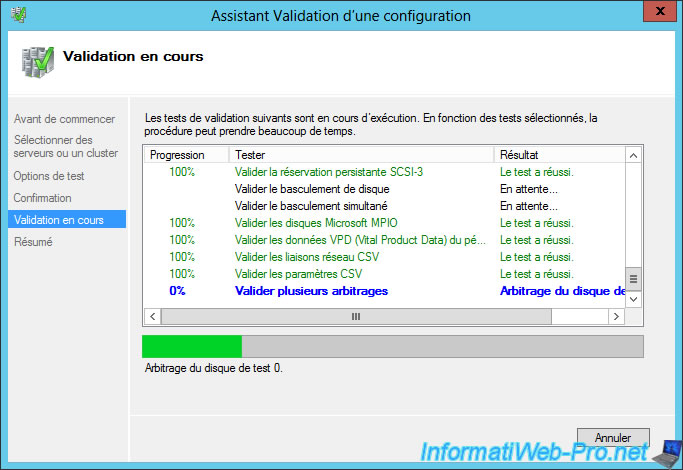
Wait a few minutes while the tests are done.
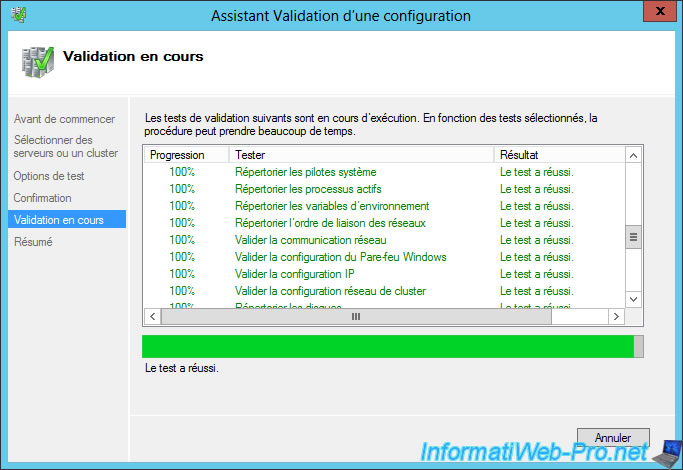
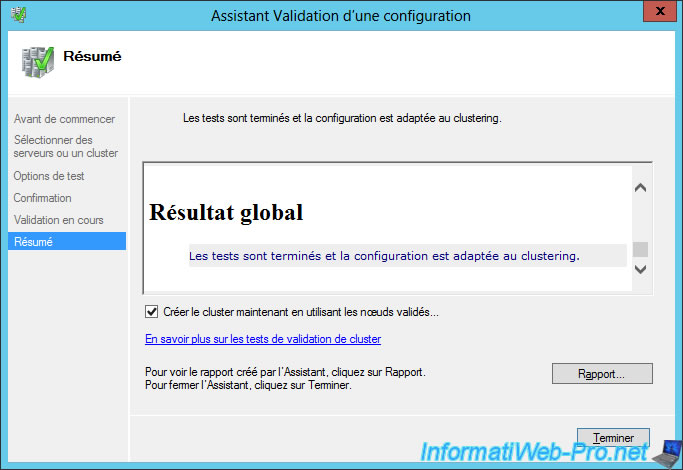
When the tests are complete, the wizard will display a summary telling you which tests have passed and which tests have failed or have warnings.
In our case, our configuration is good so everything is green.
Leave the "Create the cluster now using the validated nodes" box checked and click Finish.
6.3. Cluster creation
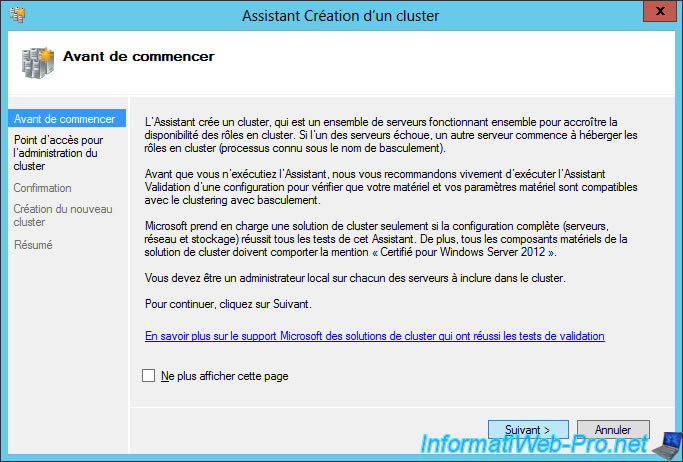
The Create Cluster Wizard is displayed.
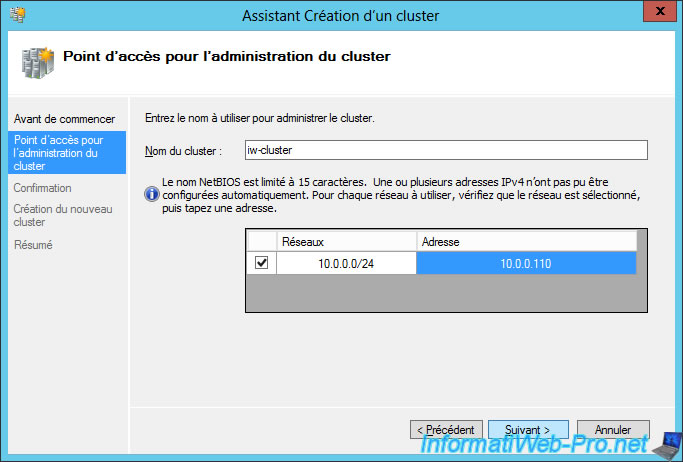
Provide a name and an IP address for your cluster.
Note : this will be the name and IP address that your clients will use to connect to the clustered services hosted on one or the other server in the cluster.
Check the "Add all eligible storage to the cluster" box and click Next.
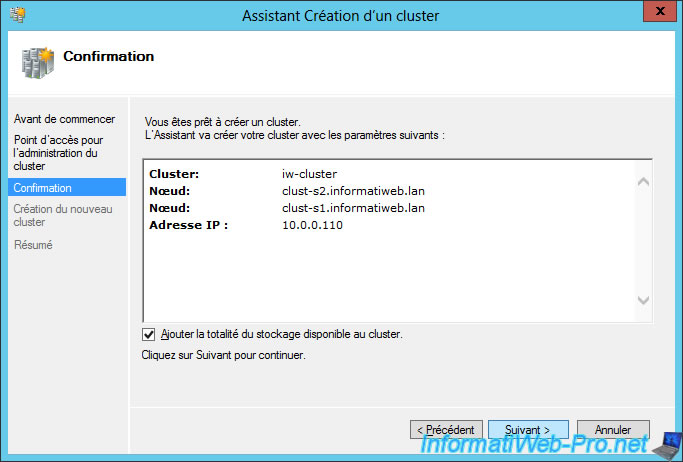
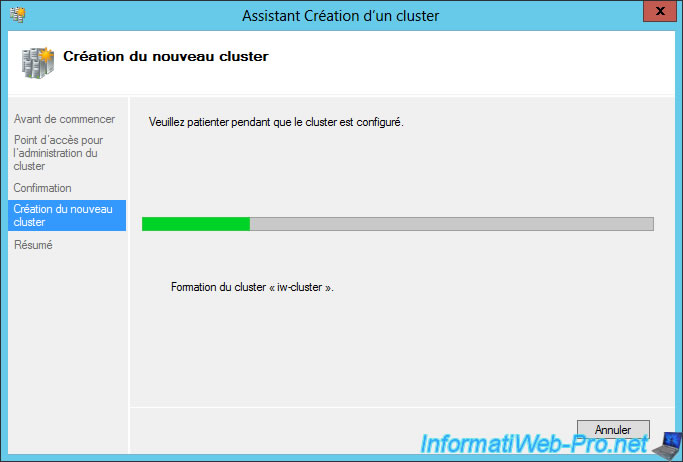
Wait while creating the cluster.
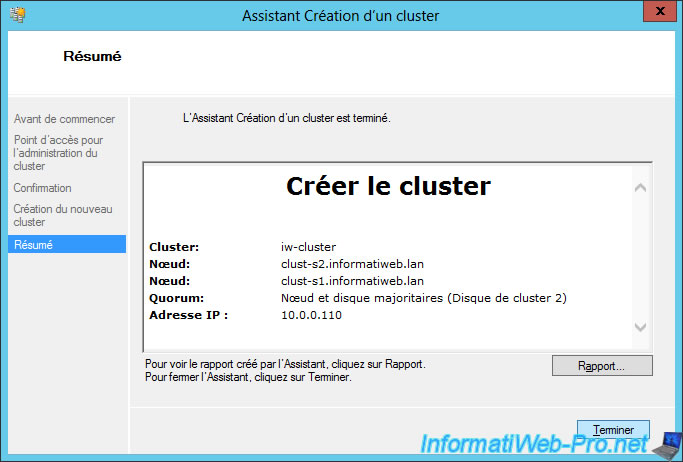
When cluster creation is complete, click Finish.
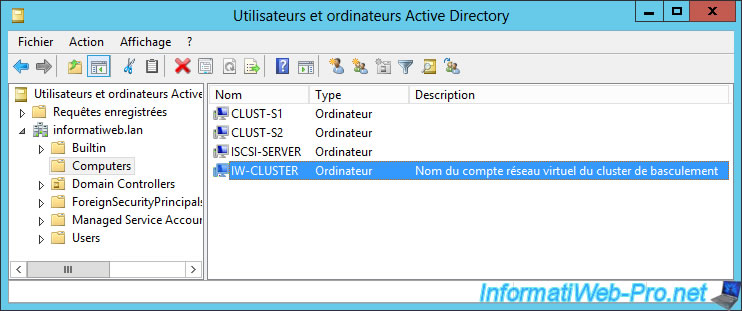
After the cluster is created, verify that a computer account on behalf of the cluster has been successfully created on your Active Directory server.
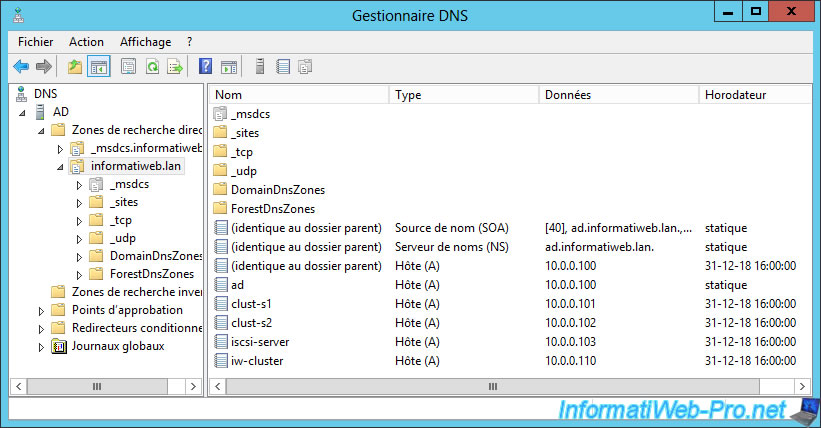
On your DNS server, you should also see a new type A DNS record showing the name of your cluster (iw-cluster.informatiweb.lan in our case) with the IP address specified when creating the cluster. (10.0.0.110 in our case).
6.4. Fix for event 1196
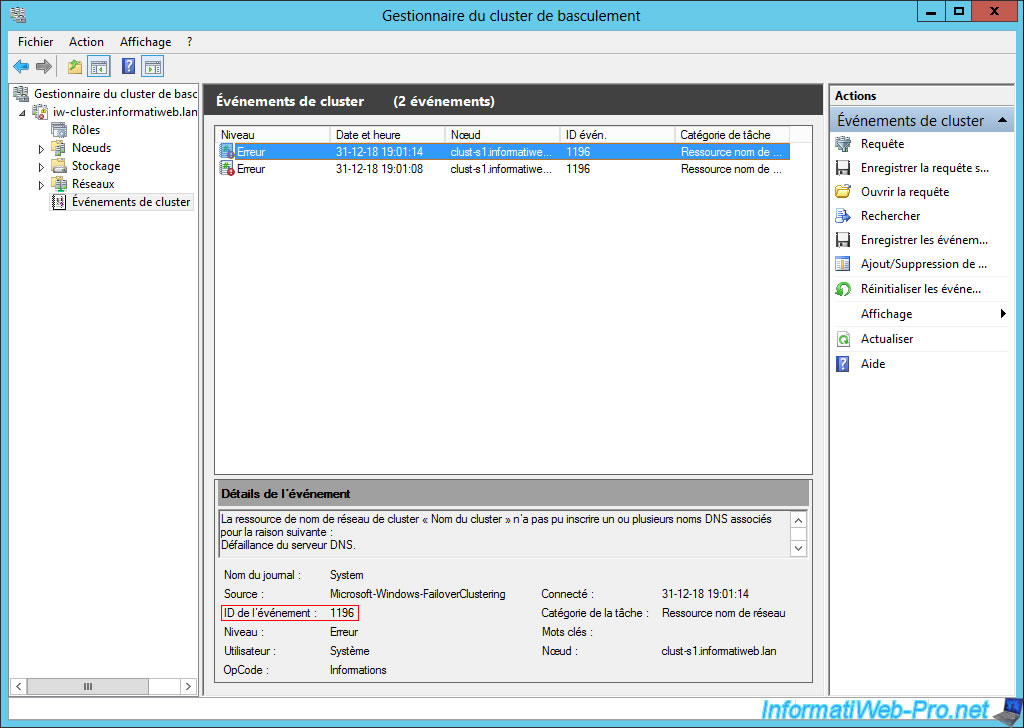
Depending on the DNS configuration of your network adapters, Event 1196 might appear in cluster events :
Plain Text
Cluster network name resource 'Cluster Name' failed registration of one or more associated DNS name(s) for the following reason:
DNS server failure.
If you read correctly the "2. Configuration used" step of this tutorial, we said that the servers that will be part of your cluster should use only the local DNS server.
In addition, network adapters that are NOT connected to the LAN had to be configured to NOT register in the DNS system.
If you followed these instructions correctly, this event would not have occurred and the DNS record would have been created correctly on your local DNS server.
Note that this may also be due to insufficient rights on the DNS server.
In short, if this event occurred, it's probably the record associated with your cluster could not be created on your local DNS server.
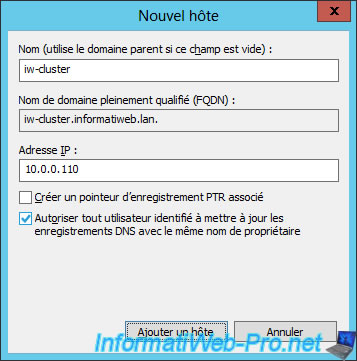
In this case, locate the forward lookup zone related to the domain to which the cluster servers are linked and create a new type A record :
- Name : the cluster name (iw-cluster in our case, which will give the FQDN name : iw-cluster.informatiweb.lan)
- IP address : the IP address of the cluster (indicated when creating the cluster). In our case : 10.0.0.110.
To allow the cluster to update this record in the future if needed, check the "Allow any authenticated user to update DNS records with the same owner name" box.
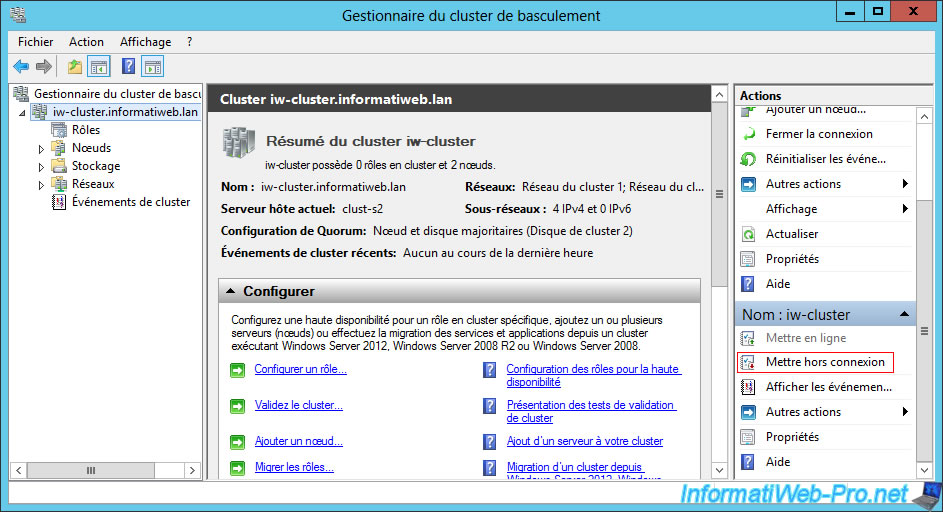
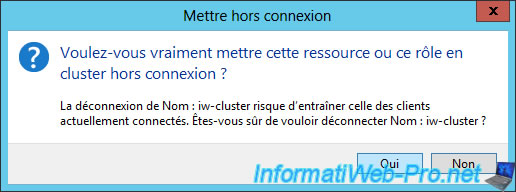
Then, shut down your cluster with the "Take Offline" option.
Confirm the shutdown of the cluster.
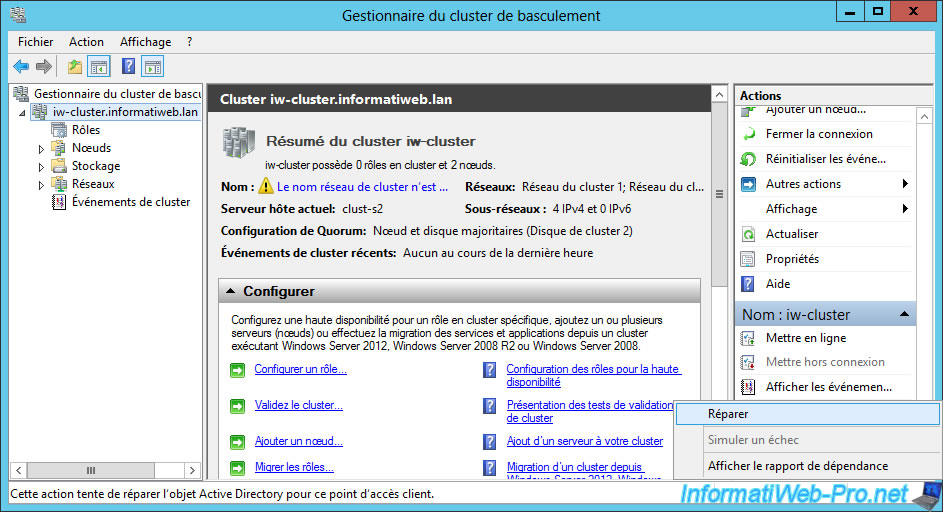
Click on "More actions -> Repair" at the bottom right.
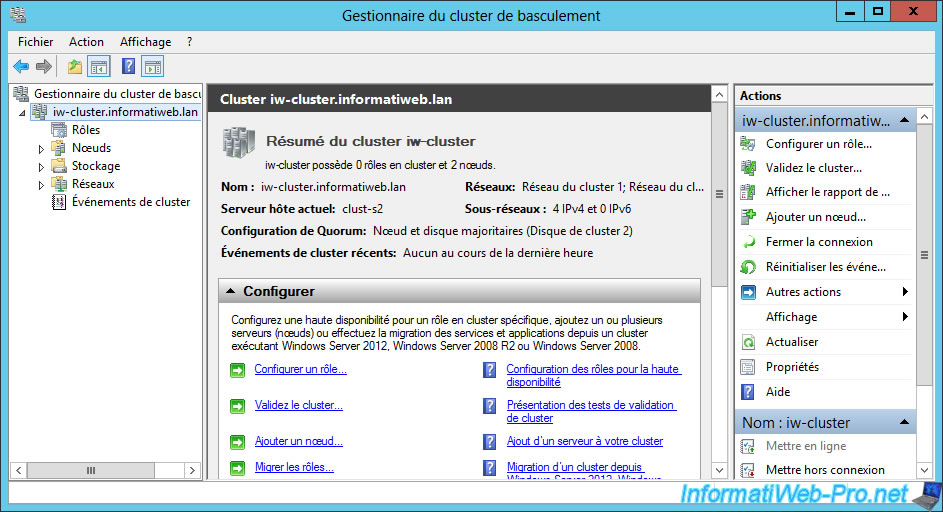
Once the cluster has been repaired, the cluster will automatically be brought back online.
Share this tutorial
To see also
-

Microsoft 11/29/2019
Hyper-V (WS 2012 R2 / WS 2016) - Create a failover cluster
-
Microsoft 12/6/2019
Hyper-V (WS 2012 R2 / WS 2016) - Disaster recovery (DR) with the Hyper-V cluster
-
Windows Server 8/4/2019
WS 2012 / 2012 R2 - How to update a failover cluster
-
Windows Server 7/26/2019
WS 2012 R2 - How the dynamic witness of failover cluster works

No comment