Create a file server failover cluster on Windows Server 2012 / 2012 R2
- Windows Server
- Clusters
- 07 July 2019 at 11:20 UTC
-

- 5/5

11. Adding a share on the clustered role
To create a new share on our clustered "File Server" role, we will have to go through the failover cluster manager and not through the server manager.
Indeed, this share must be created and associated with the clustered role and not with a local server that is part of the cluster.
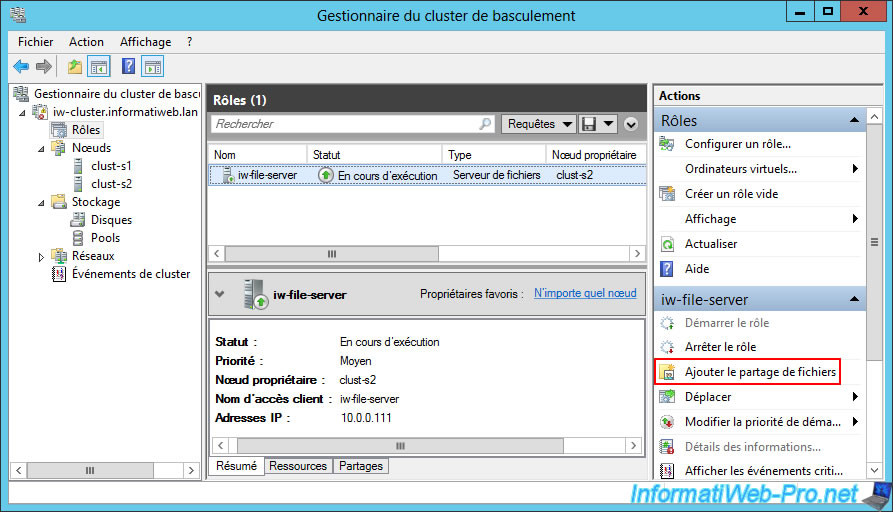
In short, in the Failover Cluster Manager :
- go to : Roles
- select the "File Server" role's type (iw-file-server in our case)
- click on : Add File Share (in the right menu)
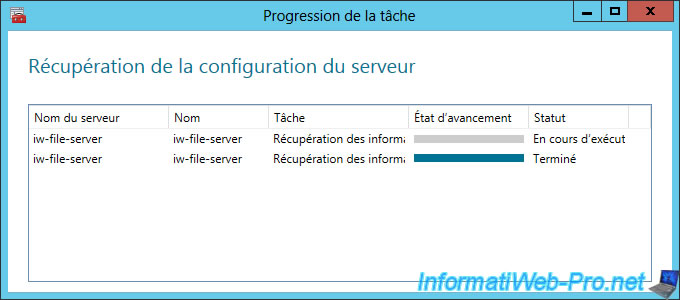
Wait while Windows Server recovers the configuration of the different servers in the cluster.
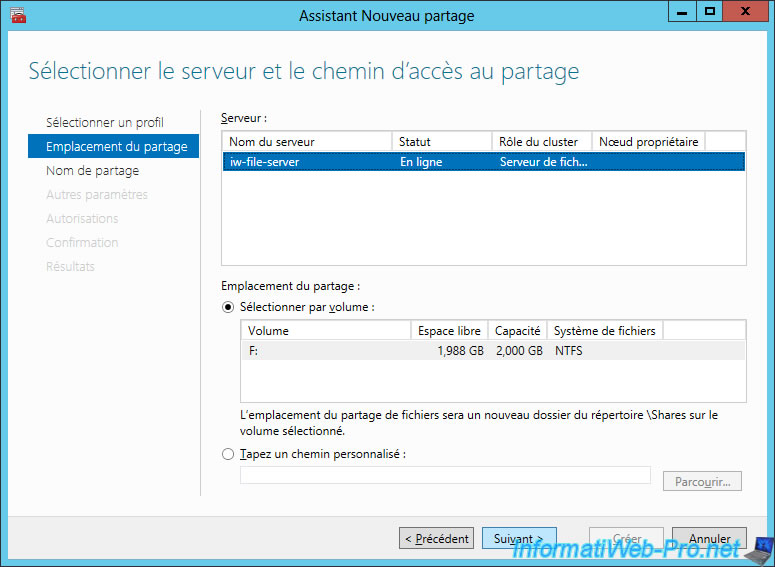
As a demonstration, we will create a "SMB - Fast Share".
Note : the "SMB Share - Applications" is useful for example if you have created a cluster of Hyper-V virtualization servers.

Select the server and volume on which you want to create this share.
In our case, we just have to click Next.
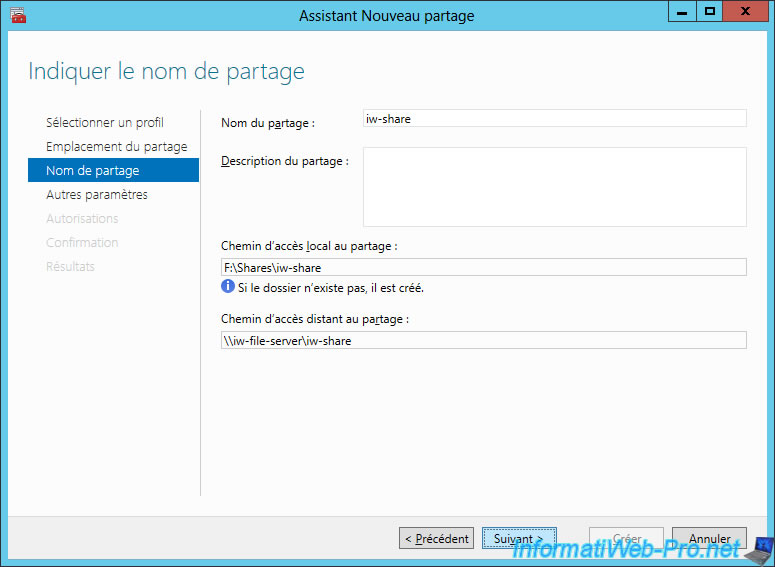
Enter a name for your share.
As you can see, by default, your share will be created in a "Shares" subfolder stored on your iSCSI virtual disk and the network path will automatically appear below.
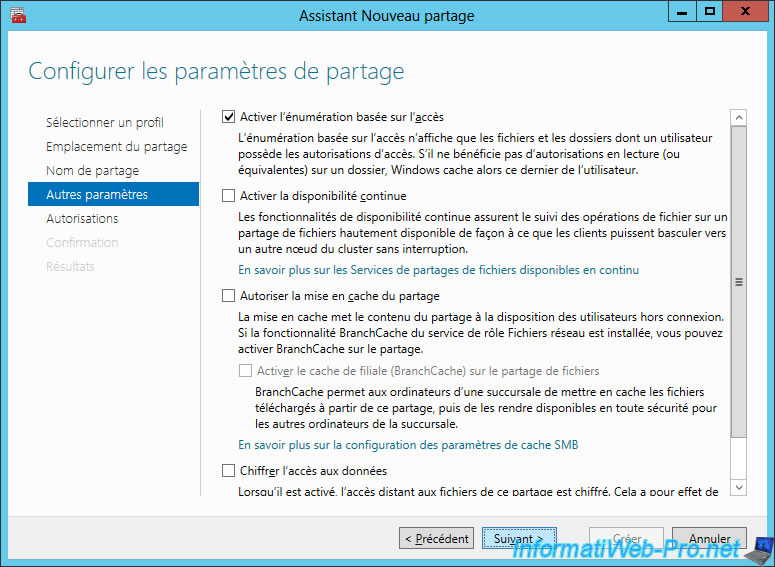
Enable only the access-based enumeration so that users see only the files they can access.
Note that encrypting the data may greatly reduce the performance of this share, if you enable it.
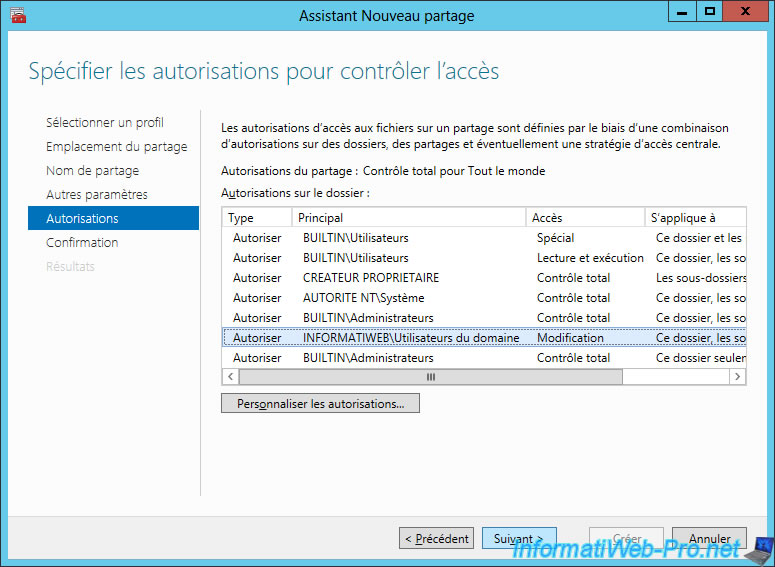
Configure the NTFS permissions to access this share by clicking on : Customize permissions.
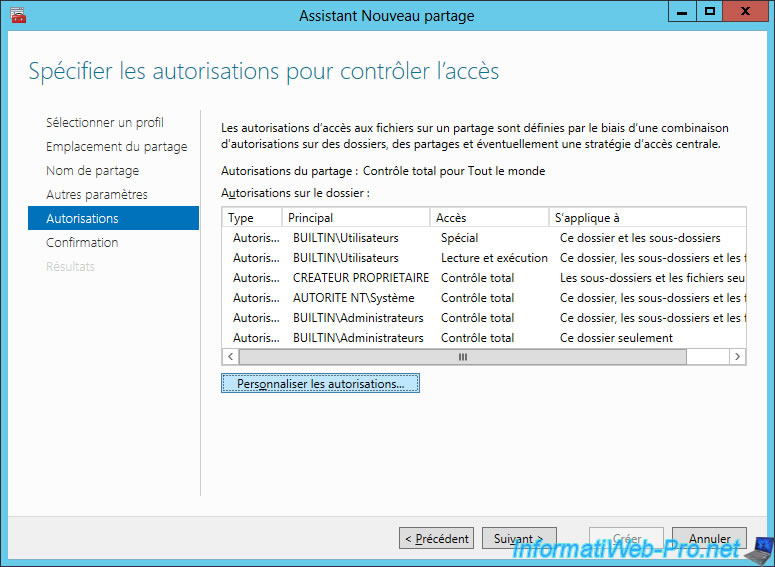
Click Add.
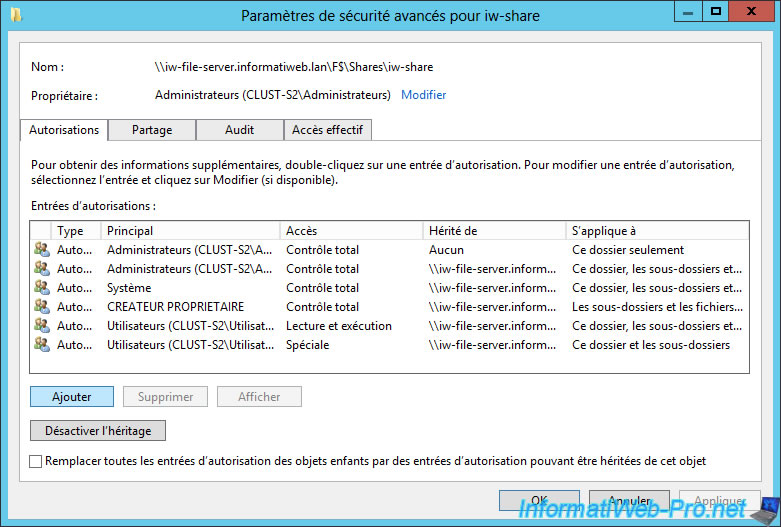
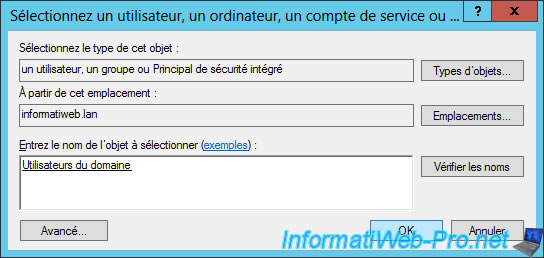
Click on "Select a principal".
Click Advanced to select the user group that you want to allow.
In our case, we will simply allow domain users.
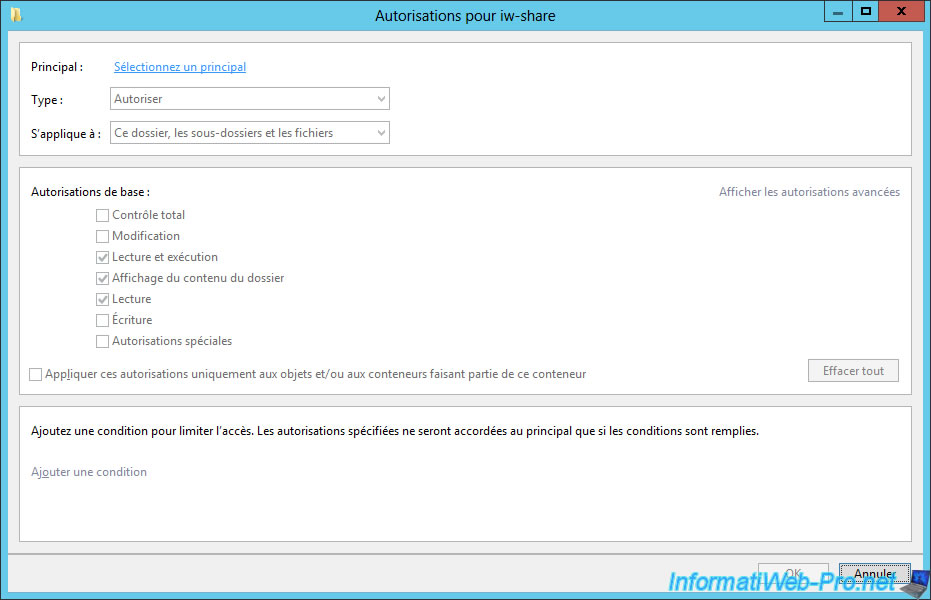
Check the "Modify" box so that all the boxes are checked as in the image below.
Thus, users will be able to :
- open, create, edit, and delete files on your file server
- view the contents of folders
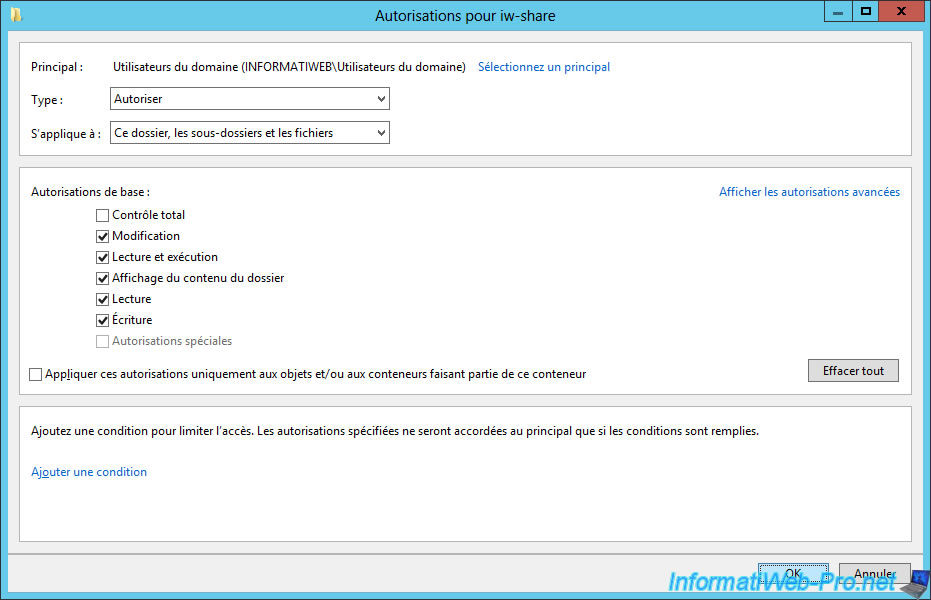
Click OK.
Now users in your domain will be able to view and edit the files on this share.
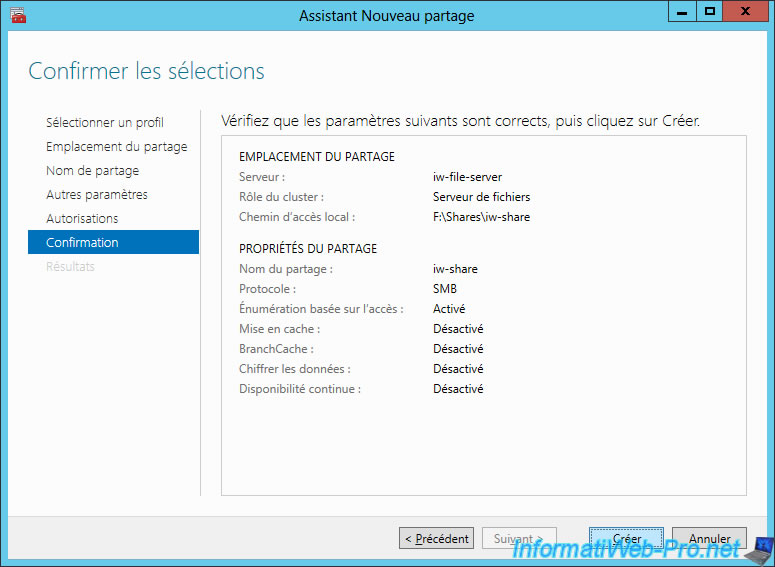
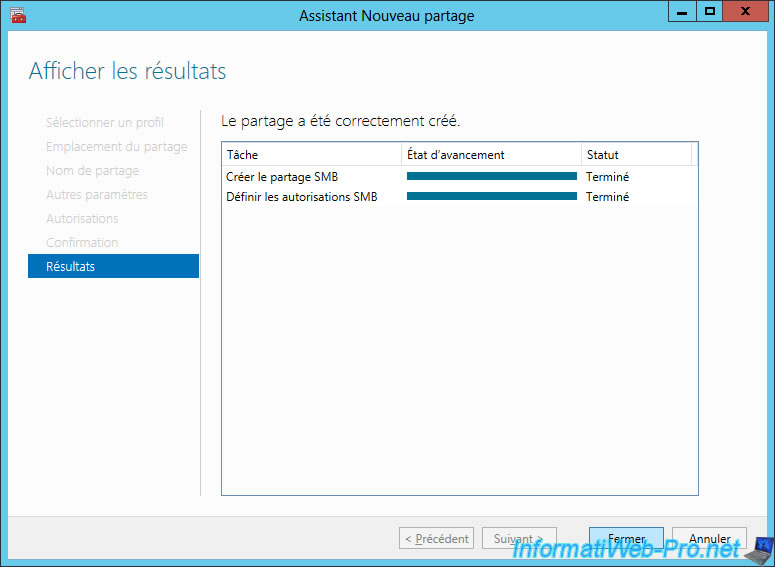
Confirm the creation of this share.
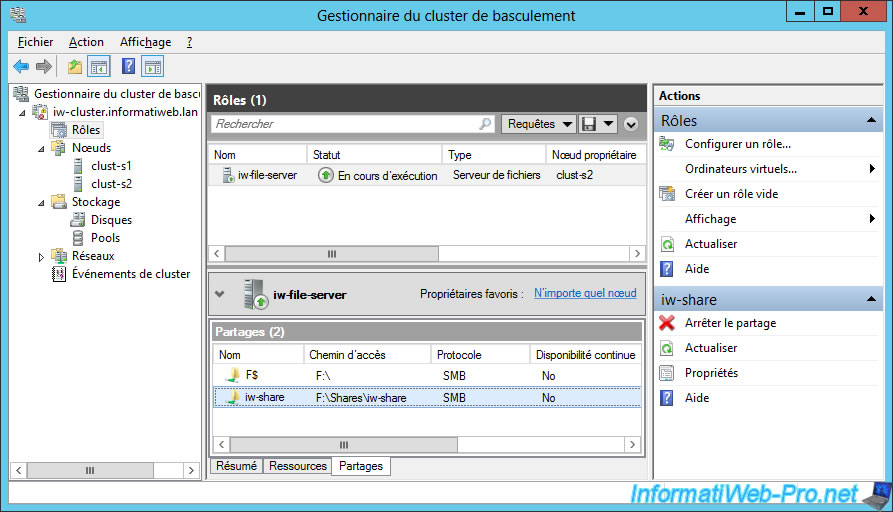
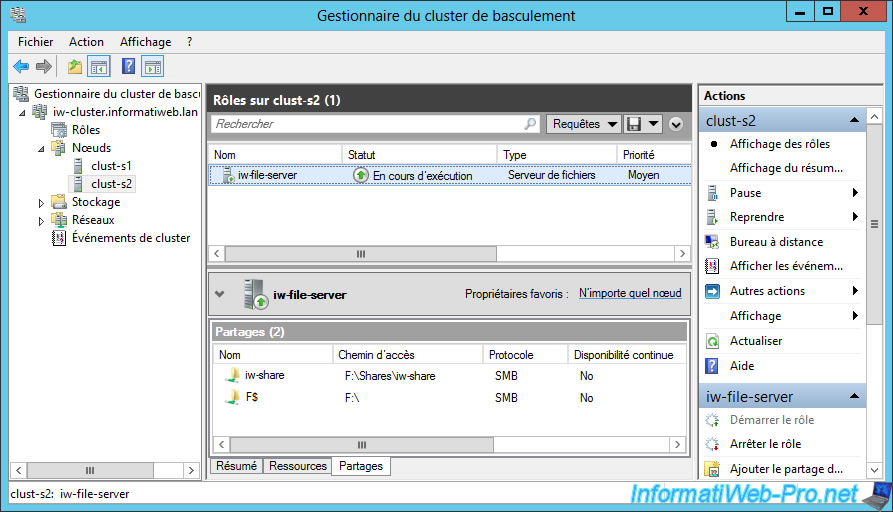
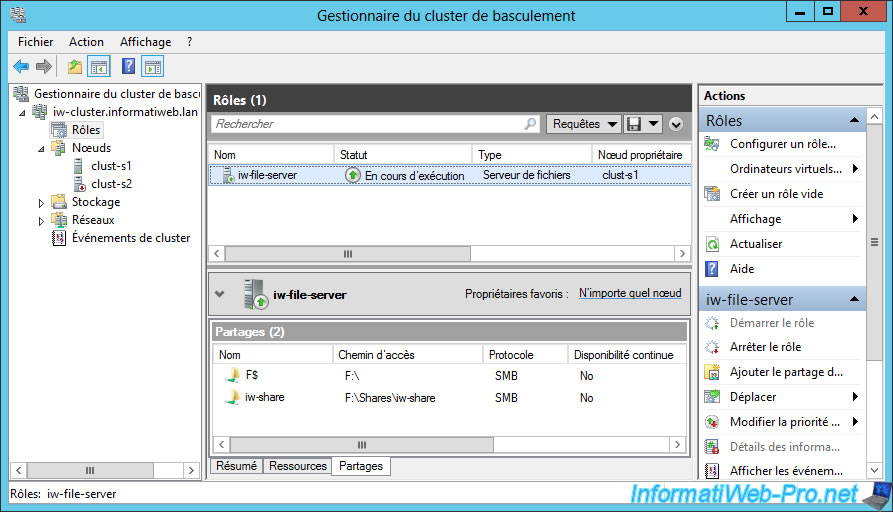
Now, if you select the "File Server" role from the Failover Cluster Manager and go to the "Shares" tab, you will see that there are now 2 shares :
- F$ : the hidden share created when clustering this role
- iw-share : the sharing we just created
12. Cluster test : File server
On the client PC, which is also linked to your Active Directory domain, log in with a domain user and open the file explorer.
Then, connect a new network drive.
Specify the share path created on your "File Server" cluster : \\iw-file-server\iw-share
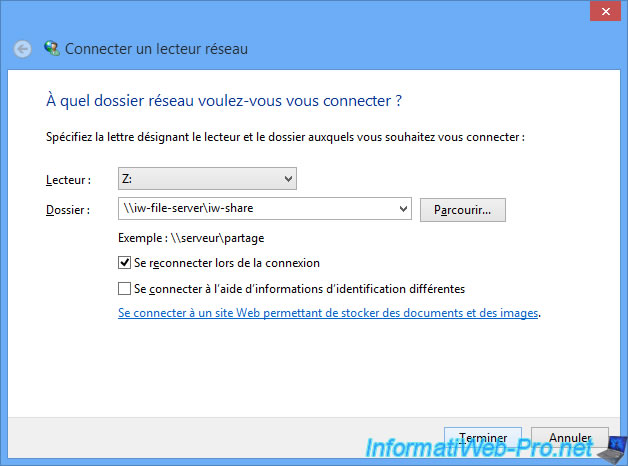
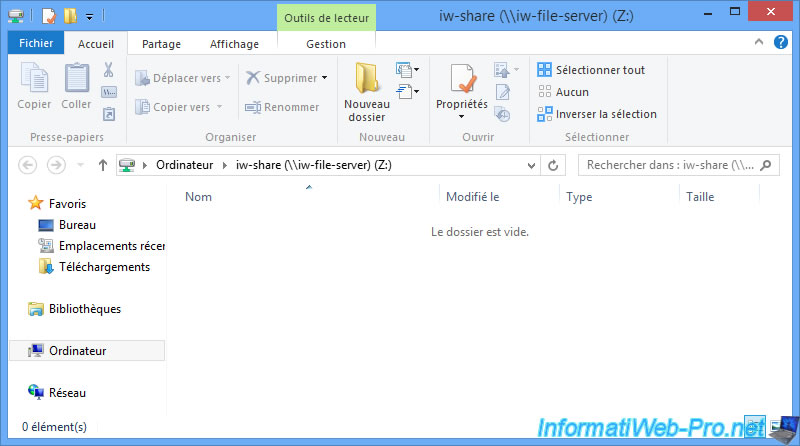
If all goes well, you will have access to your network share.
You will of course have the right to create files.
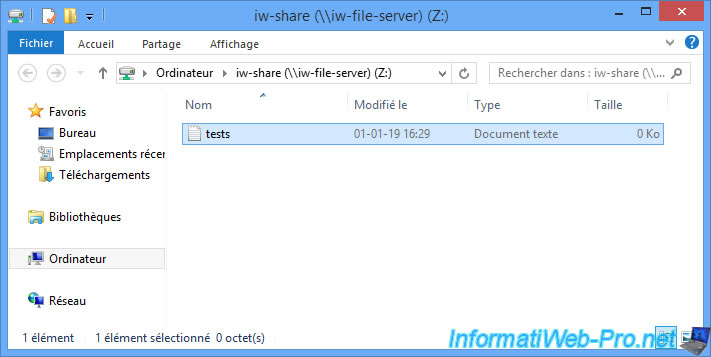
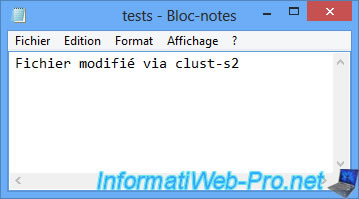
In our case, we will write some text in this file to show you that this file will still be accessible even when the server 2 that currently hosts this role will be down.

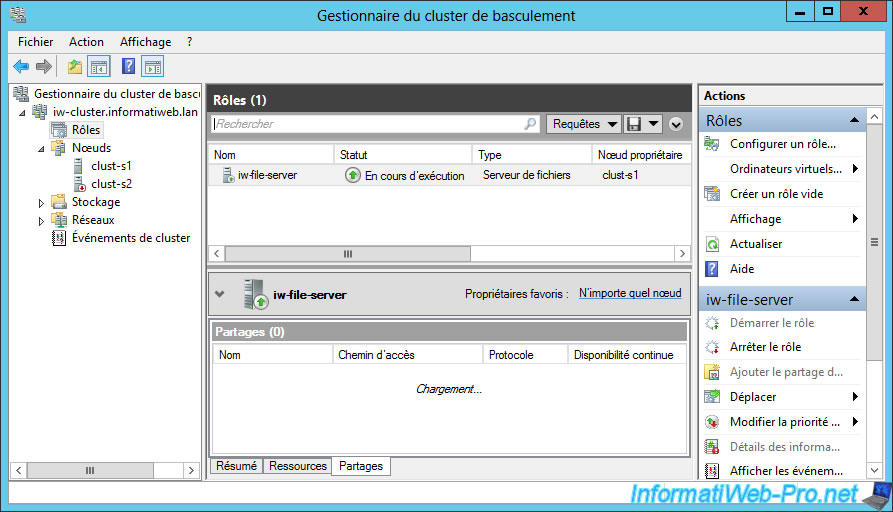
As you can see, the "File Server" role is currently hosted by the server 2 (clust-s2).
We stop the server 2 to simulate a failure of it.
And the Failover Cluster Manager shows us that the cluster status is currently pending.
We also see that the owner node has changed to : clust-s1.

A few seconds later, our "iw-file-server" clustered role is running again, but on the clust-s1 server (and not clust-s2 as it was at the beginning).
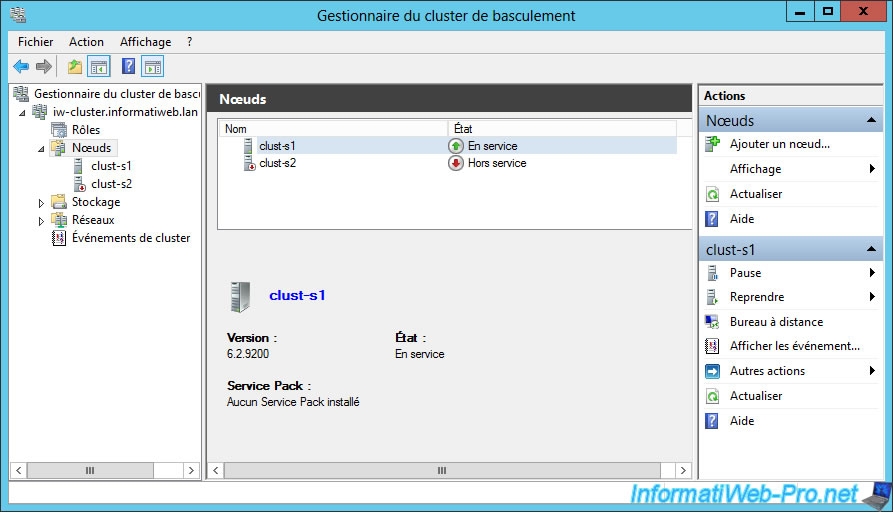
If you display your nodes, you will see that the server 2 is currently out of service.
In the "Roles" section, you will see that the shares are now provided by the "clust-s1" server.
On the client side, your users will not be aware of anything as they will continue to access your share through the same network path.

If we open this file, we find the content created previously.
Share this tutorial
To see also
-

Microsoft 11/29/2019
Hyper-V (WS 2012 R2 / WS 2016) - Create a failover cluster
-
Windows Server 7/19/2019
WS 2012 / 2012 R2 - Configure the quorum of a failover cluster
-
Windows Server 8/4/2019
WS 2012 / 2012 R2 - How to update a failover cluster
-

Windows Server 7/12/2019
WS 2012 / 2012 R2 - What are the different types of quorum
No comment