Create a RAID 5 virtual disk from the Broadcom LSA (LSI Storage Authority) web interface
- RAID
- 02 May 2025 at 12:43 UTC
-

- 3/3

6. Change the properties of a RAID virtual disk
Select your RAID virtual disk and click: Modify Properties.
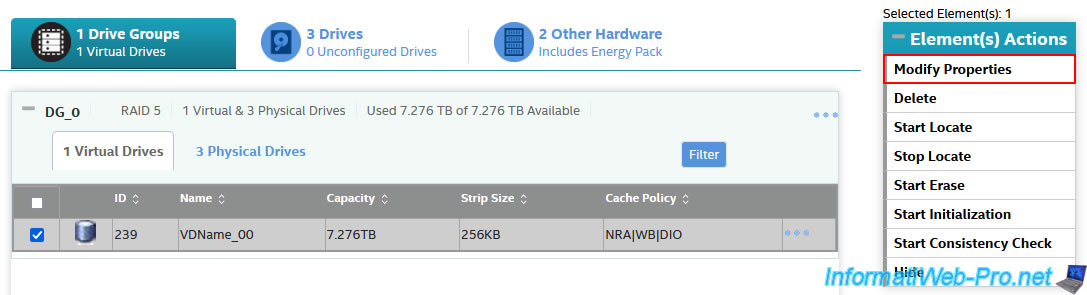
In the "Modify Virtual Drive: VDName_00 Properties" window that appears, you can modify:
- Virtual Drive Name: the name of the RAID virtual disk (visible in the Broadcom interfaces).
- Read Policy: the policy used for data reads.
- Write Policy: similar, but for writes.
- IO Policy: the policy for input/output (I/O).
- Drive Write Cache Policy: the policy for the disk write cache.
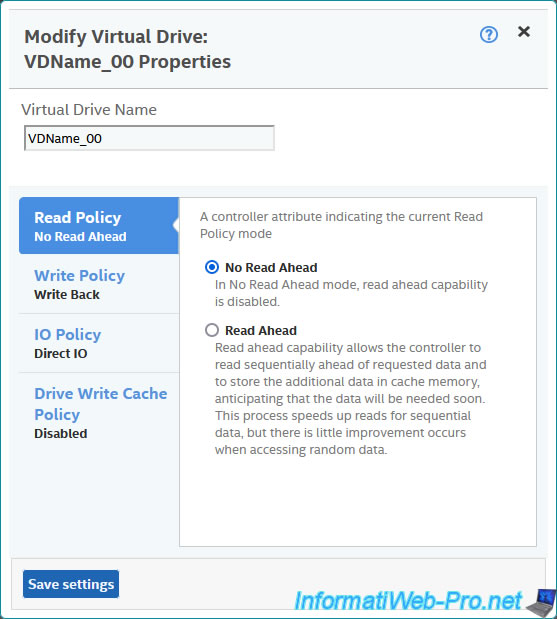
In the "Read Policy" section, you can choose between:
- No Read Ahead: allows you to disable this sequential data reading strategy.
- Read Ahead: allows the controller to sequentially read requested data and store additional data in the MegaRAID controller cache in anticipation that its data will soon be needed.
This helps speed up sequential data reads, but it has almost no benefit for data that will be read randomly.
In the "Write Policy" section, you can choose the strategy to use for data writes:
- Write Through: this mode protects the data present in the MegaRAID controller cache in the event of a power outage.
However, this decreases performance. - Write Back: this mode combines data protection and performance, because your MegaRAID controller will switch between "Write Through" and "Write Back" modes depending on the state of the battery (e.g. CVPM05 module) connected to your Broadcom MegaRAID controller.
When the battery (e.g. CVPM05 module) is fully charged, your MegaRAID controller uses "Write Back" mode.
When the battery is not present, has failed, or is currently charging, your MegaRAID controller uses "Write Through" mode. - Always Write Back: this mode allows you to use the "Write Back" writing mode at all times, even if the battery is not present, the battery is broken or the battery is charging.
In the event of a power outage, there will be a loss of data.
It is therefore not recommended to use this mode.
In summary :
- if you do not have a battery (CVPM05 module), select "Write Through" mode so as not to lose data in the event of a power outage.
- if you have a battery (CVPM05 module), select "Write Back" mode to improve write performance while avoiding losing data in the event of a power outage.

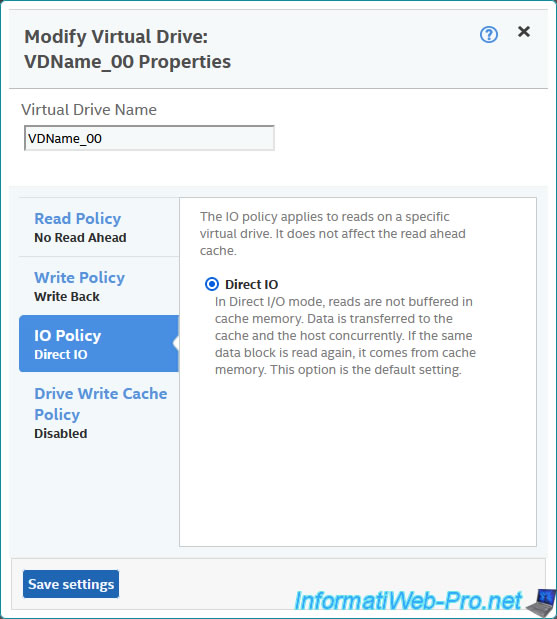
In the section, you will see that there is only one policy for read input/output (I/O) on a specific virtual disk.
By default, the "Direct IO" policy is used. Which means that the data read will not be buffered in the MegaRAID controller cache.
Indeed, these are sent at the same time to the cache and to the host.
If the same blocks of data are read again, then the data will come from the cache. Which improves future data readings if your computer attempts to read the same data multiple times.
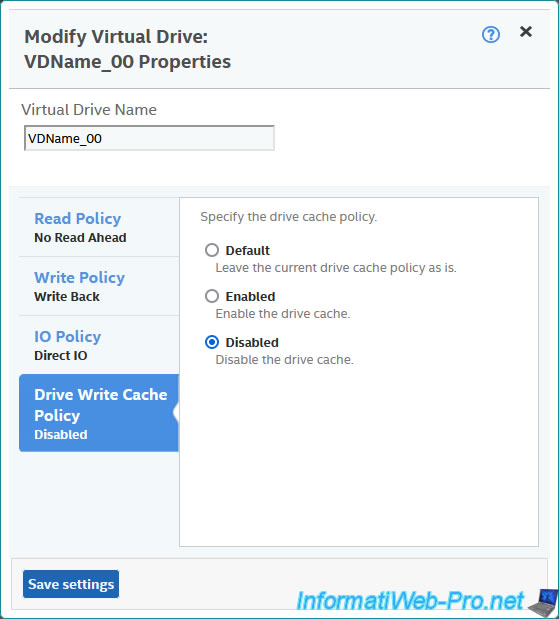
In the "Drive Write Cache Policy" section, you can enable or disable the cache for this RAID virtual disk:
- Default: do nothing. The current policy will remain the one currently defined for this virtual disk.
- Enabled: enables the cache for this disk.
- Disabled: allows you to disable it.
7. Partition your RAID virtual disk
Once the RAID virtual disk is initialized, it will be visible to the operating system.
To partition it, simply use your operating system's disk management tool.
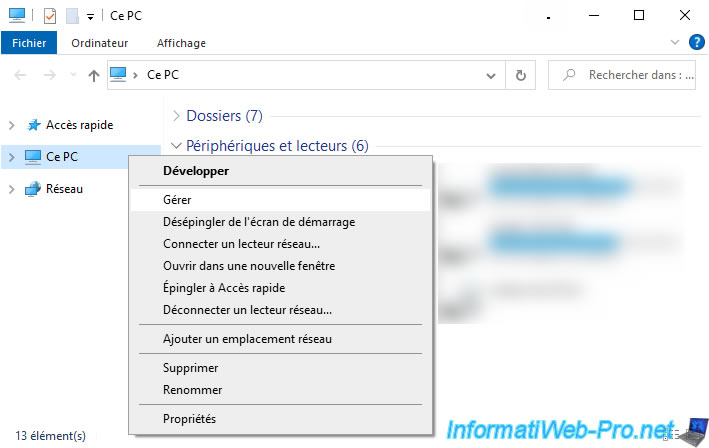
In this case, on Windows, open File Explorer and right-click "Manage" on "This PC".
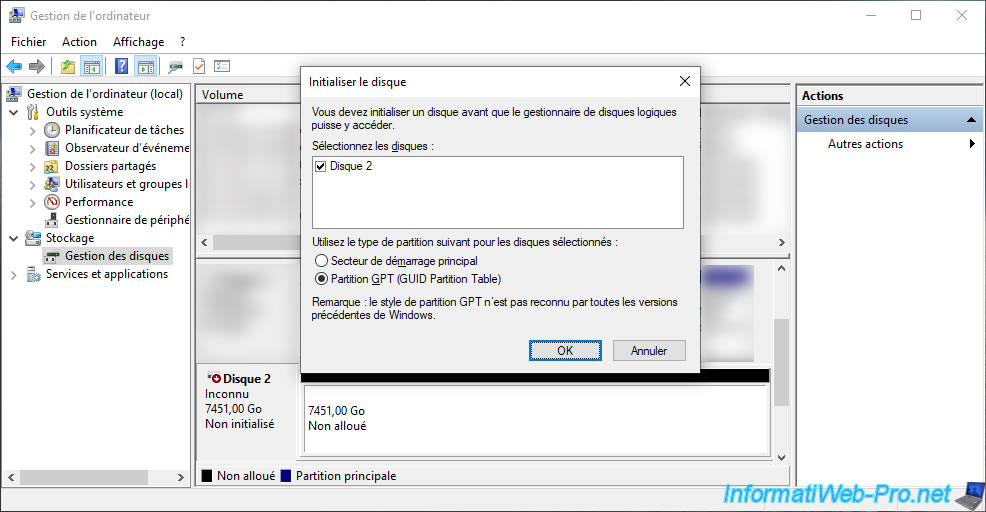
In the "Computer Management" window that appears, go to "Disk Management".
As you can see, an "Initialize Disk" window will automatically appear.
For the type of partition to use, you will have the choice between "Main boot sector" and "GPT (GUID Partition Table)".
Generally, you will select "GPT (GUID Partition Table)" since this is necessary when the disk has a capacity greater than 2 TB.
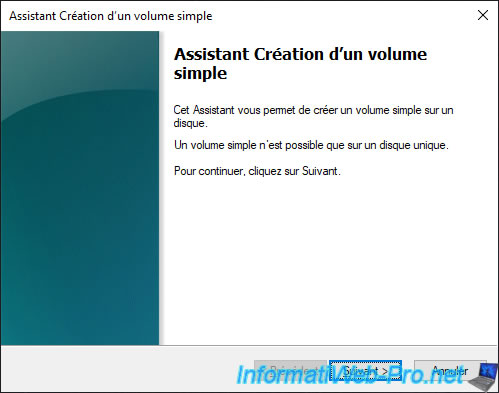
Once the disk is initialized, right-click "New Simple Volume" on the unallocated space.

The "New Simple Volume Wizard" appears.
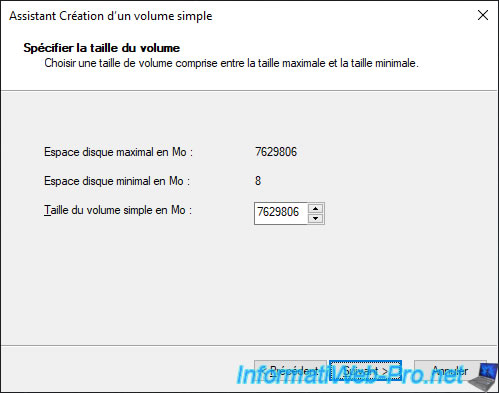
If you leave the default, the simple volume (partition) will take up all available space on your RAID virtual disk.
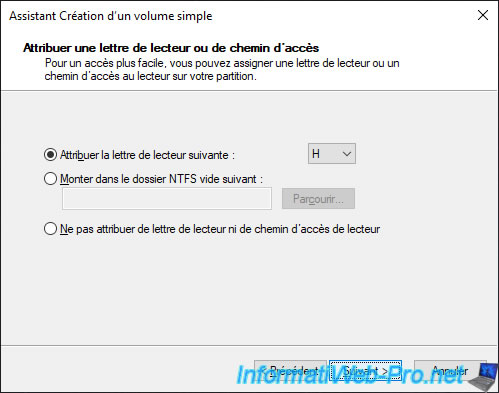
Assign the desired letter.
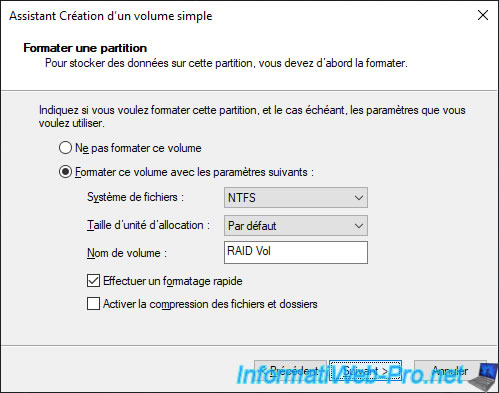
Select the desired file system (eg: NTFS), provide a name for this simple volume (partition) and check the "... quick format" box to make it faster.
Click Finish.
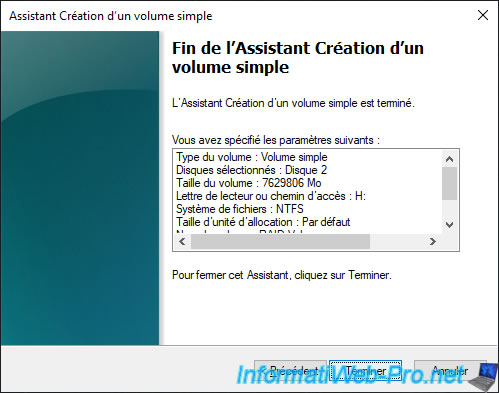
The simple volume (partition) has been created.
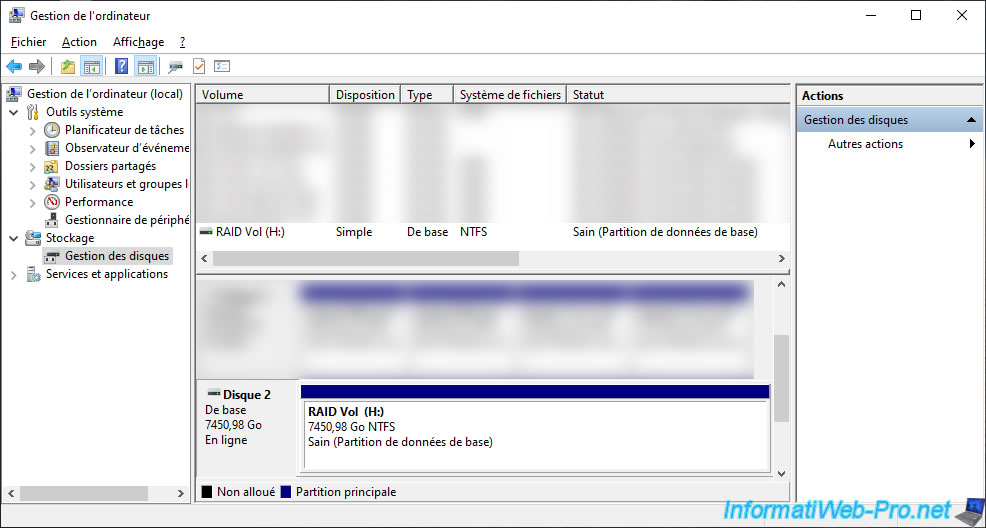
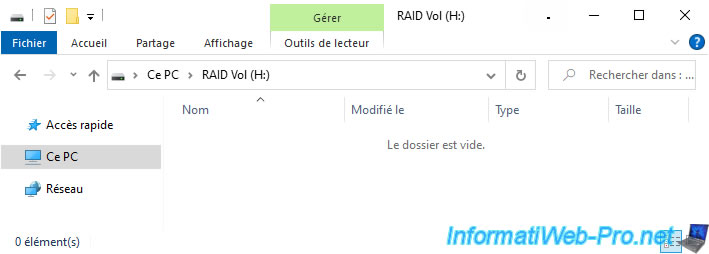
The partition appears in File Explorer.

As expected, you can store data on this partition just like you would on a regular hard drive.
Share this tutorial
To see also
-
RAID 5/1/2025
Broadcom LSA (LSI Storage Authority) - Download and install
-
RAID 4/18/2025
Broadcom MegaRAID 9560-8i - Buy a SATA drive cable
-
RAID 4/25/2025
Broadcom MegaRAID 9560-8i - Create a virtual disk (from BIOS)
-
RAID 5/7/2025
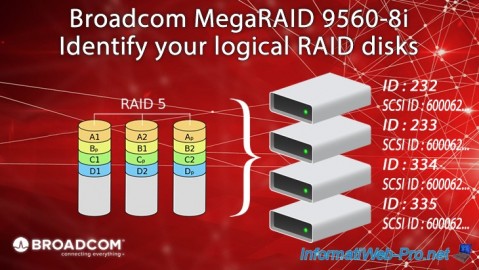
Broadcom MegaRAID 9560-8i - Identify your logical RAID disks
No comment