Virtualize Hyper-V using nested virtualization on Unraid 6.9.2
- NAS
- Unraid
- 14 October 2026 at 11:05 UTC
-

- 3/3

4. Install Hyper-V in the WS 2016 VM created on Unraid
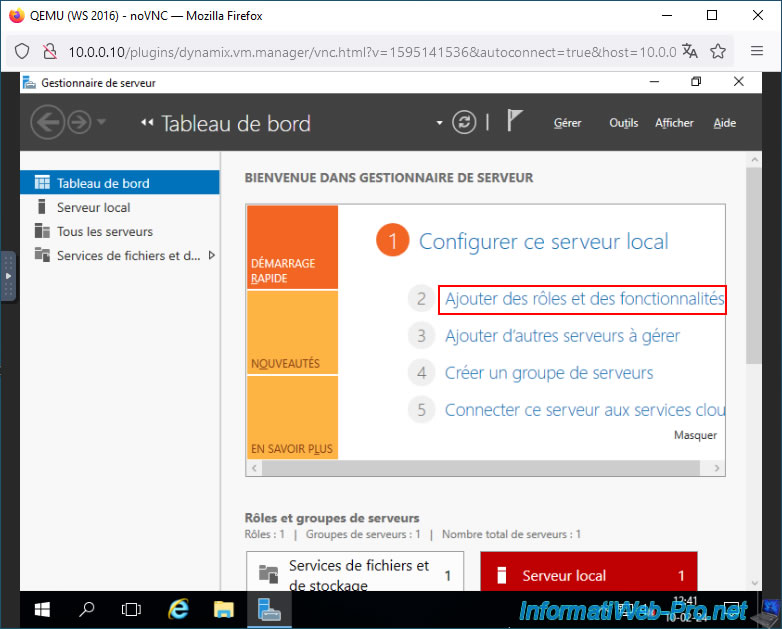
In Device Manager, click: Add roles and features.
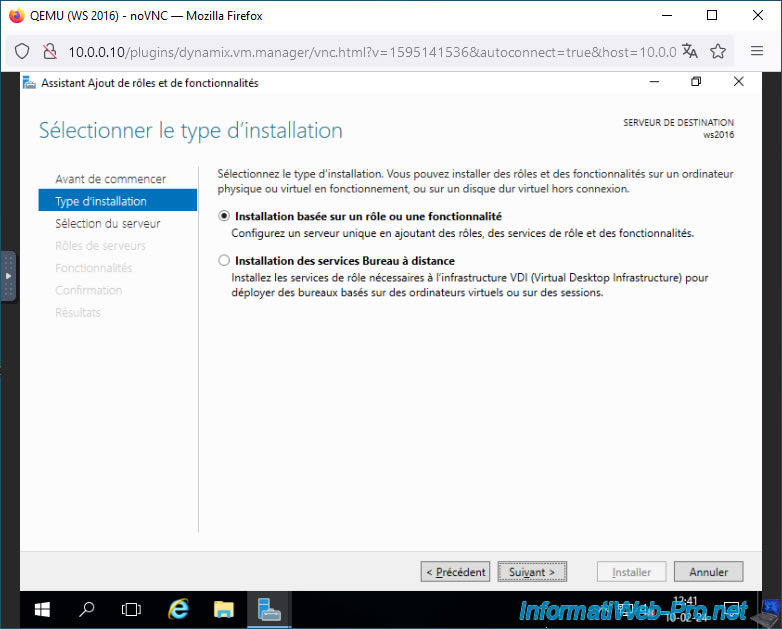
Select: Role-based or feature-based installation.
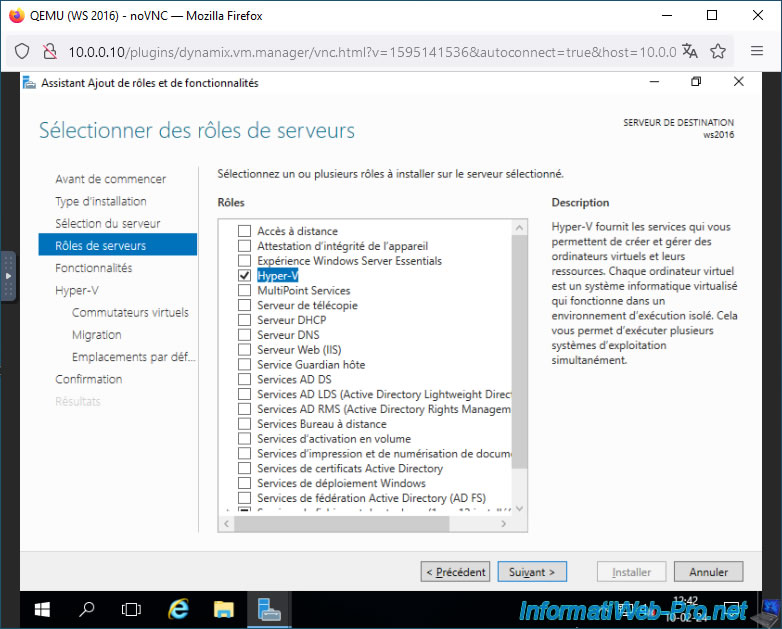
Install the "Hyper-V" role.
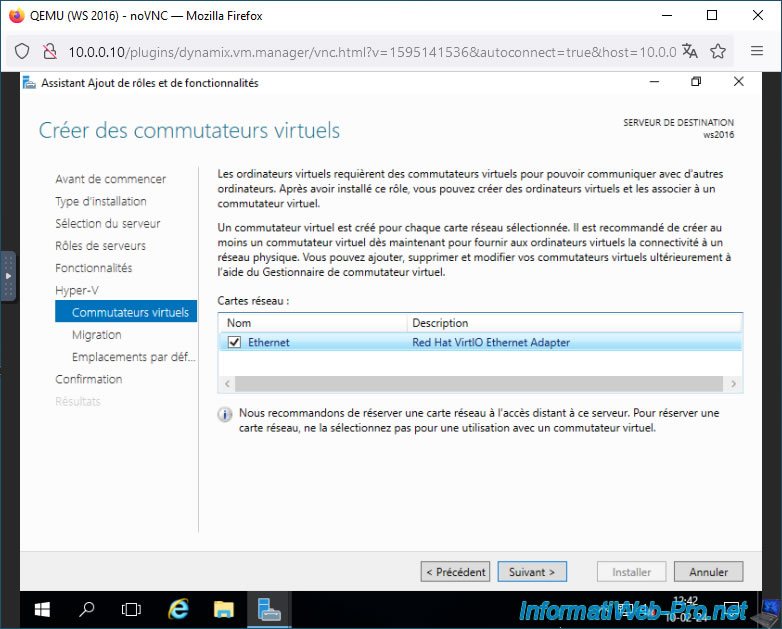
Check the "Ethernet" box corresponding to the virtual network card "Red Hat VirtIO Ethernet Adapter" used by your VM created on Unraid to create your 1st virtual switch.
Check the box "Automatically restart the destination server, if necessary", then click: Install.
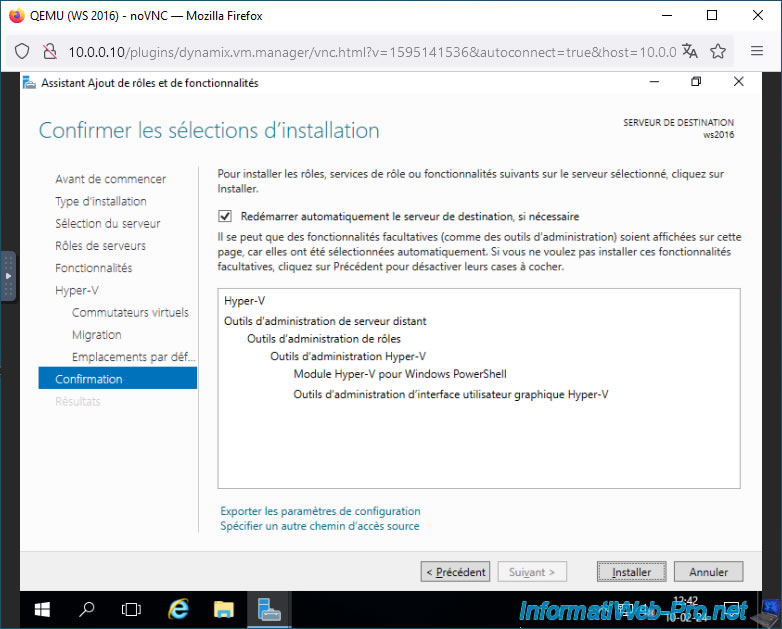
Please wait while Hyper-V is installed.
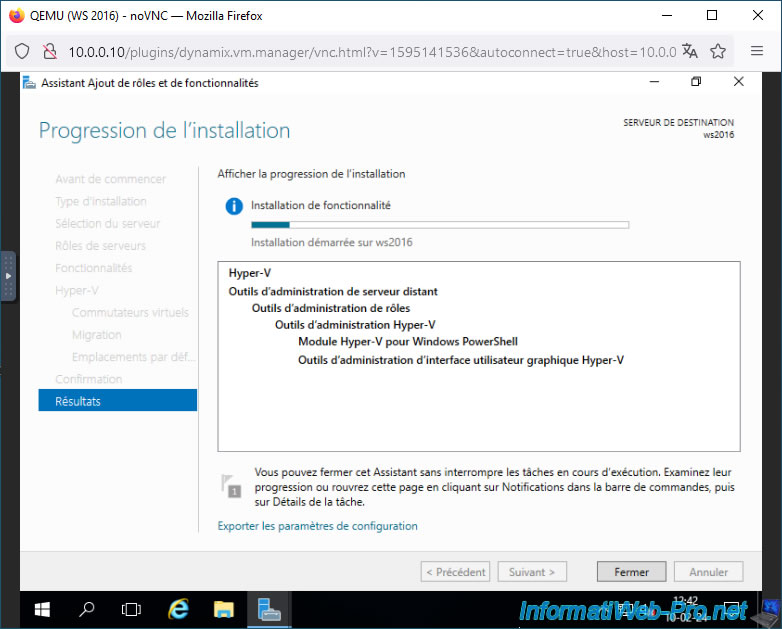
Your VM will reboot during the Hyper-V installation.
Then, once you log back in, the Add Roles and Features Wizard will reappear.
Once the installation is complete, click Close.
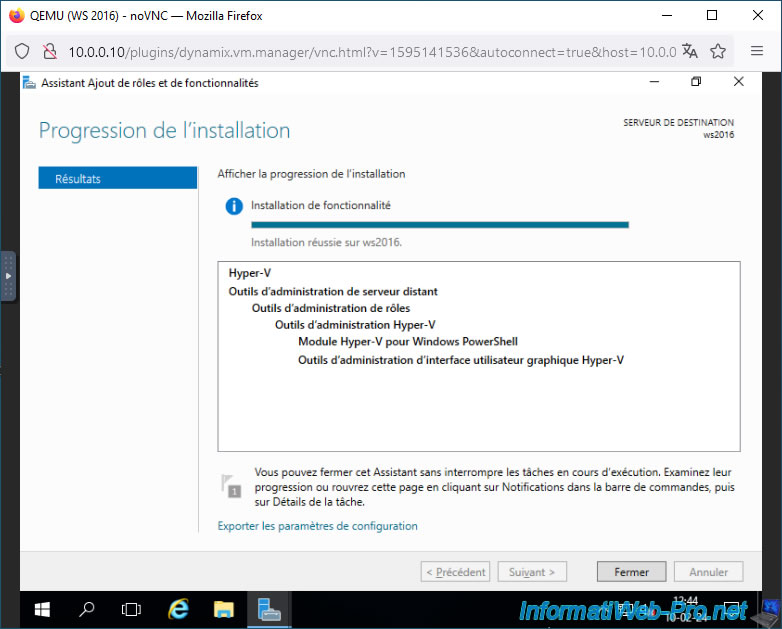
The "Hyper-V" role is installed.
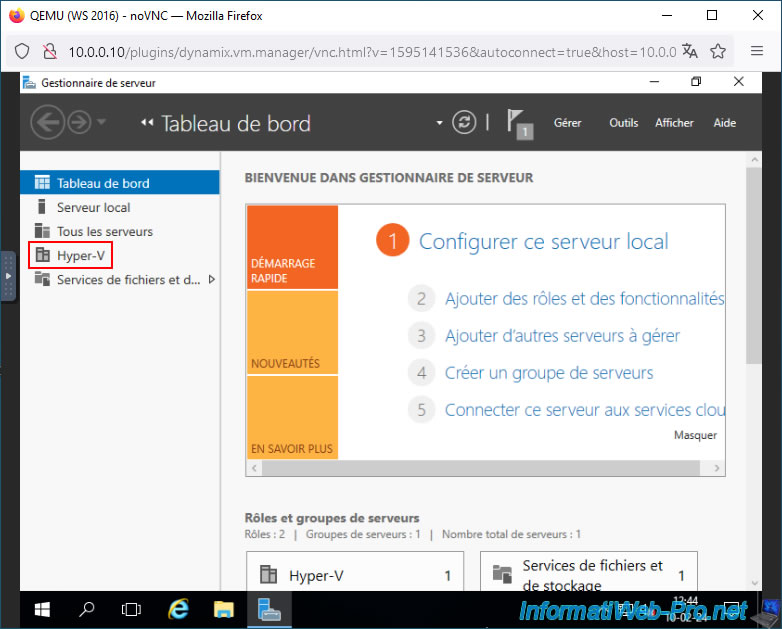
5. Create a nested virtual machine on Hyper-V
Open Hyper-V Manager from the Start menu.
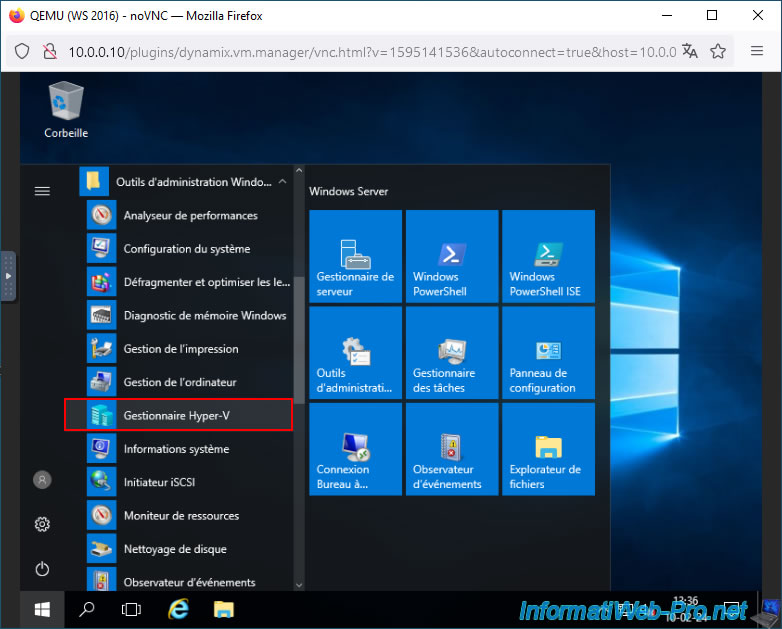
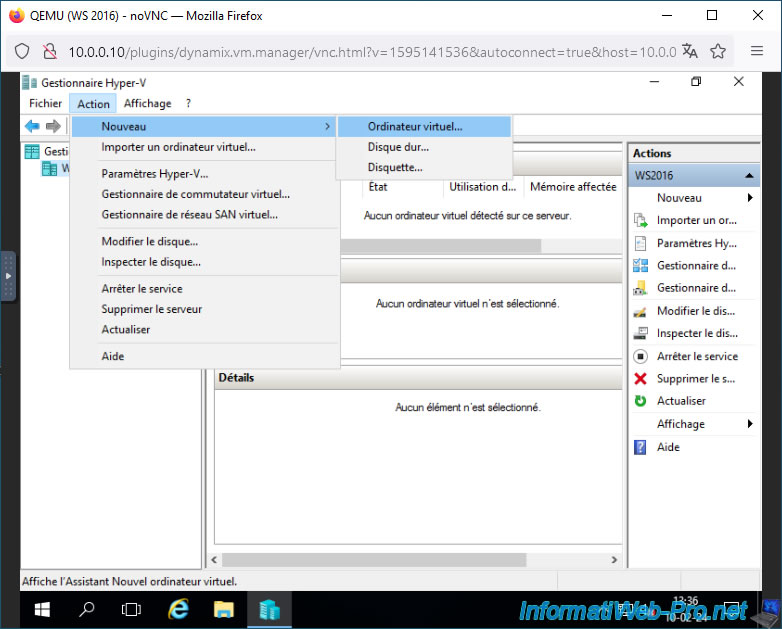
In Hyper-V Manager, go to: Action -> New -> Virtual Machine.
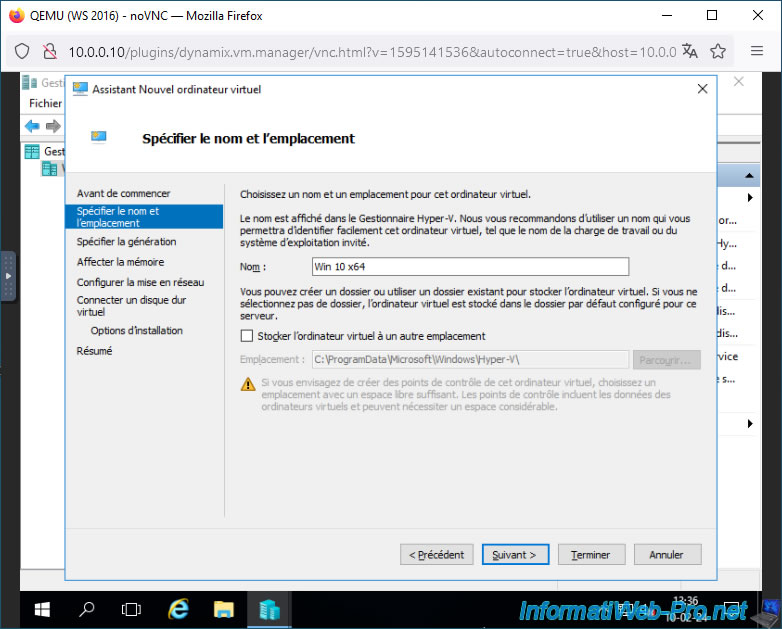
Enter a name for this new virtual machine.
In our case, we'll be virtualizing Windows 10 on Hyper-V.
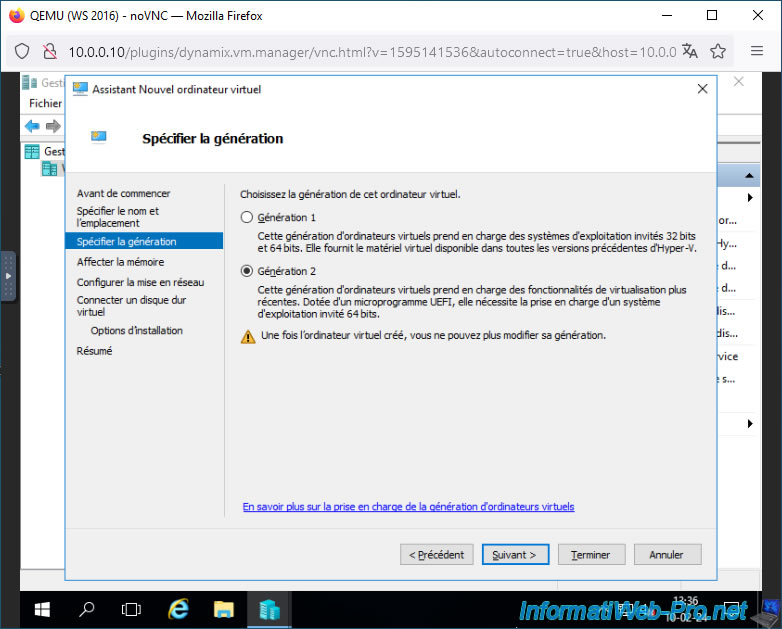
Select the desired generation.
In short, generation 2 for recent 64-bit operating systems supporting UEFI boot, and generation 1 for the rest (including older operating systems).
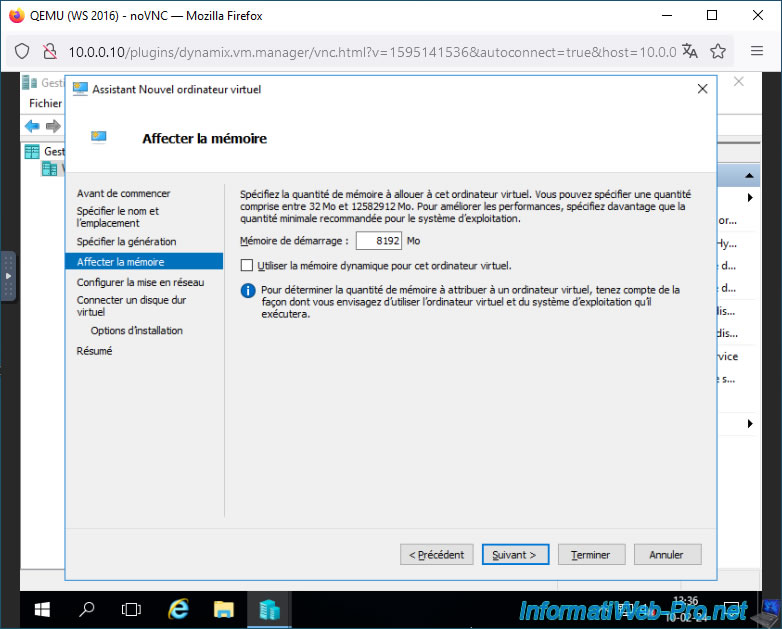
Allocate at least 4GB of RAM for Windows 10, or even 8GB of RAM to make Windows 10 run more smoothly (especially recent versions).
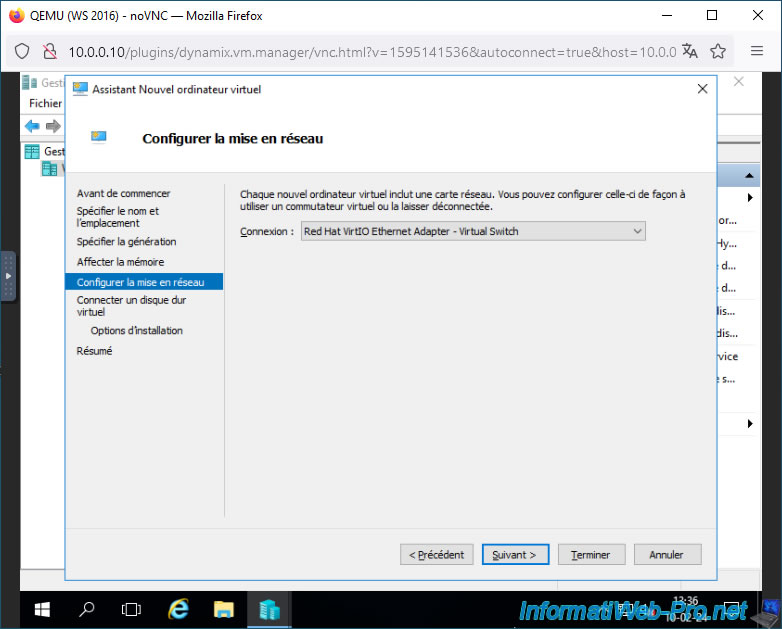
Select your virtual switch created during Hyper-V installation.
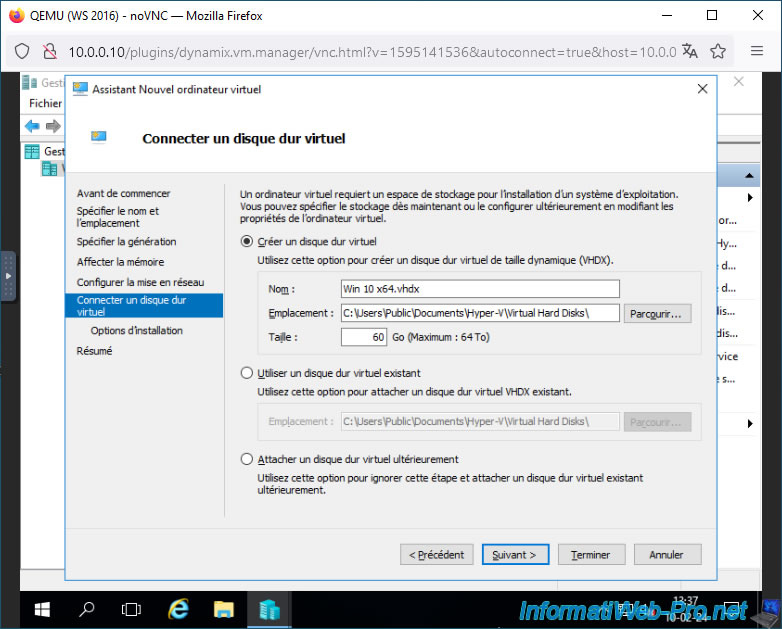
Specify 60 GB as a minimum for the virtual hard disk size.
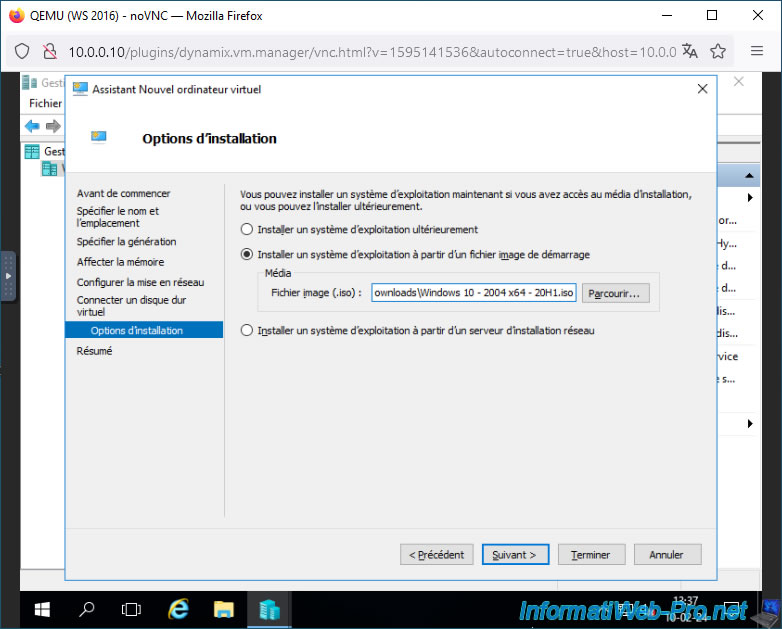
Select "Install an operating system from a bootable image file" and select your Windows 10 ISO.
In our case, a Windows 10 v2004 x64 ISO.
Your virtual machine has been created.
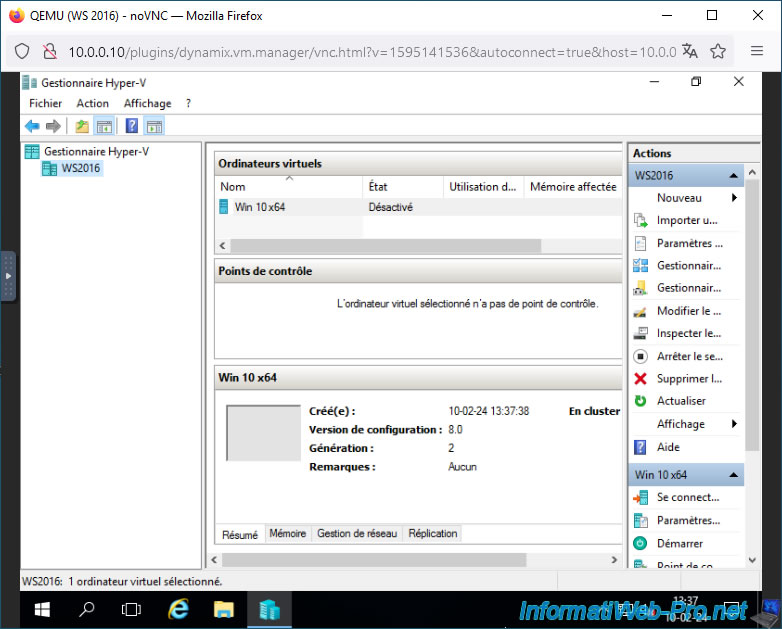
6. Install the guest OS on Hyper-V
Select your virtual machine and click: Connect.
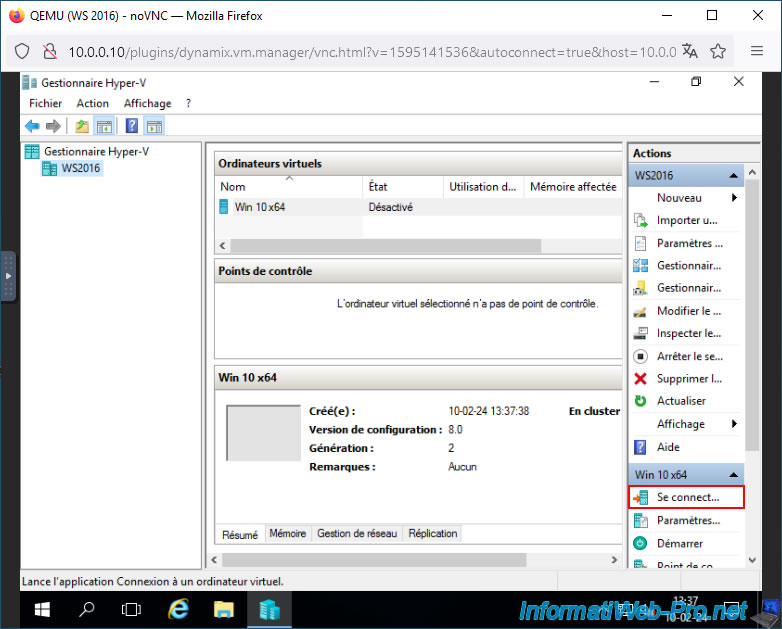
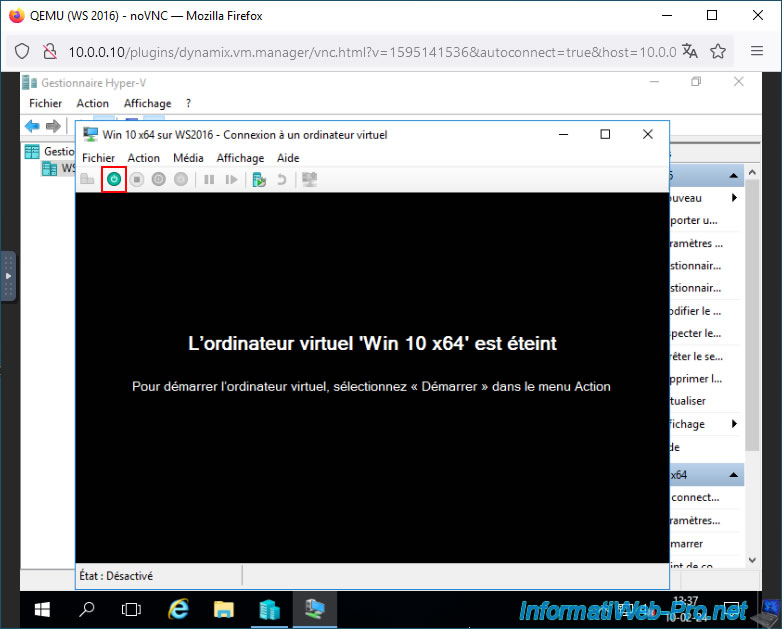
Start your virtual machine.
The virtual computer starts without any problems and the Windows 10 installer appears.
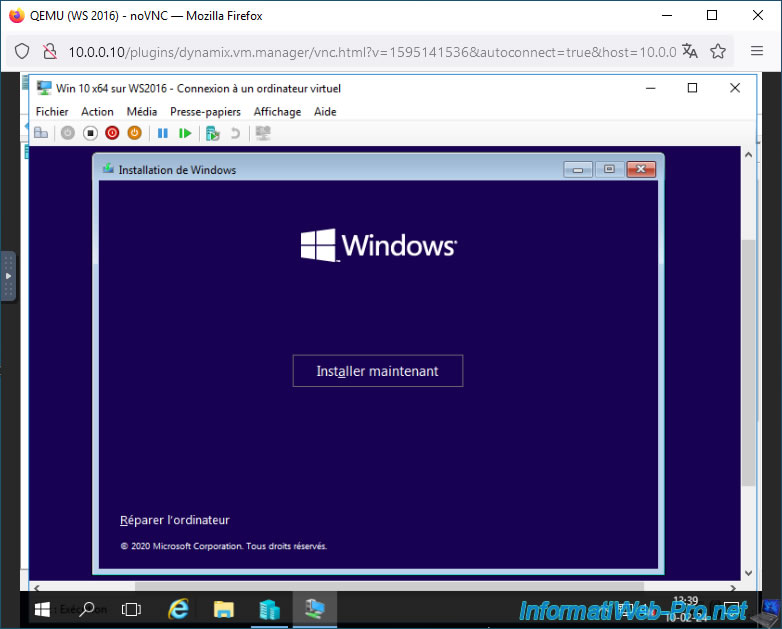
The virtual hard disk is detected without any problems on Hyper-V.
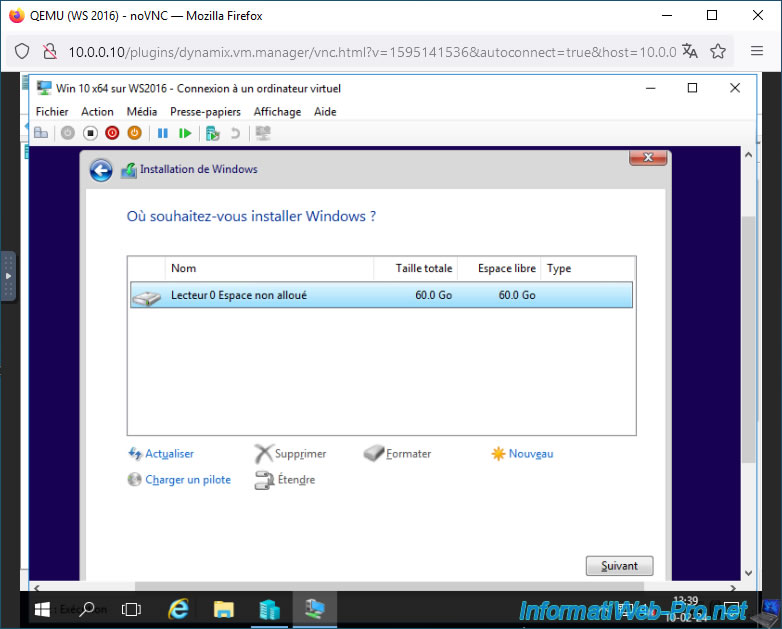
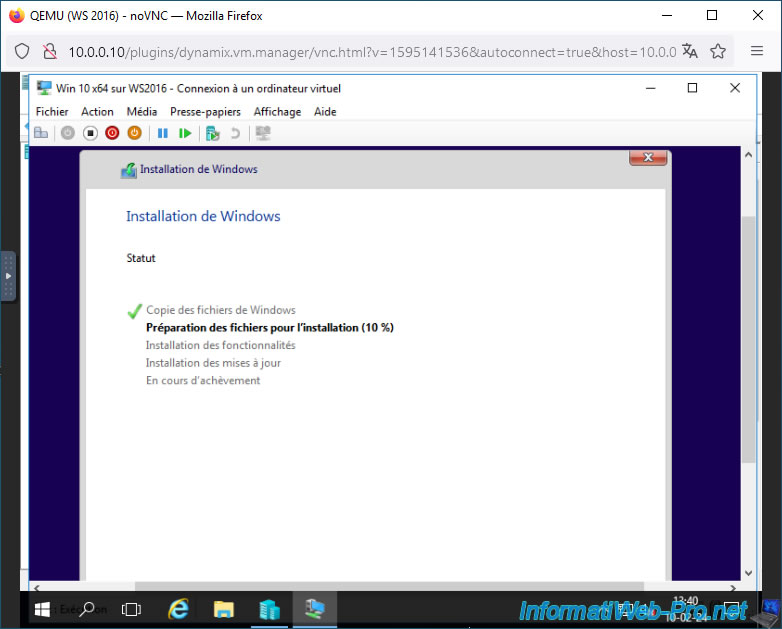
Please wait while Windows 10 installs.
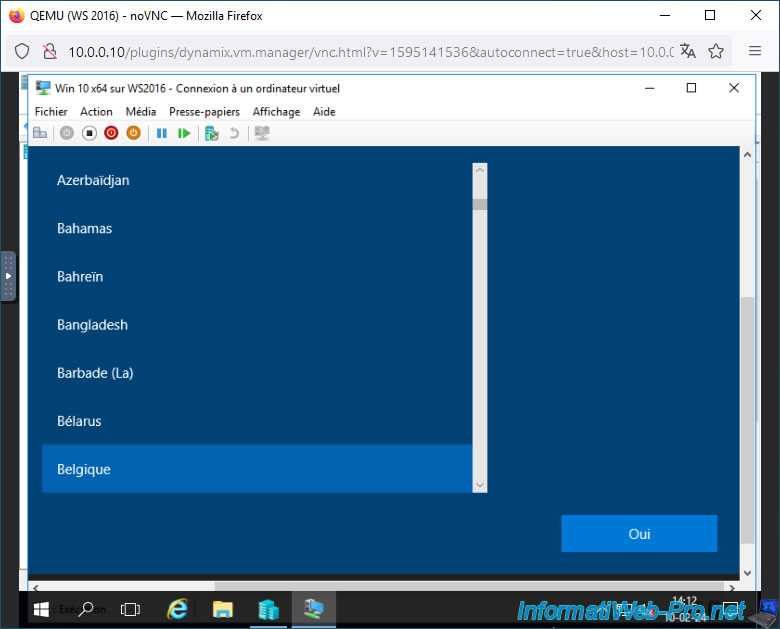
Configure Windows 10 the way you want.
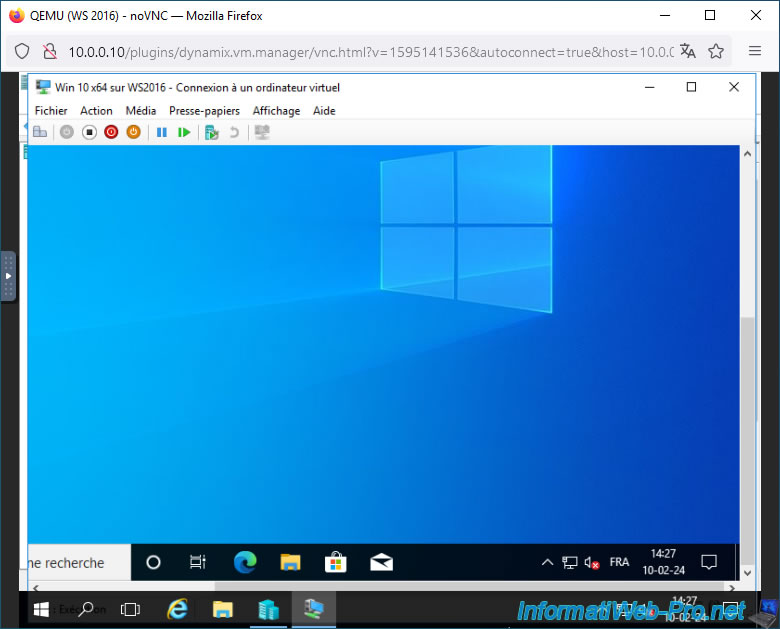
Windows 10 is installed.
Share this tutorial
To see also
-
NAS 4/29/2026
Unraid 6.9.2 - Docker - Install a DDNS client (Duck DNS)
-
NAS 11/21/2025
Unraid 6.9.2 - Install and configure Unraid 6.9.2
-
NAS 1/28/2026
Unraid 6.9.2 - Replace the parity disk
-
NAS 5/20/2026
Unraid 6.9.2 - SWAG - Locally access the reverse proxy (SWAG) via NAT reflection
No comment