Manage your VMs (created on Unraid 6.9.2) with virt-manager (on Debian)
- NAS
- Unraid
- 05 August 2026 at 07:42 UTC
-

- 2/2

5. Install the virtual machine manager (virt-manager) on Linux (Debian 12.2.0 x64)
If you go to the "virt-manager" download page, you will see that this virtual machine manager can be officially installed on 4 Linux distributions: Debian, Fedora, Gentoo and OpenBSD.
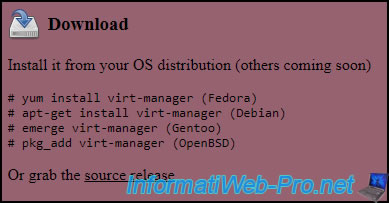
In our case, we used Debian 12.2.0 x64.
In Debian, click "Activities" (top left), then search for the "Terminal" application.
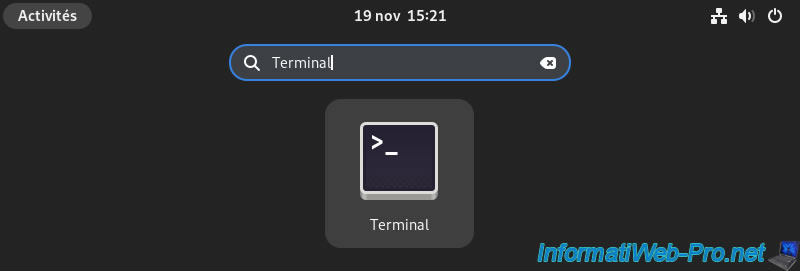
In the terminal that appears, obtain root rights using the command below.
Bash
su -
Update the list of packages available for your Debian distribution.
Bash
apt-get update
Install the "virt-manager" package using the command indicated on its download page.
Bash
apt-get install virt-manager
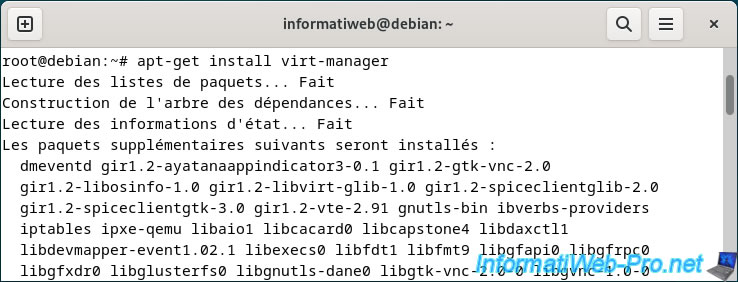
As you can see, approximately 100 packages will be installed.
Confirm the installation of these packages by answering "Y".

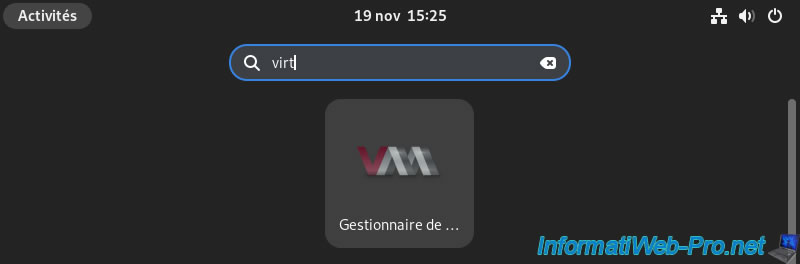
Once the packages have finished installing, click "Activities" (top left), then search for "virt".
Next, launch the "Virtual Machine Manager" that appears.
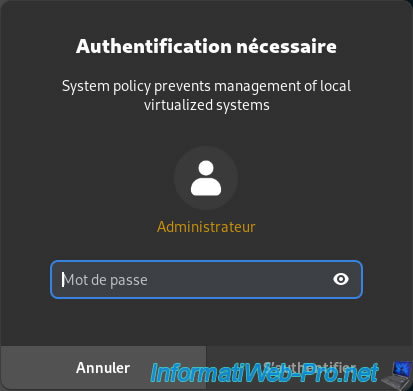
Debian will ask you for the Administrator (= root) password to launch this application.
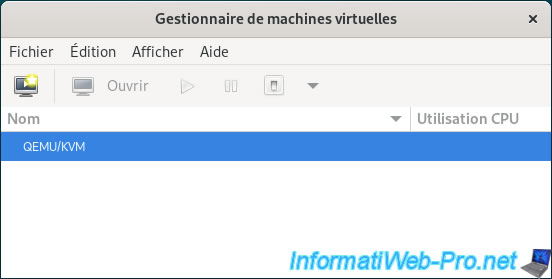
The Virtual Machine Manager appears.
As you can see, this allows you to manage QEMU/KVM.
By default, only the virtual machines on your Debian machine are displayed. It's normal for this to be empty for now.
Note: QEMU is an emulator used with the KVM hypervisor.
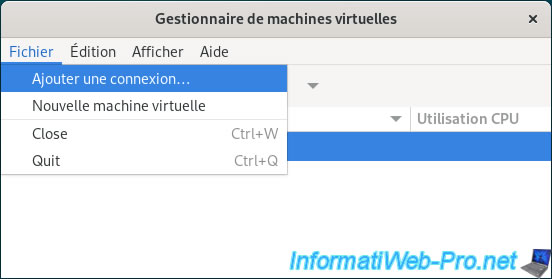
To manage the virtual machines on your Unraid server, go to the menu: File -> Add Connection.
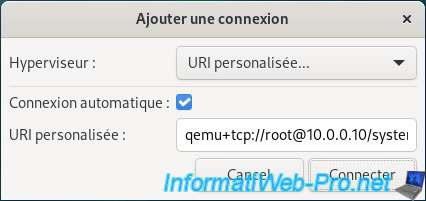
In the "Add a connection" window that appears:
- select "Hypervisor: Custom URI".
- check the "Auto-connect" box if you want this virtual machine manager to always automatically connect to your Unraid server when you open it.
- in the "Custom URI" box, enter "qemu+tcp://root@10.0.0.10/system" (where "10.0.0.10" is the IP address of your Unraid server).
Then, click on the "Connect" button.
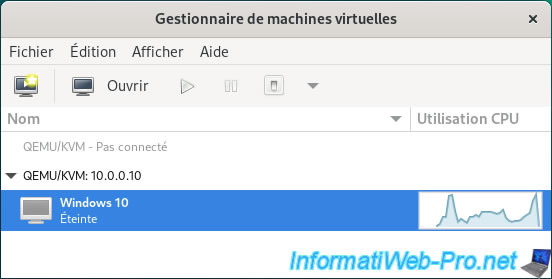
A "QEMU/KVM: [IP address of your Unraid server]" section appears, listing the virtual machines on your Unraid server.
In our case, we see our "Windows 10" virtual machine.
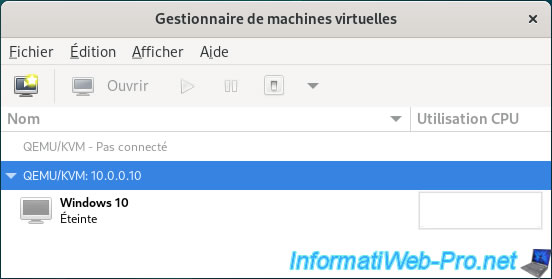
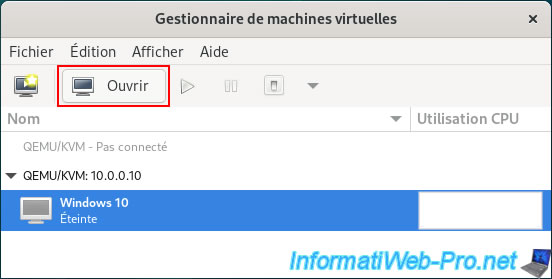
To access the console of this virtual machine, select this VM and click "Open".
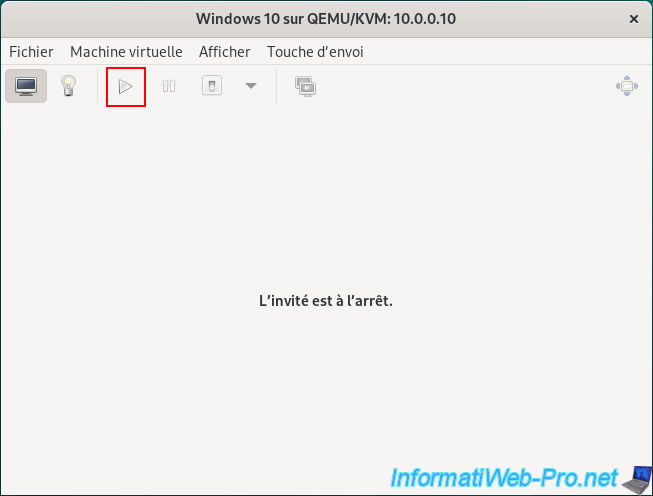
To start your virtual machine, if you wish, click on the triangle (Play).
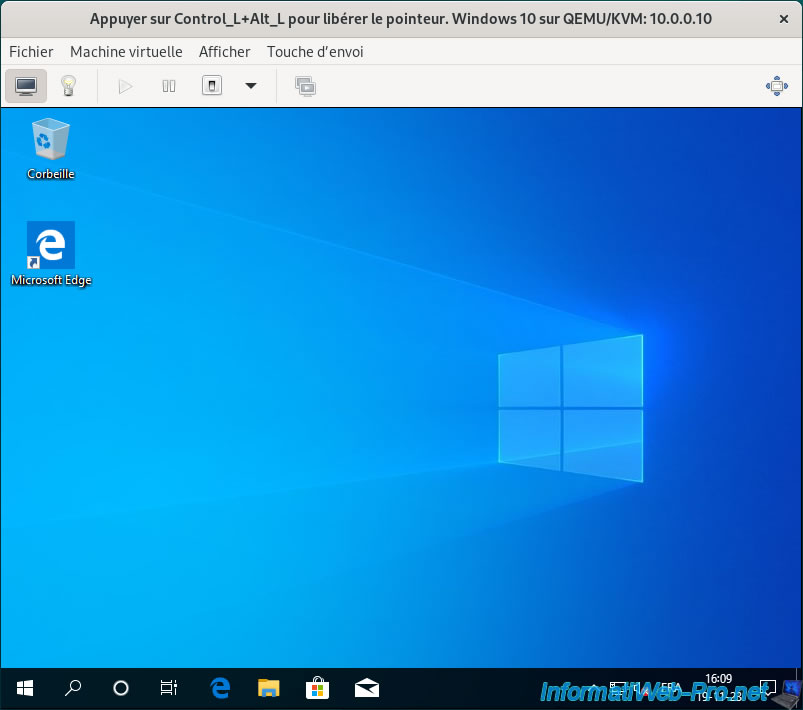
As expected, your virtual machine starts.
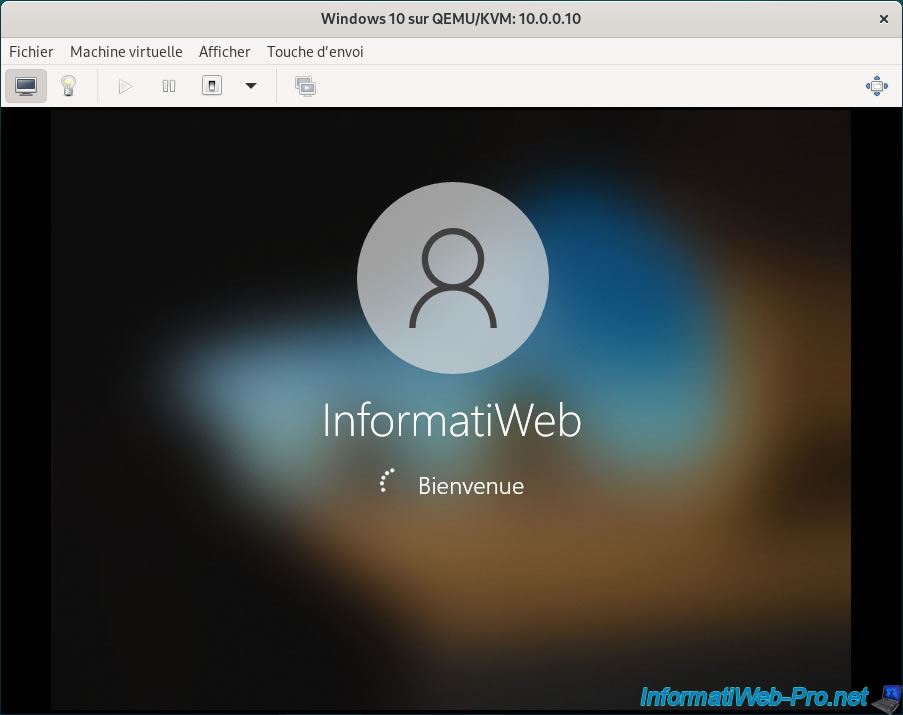
You have access to the console of your virtual machine.
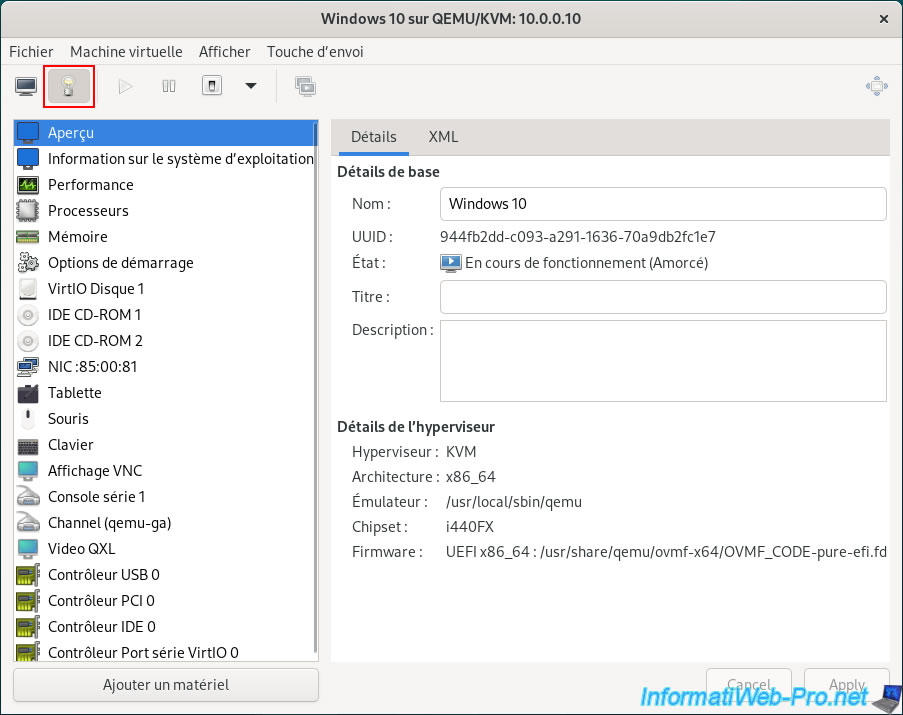
To change your virtual machine's configuration, click the second icon (a lightbulb) in the toolbar.
As you can see, you can change the name, title, and description of your virtual machine.
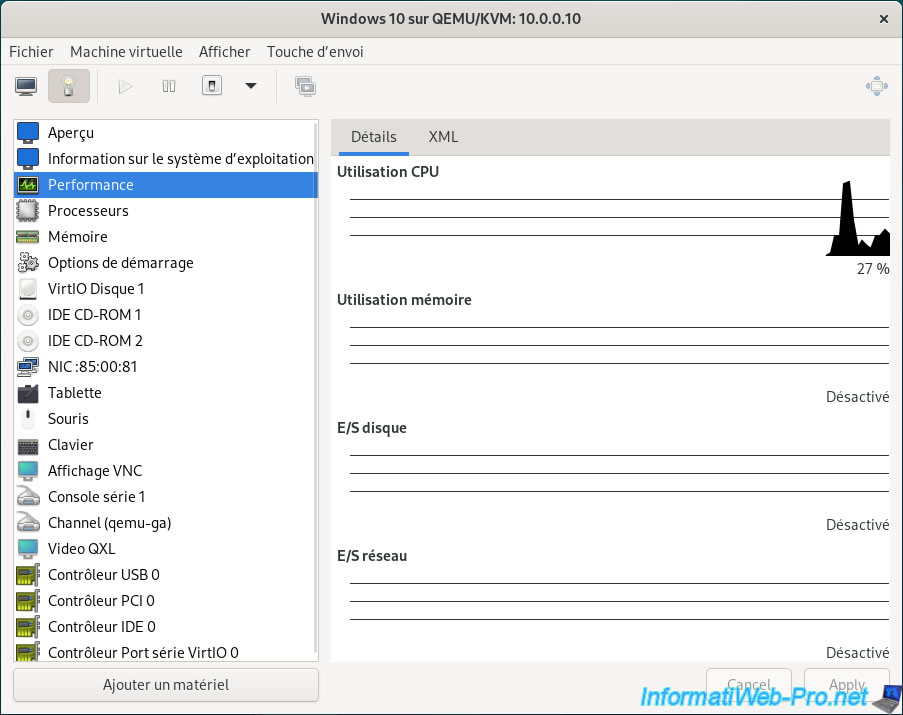
In the "Performance" section, you will be able to see, for example, CPU usage, disk memory usage, and network usage (if enabled).
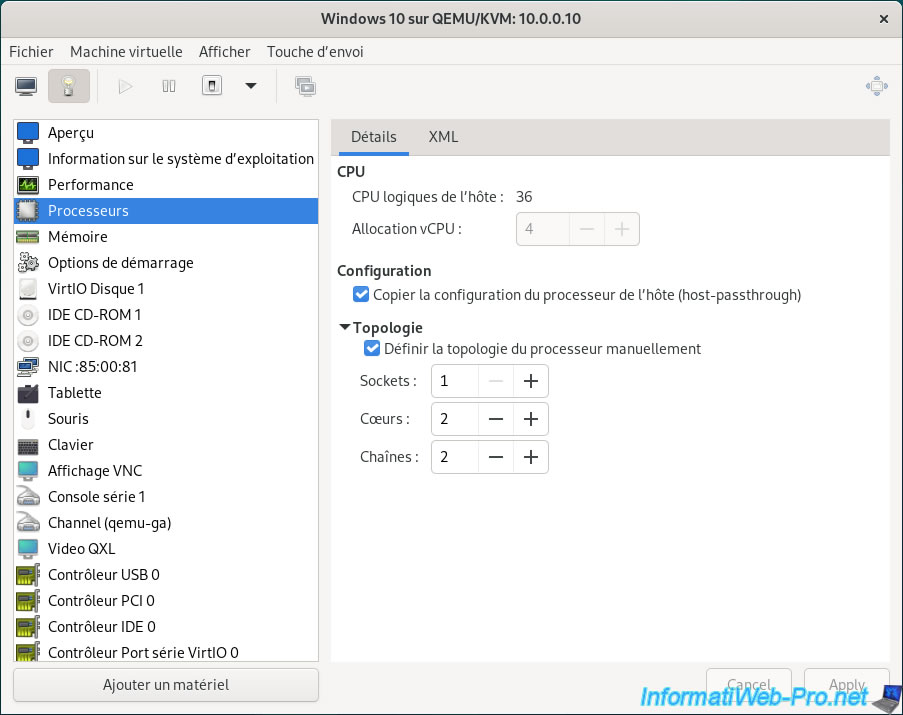
In the "Processors" section, you can manage processor allocation.
Using the "Sockets" and "Cores" options, you can allocate cores so that the virtual machine sees a multi-core processor or multiple processors with one or more cores.
This depends on the requirements of the guest operating system and/or the applications you wish to install, as well as any licensing limits.
Indeed, it is possible for an OS or application to limit the number of processors, but not the number of cores (for example).
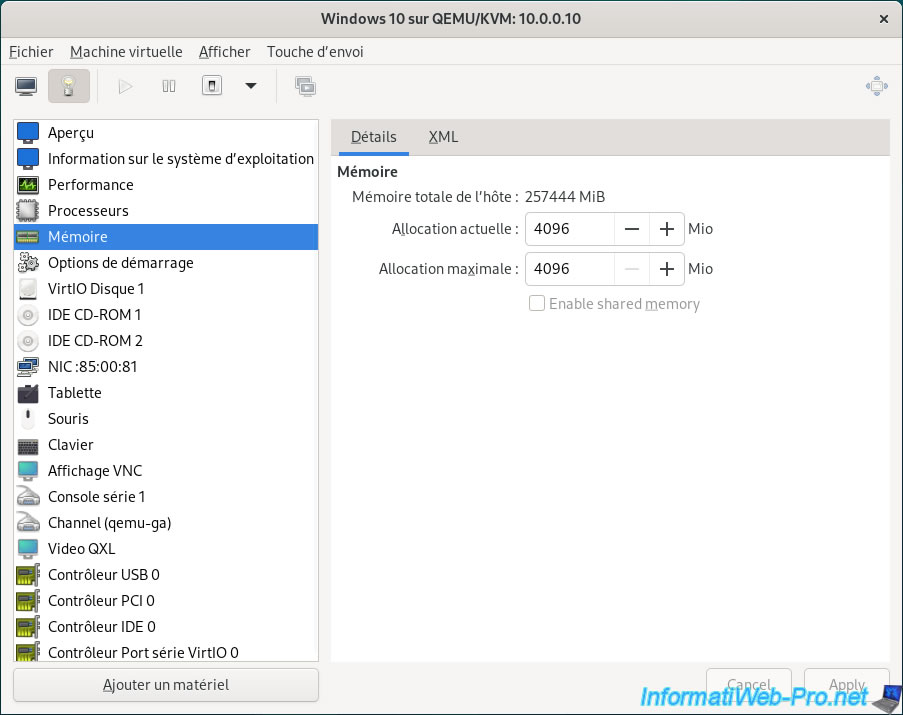
In the "Memory" section, you can manage memory allocation.
Generally, you will specify the same value for "Current Allocation" and "Maximum Allocation".
However, to use dynamic memory allocation, you will specify a higher value for the maximum allocation.
Note: dynamic memory allocation uses memory ballooning (which requires the installation of the "VirtIO Balloon Driver" on Windows).
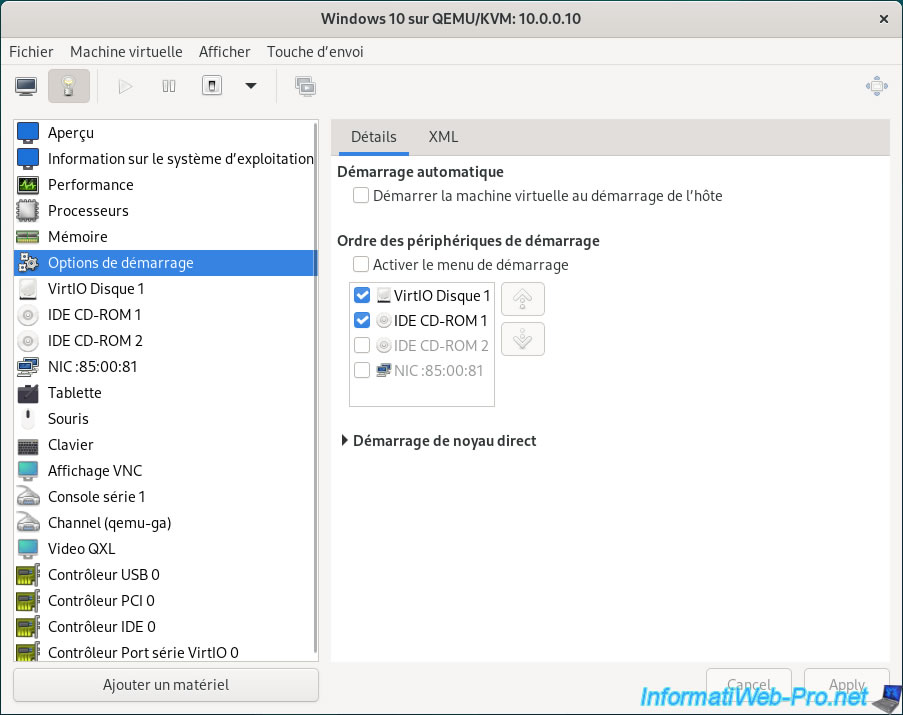
In the "Boot Options" section, you will be able to manage the boot options, as well as the boot order in this virtual machine.
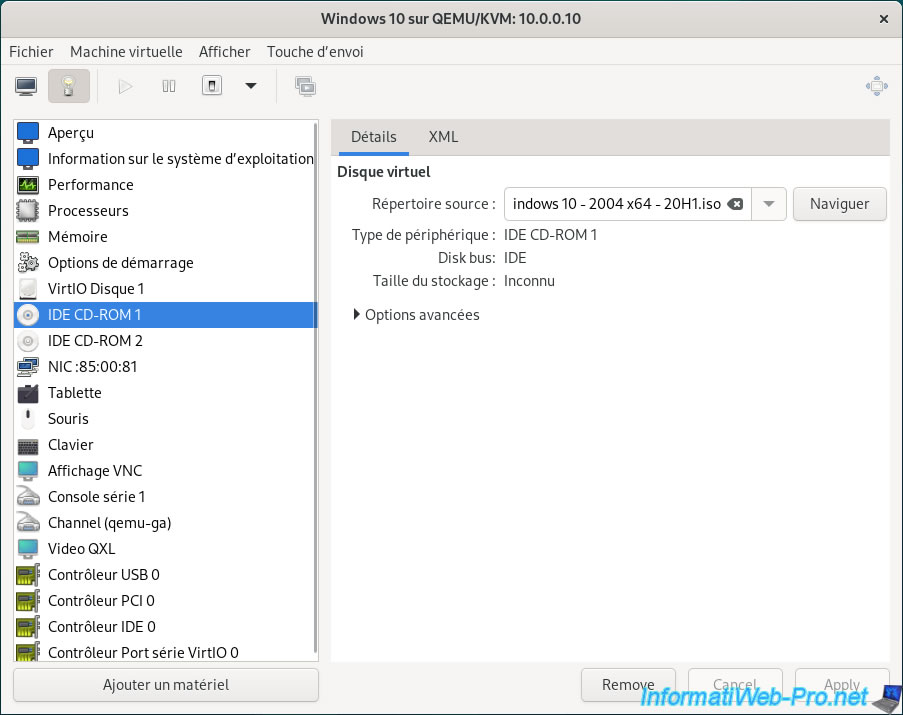
In the "IDE CD-ROM X" sections, you can change the ISO file inserted into each virtual CD drive.
By default:
- IDE CD-ROM 1: used for the operating system (OS) ISO file to be installed.
- IDE CD-ROM 2: used for the VirtIO driver CD required to detect the virtual hard drive, Ethernet controller, ...
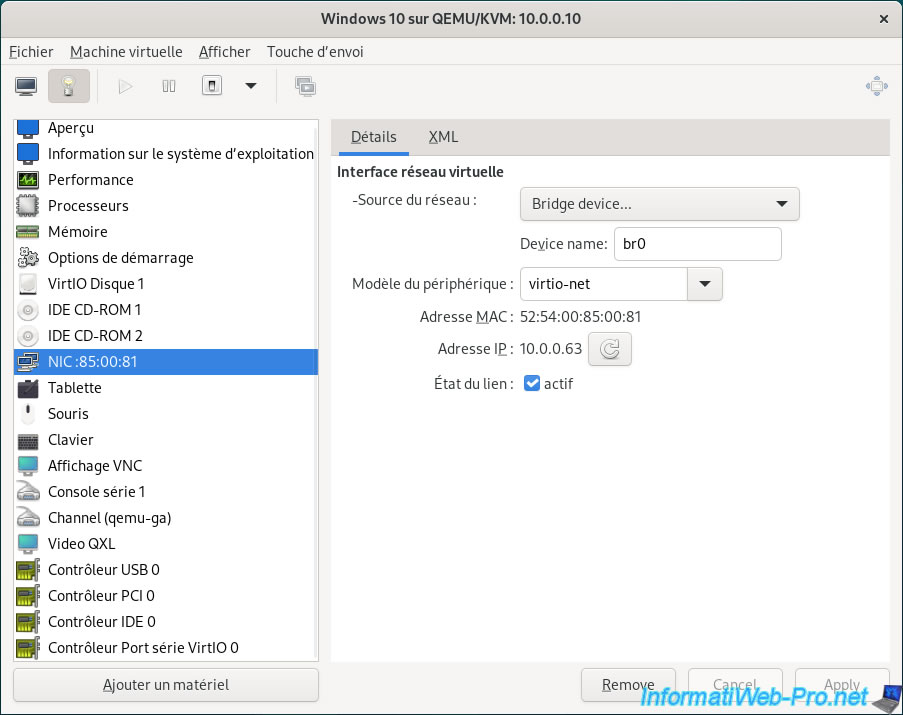
In the "NIC:XX:XX:XX" section, you can choose:
- Network Source: how your machine is connected to the network.
- Device Name: the name of the network interface.
- Device Model: the type of virtual network interface used.
Preferably "virtio-net" for better stability. - MAC Address: the MAC address (physical address) of this VirtIO virtual network adapter.
- IP Address: its current IP address (received by your router's DHCP server (with the "br0" public network bridge) or the one internal to Unraid (with the "virbr0" private network bridge).
- Link Status: if the "Active" box is checked, the network cable is virtually connected to this virtual network adapter.
Finally, in the Virtual Machine Manager, you will also be able to track CPU (processor) usage for each virtual machine (VM).
Share this tutorial
To see also
-

NAS 3/18/2026
Unraid 6.9.2 - Fixing common problems
-
NAS 1/21/2026
Unraid 6.9.2 - Replace a storage disk
-
NAS 6/17/2026
Unraid 6.9.2 - SWAG - Access Nextcloud via reverse proxy and personal domain
-
NAS 8/19/2026
Unraid 6.9.2 - VMs - Create a high-performance virtual machine (SSD)
No comment