Accessing the reverse proxy (SWAG) locally on Unraid 6.9.2 via NAT reflection
- NAS
- Unraid
- 20 May 2026 at 13:19 UTC
-

- 2/2

4. NAT reflection not working (if pfSense is an intermediate router)
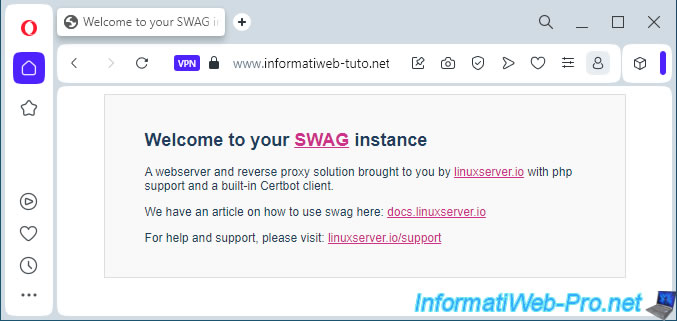
If you try to access your domain from a computer outside your home or through a VPN (for example: the one built into the Opera web browser), you will see the SWAG page appear (for the root domain and the "www" subdomain).
If you are trying to access a subdomain that refers to a service that you have already configured for use via your reverse proxy (SWAG), you will also be able to access it without any problems via another computer or via a VPN.

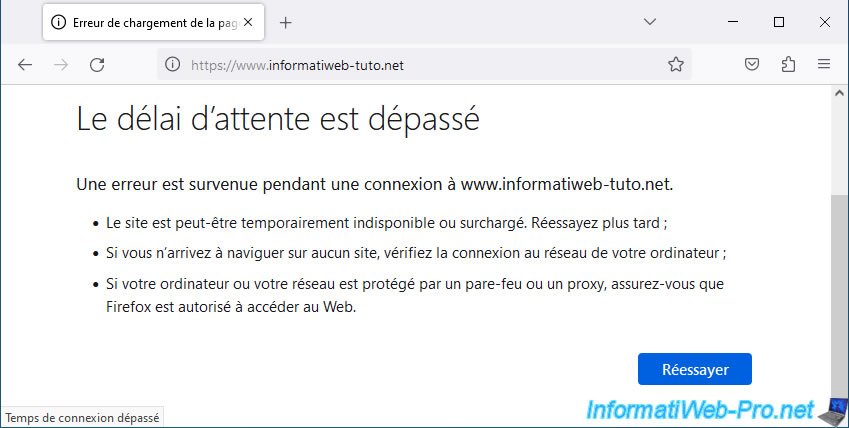
However, if you try to access this same domain (whether it's the root domain, the "www" subdomain, or that of a previously configured service, such as Jellyfin), you'll see that the connection will fail.
In the case of Mozilla Firefox, you'll see the message "Timed out" appear after a certain loading time.

5. Split DNS via pfSense's "DNS Overrides" option
For NAT reflection to work the first time, your public IP address must be used by the pfSense interface.
This is generally not the case, as ISPs tend to force you to use their own routers rather than allowing you to choose the modem/router used to access the Internet.
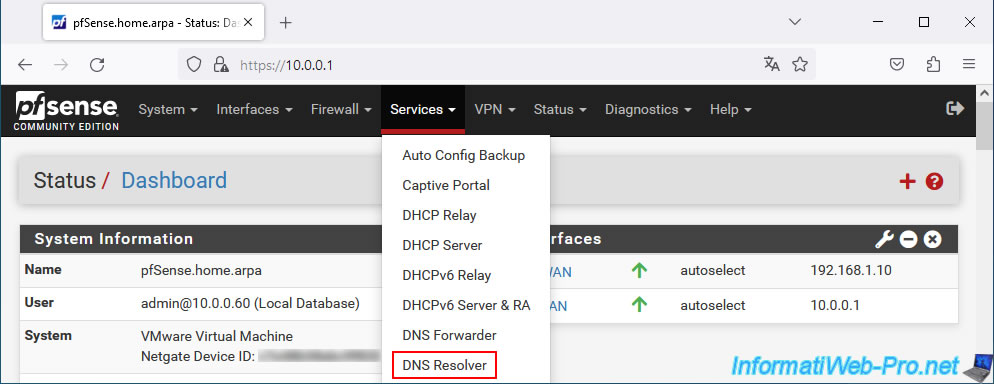
To solve this problem, simply perform split DNS using the "DNS Overrides" option available in the pfSense DNS resolver settings.
To do this, in the pfSense web interface, go to "Services -> DNS Resolver".
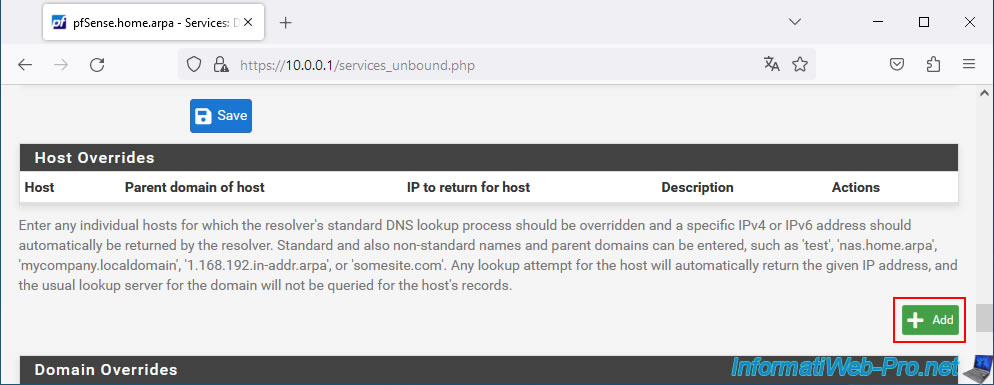
At the bottom of the page that appears, locate the "Host Overrides" section and click the "Add" button.
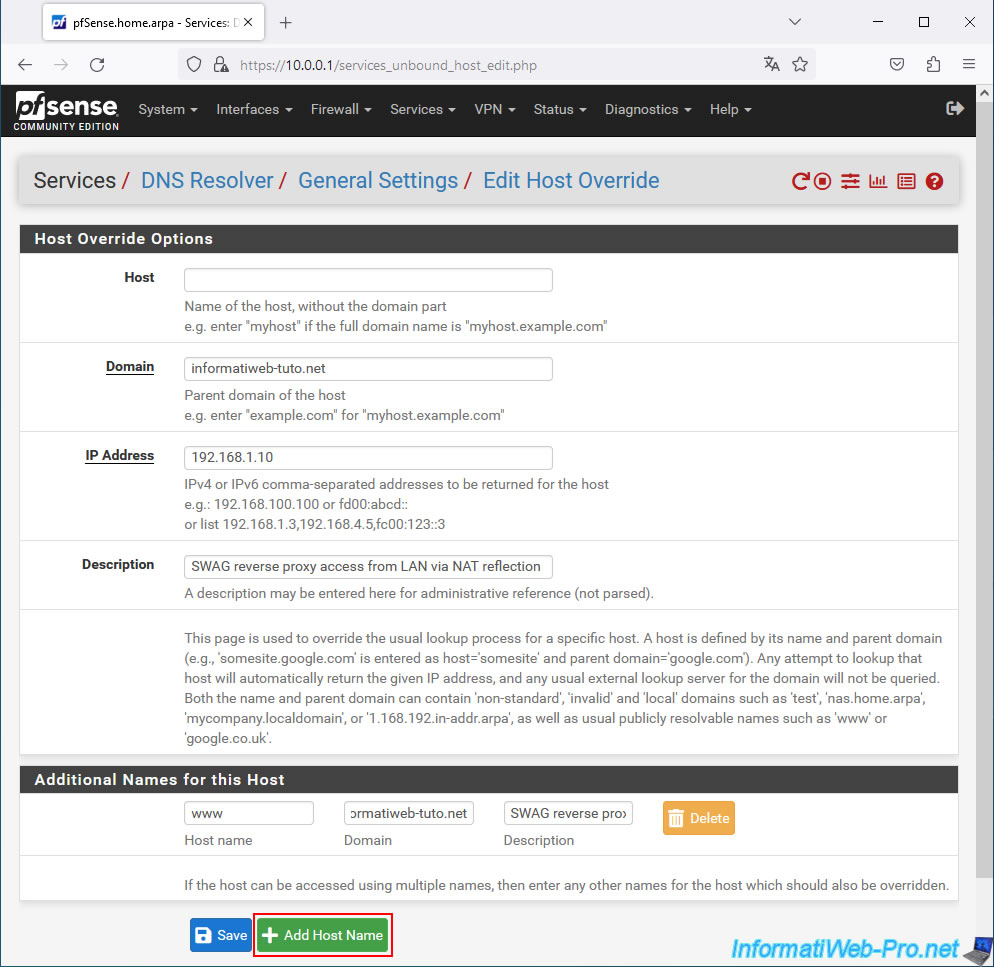
Fill in the "Host Overrides Options" section like this:
- Host: leave blank, as this allows you to target the root domain (which you will enter in the field just below).
- Domain: enter your root domain used with SWAG.
In our case: informatiweb-tuto.net - IP Address: enter the IP address of the pfSense WAN interface.
Note: this is visible on the pfSense homepage (accessible by clicking on the "pfSense" logo in the top left corner of the page).
In our case, this WAN IP address is "192.168.1.10". - Description: enter whatever you want (this is for informational purposes only).
In our case, we have specified: SWAG reverse proxy access from LAN via NAT reflection.
In the "Additional Names for this Host" section just below, start by entering this:
- Host name: www.
- Domain: informatiweb-tuto.net (again, this is the root domain you use with SWAG).
- Description: again, this is purely indicative.
So we've again specified "SWAG reverse proxy access from LAN via NAT reflection."
Once the fields are filled in, click on the green button "Add Host Name".
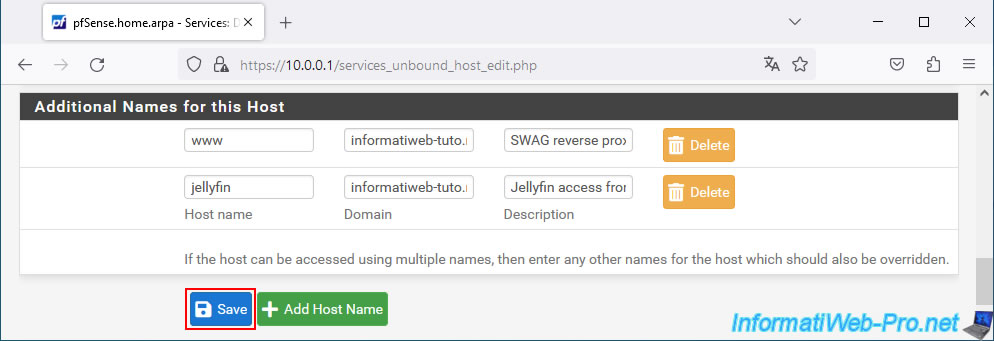
An additional line appears in the "Additional Names for this Host" section.
In our case, we're specifying the subdomain used to access our Jellyfin media server via SWAG:
- Host name : jellyfin.
- Domain : informatiweb-tuto.net.
- Description : Jellyfin access from LAN via NAT reflection
Click the green "Add Host Name" button as many times as necessary to ensure you have access to services via your "SWAG" reverse proxy.
Finally, click "Save".
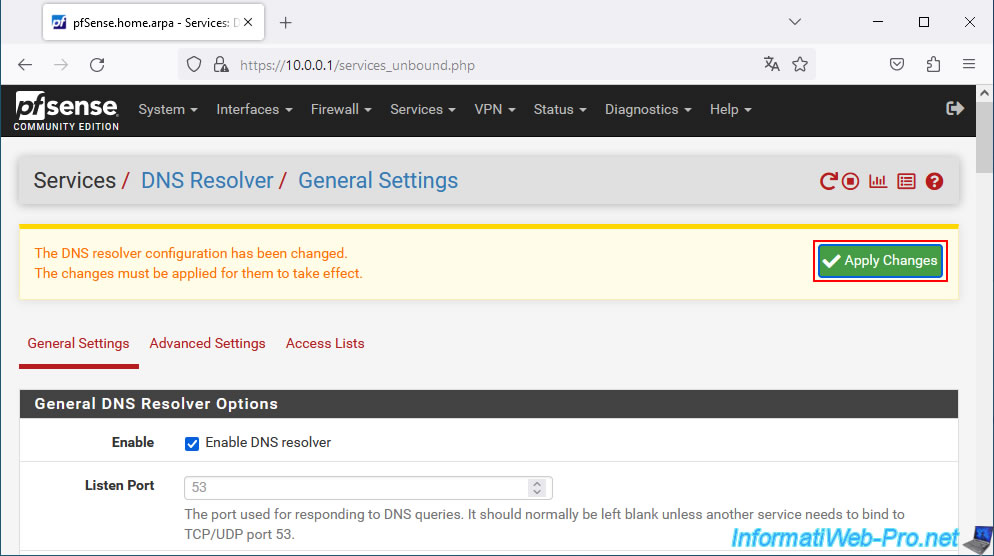
At the top of the DNS resolver page that appears, click the "Apply Changes" button.
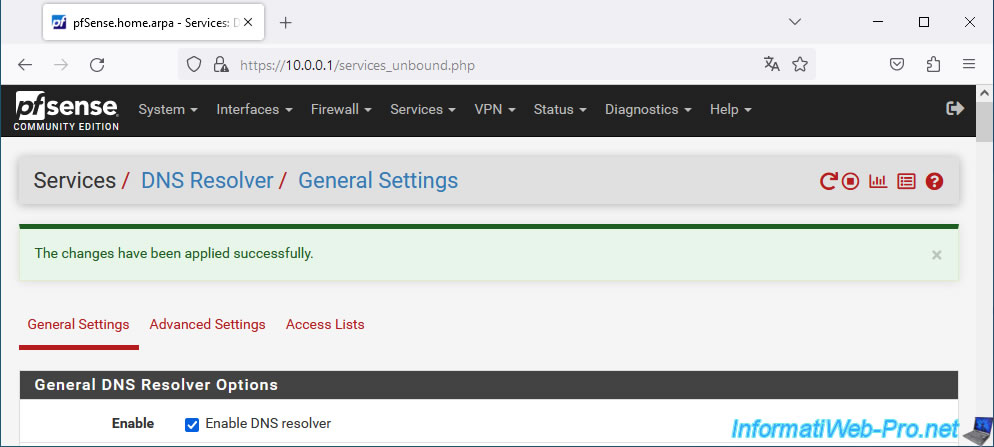
The configured DNS settings have been applied successfully.
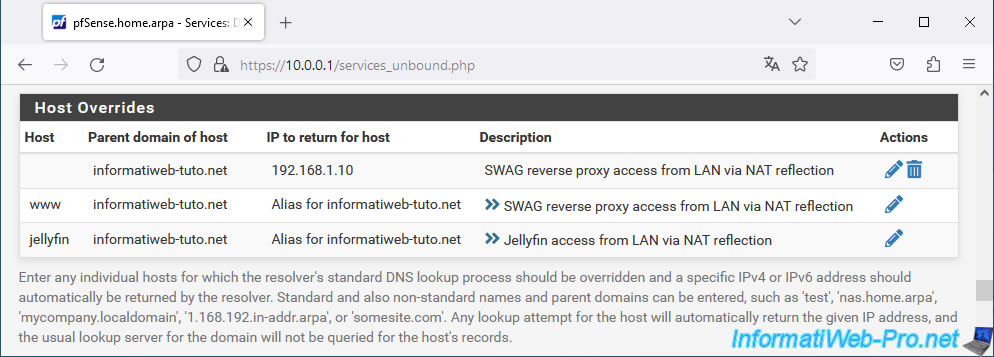
At the bottom of the page, in the "Host Overrides" section, you'll see this displayed.
As you might have guessed, pfSense will return the pfSense WAN IP address (in our case: 192.168.1.10) for your root domain (in our case: informatiweb-tuto.net), as well as any added subdomains (in our case: www and jellyfin).
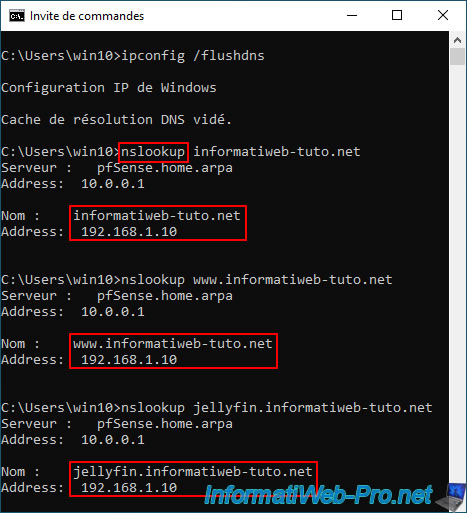
On your computer, open a command prompt (cmd.exe) and flush the Windows DNS cache.
Batch
ipconfig /flushdns
Plain Text
Successfully flushed the DNS Resolver Cache.
Next, verify that the IP address received from pfSense's DNS resolver matches the IP address of pfSense's WAN interface for your root domain and associated subdomains ("www" and "jellyfin" in our case).
Batch
nslookup www.informatiweb-tuto.net
Plain Text
Name : www.informatiweb-tuto.net
Address: 192.168.1.10
Batch
nslookup jellyfin.informatiweb-tuto.net
Plain Text
Name : jellyfin.informatiweb-tuto.net
Address: 192.168.1.10
If this is the case, restart your web browser and try accessing your root domain or the "www" subdomain from a computer on your local network.
If your configuration is correct, you will arrive at the SWAG page.
Plain Text
Welcome to your SWAG instance.
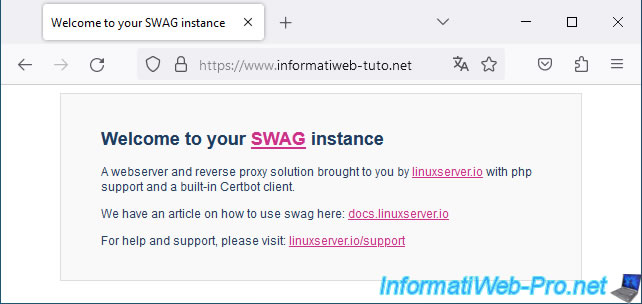
As expected, the certificate is indeed the one issued by Let's Encrypt and it is valid since the subject being verified is the domain indicated in the address bar and NOT the associated IP address.

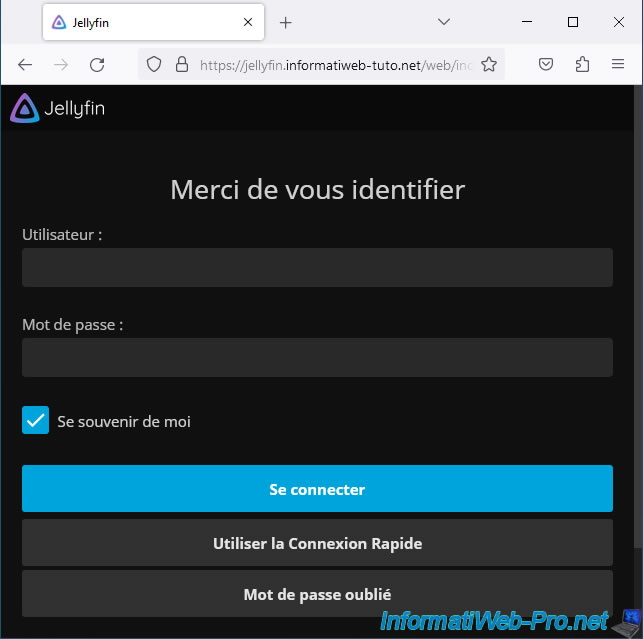
If you try to access a service through your SWAG reverse proxy, you'll see that it will also work.
Warning : if you later add a service to the SWAG configuration, remember to reconfigure the pfSense DNS resolver to return the IP address of the pfSense WAN interface for your new subdomain (as explained in step "5. Split DNS via the pfSense DNS Overrides Option" of this tutorial).
Share this tutorial
To see also
-
NAS 1/30/2026
Unraid 6.9.2 - Create shares (network / user)
-
NAS 4/15/2026
Unraid 6.9.2 - Docker - Install a file server (Nextcloud)
-
NAS 5/13/2026
Unraid 6.9.2 - SWAG - Locally access the reverse proxy (SWAG)
-
NAS 7/22/2026
Unraid 6.9.2 - VMs - Backing up a VM manually
No comment