Access the media server (Jellyfin) via the reverse proxy (SWAG) and a personal domain (OVH) on Unraid 6.9.2
- NAS
- Unraid
- 10 June 2026 at 07:32 UTC
-

- 2/2

4. Add the subdomain for Jellyfin in the certificate generated via the swag container
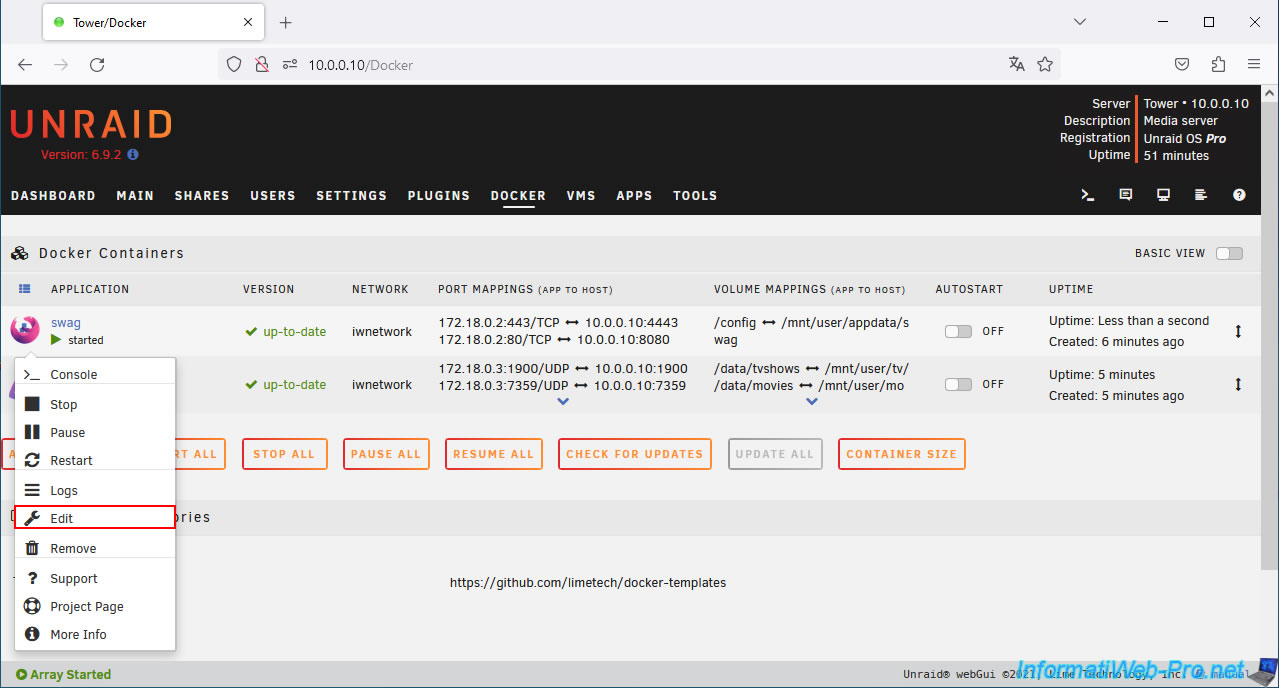
In order for the SSL certificate generated via the swag container to be available for your new "jellyfin" subdomain, you need to modify the configuration of your "swag" container.
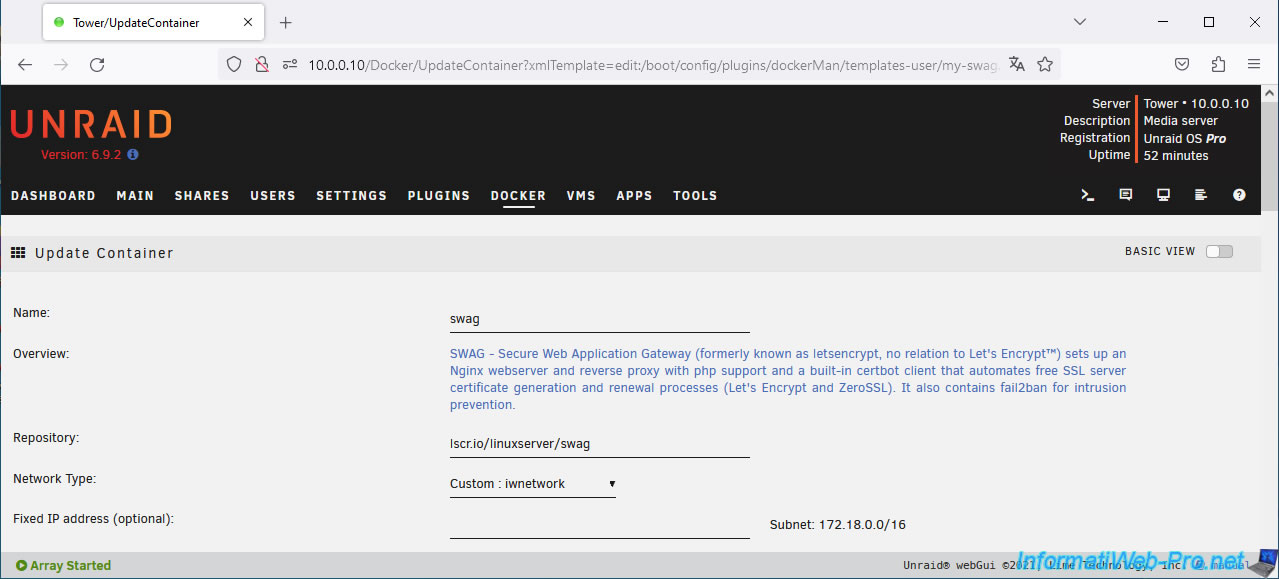
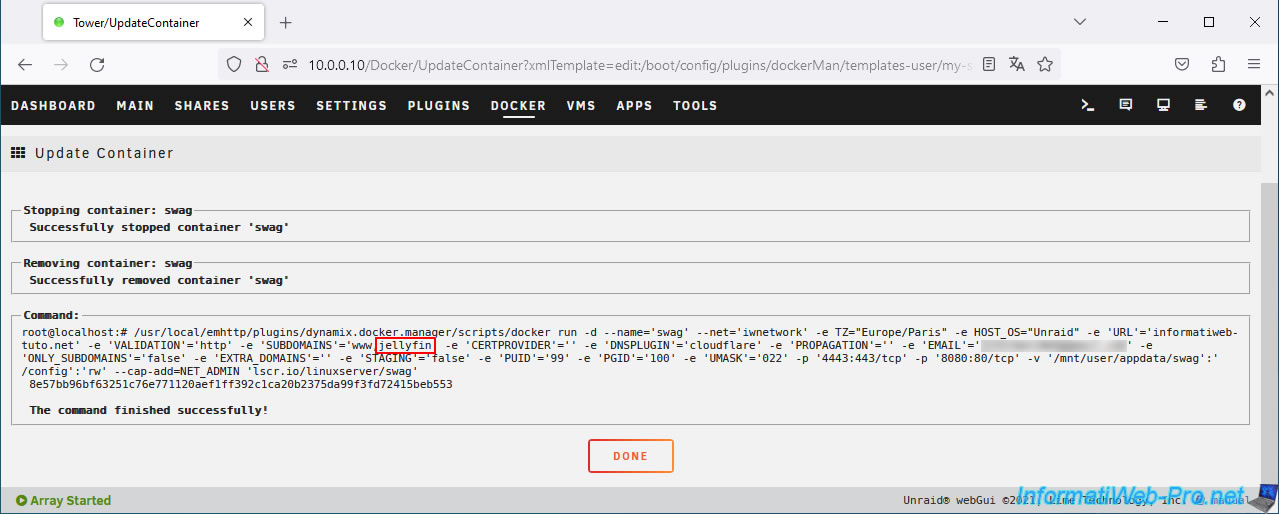
The "Update Container" page appears.
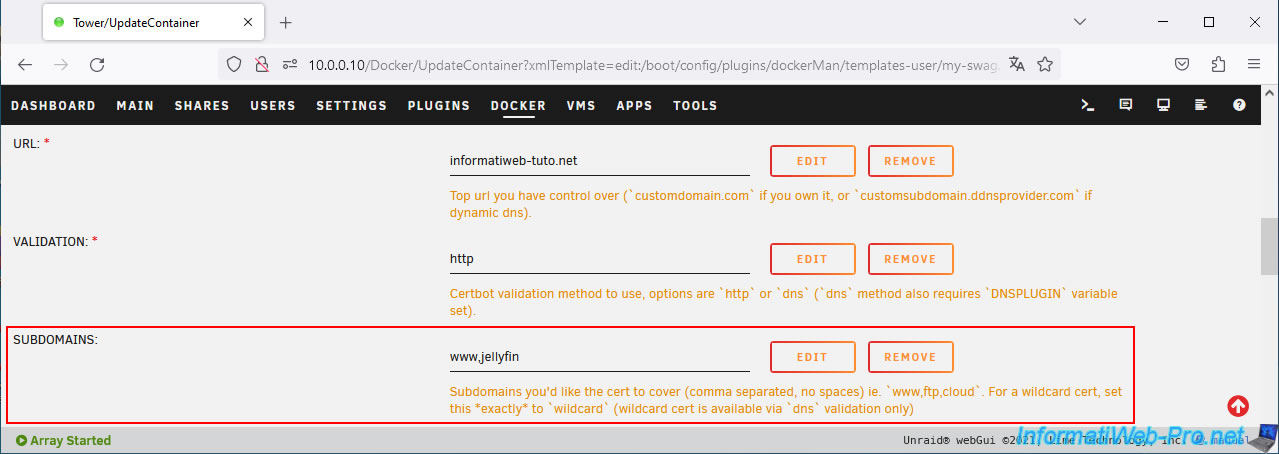
Add your subdomain "jellyfin" in the "SUBDOMAINS" box, separating your subdomains with a comma.
Which in our case gives: www,jellyfin.
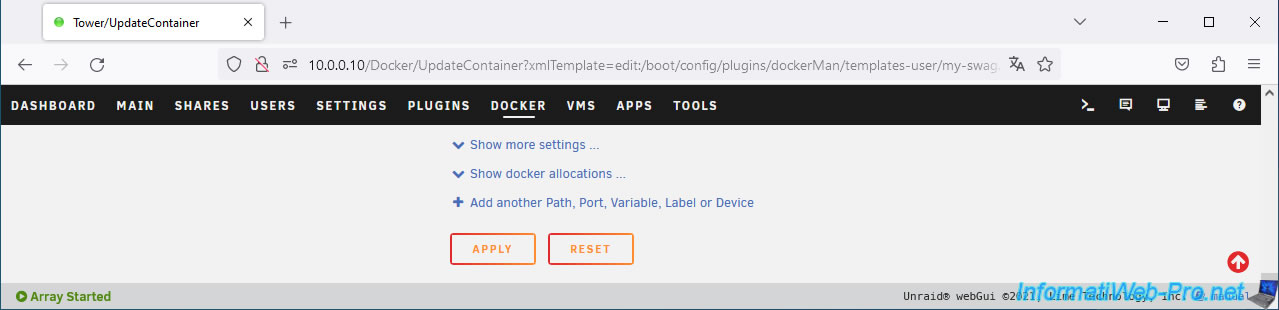
Then, at the bottom of the page, click on: Apply.
Once the container is reconfigured, click Done.
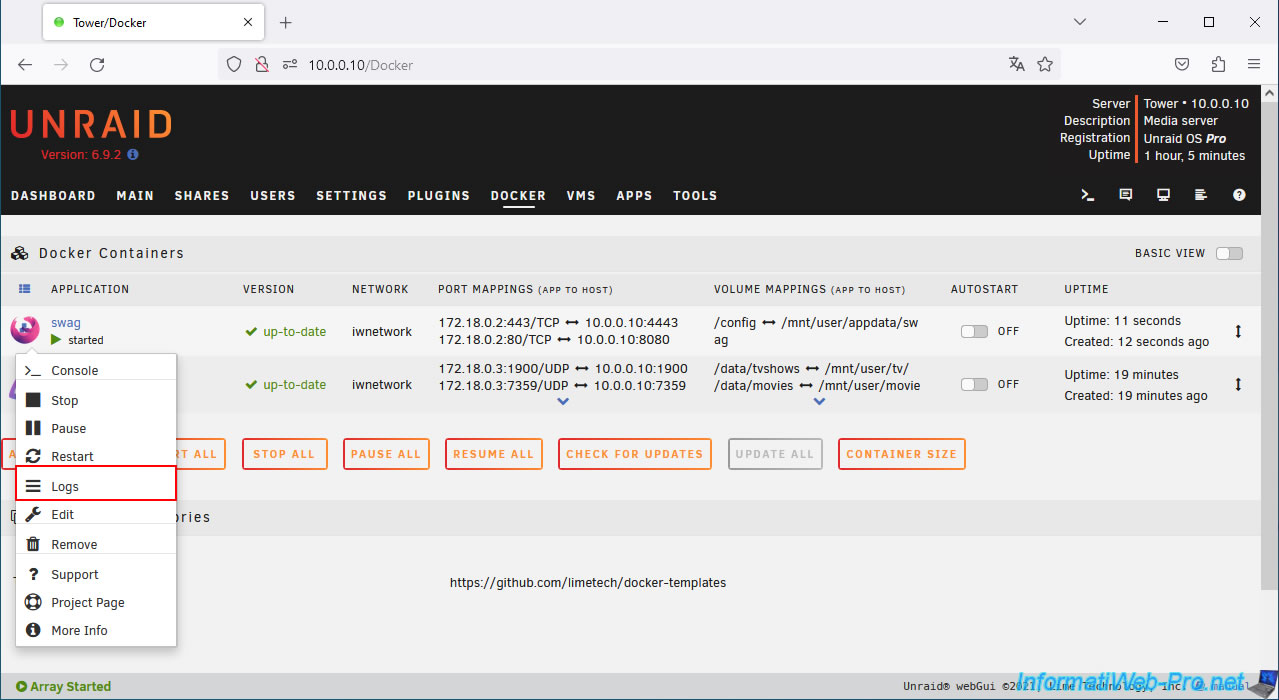
Check that everything is going well by checking the swag logs.
To do this, click on the swag icon, then on: Logs.
In the logs, locate these lines (whose important values are framed in red in the image below):
Plain Text
SUBDOMAINS=www,jellyfin
...
Sub-domains processed are: www.informatiweb-tuto.net jellyfin.informatiweb-tuto.net

5. Configure Jellyfin for use via proxy
In the case of Jellyfin, you need to tell Jellyfin the domain name of the proxy you will use for remote access.
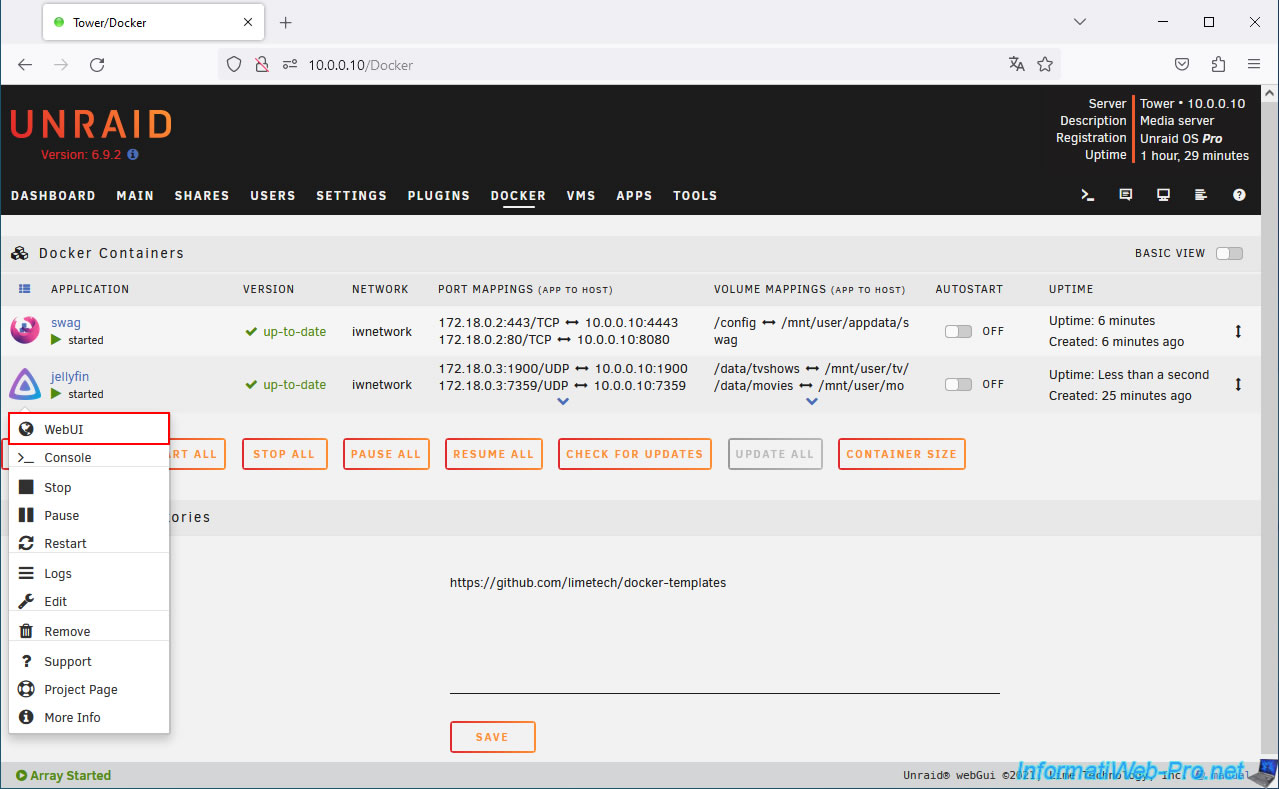
To do this, open the Jellyfin web interface by clicking on the Jellyfin icon, then on: WebUI.
In the Jellyfin web interface, access the menu by clicking on the icon located at the top left.
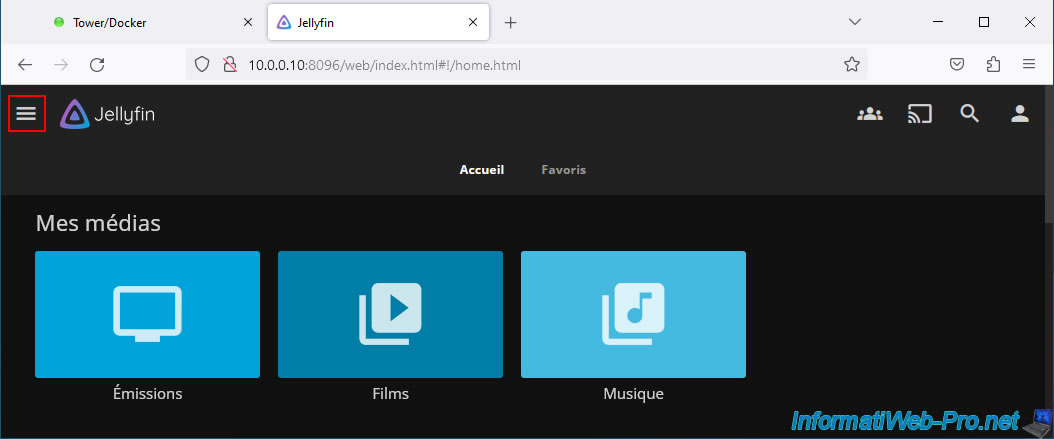
In the menu that appears, go to: Administration -> Dashboard.

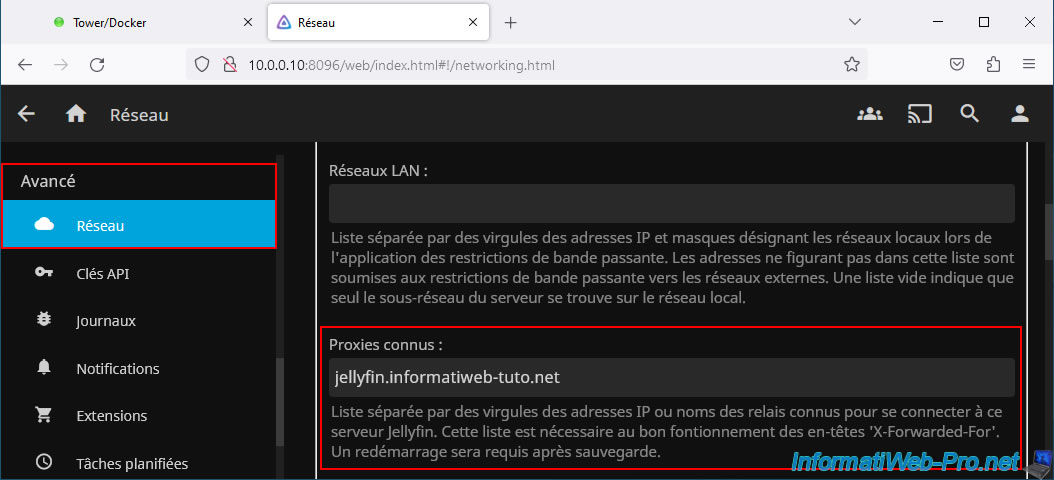
Then, go to "Advanced -> Network" and indicate your subdomain (eg: jellyfin.informatiweb-tuto.net) in the "Known proxies" box.
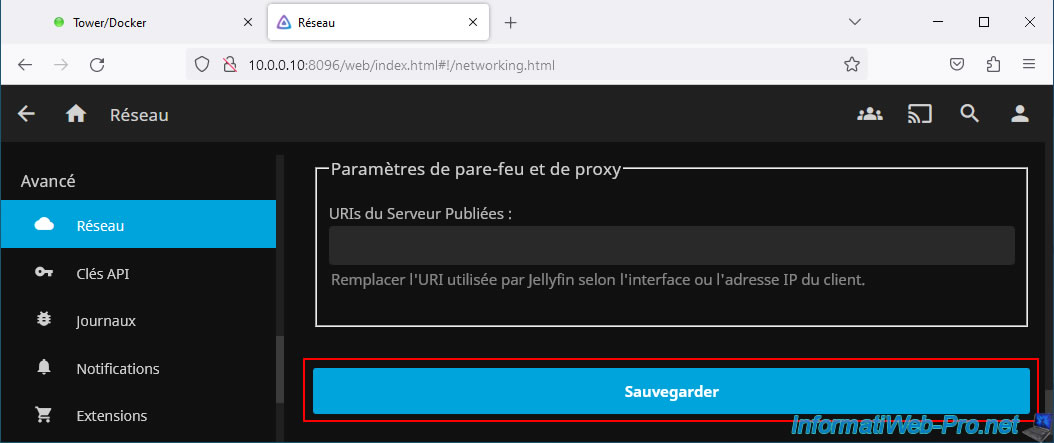
At the bottom of the page, click on: Save.
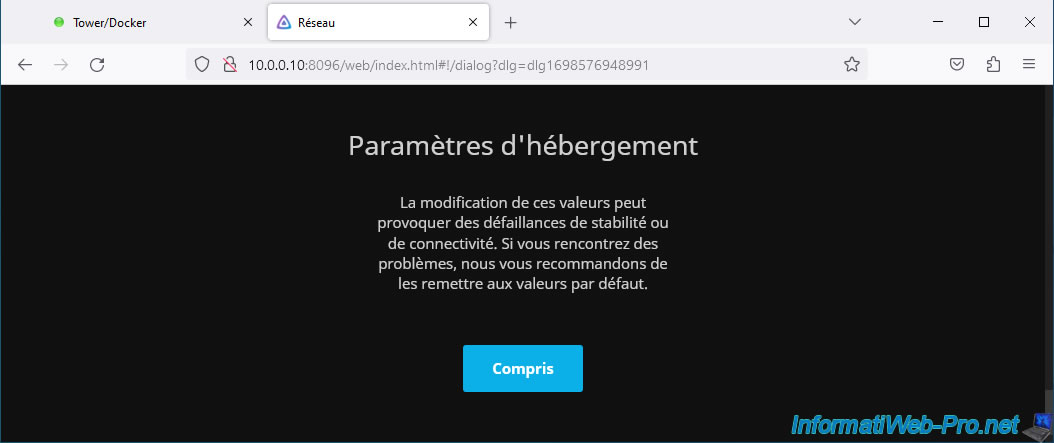
You will be prompted that changing these settings may cause stability or connectivity issues.
Ignore this warning by clicking: Got it.
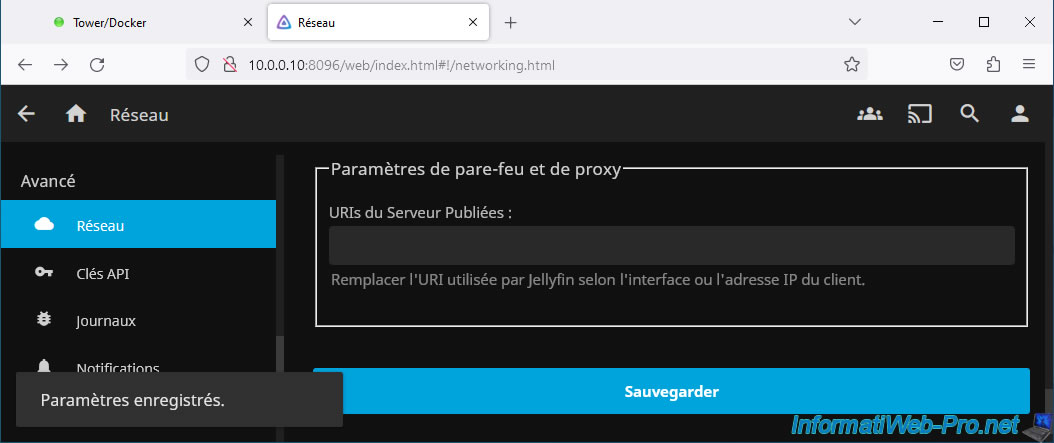
The message "Settings saved" appears.
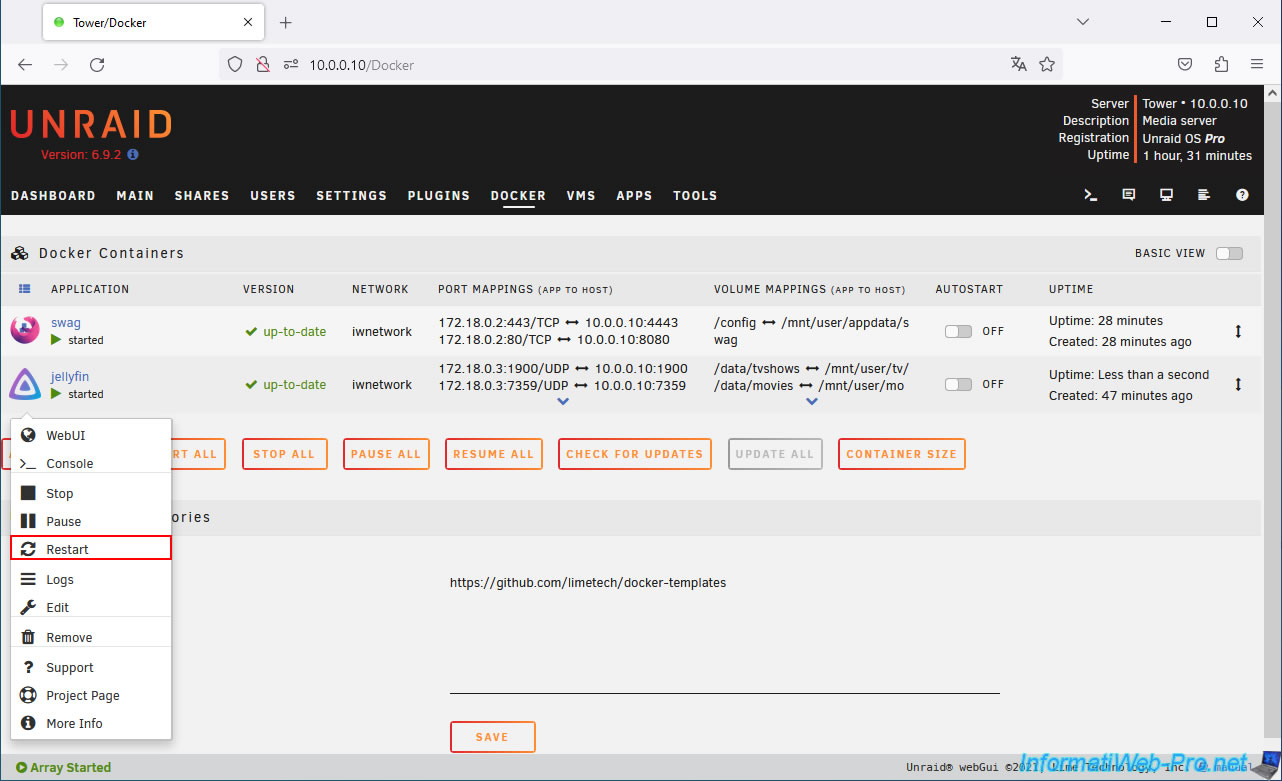
Restart your "jellyfin" container by clicking on its icon, then on: Restart.
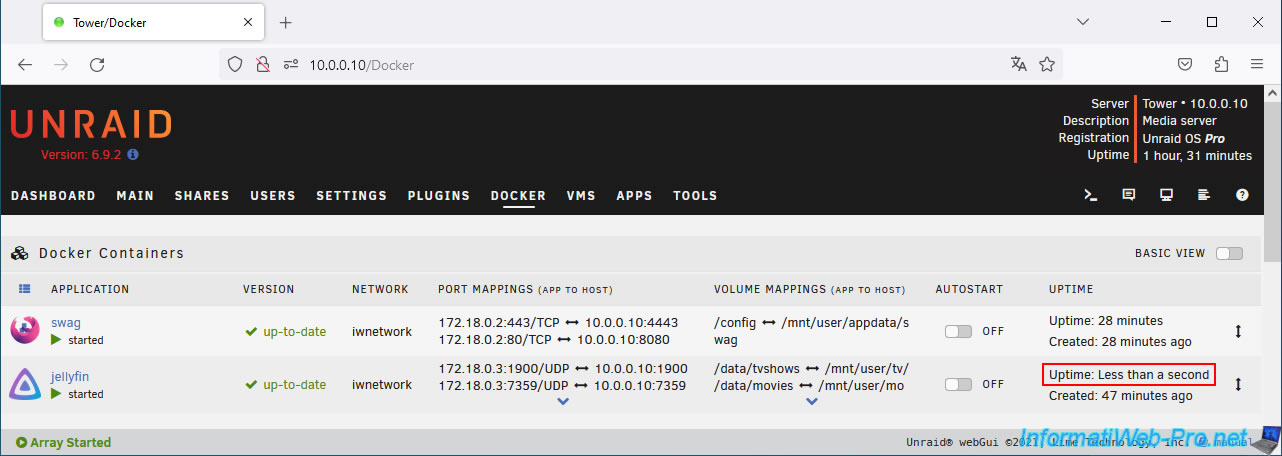
The container "jellyfin" has restarted.
6. Remotely access Jellyfin via swag reverse proxy
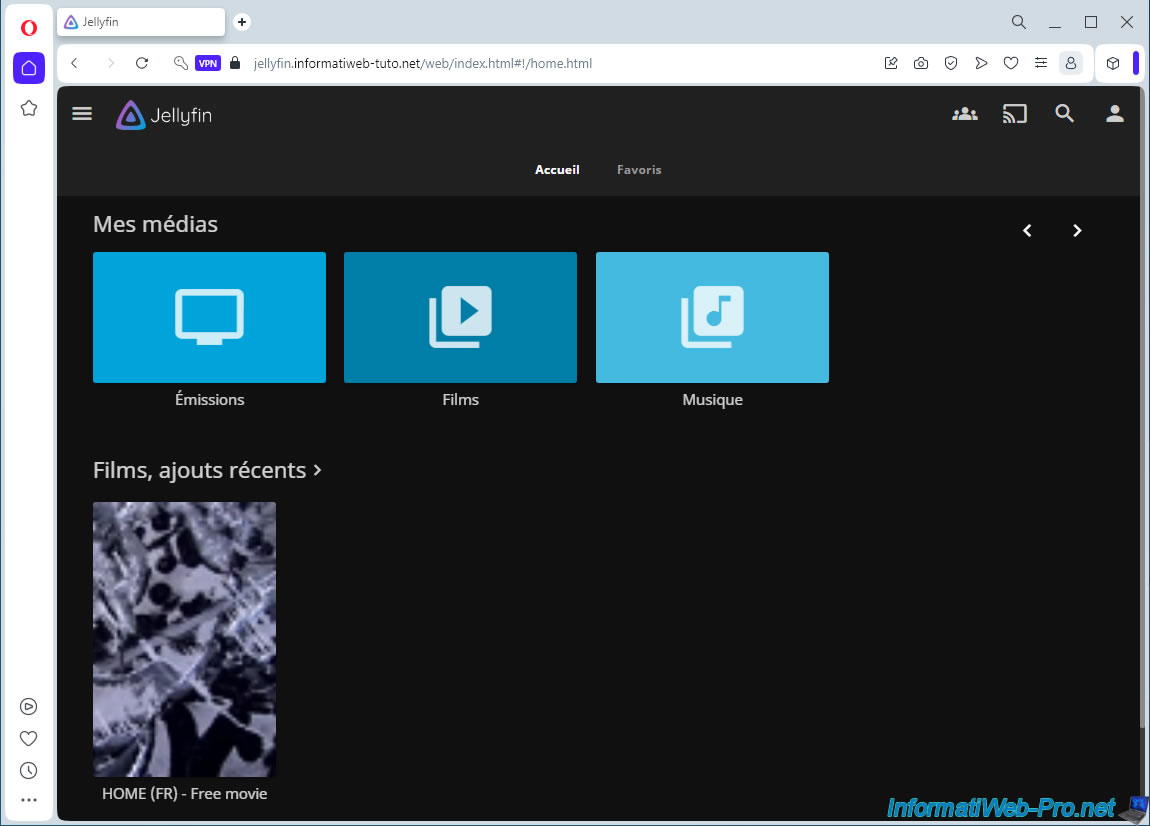
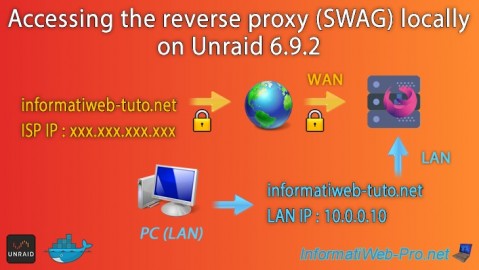
From a computer located outside your home or via a VPN connection to be virtually outside your home, try to access your subdomain "jellyfin" (e.g. jellyfin.informatiweb-tuto.net).
You can also do this test via a 3G connection (mobile Internet) on a smartphone if you have access to mobile data. However, be careful not to exceed your quota if you launch a video in 3G.

As expected, your libraries on Jellyfin appear.
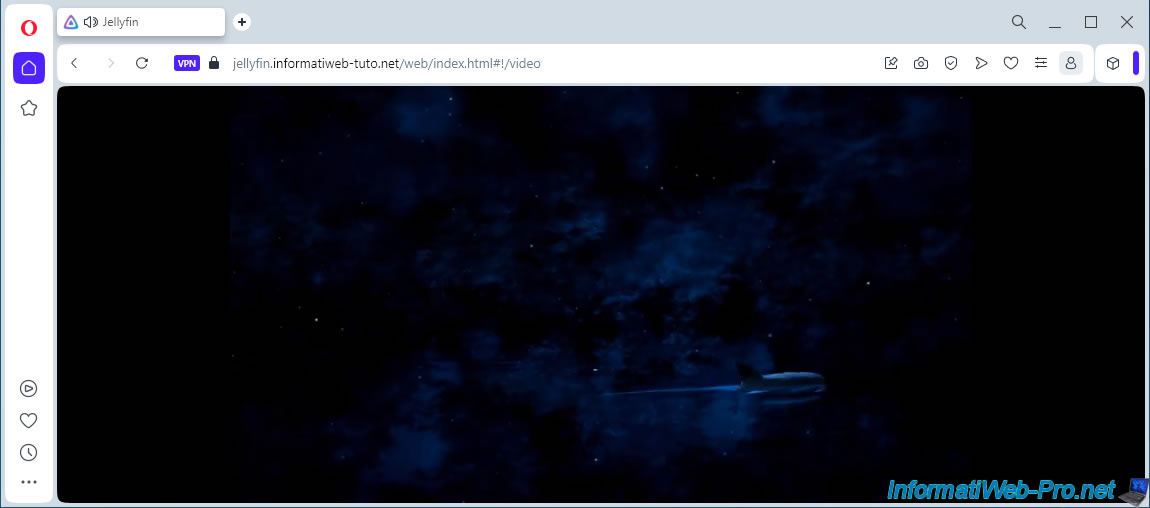
The video works without any problems.
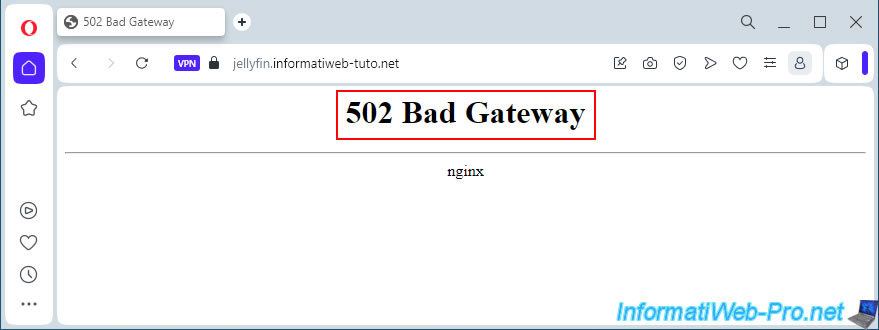
7. Fix swag error 502 when trying to access one of your services
If you made a mistake in swag configuration or changed a default setting that the reverse proxy relies on to find the desired application, it is possible that a 502 error will occur.
In this case, it is enough to perform the checks cited by the author (linuxserver) of the swag container : SWAG - LinuxServer.io.
These are the checks you will see in the rest of this tutorial.
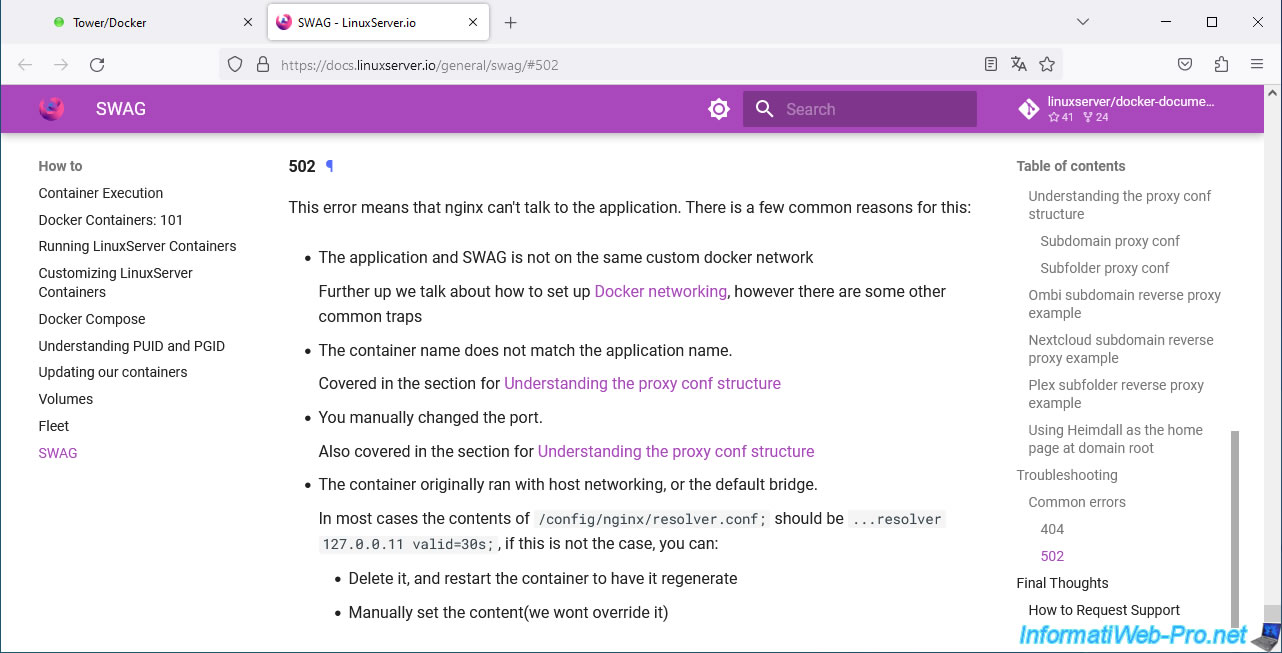
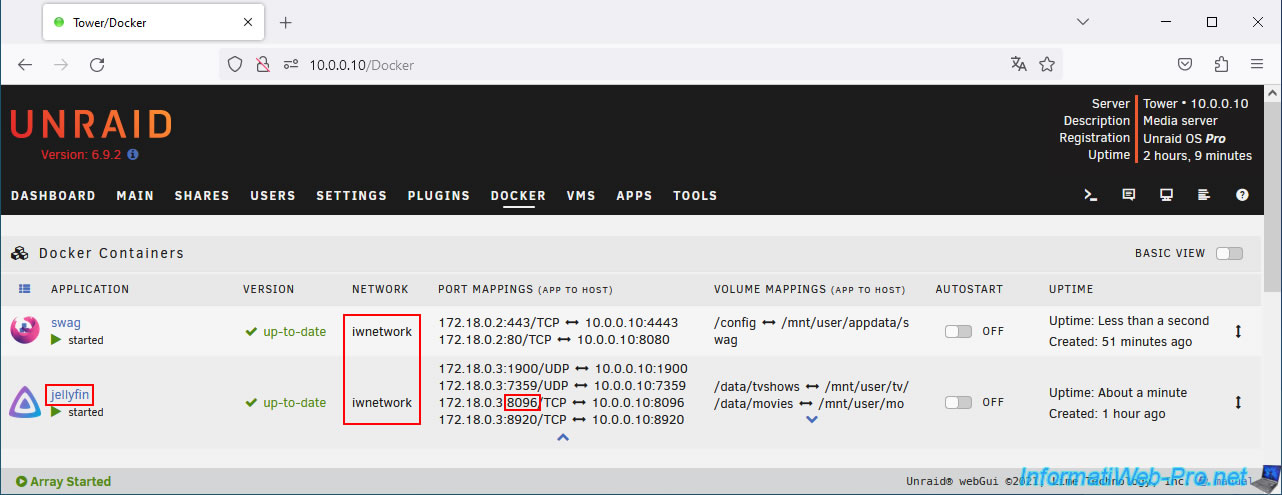
- First, make sure the container of the service you are trying to access (in this case: jellyfin) is connected to the same Docker custom network as your "swag" container.
- Next, also make sure you are using the default port that nginx relies on. In this case, nginx is using port 8096 for Jellyfin (but this number changes from one service to another).
If you have changed it, it is normal to get a 502 error. - Finally, make sure you are using the default name for this container.
In the case of Jellyfin, the Docker container name should be "jellyfin".
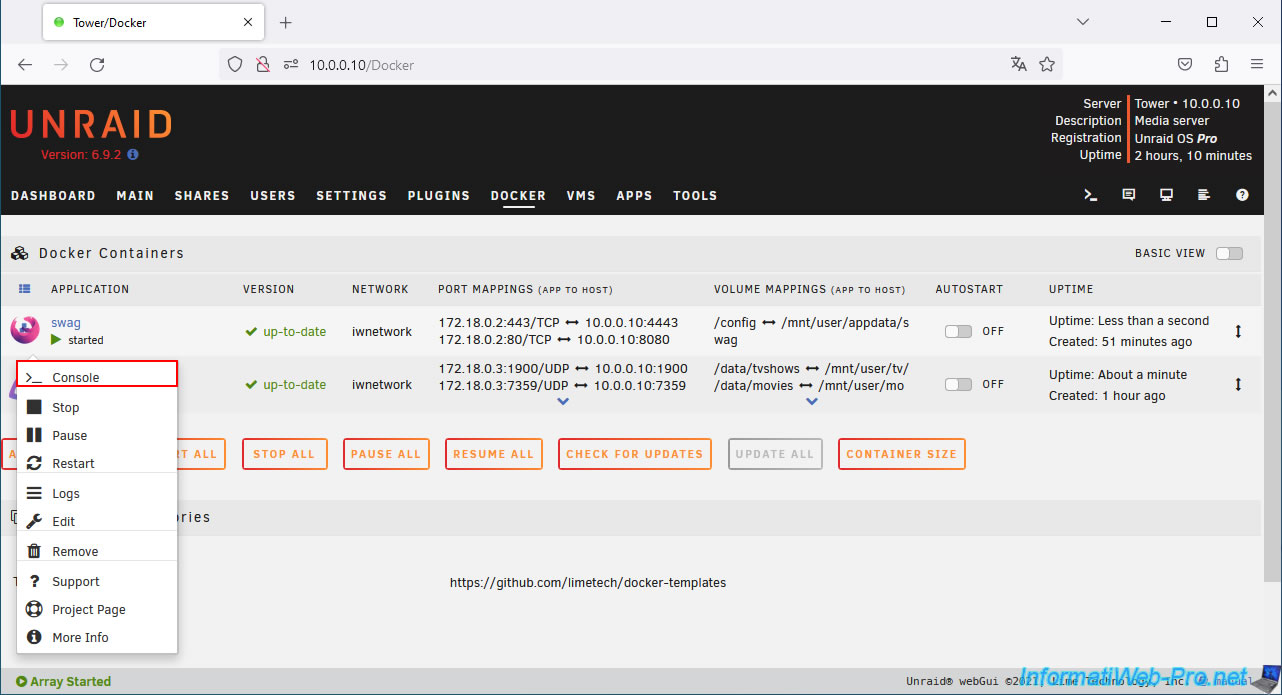
The last check you can do and which only concerns the "swag" container is the one concerning the DNS resolution.
To do this, click on the "swag" icon, then on: Console.
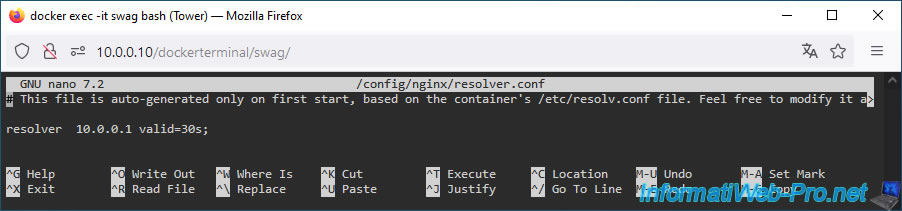
Dans la console qui s'affiche, modifiez le fichier "/config/nginx/resolver.conf" en tapant la commande :
Bash
nano /config/nginx/resolver.conf

In the file that appears, you should see this as content:
Plain Text
resolver 127.0.0.11 valid=30s;
If this is not the case, it is because the "swag" container was connected to the host network or in "bridge" mode when it was first started.
In our case, the configuration below is therefore incorrect and it is this error that caused the 502 error when we tried to access Jellyfin via our reverse proxy.
To fix this (DNS resolution) problem, simply delete this configuration file, then restart your "swag" container.
To do this, type the command:
Bash
rm /config/nginx/resolver.conf

Then, restart your "swag" container by clicking on its icon, then on "Restart".
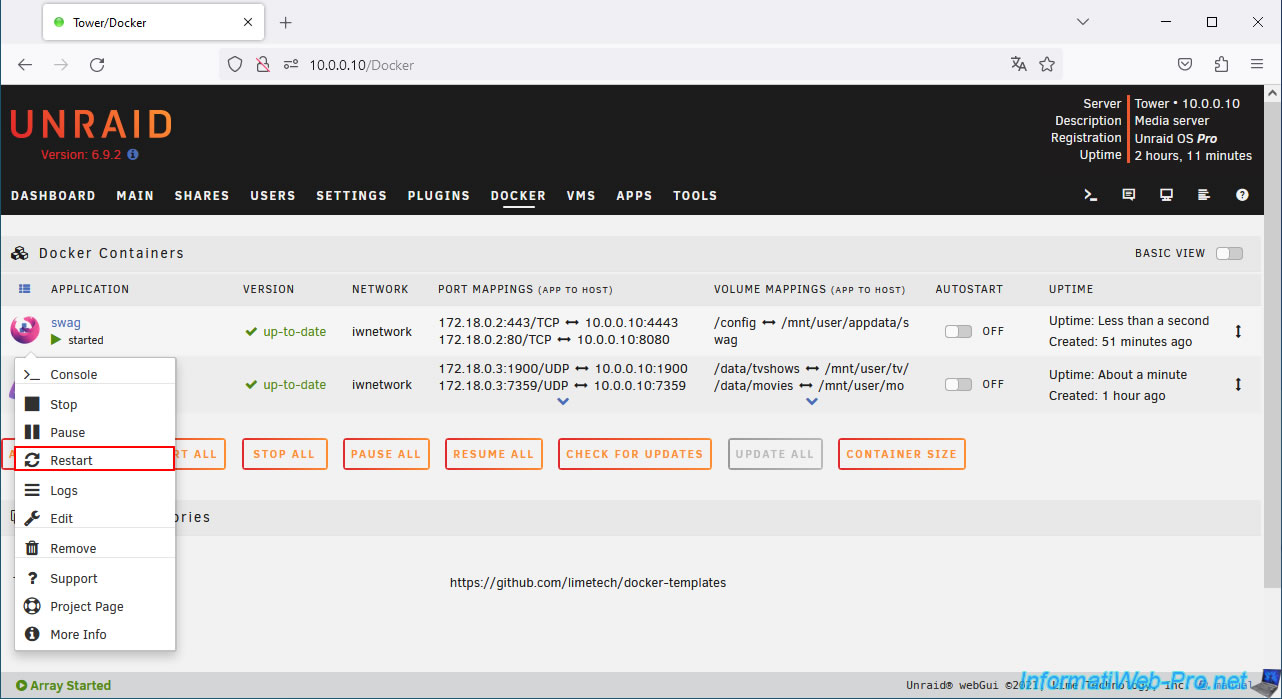
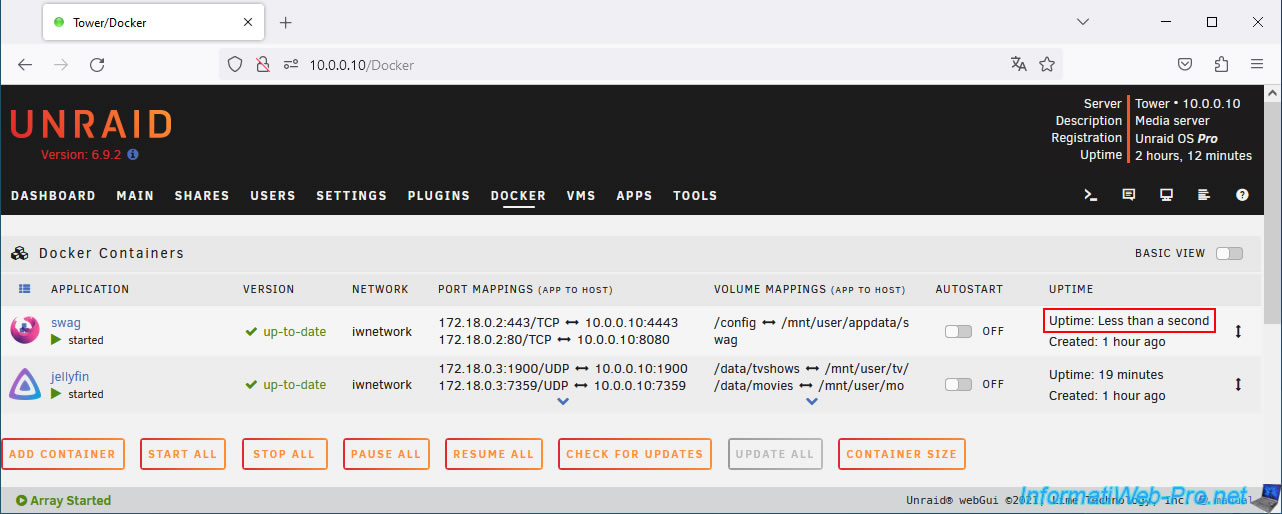
Your "swag" container has restarted.
Share this tutorial
To see also
-

NAS 1/15/2026
Unraid 6.9.2 - Change the parity disk
-
NAS 7/8/2026
Unraid 6.9.2 - Docker - Install a password manager (Vaultwarden)
-
NAS 6/17/2026
Unraid 6.9.2 - SWAG - Access Nextcloud via reverse proxy and personal domain
-
NAS 5/13/2026
Unraid 6.9.2 - SWAG - Locally access the reverse proxy (SWAG)
No comment