Install a media server (Jellyfin) with hardware transcoding on Unraid 6.9.2 via Docker
- NAS
- Unraid
- 08 April 2026 at 16:39 UTC
-

- 5/5

9. Hardware video transcoding (via your graphics card)
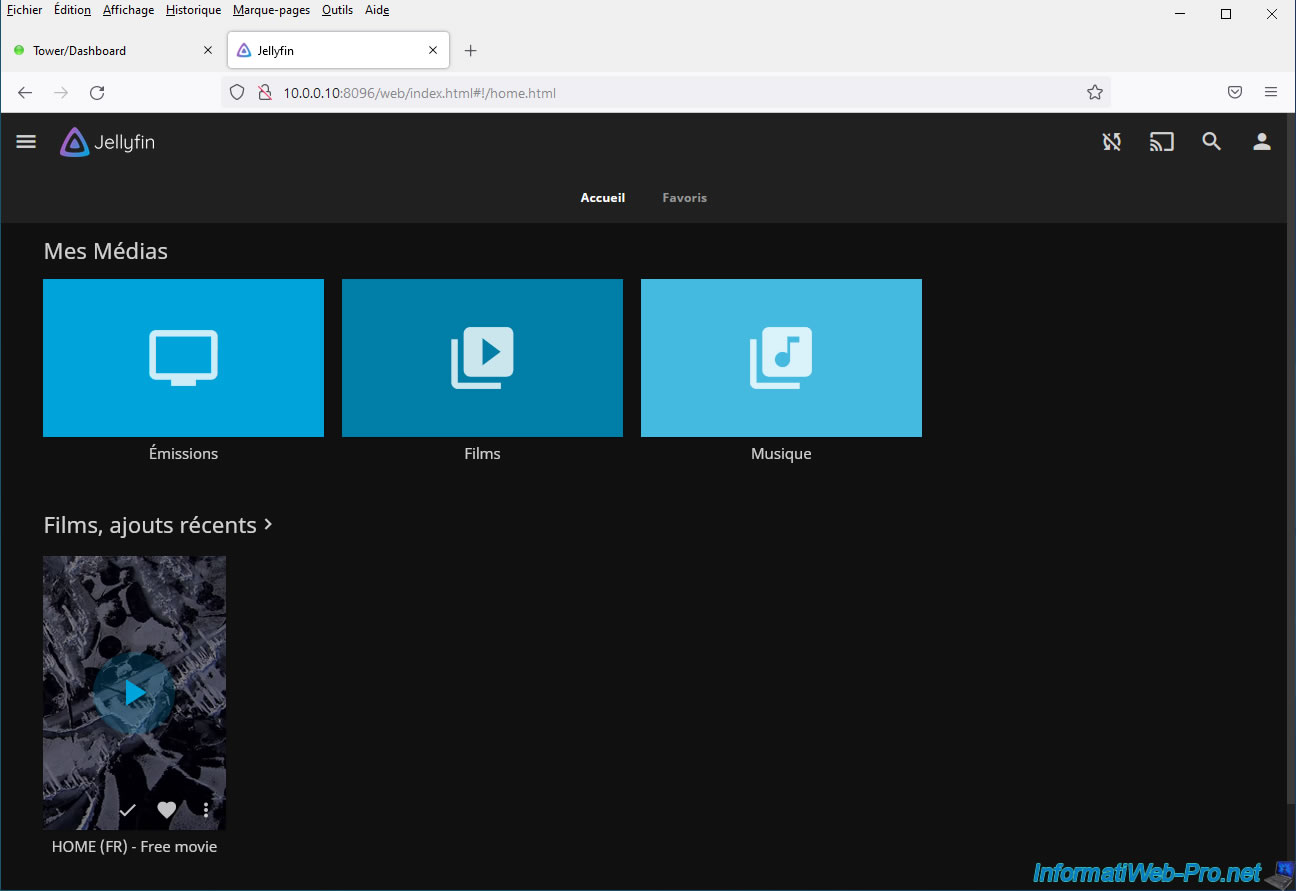
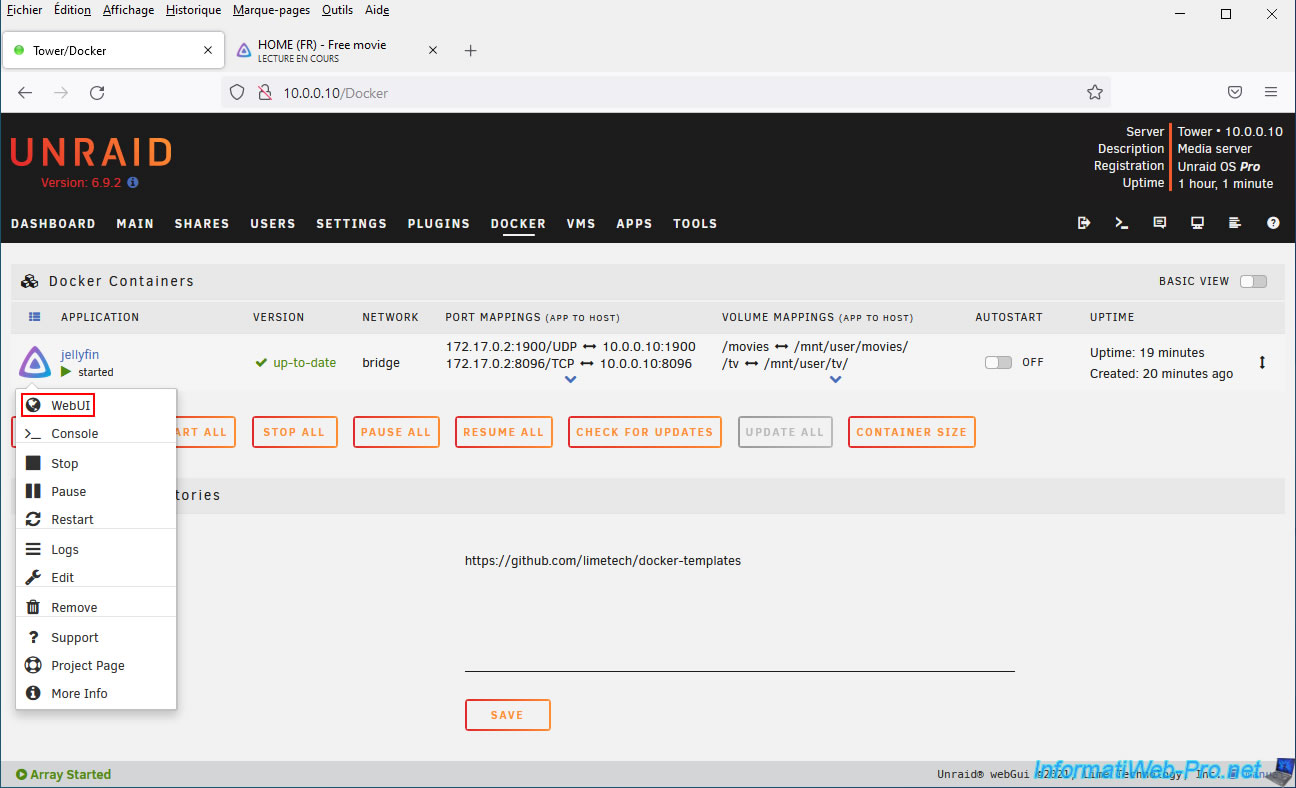
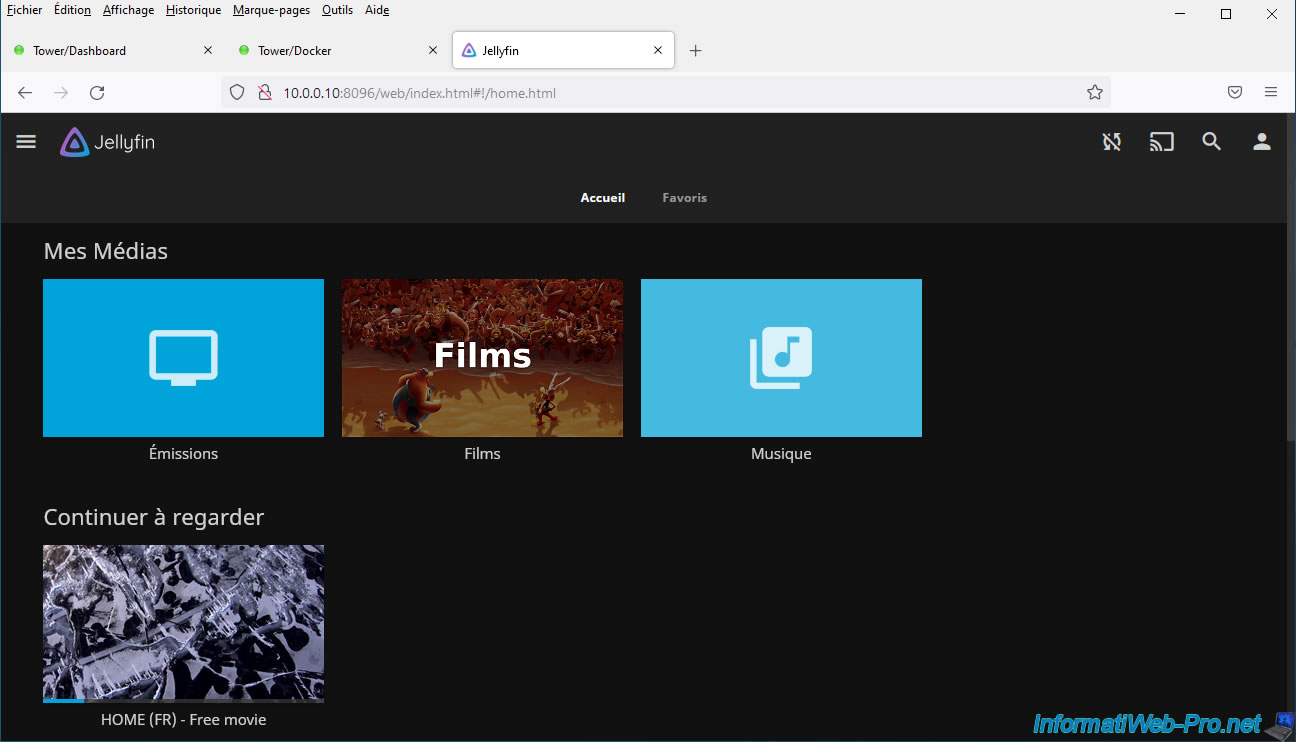
Play a movie (or any other video) again.
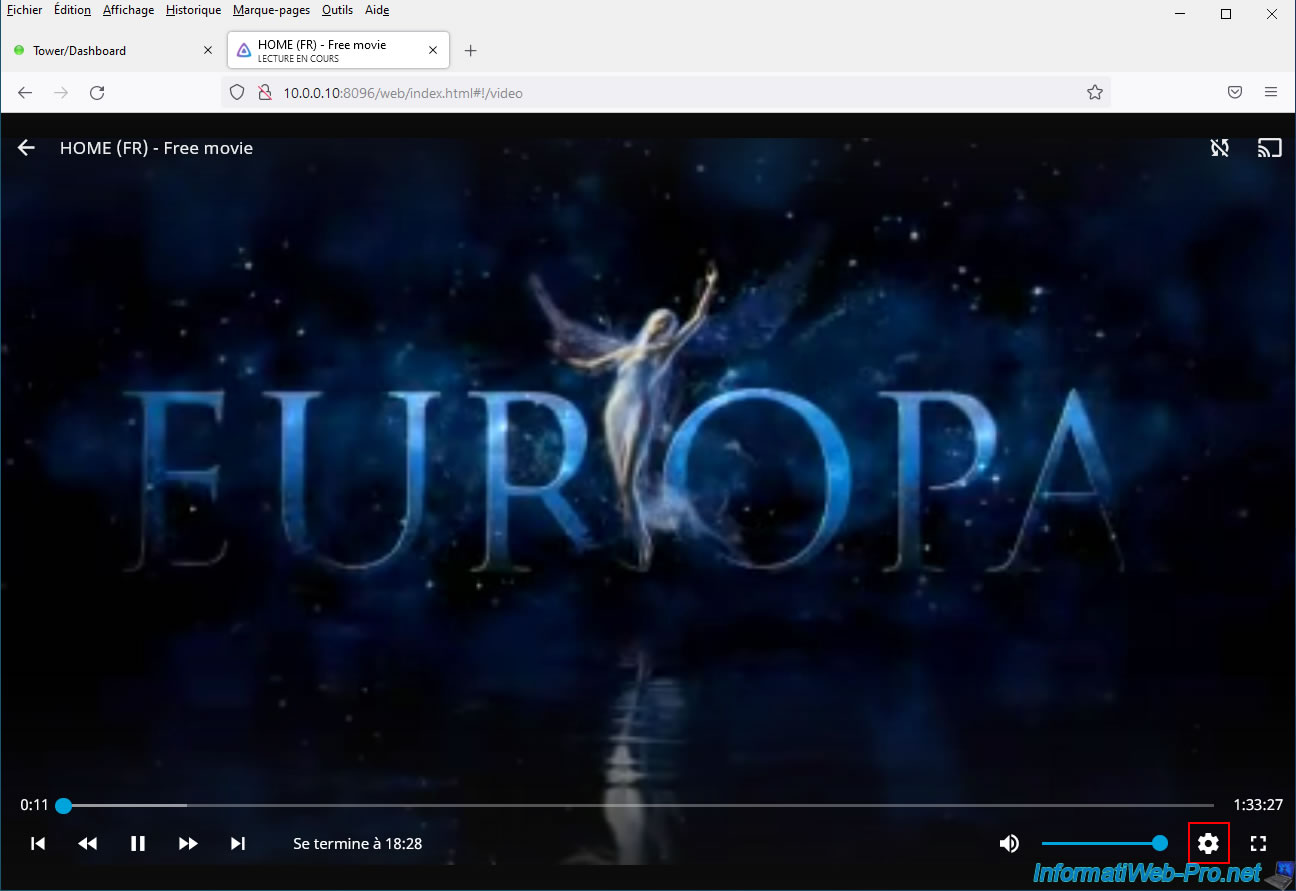
Hover over the video so the video player controls appear and click the gear icon.
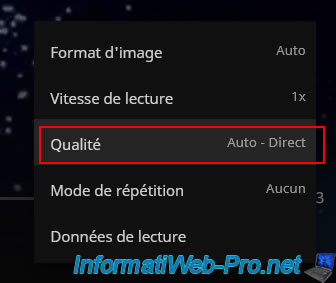
Click again on: Quality.
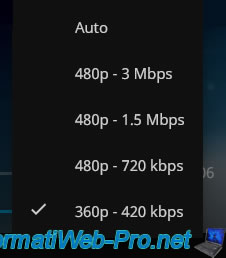
Choose the quality you want.
Open a new tab and open a second Jellyfin web interface.
Open the Jellyfin menu by clicking on the "Menu" icon located at the top left.
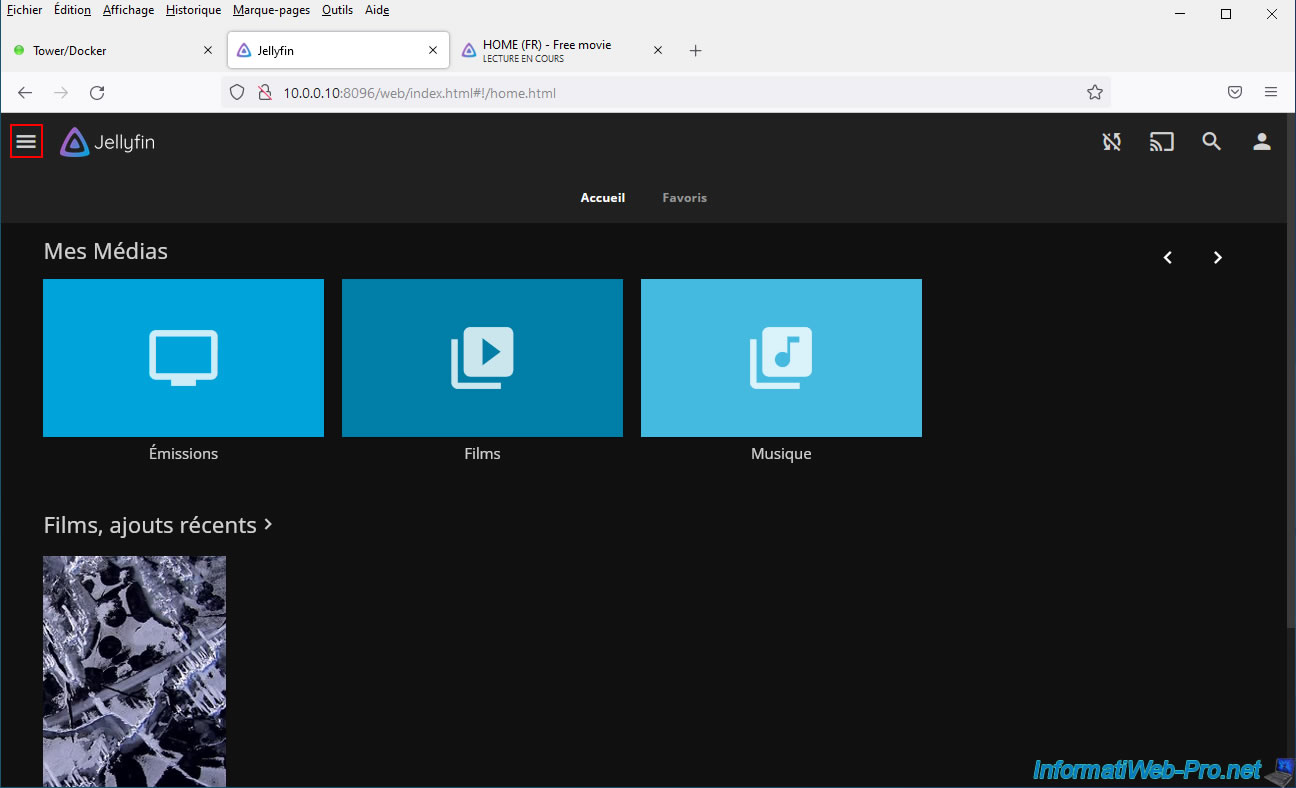
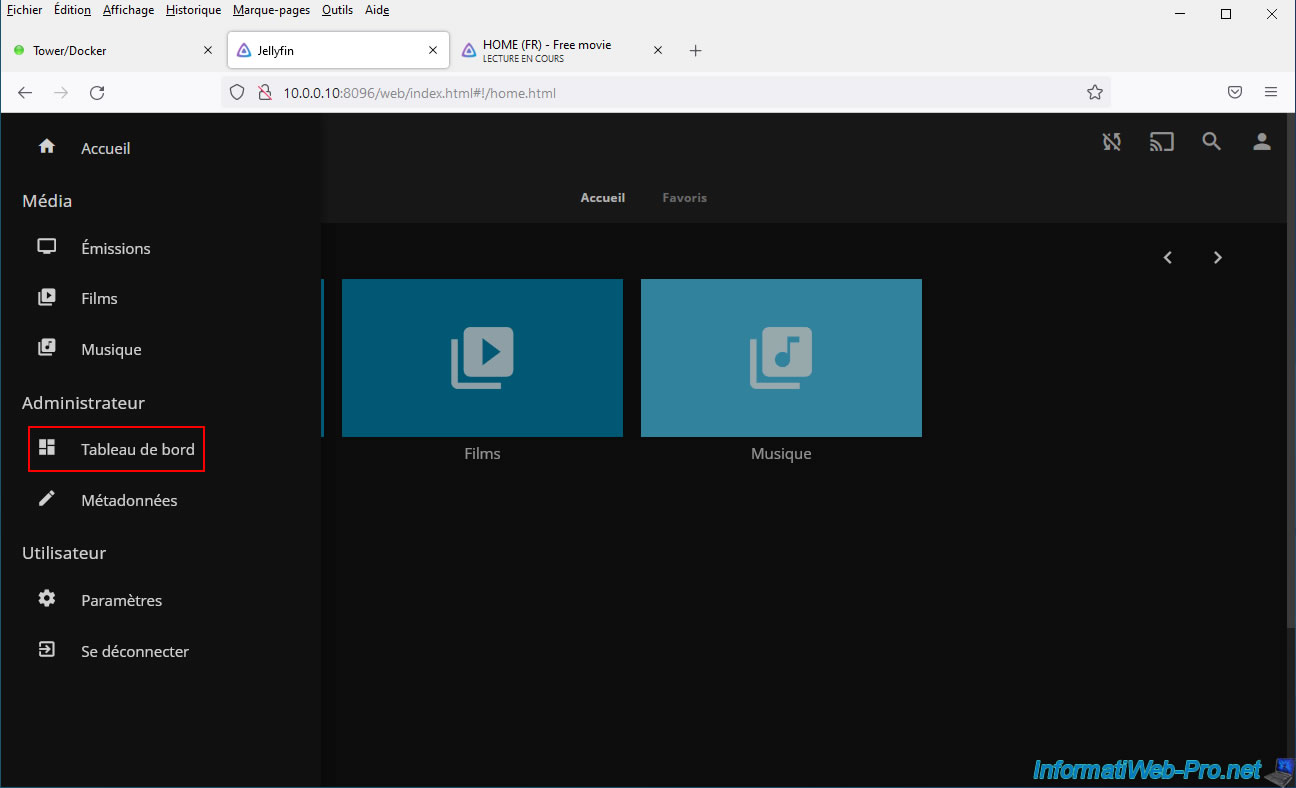
In the menu that appears, click: Dashboard.
As you can see, a video is playing from our "Firefox" web browser.
Click on the "i" icon.
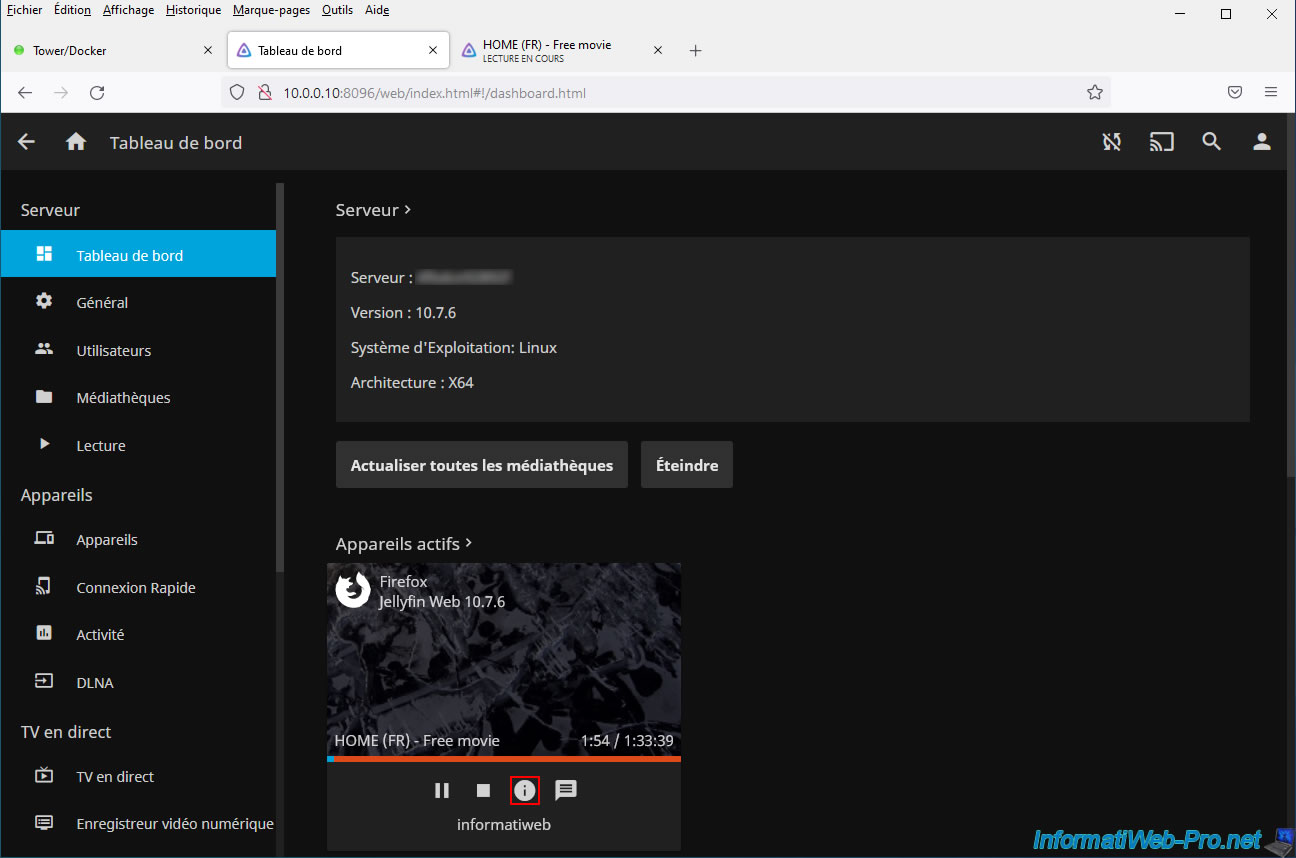
As you can see in the "Transcoding" box that appears, Jellyfin tells you that media is currently converted to the indicated format.
Click "Understood" to hide this message.
![]()
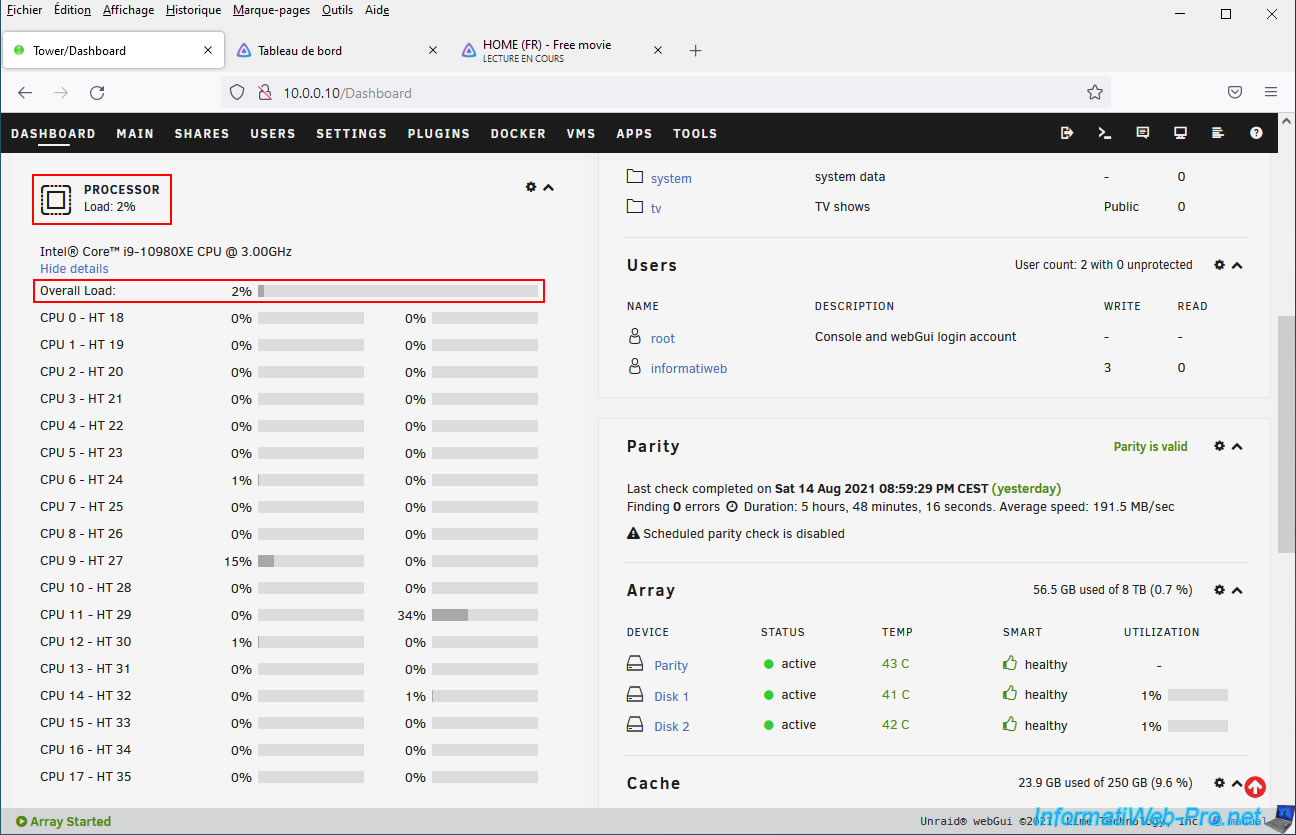
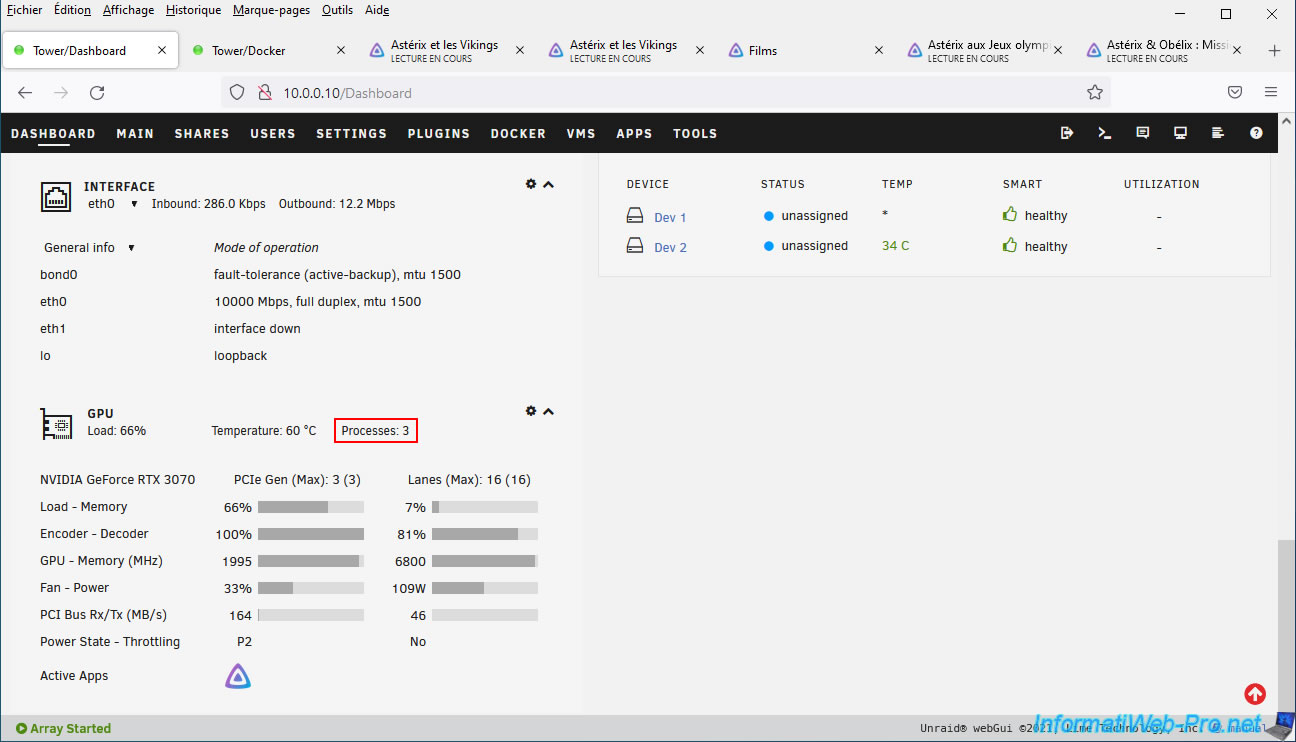
If you open your Unraid server dashboard, you will see that the processor is not used.
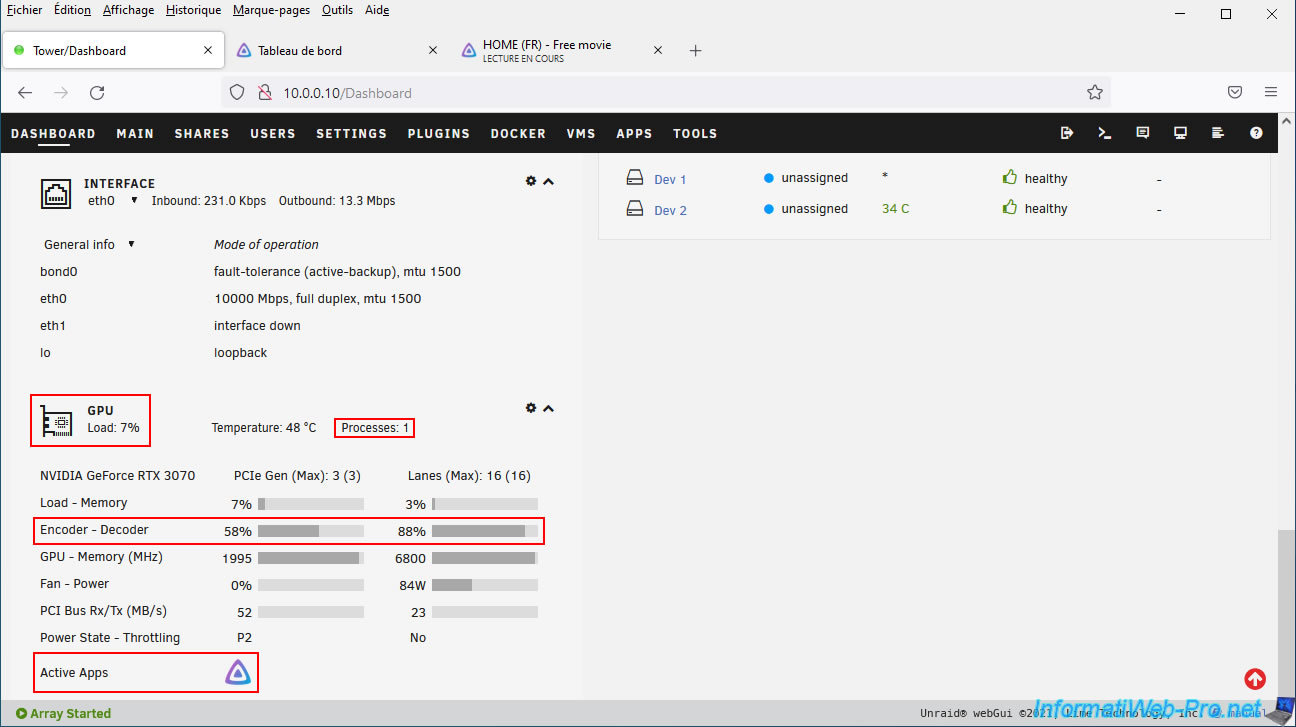
On the other hand, you will see that your graphics card is actually used by Jellyfin and more particularly for video encoding / decoding (Encoder / Decoder).
10. Refresh your Jellyfin library
If you add films, TV series and/or music after configuring Jellyfin, they will not automatically appear by default.
For these to be detected, you will need to refresh your media libraries.
To do this, open the Jellyfin menu and click on "Media Libraries".
Next, click "Refresh All Media Libraries".

A progress bar appears while your media libraries are refreshing.

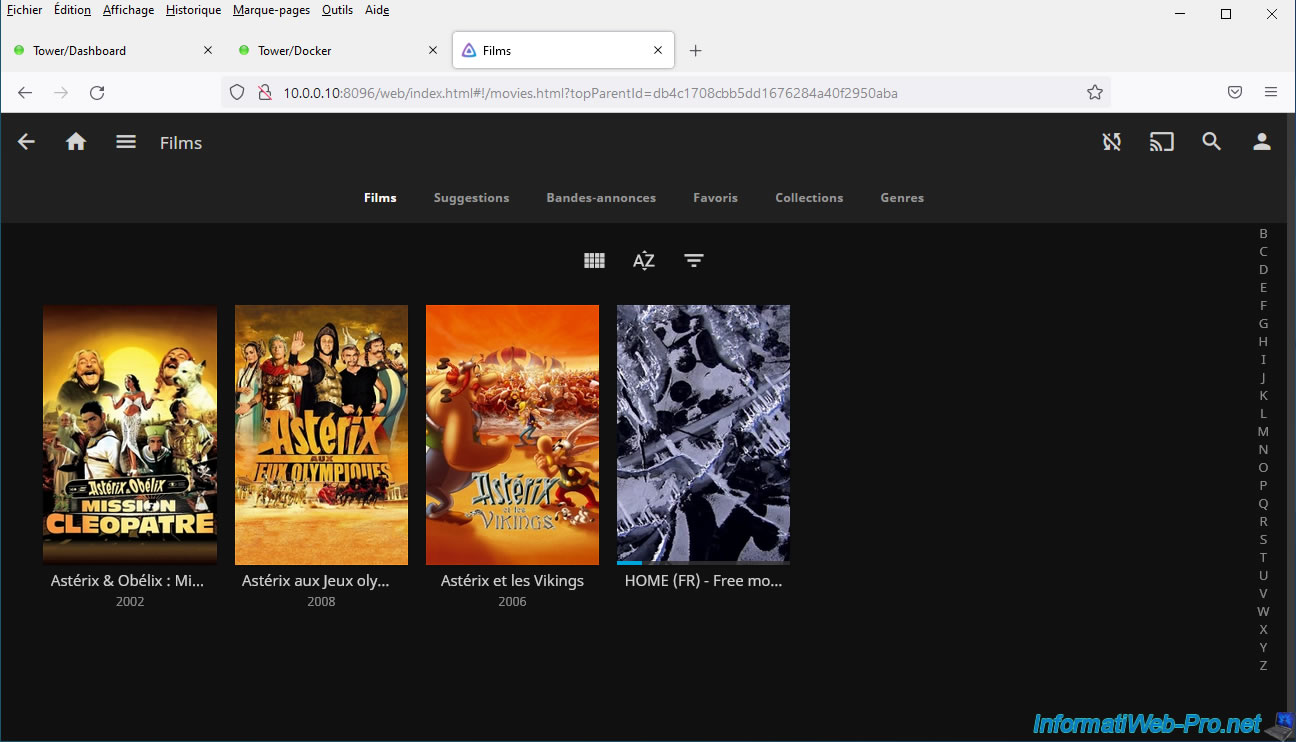
As expected, Jellyfin detects new media you add via Unraid shares.
11. Hardware transcoding via NVIDIA NVENC limited to 3 simultaneous sessions
If you play several videos simultaneously in different qualities than the original ones, the number of concurrent (simultaneous) sessions or processes, you will see that the limit is 3 with graphics cards intended for individuals.
Note that this limit is also indicated on the "Video Encode and Decode GPU Support Matrix" page of the NVIDIA site already cited previously.
12. Remove the 3 session limit from NVENC
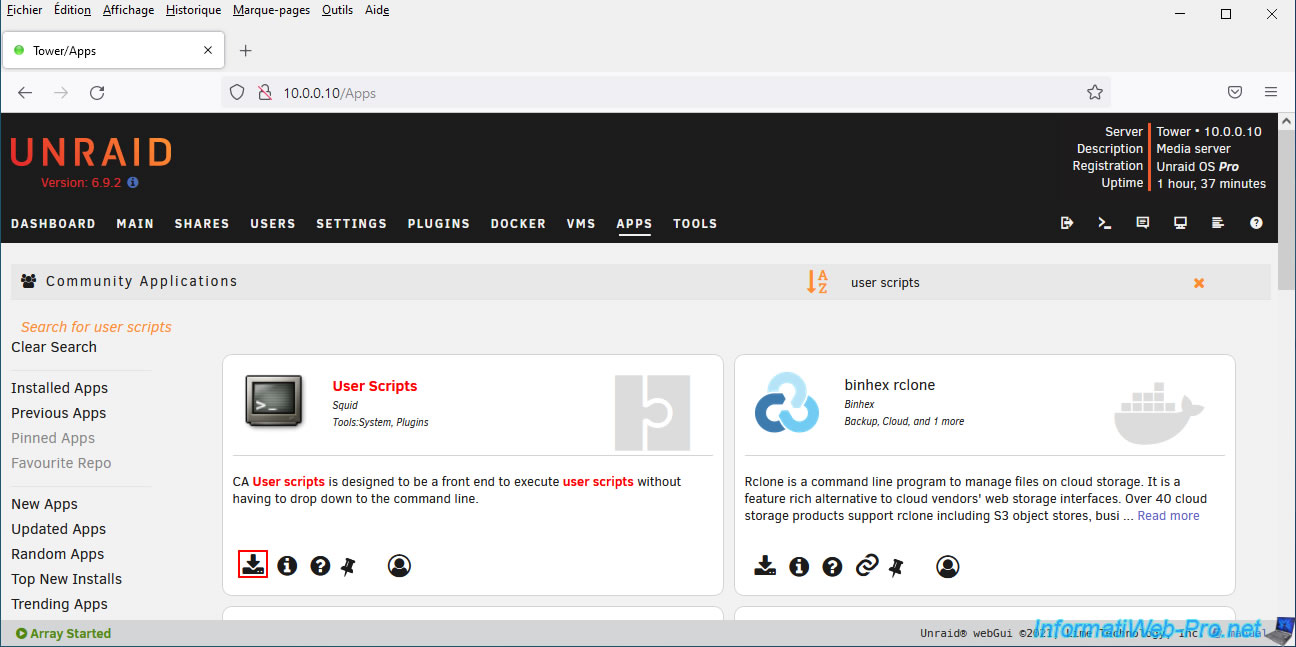
To remove the 3 session limit for video transcoding via NVIDIA NVENC, you will need a script available on the Internet.
However, to run the script automatically on your Unraid server, you will first need to install the "User Scripts" plugin.
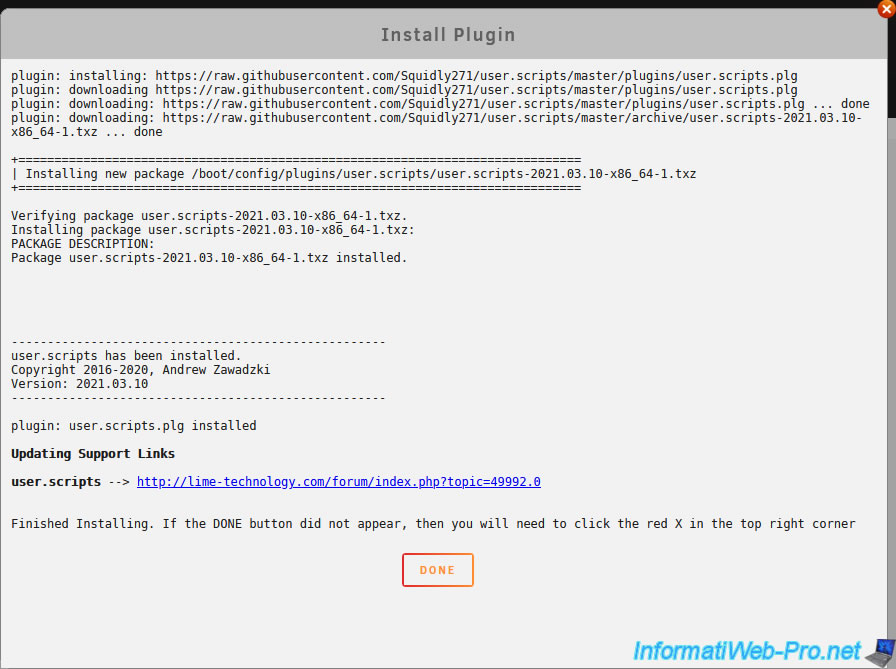
Wait while this "User Scripts" plugin downloads and installs.
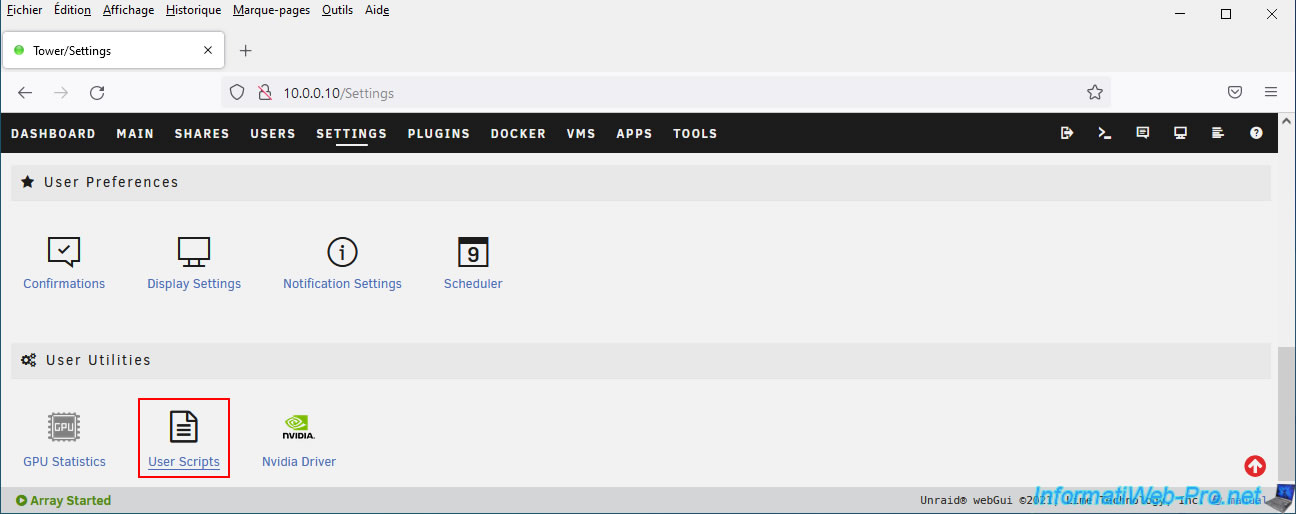
Then go to: Settings -> User Scripts.
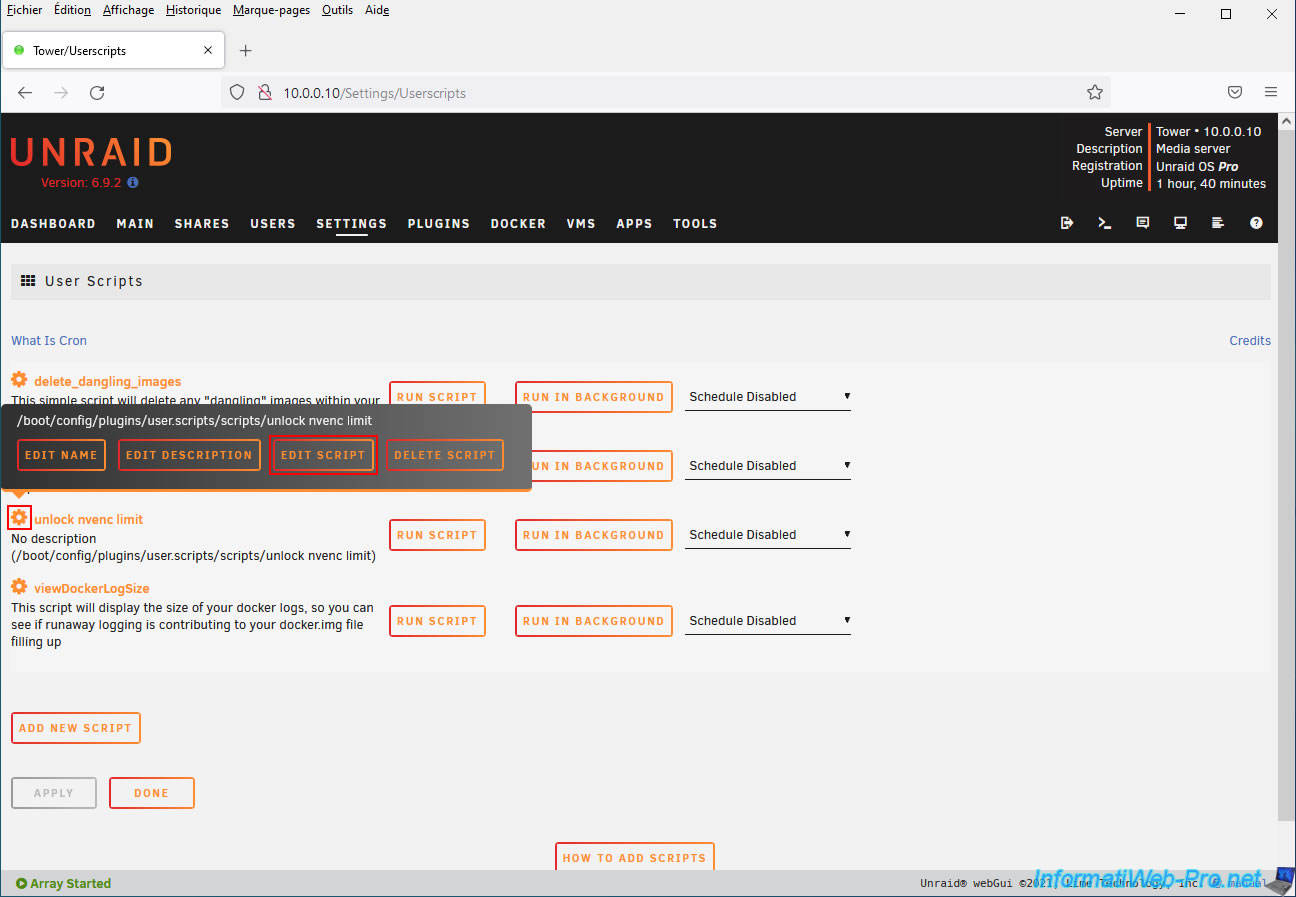
On the "User Scripts" page that appears, click the "Add new script" button.

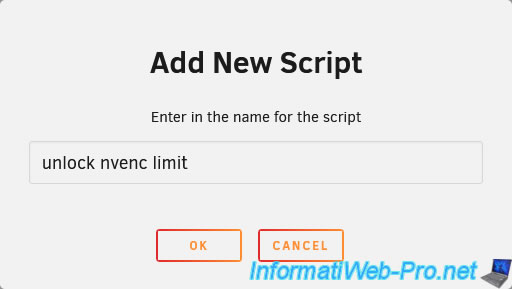
Specify "unlock nvenc limit" (for example) for the name of the script to add and click OK.
By default, the created script will be empty.
Click the gear icon in front of the name of the added script, then click: Edit Script.
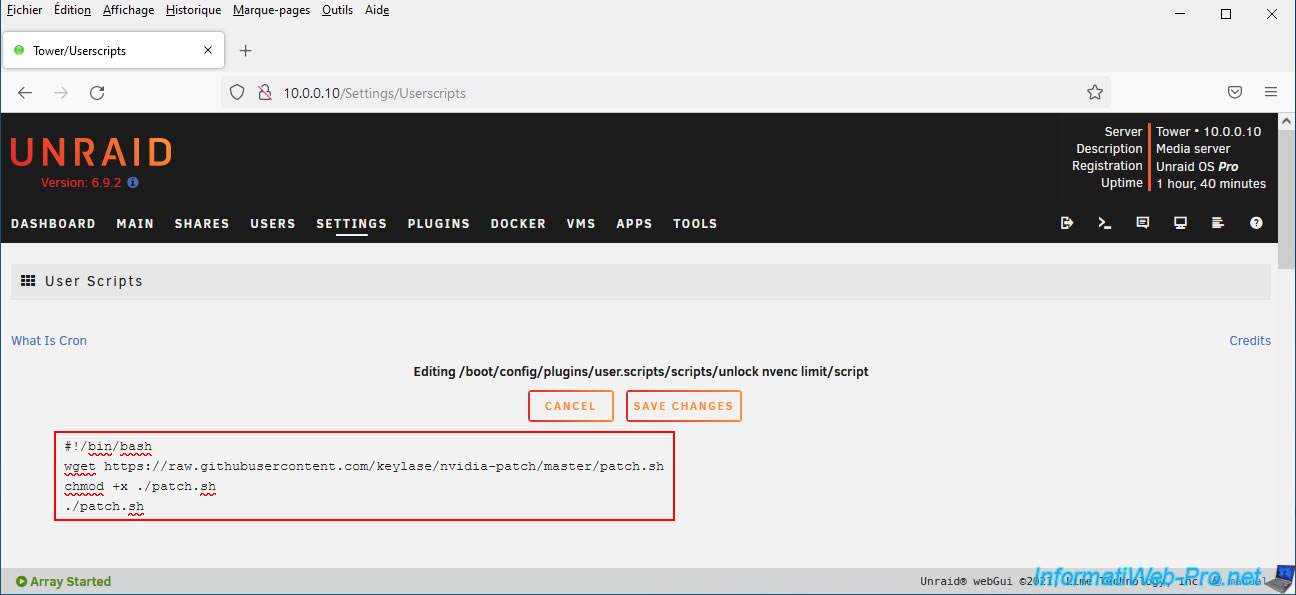
Erase what is indicated by default and paste this inside:
Bash
#!/bin/bash
wget https://raw.githubusercontent.com/keylase/nvidia-patch/master/patch.sh
chmod +x ./patch.sh
./patch.sh
Running the script above:
- will automatically download the "patch.sh" file from the "NVENC and NvFBC patches for Nvidia drivers" script available on GitHhub.
- will add execute permission to the downloaded "patch.sh" script.
- will run this script "patch.sh".
Then click on: Save changes.
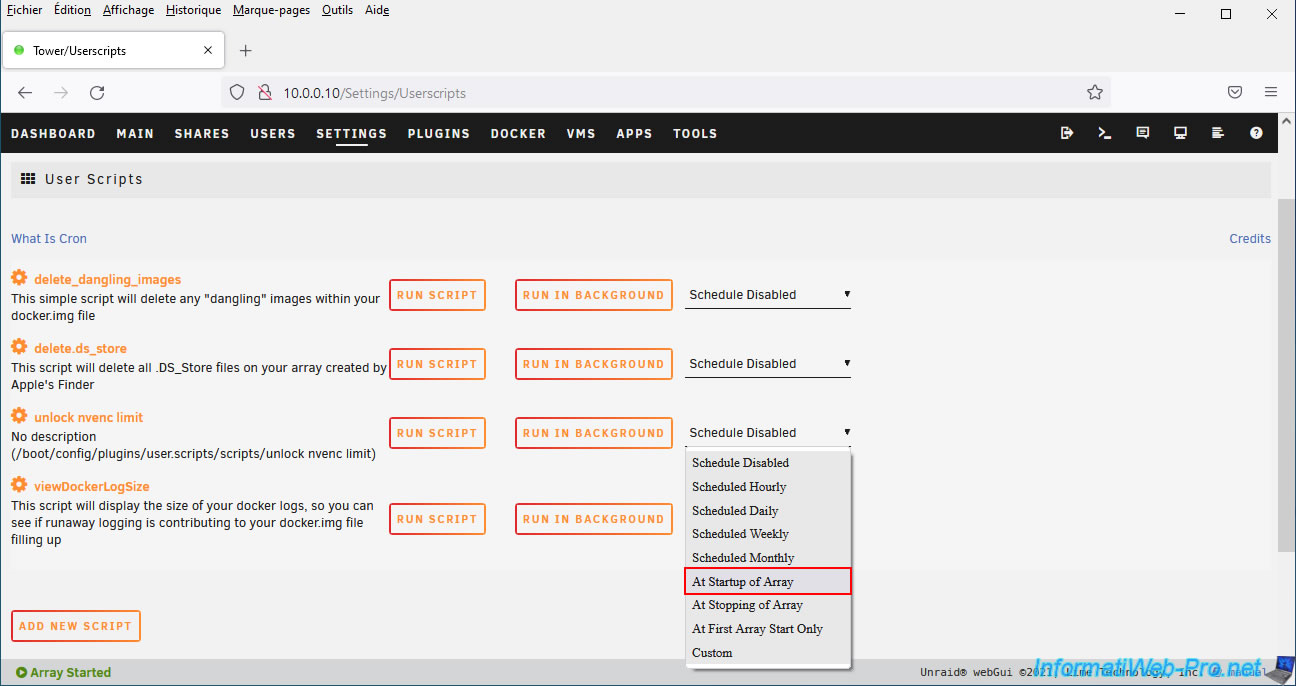
By default, this script will not run automatically.
To have this script run automatically in the background, select "At Startup of Array" from the list to the right of it.
Now that the script will start automatically when your server starts (or more precisely when the array starts), run it manually for the first time by clicking on "Run script".
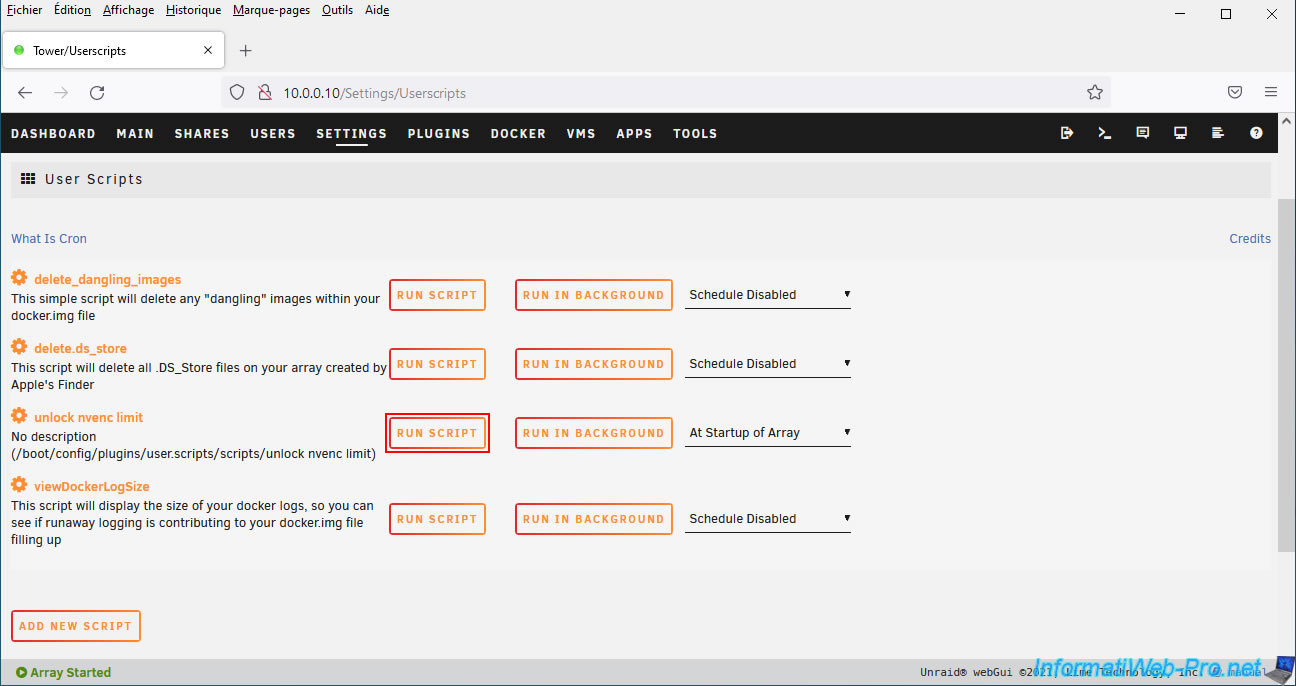
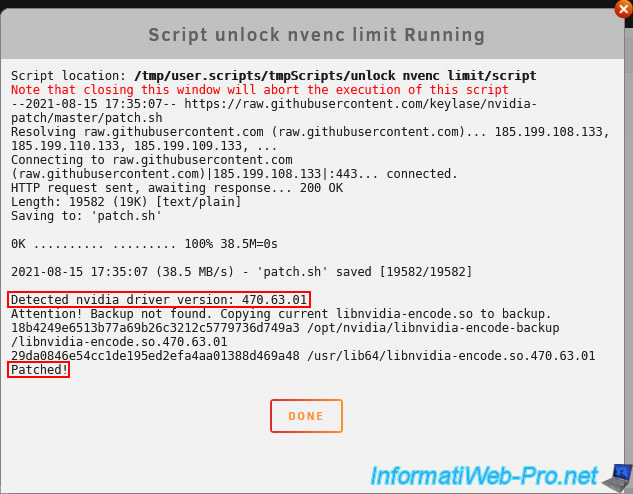
Wait while this script runs, then click Done.
As you can see, the downloaded and executed "patch.sh" file will detect your version of the NVIDIA driver installed on your Unraid server and it will be patched.
Share this tutorial
To see also
-

NAS 4/23/2026
Unraid 6.9.2 - Docker - Install a media server (Plex)
-
NAS 1/21/2026
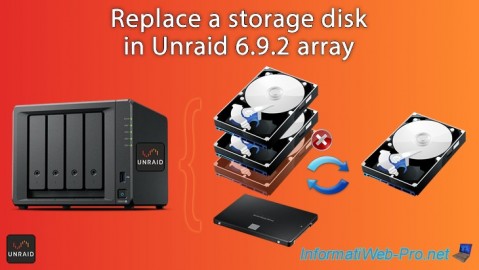
Unraid 6.9.2 - Replace a storage disk
-

NAS 1/28/2026
Unraid 6.9.2 - Replace the parity disk
-
NAS 5/13/2026
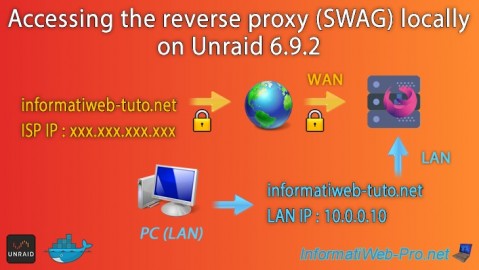
Unraid 6.9.2 - SWAG - Locally access the reverse proxy (SWAG)
No comment