Change the parity disk of the Unraid 6.9.2 array
- NAS
- Unraid
- 15 January 2026 at 19:10 UTC
-

- 2/2

4. Changing the parity disk
Physically remove the array disk (removed on Unraid) from your Unraid server.
In our case, we removed the 4TB disk 2 from the array.
Next, add the new disk with a higher capacity and which you will use as a parity disk.
In our case, a new 6 TB disk.
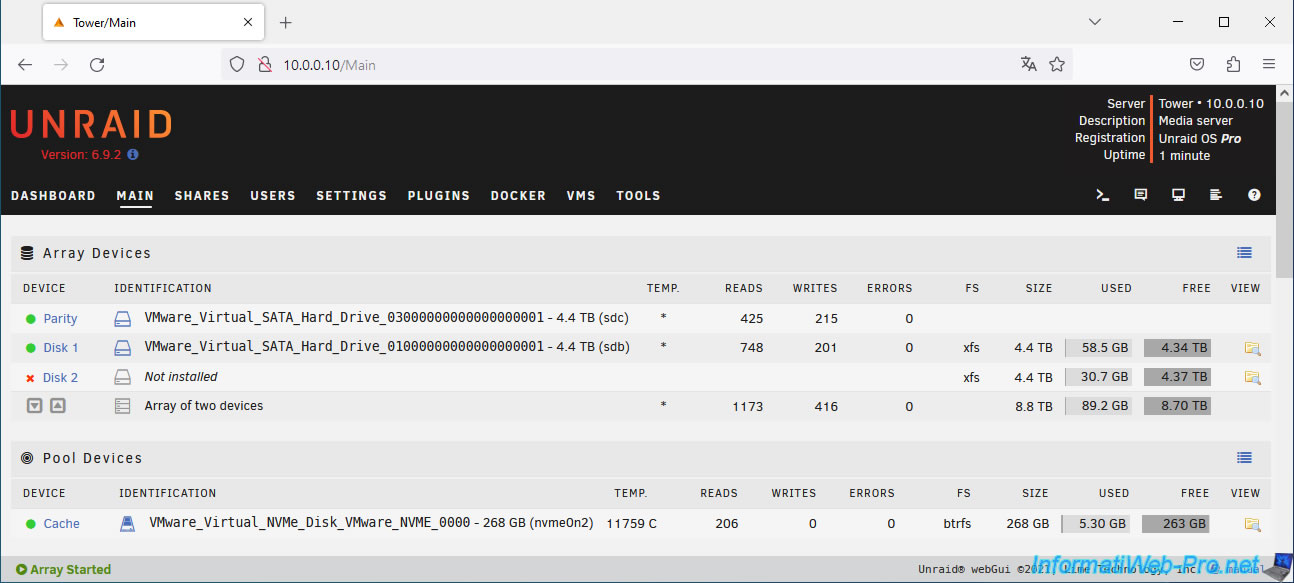
Start your Unraid server and go to the "Main" tab.
If you have configured Unraid so that your array starts automatically when Unraid starts, the array will already be started and the status of the removed disk will again be "Not installed".
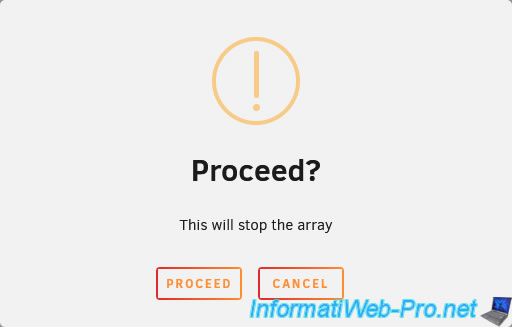
Stop your array (if you haven't already) by clicking on the "Stop" button at the bottom of the page.
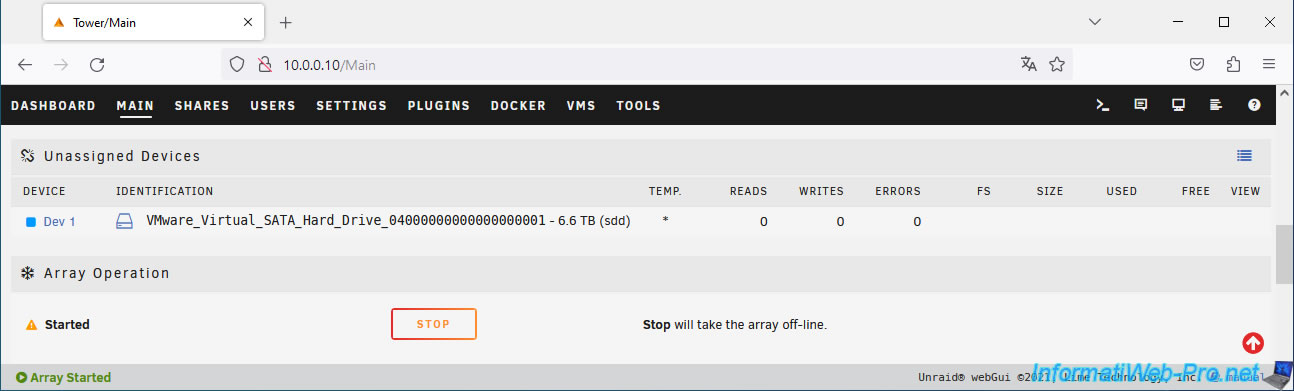
Confirm the shutdown of your array.
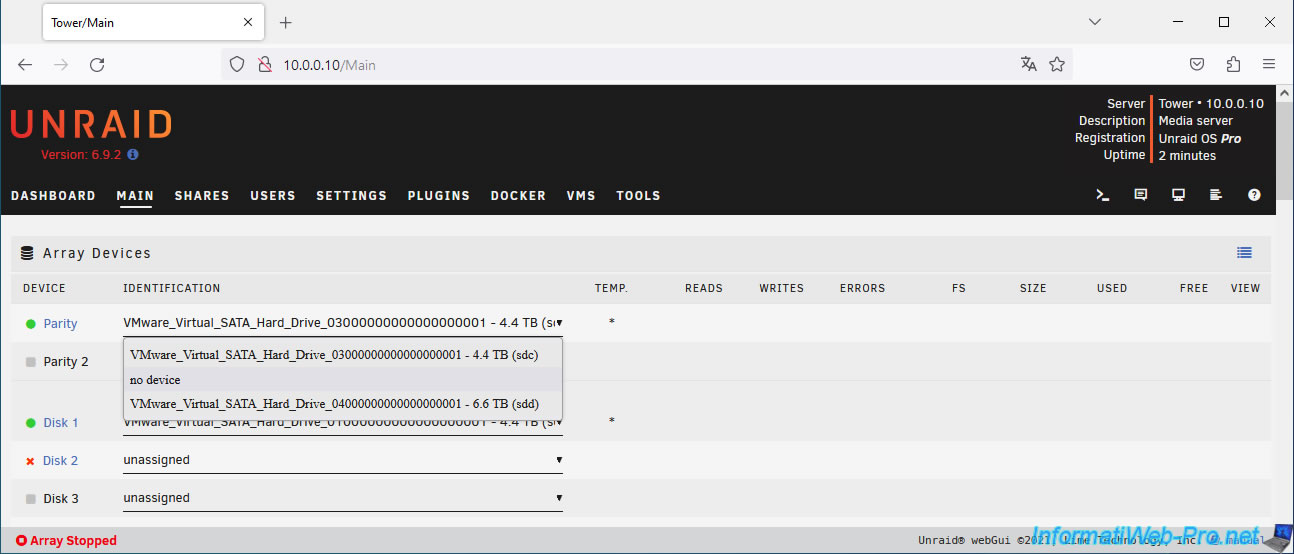
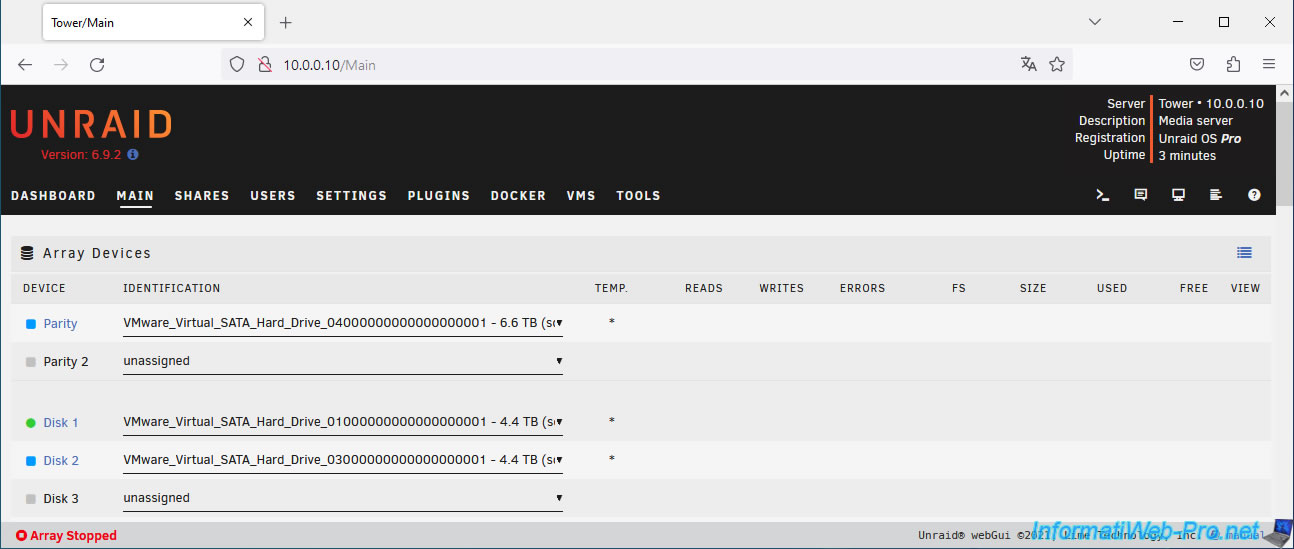
At the moment, the only disk that is not assigned is disk 2 of the array (= the one you removed from your Unraid server).
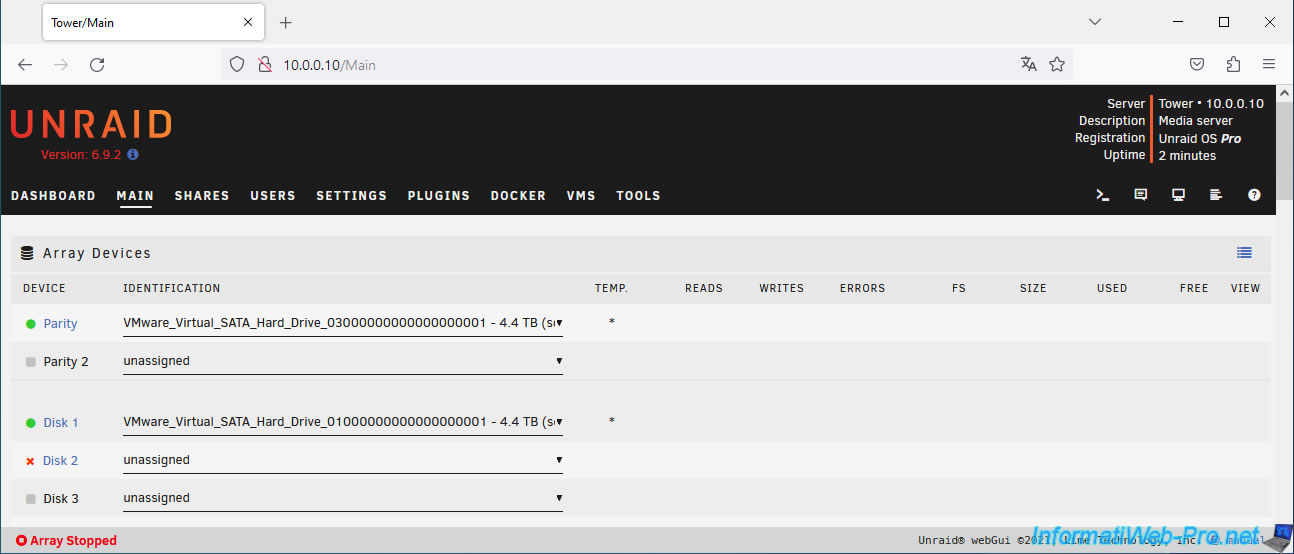
To begin, remove the parity disk by selecting "no device" for Device Parity.
Unraid tells you that the parity disk is missing (Parity Missing).
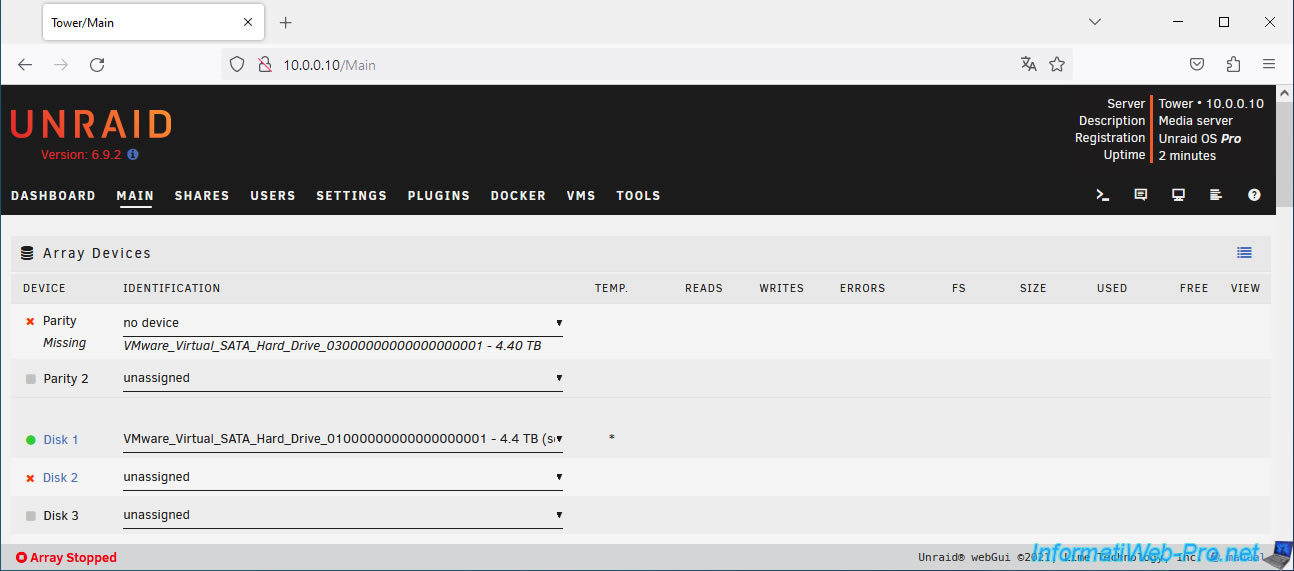
Select the new disk (in our case, our 6TB disk) as the parity disk.
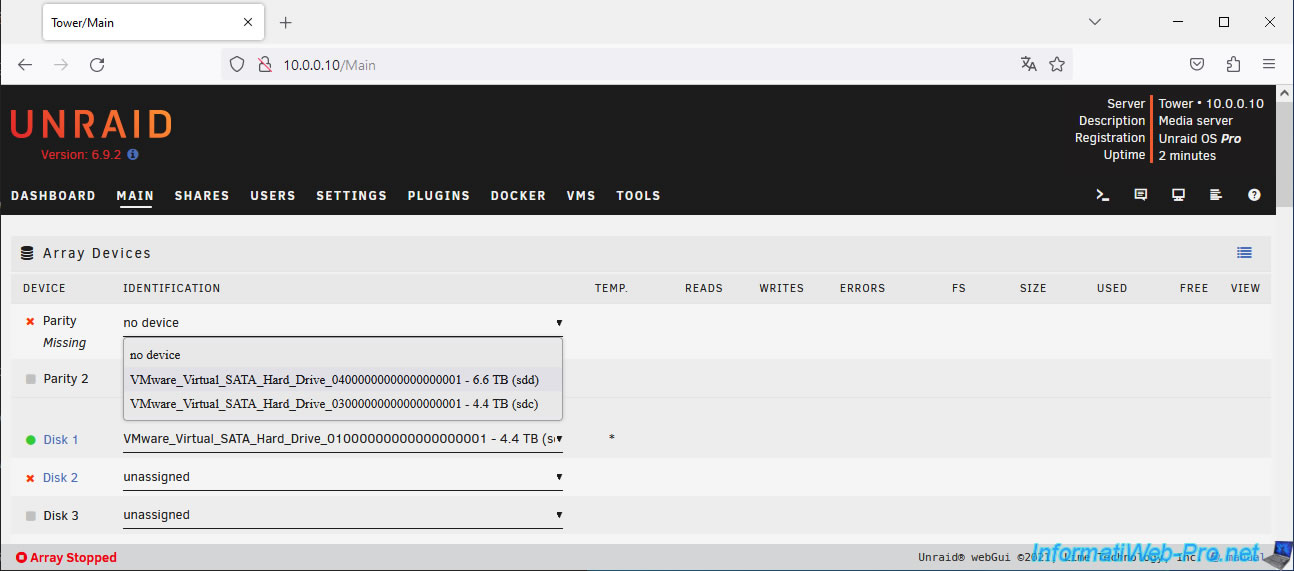
Next, select the old parity disk that you just removed on Unraid and assign it as the array disk.
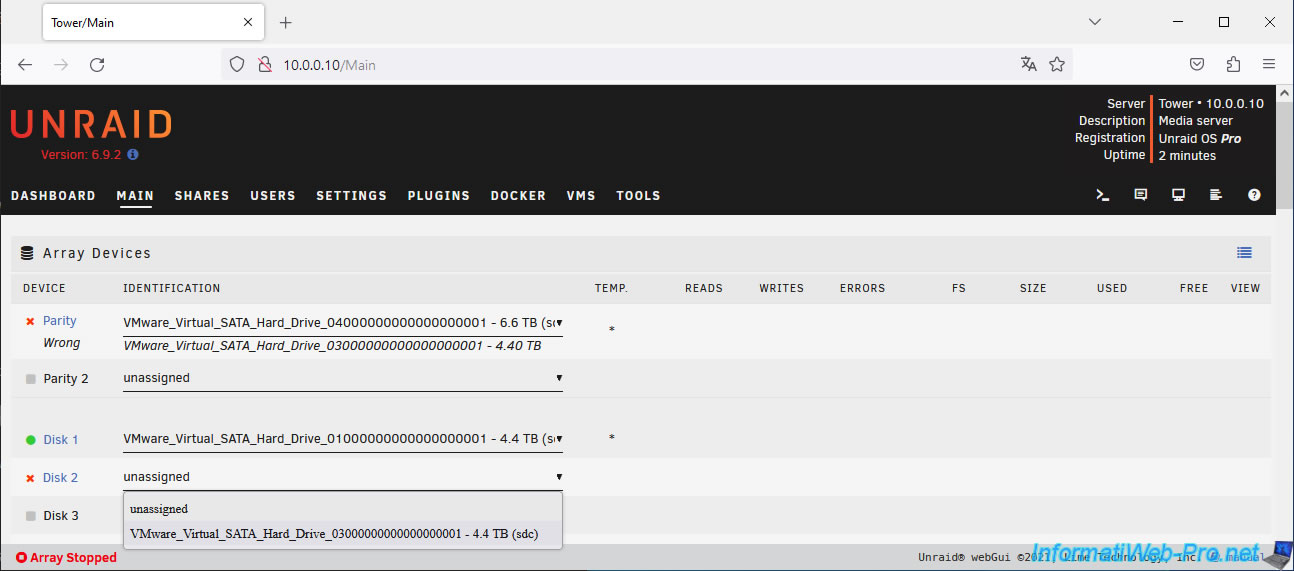
As you can see, Unraid shows you blue icons for the parity disk (which is blank at the moment) and the array disk 2 which actually contains the parity data for your array.
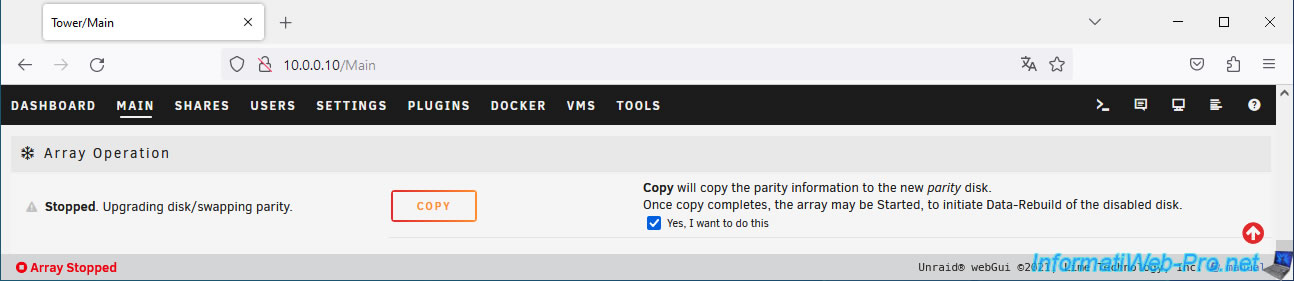
At the bottom of the page, you will see that Unraid displays "Upgrading disk/swapping parity".
Check the "Yes, I want to do this" box located to the right of the "Copy" button.
Plain Text
Copy will copy the parity information to the new parity disk.
Once copy completes, the array may be Started, to initiate Data-Rebuild of the disabled disk.
As you may have understood, Unraid will copy the parity data present on disk 2 of the array to the new disk (currently blank) assigned as the new parity disk.

Click the "Copy" button to copy the parity data from disk 2 (4 TB in our case) to the new "Parity" disk (6 TB in our case).
The "Array Copying" status appears in orange at the bottom of the window and the message "Copying, 1% complete" appears in the "Array Operation" section.
Note: this process is long.
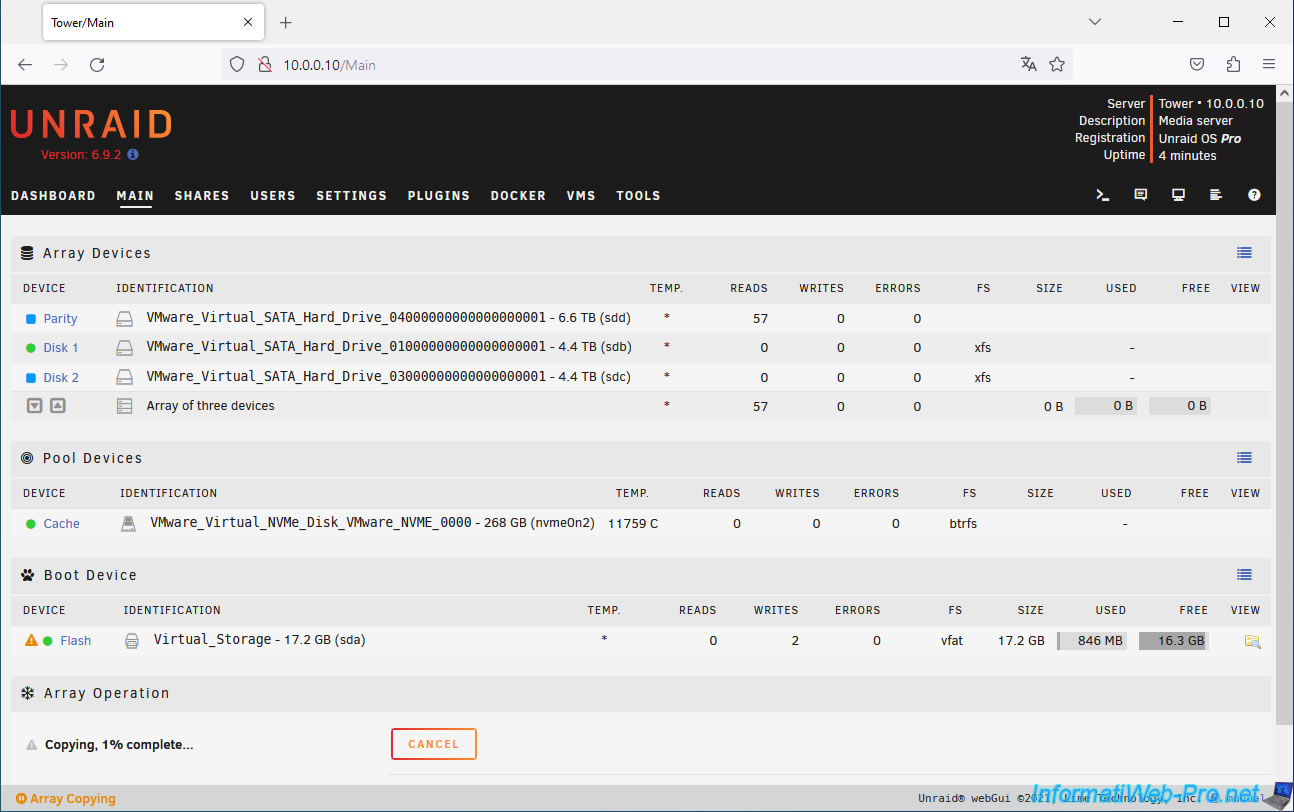
Wait while the parity data is copied.

Once the parity data copy is complete, the parity disk will have a green icon, but an orange triangle will appear for disk 2 of the array.
Indeed, it also contains the parity data instead of the data it should have.
Fortunately, using the parity disk and other disks in the array, Unraid can reconstruct the data on that disk.
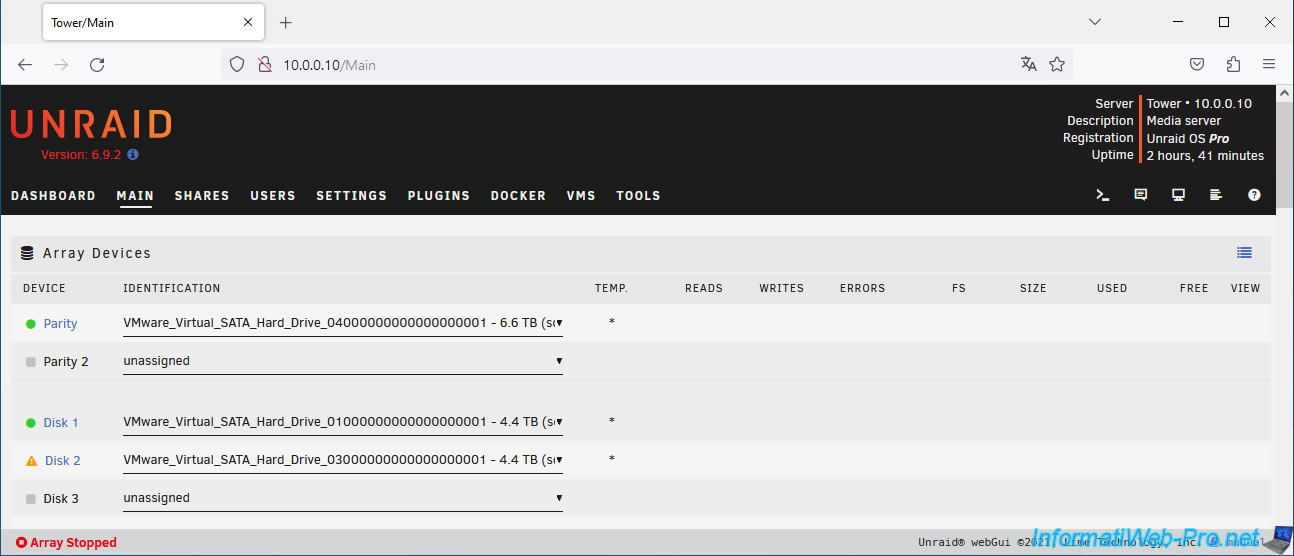
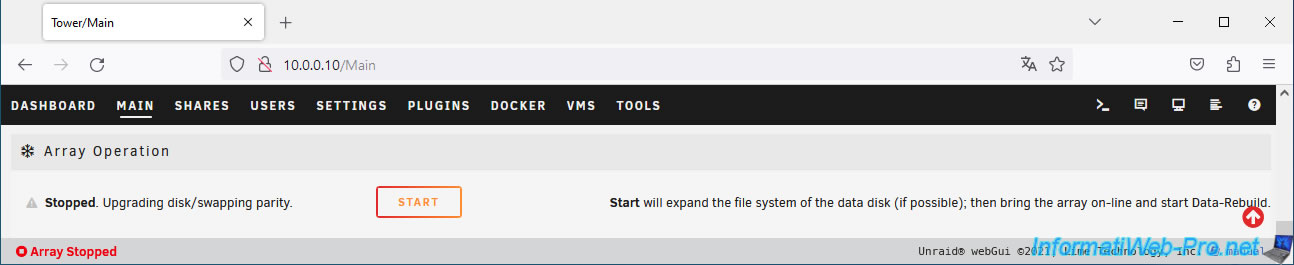
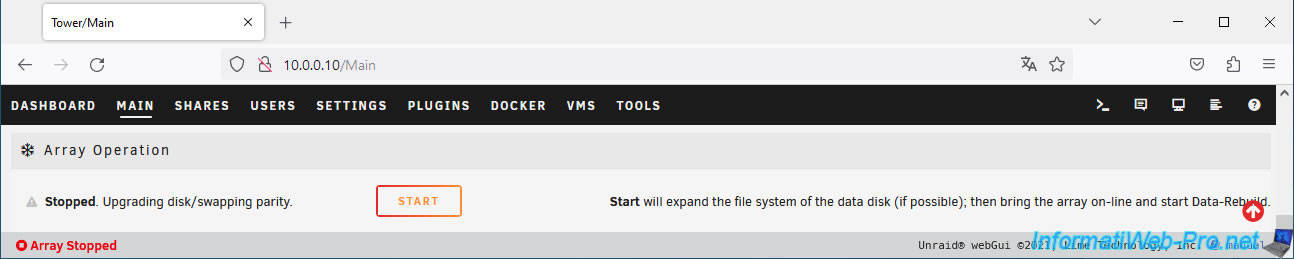
As you can see at the bottom of the page, the message "Stopped. Upgrading disk/swapping parity" still appears.
However, the button is now named "Start" and the message on the right indicates that starting the array will cause the data disk (in our case, disk 2 of our array) to be rebuilt.
Plain Text
Start will expand the file system of the data disk (if possible); then bring the array on-line and start Data-Rebuild.
5. Start rebuilding the array disk
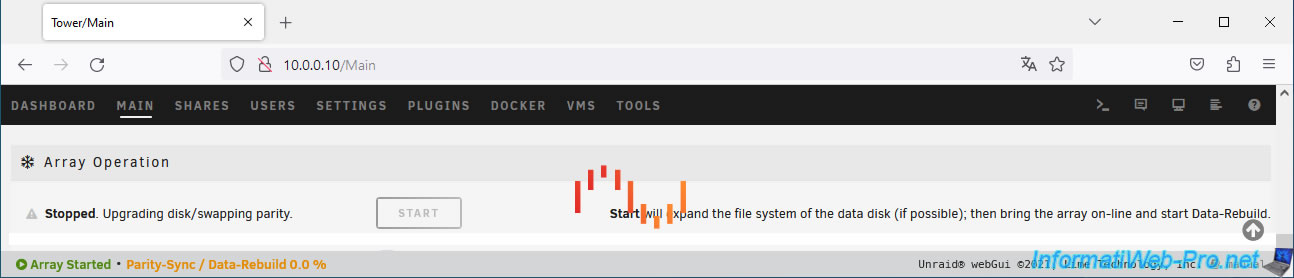
To rebuild the array disk, click Start.
The status at the bottom of the page becomes "Array Started - Parity-Sync / Data-Rebuild 0.0%".
You will also receive a warning notification about starting the data disk rebuild.
Plain Text
Unraid Parity Sync / Data rebuild: ...
Notice [TOWER] - Parity sync / Data rebuild started.
Size: 4.40 TB.
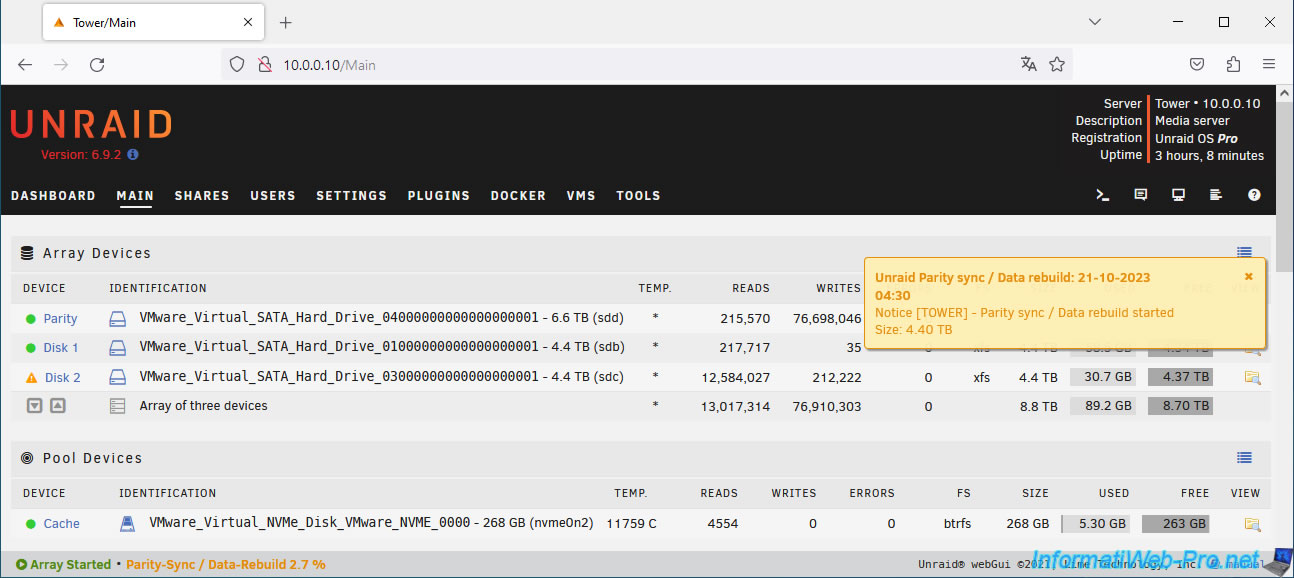
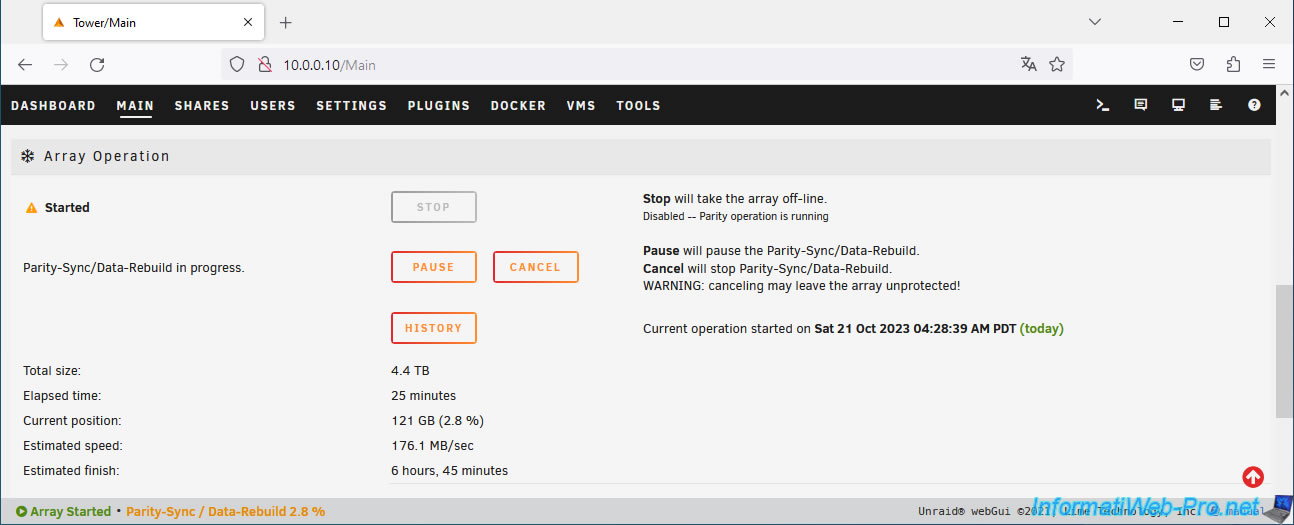
In the "Array Operation" section, you will be able to follow the reconstruction of the data disk.
Plain Text
Parity-Sync/Data-Rebuild in progress.
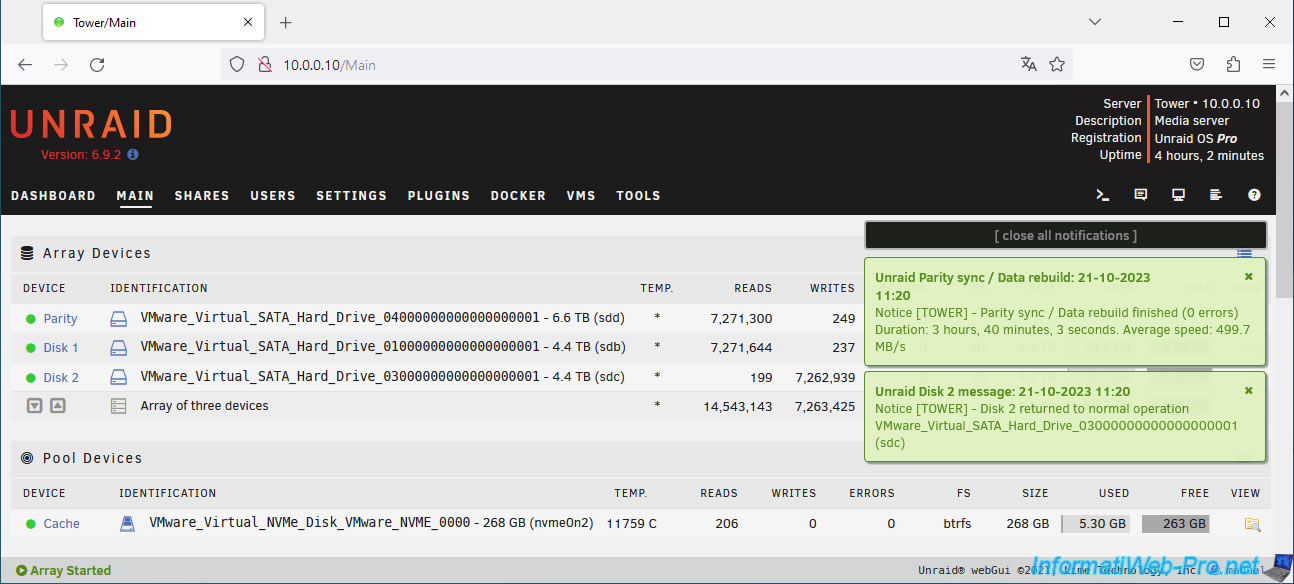
Once the array disk rebuild is complete, you will see these notifications appear:
Plain Text
Unraid Parity sync / Data rebuild: ...
Notice [TOWER] - Parity sync / Data rebuild finished (0 errors).
Duration: 3 hours ... Average speed: ...
Plain Text
Unraid Disk 2 message: ...
Notice [TOWER] - Disk 2 returned to normal operation ... (sdc).
All disks will have a green icon.
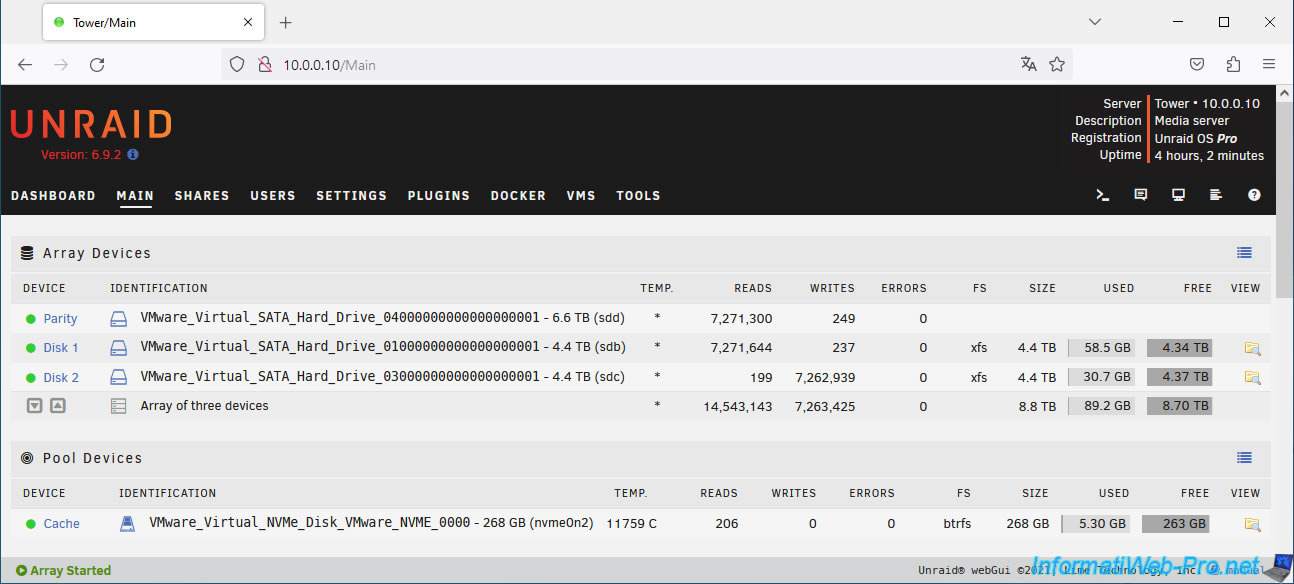
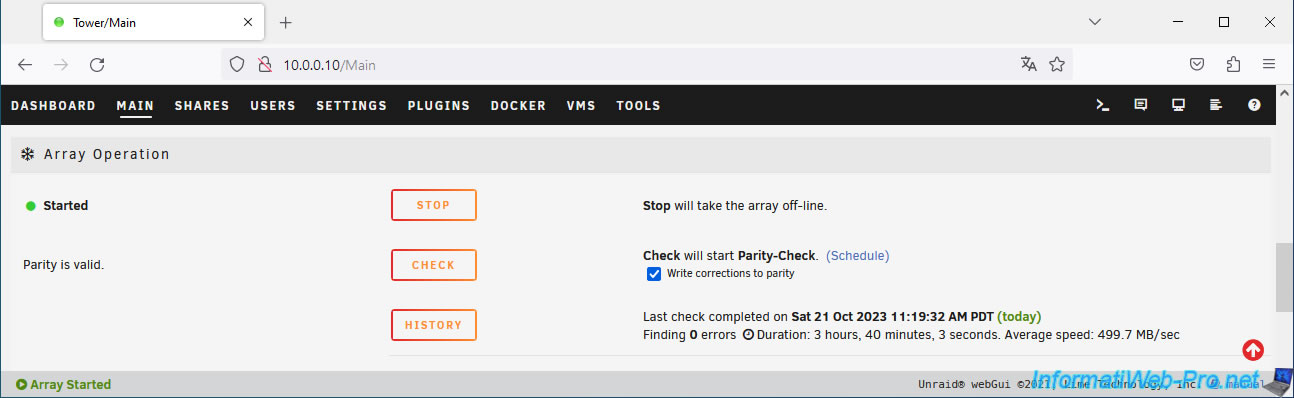
At the bottom of the page, you will simply see that the array is started and that parity is valid.
6. Add a disk to the array
Now that the parity disk has a higher capacity, you can add a new disk to the array with a capacity equal to or less than the capacity of the disk used for parity.
In our case, we add a 2nd 6TB disk. But this time, this disk is added as a data disk (in the array).
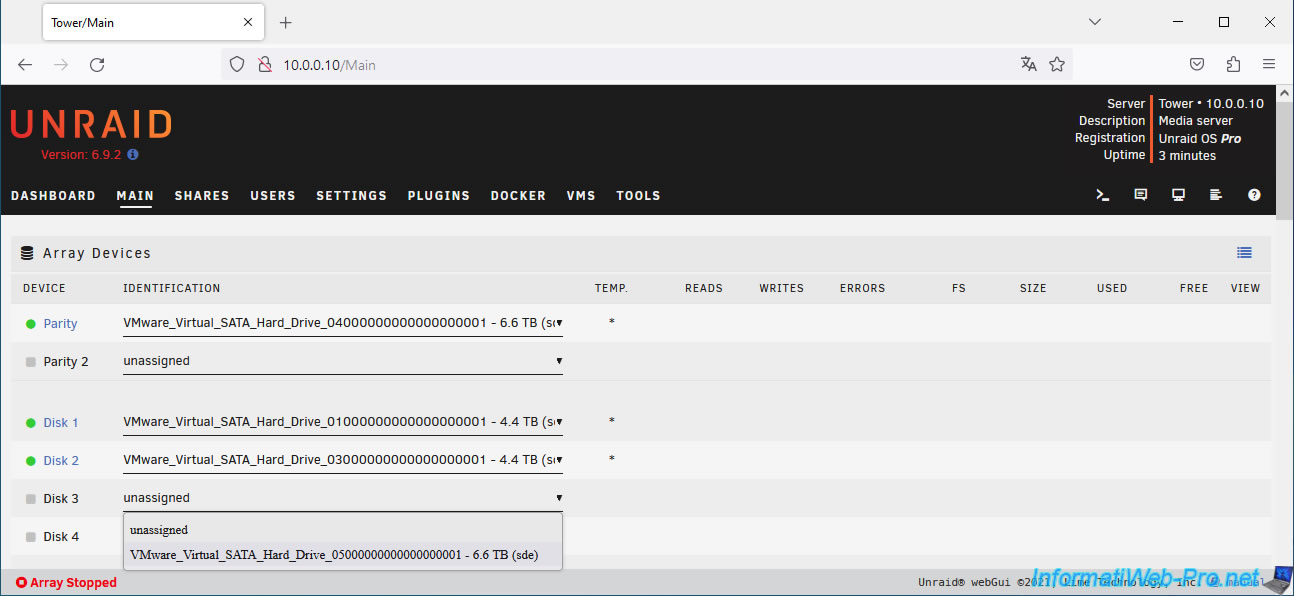
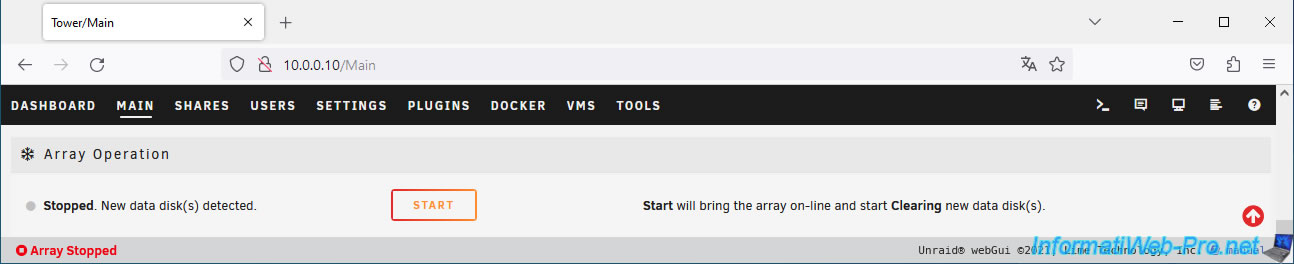
At the bottom of the page, you can see that the new disk is detected.
Plain Text
New data disk(s) detected.
The error displayed at the start of the tutorial therefore no longer appears.
Click "Start" to begin erasing the new disk you want to add to the array.
Unraid erases your new data disk.
Plain Text
Clearing.
![]()
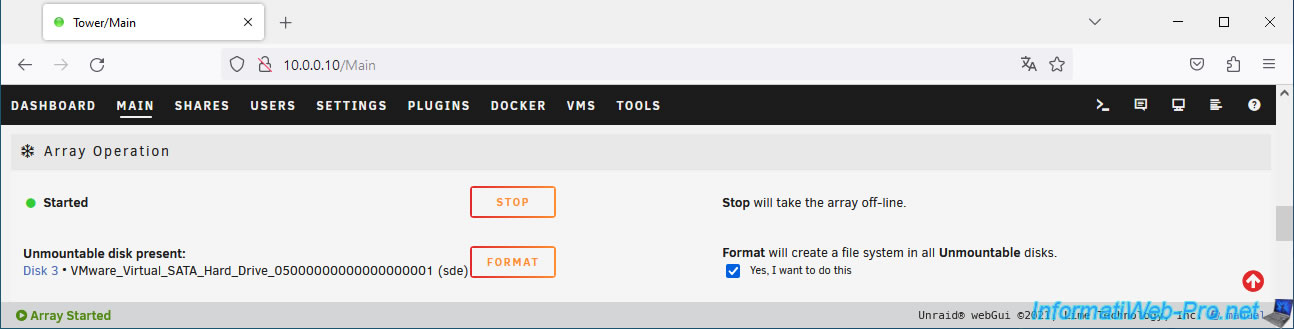
The new disk has been erased.
Plain Text
Disk clear finished.
![]()
Format this disk for use in the array by checking the "Yes, I want to do this" box and click Format.
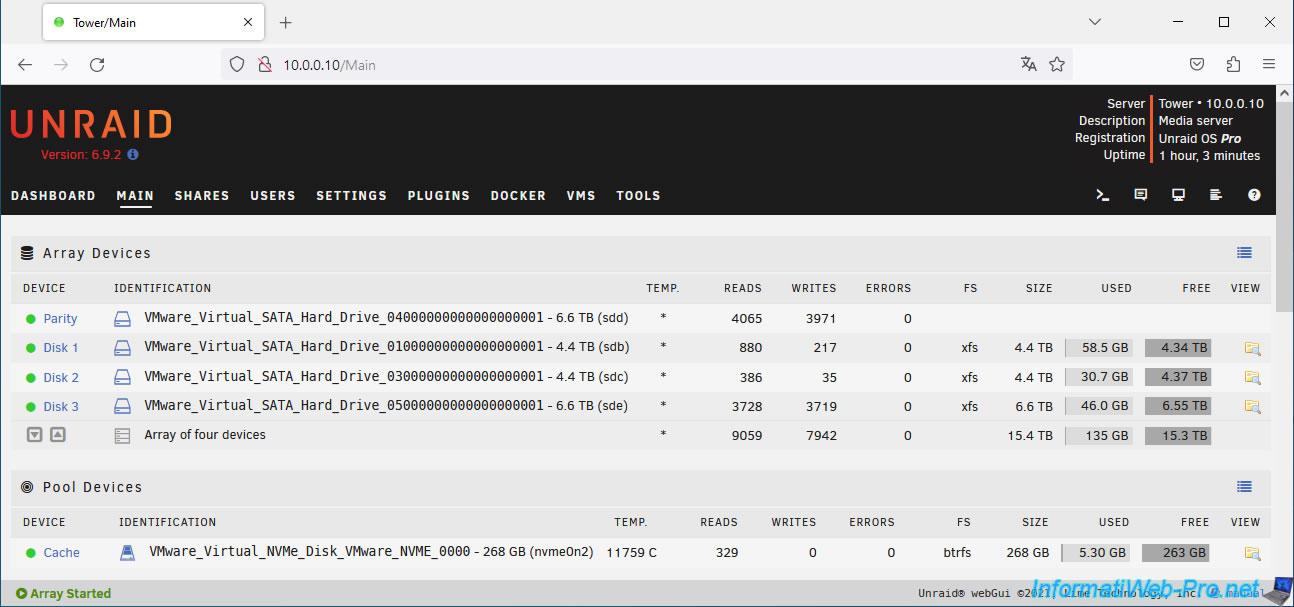
Now that the disk is formatted, the storage space also appears for this disk in the array.
Share this tutorial
To see also
-
NAS 2/11/2026
Unraid 6.9.2 - Customize the web interface
-
NAS 3/18/2026
Unraid 6.9.2 - Fixing common problems
-
NAS 5/27/2026
Unraid 6.9.2 - SWAG - Use a DDNS client (Duck DNS)
-
NAS 7/22/2026
Unraid 6.9.2 - VMs - Backing up a VM manually
No comment