Secure the pfSense 2.6 web interface in HTTPS using a valid certificate
- Firewall
- pfSense
- 09 July 2025 at 07:48 UTC
-

- 2/2

5. Submit the certificate request to your certificate authority (CA)
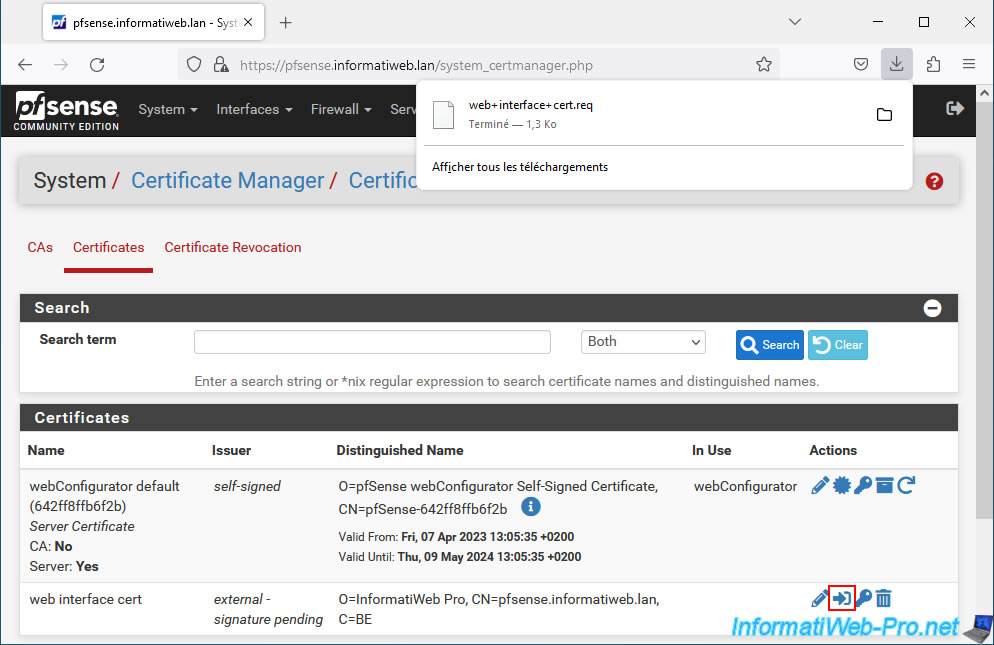
To begin, export the certificate signing request (CSR) created by pfSense by clicking on the 2nd icon of this request.
You will get a ".req" file.
In our case, we installed a certification authority on Windows Server, as well as the web interface of this CA.
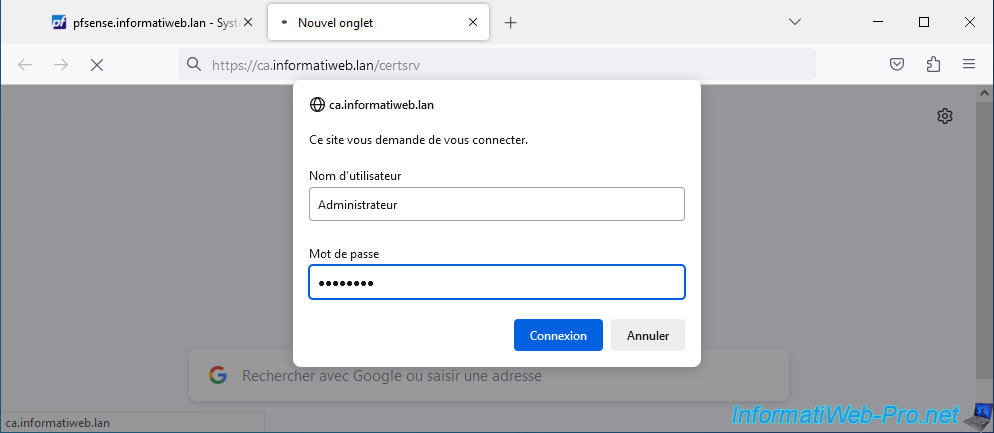
Once installed, connect to the address "https://ca.informatiweb.lan/certsrv" as an administrator (or a user with the right to register a "Web Server" type certificate).
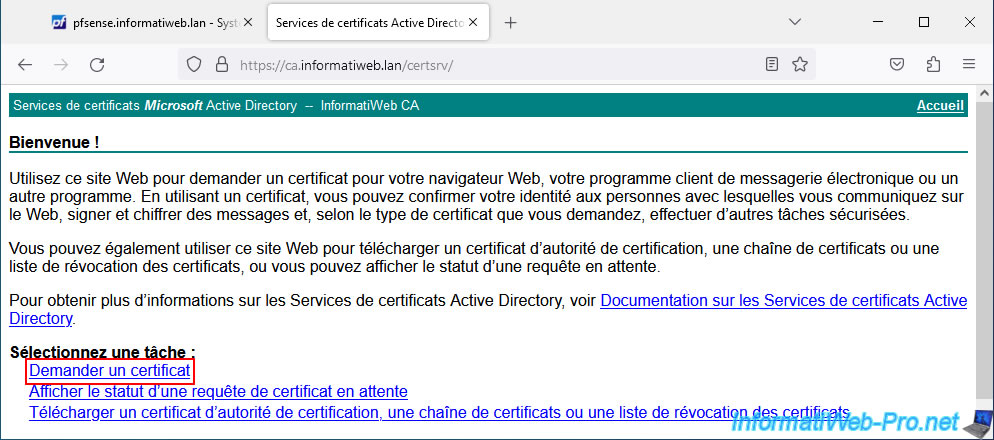
On your certification authority interface, click: Request a certificate.
Click: advanced certificate request.

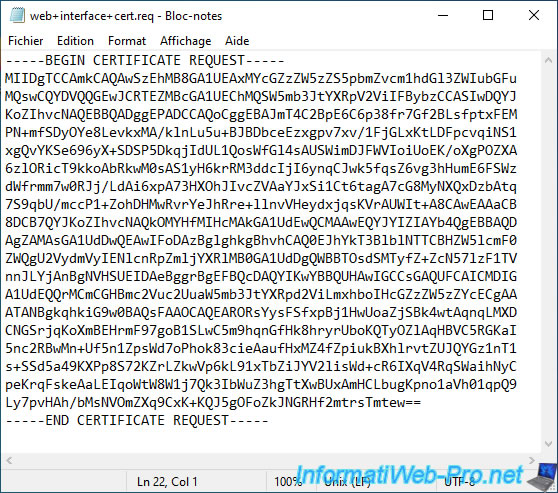
Open the ".req" file (downloaded from the pfSense machine) with notepad.
Its content looks like this:
Plain Text
-----BEGIN CERTIFICATE REQUEST-----
xxxxxxxxxxxxxxxxxxxxxxxxxxxxxxxxxxxxxxx...
-----END CERTIFICATE REQUEST-----
Copy its contents by also copying the "BEGIN CERTIFICATE REQUEST" and "END CERTIFICATE REQUEST" lines.
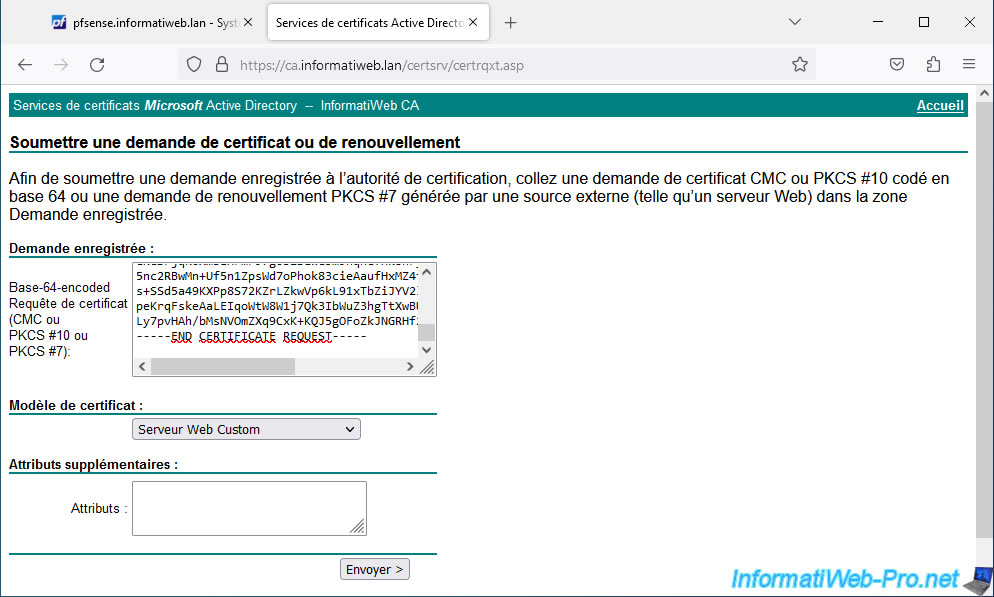
Paste the certificate request into the "Base-64-encoded..." box of your CA's web interface on Windows Server and select the "Web Server" certificate template (or a custom template copied from it) .
In our case, we use our "Custom Web Server" certificate template.
Then click: Send.
Once the certificate is issued (delivered), select "Base 64 encoded" (to obtain the text or Linux version of the certificate) and click on "Download certificate" (to obtain only the certificate and not the certificate + that of the CA).

6. Import the new certificate into pfSense
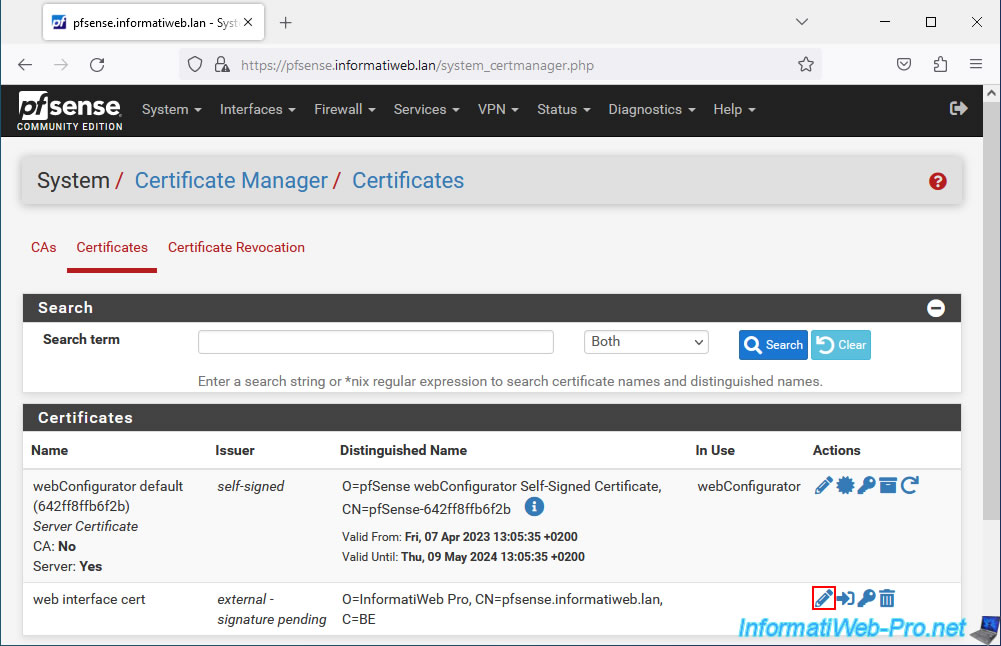
Now that you have obtained a valid certificate from your certificate authority (CA), you must import it into pfSense by modifying the certificate signing request previously created in pfSense.
To do this, in the "Certificates" tab, click on the pencil icon (to the right of your pending certificate request (external - signature pending)).
The certificate signing request (Signing request data) appears and pfSense asks you for the final certificate data.

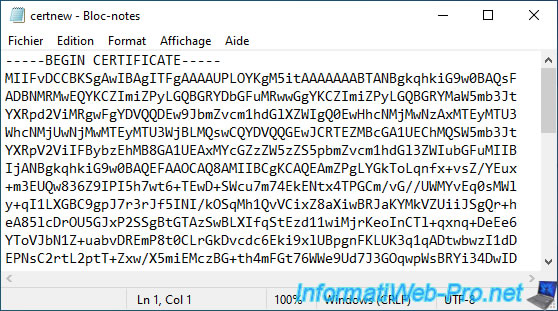
Open the "certnew.cer" file downloaded previously from your certification authority under Windows Server with Notepad and copy its contents (which look like this).
Plain Text
-----BEGIN CERTIFICATE-----
xxxxxxxxxxxxxxxxxxxxxxxx...
-----END CERTIFICATE-----
Note: if the contents of this file are unreadable and do not look like this, it is because you downloaded the certificate in Microsoft format.
If your CA web page is still open, choose "Base 64 Encoded" and click "Download Certificate."
Otherwise, download OpenSSL and use the appropriate command to convert the ".cer" certificate (Microsoft) to ".pem" format (Linux).
Paste the contents of the certificate into the "Final certificate data" box and click: Update.
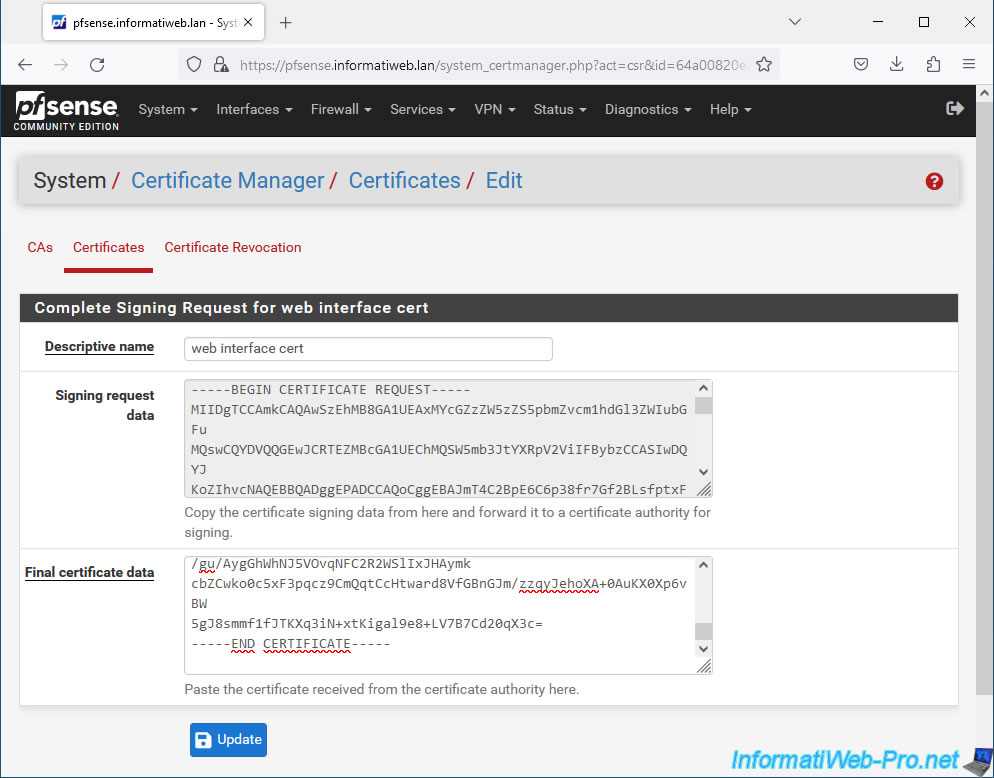
Your external certificate has been imported into the pfSense certificate store.
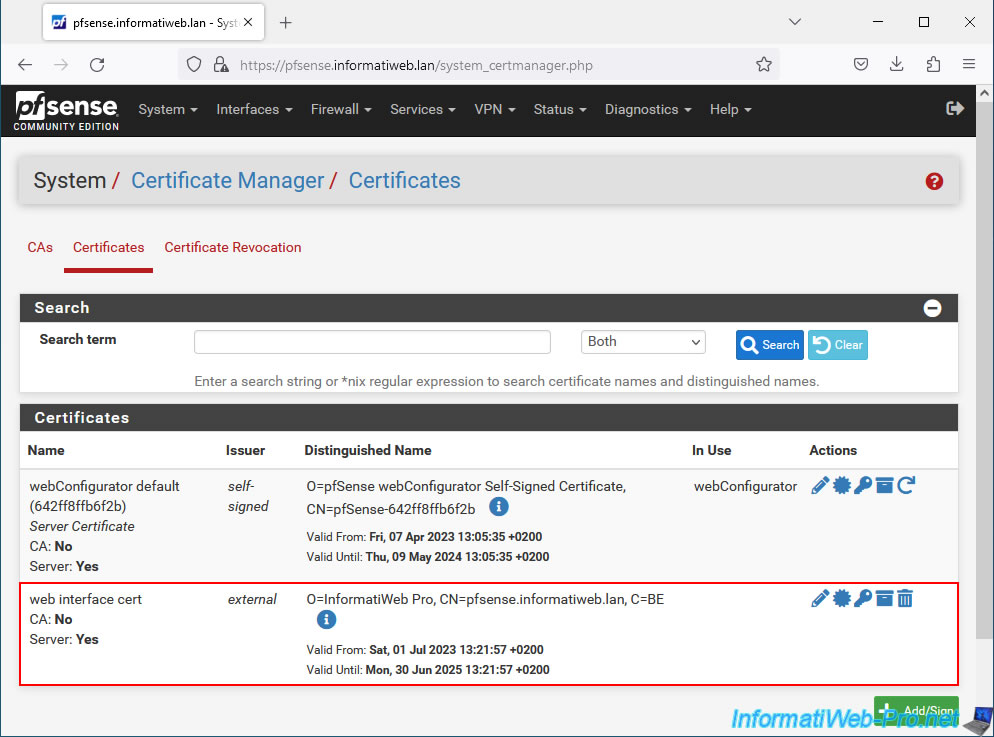
7. Configure the pfSense web interface to use the new certificate
Finally, you must specify to pfSense which certificate it should use to secure its web interface.
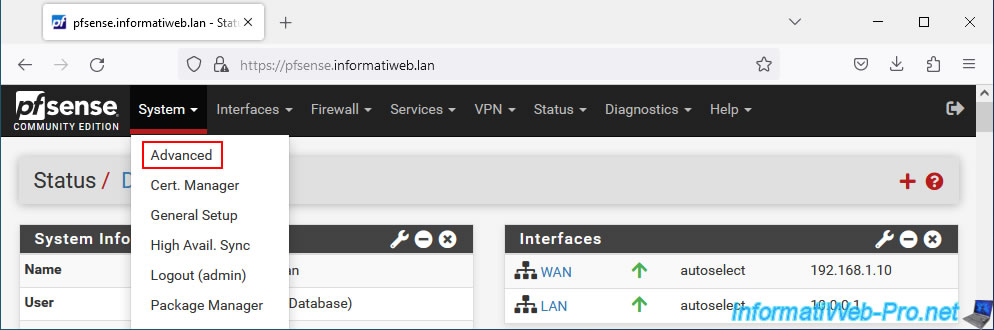
To do this, go to: System -> Advanced.
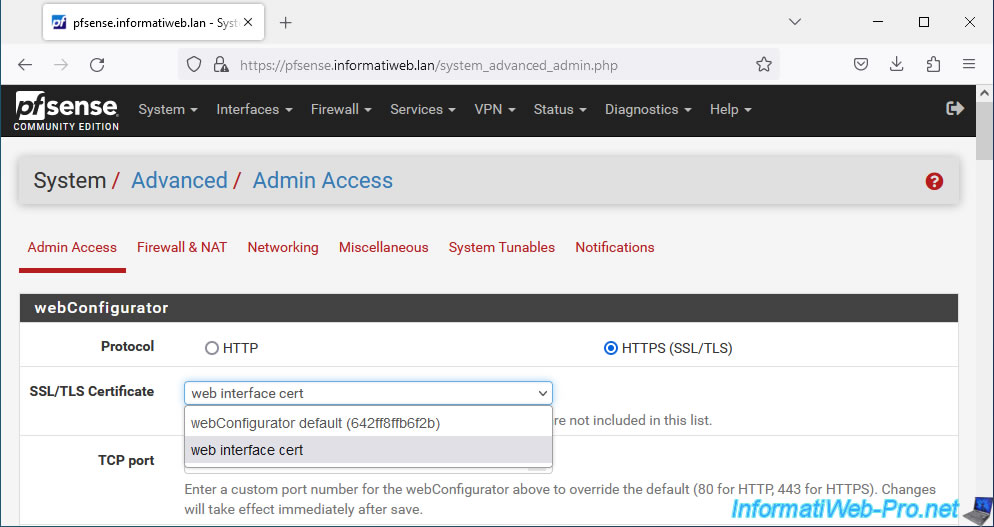
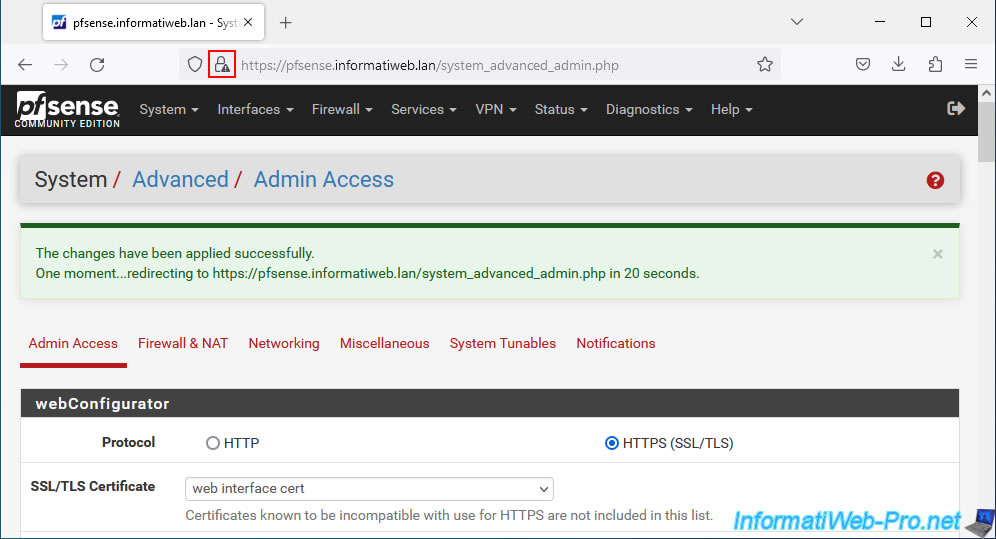
In the "webConfigurator" section located at the top of the page, configure these 2 settings:
- Protocol: HTTPS (SSL/TLS) to access your web interface securely.
- SSL/TLS Certificate: select your "web interface cert" certificate previously imported on pfSense.
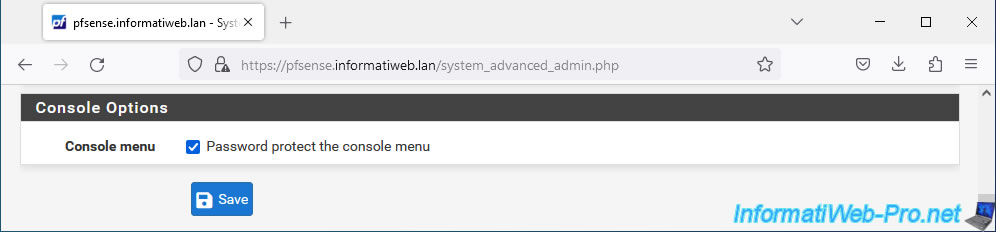
At the bottom of the page, click on: Save.
As you can see, the small triangle still appears for the moment on the padlock in the address bar.
Wait 20 seconds for the page to automatically refresh.
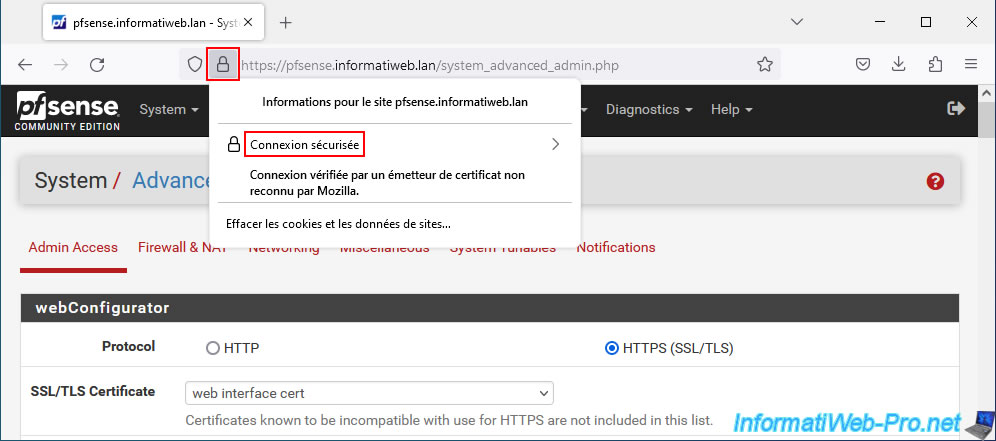
Now, the padlock appears without the small triangle.
If you click on this padlock, you will see this appear: Secure connection.
Important : Mozilla Firefox uses its own certificate store. If your SSL certificate is considered invalid (certificate issued by an unknown issuer), it is because you have not imported your CA's certificate into the Mozilla Firefox certificate store.
To fix the problem, in Mozilla Firefox, go to: Tools -> Settings -> Privacy and security -> "Certificates" section of the page -> Show certificates -> Authorities -> Import.
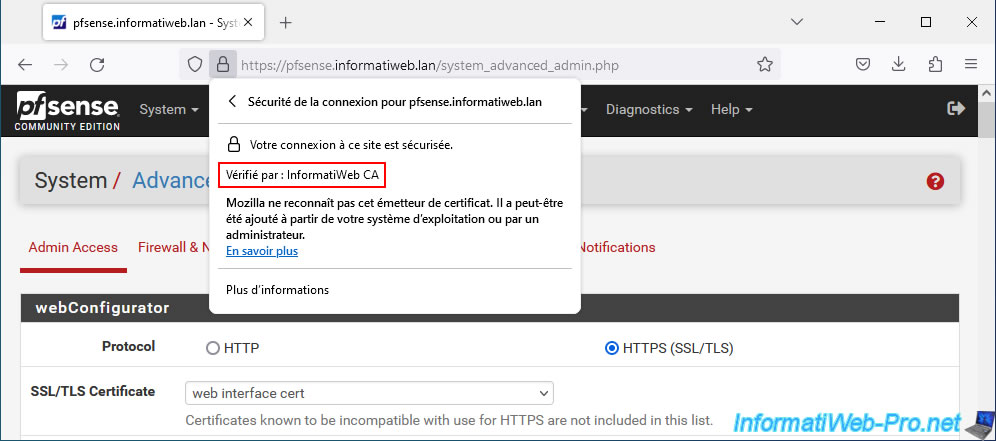
As expected, in our case, the SSL certificate used by pfSense is now verified by "InformatiWeb CA" (our certificate authority installed on Windows Server).
Share this tutorial
To see also
-
Firewall 8/13/2025
pfSense 2.6 - Create a captive portal
-
Firewall 6/6/2025
pfSense 2.6 - DDNS (dynamic DNS)
-
Firewall 5/30/2025
pfSense 2.6 - Enable and configure DHCP server
-
Firewall 7/16/2025
pfSense 2.6 - Renew web interface certificate
No comment