- Firewall
- pfSense
- 13 August 2025 at 14:34 UTC
-

- 1/2

Using pfSense, you can create one or more captive portals (which will be enabled on the interfaces you want) to filter Internet access.
Warning : the pfSense captive portal does not currently support IPv6.
- What is a captive portal?
- Configure a captive portal on pfSense
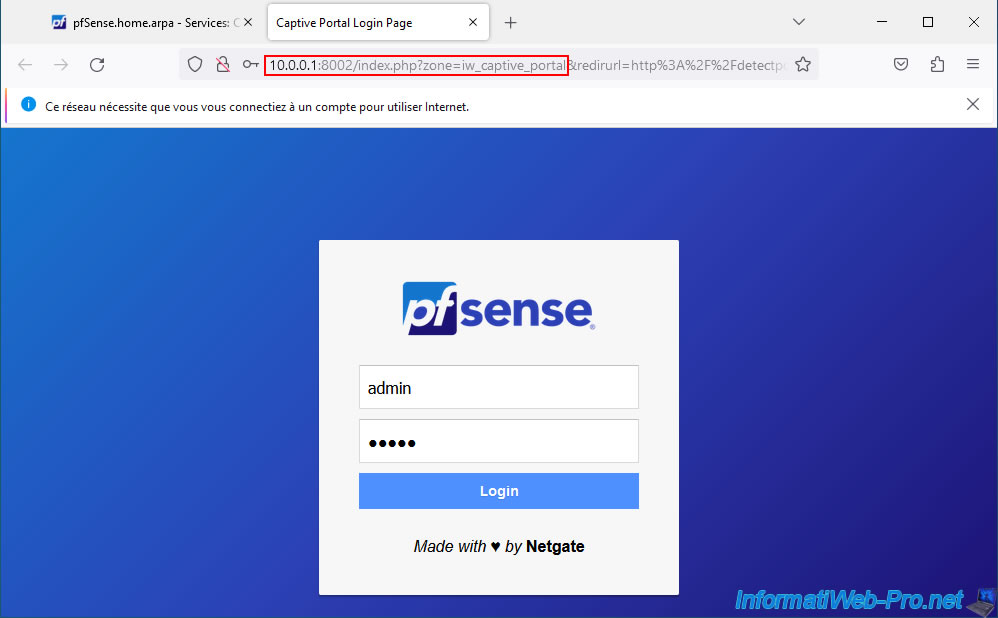
- Login to the pfSense captive portal
- Log out of the pfSense captive portal
1. What is a captive portal?
A portal allows you to force users to authenticate (with a username and password or promo code) before being able to access the Internet.
This also makes it possible to accept a user contract for Internet access.
These captive portals are generally used for public Wi-Fi networks (free or paid) in airports, hotels, restaurants, ...
Source : Captive Portal | pfSense Documentation.
2. Configure a captive portal on pfSense
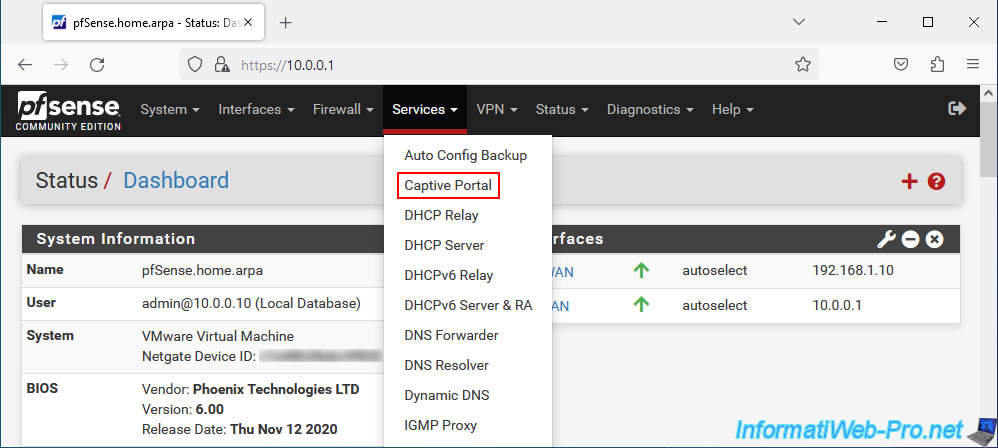
To configure a captive portal on pfSense, go to: Services -> Captive Portal.
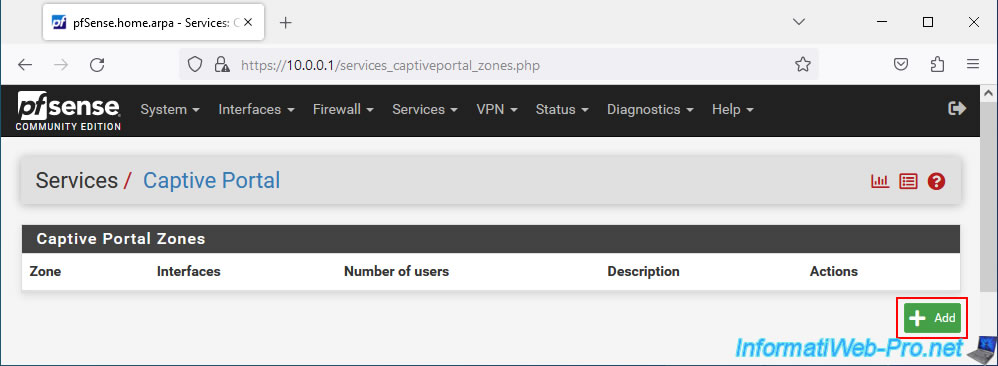
On the "Captive Portal" page that appears, click on: Add.
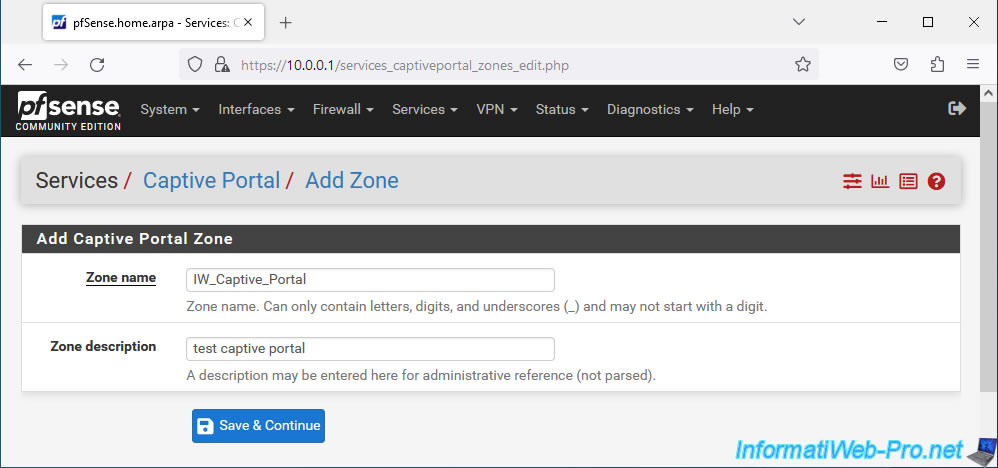
In the "Add Captive Portal Zone" section, specify:
- Zone name: a name for this captive portal.
Note that this will appear in the address of the captive portal to which users will be redirected. - Description zone: a purely indicative description for this captive portal which will only appear on pfSense.
Note that you can create multiple zones, as this allows you to create different captive portals per interface.
Although you can also create a single captive portal and link it to multiple interfaces.
On the other hand, an interface can only be linked to a maximum of one captive portal.
Source : Captive Portal Zones | pfSense Documentation.
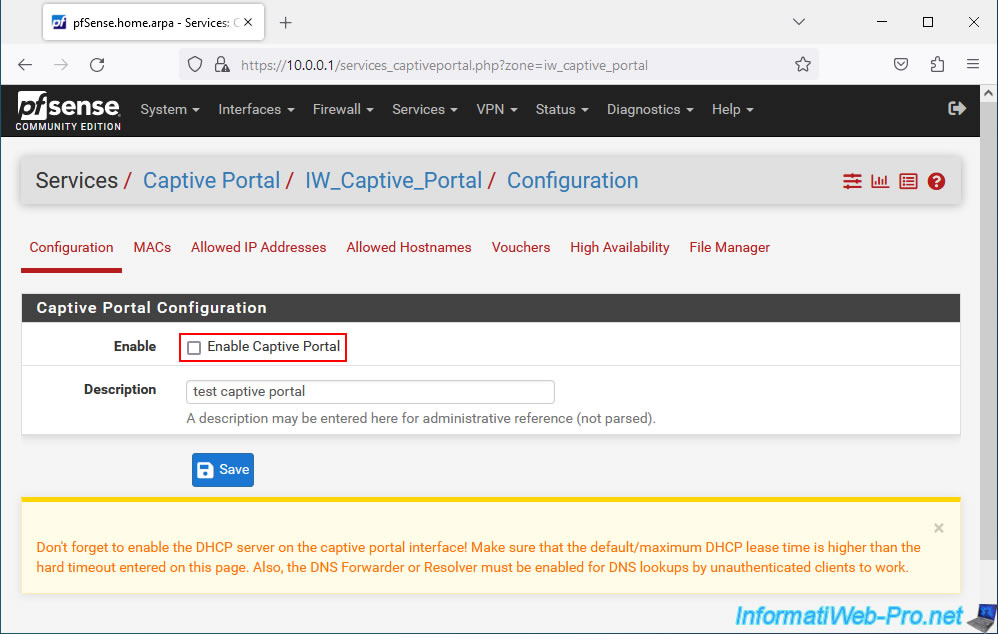
On the configuration page that appears, start by checking the "Enable Captive Portal" box. Which will display the full configuration form.
Note: as you can see, a warning appears at the bottom of the page. But, we will check this later in this tutorial.
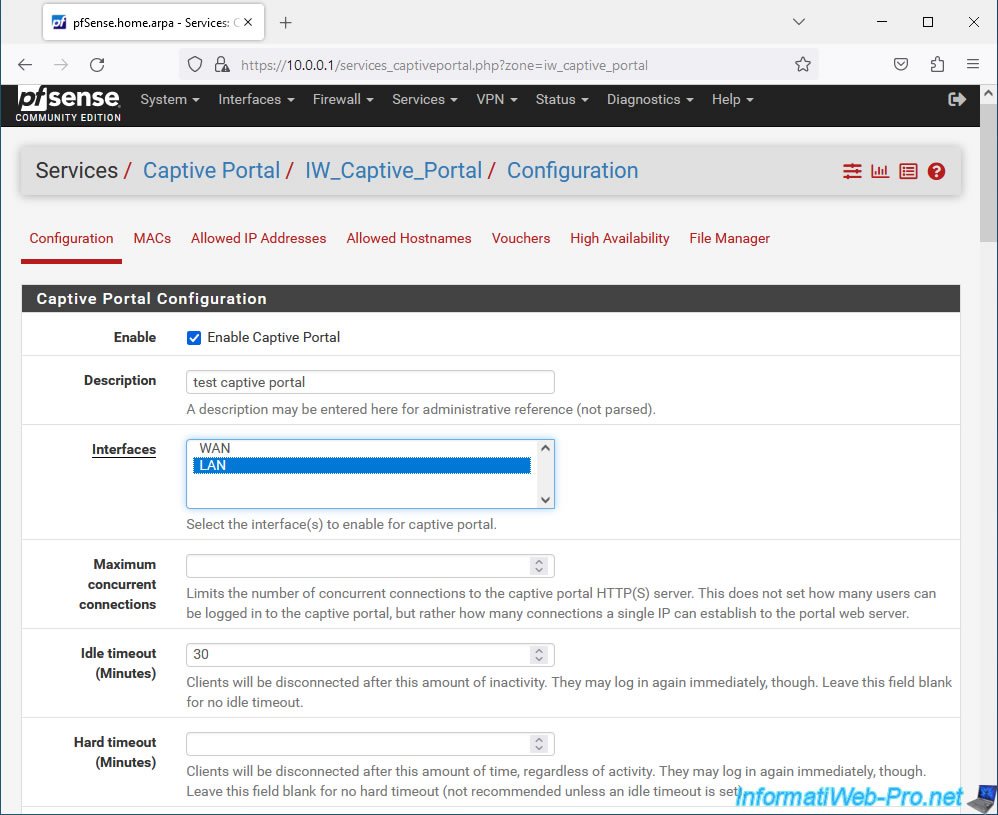
Once the "Enable Captive Portal" box is checked, the complete configuration page appears.
In the "Captive Portal Configuration" section, you can configure the settings:
- Enable: checking the "Enable Captive Portal" box allows you to activate this captive portal.
- Description: allows you to indicate a purely indicative description for this one.
- Interfaces: select the interface(s) for which users will be redirected to the captive portal if they have not yet authenticated to it.
Typically the LAN interface or a network interface corresponding to a local network or Wi-Fi access point. - Maximum concurrent connections: allows you to limit the number of simultaneous connections to the captive portal (i.e. for unauthenticated users) from the same IP address.
This is simply a safeguard to prevent a client from overloading your pfSense machine by sending hundreds or even thousands of requests to your captive portal at the same time. - Idle timeout (Minutes): inactivity period after which the user will be disconnected. The user will then have to log in again via the captive portal.
- Hard timeout: (Minutes): time after which a user will be forcibly disconnected (even if they were still using Internet access.
Important: Specify at least an Idle timeout or a Hard timeout for your captive portal so that sessions can be deleted at some point from the captive portal.
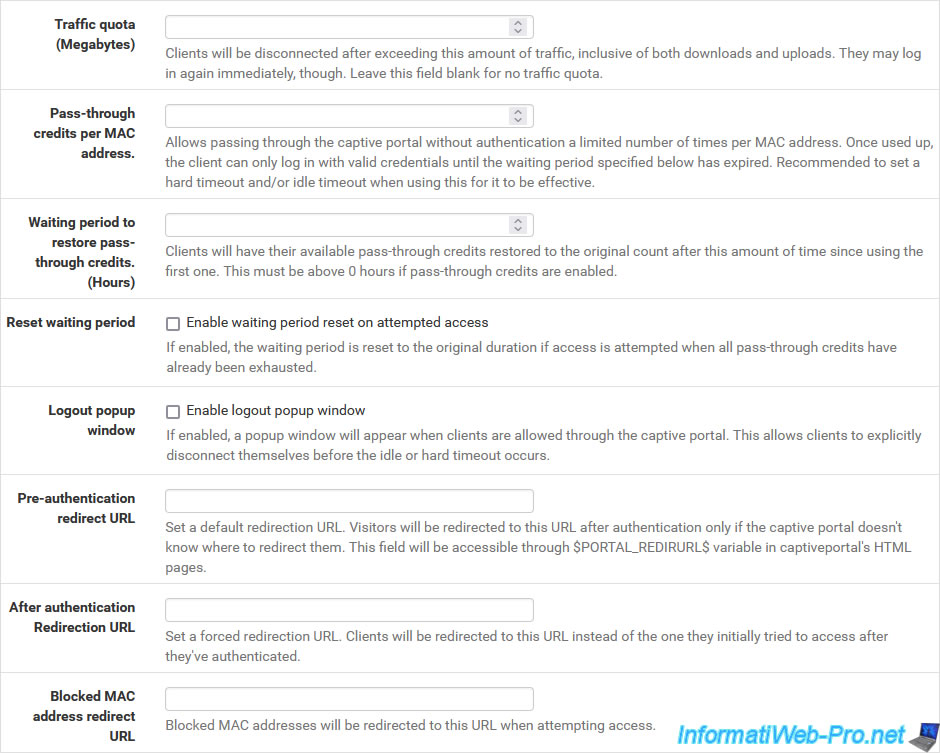
Otherwise, if the user does not manually log out of your captive portal, these sessions will remain active. - Traffic quota (Megabytes): allows you to limit the quantity of data that can be downloaded/sent via the captive portal.
This prevents a user from using Internet access only to download large files. - Pass-through credits per MAC address: allows you to specify the number of times a user (identified by their MAC address) can use Internet access without having to authenticate on the captive portal.
This is only possible if an inactivity timeout or maximum timeout has been specified above.
If a user can connect 2 times without authenticating to the captive portal and the maximum time configured is 60 minutes (1 hour), the user will be able to use Internet access for a maximum of 2 hours without authenticating. Then, he will have to authenticate with valid identifiers or wait until the waiting period (configurable below) has elapsed. - Waiting period to restore pass-through credits (Hours): time (in hours) after which credits will be restored to users.
- Reset waiting period: checking the box "Enable waiting period reset on attempted access" allows the captive portal to reset the waiting period for the user if the user attempts to re-access the captive portal before the waiting period has not expired.
- Enable logout popup window: allows you to display a small logout popup to users to allow them to log out manually before the inactivity or maximum timeout is reached.
- Pre-authentication redirect URL: redirects users to a specific page before they can authenticate to the captive portal. Useful for displaying terms of use, for example.
Note that a link will need to be added on this page to redirect users to the captive portal to allow them to authenticate. - After authentication Redirection URL: by default, when an unauthenticated user tries to access a website on the Internet, the user is redirected to the captive portal login page.
Once authenticated on this captive portal, they are redirected to the website they were trying to access.
With this setting you can force redirection after authentication to a specific address. - Blocked MAC address redirect URL: redirects users whose MAC address has been blocked to a specific address.
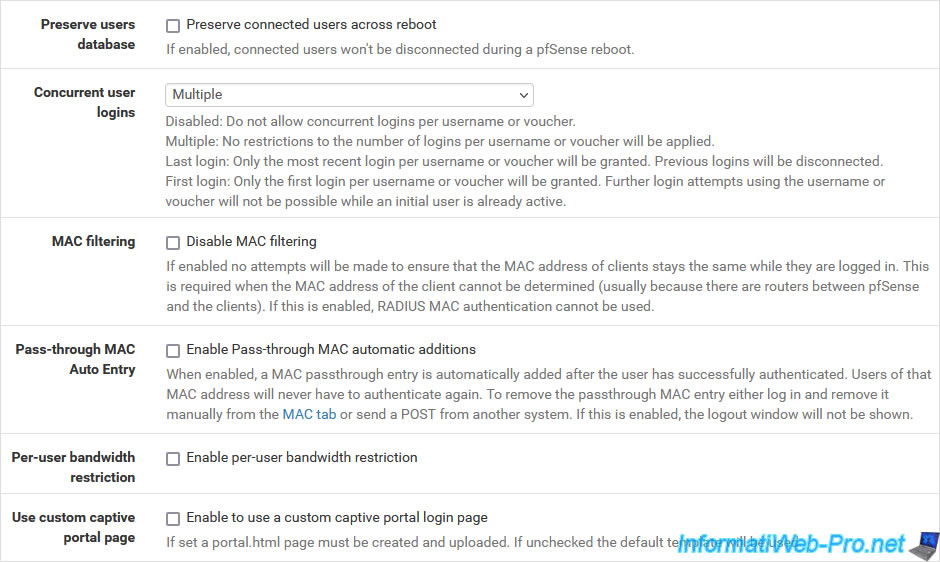
- Preserve users database: allows you to preserve the database of authenticated users on the portal, even when pfSense restarts.
To do this, check the "Preserve connected users accident reboot" box. - Concurrent user logins: allows you to control whether or not a user can log in several times to a captive portal.
Warning: the limit is defined per user and not per captive portal. If a user can access 2 captive portals, then avoid blocking simultaneous connections per user.- Disabled: blocks multiple logins per user to captive portals.
- Multiple: no restrictions per user or promo code will be applied.
Which is the default choice. - Last login: only allows the most recent session on a captive portal for a user or promo code.
Previous sessions that are still active for this user or this promo code will therefore be disconnected. - First login: similar to the previous option, except that it is the 1st session which will be kept.
New additional sessions will not be allowed until the 1st session has been disconnected.
- MAC filtering: allows you to disable MAC address filtering. This can be useful if routers are present between the pfSense machine and the clients arriving at the captive portal.
Indeed, pfSense will only see the MAC address of the router for all these clients and it will consider that it is a single client.
To avoid this problem, check the "Disable MAC filtering" box to disable MAC address filtering.
Warning: RADIUS MAC authentication is not compatible with this option. - Pass-through MAC Auto Entry: checking the "Enable Pass-through MAC automatic additions" box automatically adds the MAC address of each user’s device to the whitelist once authenticated.
This means that users will only have to authenticate once on the captive portal per device used.
Warning: RADIUS MAC authentication and the captive portal logout page are not compatible with this option. - Per-user bandwidth restriction: checking the "Enable per-user bandwidth restriction" box allows you to limit the bandwidth (download and upload) per user to prevent a user from saturating your Internet access.
- Use custom captive portal page: checking the box "Enable to use a custom captive portal login page" allows you to use custom HTML pages for the captive portal instead of being able to simply change the logo, the image displayed in the background and the conditions usage displayed by the captive portal page.
In our case, we selected the "LAN" interface for this captive portal and we set an inactivity timeout of 30 minutes to prevent sessions from remaining on the captive portal indefinitely.
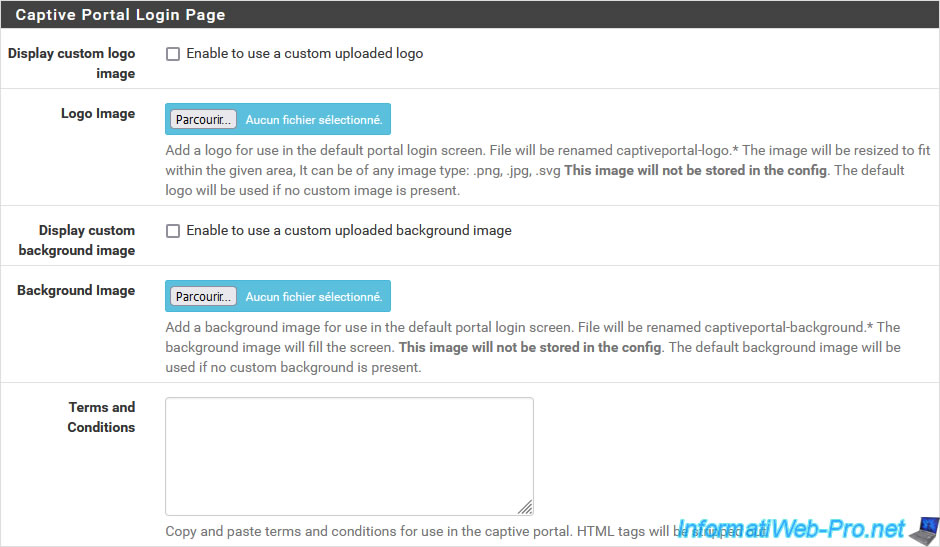
If the "Use custom captive portal page" option is disabled, which is the case by default, a "Captive Portal Login Page" section will appear and allow you to:
- Display custom logo image: checking the "Enable to use a custom uploaded logo" box allows you to use a custom logo on the captive portal login page.
- Logo Image: allows you to specify the image file to use as the logo.
- Display custom background image: checking the "Enable to use a custom uploaded background image" box allows you to use a custom background image on the captive portal connection page.
- Background Image: allows you to specify the image file to use as the background image.
- Terms and Conditions: allows you to specify the conditions of use that will be displayed on the connection page of the captive portal.
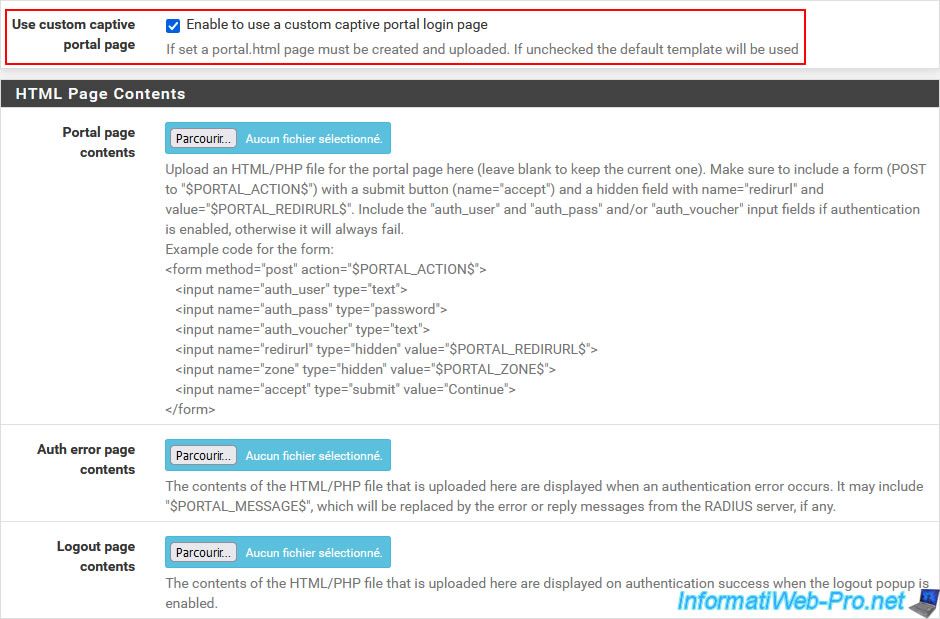
If the "Use custom captive portal page" option is enabled, an "HTML Page Contents" section will appear (instead of the one visible above) and will allow you to:
- Portal page contents: allows you to specify a custom login page in HTML/PHP format based on the information and source code shown here.
- Auth error page contents: allows you to specify a personalized error page in HTML/PHP format where you must include the "$PORTAL_MESSAGES$" variable so that the error message (eg: an authentication error) can appear.
- Logout page contents: same, but for the logout page.
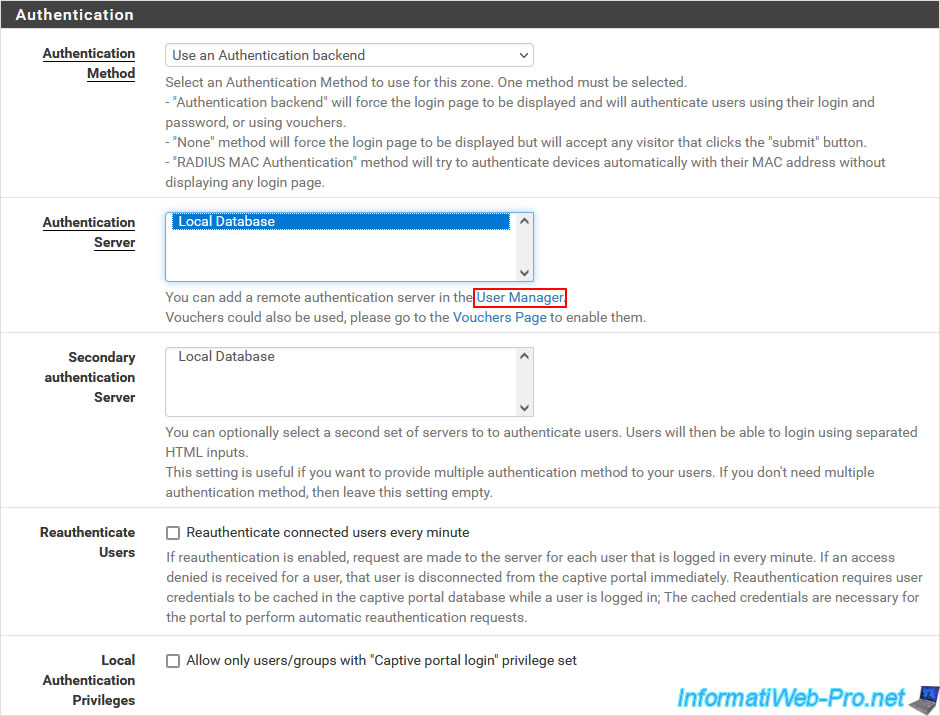
In the "Authentication" section, you can configure the authentication parameters:
- Authentication Method:
- Use an authentication backed: allows users to be authenticated with a user name and password defined in pfSense (via the "System -> User Manager" menu) or via another authentication server.
- None, don't authenticate users: allows users to connect to the captive portal by simply clicking on the connection button without having to provide credentials (username/password).
This still allows you to display the captive portal page the first time to display your conditions of use for Internet access. - Use RADIUS MAC Authentication: allows you to attempt to automatically authenticate users using their MAC address and a RADIUS server.
- Authentication Server: allows you to select the authentication server to use.
For the "Use an Authentication backend" authentication method, select "Local Database" to use the list of users defined under pfSense (via the "System -> User Manager" menu).
You can also use an Active Directory (LDAP) server or RADIUS server for authentication. - Secondary authentication Server: allows you to specify a secondary authentication server, if necessary.
- Reauthenticate Users: checking the "Reauthenticate connected users every minute" box allows users to be reauthenticated every minute. So, when a user is blocked, they are quickly disconnected from the captive portal.
However, this requires caching the user's credentials on the captive portal. - Local Authentication Privileges: allows only privileged users and groups to log into the captive portal. Otherwise, all users will be authorized.
- RADIUS MAC Secret: if you use the "RADIUS MAC Authentication" authentication method for your captive portal, this sends the MAC address as the username and this secret value as the password.
- Login page Fallback: if you use the RADIUS authentication method, you can check the box "Display the login page as fallback if RADIUS MAC authentication failed" to redirect the user to the captive portal login page in case the RADIUS authentication using the client's MAC address would have failed.
To authenticate users using accounts defined in pfSense, select the "Use an Authentication backend" authentication method, then select "Local Database" as the authentication server.
Next, uncheck the "Allow only users/groups with Captive Portal login privilege set" box at the bottom of this "Authentication" section to allow all pfSense users to authenticate to the captive portal.
Otherwise, you should grant the "Captive Portal login" privilege in the desired user accounts.
Source : Captive Portal - Zone Configuration Options | pfSense Documentation.
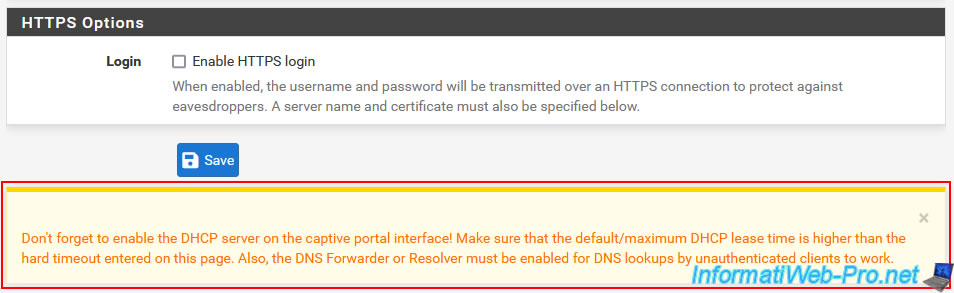
At the bottom, pfSense warns you that for the captive portal to work correctly, you must:
- the pfSense DHCP server is enabled.
- the default/maximum DHCP lease duration is higher than the "Hard timeout" value specified in your captive portal configuration.
- DNS Forwarder or DNS Resolver must be enabled on pfSense for DNS resolution to work for unauthenticated clients.
Important : leave this page open and DO NOT click "Save" at this time.
Share this tutorial
To see also
-
Firewall 8/6/2025
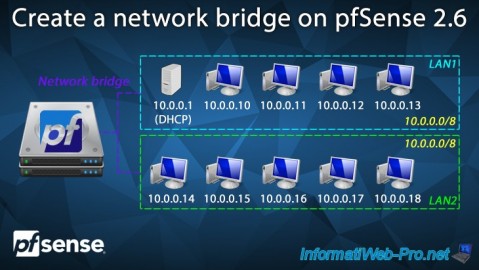
pfSense 2.6 - Create a network bridge
-

Firewall 9/17/2025
pfSense 2.6 - Create a site-to-site (S2S) VPN tunnel via OpenVPN secured with SSL/TLS (L3 mode)
-
Firewall 8/29/2025
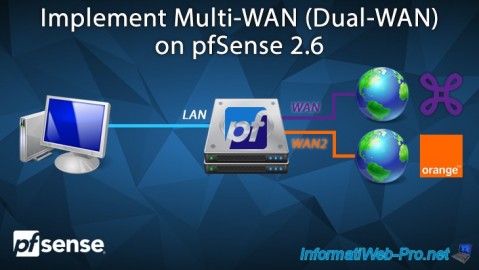
pfSense 2.6 - Implement Multi-WAN (Dual-WAN)
-
Firewall 8/27/2025
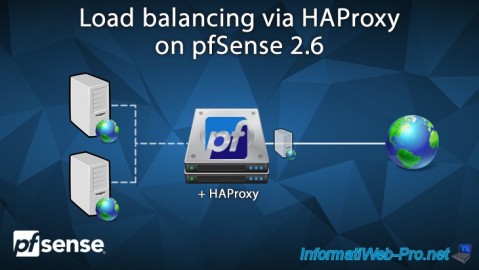
pfSense 2.6 - Load balancing via HAProxy
You must be logged in to post a comment