Manage quality of service (QoS) and limit bandwidth on pfSense 2.6
- Firewall
- pfSense
- 18 June 2025 at 13:46 UTC
-

- 3/3

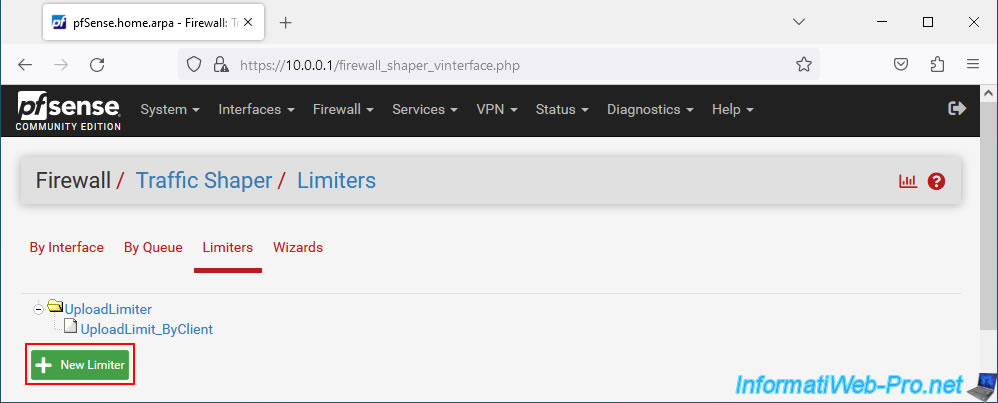
4. Limit bandwidth for download (creating a limiter)
As before, in the "Limiters" section, click: New Limiter.
For this limiter, configure the settings like this:
- Enable: check the "Enable limiter and its children" box to enable the limiter and its future queues.
- Name: DownloadLimiter.
- Bandwidth: in our case "40 Mbit/s".
- Mask: None. Because the limit concerns all network traffic going to the LAN.
- Description: Global download limit.
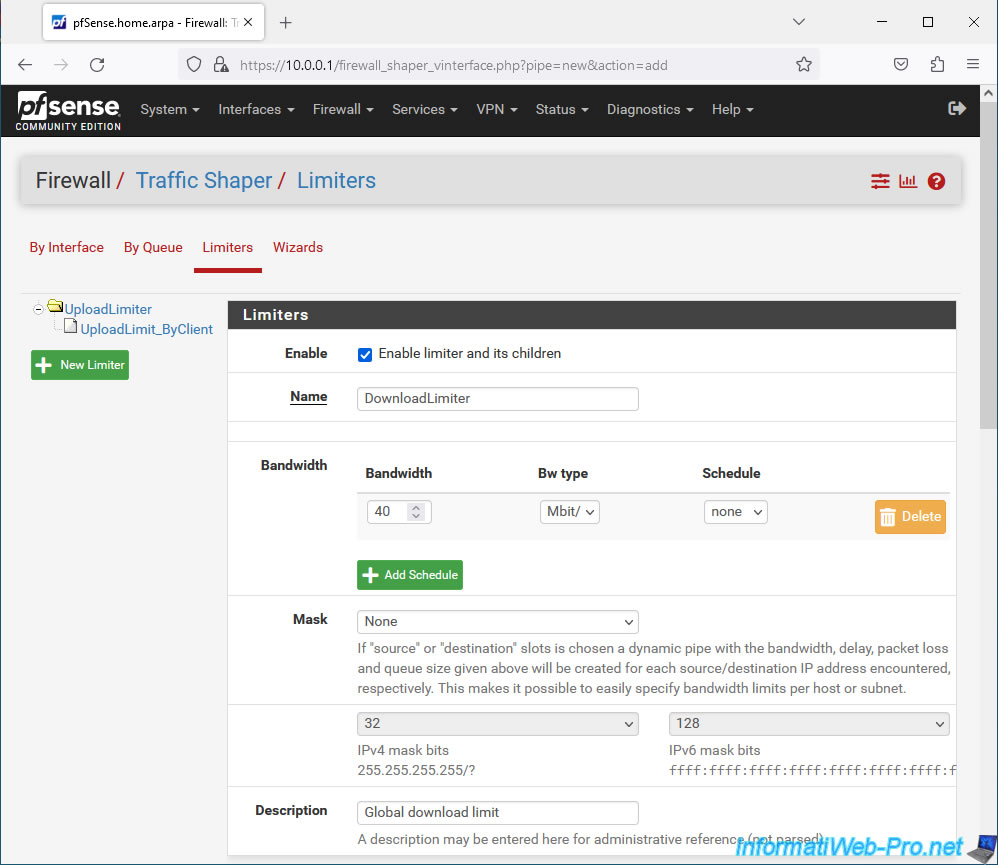
Click Save.
At the top of the page, click: Apply Changes.
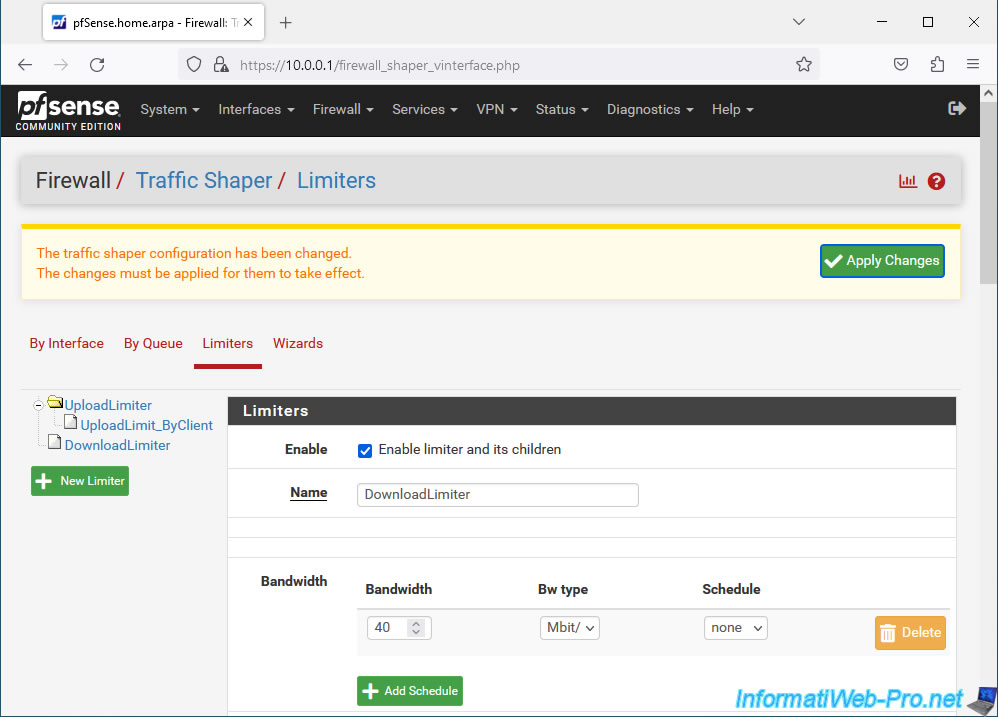
Limiter for network bandwidth uploading to LAN has been created.

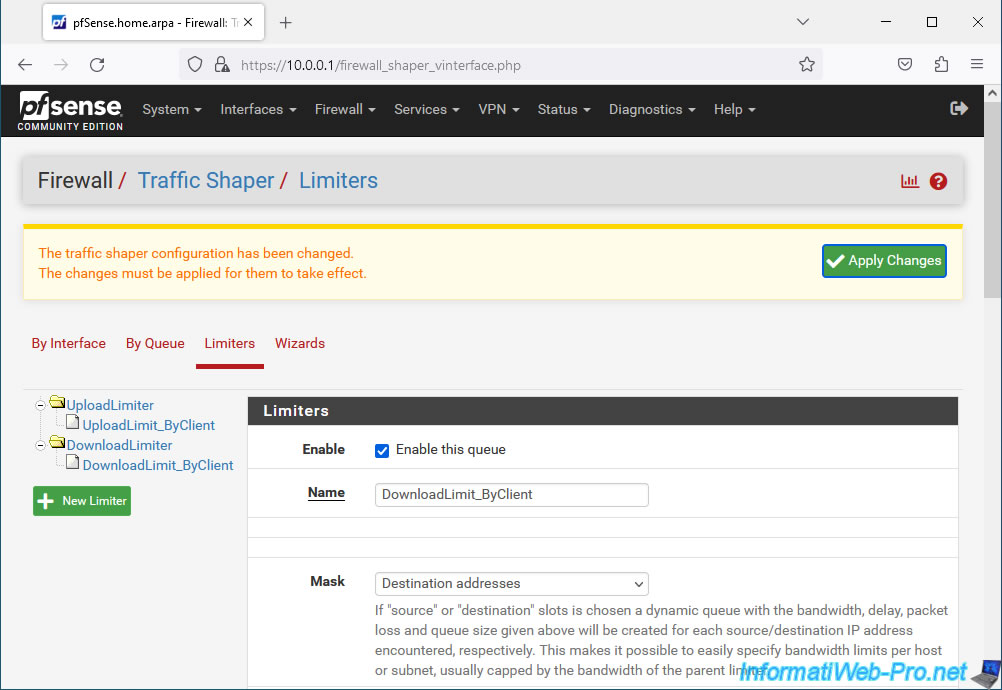
5. Limit bandwidth for download (adding queues)
As before, you will need to add a queue to fairly limit the download speed of your LAN clients.
To do this, click on your new limiter "DownloadLimiter".
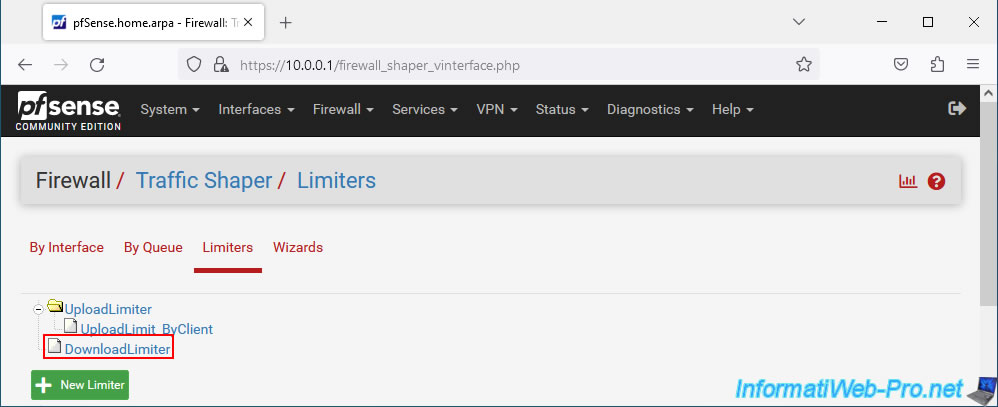
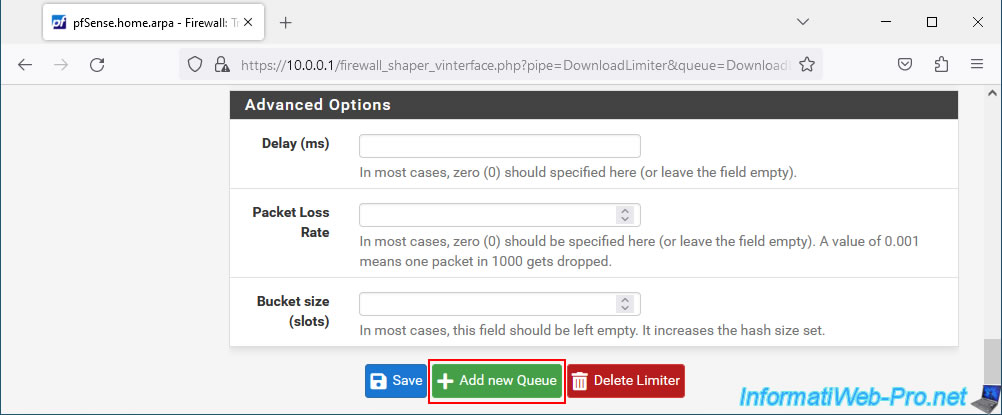
At the bottom of the page, click on: Add new Queue.
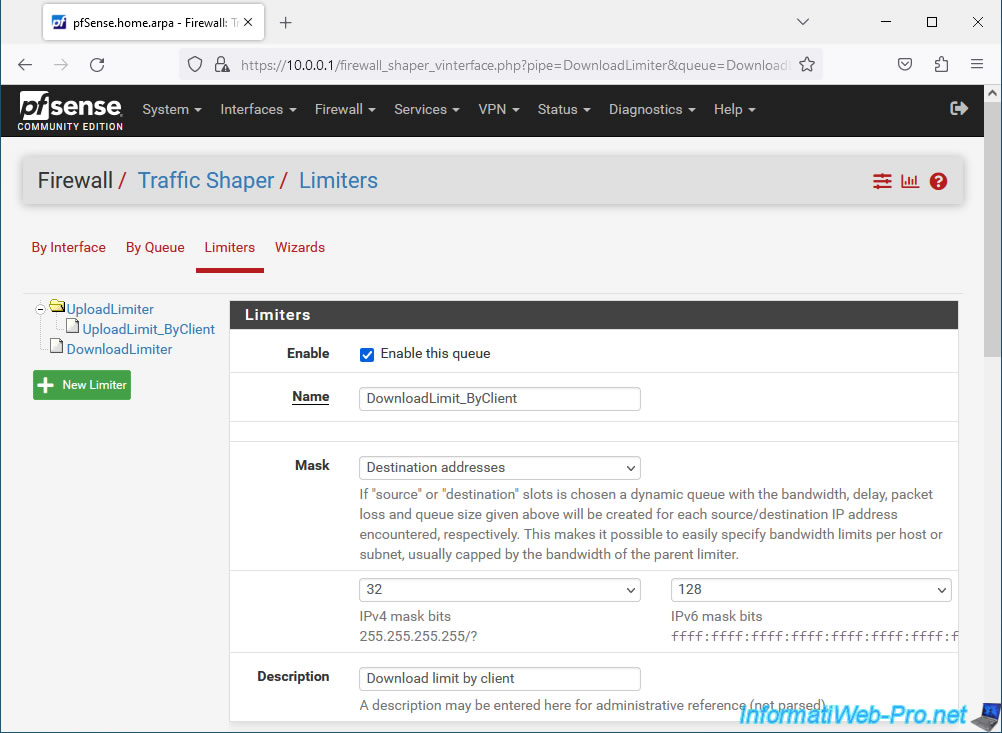
For this queue, configure the settings like this:
- Enable: check the "Enable this queue" box to enable this queue.
- Name: DownloadLimit_ByClient.
- Mask: this time, select "Destination addresses" since when downloading from the Internet, network traffic goes to the destination address (which corresponds to the address of a LAN client).
- Description: Download limit by client.
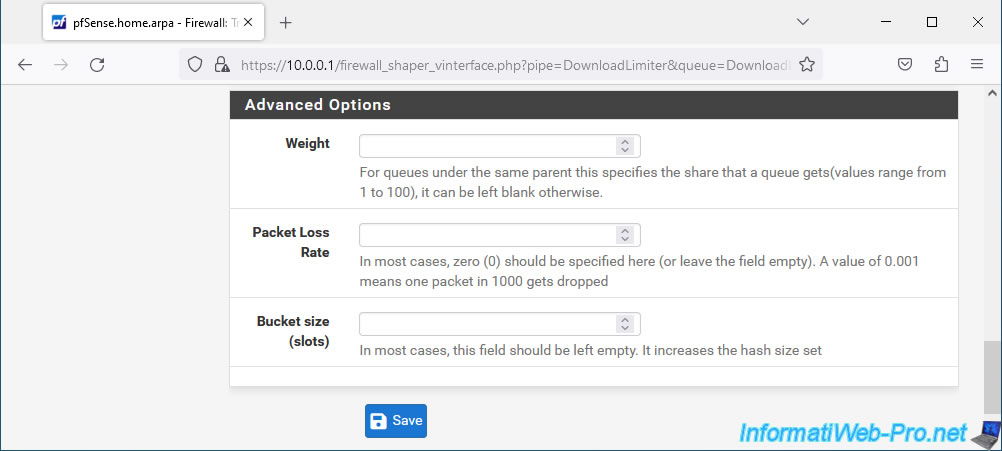
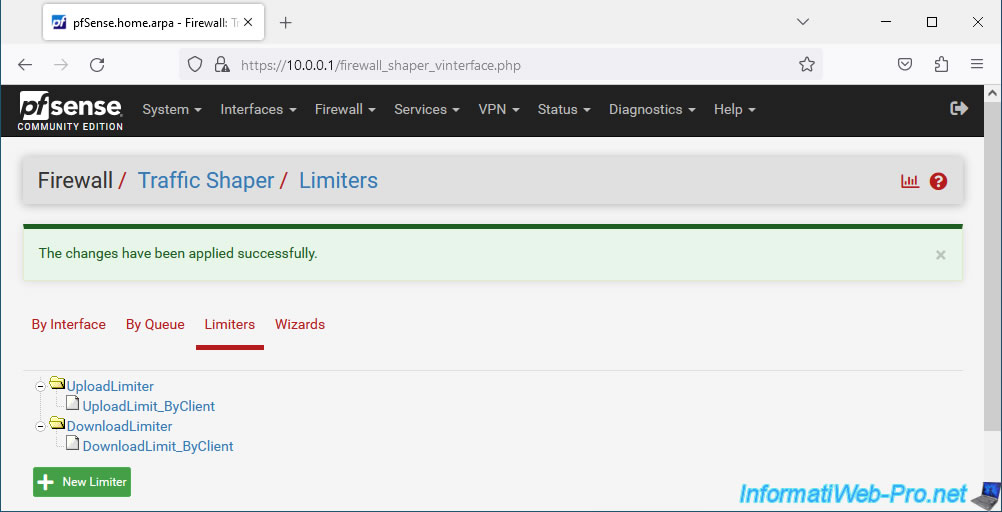
At the bottom of the page, click Save.
At the top of the page, click: Apply Changes.
The limiter and queue for downloading have been created.
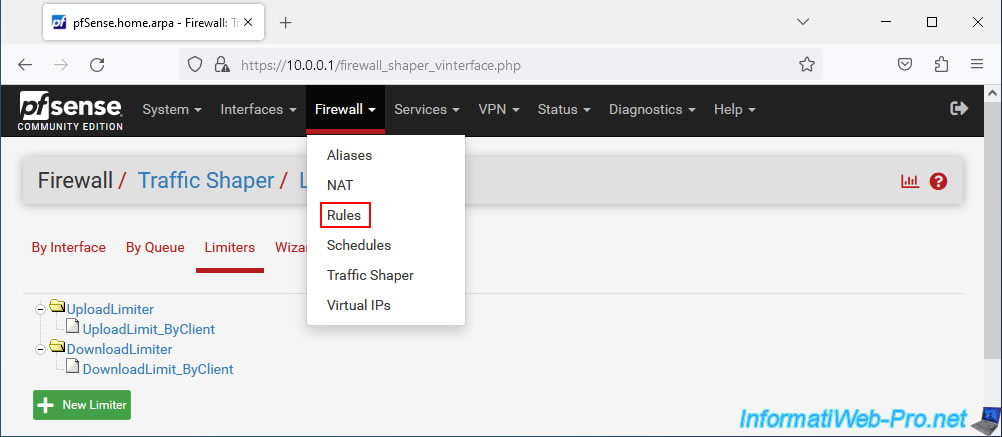
6. Apply bandwidth limits on the firewall
Now that your limiters and queues are created, you need to apply them to the pfSense firewall.
Otherwise, no limits will be applied on network traffic passing through pfSense.
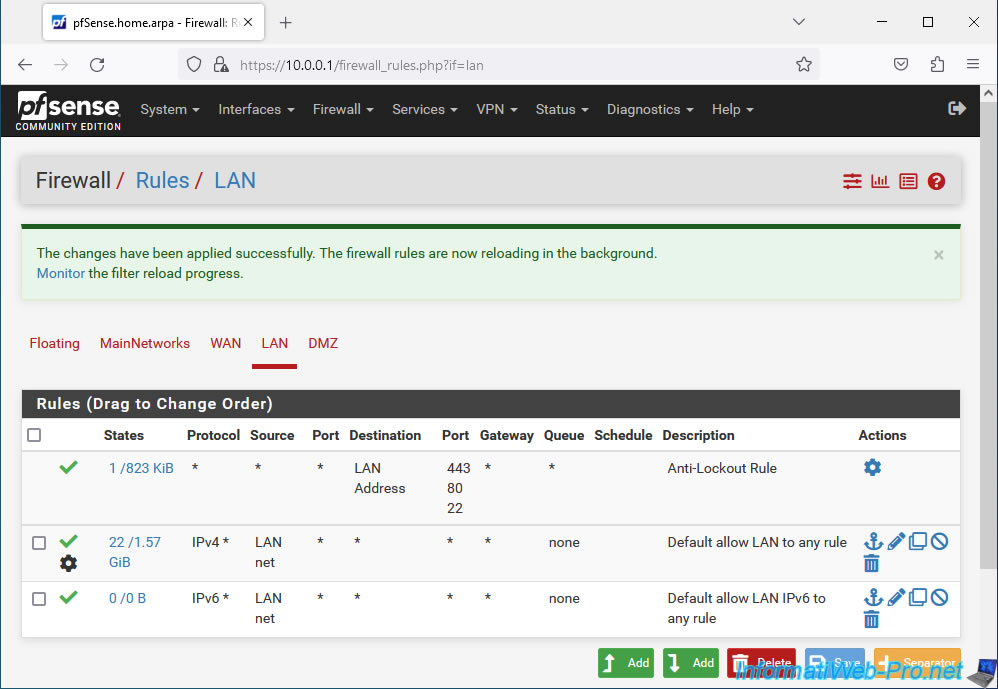
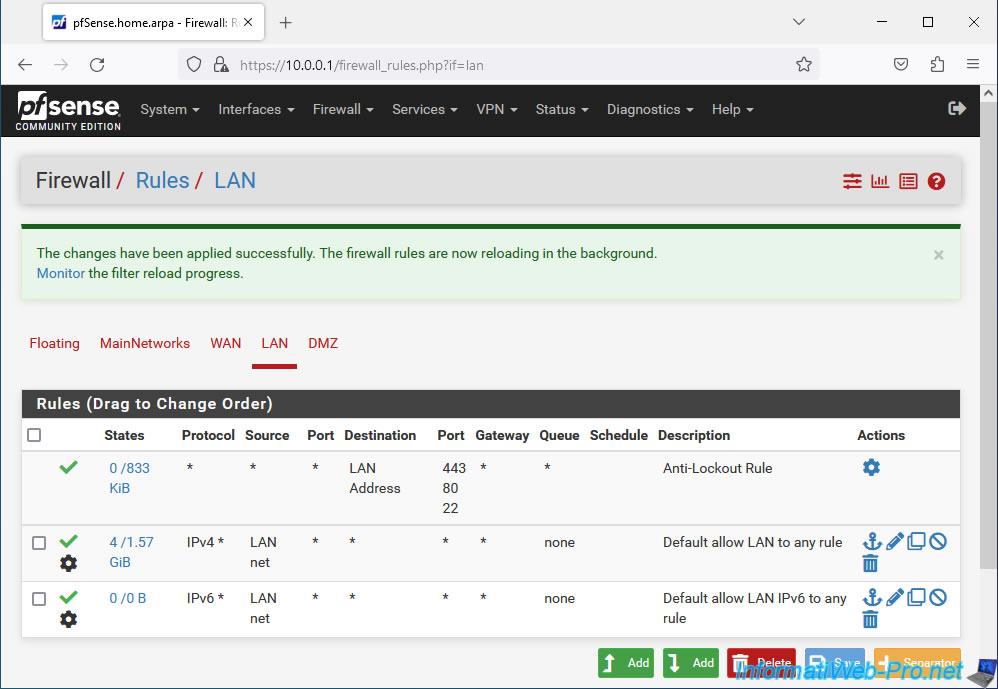
To do this, go to: Firewall -> Rules.
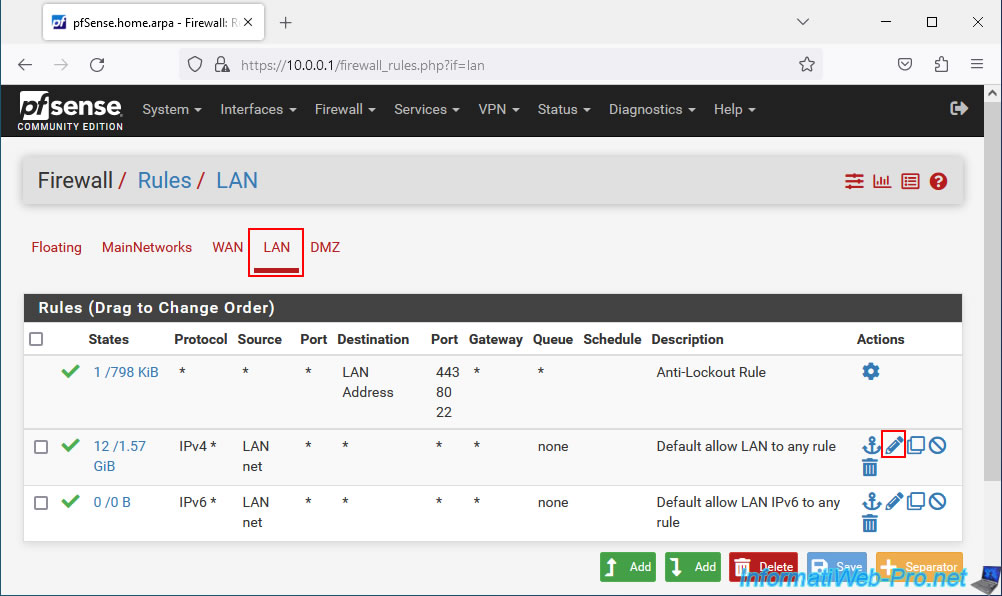
Go to the "LAN" tab since we want to limit the bandwidth for computers connected to the pfSense LAN network.
For this tutorial, we will apply the limits using the 2 default pfSense LAN rules:
- for IPv4 traffic: IPv4 * / LAN net / ... / Default allow LAN to any rule.
- for IPv6 traffic: IPv6 * / LAN net / ... / Default allow LAN IPv6 to any rule.
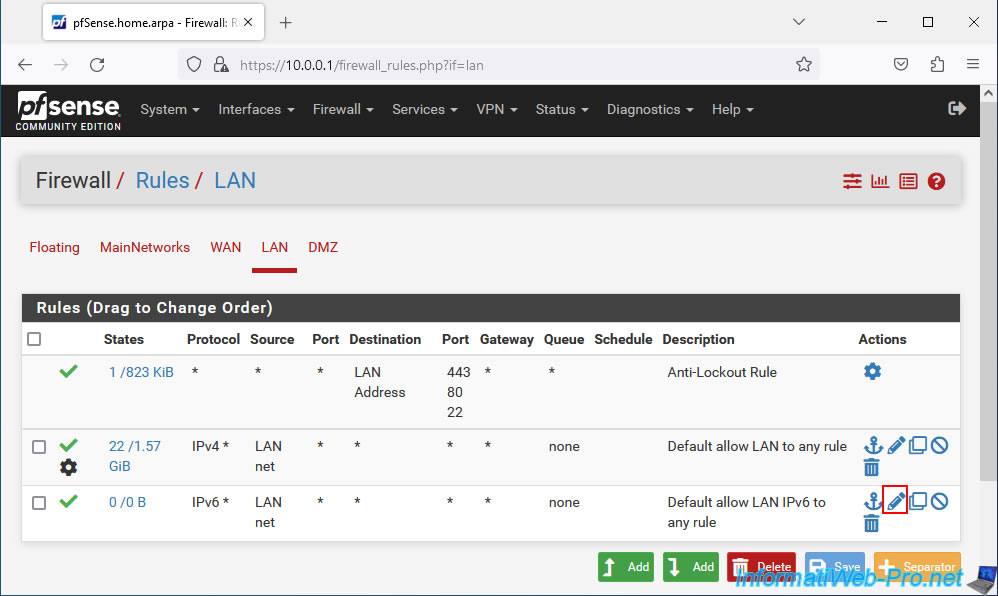
To get started, edit the rule corresponding to IPv4 traffic by clicking on the small pencil to the right of this rule.
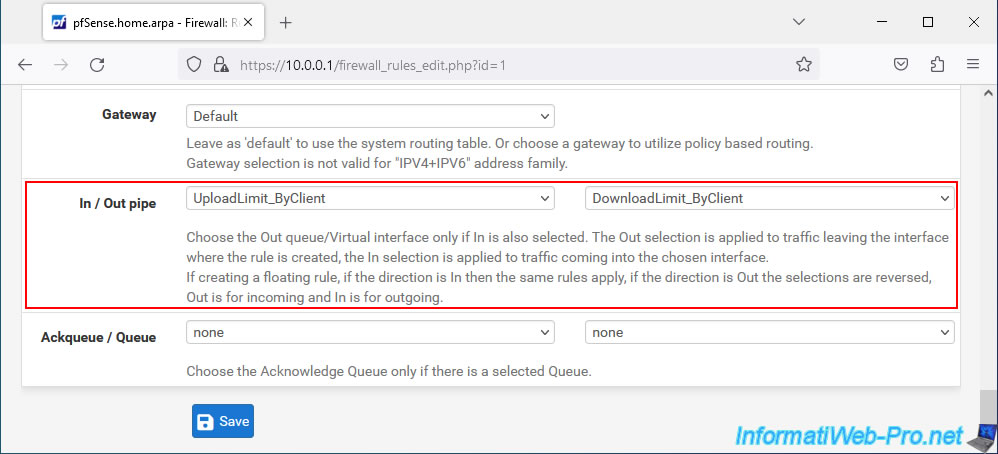
At the bottom of the "Edit Firewall Rule" page that appears, click the "Display Advanced" button.

In the "Advanced Options" section that appears, locate the "In / Out pipe" option.
When you have spotted this option, select the previously created queues in order: UploadLimit_ByClient / DownloadLimit_ByClient.
Important :
- In: corresponds to what enters through the interface concerned by the firewall rule that you are modifying.
- Out: corresponds to what comes out of the interface affected by the firewall rule you are modifying.
In other words, in this case:
- In: data sent by a client enters through the LAN interface (affected by this rule) of pfSense.
And obviously, they come out through the WAN interface (connected to the Internet), but you don't need to indicate that here. - Out: data received by a client (therefore downloaded by a client) leaves (comes) via the LAN interface (concerned by this rule) of pfSense.
And obviously, they are first entered through the pfSense WAN (Internet-connected) interface in the case of downloading from the Internet, but you don't need to indicate that here.
Once this setting is configured, click Save.
Once this setting is configured, click Save.

The bandwidth limitation has been applied to the IPv4 rule and a gear appears next to the "V" of this rule.
Which means that bandwidth throttling is applied for this network traffic.
Do the same for the IPv6 rule.
Go to the bottom of the page, click on the "Display Advanced" button and configure the "In / Out pipe" parameter with the values: UploadLimit_ByClient / DownloadLimit_ByClient.
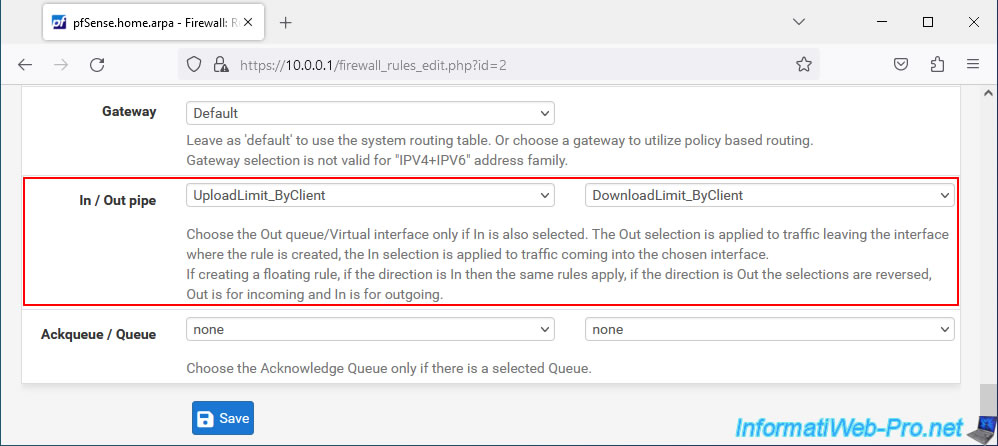
Click "Apply Changes".

Upload and download bandwidth is now limited for all IPv4 and IPv6 network traffic for the LAN.
7. Test network bandwidth throttling when uploading and downloading
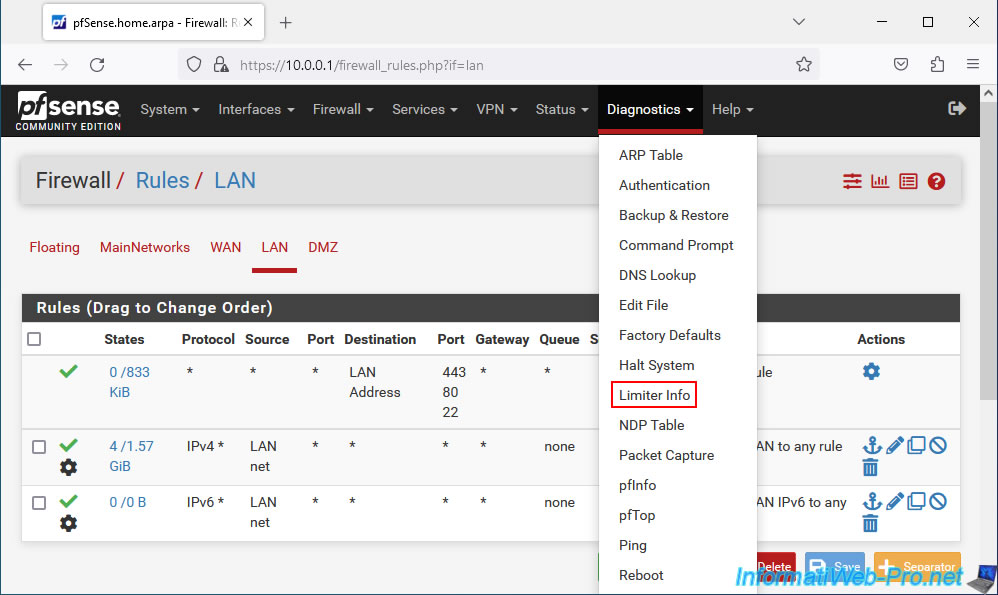
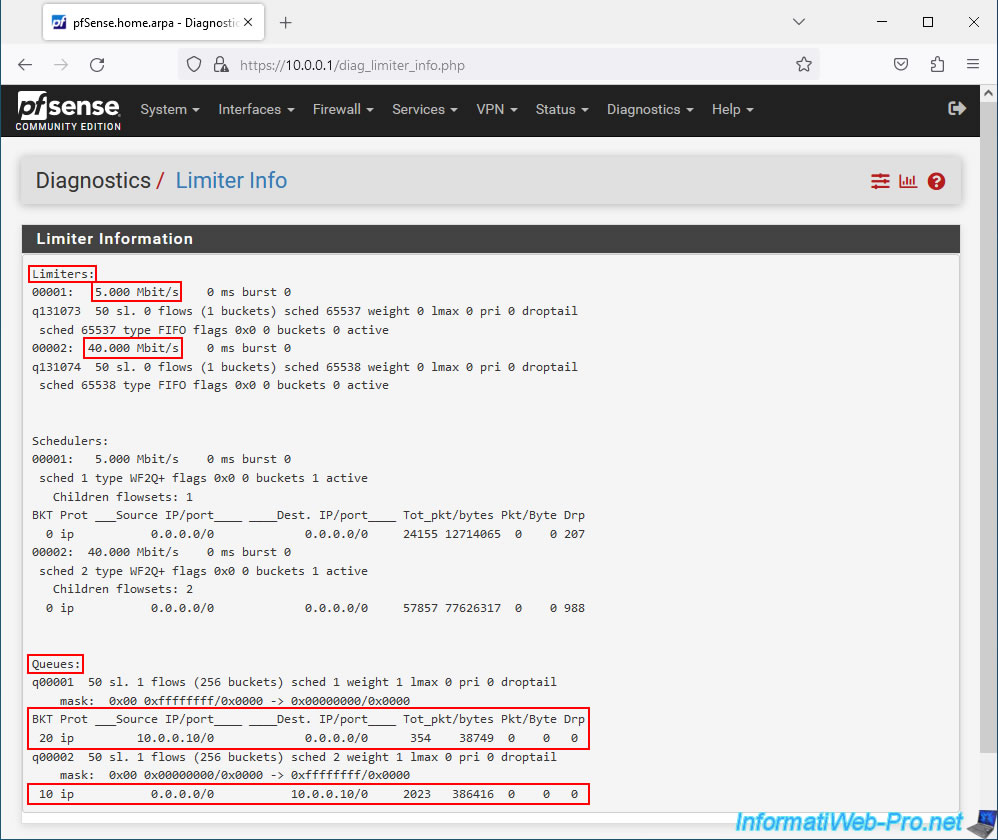
To start, you can see the information of previously created limiters via the pfSense "Diagnostics -> Limiter Info" menu.
As you can see, we have 2 limiters in our case with the speeds: 5 Mbit/s (for sending) and 40 Mbit/s (for downloading).

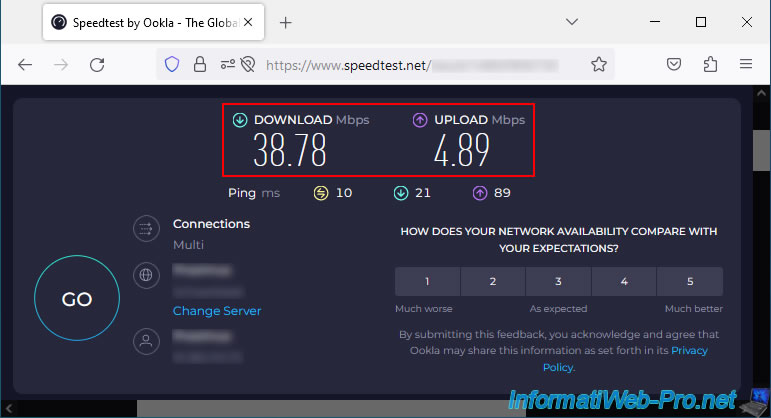
Use the speedtest site again to test your Internet bandwidth from a PC connected to the pfSense LAN network and you will see that the bandwidth is limited when downloading and uploading.
On the "Limit Info" page, you will see the packet quantity increase with the source IP address and destination network.
Share this tutorial
To see also
-

Firewall 7/25/2025
pfSense 2.6 - Create and manage aliases
-
Firewall 5/17/2025
pfSense 2.6 - Enable SSH protocol
-
Firewall 8/16/2025
pfSense 2.6 - Monitoring via SNMP and Zabbix 6
-
Firewall 8/1/2025
pfSense 2.6 - Update pfSense
No comment