Manage quality of service (QoS) and limit bandwidth on pfSense 2.6
- Firewall
- pfSense
- 18 June 2025 at 13:46 UTC
-

- 2/3

2. Limit sending bandwidth (creation of a limiter)
If you want to manually configure network bandwidth throttling, you will need to create limiters and queues yourself.
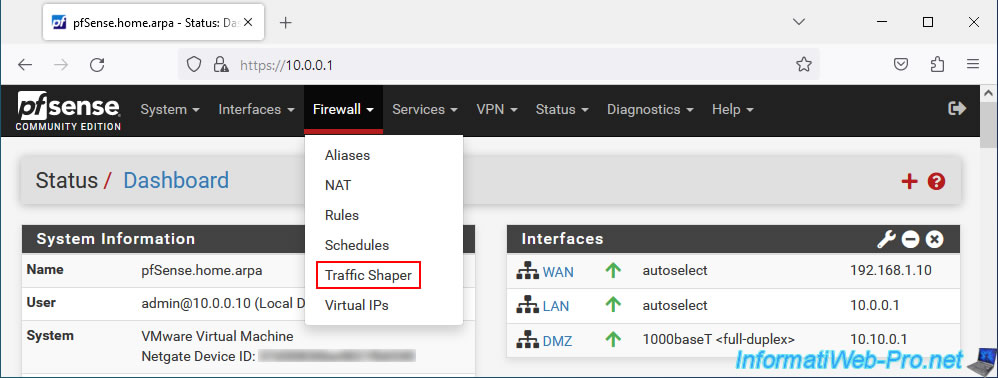
To do this, go to: Firewall -> Traffic Shaper.
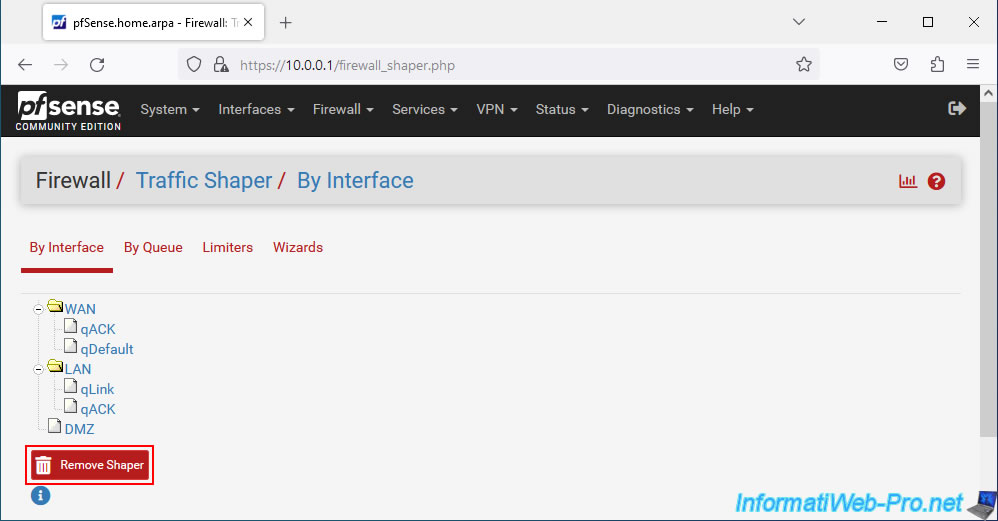
Click "Remove Shaper" to remove the entire Traffic Shaper configuration previously created by the wizard.
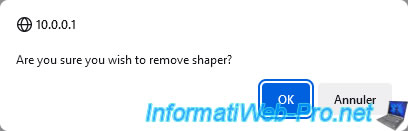
Confirm the removal of Traffic Shaper configuration.
Are you sure you wish to remove shaper?
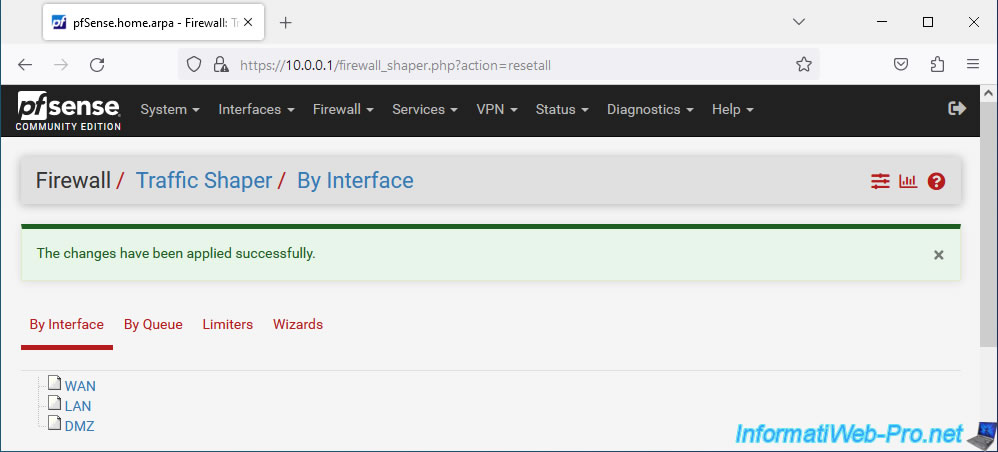
The Traffic Shaper configuration has been deleted.
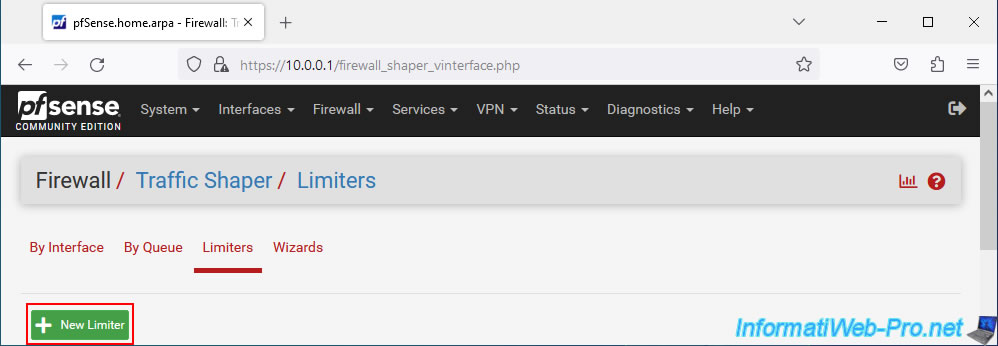
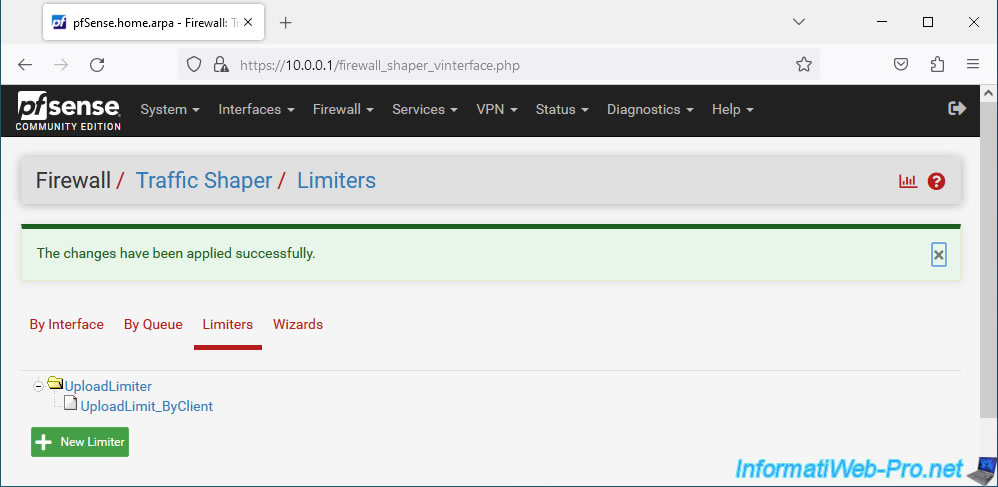
Now, go to the "Limiters" tab and click: New Limiter.
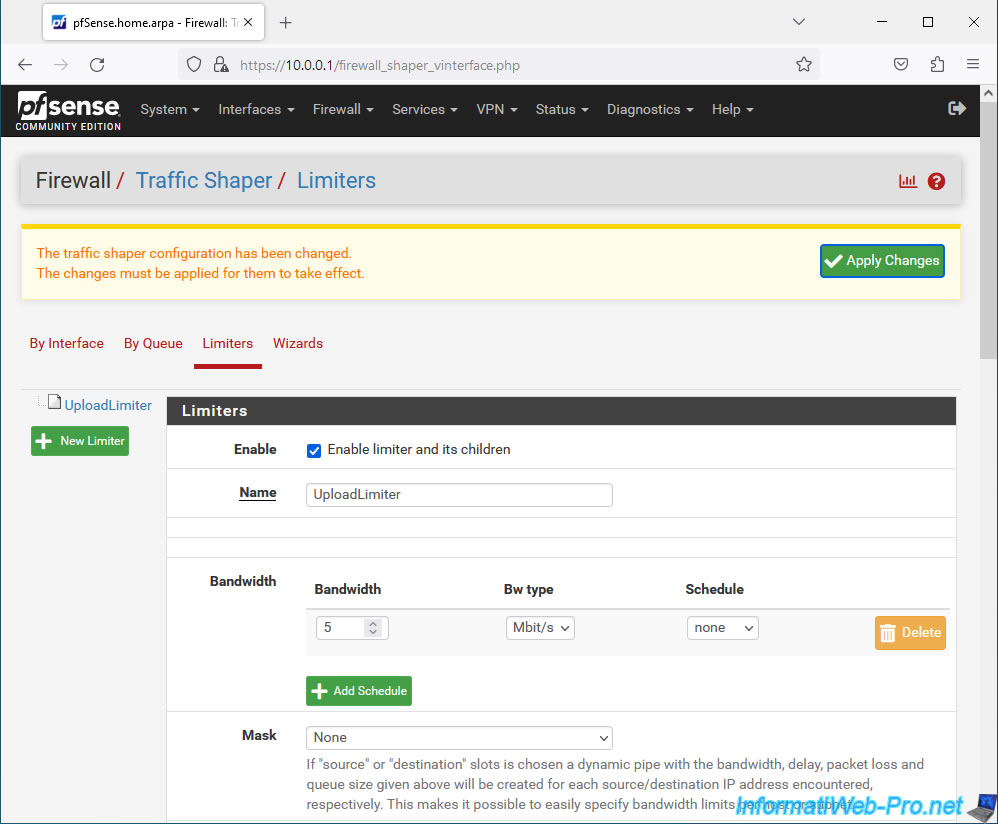
In the "Limitations" section that appears, configure these settings to limit sending network bandwidth:
- Enable: check the "Enable limiter and its children" box to activate this new limiter.
- Name: indicate for example "UploadLimiter".
- Bandwidth: specify the maximum network bandwidth for sending data to the Internet (WAN interface).
In our case: 5 Mbit/s.
Note: the "Schedule" option allows you to apply this limit only during certain days or at certain times.
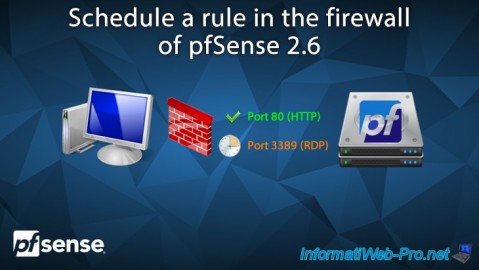
As we explained in our tutorial: pfSense 2.6 - Schedule a rule in the firewall. - Mask: select "None", as this concerns all traffic coming from the LAN network.
- Description: specify for example "Global upload limit" since this limiter is used to limit the overall network bandwidth for sending data from the LAN network.

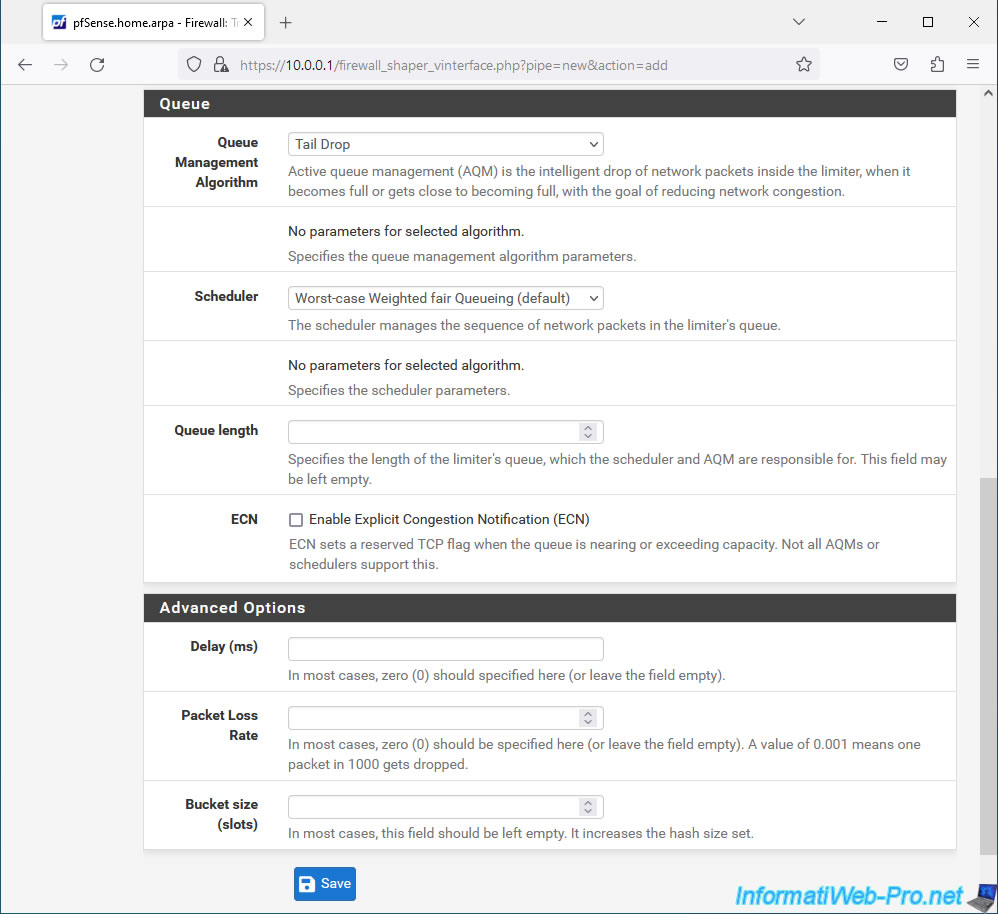
In the "Queue" section, you will be able to choose how queues will be managed for QoS.
In the "Advanced Options" section, you can, in the case of a lab, simulate network latency using the "Delay (ms)" option, simulate packet loss using the "Packet Loss Rate" option. , ...
Click Save.
Sources :
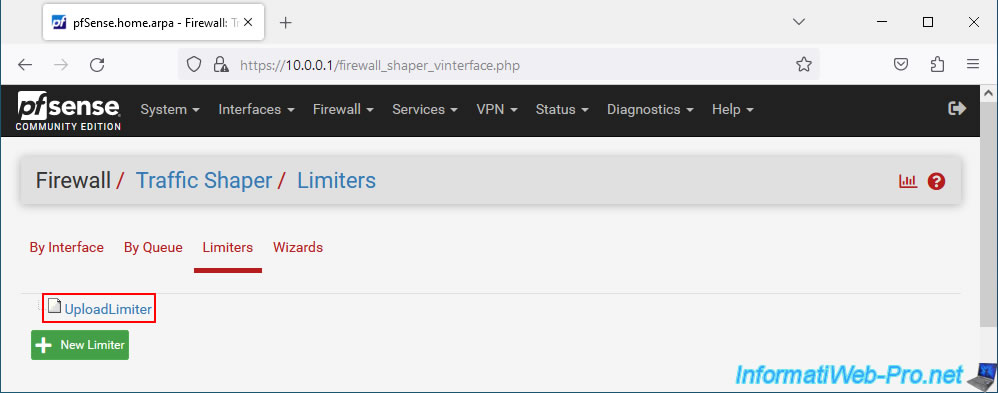
Then, at the top of the page, click "Apply Changes" to apply the changes.
3. Limit sending bandwidth (adding queues)
Now that the "UploadLimiter" limiter for limiting the overall network bandwidth for uploading is created, you need to add queues that will depend on it.
To do this, click on this limiter "UploadLimiter".
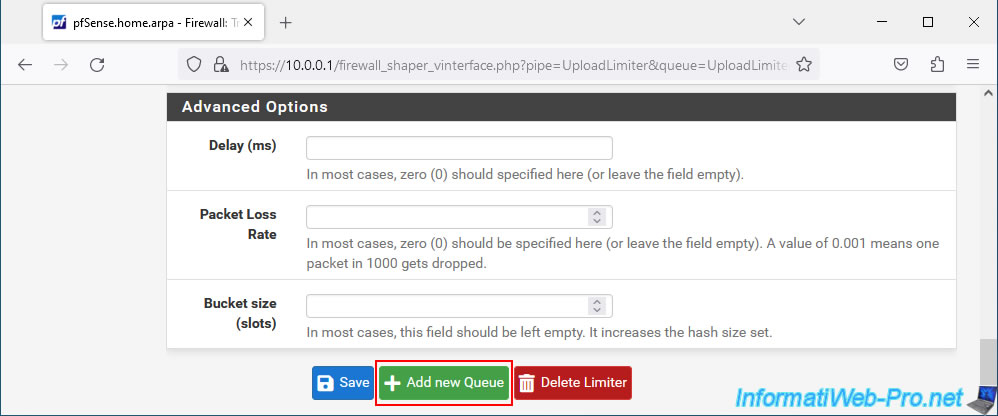
Then, at the bottom of the page, click: Add new Queue.
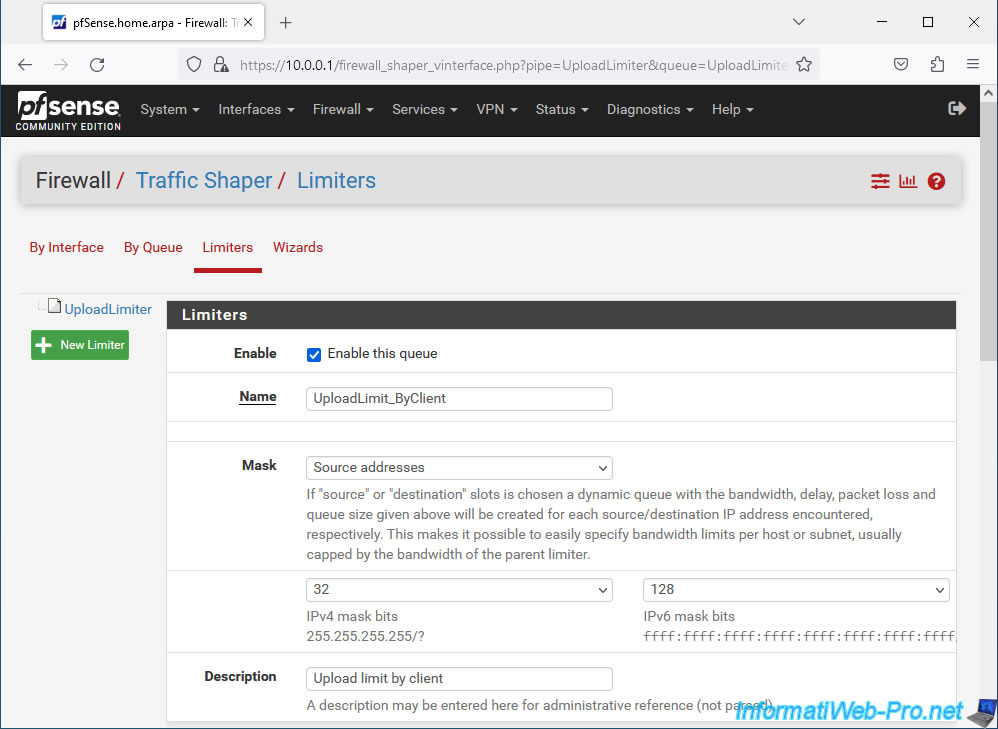
To limit network bandwidth for sending per client, configure these options:
- Enable: check the "Enable this queue" box to enable this queue.
- Name: for example, enter "UploadLimit_ByClient" as the name.
- Mask: select "Source addresses" to limit the bandwidth per source address.
This is because when you send data, the data is sent by the source PC. It is therefore necessary to base it on the source address of the LAN clients.
For subnet masks, leave the default ones. - Description: indicate for example "Upload limit by client" since the limit will be applied per client of the LAN network.
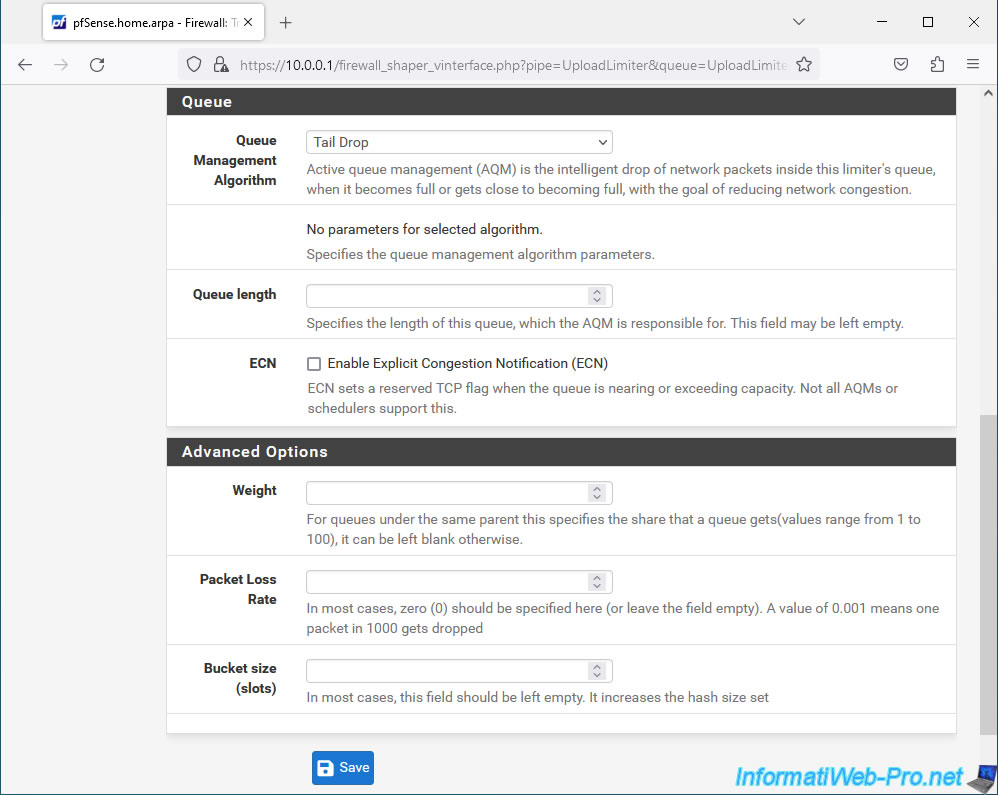
Once again, you will find the "Queue" sections for managing QoS queues and simulating slow and/or degraded connections, useful in the case of a lab.
The only parameter that changes compared to creating a limiter is the "Weight" field which will allow you to prioritize one queue over another by indicating a value between 1 and 100.
But, in our case, we will leave this box empty so that the distribution is fair for all customers.
Click Save.
At the top of the page, click: Apply Changes.
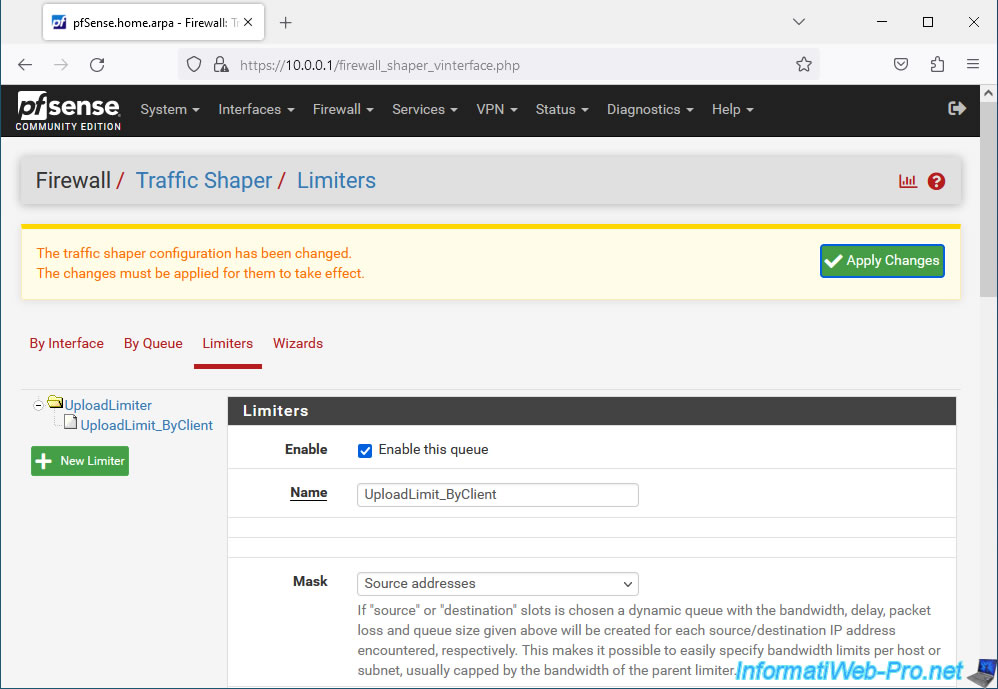
The limiter and the queue for sending have been created.
All that remains is to do the same for the download.
Share this tutorial
To see also
-
Firewall 8/6/2025
pfSense 2.6 - Create a network bridge
-
Firewall 6/4/2025
pfSense 2.6 - DNS resolution
-
Firewall 8/16/2025
pfSense 2.6 - Monitoring via SNMP and Zabbix 6
-
Firewall 6/13/2025
pfSense 2.6 - Schedule a rule in the firewall
No comment