- Firewall
- pfSense
- 18 June 2025 at 13:46 UTC
-

- 1/3

To prevent a user from saturating your bandwidth, you can configure pfSense to limit download and/or upload bandwidth, as well as prioritize certain types of traffic (such as VoIP, for example) to ensure quality of sufficient service (QoS), even when bandwidth is heavily used.
- Manage quality of service (QoS) and limit bandwidth via a wizard
- Limit sending bandwidth (creation of a limiter)
- Limit sending bandwidth (adding queues)
- Limit bandwidth for download (creating a limiter)
- Limit bandwidth for download (adding queues)
- Apply bandwidth limits on the firewall
- Test network bandwidth throttling when uploading and downloading
1. Manage quality of service (QoS) and limit bandwidth via a wizard
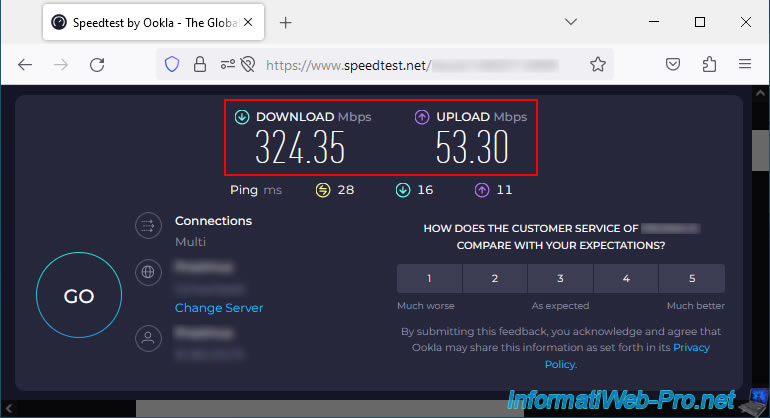
In our case, we have an Internet subscription with optical fiber.
Hence the download speed and the sending speed which are rather high.
To configure quality of service and bandwidth limitation on pfSense, go to: Firewall -> Traffic Shaper.
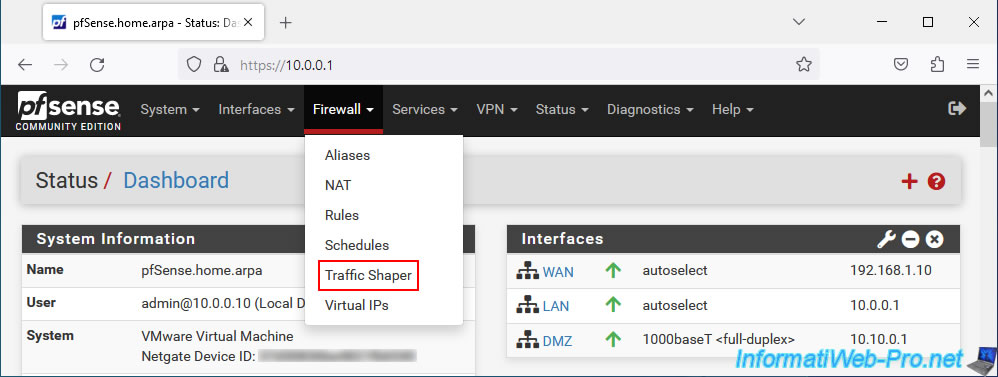
As you can see, you will be able to configure the Traffic Shaper per interface, use queues, limiters, as well as pre-installed wizards.
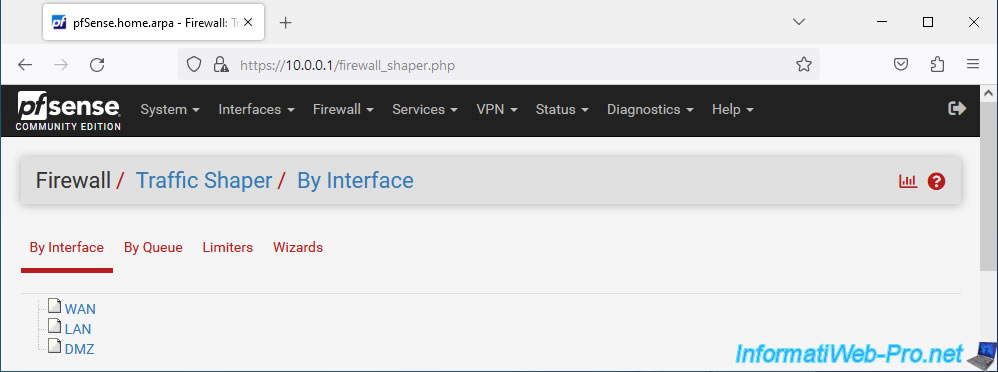
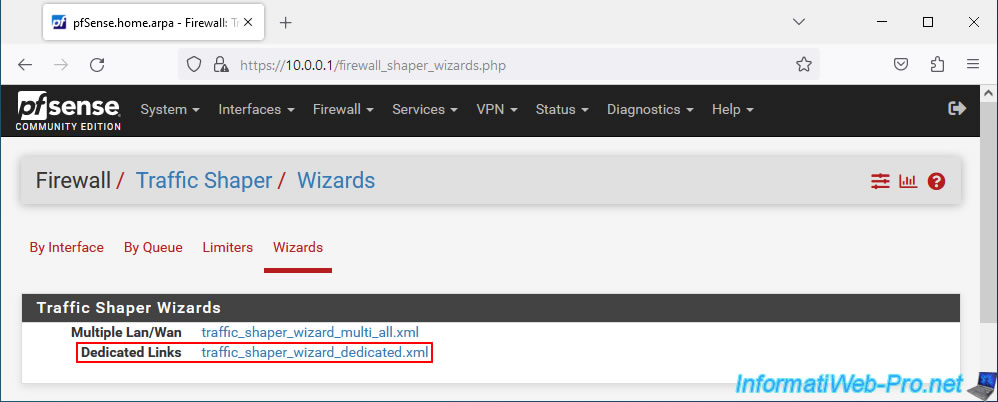
For this first example, we will use the "Dedicated Links" wizard.
To do this, go to the "Wizards" tab and click on the link: traffic_shaper_wizard_dedicated.xml.
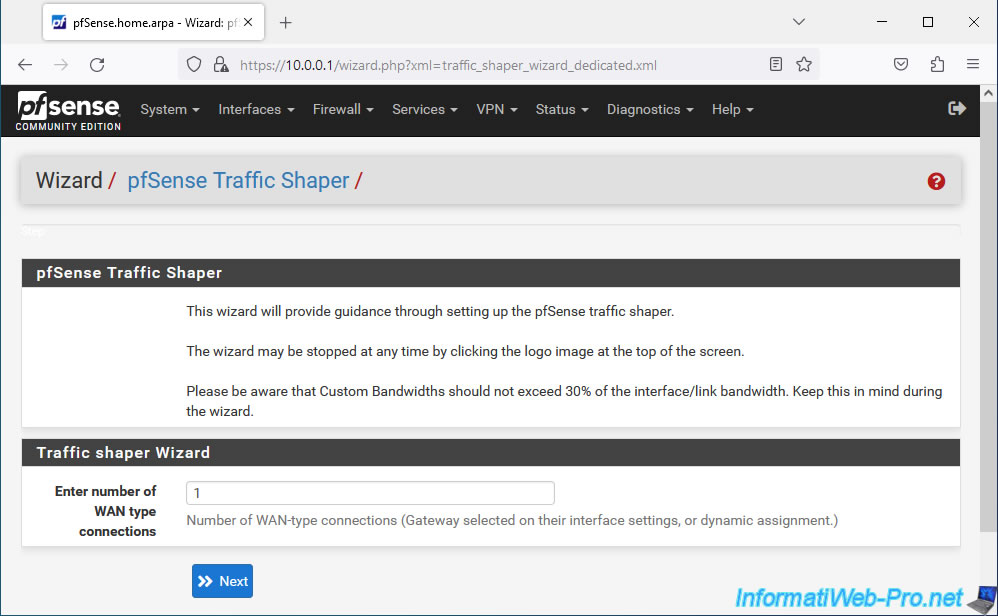
In the "pfSense Traffic Shaper" wizard that appears, indicate how many WAN (Internet) interfaces you have and click Next.
Default: 1.
Note: the only case where you will have several is if you have configured multi-WAN on pfSense.
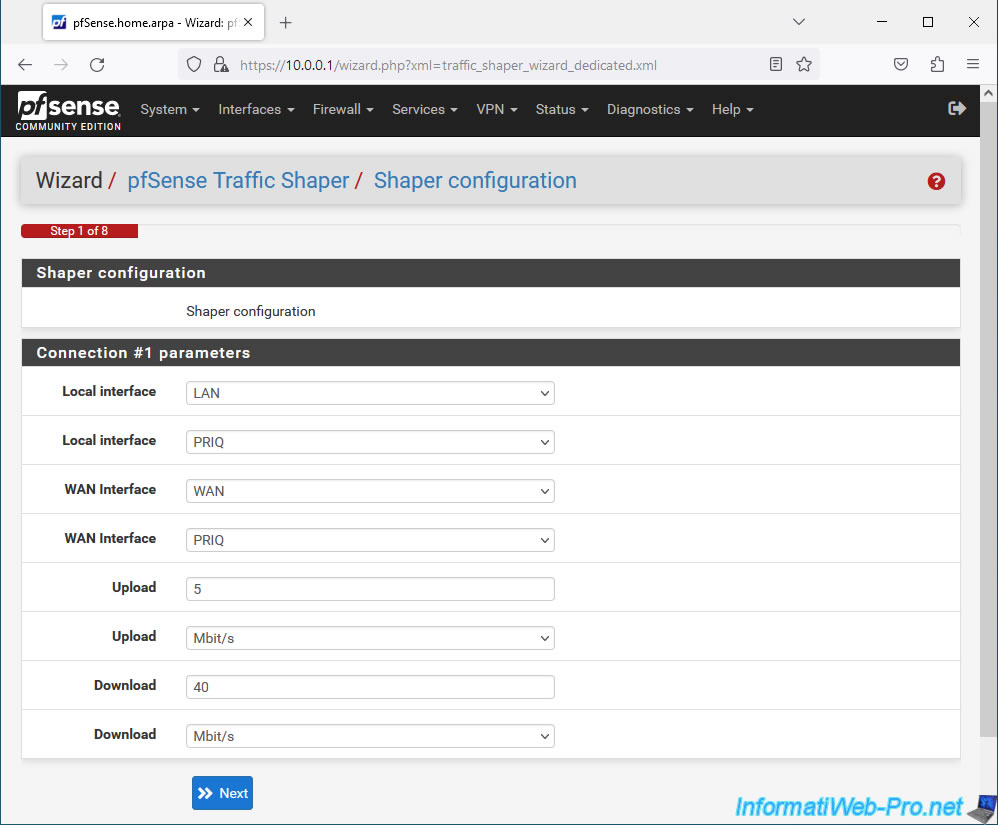
In step "1. Shaper configuration - Connection #1 parameters", configure these parameters:
- Local interface: LAN. The pfSense "LAN" interface where the computers whose bandwidth must be limited are located.
- Local interface: default, PRIQ. Allows you to choose the alternative queue (ALTernate Queueing or ALTQ) which will be used for traffic prioritization using the different queues used by QoS.
To know the difference between the different options offered here, refer to the page: ALTQ Scheduler Types | pfSense Documentation. - WAN Interface: WAN. The pfSense "WAN" interface which corresponds to the interface connected to the Internet.
- WAN Interface: default, PRIQ. The different types of alternative queues (ALTQ) offered are the same as for the local interface.
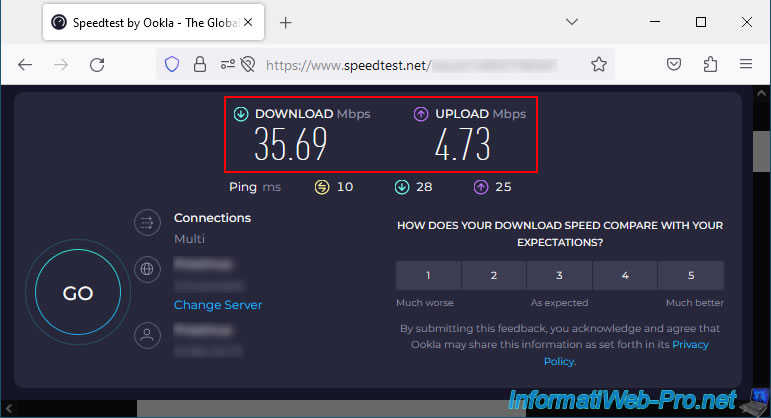
- Upload: 5 - Mbit/s. Specify the maximum sending speed that will be allowed for the entire LAN to the WAN (Internet) interface.
- Download: 40 - Mbit/s. Specify the maximum download speed that will be allowed for the entire LAN from the WAN (Internet) interface.
Then, click Next.
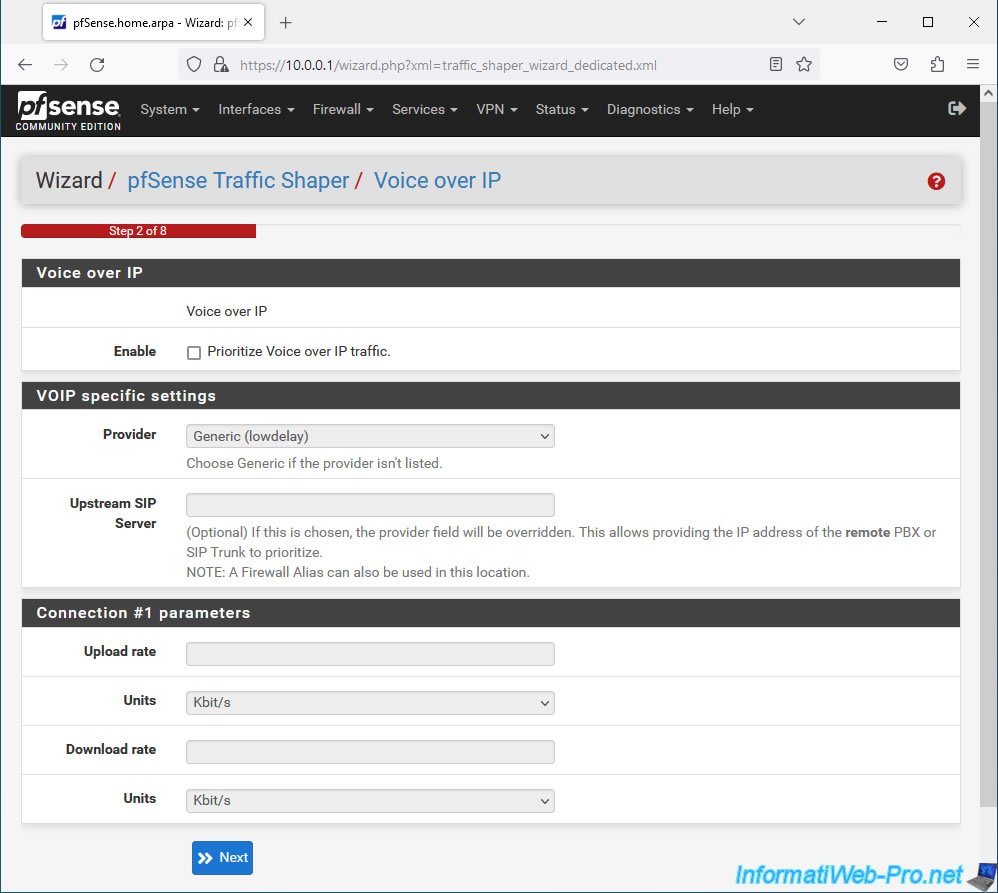
In step "2. Voice over IP", you can prioritize VoIP traffic by checking the "Prioritize Voice over IP traffic" box to ensure the quality of telephone calls with IP telephones.
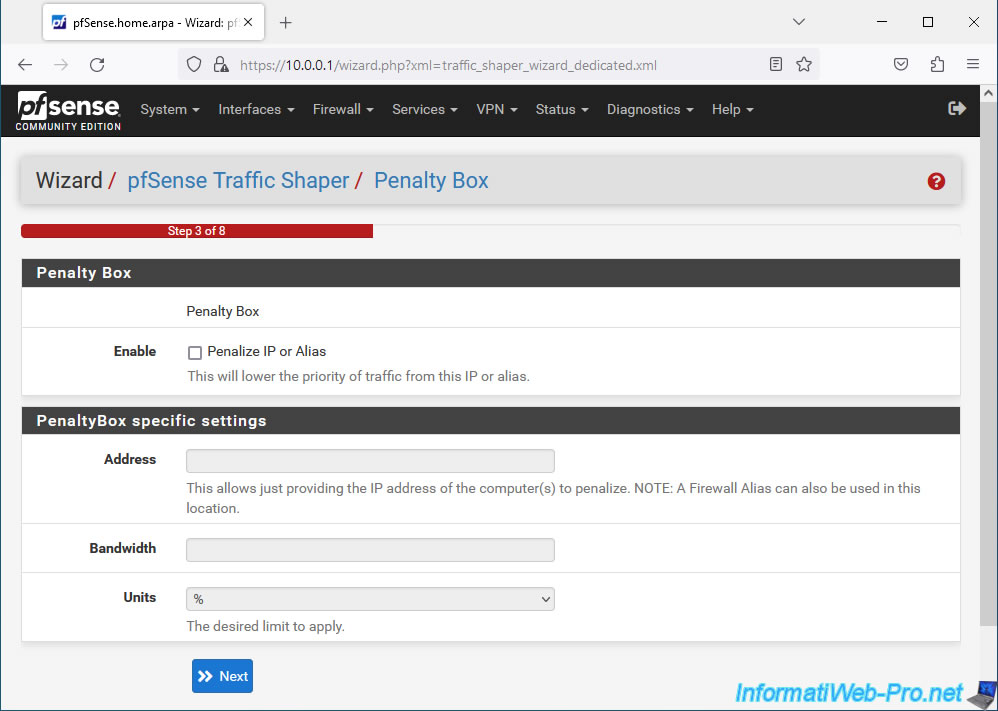
In step "3. Penalty Box", you can penalize an IP address (or an IP alias) which tends to saturate your bandwidth unnecessarily by checking the "Penalize IP or Alias" box.
In step "4. Peer to Peer networking", you can reduce the priority of traffic linked to file sharing software by checking the "Lower priority of Peer-to-Peer traffic" box.
This type of network traffic tends to easily saturate network bandwidth.
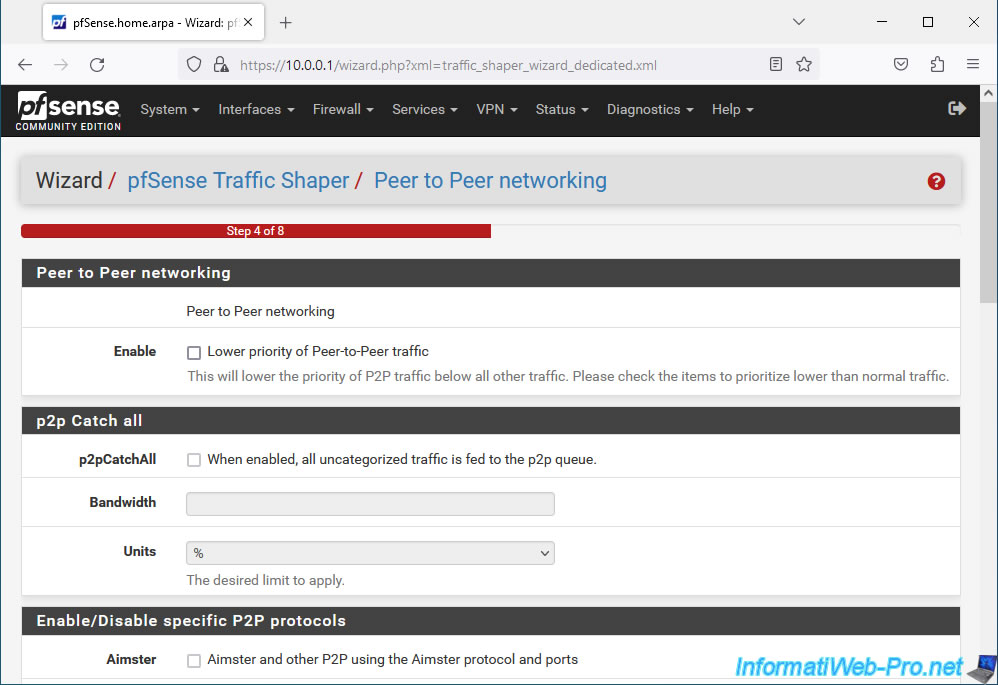
At the bottom of the page, click Next.
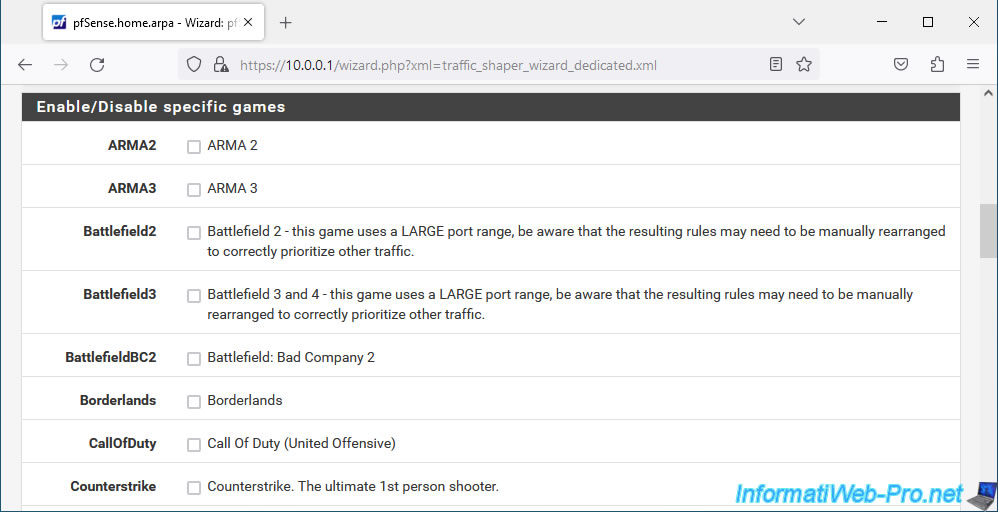
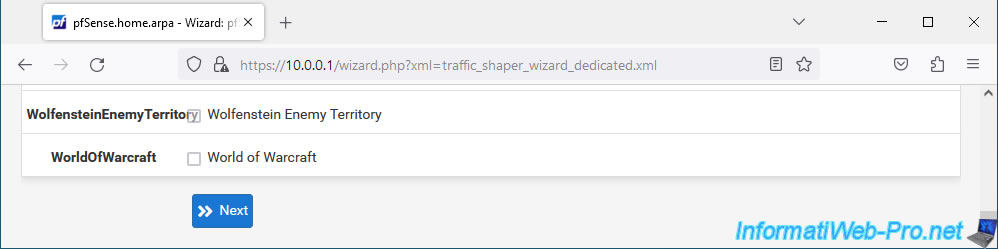
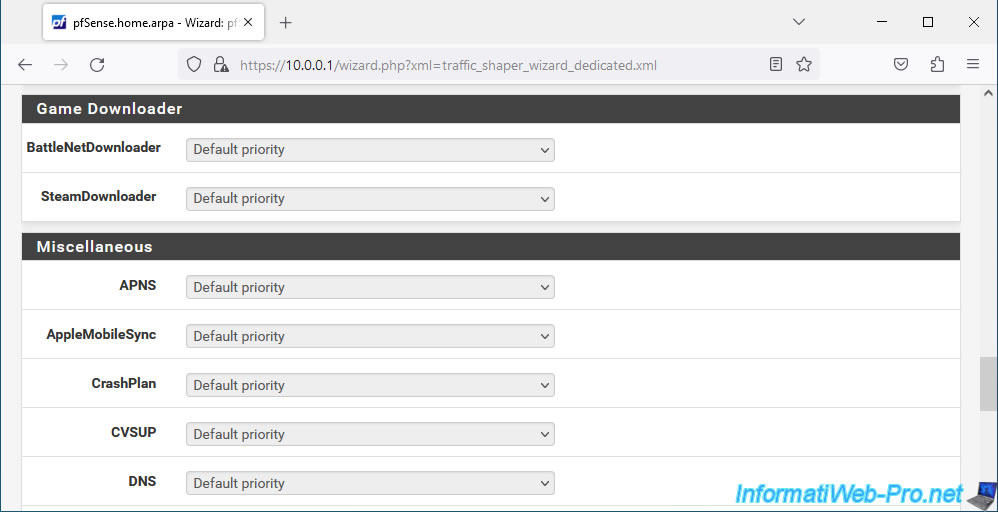
In step "5. Network Games", you will be able to prioritize network traffic linked to different official and legal game download platforms, such as: EA Origin Client from Electronic Arts (EA), Steam, Xbox Live, ... by checking the "Prioritize network gaming traffic" box.
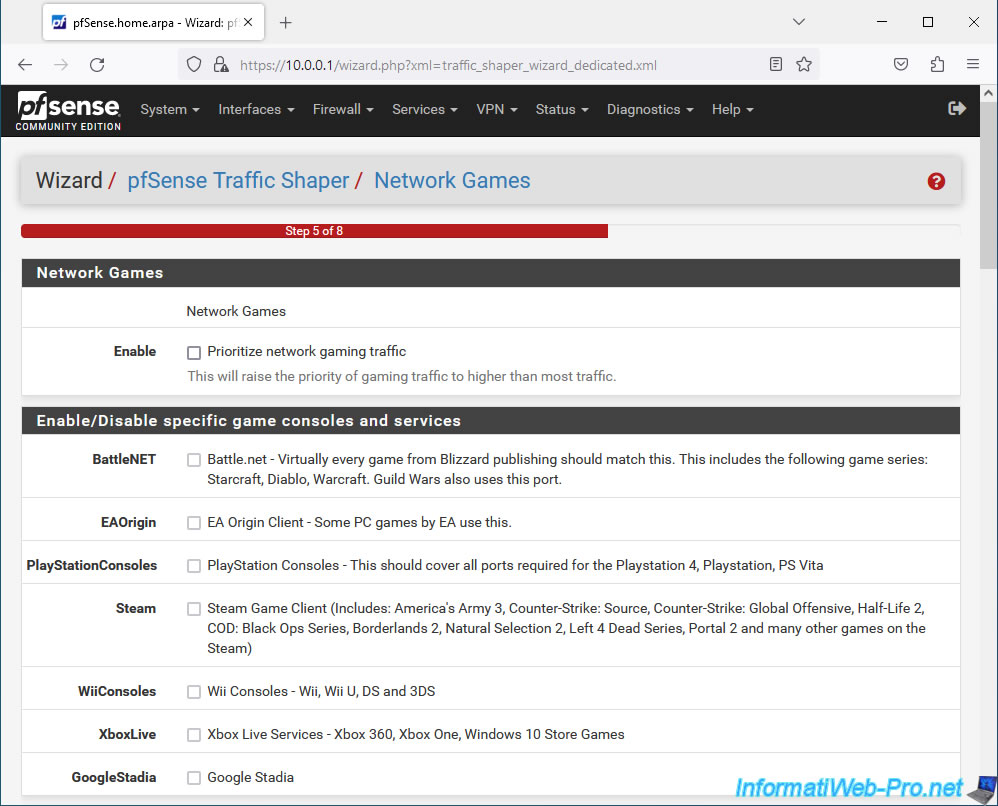
At this stage, you will also be able to prioritize traffic for certain well-known games, such as: Battlefield, Call of Duty (COD), Counterstrike, World of Warcraft, ...
This will prevent games from lagging and characters from teleporting instead of moving.
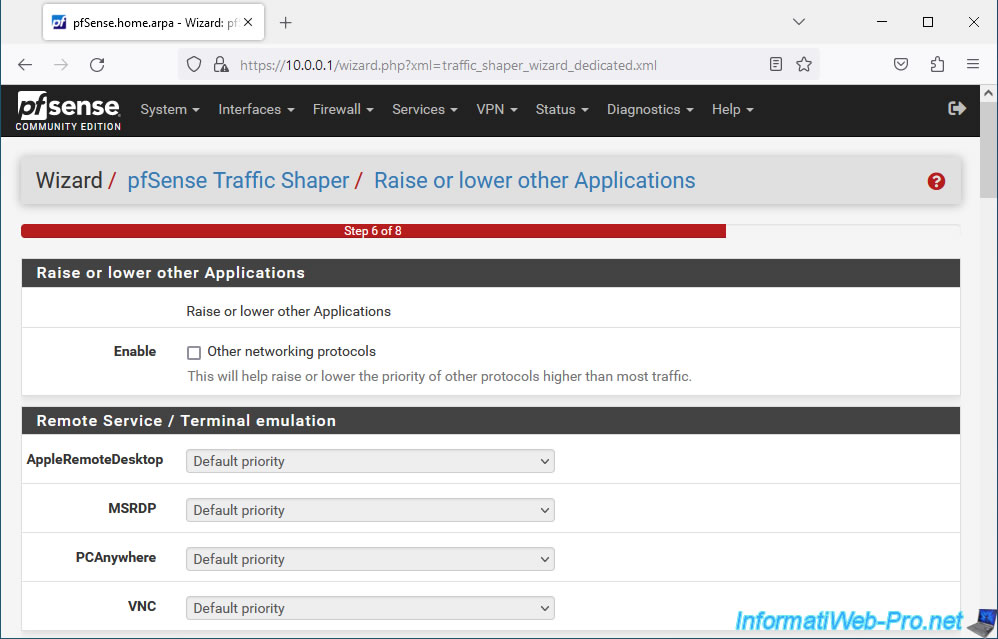
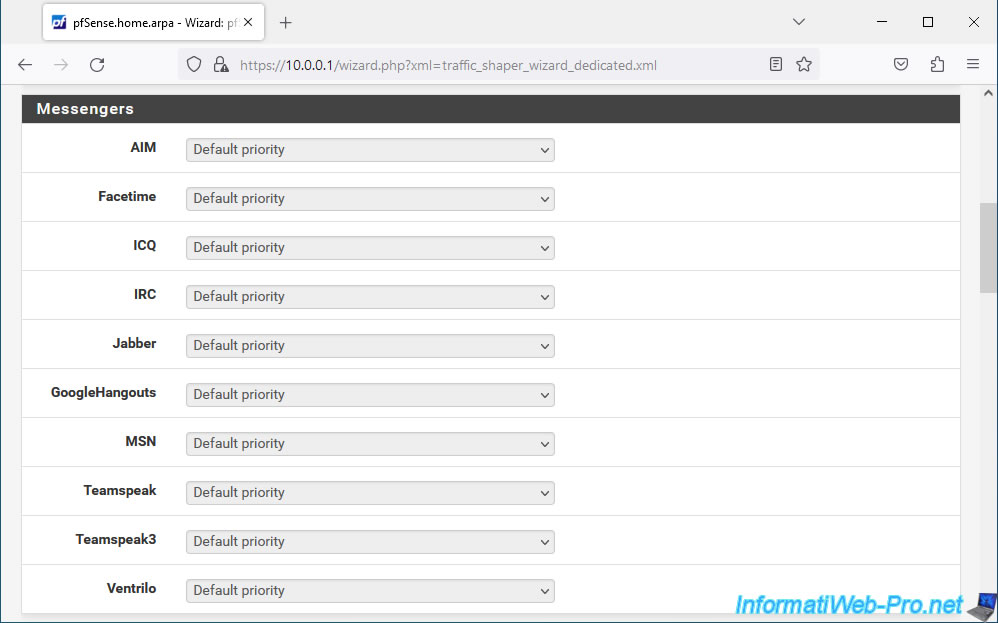
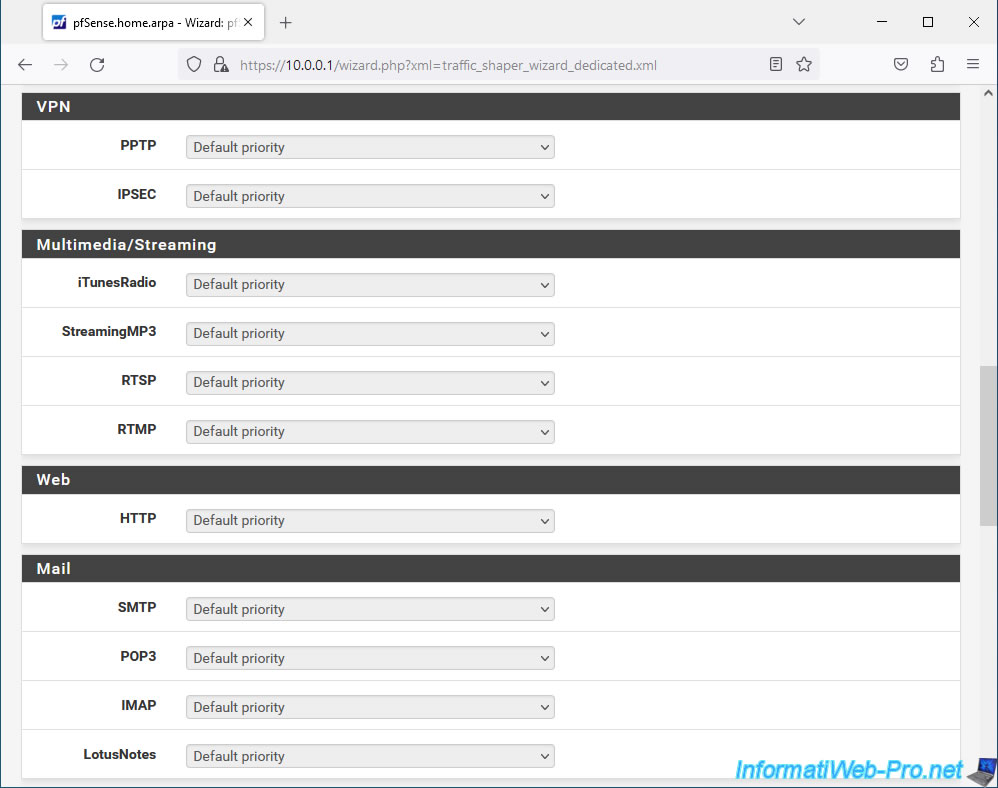
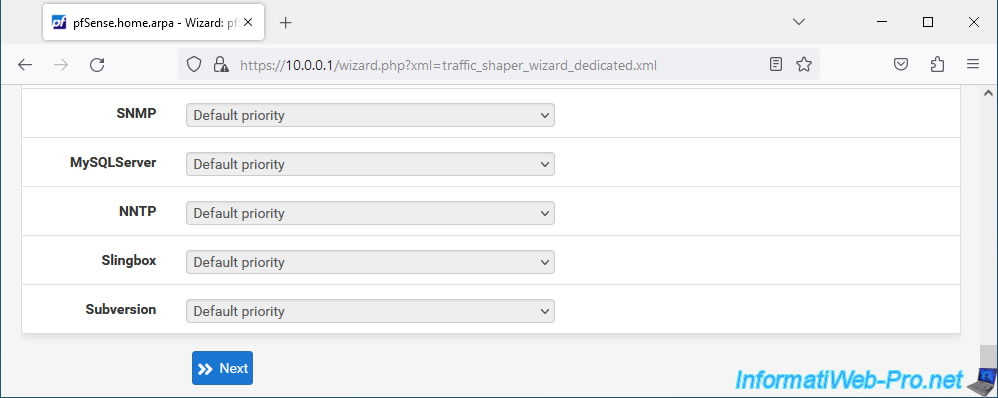
In step "6. Raise or lower other Applications", you can set the priority for the quality of service (QoS) of different known protocols, such as:
- Remote Service / Terminal emulation: MSRDP for Windows remote desktop, VNC, ...
- Messengers: Google Hangouts, Teamspeak, ...
- VPN: PPTP and IPSEC.
- Multimedia/Streaming: RTSP, RTMP, ...
- Web: HTTP for websites.
- Mail: SMTP for sending emails, POP3 and IMAP for receiving emails.
- and more: DNS, SNMP, MySQL, ...
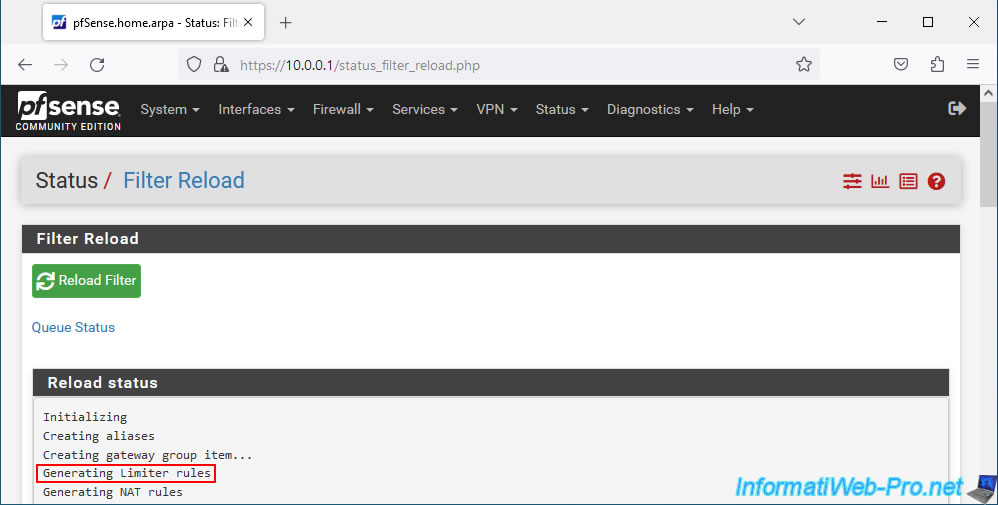
In step "7. Reload Profile", click "Finish" to apply all the configuration you just made.
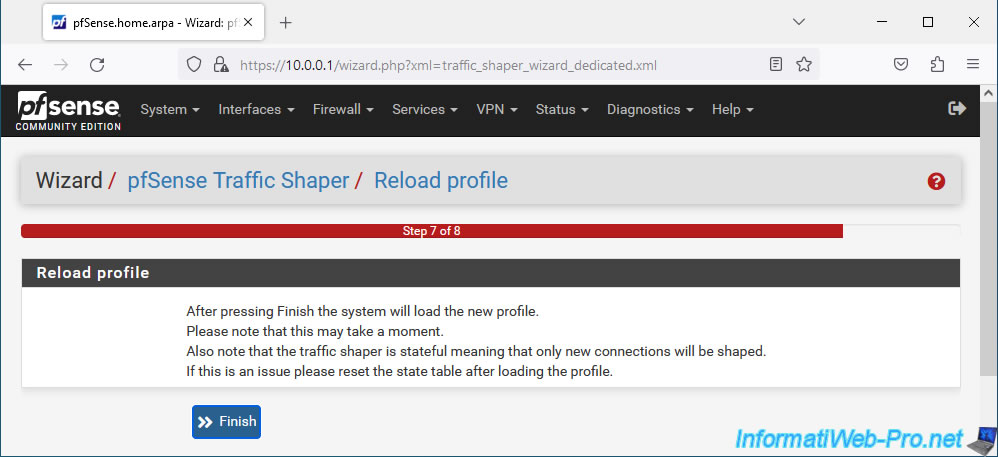
Click "Reload Filter" and you will see that pfSense will regenerate the rules related to Traffic Shaper limiters.
Source : Using the Shaper Wizard to Configure ALTQ Traffic Shaping | pfSense Documentation.
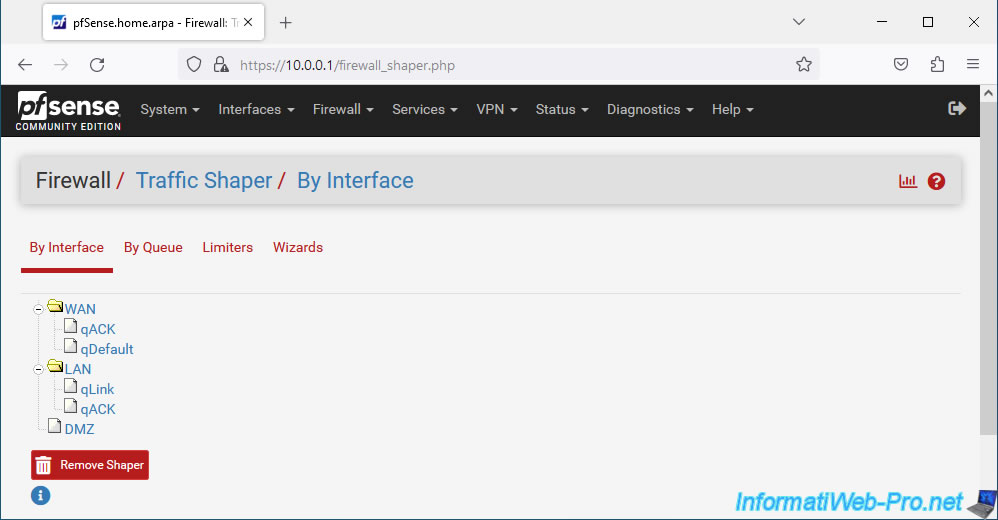
In "Firewall -> Traffic Shaper", you will see that configurations have been made in the "By Interface" tab:
- WAN
- qACK
- qDefault
- LAN
- qLink
- qACK
If you click on "WAN", you will see that the queue type used is "PRIQ" and that the bandwidth for sending is limited, in our case, to 5 Mbps.

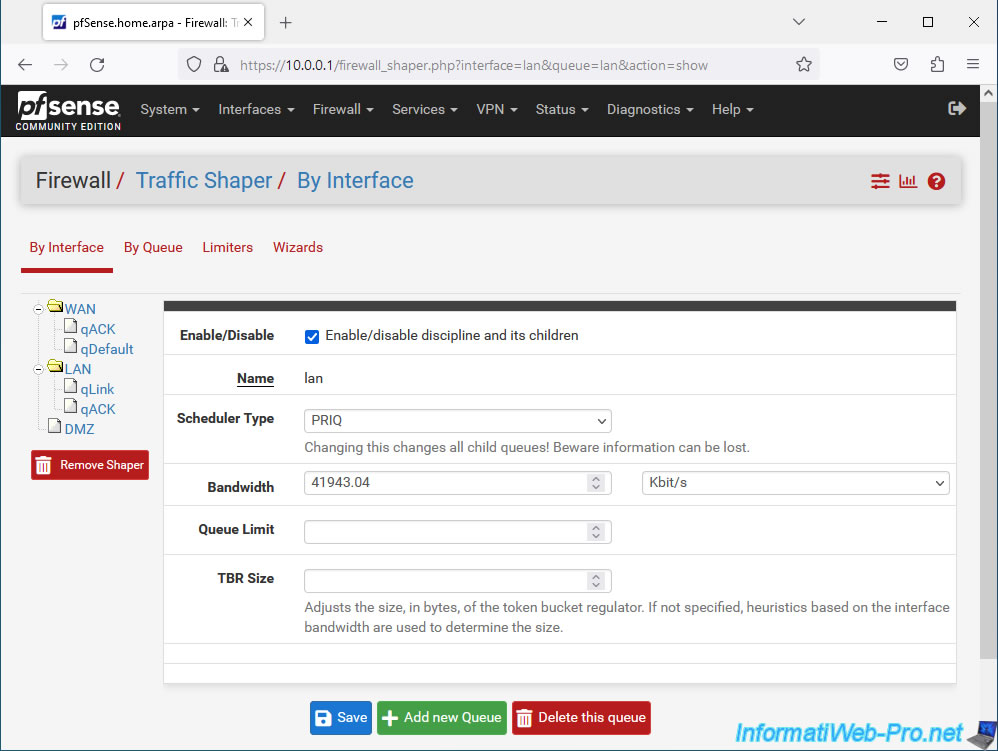
If you click on "LAN", you will see that the queue type used is again "PRIQ" (default) and that the bandwidth for uploading to the LAN is limited, in our case, to around 40 Mbps (approximately 40960 Kbps).
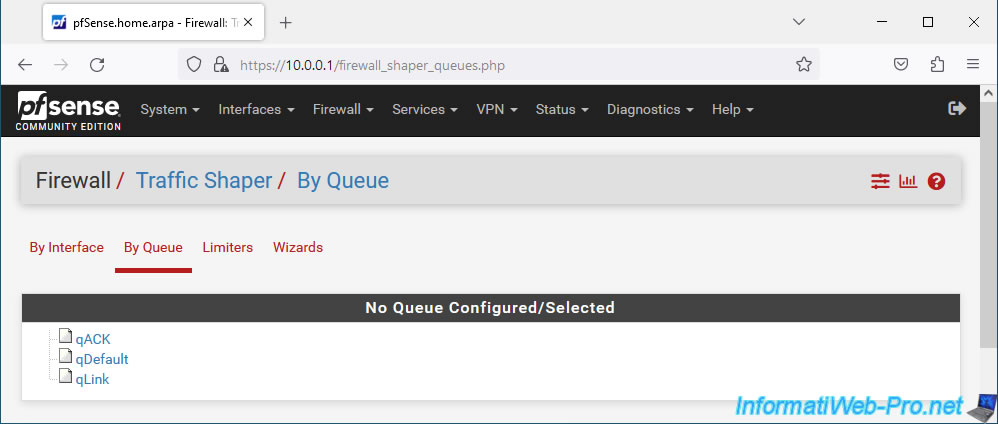
In the "By Queue" tab you will find 3 queues (if you have only configured network bandwidth limitation) which were configured by the wizard used previously: qACK, qDefault and qLink.
If you test your bandwidth using a site like "speedtest.net", you will see that pfSense does limit network bandwidth for downloading and uploading.
Share this tutorial
To see also
-
Firewall 8/13/2025
pfSense 2.6 - Create a captive portal
-
Firewall 6/11/2025
pfSense 2.6 - Create a DMZ and configure the firewall
-

Firewall 7/25/2025
pfSense 2.6 - Create and manage aliases
-

Firewall 5/28/2025
pfSense 2.6 - Create and use VLANs
You must be logged in to post a comment