Create and use VLANs on pfSense 2.6
- Firewall
- pfSense
- 28 May 2025 at 07:47 UTC
-

- 3/5

7. Configure VLAN 20 on pfSense
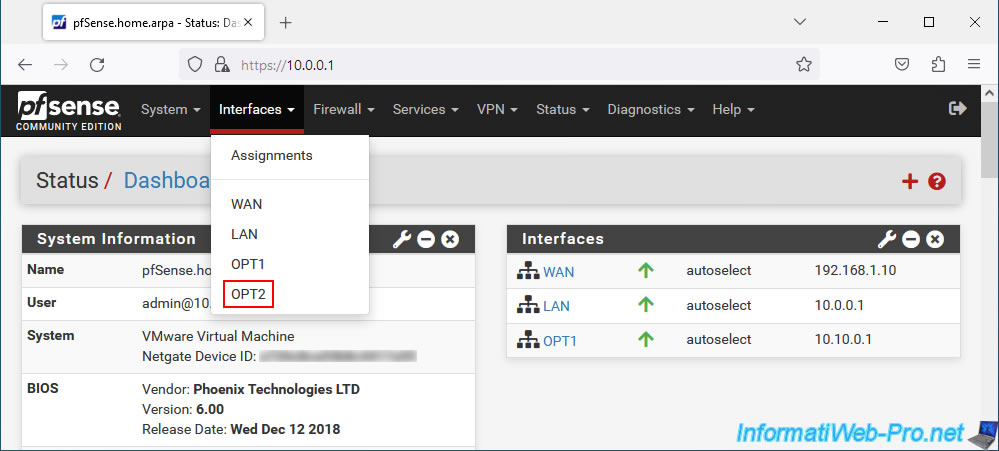
7.1. Enable the OPT2 interface (corresponding to our VLAN 20)
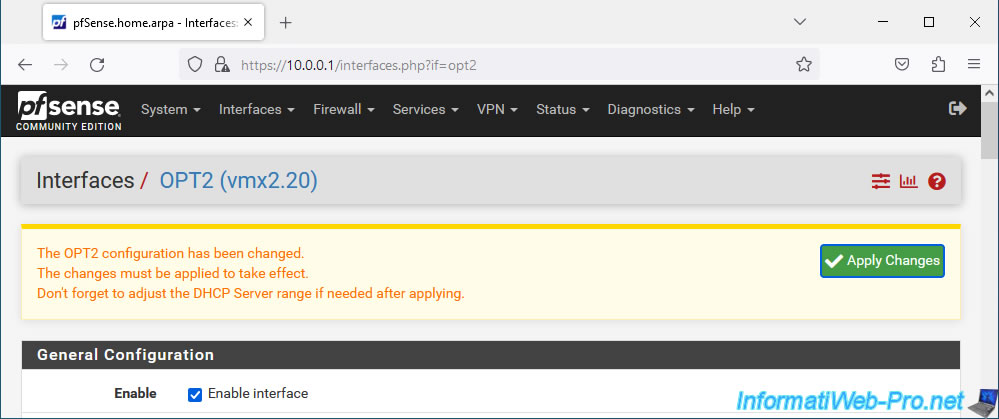
Do the same for the "OPT2" interface corresponding, in our case, to VLAN 20.
To do this, go to: Interfaces -> OPT2.
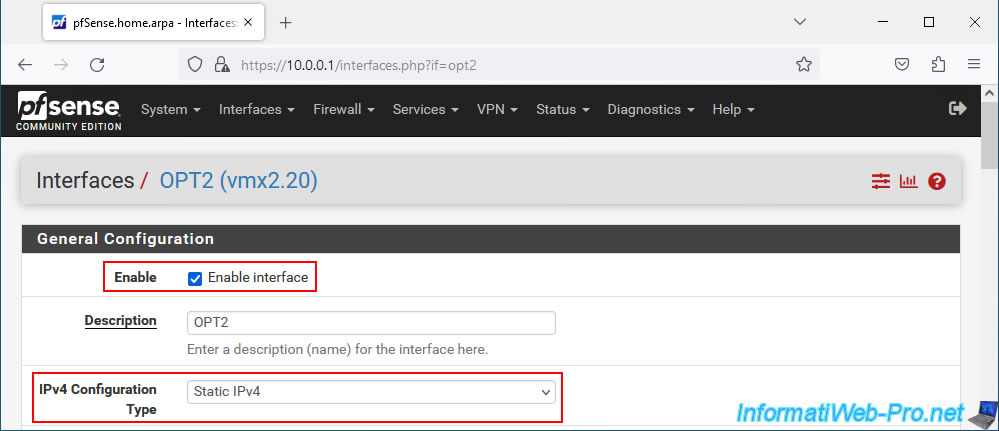
Check the "Enable interface" box to activate this "OPT2" interface.
Then, select "IPv4 Configuration Type: Static IPv4".
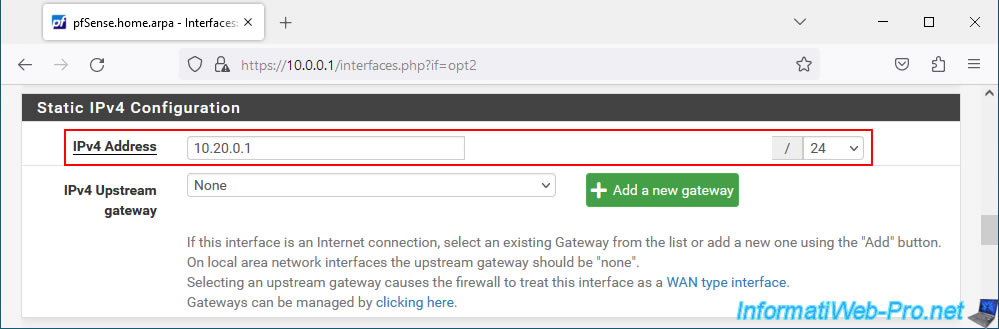
Specify a static IP address for this "OPT2" interface and select the subnet mask to use.
In our case, the IP address "10.20.0.1" and the subnet mask "24" (which corresponds to "255.255.255.0").
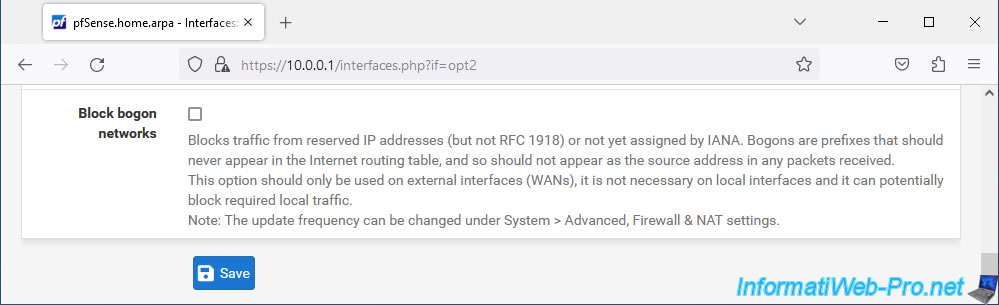
At the bottom of the page, click on: Save.
At the top of the page, click "Apply Changes" to apply the changes made.
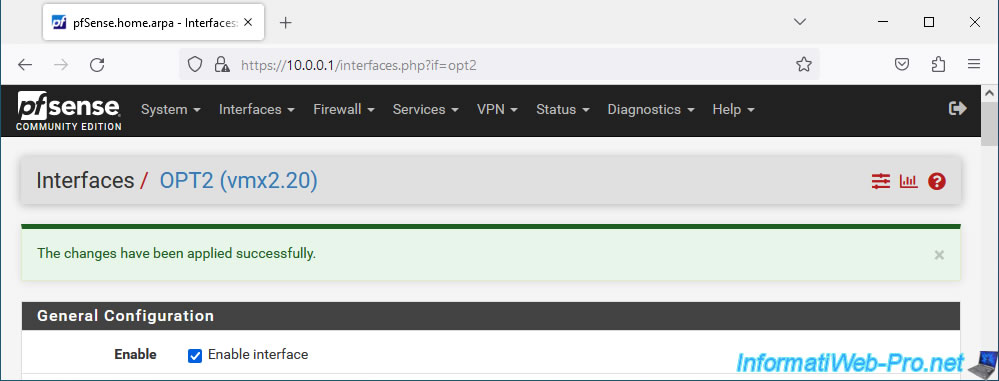
The changes have been applied.
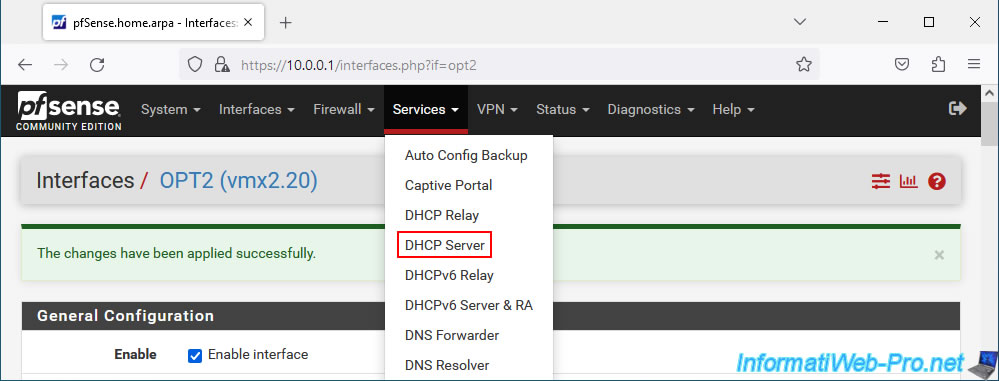
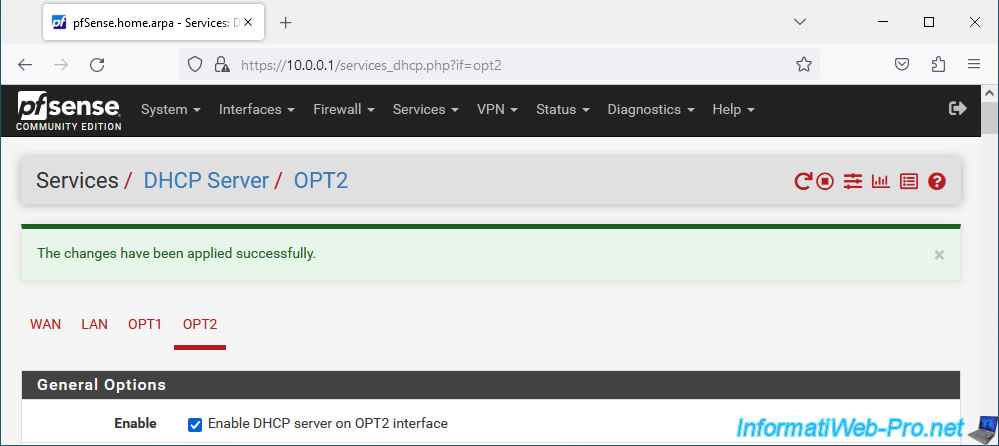
7.2. Enable DHCP server on OPT2 interface (VLAN 20)
As before, enable the DHCP server on this 2nd OPT interface.
To do this, go to: Services -> DHCP Server.
On the page that appears, go to the "OPT2" tab and check the "Enable DHCP server on OPT2 interface" box.
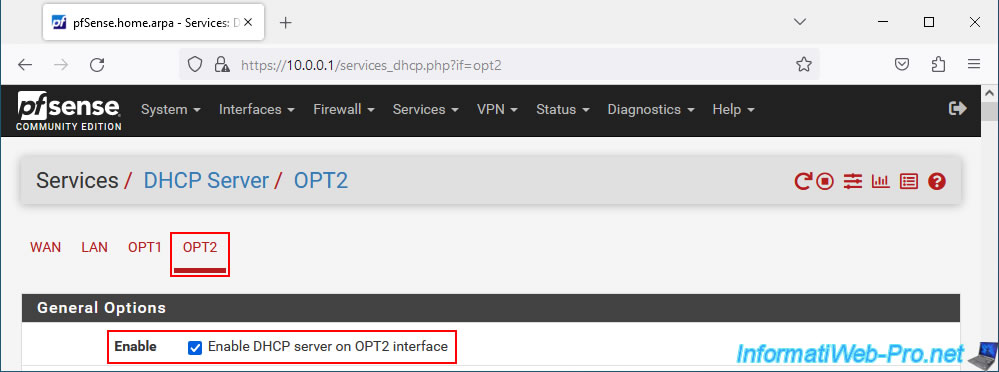
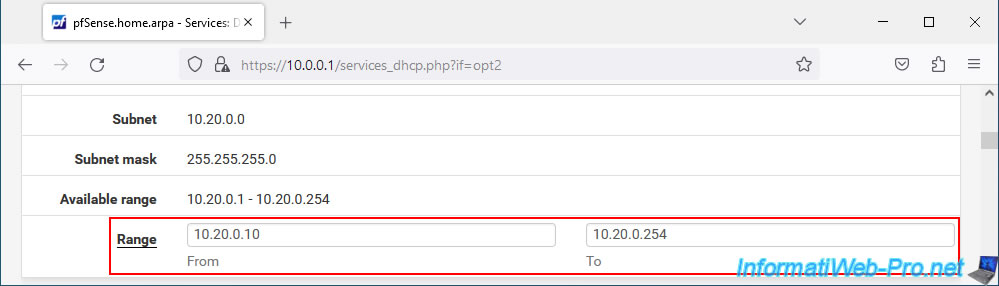
Specify the IP address range to use on this 2nd VLAN.
In our case: 10.20.0.10 to 10.20.0.254.
Important : again, make sure that the static IP address of your OPT2 interface is not part of the IP address range defined here.
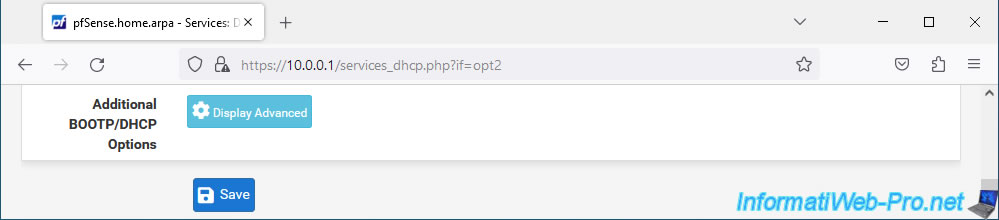
At the bottom of the page, click on: Save.
Modifications have been saved.
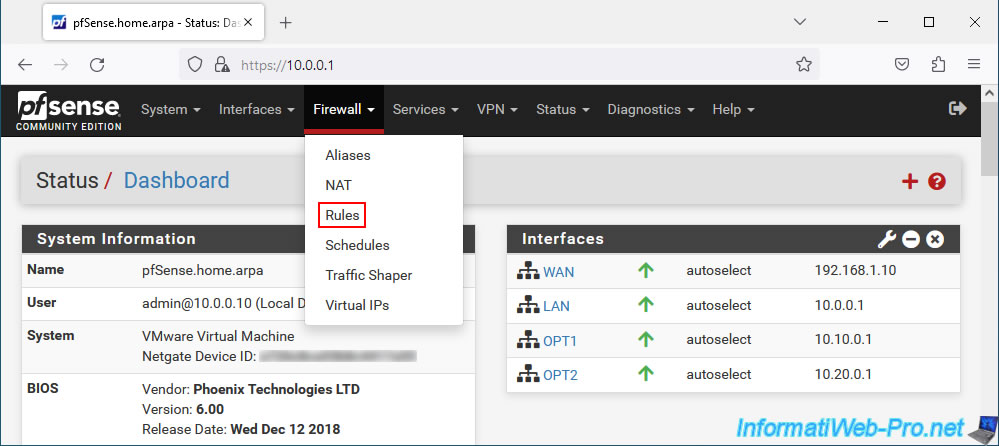
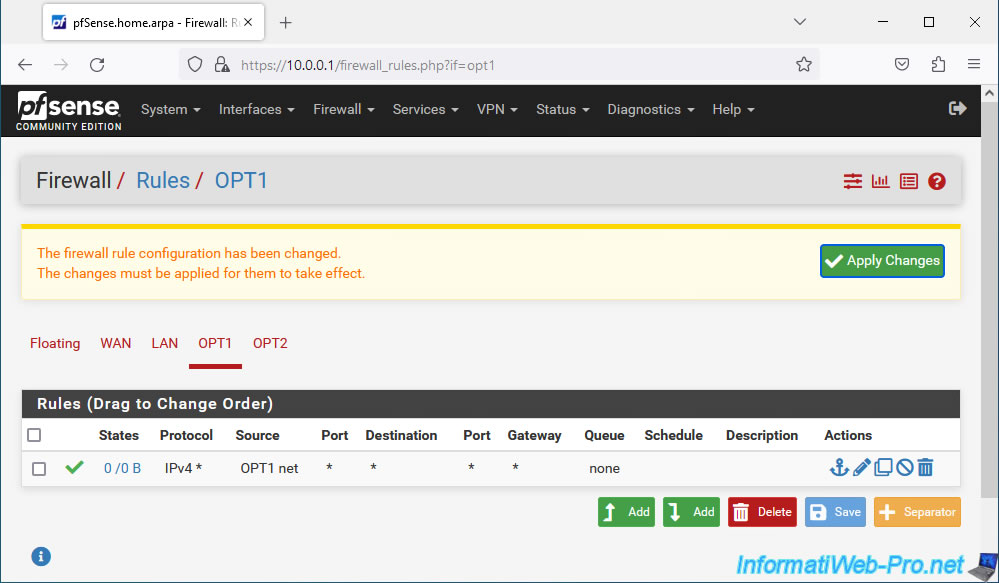
8. Allow network traffic on pfSense for OPT1 interface (VLAN 10)
So that network traffic can pass through this new "OPT1" interface, it is necessary to configure the pfSense firewall.
To do this, go to: Firewall -> Rules.
As you can see in the "LAN" tab, by default, LAN traffic is allowed for both IPv4 and IPv6.
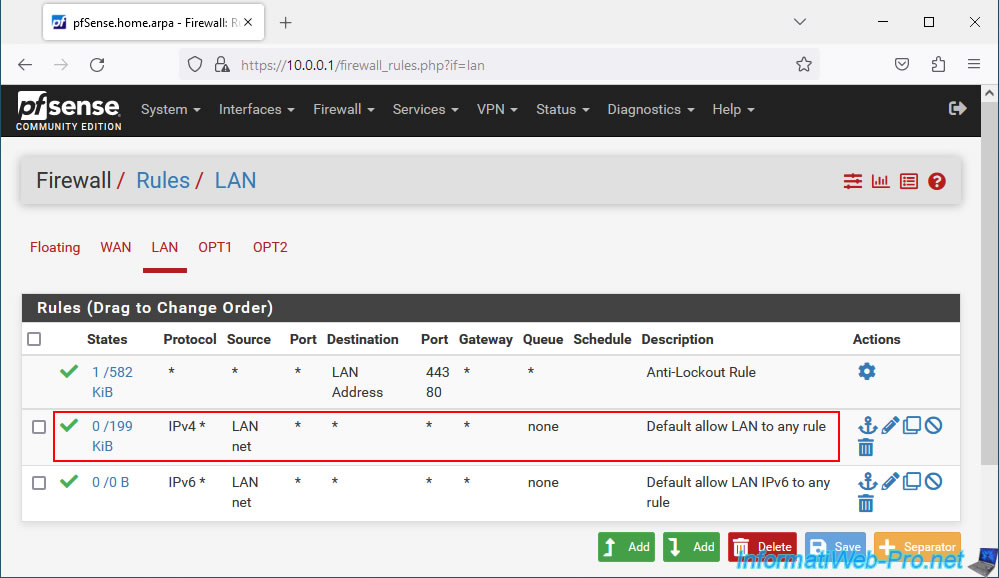
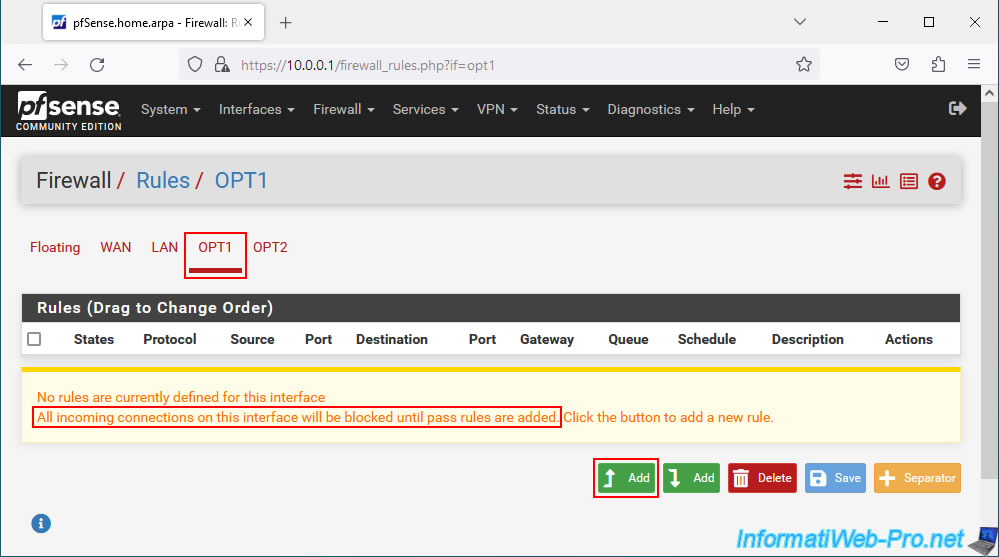
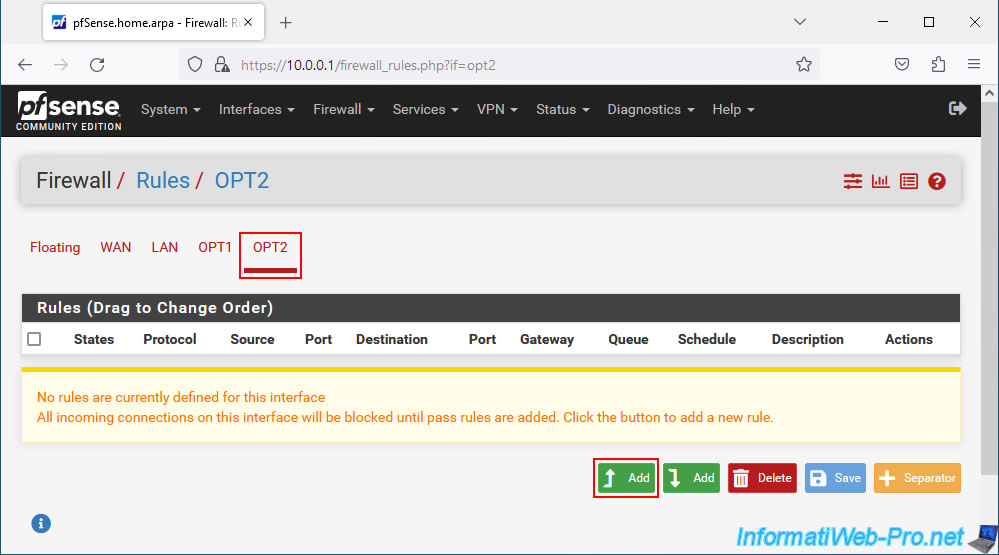
On the other hand, if you go to the "OPT1" tab, you will see that there are currently no rules for this network interface.
As pfSense tells you with a warning, if no rules are defined on this interface, all incoming connections will be blocked.
Plain Text
No rules are currently defined for this interface.
All incoming connections on this interface will be blocked until pass rules are added. Click the button to add a new rule.
Click on one of the "Add" buttons to add a new rule.
Note: the difference between the 2 "Add" buttons being that the rule created will be placed at the top or bottom of the existing list (if applicable). Which therefore changes nothing if the list is empty.
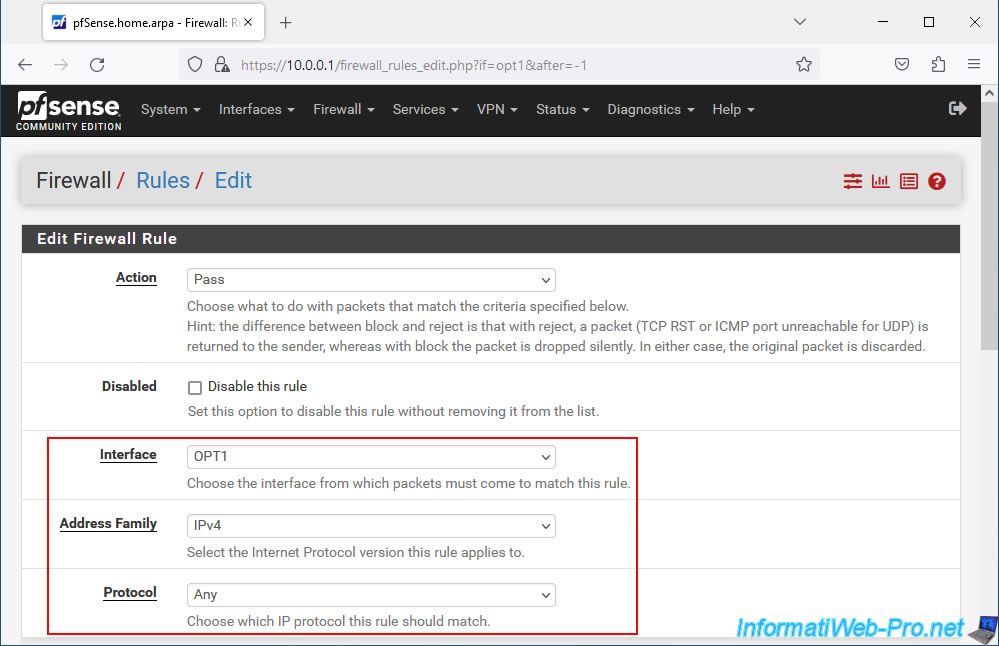
The "OPT1" interface is automatically selected since you were in the "OPT1" tab.
To allow network traffic on this interface, we relied on the rule defined by default by pfSense for the LAN interface. But you are free to manage the rules as you wish later for this network interface, if necessary.
In our case, we therefore authorized all IPv4 traffic for all protocols (TCP, UDP, ICMP for ping, ...).
Note that you could also choose "IPv4+IPv6" for the "Address Family" parameter if you have also configured IPv6 in your case.
Select the "OPT1 net" source and click "Save".
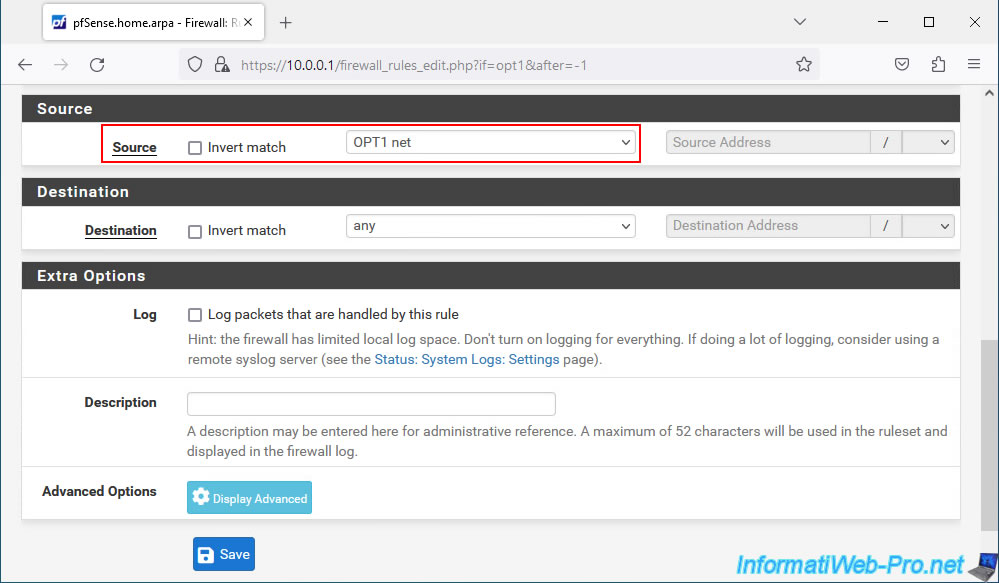
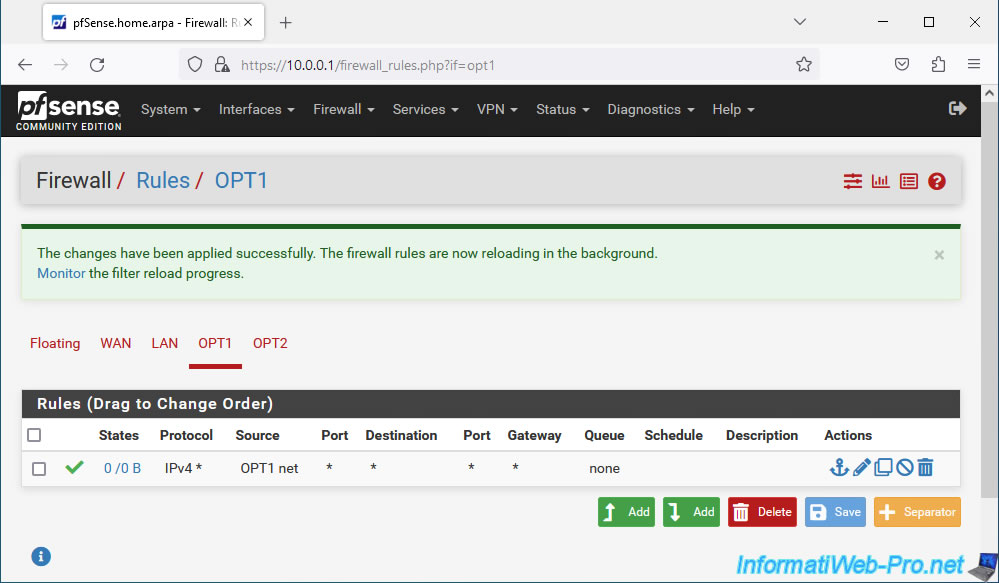
Click "Apply Changes".
The rule was applied.
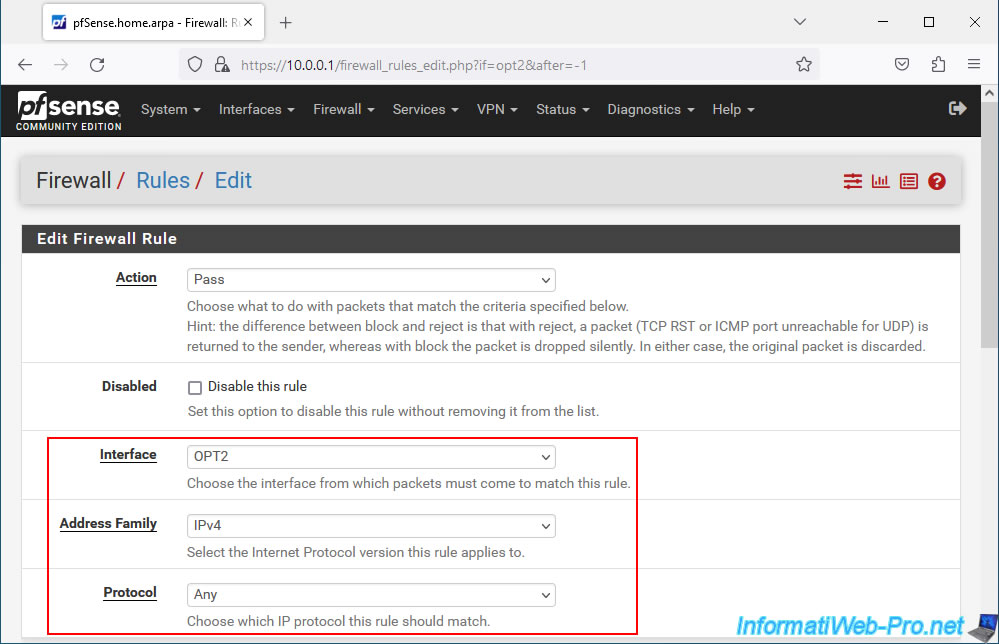
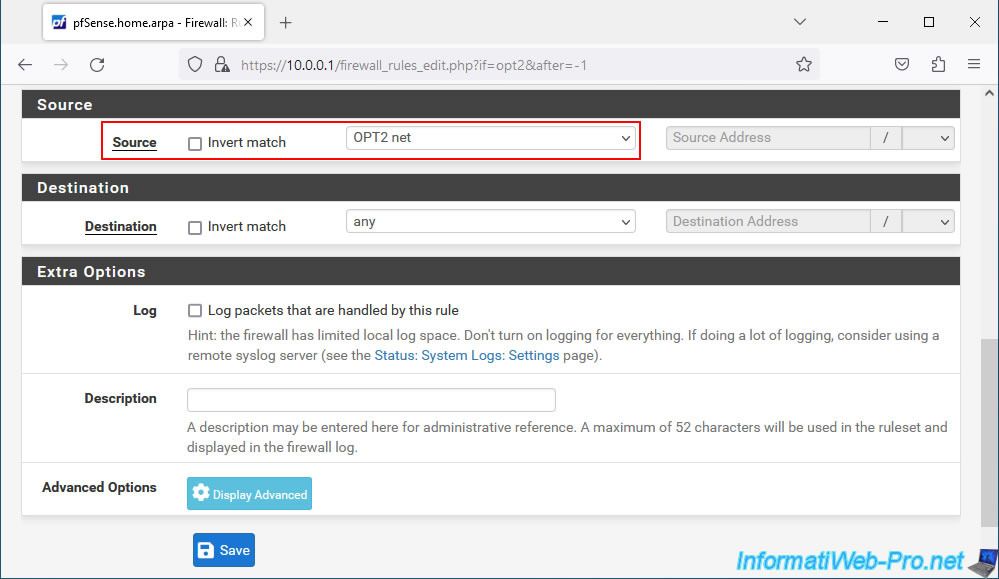
9. Allow network traffic on pfSense for OPT2 interface (VLAN 20)
Do the same for the "OPT2" interface.
To do this, go to the "OPT2" tab and click "Add" again.
Configure the settings like this:
- Interface : OPT2.
- Address Family : IPv4.
- Protocol : Any.
Select the "OPT2 net" source and click: Save.
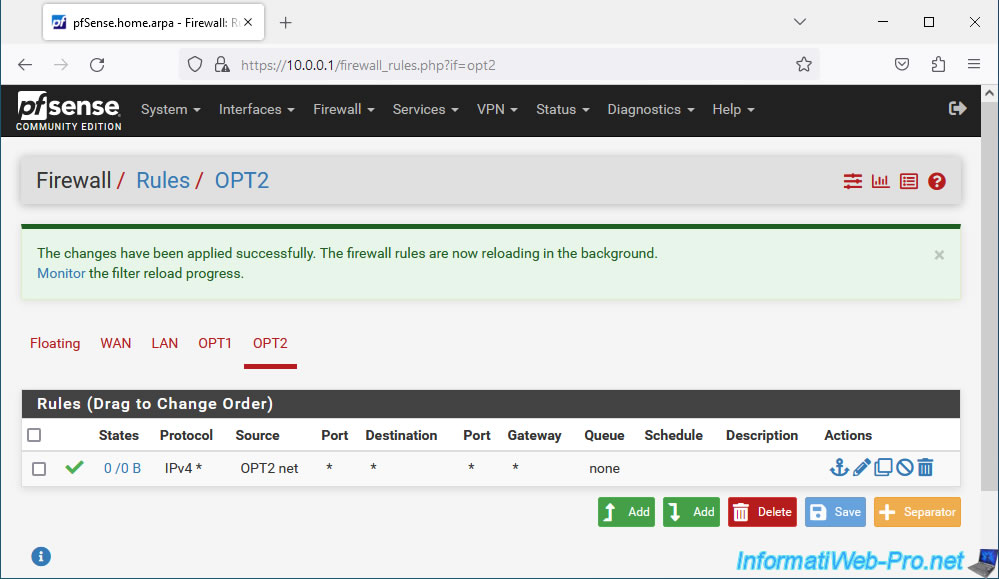
Click "Apply Changes" to apply the changes.

The changes have been applied.
Share this tutorial
To see also
-

Firewall 8/8/2025
pfSense 2.6 - Configure a LACP link (LAGG)
-
Firewall 9/12/2025
pfSense 2.6 - Create a site-to-site (S2S) VPN tunnel via OpenVPN secured with shared key (PSK)
-

Firewall 9/17/2025
pfSense 2.6 - Create a site-to-site (S2S) VPN tunnel via OpenVPN secured with SSL/TLS (L3 mode)
-
Firewall 7/2/2025
pfSense 2.6 - Enable NAT reflection
No comment