Create and use VLANs on pfSense 2.6
- Firewall
- pfSense
- 28 May 2025 at 07:47 UTC
-

- 2/5

4. Add VLANs on pfSense
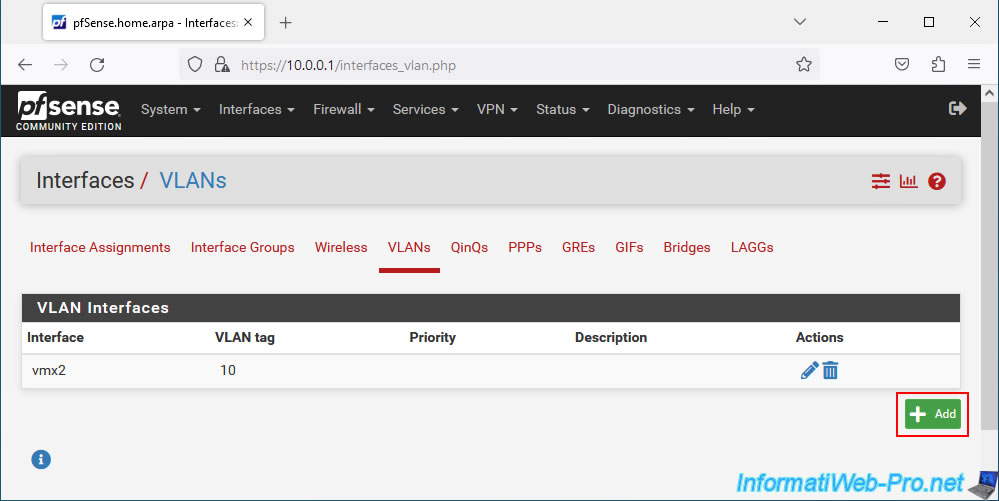
To add VLANs on pfSense, go to: Interfaces -> Assignments.
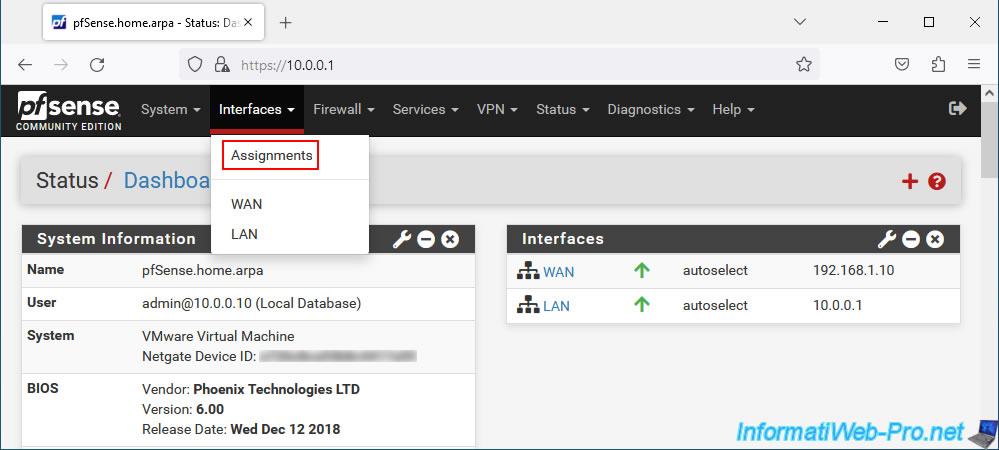
On the "Interfaces Assignments" page that appears, go to the tab: VLANs.
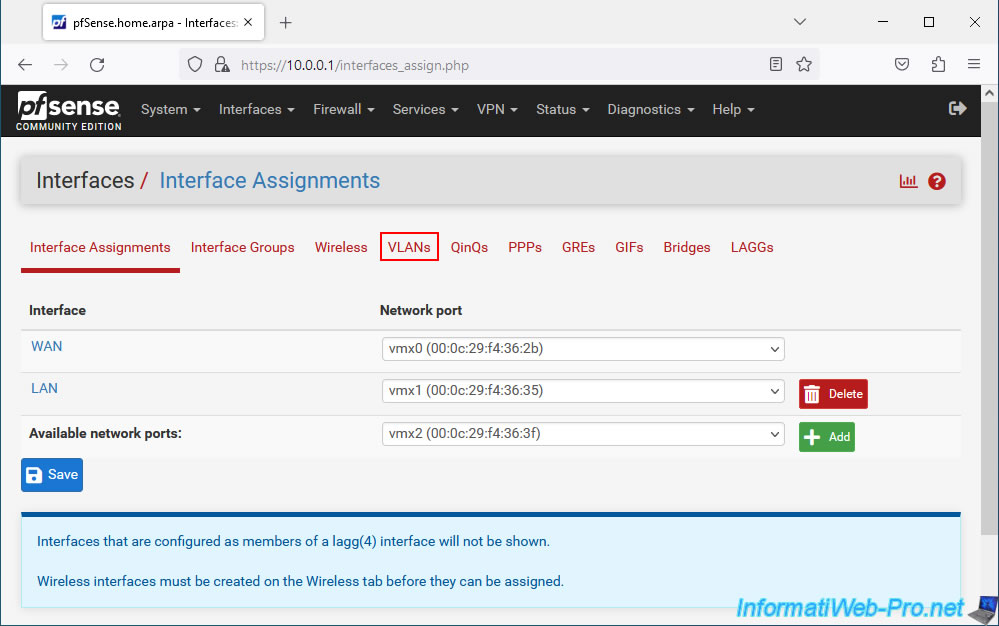
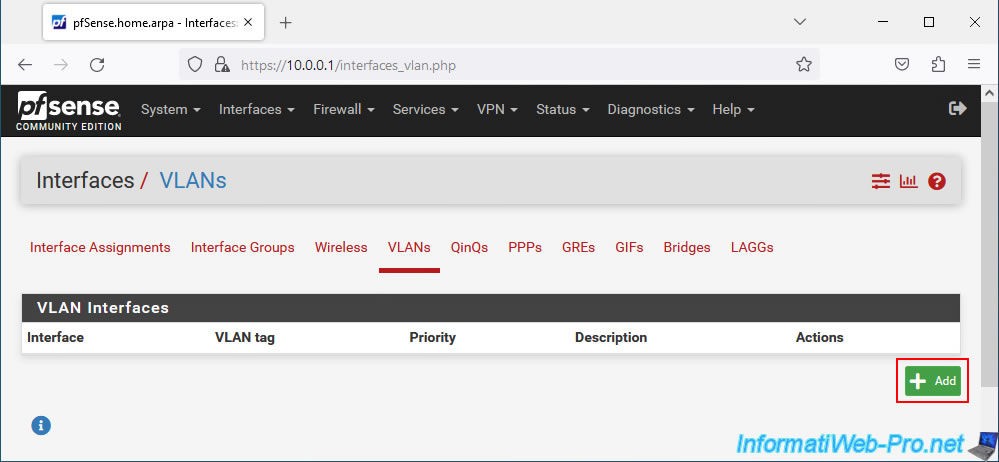
In the "VLANs" section, click "Add" to add a new VLAN.
In the "VLAN Configuration" section of the page that appears, you will be able to select a parent interface.
If you look at the available interfaces in this list, you will see that only one interface is not assigned to a logical interface (wan/lan).
Which corresponds to the network interface you just added to your pfSense machine.
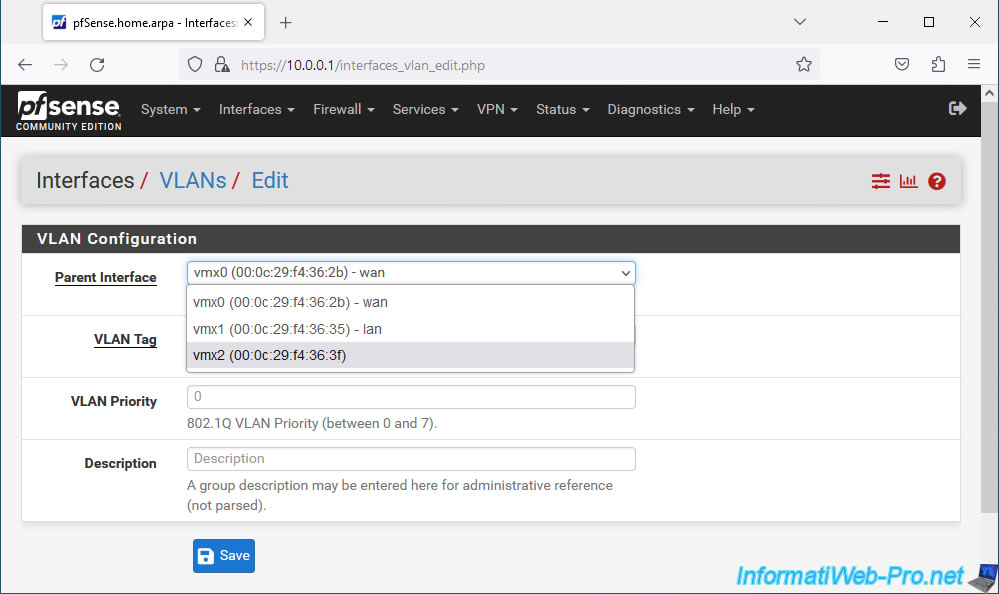
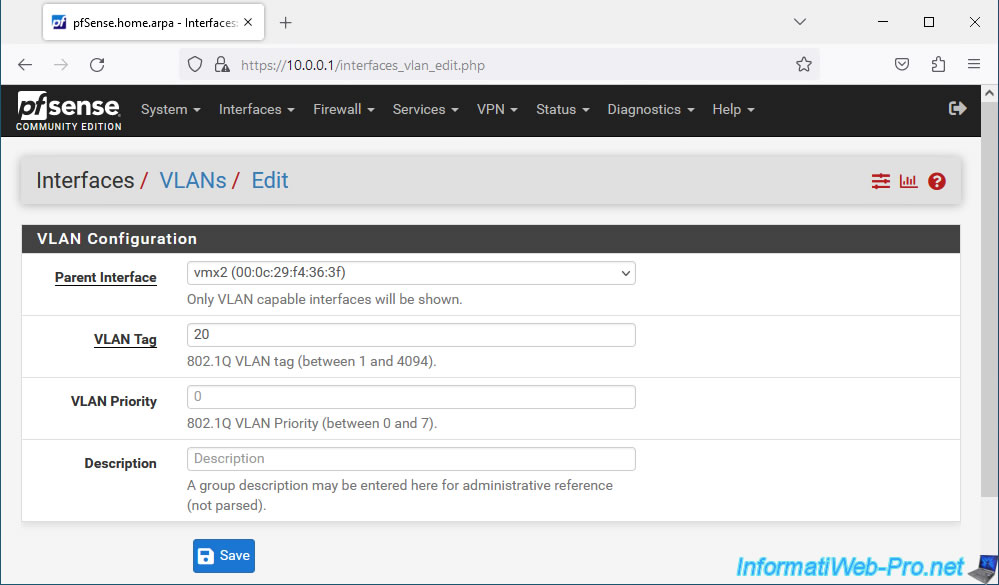
In the "VLAN Configuration" section, you can configure several options:
- Parent Interface: the physical network interface to use on which you want to define a new VLAN.
As a reminder, this physical network interface must be connected to a Trunk mode port on your switch. - VLAN Tag: the VLAN ID (802.1Q standard) you want to use.
This value must be between 1 and 4094. - VLAN Priority: a value used to manage the prioritization of VLAN traffic to achieve quality of service (QoS).
Leave the default value (0). - Description: a description for this VLAN ID for use by the pfSense admin.
Then, click Save.

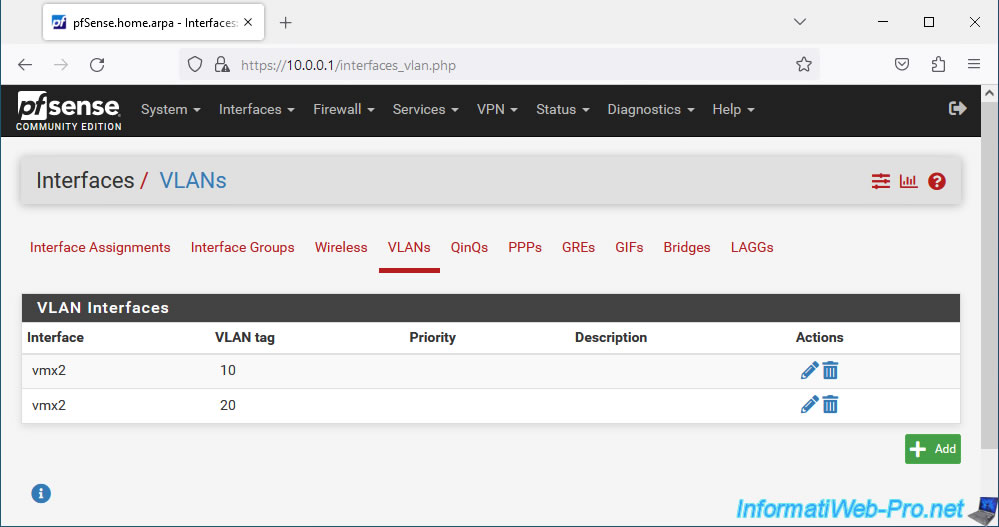
The added VLAN appears.
Click "Add" again to create a 2nd one.
Select the same parent interface again, but this time specify a different VLAN ID.
In our case: 20.
In our case, we therefore have 2 VLANs (VLAN 10 and VLAN 20) on our physical network interface "vmx2".
5. Assign VLANs to logical interfaces
To be able to use the VLANs you have just created, you must assign them to a logical interface (WAN, LAN, OPT1, ...).
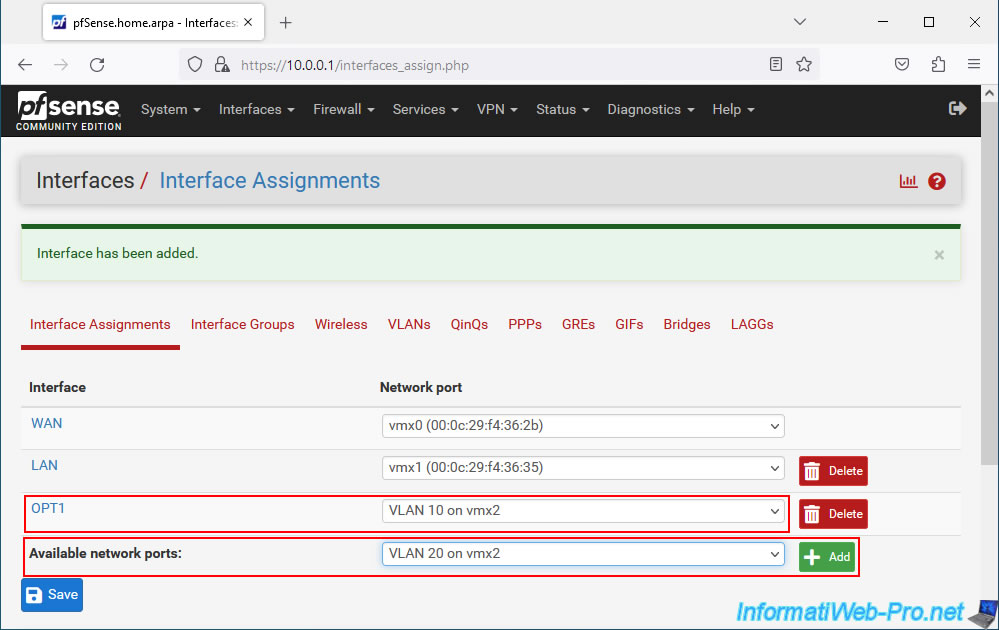
To do this, return to the "Interface Assignments" tab and you will see that network ports are available:
- vmx2 (xx:xx:xx:xx:xx:xx): the physical network interface.
- VLAN 10 on vmx2: VLAN 10 created on the "vmx2" interface.
- VLAN 20 on vmx2: VLAN 20 created on the "vmx2" interface.
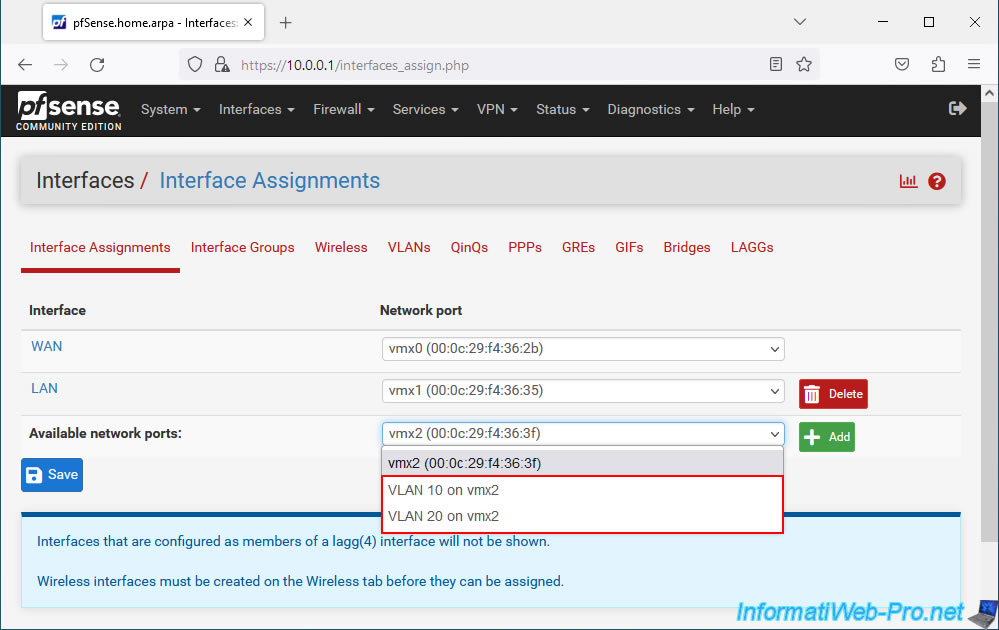
Select the network port "VLAN 10 on vmx2" and click: Add.

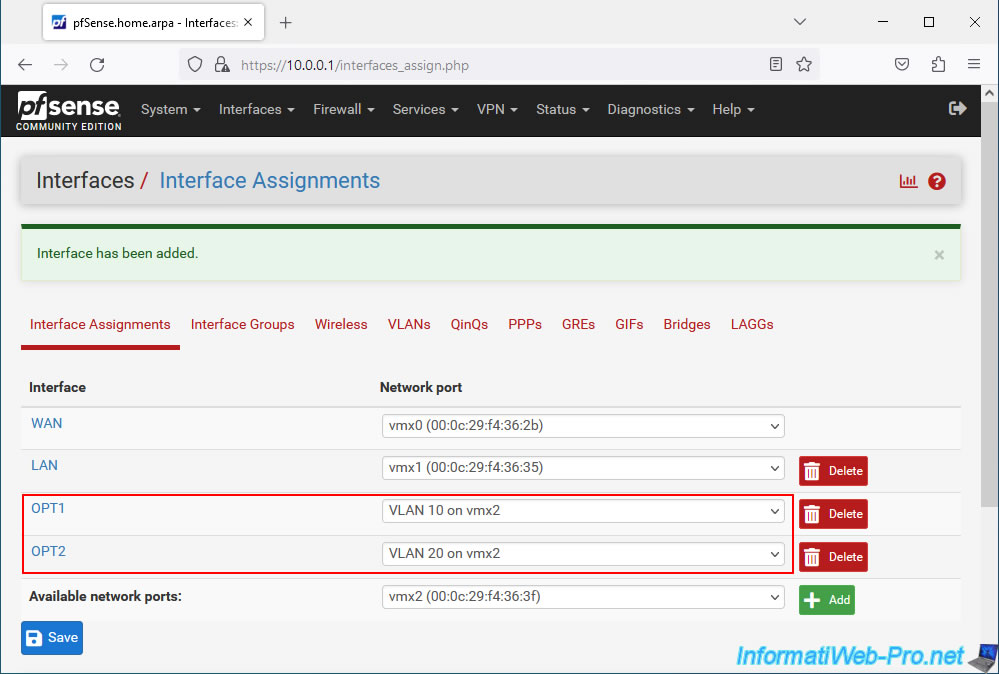
Then, do the same for the network port "VLAN 20 on vmx2" and click: Add.
By default, pfSense will assign these network ports to "OPTx" logical interfaces.
In this case, in our case:
- OPT1 : for VLAN 10.
- OPT2 : for VLAN 20.
6. Configure VLAN 10 on pfSense
6.1. Enable the OPT1 interface (corresponding to our VLAN 10)
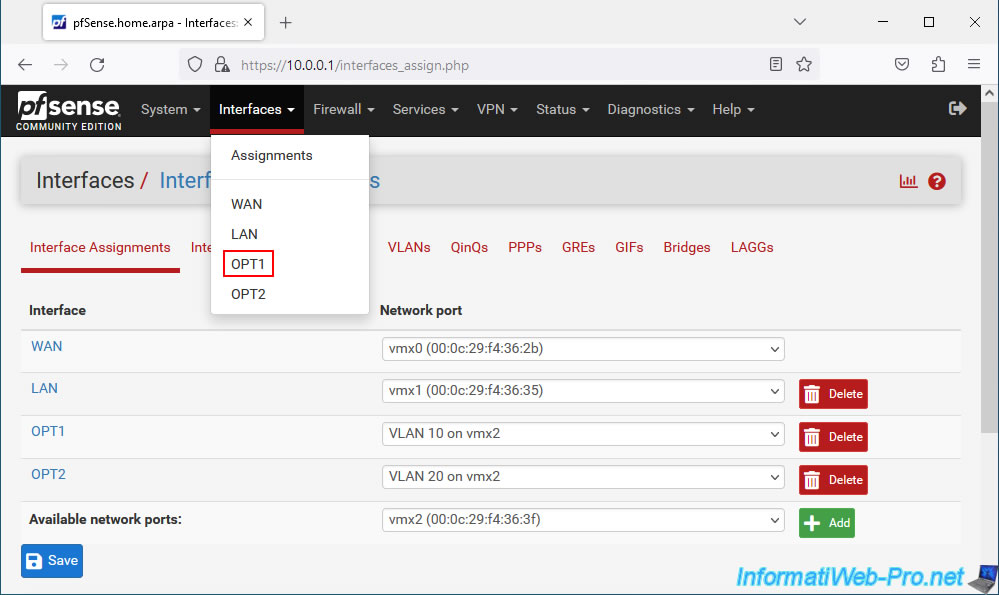
Now that "OPTx" logical interfaces have been assigned to your VLANs, you can configure these interfaces via the pfSense "Interfaces" menu.
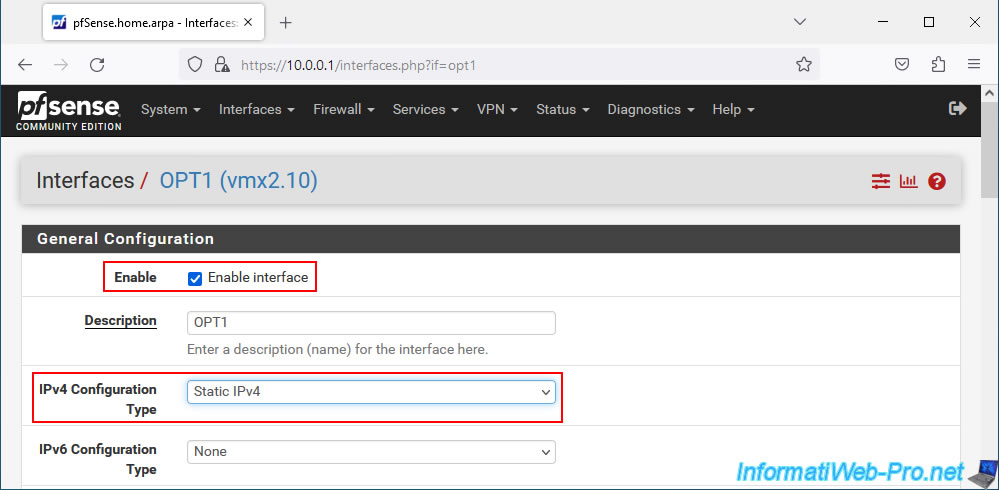
To get started, go to: Interfaces -> OPT1.
As you can see, by default, this "OPT1" interface is not enabled.
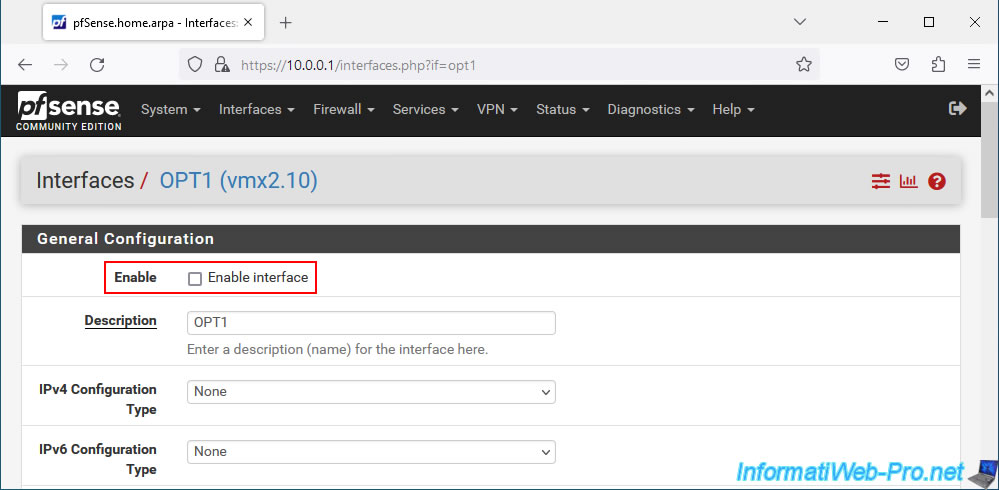
Enable this "OPT1" interface by checking the "Enable interface" box.
Next, select "IPv4 Configuration Type: Static IPv4" to define a static IPv4 address for this new "OPT1" interface.
In the "Static IPv4 Configuration" section, you will be able to define a static IP address on this "OPT1" interface for pfSense, as well as indicate the subnet mask (in CIDR format) to use.
In our case, we will assign the IPv4 address "10.10.0.1" to pfSense for this OPT1 interface and the subnet mask (CIDR) "24".
Which means that the subnet used for VLAN 10 will be: 10.10.0.x.

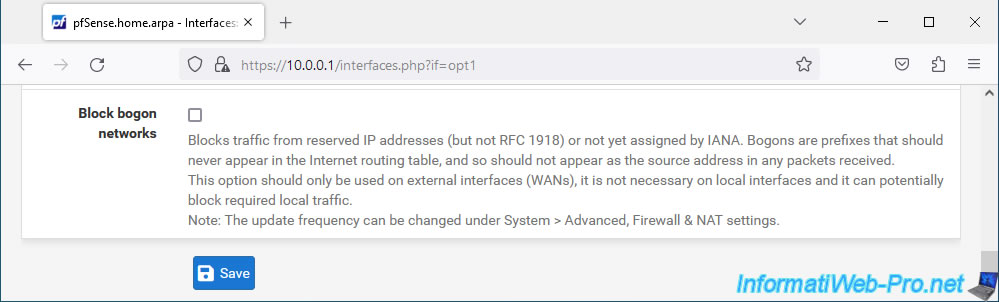
At the bottom of the page, click on: Save.
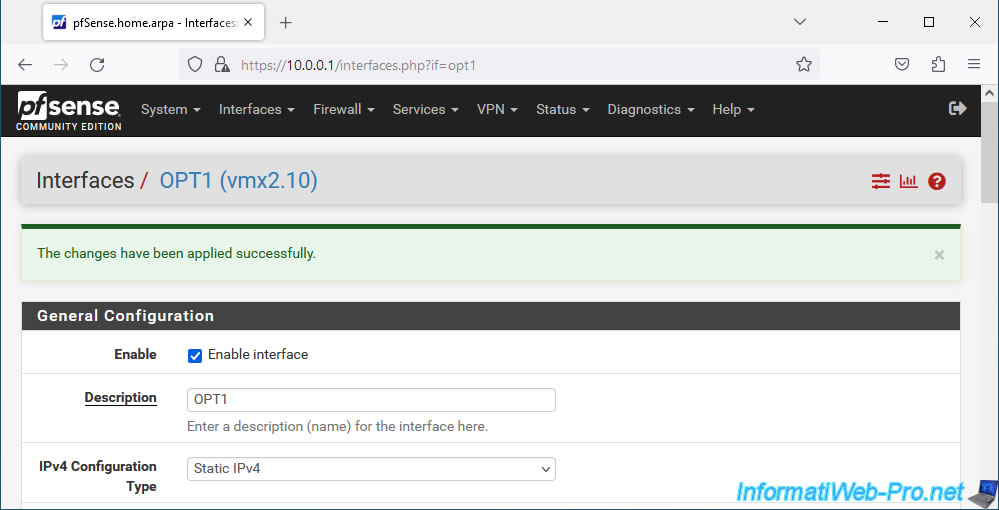
Then, at the top of the page, click on the "Apply Changes" button.

The changes have been applied.
6.2. Enable DHCP server on OPT1 interface (VLAN 10)
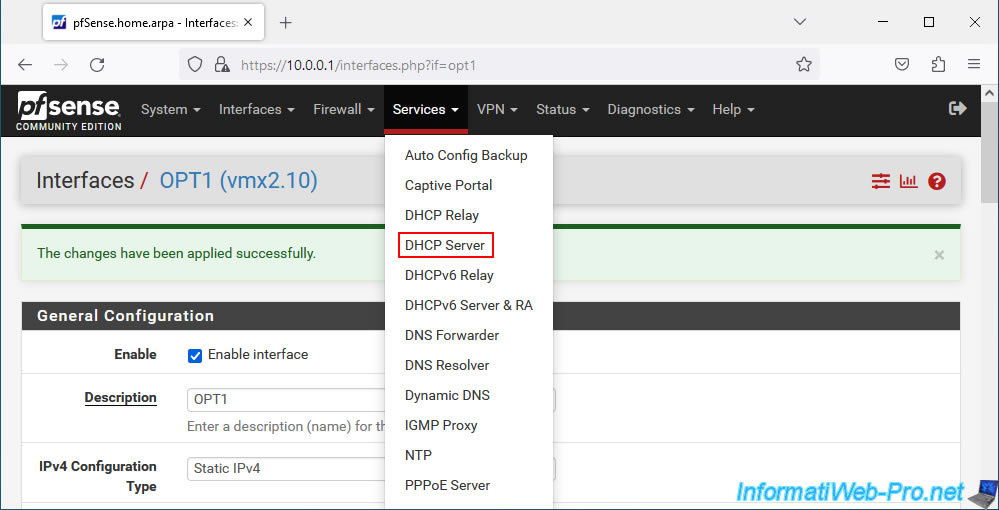
Now that the OPT1 interface is activated, you must also enable the DHCP server for this new interface so that the machines connected to VLAN 10 can automatically receive an IP address.
To do this, go to: Services -> DHCP Server.
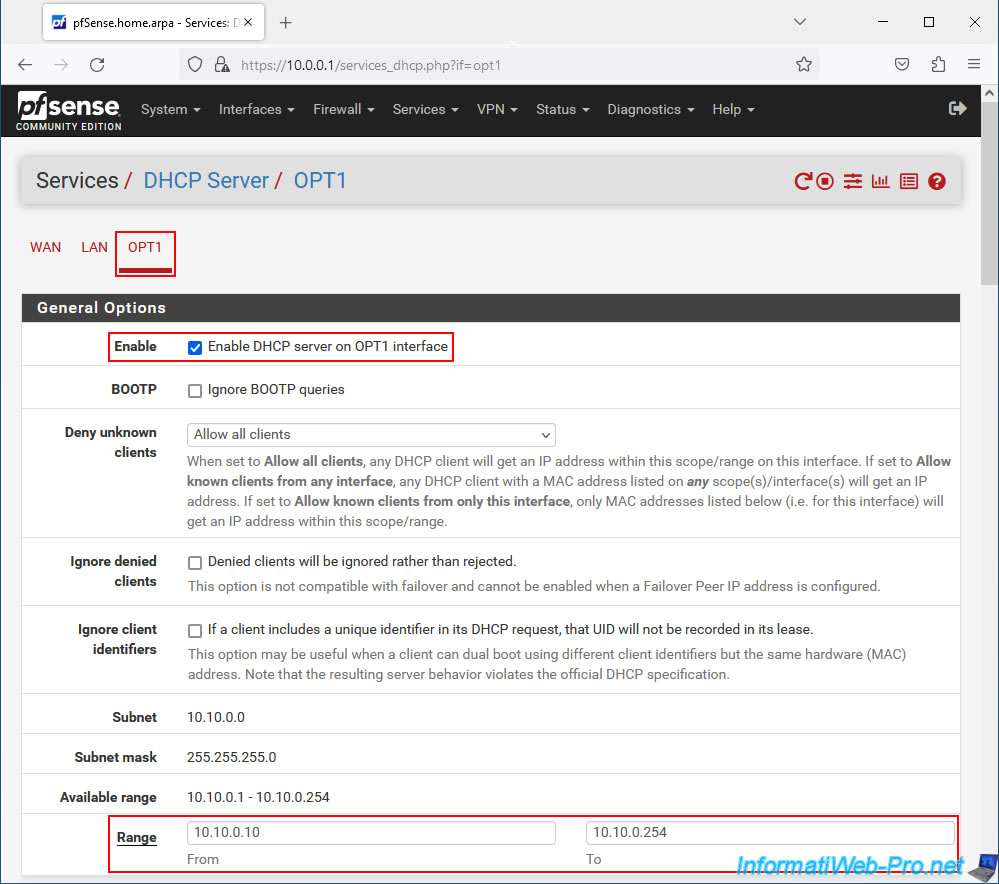
On the page that appears, go to the "OPT1" tab and check the "Enable DHCP server on OPT1 interface" box.
Then, in the "General Options" section, you will be able to see the subnet (Subnet) used for this interface (and therefore the corresponding VLAN), as well as the available range (Available range).
In our case, we defined an IP address range "10.10.0.10" to "10.10.0.254" for our VLAN 10.
Important : make sure that the static IP address you just defined for your OPT1 interface is not part of the IP address range you will define here.
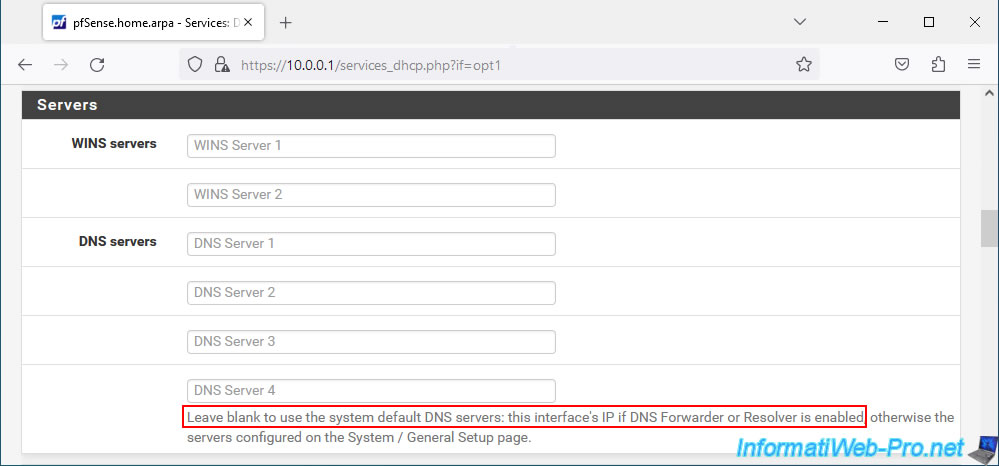
For DNS servers used, the pfSense IP address for this interface (OPT1) will be used by default if the DNS resolver or forwarder is enabled.
You can therefore leave these fields empty.
In our case, the IP address "10.10.0.1" will therefore be used as the primary DNS server for the machines that we will connect to our VLAN 10.
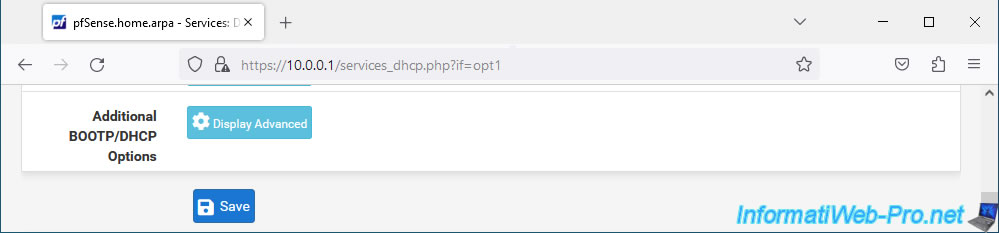
At the bottom of the page, click on: Save.
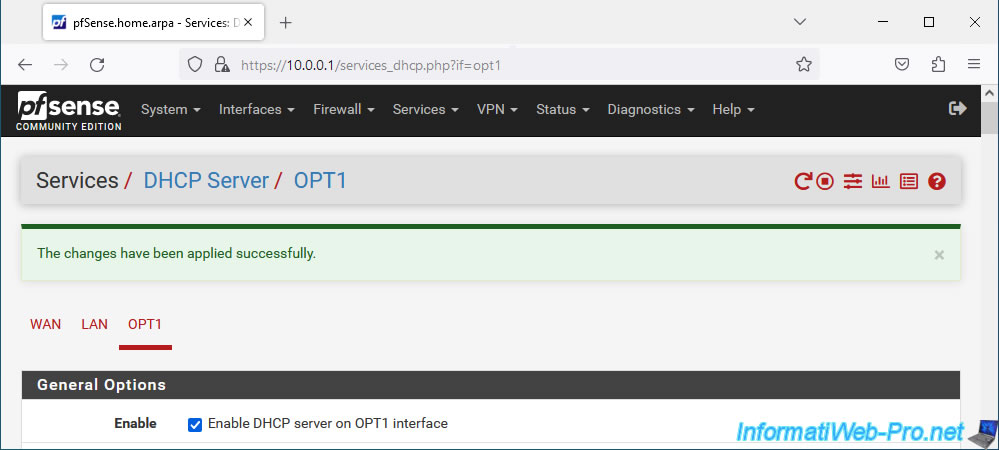
The changes have been applied successfully.
6.3. DNS resolver enabled
For the pfSense IP address for your OPT1 interface to be used as the primary DNS server for client machines, the pfSense DNS resolver or forwarder must be enabled.
To do this, go to "Services -> DNS Resolver" and make sure that the "Enable DNS resolver" box is checked.
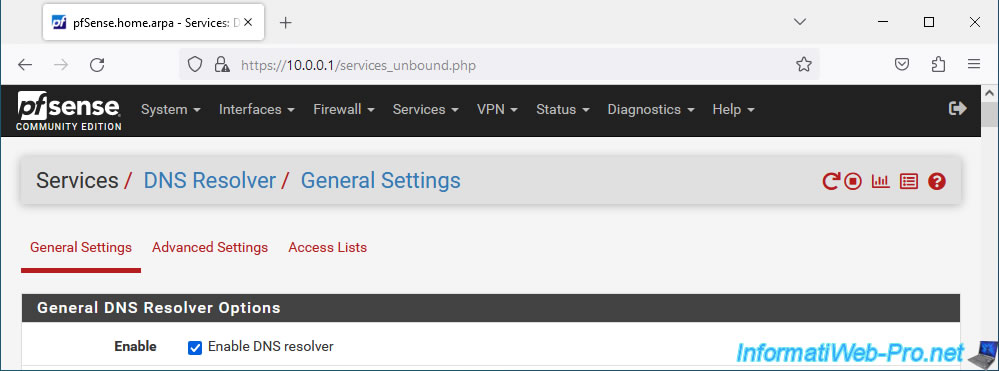
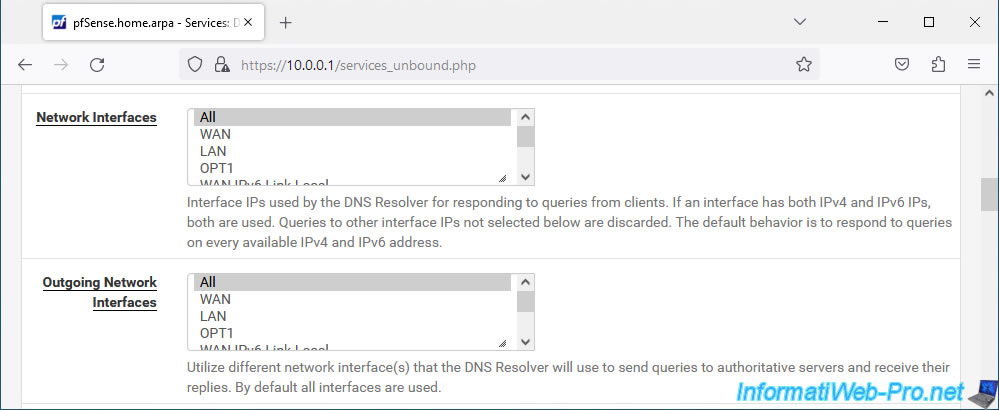
Additionally, make sure that it uses all pfSense interfaces (All) or at least the "OPT1" interface (in this case, because it corresponds to your VLAN 10).
Share this tutorial
To see also
-
Firewall 6/25/2025
pfSense 2.6 - 1:1 NAT (IP address mapping)
-
Firewall 8/24/2025
pfSense 2.6 - Configure high availability (HA)
-

Firewall 8/13/2025
pfSense 2.6 - Create a captive portal
-
Firewall 7/2/2025
pfSense 2.6 - Enable NAT reflection
No comment