Create and use VLANs on pfSense 2.6
- Firewall
- pfSense
- 28 May 2025 at 07:47 UTC
-

- 4/5

10. Connect machines to your VLANs
For this tutorial, we installed 2 additional machines on Windows 10 to connect one by VLAN.
To start, we modify our VM "pfSense - Client Win 10 - VLAN 10".
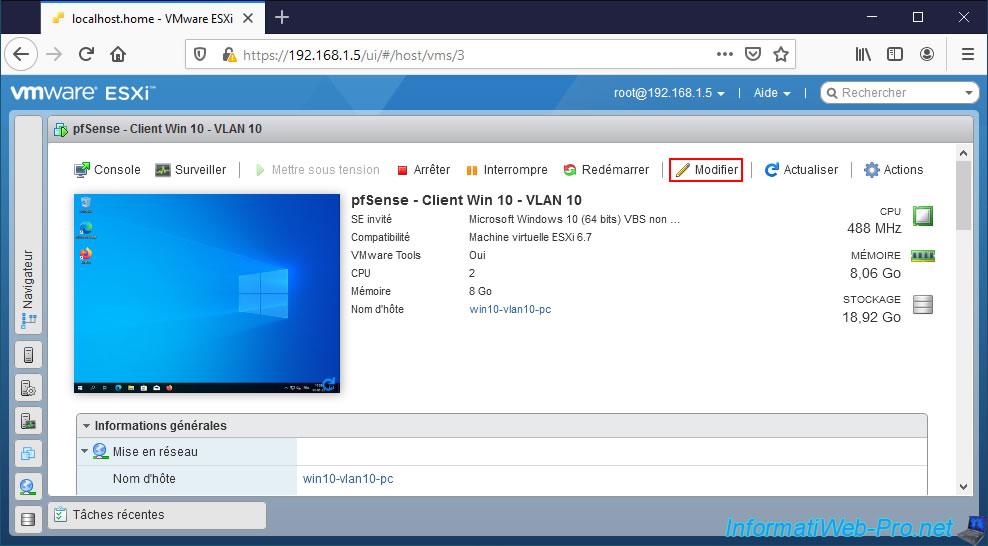
We connect its network adapter to our "pfSense VLAN 10" port group.
Note: in the case of a physical switch, simply connect the network cable from a computer to one of the ports that you have previously configured with the corresponding VLAN ID (eg: VLAN ID "10").

The virtual machine has been modified.
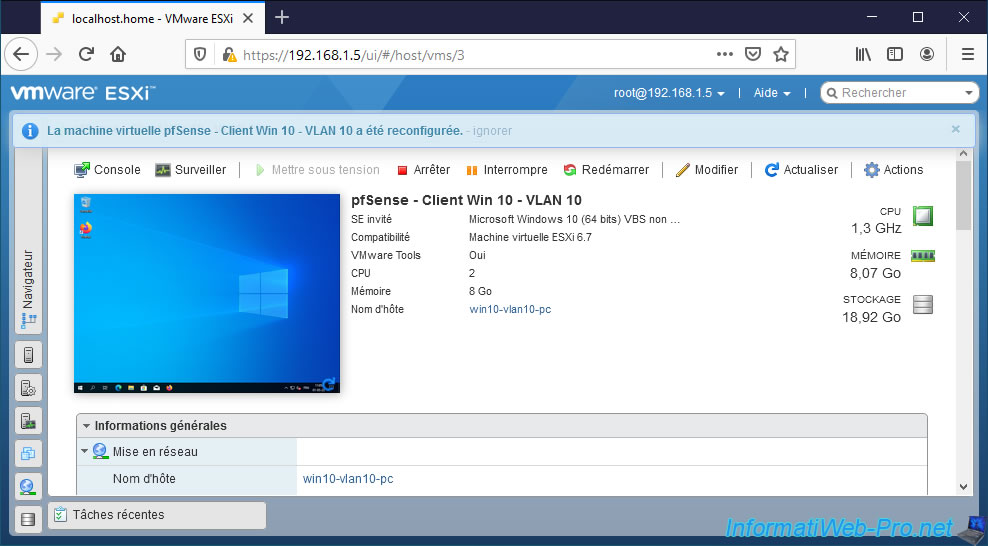
Do the same for the 2nd machine.
In our case, we connect our virtual machine "pfSense - Client Win 10 - VLAN 20" to our port group "pfSense VLAN 20".

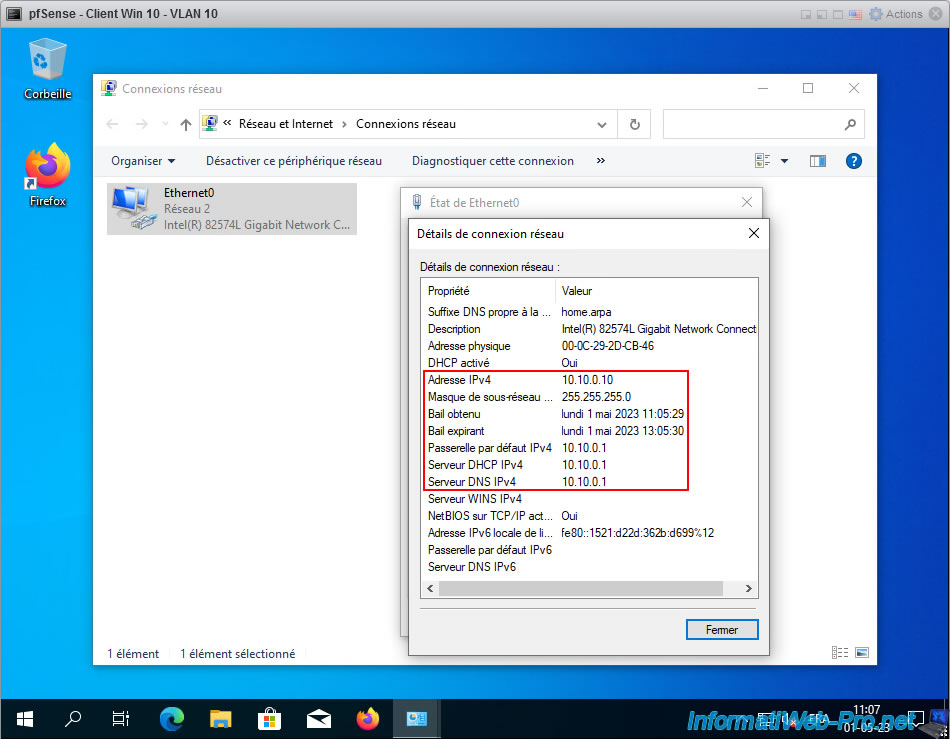
As expected, our 1st virtual machine (pfSense - Win 10 Client - VLAN 10) automatically receives its information via the DHCP server of the pfSense "OPT1" interface:
- IPv4 address: 10.10.0.10. Which corresponds to the 1st IP address defined for the DHCP server IP range for the "OPT1" interface.
- Subnet mask: the subnet mask corresponding to the value "24" selected when configuring the "OPT1" interface.
- Default IPv4 gateway: pfSense's IPv4 address defined on its "OPT1" interface.
- DHCP IPv4 server: same.
- IPv4 DNS server: same, because the DNS resolver is activated for our "OPT1" interface (or all pfSense interfaces).
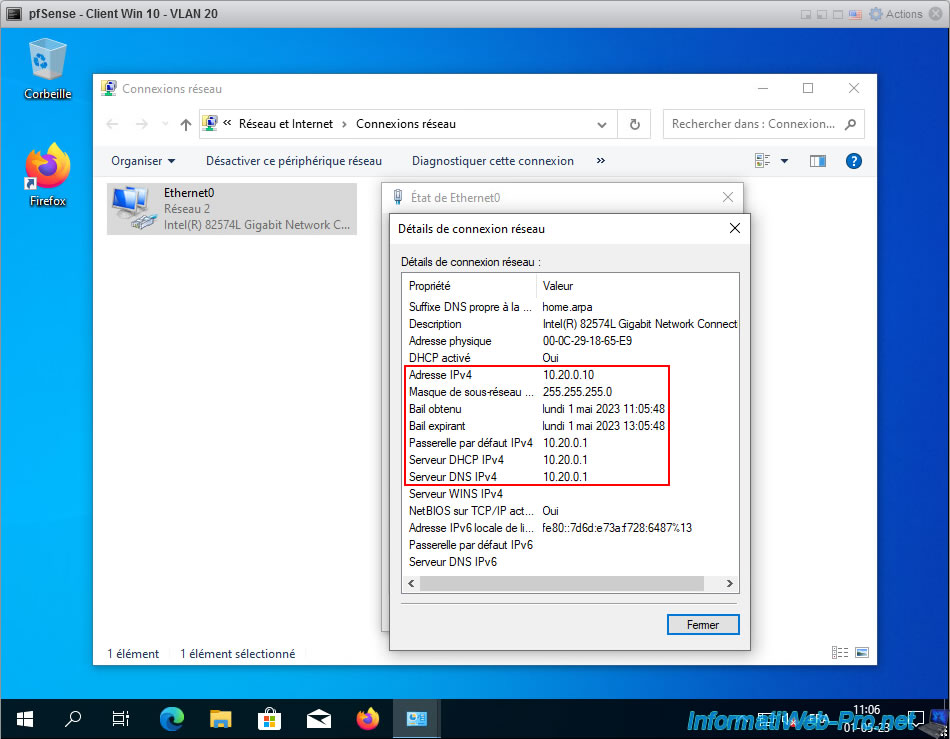
For our 2nd virtual machine (pfSense - Client Win 10 - VLAN 20), it automatically receives its information via the DHCP server of the pfSense "OPT2" interface.
The received IP addresses are therefore similar except that they start with "10.20.0" (VLAN 20) instead of "10.10.0" (VLAN 10).
On your pfSense firewall, you can see the DHCP leases distributed by going to: Status -> DHCP Leases.
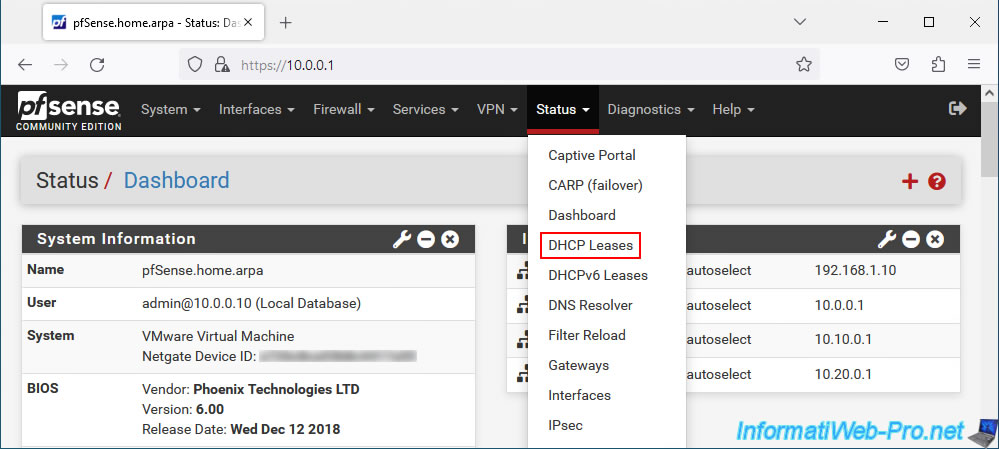
As expected, the pfSense DHCP server distributed 3 IP addresses corresponding to our 3 client virtual machines:
- the "win10-pc" machine connected to the "LAN" interface has the IP address "10.0.0.10".
- the machine "win10-vlan10-pc" connected to interface "OPT1" has the IP address "10.10.0.10".
- the "win10-vlan20-pc" machine connected to the "OPT2" interface has the IP address "10.20.0.10".
You can also see at the bottom of the page that DHCP leases are used for the 3 interfaces (LAN, OPT1 and OPT2) with their respective IP address ranges.
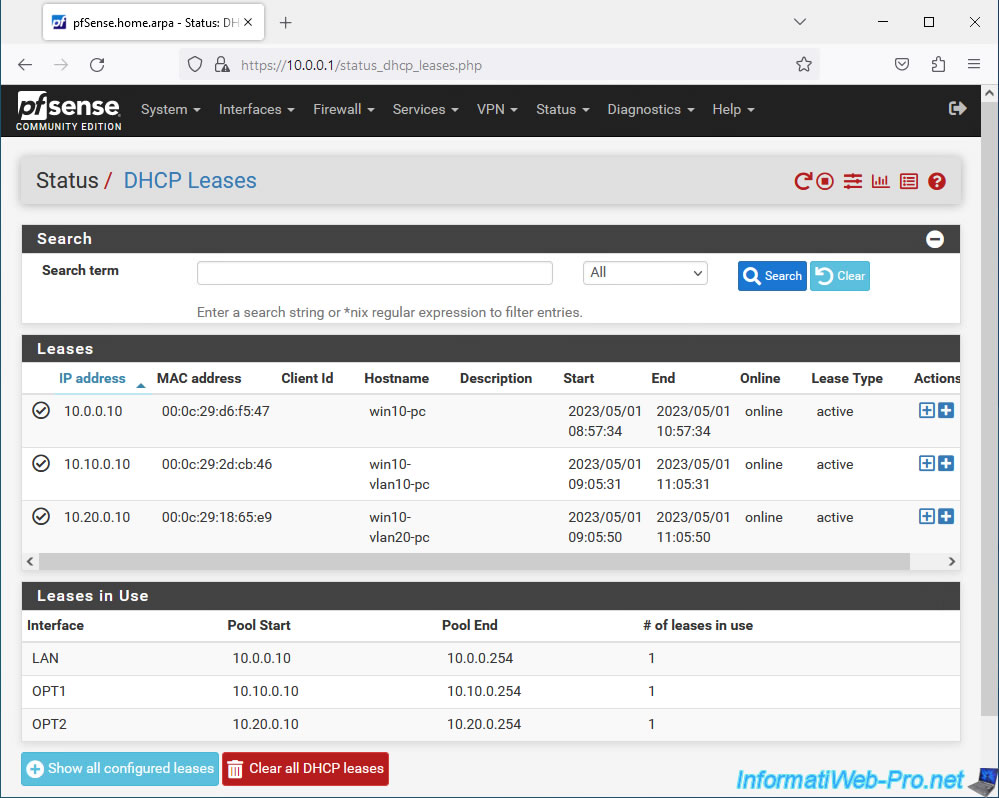
As a reminder :
- the "OPT1" interface corresponds to our VLAN 10.
- the "OPT2" interface corresponds to our VLAN 20.

11. Test capturing VLAN IDs via Wireshark
While this works, for those who want to go further, here's how to see the VLAN IDs defined by pfSense via the popular Wireshark network analyzer.
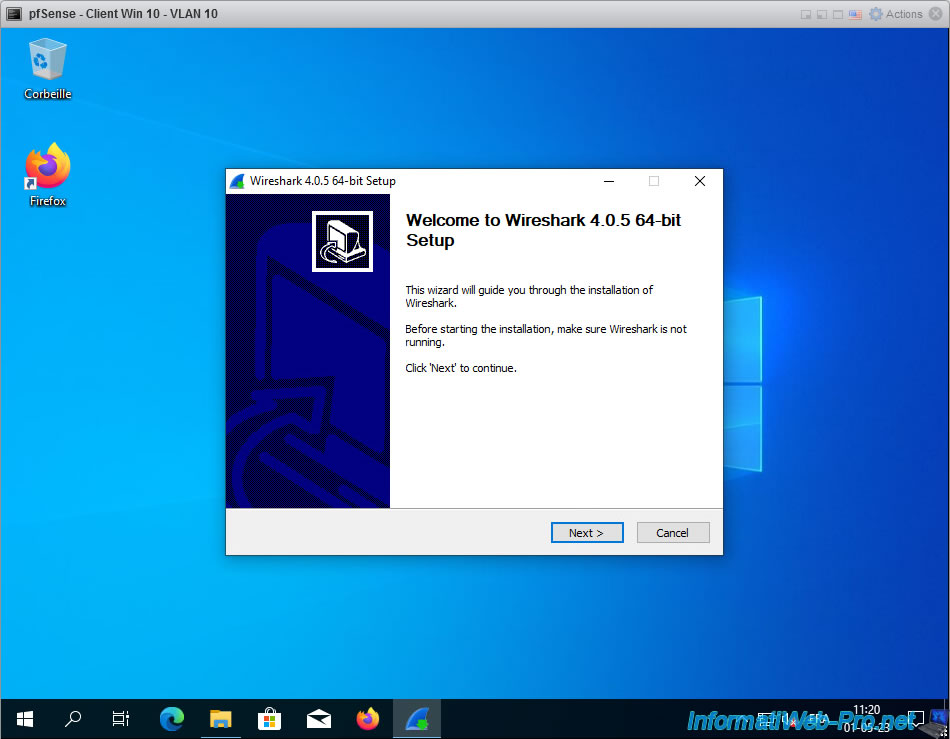
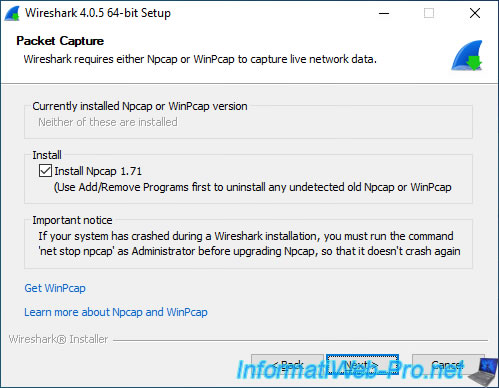
While installing Wireshark, you will see an "Install Npcap" option.
This is necessary so that Wireshark can see packets passing through the network. It's therefore necessary that this box be checked.
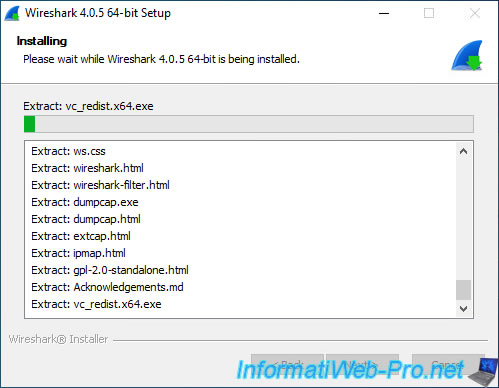
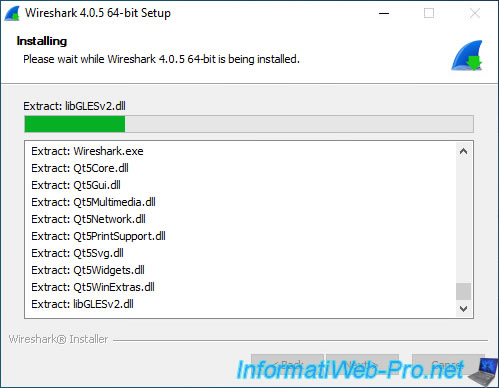
Wait while Wireshark installs.
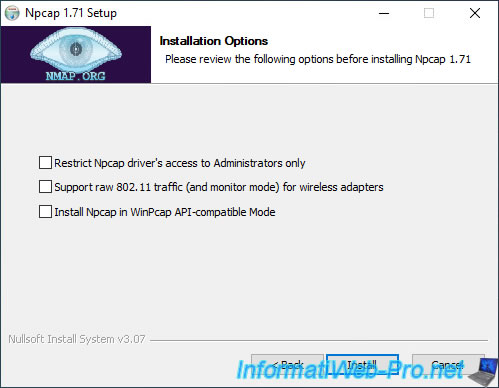
While installing Wireshark, you will see the Npcap installation wizard appear.
Just click "Install" without changing anything.
Note: the only useful option on a physical PC will be the "Support raw 802.11 traffic..." option to analyze the wireless network (Wi-fi), if applicable.
But in our case, it is a wired network, so this option is not useful here.
Once Npcap is installed, the Wireshark installation will continue.
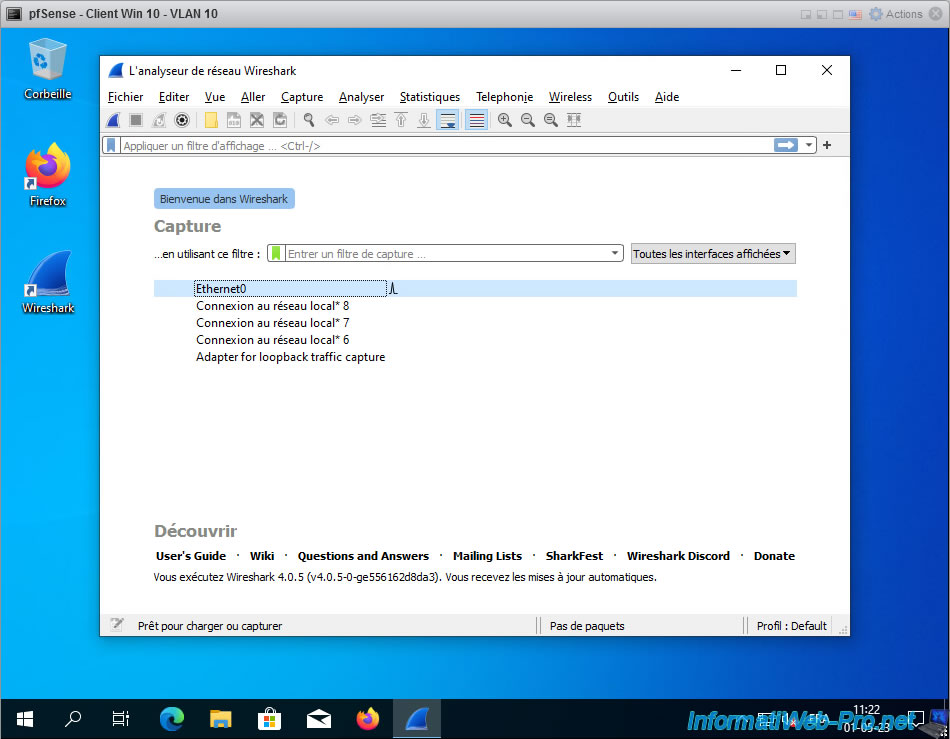
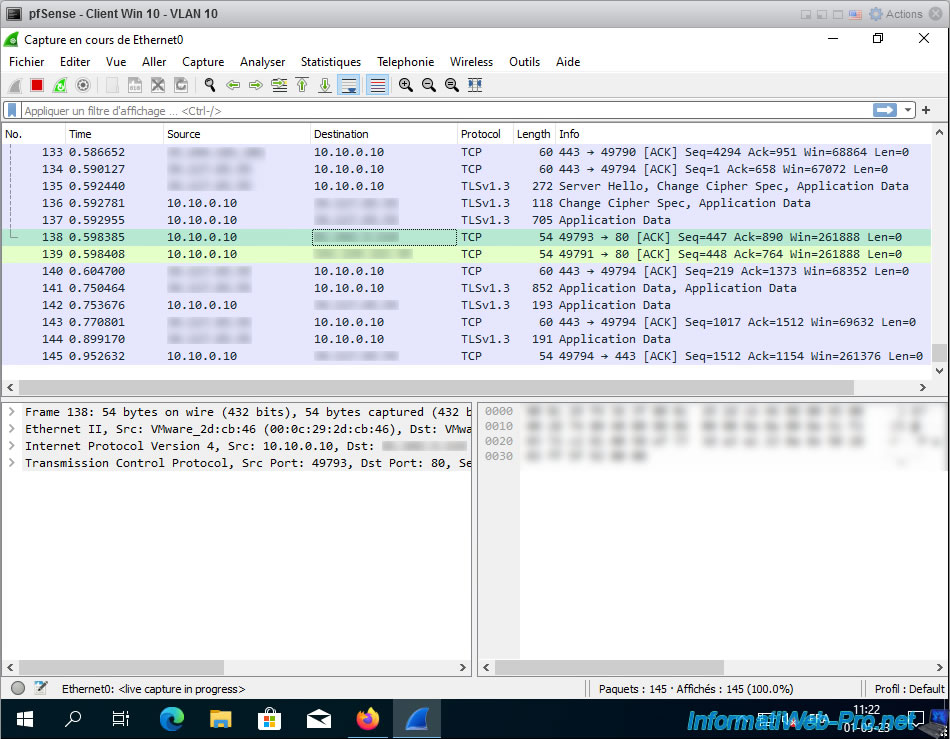
Once Wireshark is installed, launch it and double-click on your network connection.
Generally, in Windows 10, this is called "Ethernet0".
Note: if you do not know which network card to select, select the one where a graphic appears.
This small graphic indicates that network packets are currently passing through this network interface.
As you can see, many network packets are seen by Wireshark.
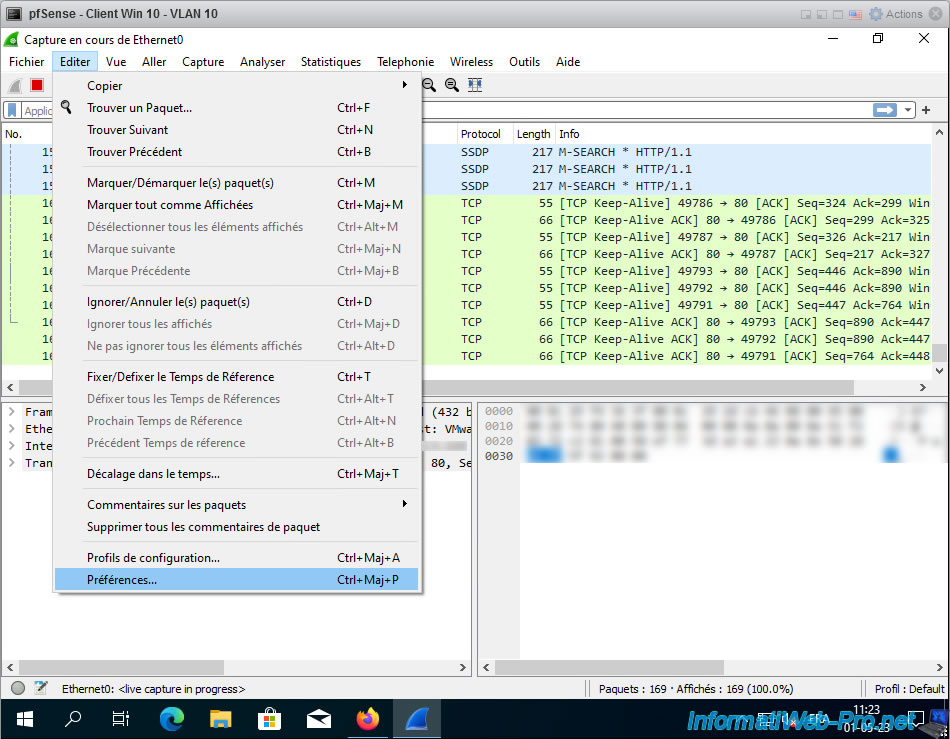
To easily see the VLAN ID added on packets by pfSense, go to the "Edit -> Preferences" menu in Wireshark.
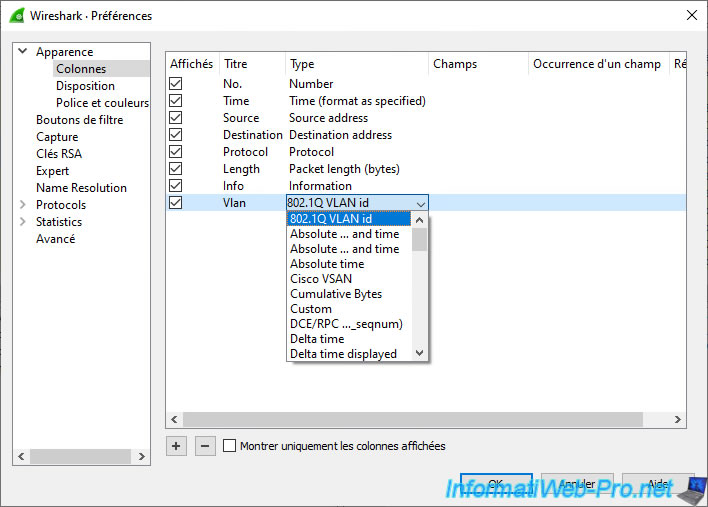
In the "Wireshark - Preferences" window that appears, go to the "Appearance -> Columns" section and click on the small "+" button at the bottom of the list that appears.

Specify "Vlan" as the title for this column, then double-click its type and select "802.1Q VLAN id" from the list that appears.
Then click OK.
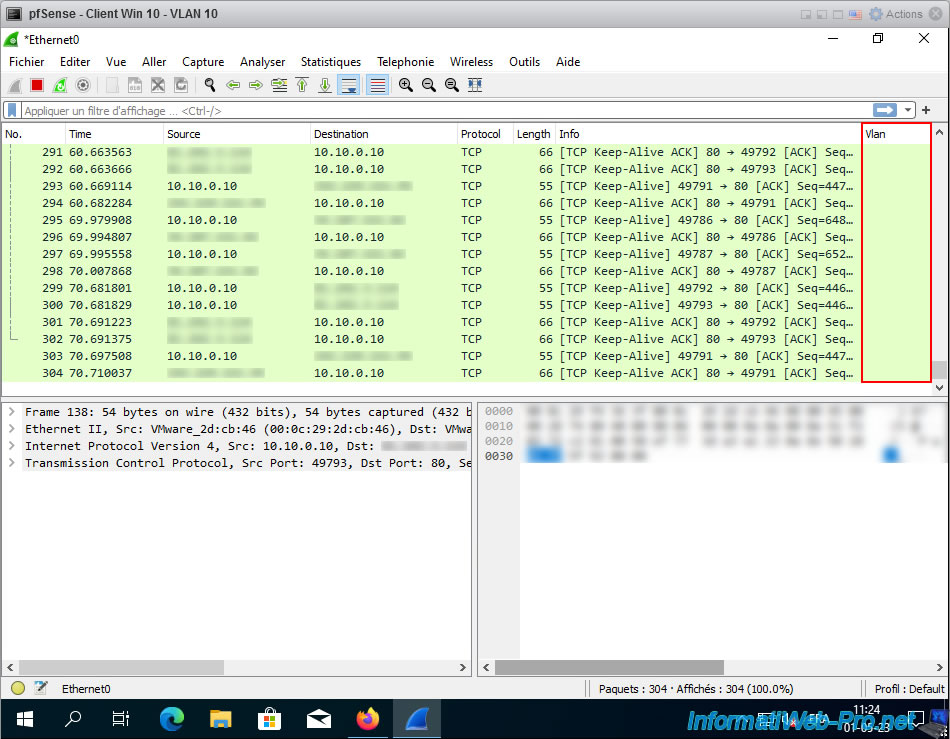
As you can see, a "Vlan" column has appeared on the right of the window.
However, for the moment, it is empty. Which means that Wireshark does not see a VLAN ID in these packets.
Which is normal for the moment and we will explain how to solve the problem later in this tutorial.
Share this tutorial
To see also
-
Firewall 6/11/2025
pfSense 2.6 - Create a DMZ and configure the firewall
-

Firewall 7/25/2025
pfSense 2.6 - Create and manage aliases
-
Firewall 5/17/2025
pfSense 2.6 - Enable SSH protocol
-
Firewall 8/16/2025
pfSense 2.6 - Monitoring via SNMP and Zabbix 6
No comment