Create a VPN server (remote access) via OpenVPN (in L2 mode) secured via SSL/TLS on pfSense 2.6
- Firewall
- pfSense
- 10 September 2025 at 13:07 UTC
-

- 2/2

5. Export configuration for OpenVPN client
To automatically install and configure the OpenVPN client, go to: VPN -> OpenVPN.
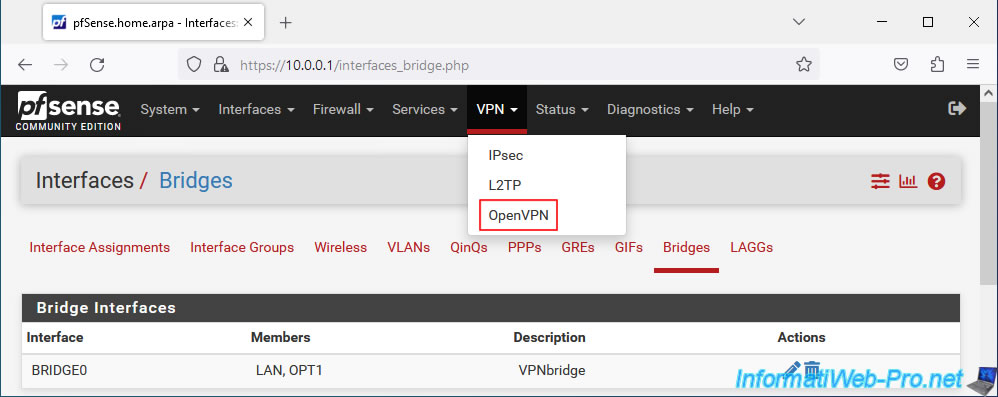
Go to the "Client Export" tab (available from the installation of the "OpenVPN Client Export" package installed via the tutorial cited at the beginning of the tutorial).
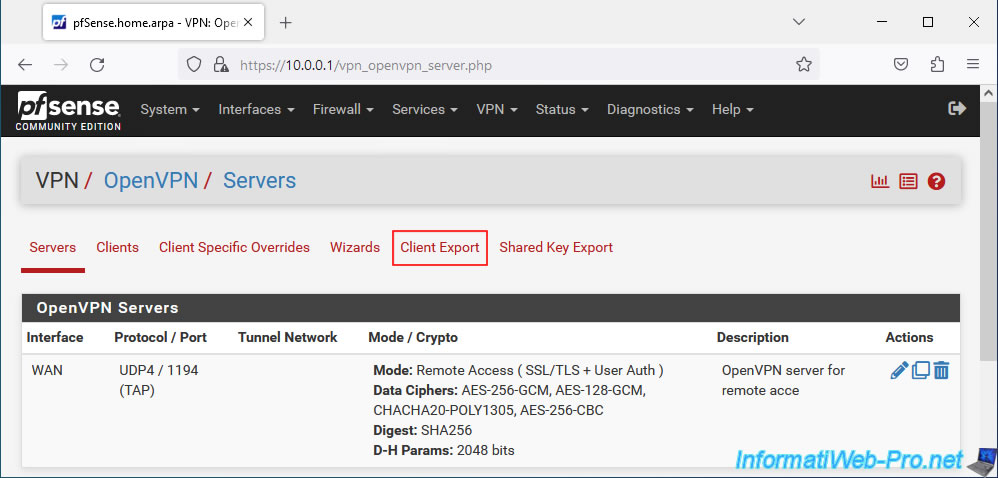
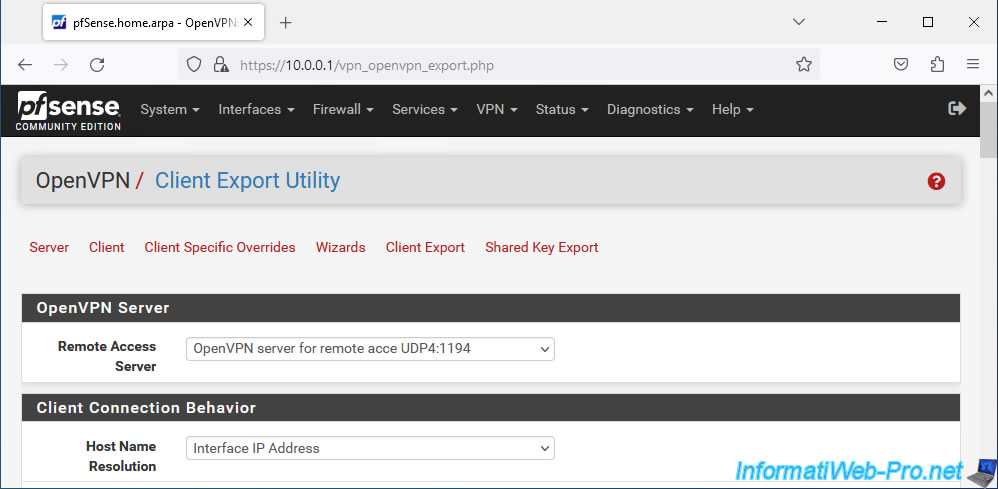
You will arrive on the "OpenVPN / Client Export Utility" page.
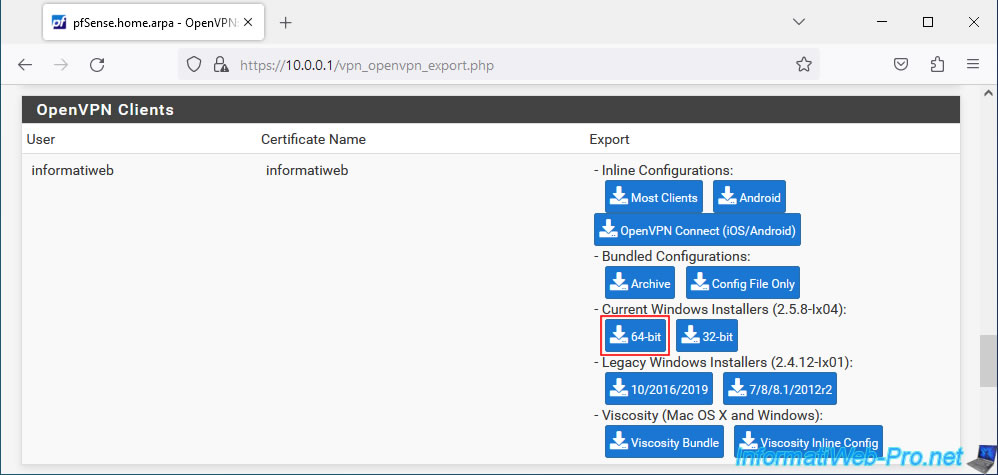
In the "OpenVPN Clients" section, download a Windows installer from the "Current Windows Installers" section.
In our case, we chose the 64-bit version.
Note: the "informatiweb" user, as well as its associated user certificate, were created in pfSense in the previous tutorial.
6. Install the OpenVPN client
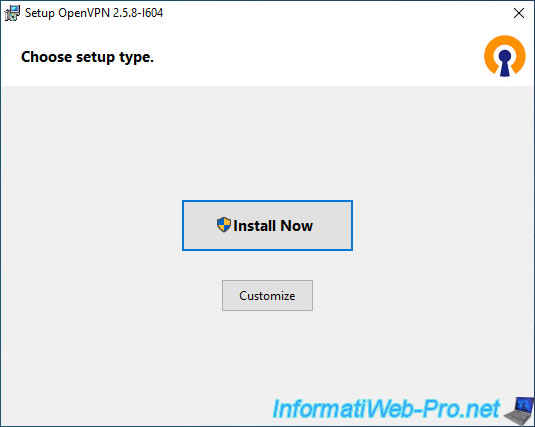
To install the OpenVPN client, simply launch the downloaded file.

Click: Install Now.
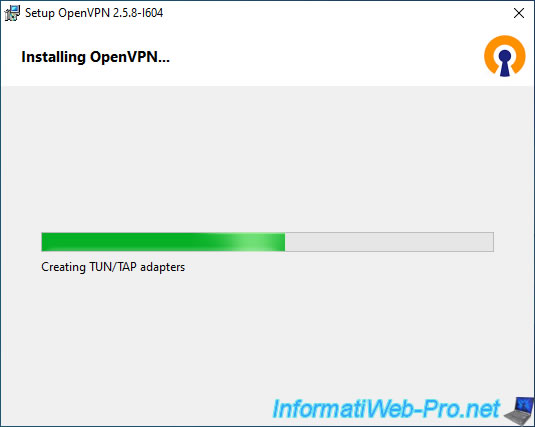
Wait while the OpenVPN client installs and the TUN (L3) and TAP (L2) network adapters are created.
Plain Text
Creating TUN/TAP adapters.
Once the installation of the OpenVPN client is complete, a 2nd installer will automatically appear to automatically configure the OpenVPN client for your user.
Once the OpenVPN client is installed and automatically configured, double-click the OpenVPN icon in the taskbar (which looks like a network icon with a padlock).
Then, log in with the credentials of the user account selected previously (when exporting the OpenVPN client).
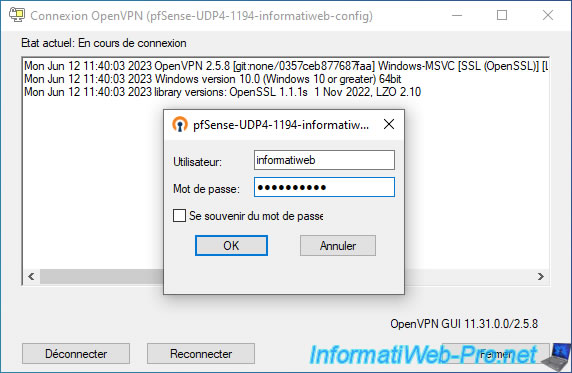
Wait while connecting to your OpenVPN server.
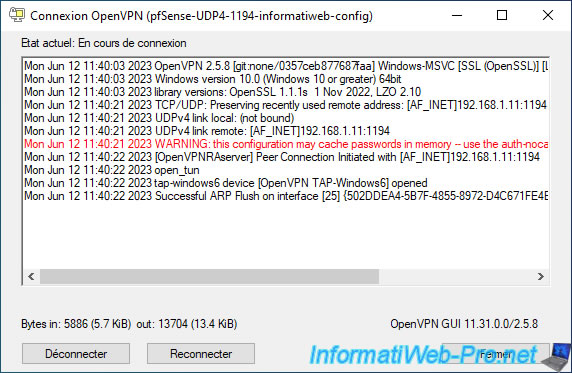
Warning : if you have not checked the "Push the Bridge Interface IPv4 address to connecting clients as a route gateway" box of the "Bridge Route Gateway" parameter available in the settings of your OpenVPN server, the warning below will appear and you will not have access to the pfSense LAN network.
If so, check the "Push the Bridge Interface IPv4 address..." box cited above, then export the OpenVPN client for that user again and reinstall it using the new installation file.
Plain Text
OpenVPN ROUTE: OpenVPN needs a gateway parameter for a --route option and no default was specified by either --route-gateway or --ifconfig options.
OpenVPN ROUTE: failed to parse/resolv route for host/network: 10.0.0.0.
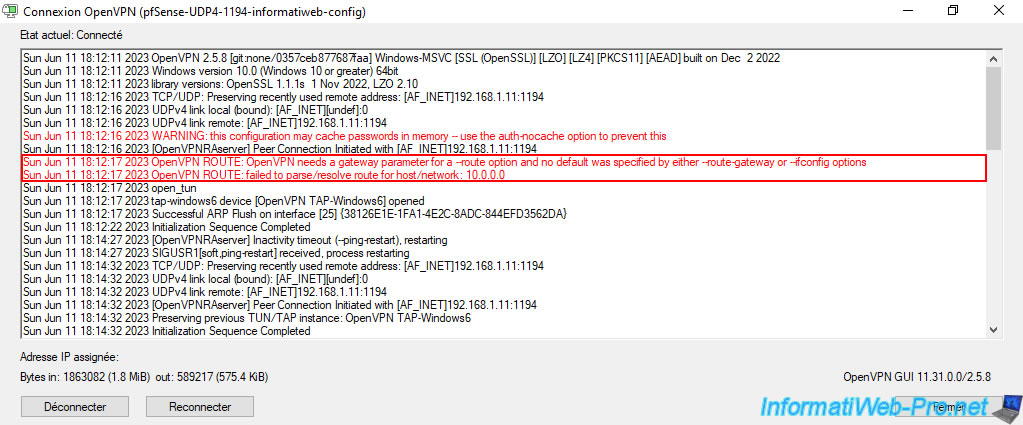
The OpenVPN client is connected.

7. Test the network connection between the OpenVPN client and the LAN network
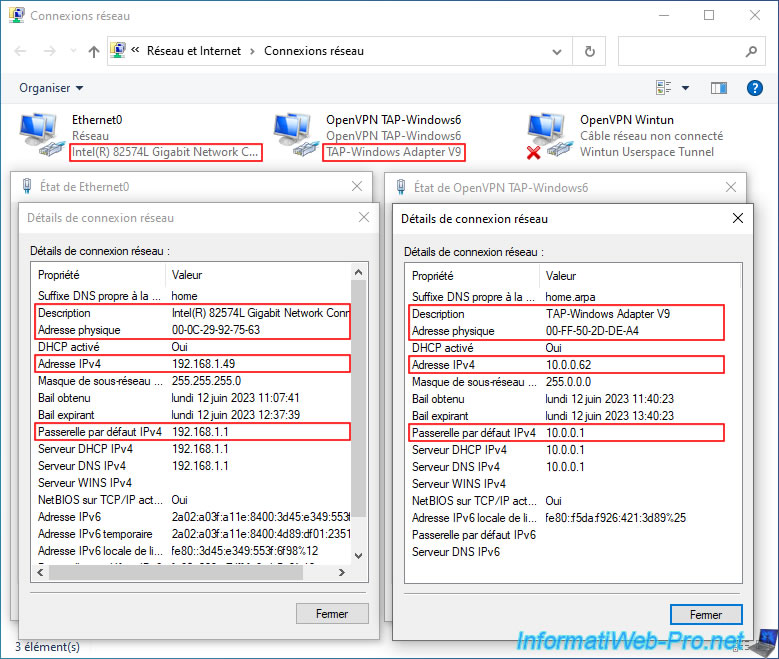
If you look in Windows Network Connections, you will see that 2 OpenVPN network adapters have been added, including one named "OpenVPN TAP-Windows6 / TAP-Windows Adapter V9".
As you can see, in our case:
- our wired network card (Ethernet0) "Intel" is connected to our Box (192.168.1.1) and has an IP address "192.168.1.49" distributed by it.
- the virtual network card "TAP-Windows Adapter V9" (used by the OpenVPN client) uses the IP address "10.0.0.1" which corresponds to the pfSense gateway for the LAN network and was assigned the IP address "10.0.0.62 " from the DHCP server "10.0.0.1" (which again corresponds to the LAN IP address of pfSense).
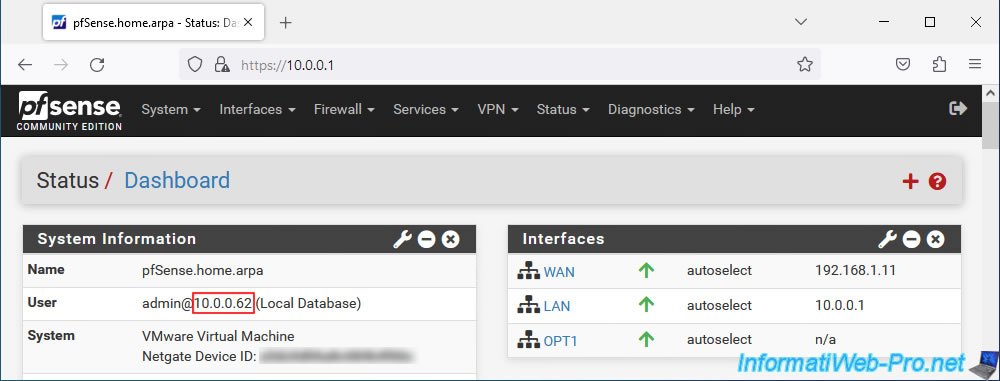
If you try to access the pfSense LAN IP address from the PC connected with the OpenVPN client, you will see that you have access to the pfSense web interface without any problems.
As you can verify from the IP address displayed by pfSense in the image below.
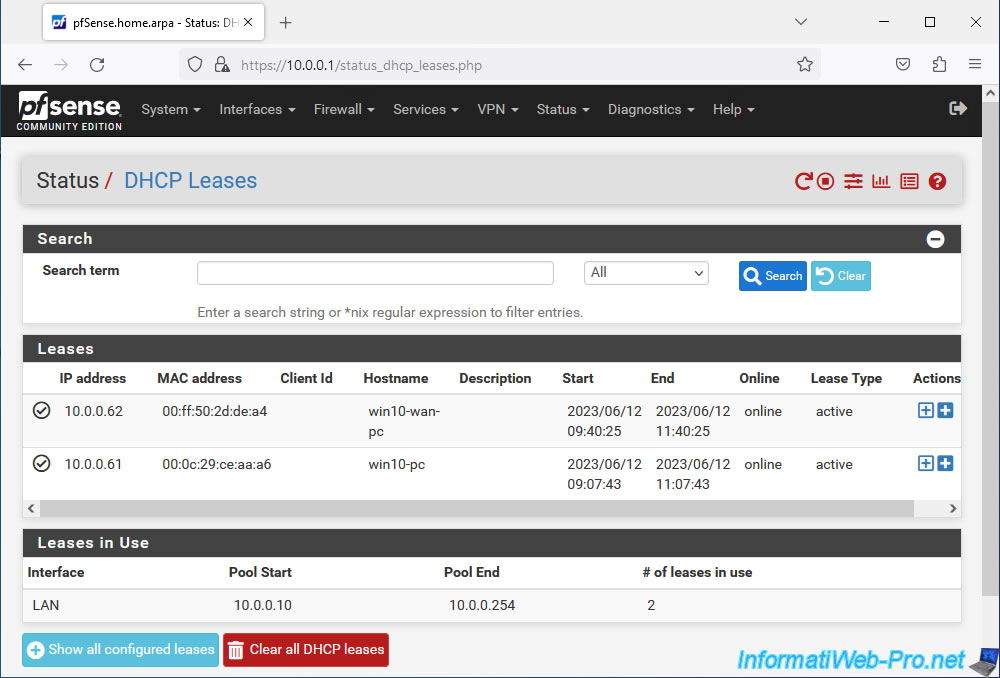
If you go to "Status -> DHCP Leases", you will see that the DHCP server for the LAN interface (visible at the bottom of the page) has distributed 2 IP addresses:
- 10.0.0.62: for the OpenVPN client (whose MAC address of the virtual network card used by this OpenVPN client is "00:ff:50:2d:de:a4" and the NETBIOS name is "win10-wan-pc" ).
- 10.0.0.61: for the local PC physically connected to the LAN network (whose physical network card MAC address is "00:0c:29:ce:aa:a6" and NETBIOS name is "win10-pc")
If you want to test network connectivity from the PC connected via OpenVPN and the PC physically located in the pfSense LAN network, remember to allow ping (protocols: ICMPv4 and ICMPv6) in the PC's firewall at contact.
In our case, we allowed ping on our PC "win10-pc" physically connected to the LAN network.
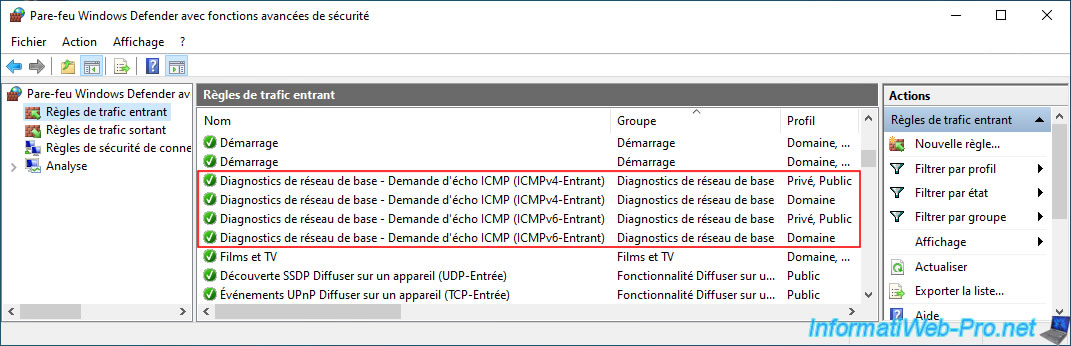
To do this, allow the rules below for incoming traffic from this Windows PC.
- Basic Network Diagnostics - ICMP Echo Request (ICMPv4-In) | Profiles: Private, Public AND Domain.
- Basic Network Diagnostics - ICMP Echo Request (ICMPv6-In) | Profiles: Private, Public AND Domain.
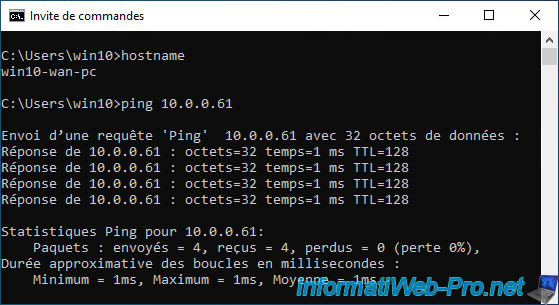
As you can see, our PC "win10-wan-pc" connected via the OpenVPN client can communicate without problems with our computer "win10-pc" (having the IP address "10.0.0.61") physically connected to the LAN network.
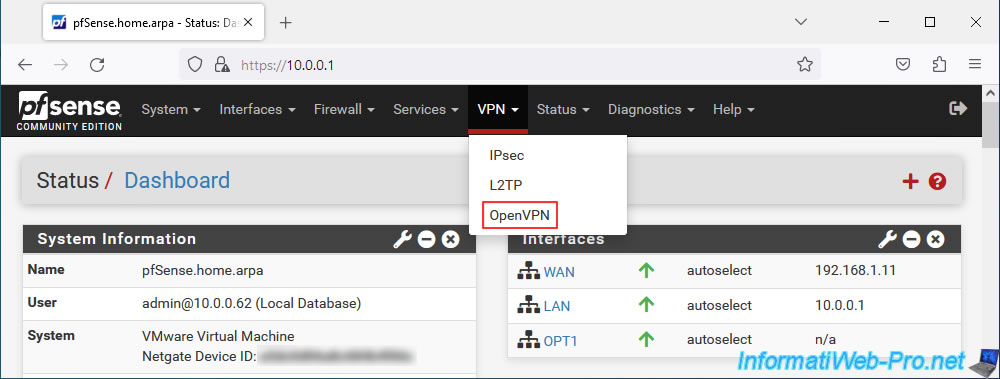
8. Check OpenVPN tunnel status
To check the status of the OpenVPN tunnel, go to: VPN -> OpenVPN.
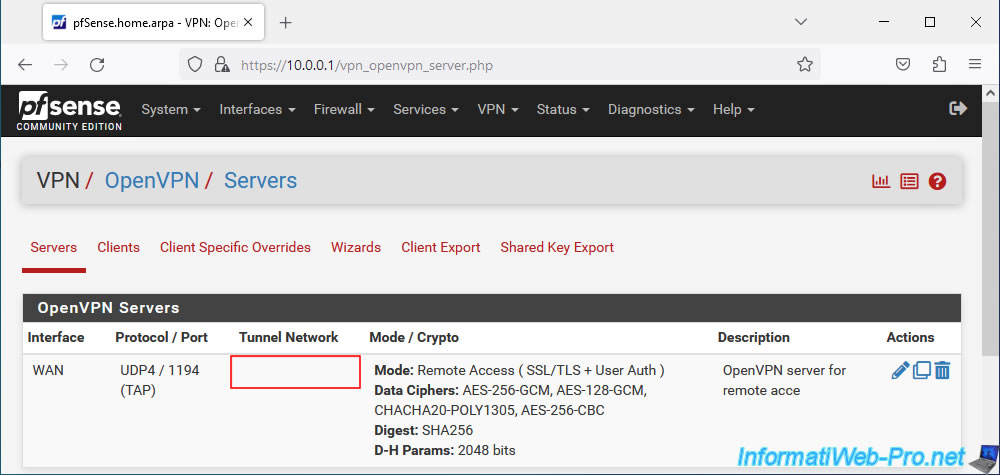
You will find almost the same information for the OpenVPN server as when the VPN tunnel was in L3 mode (see previous tutorial cited at the start of this tutorial).
The only differences are:
- no subnets are used for the OpenVPN tunnel.
- the routing table and the list of connected clients are not available since the OpenVPN server operates on layer "2 - Link" (which only knows MAC addresses) of the OSI model and not layer "3 - Network" (which also knows IP addresses).
Source : OSI model - Wikipedia.
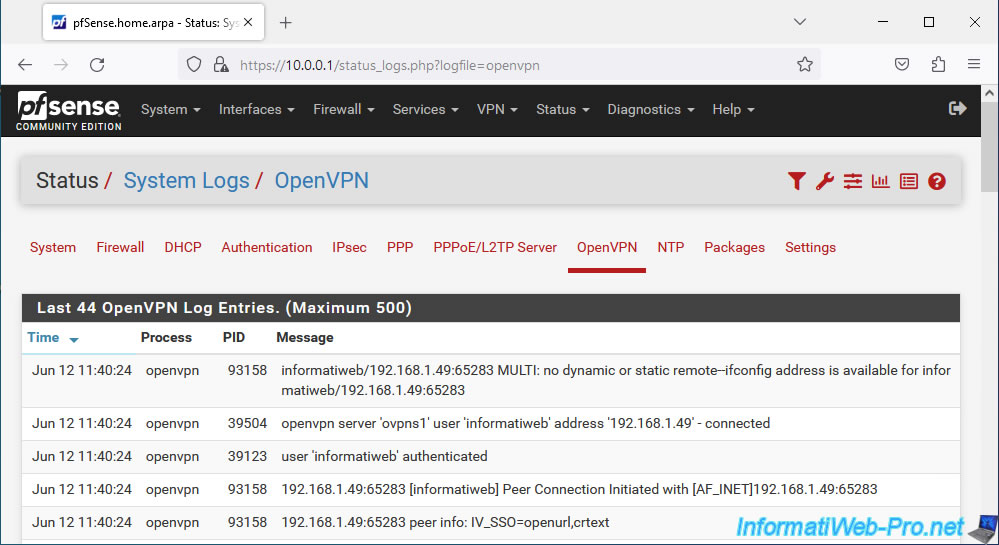
In the event of a problem with OpenVPN, you can consult its logs by clicking on the penultimate red icon (visible in the previous image) or by going to: Status -> System Logs -> OpenVPN.
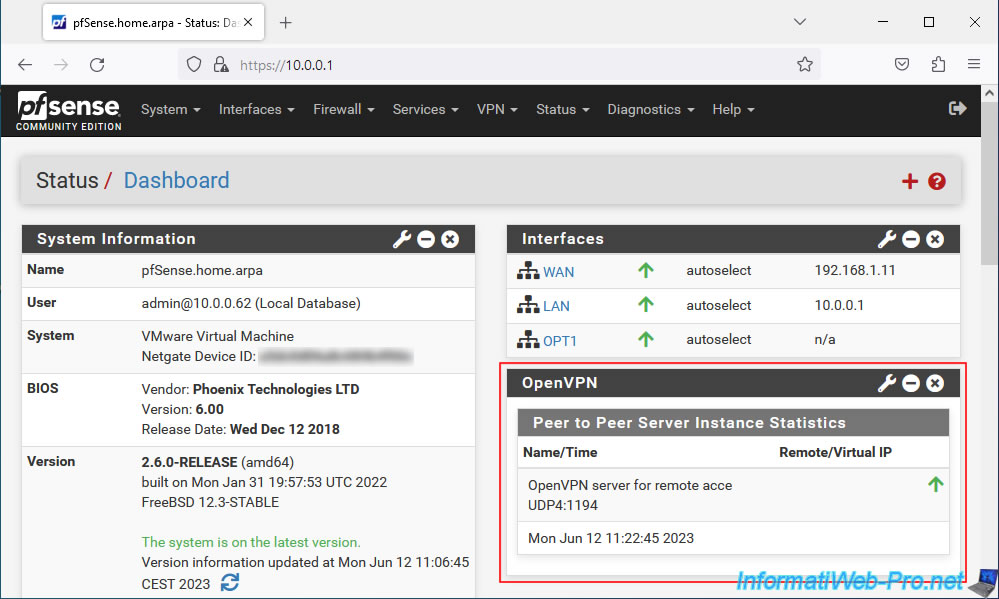
9. Add the OpenVPN widget to the pfSense dashboard (optional)
As explained in the previous tutorial, you can add the "OpenVPN" widget to the pfSense dashboard via the "+" icon located at the top right of the dashboard.
However, you will only see the name of the OpenVPN server and the date/time since it was started.
You will not see any IP address appear in the "Remote/Virtual IP" column given that your OpenVPN server operates in L2 mode (which therefore has no knowledge of IP addresses, see OSI model cited previously).
Share this tutorial
To see also
-

Firewall 5/21/2025
pfSense 2.6 - Access to the web interface via the WAN interface
-

Firewall 9/19/2025
pfSense 2.6 - Create a site-to-site (S2S) VPN tunnel via OpenVPN secured with SSL/TLS (L2 mode)
-
Firewall 5/23/2025
pfSense 2.6 - Network interfaces
-
Firewall 6/13/2025
pfSense 2.6 - Schedule a rule in the firewall
No comment