Create a site-to-site (S2S) VPN tunnel via OpenVPN secured with SSL/TLS (L3 mode) on pfSense 2.6
- Firewall
- pfSense
- 17 September 2025 at 07:32 UTC
-

- 5/6

2.3. Add an OpenVPN client on site 2 (Paris)
Now that you have the required certificates, you can configure an OpenVPN client on site 2 (Paris).
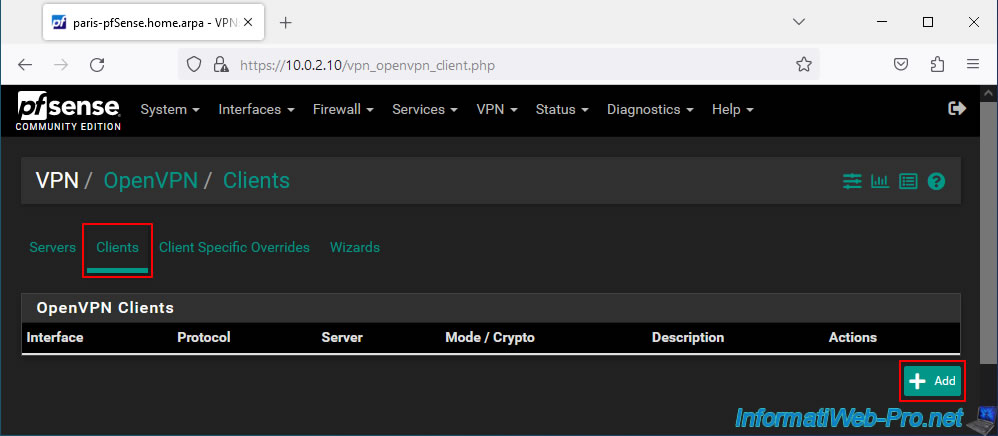
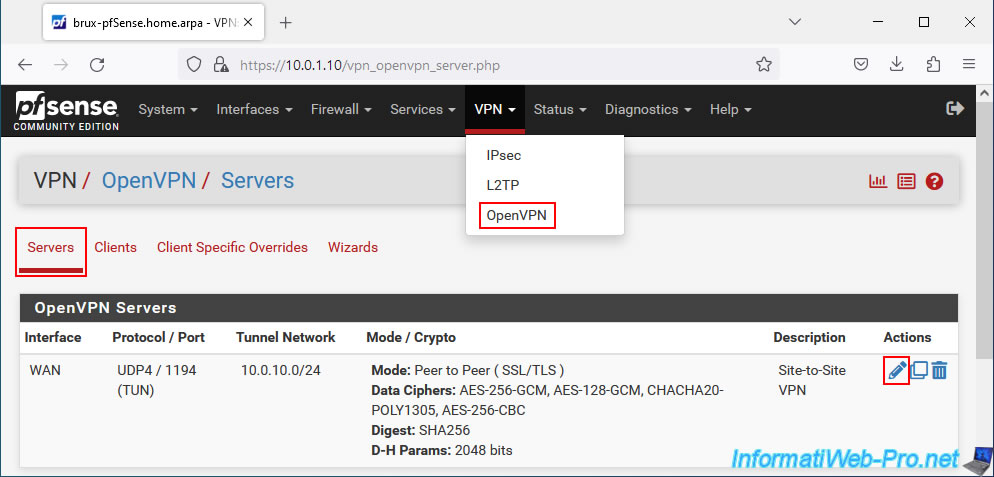
To do this, go to: VPN -> OpenVPN.
On the page that appears, go to the "Clients" tab and click on: Add.
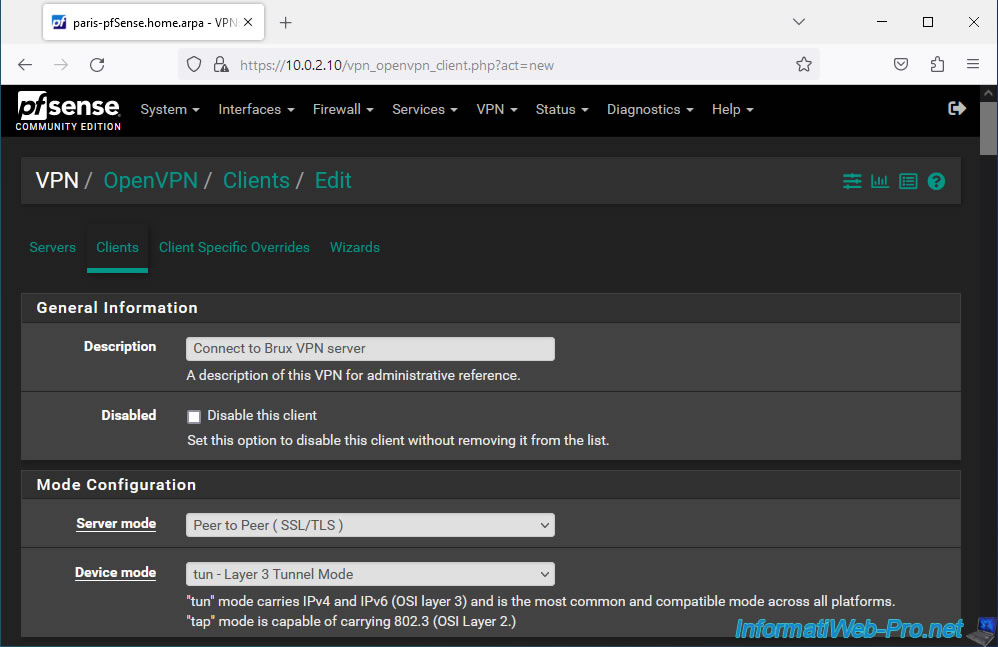
For OpenVPN client configuration, specify this:
- Description: a description indicating which VPN server will be contacted (for example).
In our case: Connect to Brux VPN server. - Server mode: Peer to Peer (SSL/TLS). Since OpenVPN will be secured with SSL certificates and TLS key.
- Device mode: tun - Layer 3 Tunnel Mode.
As with the VPN server, the tunnel will be used to connect 2 IPv4 networks.
In the "Endpoint Configuration" section, indicate:
- Protocol: UDP on IPv4 only. As for the OpenVPN server.
- Interface: WAN. The client will connect to the OpenVPN server via the Internet. So, via the pfSense WAN interface.
- Server host or address: the public IP address (provided by site 1's ISP) of your OpenVPN server.
- Server port: 1194. OpenVPN port.

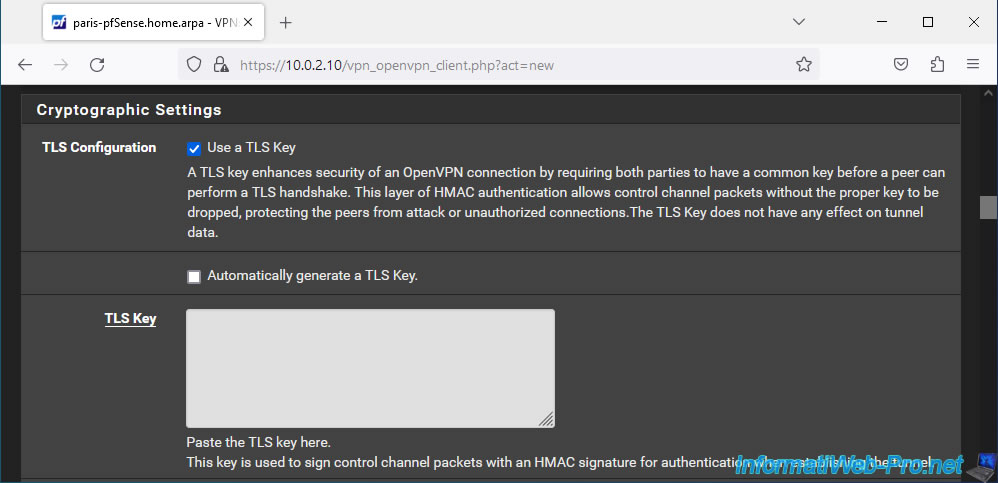
In the "Cryptographic Settings" section:
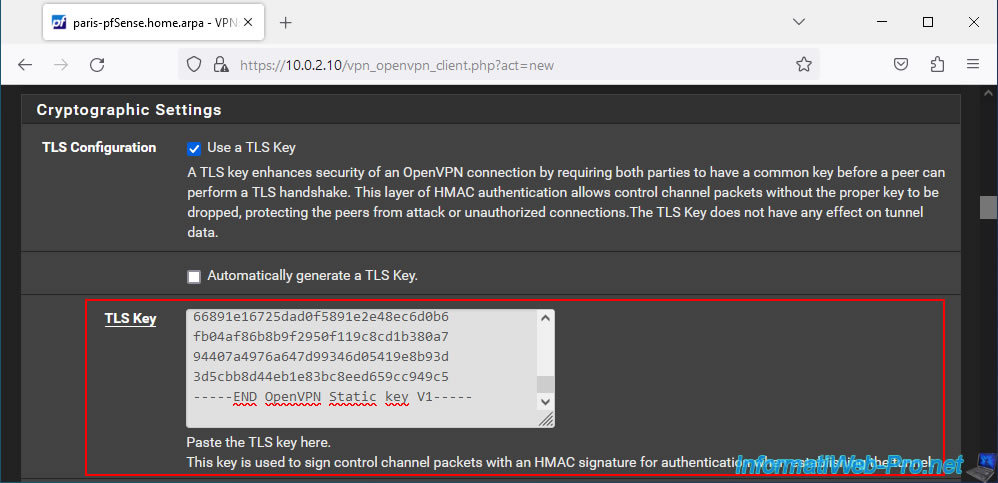
- TLS Configuration: check the "Use a TLS Key" box to secure the connection of this OpenVPN client with a TLS key as on the OpenVPN server.
Then, uncheck the "Automatically generates a TLS Key" box to be able to manually specify a TLS key.
Indeed, for the OpenVPN client to be able to connect to your OpenVPN server, it must use the same TLS key. - TLS Key: you must specify the TLS key that was automatically generated by your OpenVPN server.
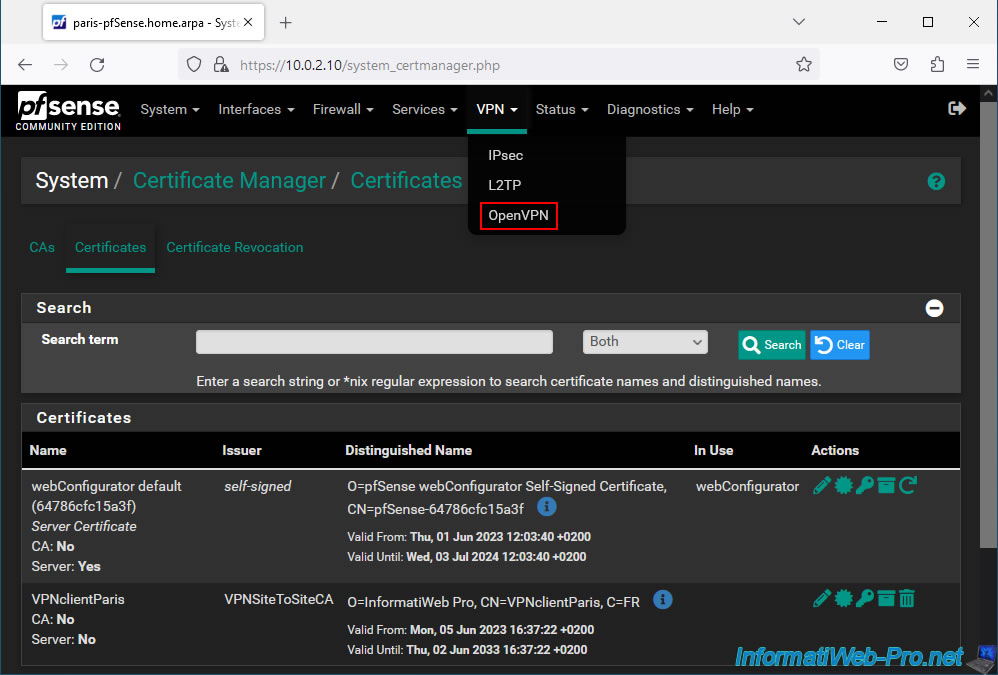
To find the TLS key of your OpenVPN server, go to site 1 (Brussels) where you installed your OpenVPN server and go to: VPN -> OpenVPN.
Next, go to the "Servers" tab and modify your OpenVPN server configuration.
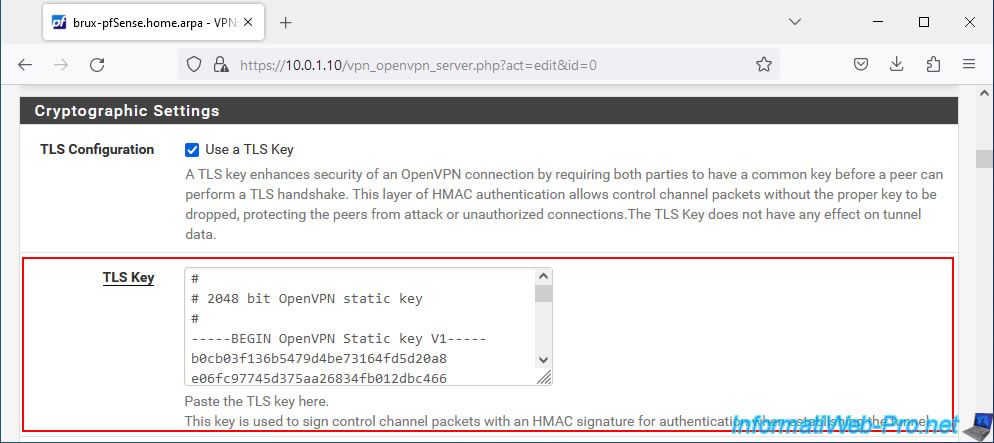
In the "Cryptographic Settings" section, you will see the TLS key used by your OpenVPN server.
This TLS key looks like this:
Plain Text
#
# 2048 bit OpenVPN static key
#
-----BEGIN OpenVPN Static key V1-----
xxxxxxxxxxxxxxxxxxxxxxxxx....
-----END OpenVPN Static key V1-----
Copy this TLS key from your OpenVPN server configuration.
Paste this TLS key into the "TLS Key" box in your OpenVPN client configuration.
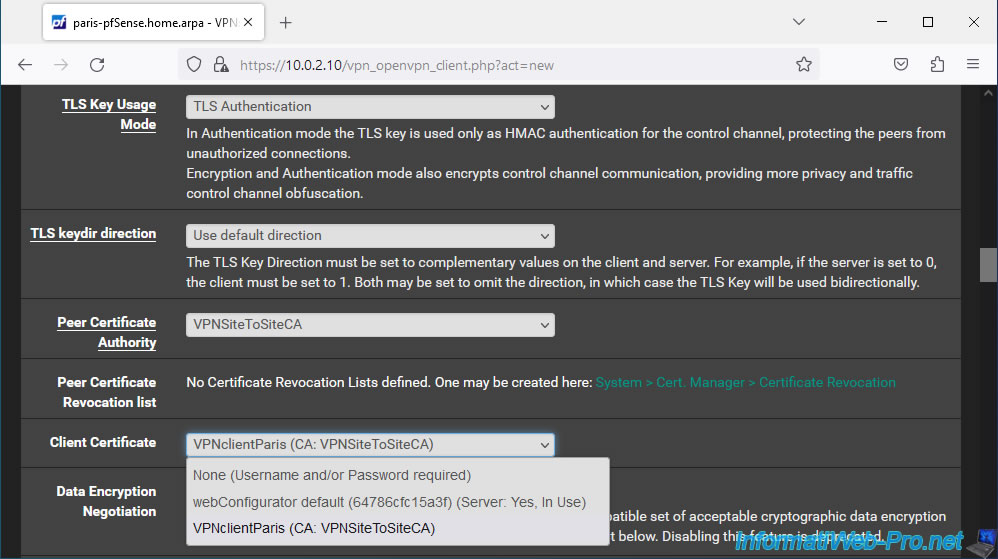
In this "Cryptographic Settings" section, also configure these settings:
- Peer Certificate Authority: select your internal certificate authority.
In our case: VPNSiteToSiteCA. - Client Certificate: select the certificate corresponding to this OpenVPN client.
In our case: VPNclientParis.
Important : if you do not see the name of your internal certificate authority and/or the name of the client certificate for your OpenVPN client, check in "System -> Certificate Manager" that you have imported the certificate of your internal certificate authority and the certificate + private key of the client certificate intended for your OpenVPN client.
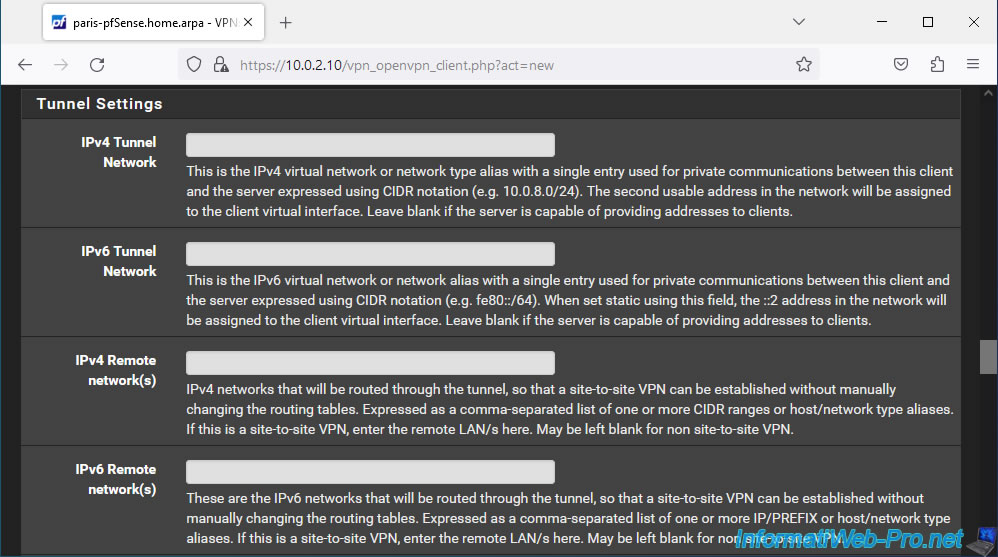
In the "Tunnel Settings" section, you do not need to enter anything when OpenVPN operates in SSL/TLS mode.
Indeed, it is the OpenVPN server which manages the configuration and which sends the appropriate configurations to the various connected OpenVPN clients by identifying them using their certificate.
Note: these settings are only useful when you configure OpenVPN in "shared key" (PSK) mode. This is not the case here.
At the bottom of the page, click Save.
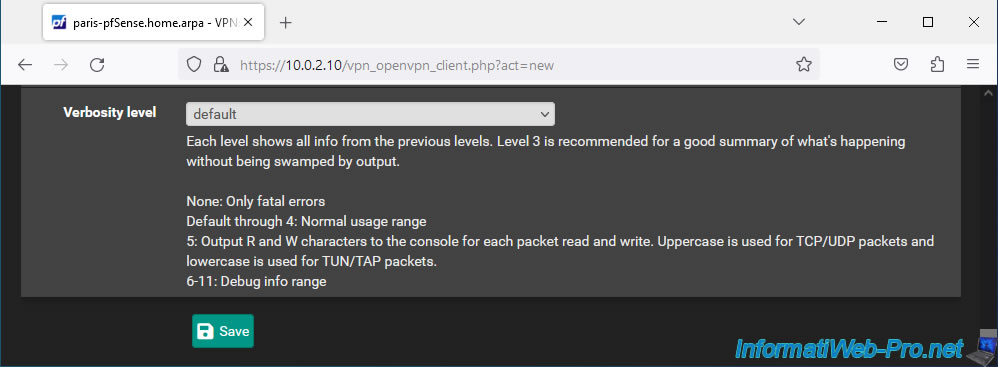
Your OpenVPN client has been added to your site 2 (Paris).
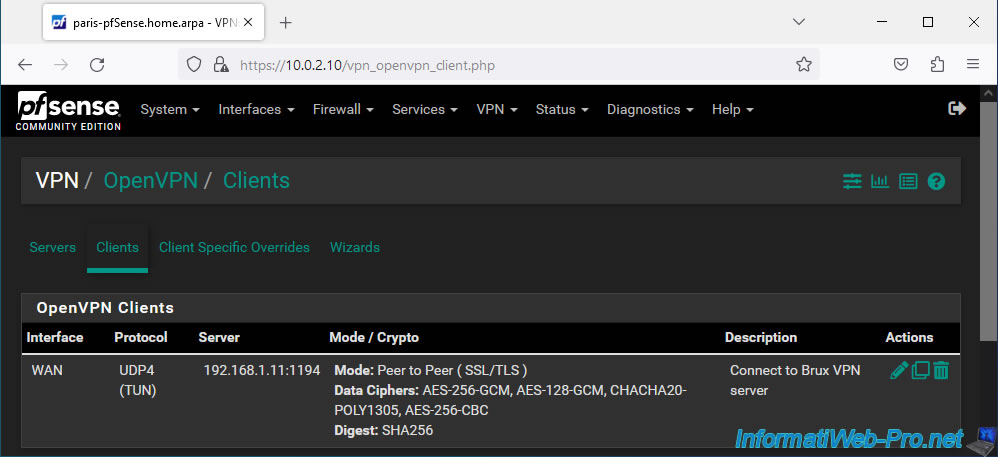
2.4. Allow network traffic in OpenVPN tunnel to site 2 (Paris)
So that computers or servers can access the resources of site 2 (Paris), you must add a rule to this site's firewall.
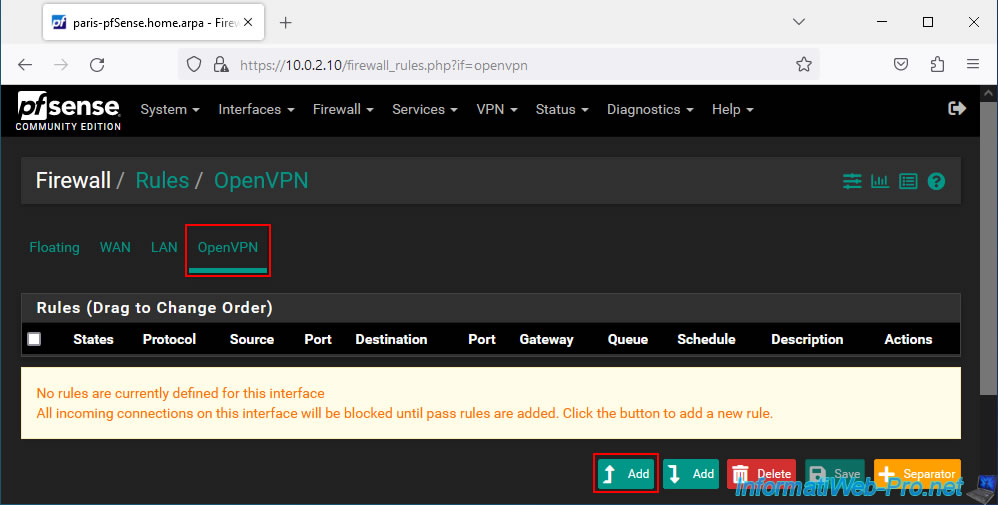
To do this, go to: Firewall -> Rules.
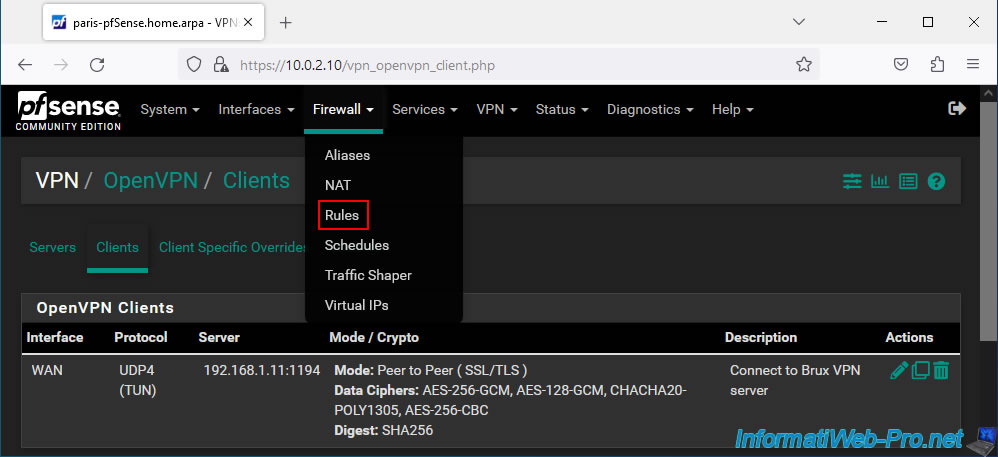
Next, go to the "OpenVPN" tab and click: Add.
Note: as you can see, by default, all incoming connections (in this case for the OpenVPN tunnel) are blocked until there is a rule that allows the desired network traffic.
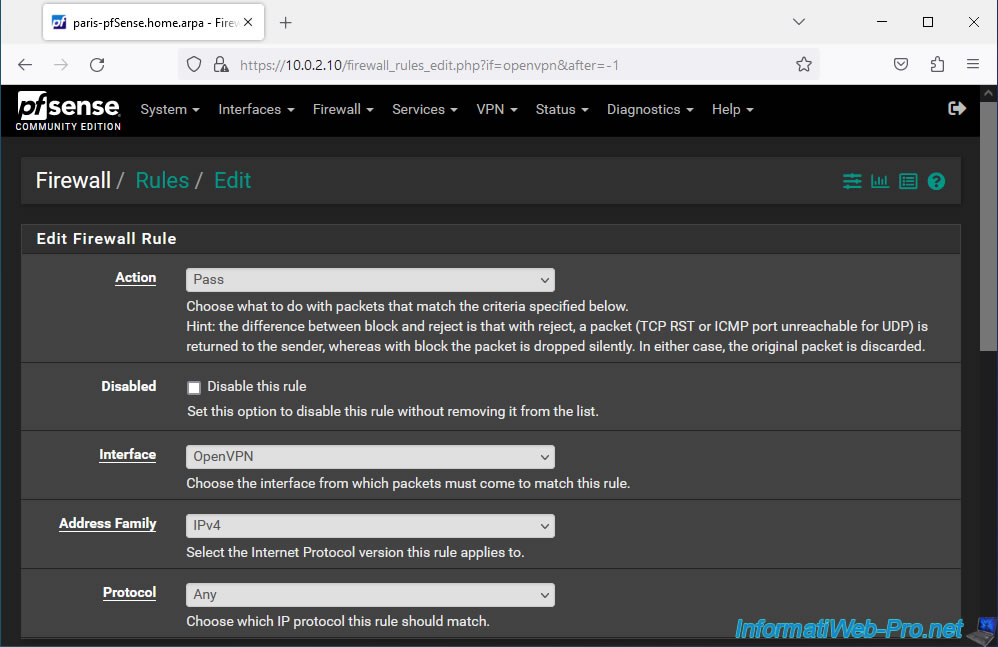
Allow all IPv4 network traffic for all protocols (TCP, UDP, ICMP, ...) in the OpenVPN tunnel.
- Action : Pass.
- Interface : OpenVPN.
- Address Family : IPv4.
- Protocol : Any.
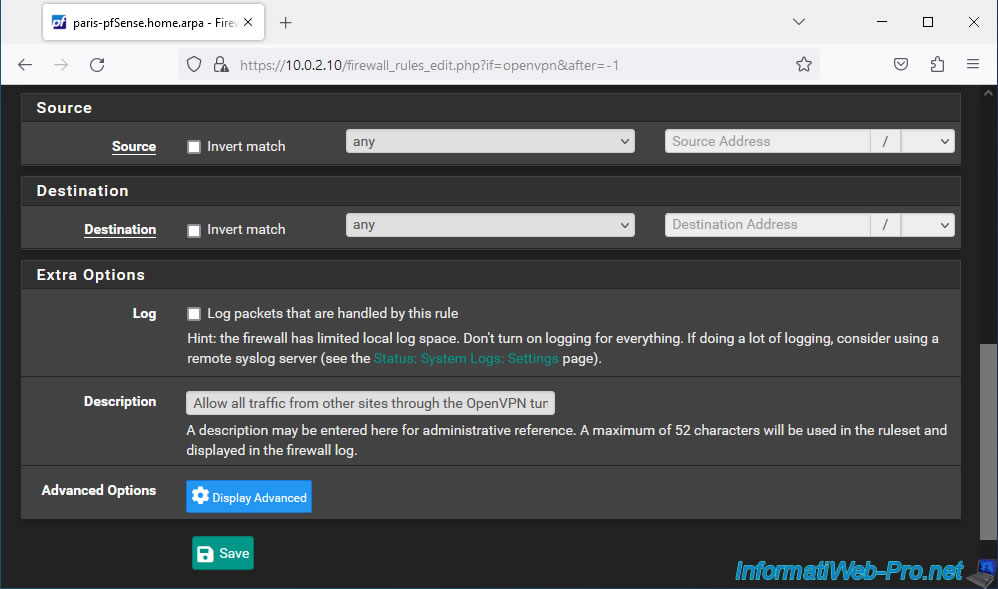
Allow all network traffic in the OpenVPN tunnel regardless of source and destination.
To do this, select "Any" for the source and destination.
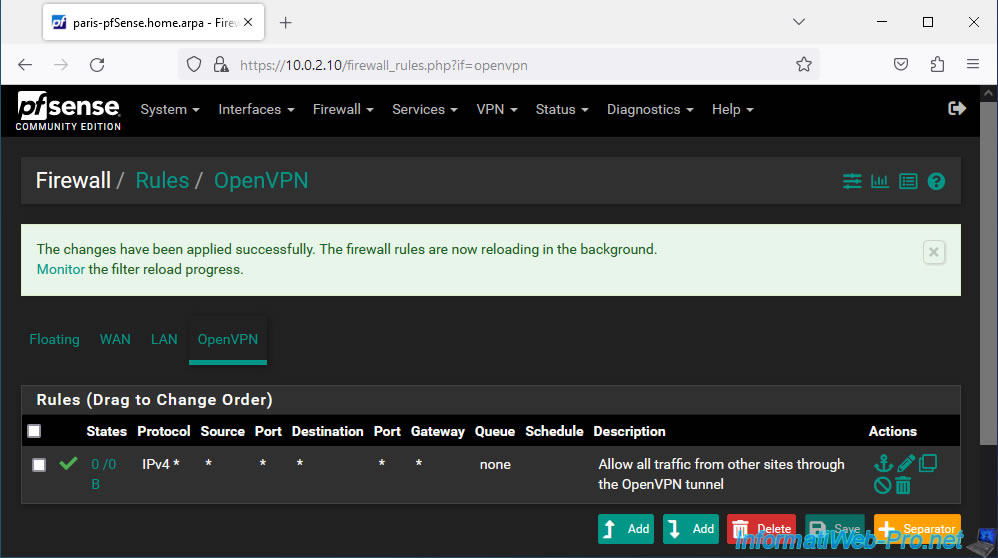
Next, provide a description (for guidance) and click Save.
In our case, we indicated this as a description: Allow all traffic from other sites through the OpenVPN tunnel.
Click: Apply Changes.
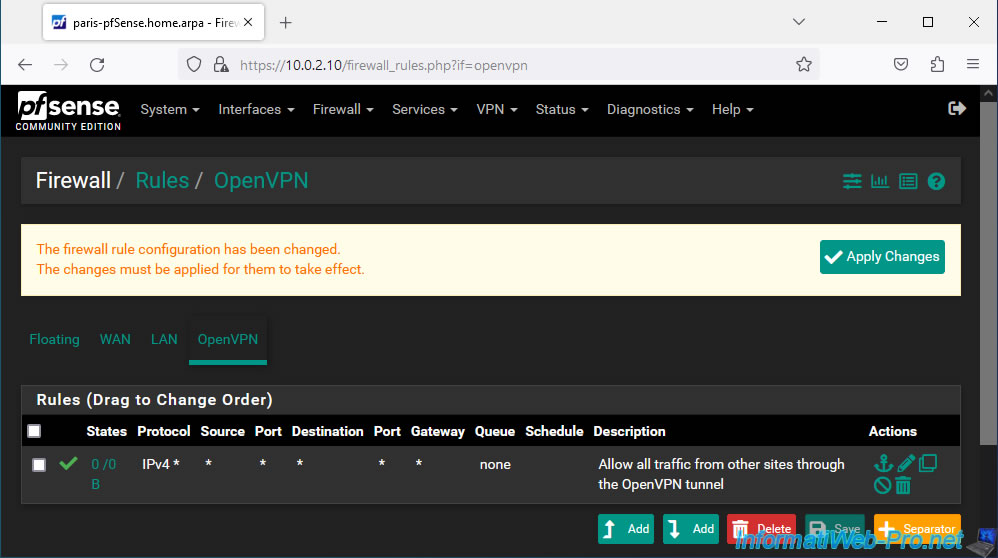
Inbound and outbound traffic for the OpenVPN tunnel on this site is allowed.
Share this tutorial
To see also
-

Firewall 5/21/2025
pfSense 2.6 - Access to the web interface via the WAN interface
-

Firewall 5/17/2025
pfSense 2.6 - Enable SSH protocol
-

Firewall 8/29/2025
pfSense 2.6 - Implement Multi-WAN (Dual-WAN)
-

Firewall 7/23/2025
pfSense 2.6 - Synchronize the clock from a time server (NTP)
No comment