Create a site-to-site (S2S) VPN tunnel via OpenVPN secured with SSL/TLS (L3 mode) on pfSense 2.6
- Firewall
- pfSense
- 17 September 2025 at 07:32 UTC
-

- 4/6

2. Configure site 2 in Paris for OpenVPN
To configure the OpenVPN client on your remote sites (in our case: site 2 in Paris), you will need the certificates exported previously.
As a reminder, you need:
- VPNclientParis.crt: the SSL certificate for the OpenVPN client that you will install on this remote site.
- VPNclientParis.key: the private key associated with this SSL certificate.
- VPNSiteToSiteCA.crt: the certificate of your internal certificate authority created previously.

2.1. Import the certificate from the internal certification authority to site 2 (Paris)
To import the certificate of the internal certification authority created on site 1, go to the "System -> Cert Manager" menu on site 2 (Paris).
Important : as a reminder, screen prints on a black background concern site 2 (Paris) and those on a white background concern site 1 (Brussels).
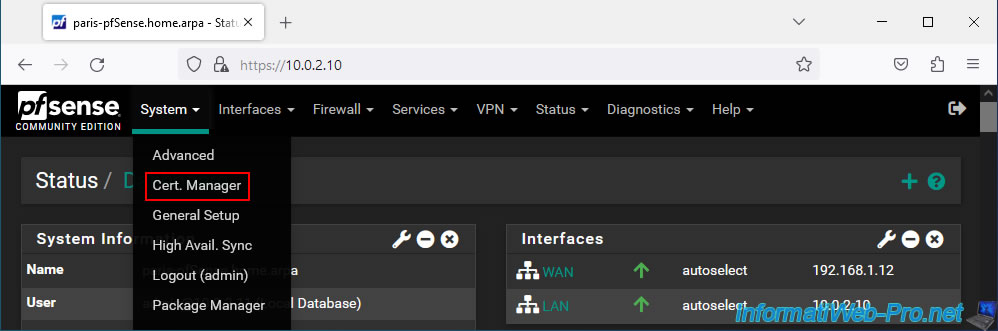
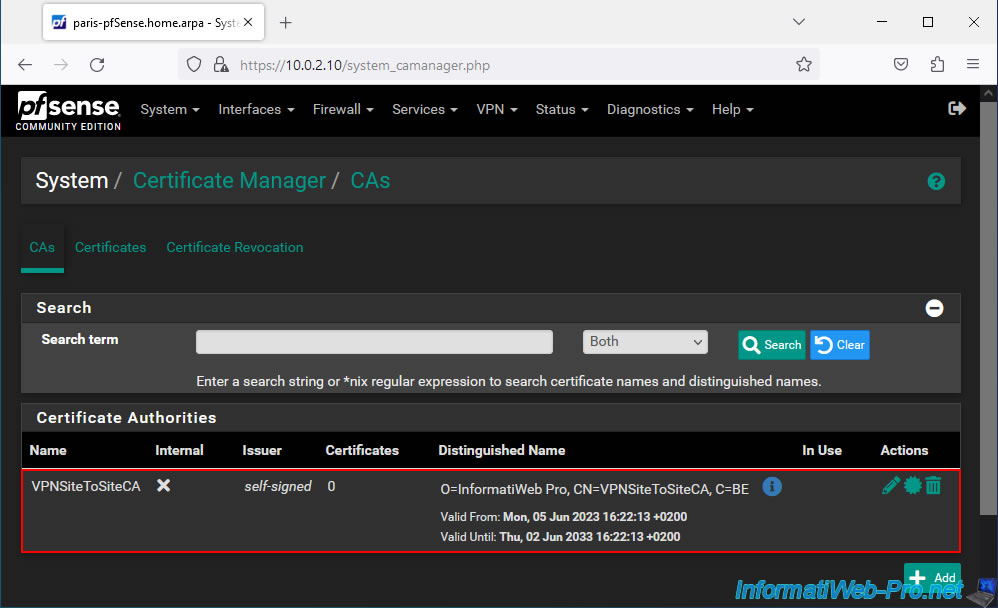
Go to the "CAs" tab and click: Add.

In the "Create / Edit CA" section, configure the settings like this:
- Descriptive name: specify the name of the internal certificate authority you want to import.
In our case: VPNSiteToSiteCA. - Method: Import an existing Certificate Authority. Allows you to import an existing certificate instead of creating a new one.
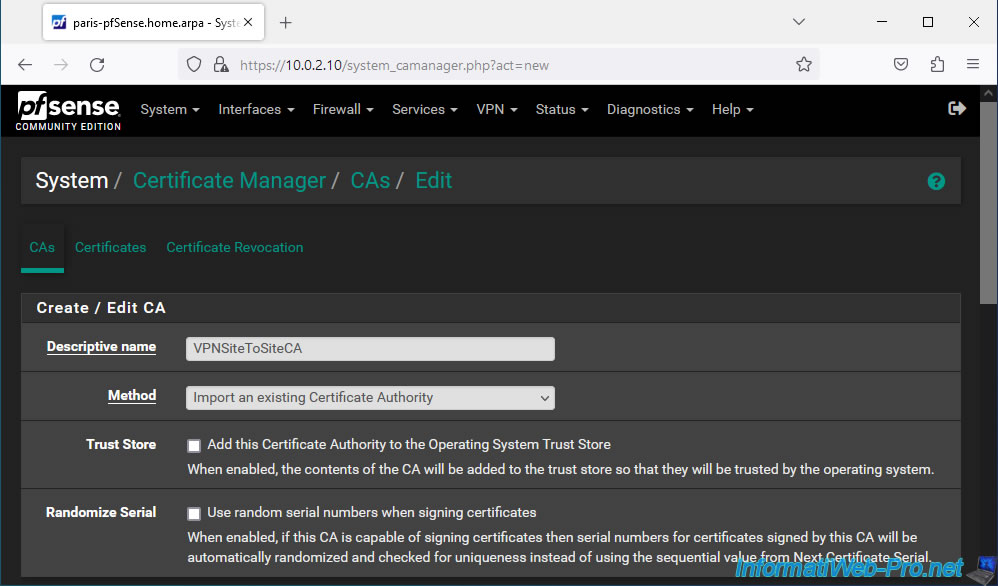
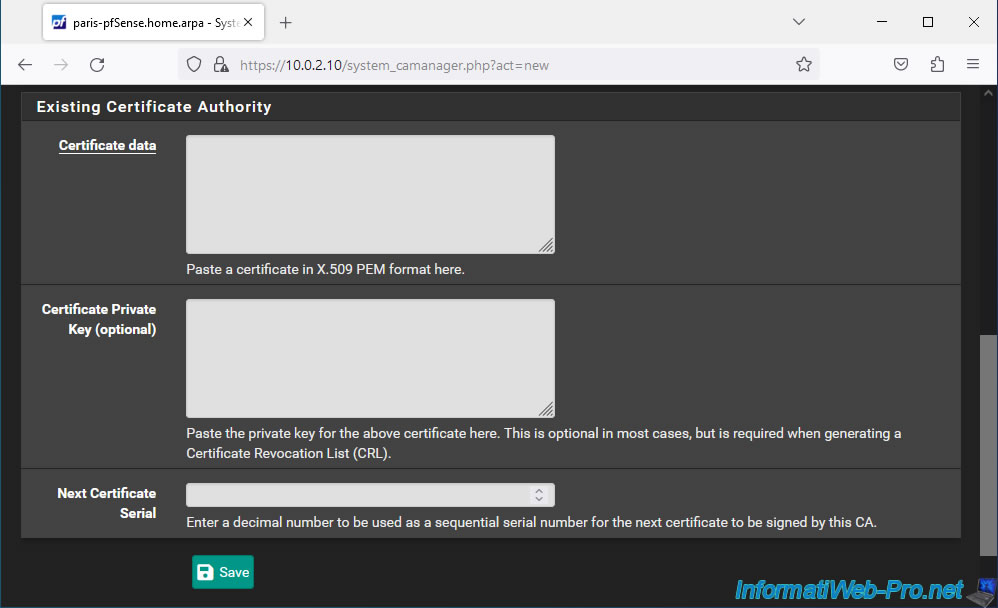
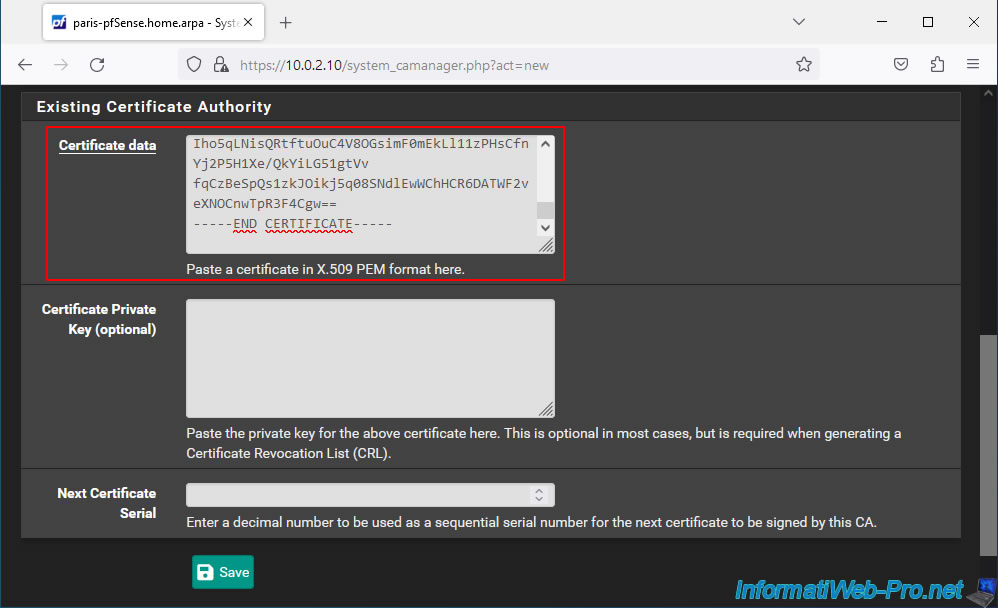
In the "Existing Certificate Authority" section, you will need to paste your CA certificate into the "Certificate data" box.
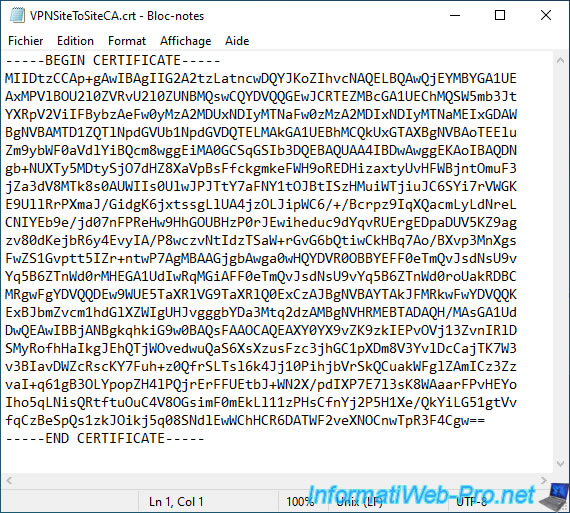
To do this, open the certificate of your internal certificate authority (CA) with notepad.
Since the certificate is in PEM format, it can be opened with a simple text editor.
Copy its contents including the "BEGIN CERTIFICATE" and "END CERTIFICATE" lines.
Paste its contents into the "Certificate data" box and click Save.
The certificate of your internal certification authority (CA) appears in the list and pfSense displays its full name, ...
Important : this certificate is necessary so that OpenVPN can verify the signature of client certificates using the public key of your certification authority.
Note that you will not be able to create certificates from this site since you only have the public key of this certification authority.
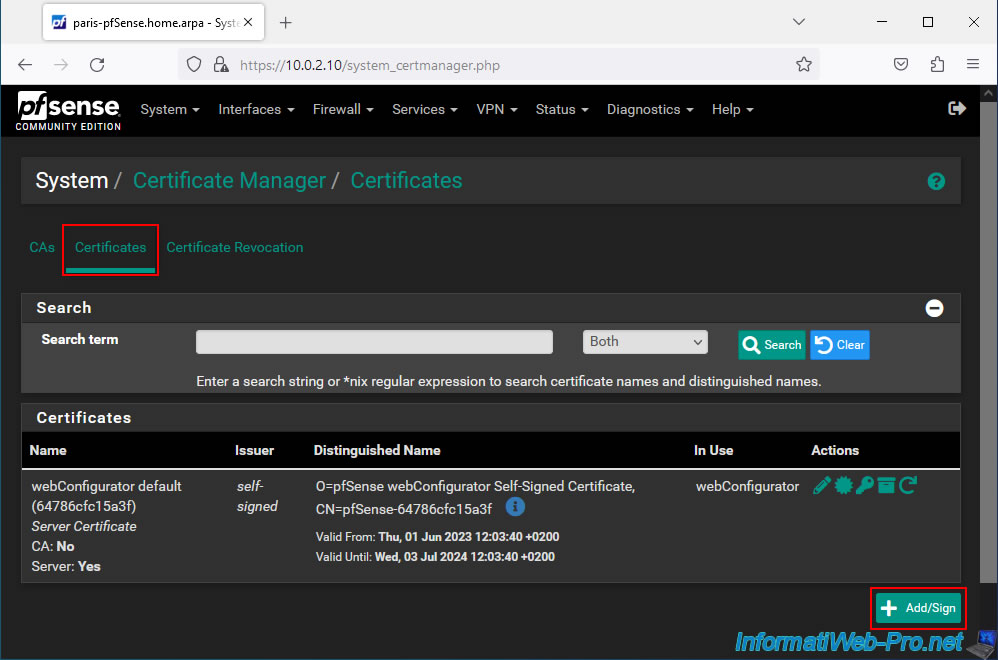
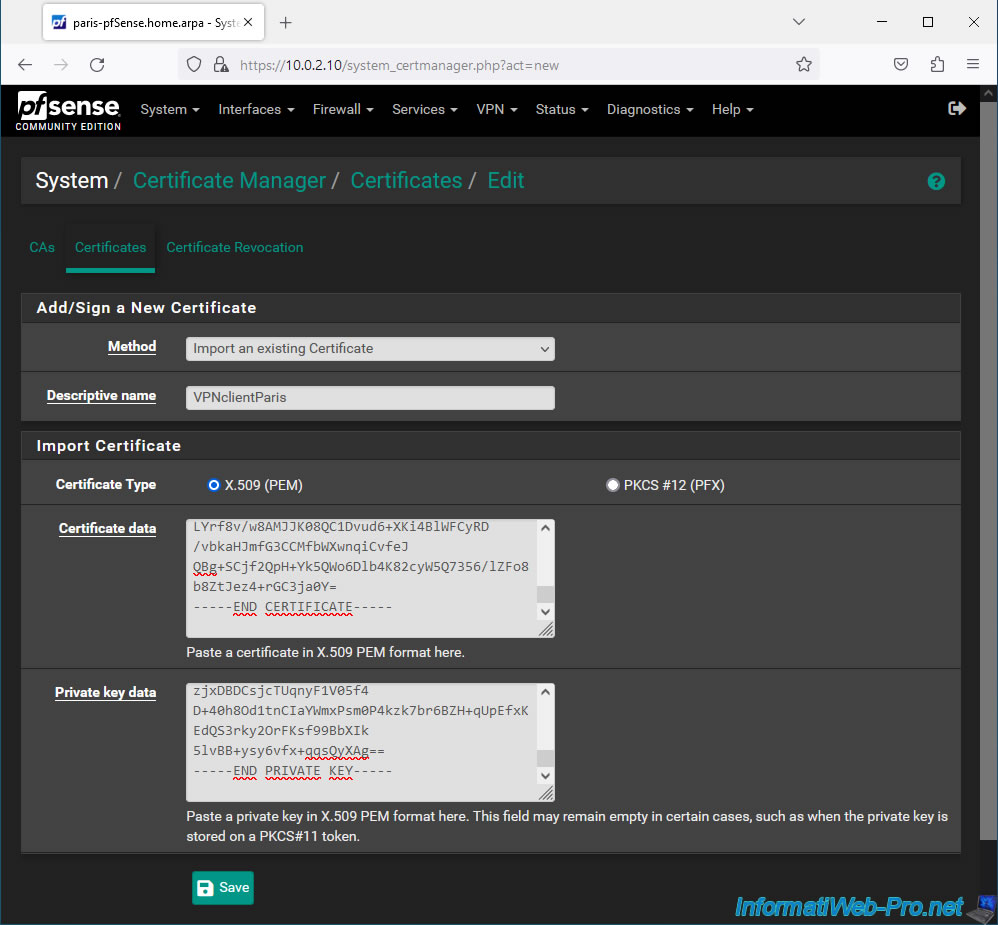
2.2. Import the certificate for the future OpenVPN client of site 2 (Paris)
To import the certificate that your future OpenVPN client will use, go to "Certificates" and click: Add/Sign.
In the "Add/Sign a New Certificate" section, indicate the following:
- Method: Import an existing Certificate.
- Descriptive name: indicate the name of the OpenVPN client concerned. This is for informational purposes only.
In our case: VPNclientParis.
Then, in the "Import Certificate" section:
- Certificate Type: select "X.509 PEM" (which is the format used by pfSense to export its certificates).

Open the client certificate (.crt) and its associated private key (.key) with Notepad.
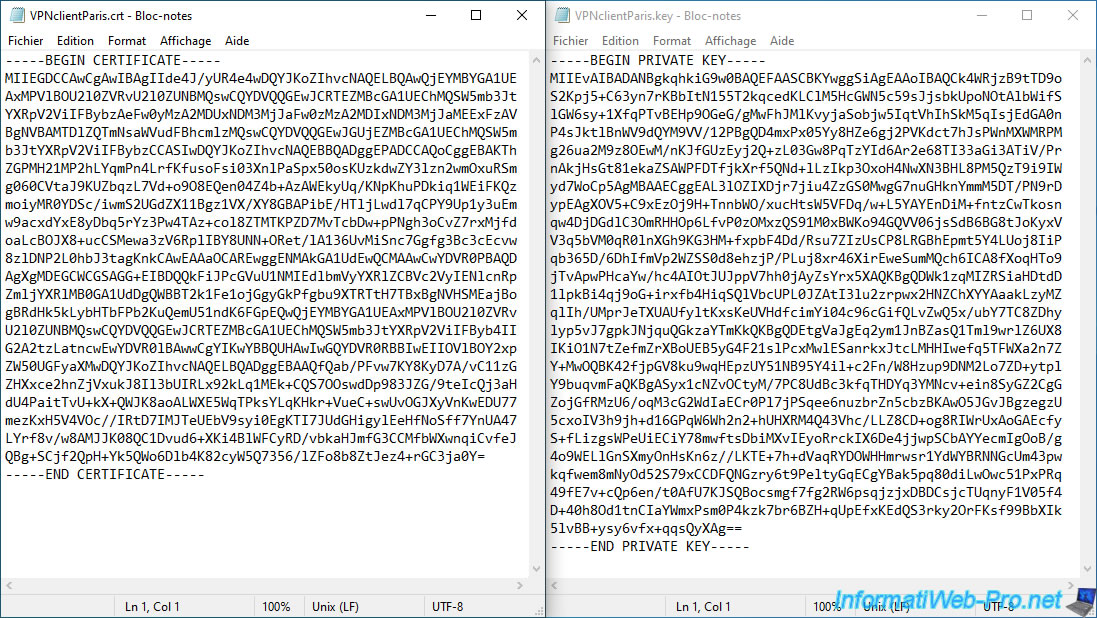
Complete these fields:
- Certificate data: paste the content of the desired client certificate (including the "BEGIN..." and "END CERTIFICATE" lines).
- Private key data: paste the contents of the associated private key.
Then, click Save.
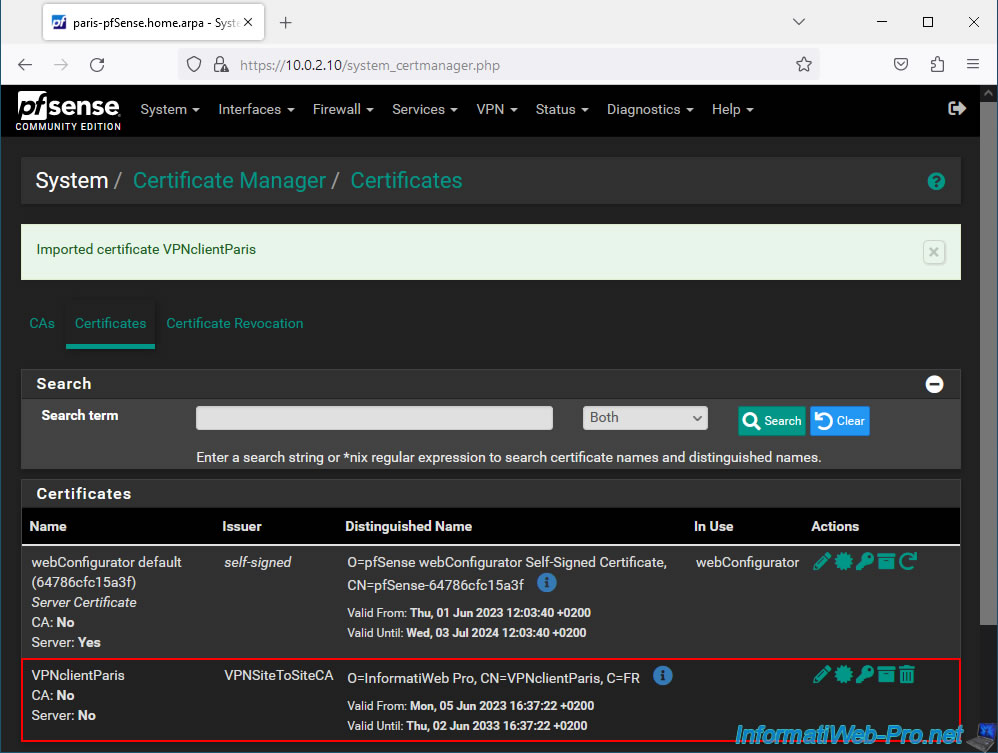
Your client certificate appears.
Share this tutorial
To see also
-
Firewall 8/24/2025
pfSense 2.6 - Configure high availability (HA)
-

Firewall 9/5/2025
pfSense 2.6 - Create a VPN server (remote access) via OpenVPN (L3 mode)
-
Firewall 8/16/2025
pfSense 2.6 - Monitoring via SNMP and Zabbix 6
-

Firewall 7/23/2025
pfSense 2.6 - Synchronize the clock from a time server (NTP)
No comment