Create a site-to-site (S2S) VPN tunnel via OpenVPN secured with SSL/TLS (L3 mode) on pfSense 2.6
- Firewall
- pfSense
- 17 September 2025 at 07:32 UTC
-

- 6/6

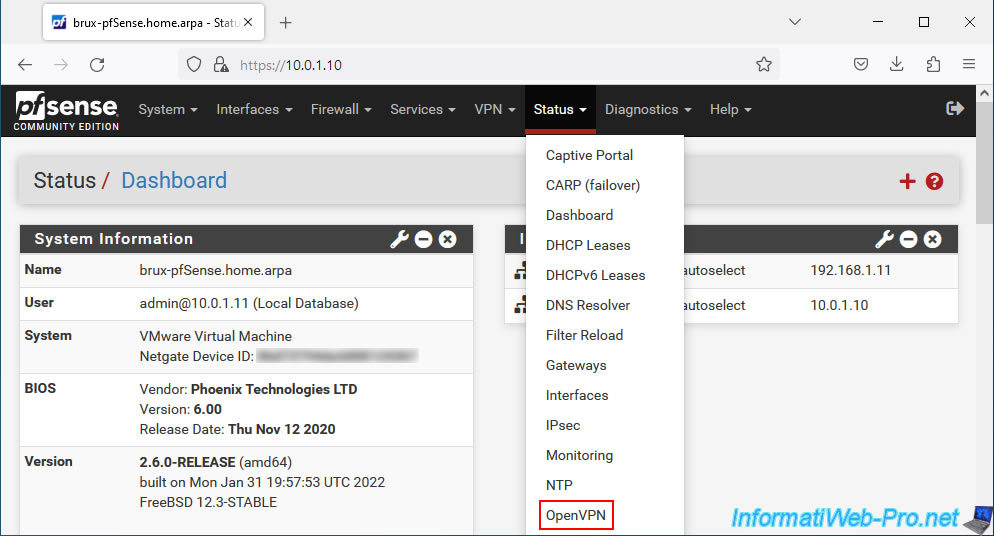
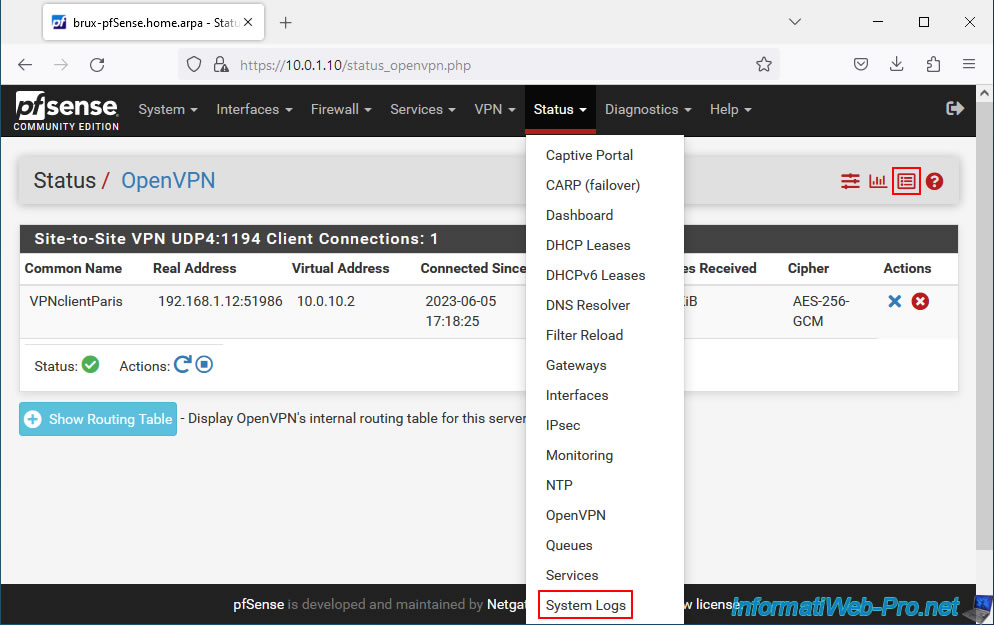
3. Check OpenVPN tunnel status
To check the status of your site-to-site OpenVPN tunnel, go to the menu: Status -> OpenVPN.
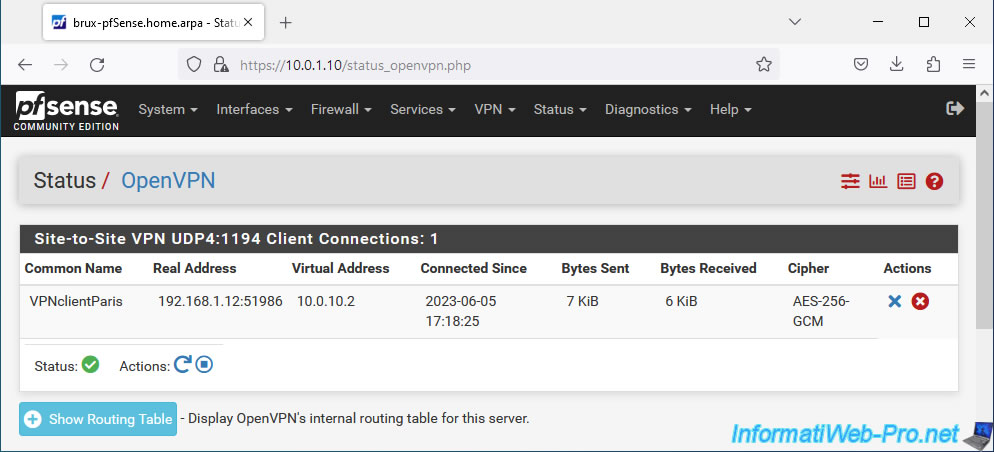
In the "Site-to-Site VPN UDP4:1194 Client Connections: 1" list that appears, you will see the list of OpenVPN clients connected with:
- Common Name: common name of the client indicated in the user (client) certificate it uses.
- Real Address: the external IP address of the connected OpenVPN client, as well as the port it uses on its side.
- Virtual Address: the virtual IP address (part of the network ID specified for the OpenVPN tunnel) that is used only for the internal operation of OpenVPN.
- Connected Since: date/time since the OpenVPN client has been connected to your OpenVPN server.
- Bytes Sent: number of bytes sent.
- Bytes Received: number of bytes received.
- Cipher: encryption algorithm used.
To see the current VPN tunnel routing table, click: Show Routing Table.
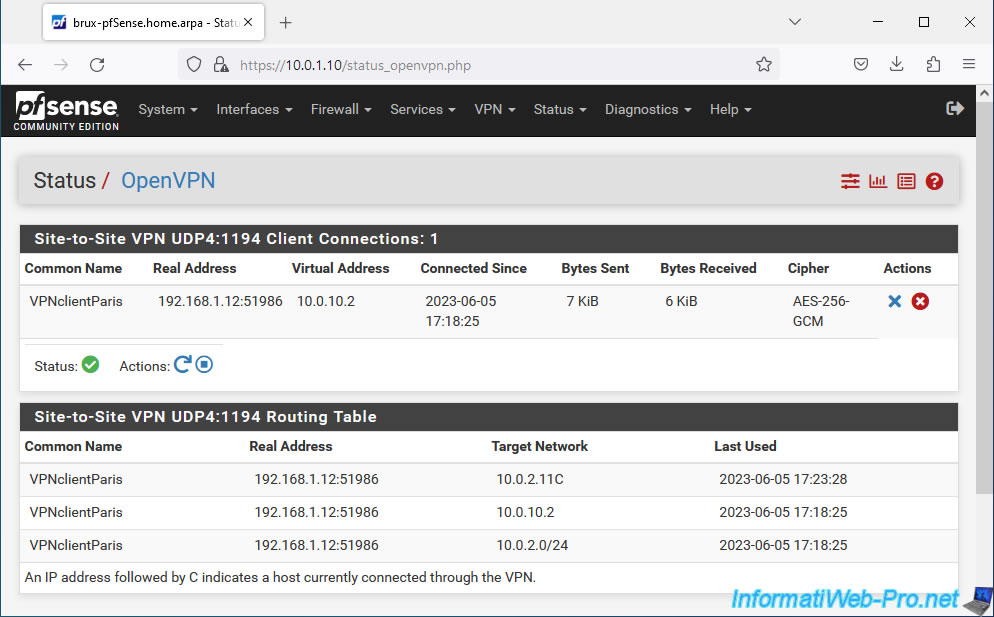
In the routing table, you will see the name of the affected OpenVPN client, its public (external) IP address, as well as local (private) IP addresses:
- 10.0.2.11C: corresponds to the IP address of a PC in the Paris network which was contacted from Brussels via the OpenVPN tunnel.
- 10.0.10.2: corresponds to the IP address assigned to this OpenVPN client for the operation of the OpenVPN tunnel.
- 10.0.2.0/24: corresponds in our case to the Paris subnet used by this OpenVPN client.
Notes :
- As shown at the bottom of the routing table, an IP address followed by the letter "C" corresponds to a machine on one site that is currently connected to another site via the VPN tunnel.
For example, a computer from site 1 (Brussels) which would access a server from site 2 (Paris) via the OpenVPN tunnel. - other IP addresses may appear in this list depending on the network communications established between the machines at your different physical sites.
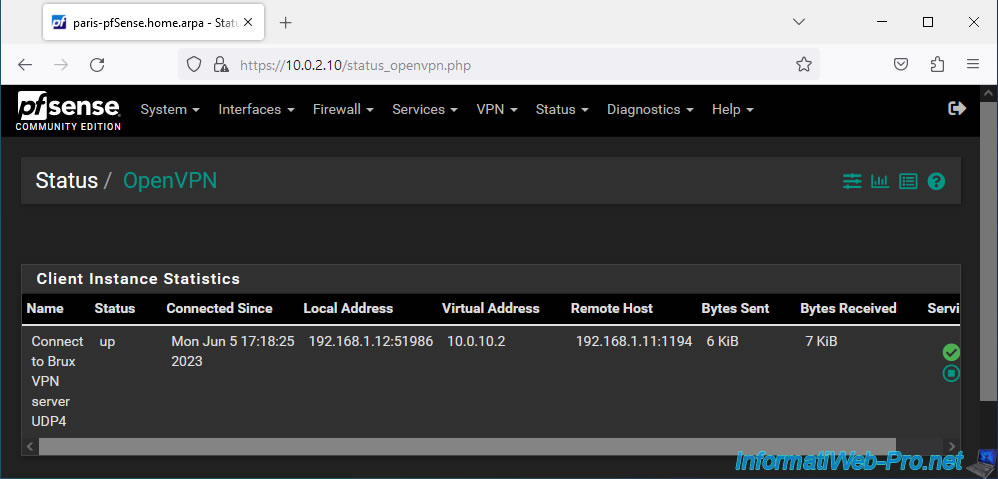
To check the status of your OpenVPN tunnel on the other site, the menu is the same.
Go to: Status -> OpenVPN.
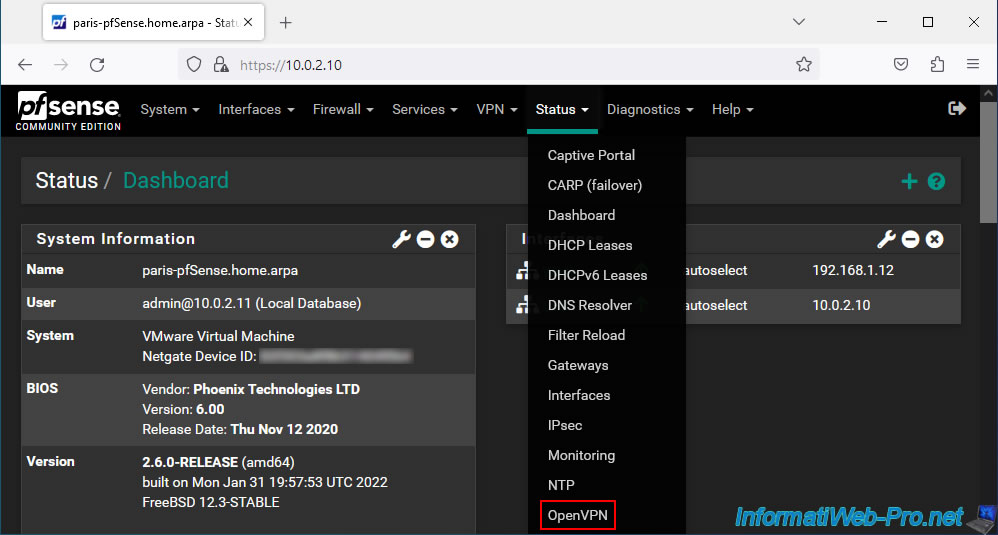
However, the information displayed is different since a client necessarily has less information to display than a server.
In the case of an OpenVPN client, you will see a "Client Instance Statistics" section with:
- Name: the name (description) of the OpenVPN client.
- Status: the connection status of this OpenVPN client.
If the connection to the OpenVPN server was successful, the status is "up". Otherwise, the status will be "down". - Connected Since: date/time since this OpenVPN client has been connected to the server.
- Local Address: the external IP address and port used by this OpenVPN client (on its side).
- Virtual Address: the virtual IP address assigned to this OpenVPN client for the OpenVPN tunnel.
- Remote Host: the public (external) IP address of the OpenVPN server you are connected to, as well as the port of this server (by default, OpenVPN uses port 1194 in UDP).
- Bytes Sent: number of bytes sent.
- Bytes Received: number of bytes received.
- Service: OpenVPN service status and action to stop or restart the OpenVPN service.
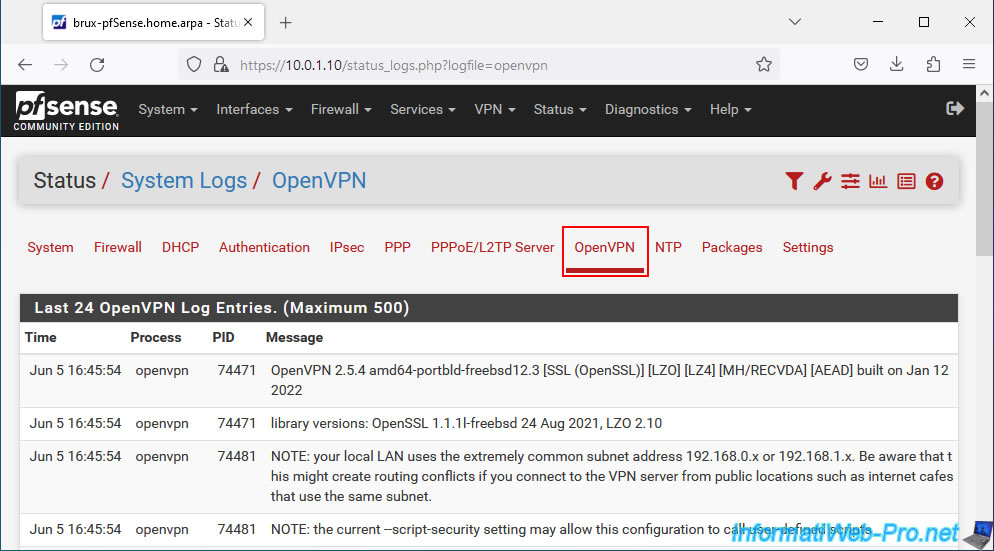
4. View logs for OpenVPN
If there is a problem with OpenVPN, don't hesitate to consult the logs of the pfSense OpenVPN service to try to find the cause.
To do this, on the "Status / OpenVPN" page, click on the penultimate red icon or go through the "Status -> System Logs" menu and go to the "OpenVPN" tab of the page that will be displayed.
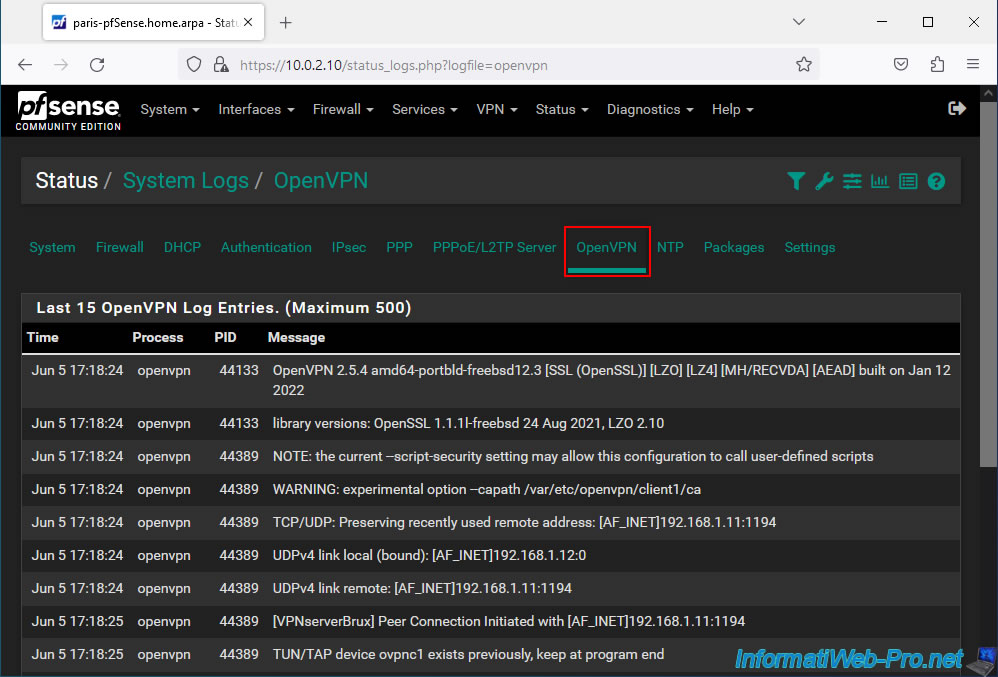
In the "OpenVPN" tab, you will find a lot of information related to the OpenVPN service.
Sort the list by clicking the "Time" column to see recent events first.
On the other physical site, the method is the same. Although the remote site uses an OpenVPN client unlike the local site which uses an OpenVPN server.
5. Testing ping via the OpenVPN tunnel
Now that your OpenVPN tunnel is established, try pinging the LAN IP address of the different pfSense machines to verify that the OpenVPN tunnel is correctly configured.
As you can see, in our case, our PC at site 1 (Brussels) manages to communicate with the pfSense LAN IP address of the local site (Brussels) and the remote site (Paris).
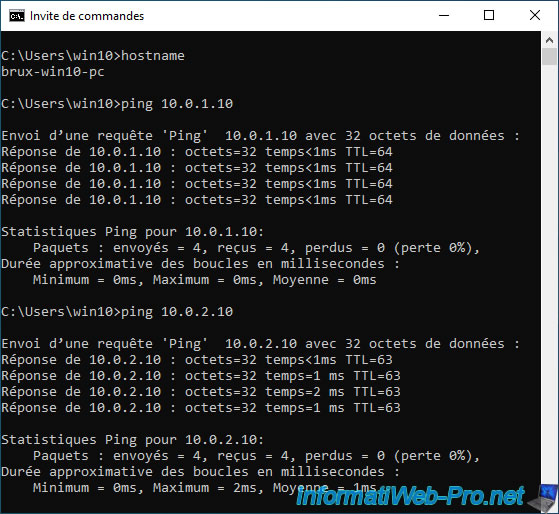
Same, from the remote site (Paris).

6. Testing access to a website from a remote site
For this tutorial, we installed a web server on each physical site to show that you will be able to access the intranet (local website) of the local site, as well as that of the remote site completely transparently.
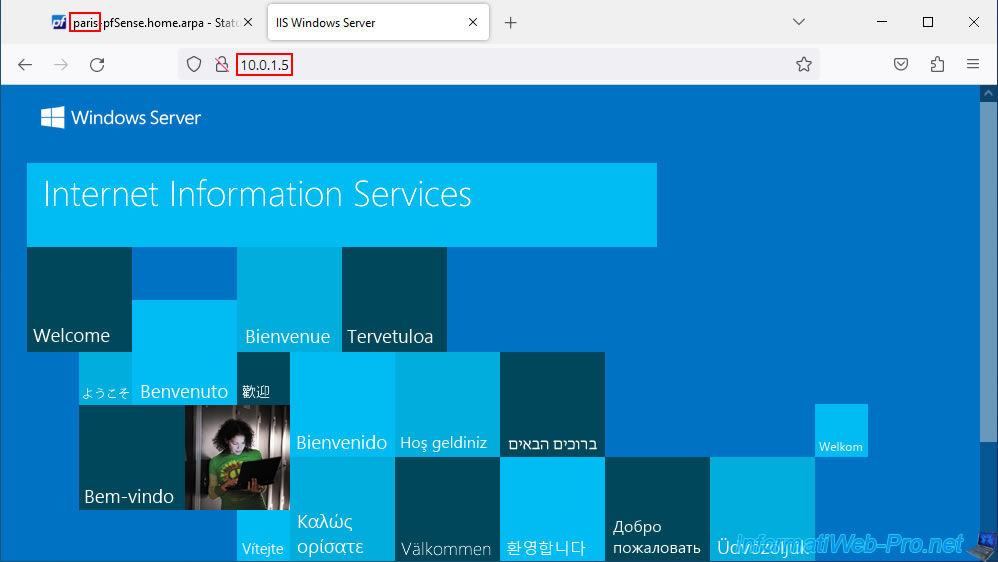
To start, we go to the Brussels site which uses the "10.0.1.0/24" subnet.

As you can see, from our PC at site 1 (Brussels), we can easily access the website hosted on a server at site 2 (Paris) where the subnet "10.0.2.0/24" is used.

Also test in the other direction by going to site 2 (Paris).
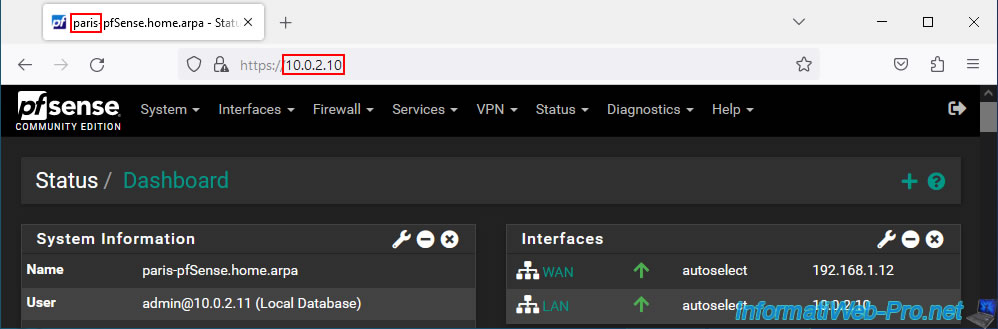
As expected, the PC on site 2 (Paris) can also access the web server on site 1 (Brussels) without problem thanks to OpenVPN's site-to-site VPN tunnel.
7. Add the OpenVPN widget to the pfSense dashboard (optional)
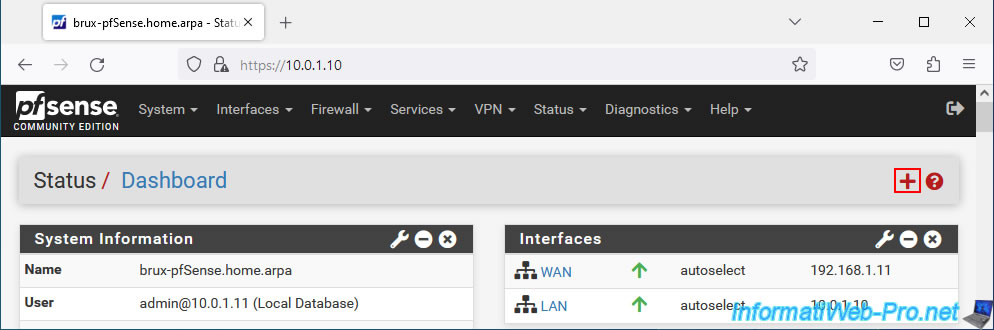
Finally, if you wish, you can add the "OpenVPN" widget to the pfSense dashboard.
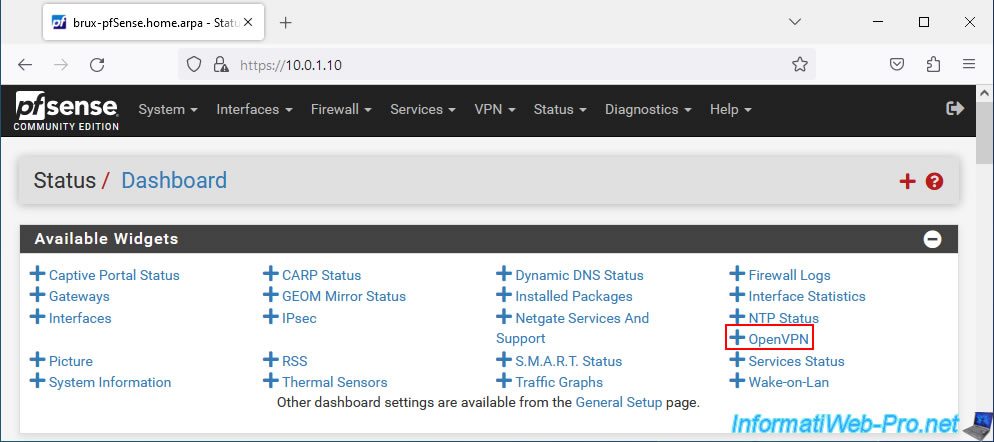
To do this, click on the pfSense logo to return to the dashboard, then click on the "+" icon at the top right.
In the "Available Widgets" section that appears, click on: OpenVPN.
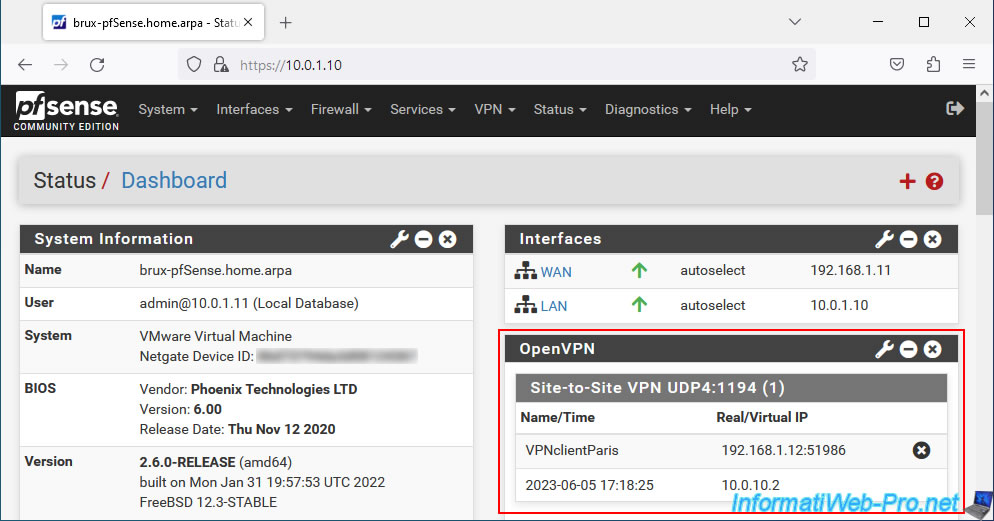
On the pfSense machine where the OpenVPN server is installed, an "OpenVPN" block will appear with a "Site-to-Site VPN UDP4:1194 (1)" section.
In this block, you will be able to see:
- Name: the name of the connected client (in our case: VPNclientParis).
- Time: the date/time since he has been connected.
- Real IP: its external IP address (WAN).
- Virtual IP: its virtual IP address (used for the OpenVPN tunnel).
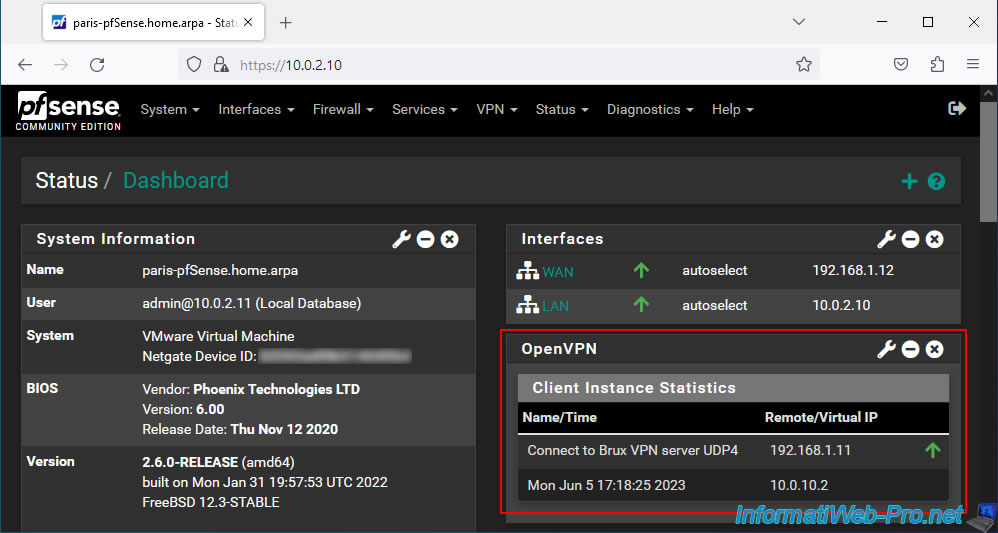
On the pfSense machine where an OpenVPN client is installed, this block will appear with a "Client Instance Statistics" section.
In this block, you will be able to see:
- Name: the fictitious name you gave to this OpenVPN client (which is different from the name configured on the OpenVPN server and in the associated user certificate).
- Time: the date/time since your OpenVPN client has been connected to the OpenVPN server.
- Remote IP: the external (public) IP address of the OpenVPN server to which your OpenVPN client is connected.
- Virtual IP: the virtual IP address assigned to this client and which is used only internally for the operation of the OpenVPN tunnel.
Share this tutorial
To see also
-

Firewall 5/21/2025
pfSense 2.6 - Access to the web interface via the WAN interface
-

Firewall 9/10/2025
pfSense 2.6 - Create a VPN server (remote access) via OpenVPN (L2 mode)
-

Firewall 5/30/2025
pfSense 2.6 - Enable and configure DHCP server
-

Firewall 5/15/2025
pfSense 2.6 - Installation on VMware ESXi
No comment