Create a site-to-site (S2S) VPN tunnel via OpenVPN secured with SSL/TLS (L3 mode) on pfSense 2.6
- Firewall
- pfSense
- 17 September 2025 at 07:32 UTC
-

- 2/6

1.5. Add an OpenVPN server on pfSense on site 1 (Brussels)
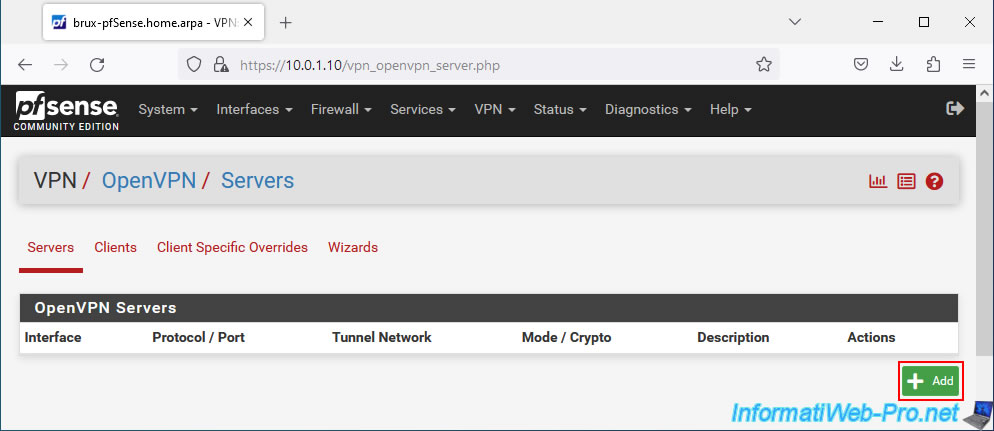
To add an OpenVPN server on pfSense, go to "VPN -> OpenVPN".
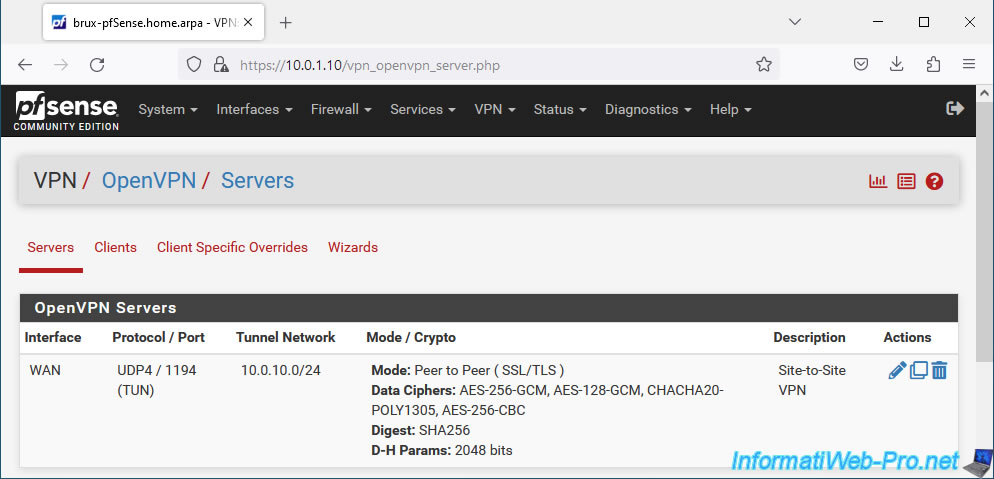
On the "VPN / OpenVPN / Servers" page that appears, go to "Servers" and click: Add.
On the "VPN / OpenVPN / Servers / Edit" page that appears, configure these settings:
- Description: specify a name for this VPN server.
In our case, we named it "Site-to-Site VPN", because all OpenVPN clients will be able to connect to it. - Server mode: Peer to Peer (SSL/TLS). Allows you to create a site-to-site VPN tunnel by securing OpenVPN with SSL certificates and a TLS key.
- Device mode: tun - Layer 3 Tunnel Mode. Allows you to connect IPv4 and IPv6 networks with different subnets using a VPN tunnel.
Note that the other option allows you to create a layer 2 tunnel. This can be useful if you need to use the same IP addressing on both sites. Although DHCP needs to know which IP addresses are already distributed to each side to avoid IP address conflicts. - Protocol: UDP over IPv4. OpenVPN works with the UDP protocol and we want to link IPv4 networks.
- Interface: WAN. The VPN tunnel will be established over the Internet. So, it is the WAN interface that will receive connection requests from OpenVPN clients.
- Local port: the port used by default by OpenVPN is "1194".

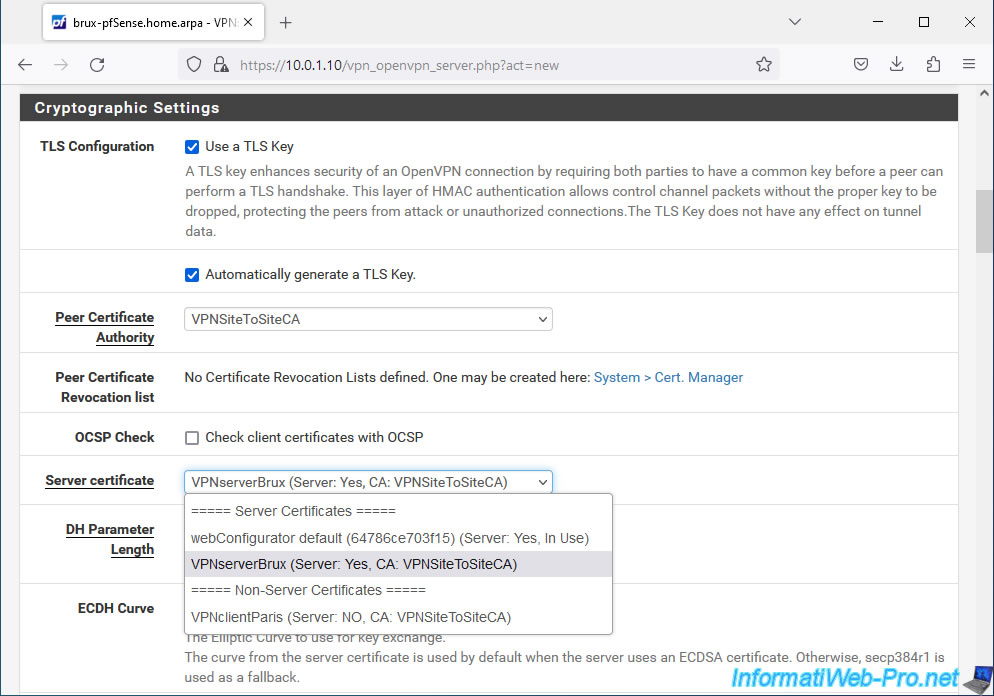
In the "Cryptographic Settings" section, configure these settings:
- TLS Configuration: check the "Use a TLS Key" box to generate a TLS key which will be used by OpenVPN and which must be identical on the OpenVPN server and on the OpenVPN clients which connect to it.
Also check the box "Automatically generate a TLS Key" so that OpenVPN generates a new TLS key that will be used by your OpenVPN server. - Peer Certificate Authority: select the internal certificate authority (CA) created previously.
In our case: VPNSiteToSiteCA. - Peer Certificate Revocation list: select the revocation list (= list of certificates that you have manually invalidated) if you have one.
By default, there is none. This is optional. - Server certificate: select the certificate created previously for your OpenVPN server.
In our case: VPNserverBrux.
Note that pfSense tells you that this is a "server" type certificate (Server: Yes) and that it comes from your certification authority (CA: [name of your internal CA]).
In the "Tunnel Settings" section, complete these 3 fields:
- IPv4 Tunnel Network: indicate the network ID that OpenVPN should use its VPN tunnel.
This only concerns the internal workings of the OpenVPN tunnel. In other words, the IP addresses that will be distributed to peers (OpenVPN server and OpenVPN clients). - IPv4 Local network(s): indicate the subnets used on all your physical sites (the one where your OpenVPN server is located, as well as those where your OpenVPN clients are located) by separating them with a comma.
In our case, we indicated: 10.0.1.0/24,10.0.2.0/24. - IPv4 Remote network(s): specify only the subnets used at the sites where you will install an OpenVPN client.
In our case, we indicated "10.0.2.0/24". Which corresponds to the network of site 2 (Paris).

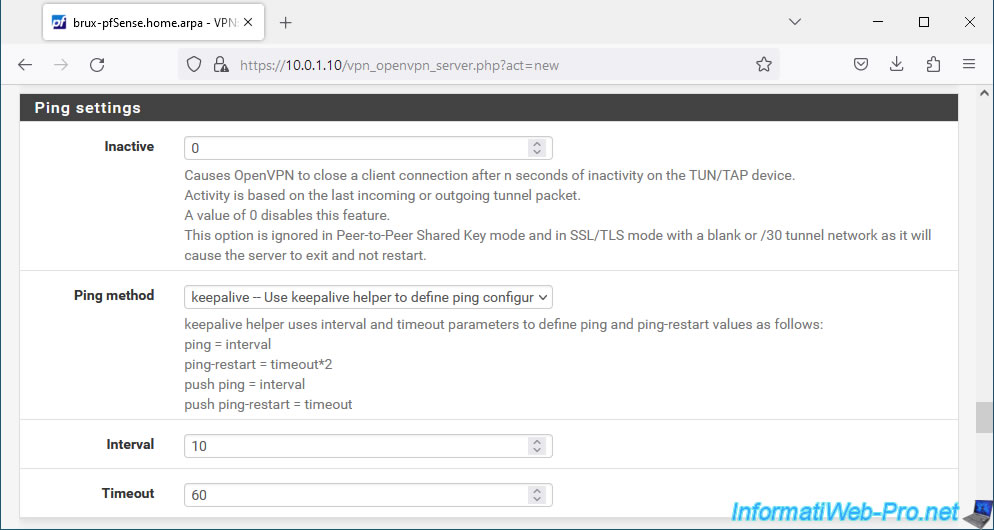
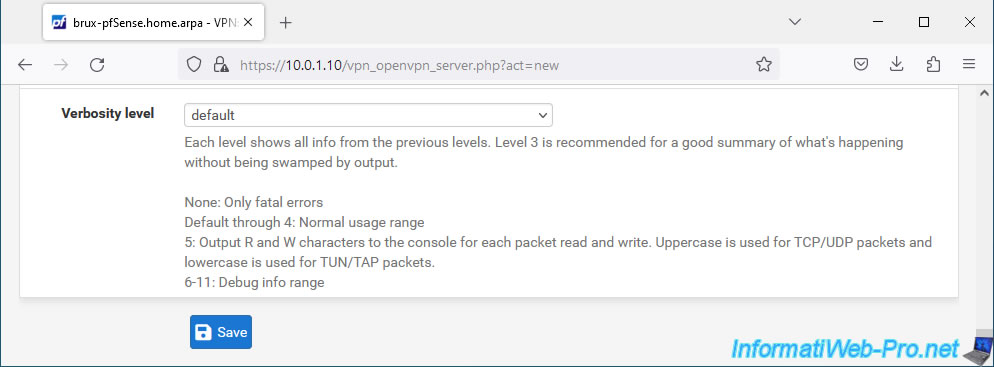
In the "Ping settings" section, enter "0" in the "Inactive" box to disable automatic VPN tunnel expiration.
So once the VPN tunnel is established, it will remain established.
At the bottom of the page, click Save.
Your OpenVPN server has been created.
1.6. Add specific configuration per OpenVPN client
As you saw earlier, when you configure your OpenVPN server, you need to list all the subnets used by all the OpenVPN clients that will connect to it.
However, for OpenVPN to correctly route network traffic for which subnet, you must add specific configuration per OpenVPN client to indicate which subnet is used at which physical site.
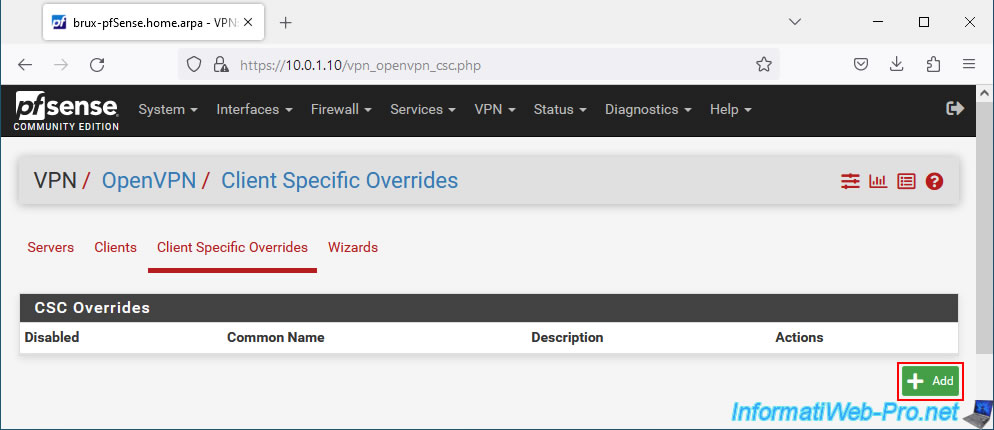
To do this, go to the "Client Specific Overrides" tab and click: Add.
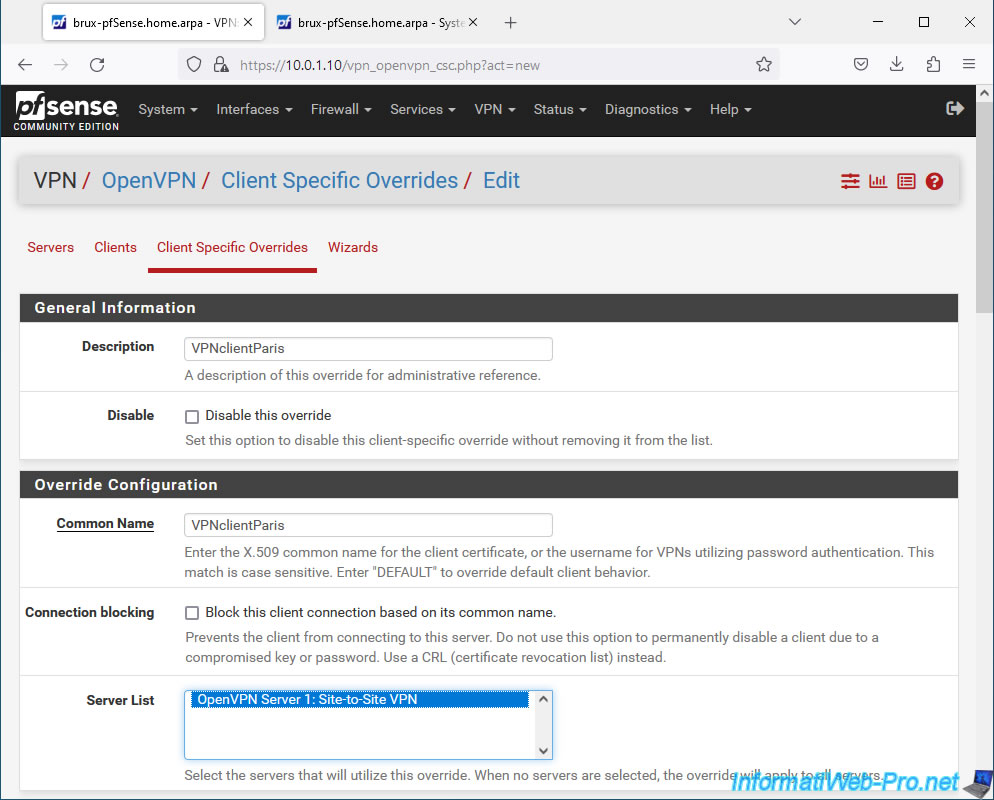
To begin, indicate:
- Description: a name (for information only) so you know which OpenVPN client will be affected by this specific configuration.
In our case, we indicated: VPNclientParis. - Common Name: specify the Common Name specified in the user certificate created for the applicable OpenVPN client.
In our case: VPNclientParis.
Indeed, it is thanks to the common name (CN) present in the certificate used by the OpenVPN client that the OpenVPN server will know which specific configuration to use for this client and route the packets correctly. - Server List: select the OpenVPN server for which this configuration will be applied.
In our case: OpenVPN Server 1: Site-to-Site VPN.
By default, all existing OpenVPN servers will be used if you do not select any servers from this list.
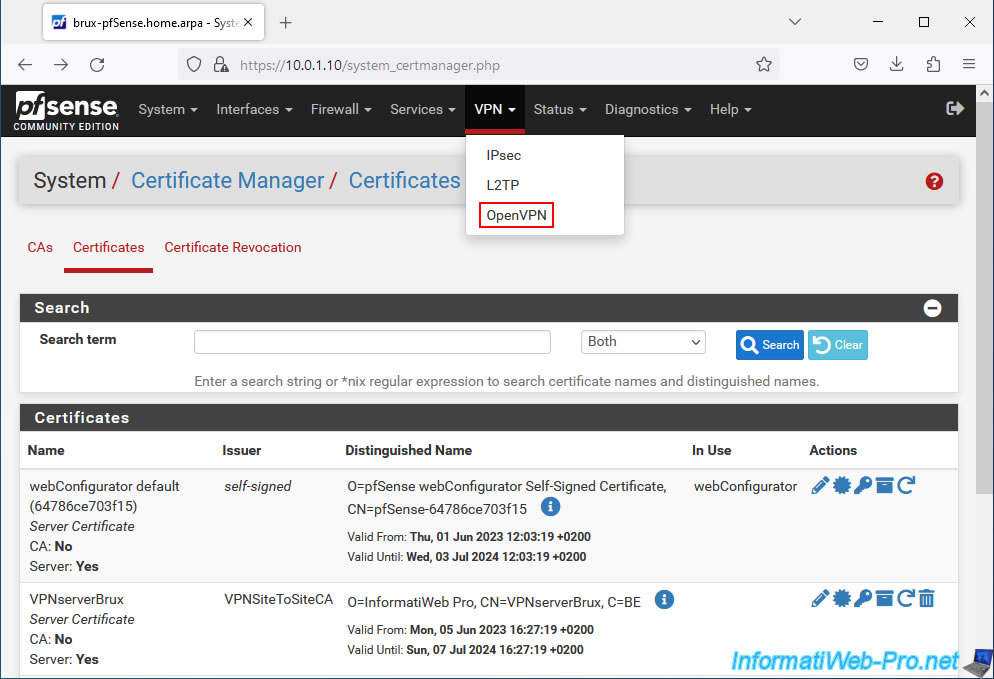
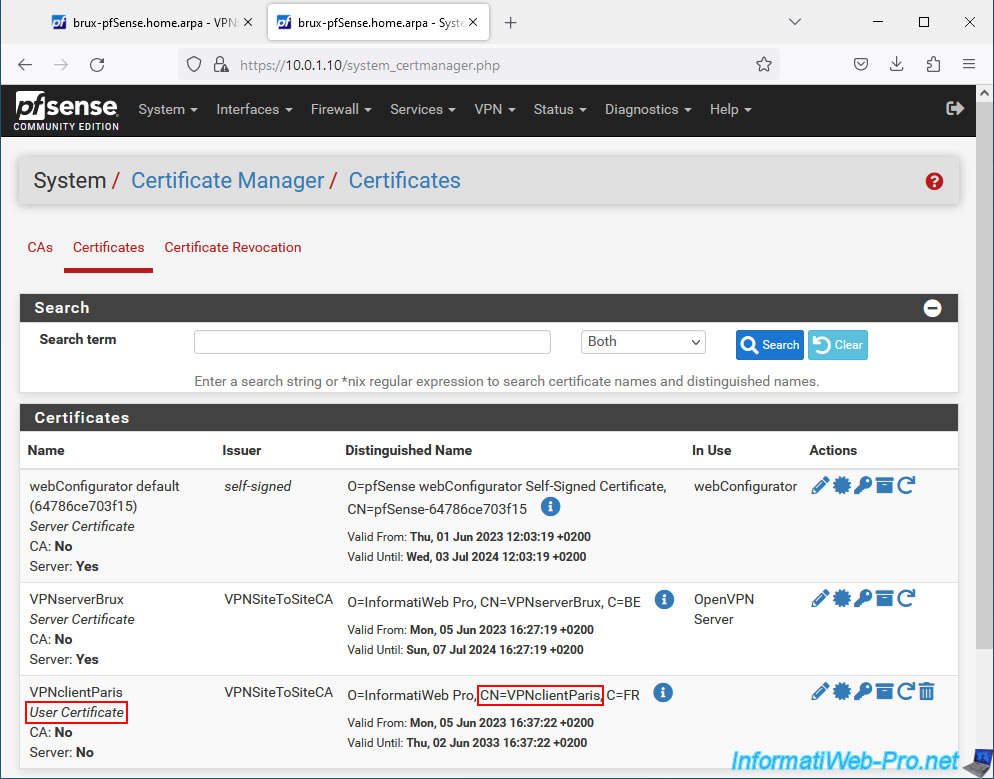
To find the common name to indicate for an OpenVPN client, open a new tab and go to: System -> Certificate Manager -> Cerificates.
Locate the certificates of type "User Certificate" (indicated in the "Name" column), then locate the value indicated as the common name (CN) for it.
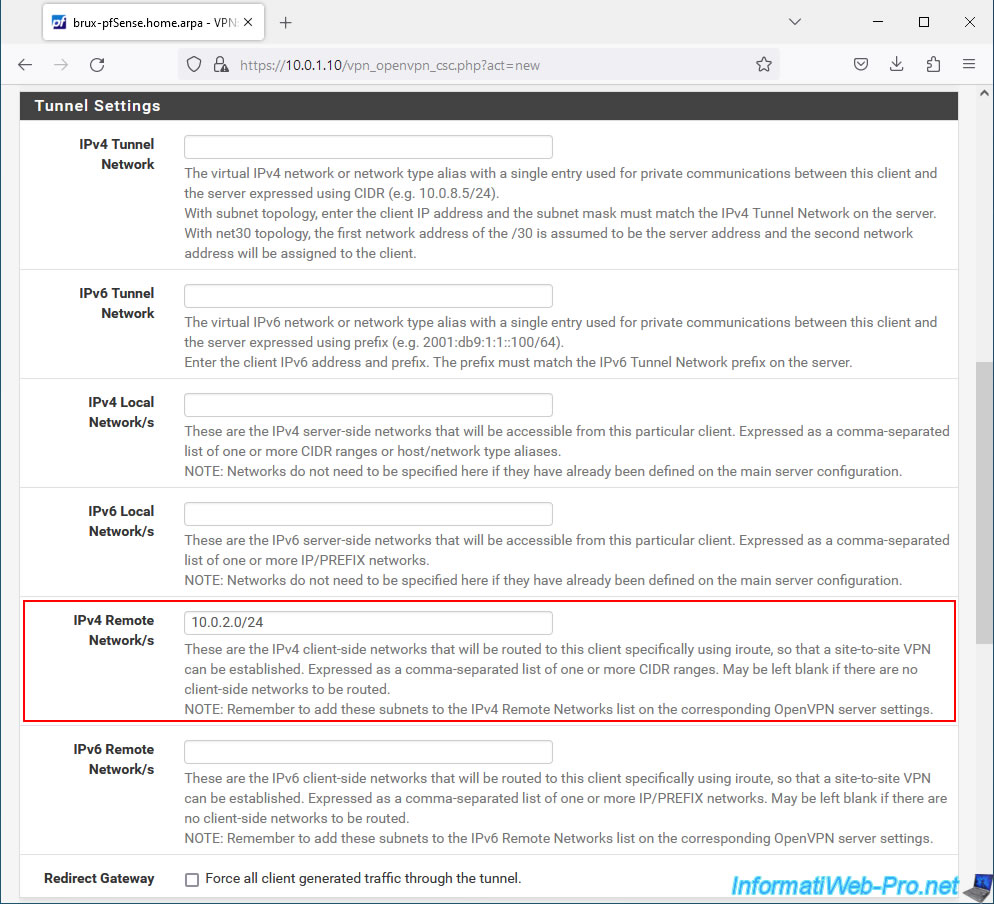
Next, in the "Tunnel Settings" section of a client's specific configuration, indicate the subnet used at the client site affected by the VPN client referenced above.
In our case, we are creating a specific configuration for the future OpenVPN Paris client.
So, we indicate the subnet "10.0.2.0/24" used on site 2 (Paris) in the "IPv4 Remote Network(s)" box.
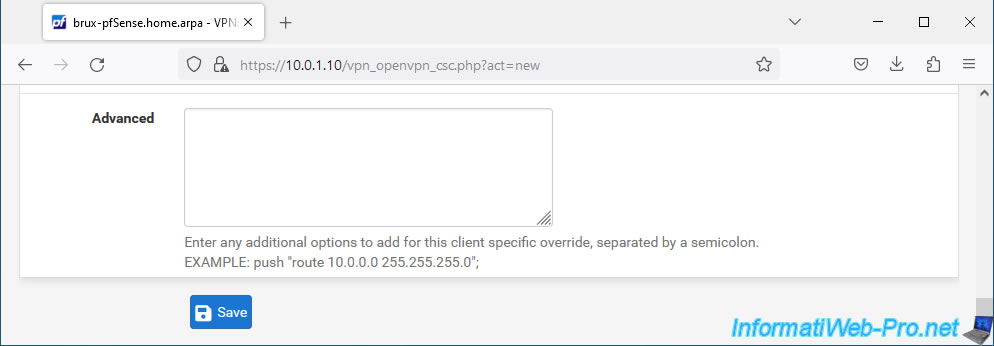
At the bottom of the page, click Save.
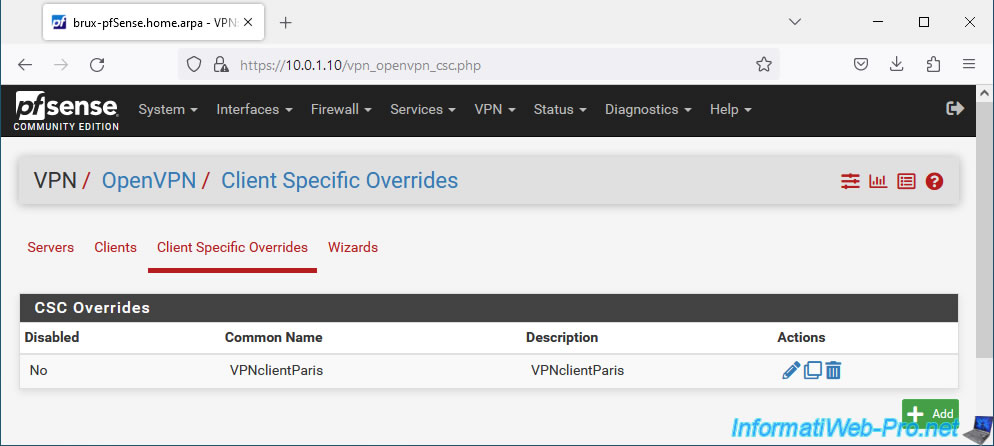
The specific configuration for the future OpenVPN Paris client appears.
Important : if you have several physical sites where you want to install an OpenVPN client, don't forget to create a specific configuration per OpenVPN client.
Share this tutorial
To see also
-

Firewall 5/21/2025
pfSense 2.6 - Access to the web interface via the WAN interface
-
Firewall 8/24/2025
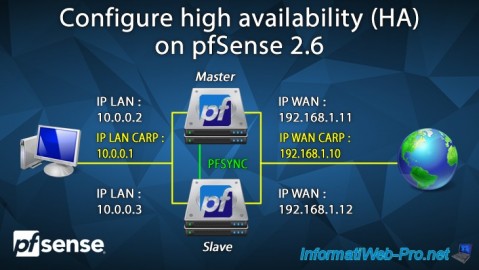
pfSense 2.6 - Configure high availability (HA)
-

Firewall 5/30/2025
pfSense 2.6 - Enable and configure DHCP server
-

Firewall 6/20/2025
pfSense 2.6 - NAT (port forwarding)
No comment