Install Windows 95 with VMware Workstation / Player
- VMware
- 25 March 2013 at 20:23 UTC
-

- 4/4

5. Sound driver installation
As stated in the official VMware documentation, you must install the following third driver: Sound Blaster PCI 128
The driver was not found on the manufacturer's website when writing this tutorial. However, you can still download it from CNET.com website.
Do not click the "Download Now - CNET Installer Enable" button if you download a program that will download the driver CNET.
To prevent this program from CNET, click on the link "Direct Download Link" displayed just below.
Edit of 04/01/2014 : The driver is again available on the manufacturer's website.
The downloaded file looks like this.

The program will extract the necessary driver installation files first.

The installation starts

Windows will detect new hardware
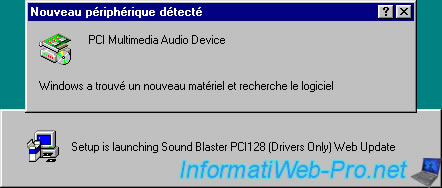
And the first driver to be installed. These are : Creative Sound Blaster PCI 128.

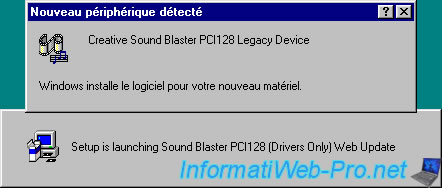
Then : Creative Sound Blaster PCI 128 Legacy Device.
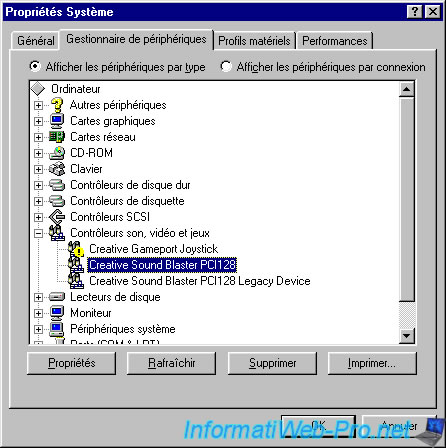
Then the driver of the game port was present on older sound cards. This port must also be configured in the BIOS for it to work properly.
Note : Creative Gameport Joystick.

Once the drivers are installed, you will need to restart your computer.

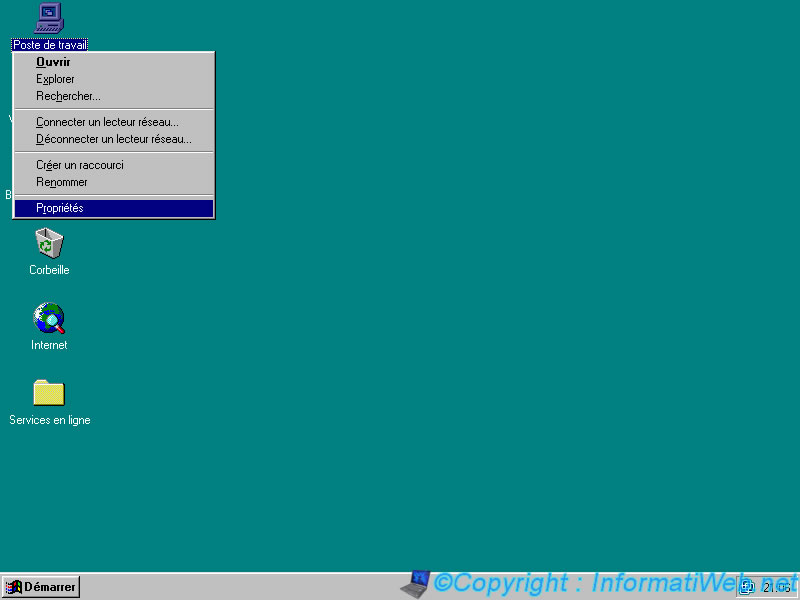
Then right click on the desktop and click "Properties".
In the tab, you will see that our driver is installed because its name is indicated and there is no yellow triangle now.
Note : The driver has a game port "!" Yellow because VMware does not provide this functionality in the virtual hardware. However, we do not need.
Always according to the official VMware documentation, you can improve the compatibility of its installing "Windows Media Player 6.4".
And an article by Microsoft, Windows Media Player will try every time to update but this update will ever will because the new version is no longer compatible with Windows 95. To lock the system automatically updates Windows Media Player, Microosoft provided a small ".reg"file to execute for solve this problem.

Start by Installing "Windows Media Player 6.4" (All which is the latest version that is compatible with Windows 95).

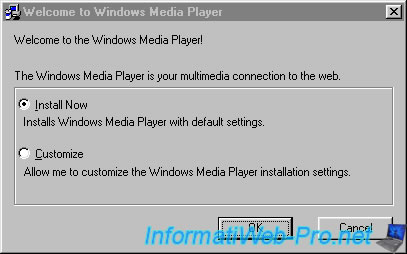
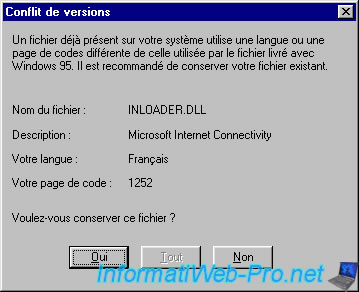
When asked if you want to keep your file or replace, click "Yes" to keep it.
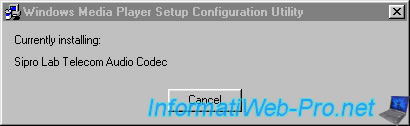
The installation is performed.

It also installs audio codecs such as MPEG 4 Codec, ...

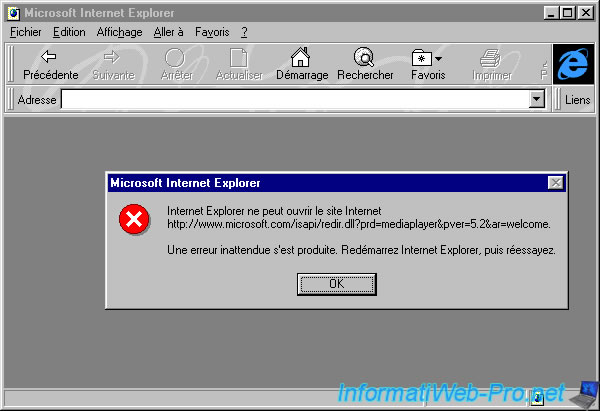
A web page is opened at the end of the installation displays an error but you saw the Internet is not configured yet.
Then run the ".reg" file provided by Microsoft to disable the automatic update of "Windows Media Player".
![]()
6. Installation of network and Internet
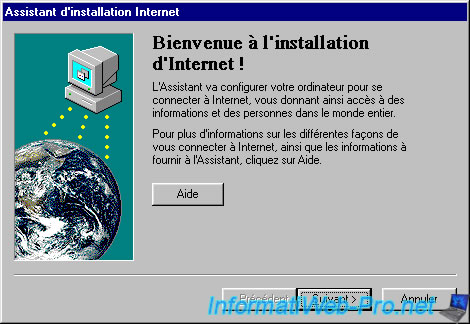
And finally, now go to the installation of the network and Internet.
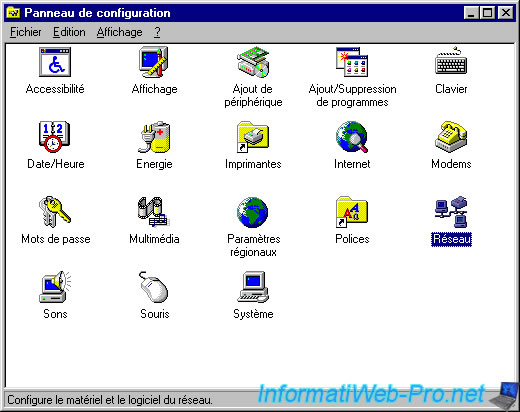
Let's start from the beginning : the network. In the start menu, go to : Settings -> Control Panel.
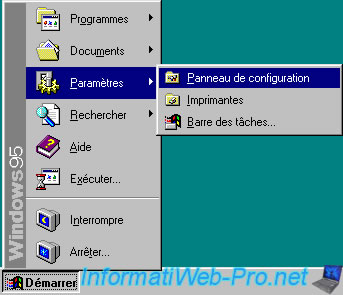
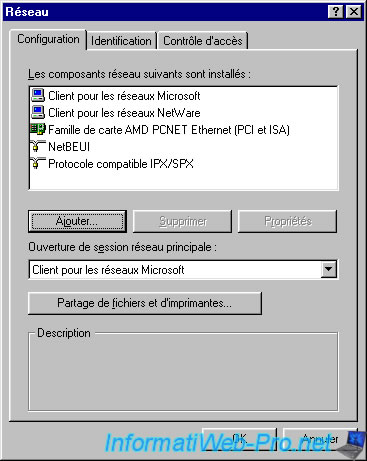
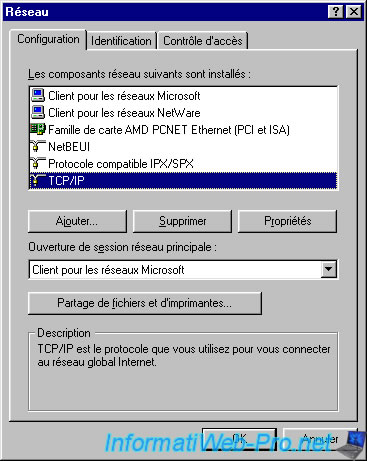
Click on "Network".
Click on "Add".
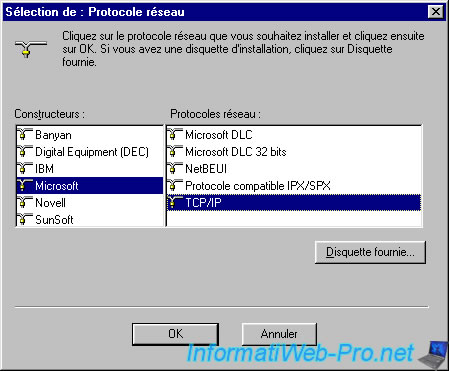
Select Protocol.
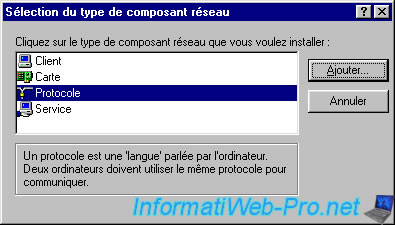
Select "Microsoft TCP / IP". This is the network protocol used in all versions of Windows.
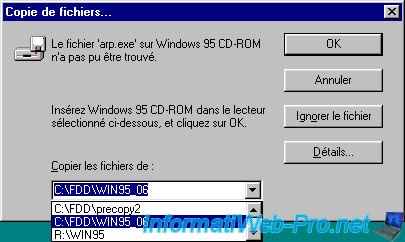
Again, it ask you to insert the Windows disk 95.

That said, the files needed are available in the disk 6 that we copied to the hard disk: C:\FDD\WIN95_06
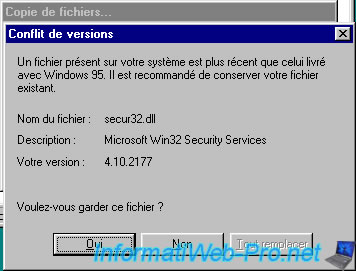
Click "Yes" to keep the current file.
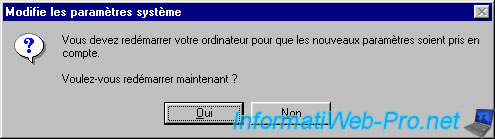
Click "Yes" to restart the virtual machine and thus take into account the changes.
Step 2 : Internet
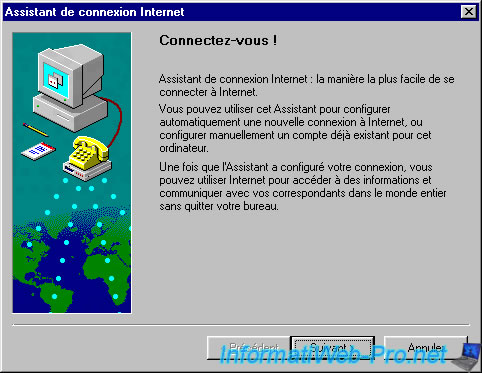
Launch the shortcut "Internet" on the desktop.
![]()
The Internet Connection Wizard appears.
Select "Manual".
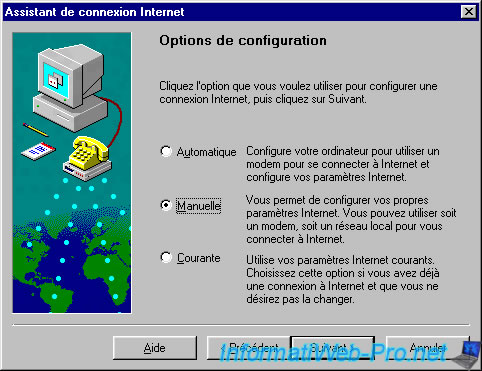
Then click "Next".
Select "Connect using my local network".
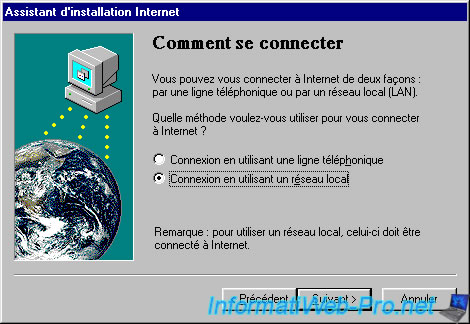
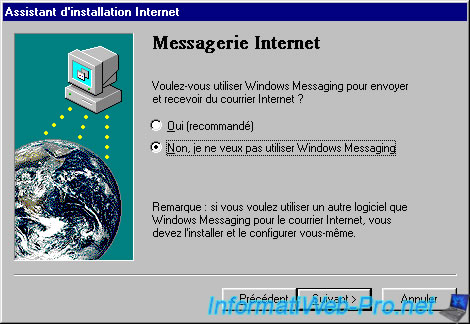
Select "No, I do not want to use Windows Messaging" because we do not need.
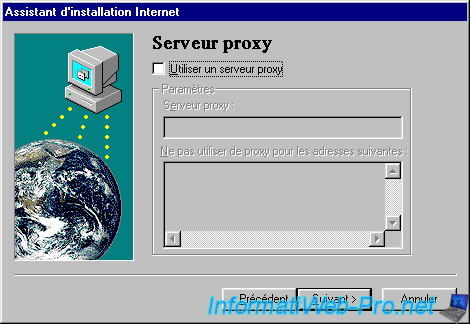
No need for proxy server.
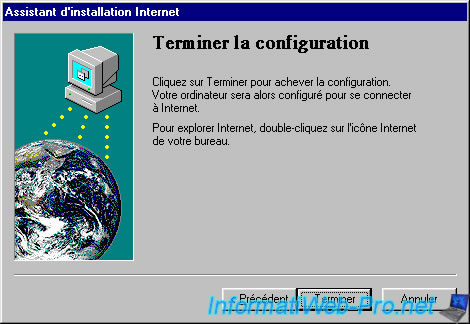
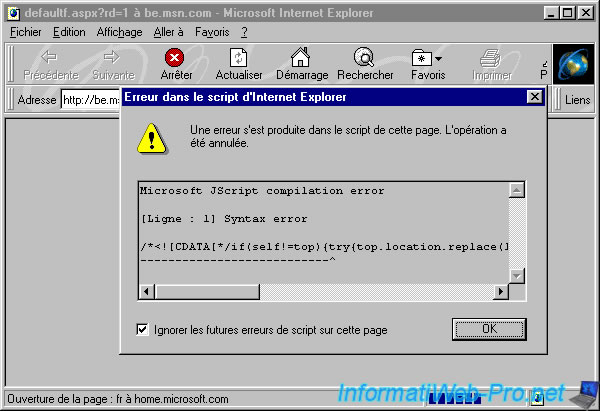
Now the Internet is configured click again on the same shortcut to open Internet Explorer.
![]()
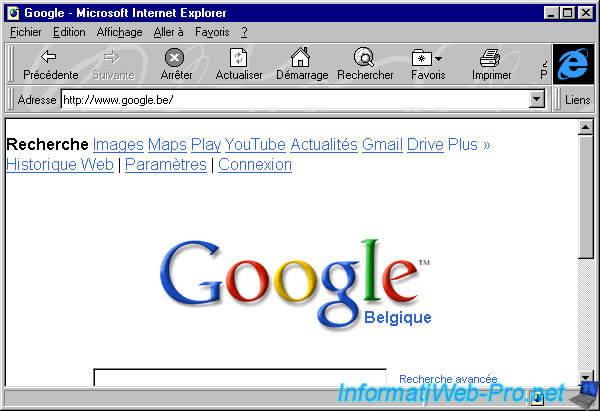
The browser being overtaken by new HTML standards, ... (for creating web pages), the browser will display errors. However, you will have access to the Internet and will be able to upload files, ...
Example page of Google.

Share this tutorial
To see also
-
VMware 2/24/2016
VMware Workstation - Remotely access to a VM over VNC
-
VMware 1/31/2020
VMware Workstation 10 - Import Windows XP Mode of Microsoft
-
VMware 1/31/2020
VMware Workstation 11 / 10 - Virtualize Windows XP to make it fluid
-
VMware 8/14/2020
VMware Workstation 12 / 11 / 10 - Virtualize Citrix XenServer 6.5.0
No comment