- VMware
- 01 March 2024 at 13:25 UTC
-

- 1/2


VMware vCenter Server is available in 2 versions: for Windows and in the form of a virtual machine (named VMware VCSA for VMware vCenter Server Appliance).
When you deploy this VMware VCSA (VMware vCenter Server Appliance) virtual machine on your VMware ESXi hypervisor, here is what you will be able to access.
- Start the VCSA virtual machine
- Addresses displayed on the VCSA console
- Configure the server (Customize System)
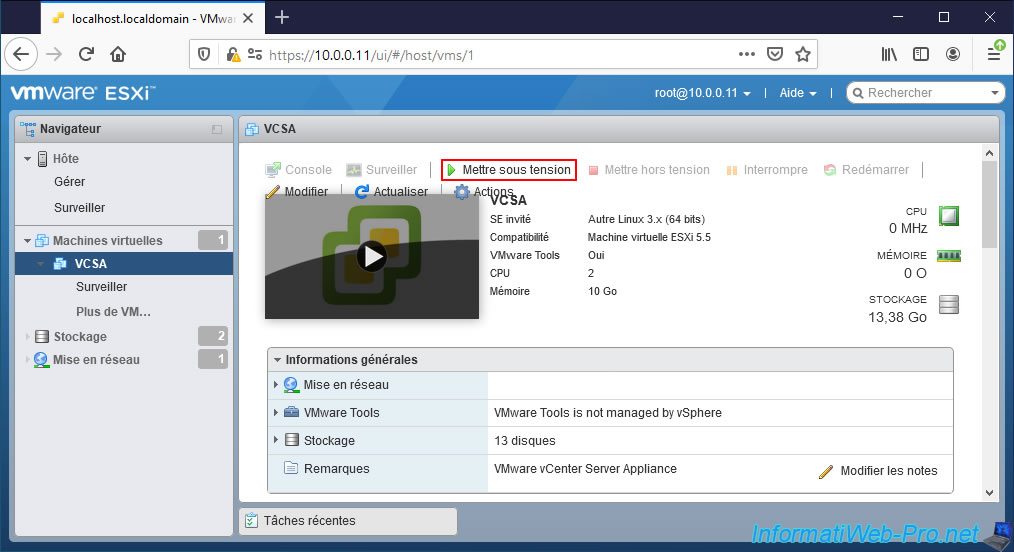
1. Start the VCSA virtual machine
To begin, if you haven't already done so, start your "VCSA (vCenter Server Appliance)" virtual machine.
The "VCSA (vCenter Server Appliance)" virtual machine starts.
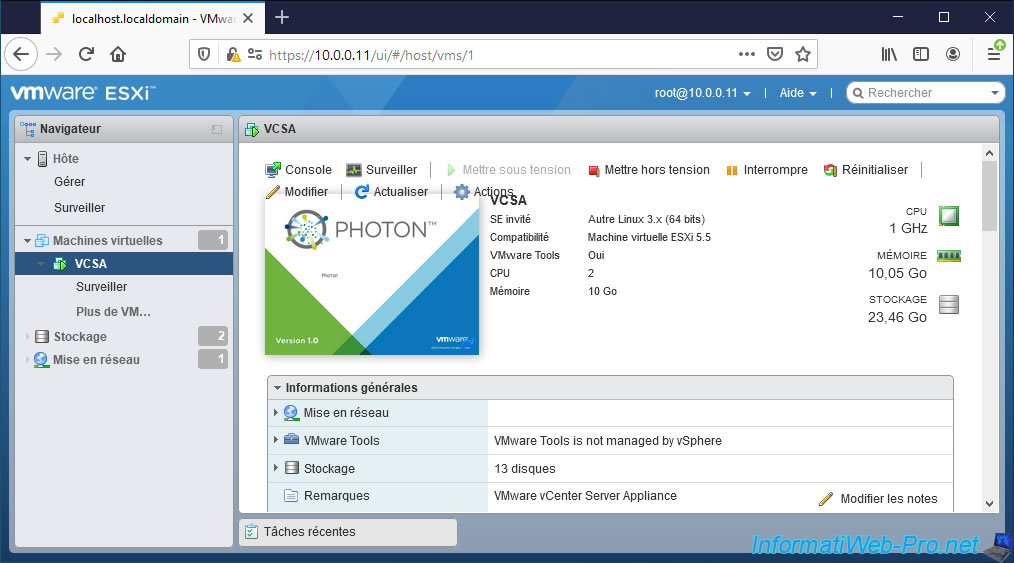
As you can see, this virtual machine is based on the Photon OS Linux distribution since VCSA version 6.5.
Unlike previous versions which were based on SUSE Linux.
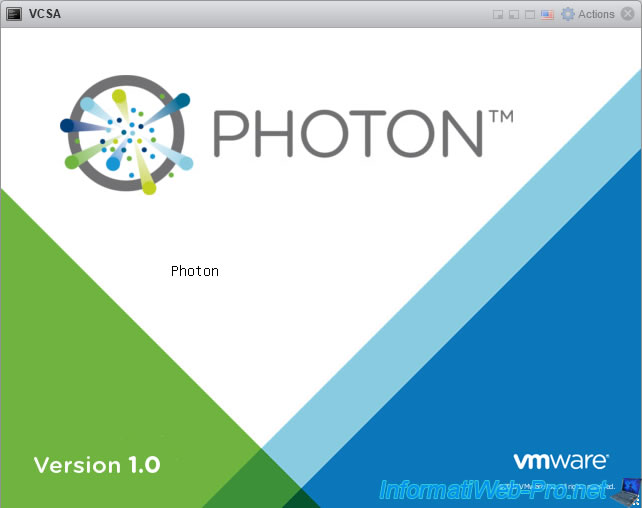
Then, during startup, you will see the 1st VCSA console appear.
Wait another 30 seconds without doing anything.
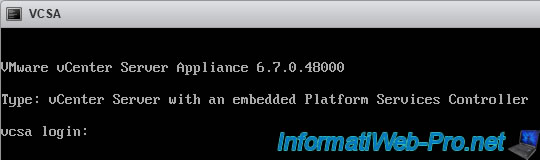
The blue and gray VMware VCSA (VMware vCenter Server Appliance) console appears.
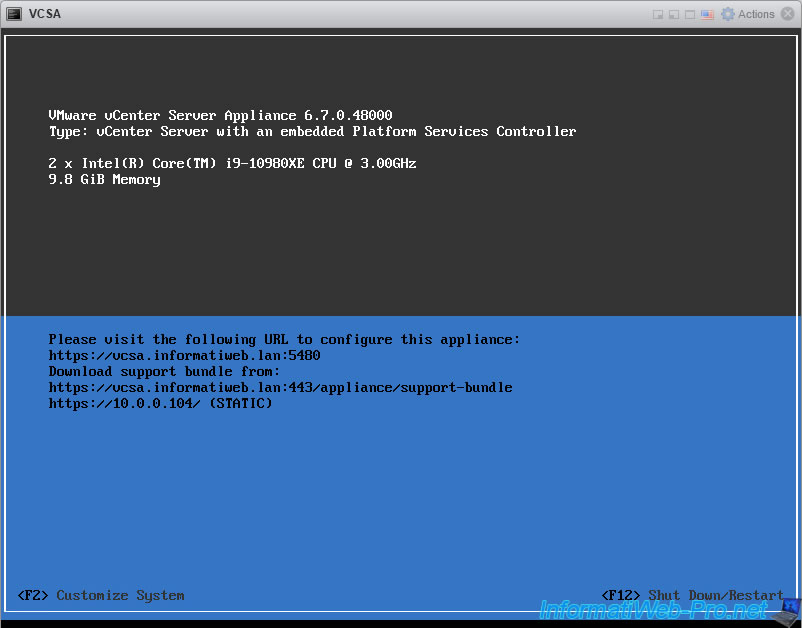
2. Addresses displayed on the VCSA console
2.1. VMware Appliance Management
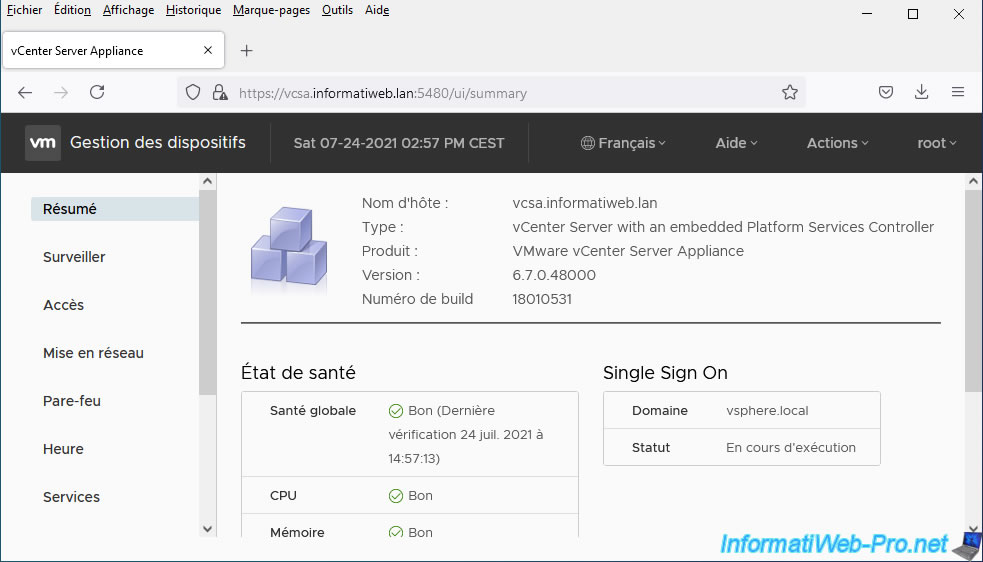
The first address displayed by VCSA is "https://vcsa.informatiweb.lan:5480".
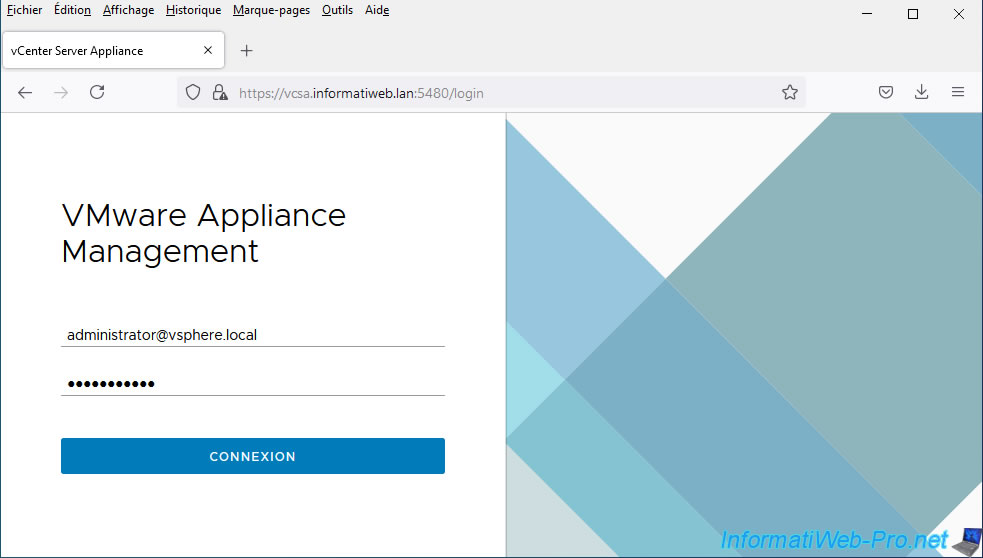
Which corresponds to the "VMware Appliance Management" connection page which allows you to manage your VCSA device.
On the login page that appears, you will be able to log in with the account "administrator@vsphere.local" (if you used the default vCenter SSO domain: vsphere.local).
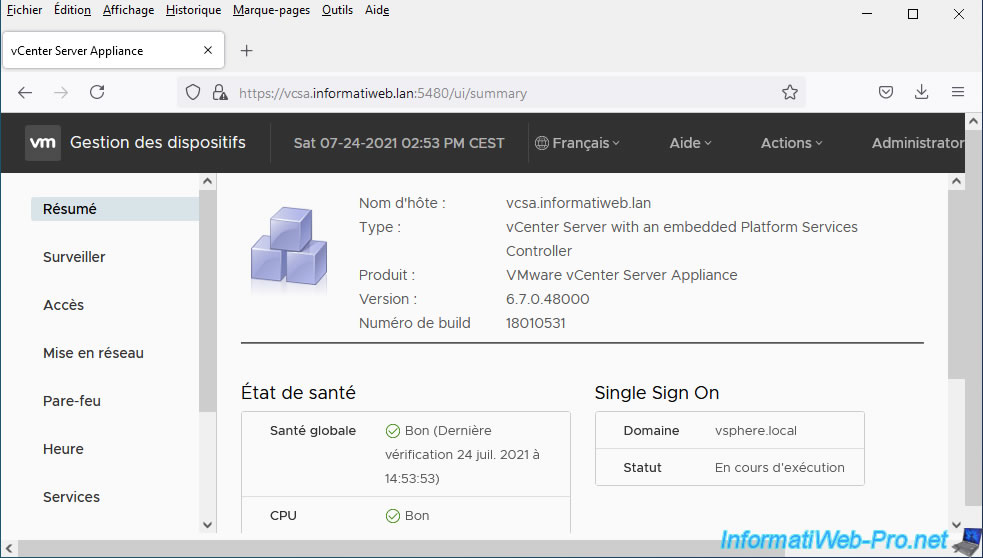
As you can see, this takes you to the Device Management (VCSA) page.
To log out, click on your name at the top right of the page.
On this login page, you can also log in as "root".
In other words, the "root" account of this VCSA virtual machine.
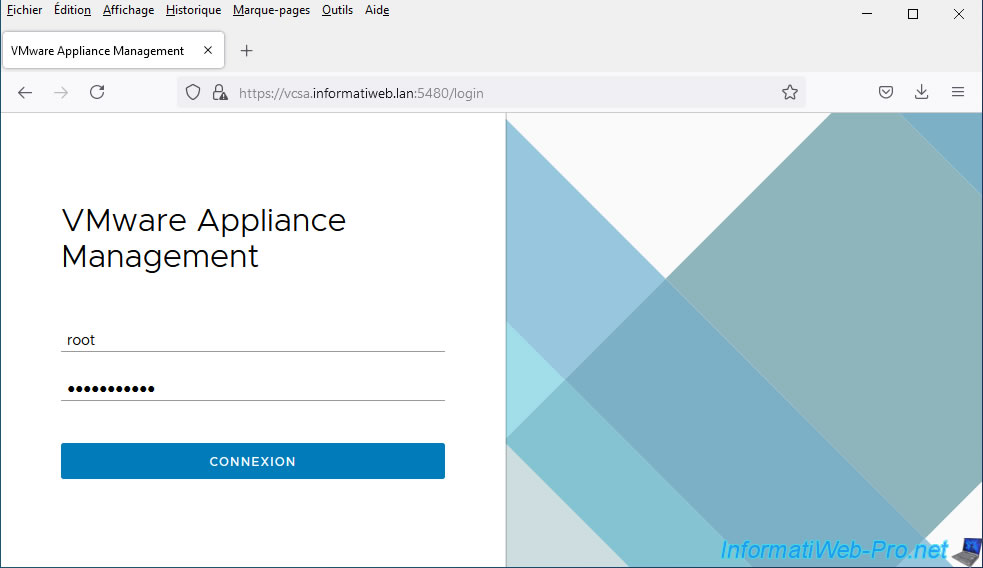
This will allow you to access the same interface as before.
2.2. Download the bundle for support
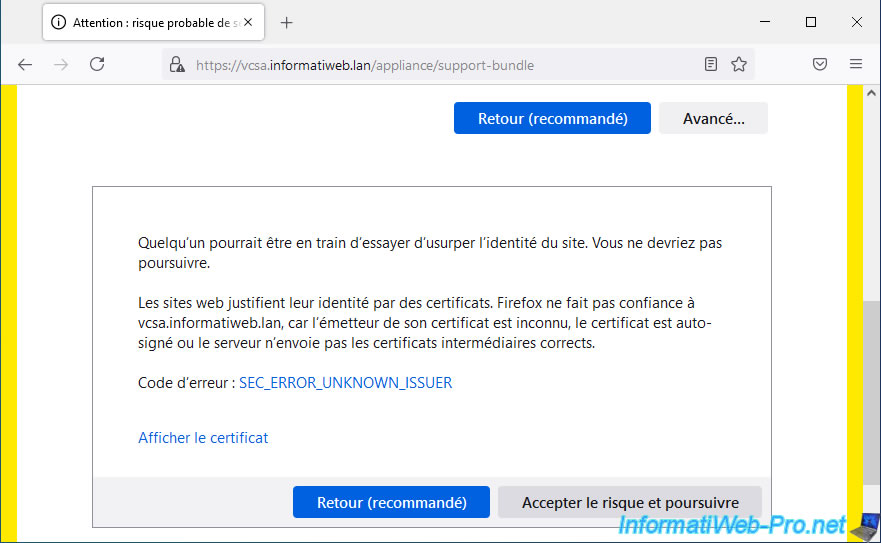
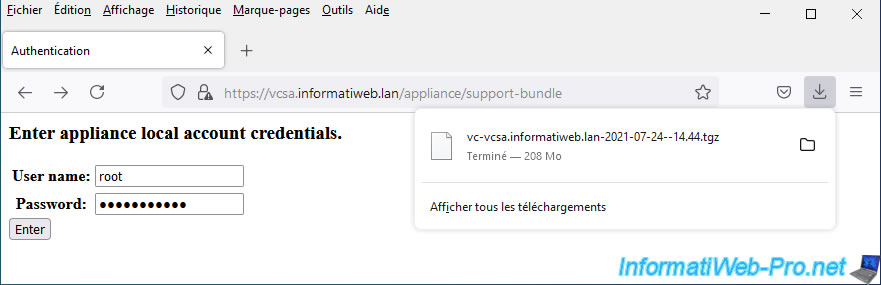
In the event of a problem with your VCSA virtual machine, you can very easily download a support bundle from it by typing the address "https://vcsa.informatiweb.lan:443/appliance/support-bundle" displayed on the VCSA console.
Note that it is not necessary to specify port "443" in the URL since the "https" protocol uses this port by default.
If a warning appears, ignore it. This is due to using a self-signed certificate by default.
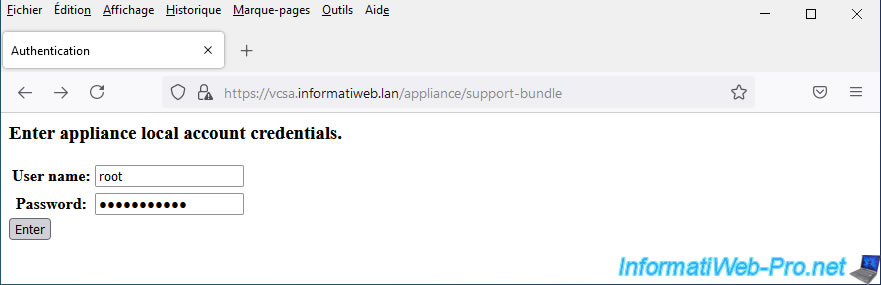
Then, log in as root using the small form displayed and click "Enter".
A compressed file "vc-vcsa.informatiweb.lan-xxxx-xx-xx--xx.xx.tgz" will be offered.
Click OK.

Wait while this compressed file downloads.
Note that this file may be large.
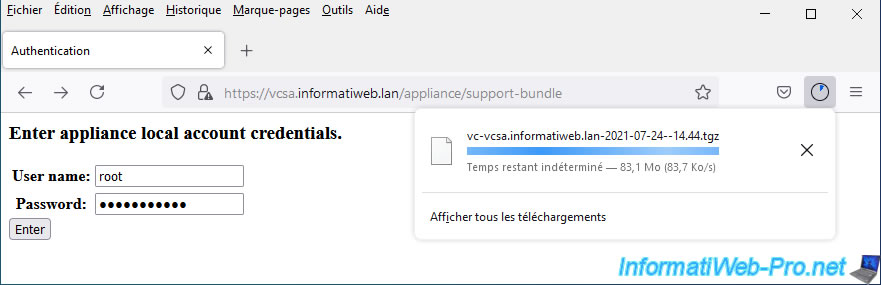
As you can see, with a VCSA virtual machine that has had very little use at the moment, the file already weighs 208 MB.
If you are on Linux, you can unzip this file easily.
But, on Windows, if you use 7-zip, you will have to do it in 2 steps.
To begin, unzip the downloaded "vc-vcsa...tgz" file and you will get a TAR file.
Then unzip the resulting TAR file and you will get this.
As you can see, this support bundle contains a lot of information, including some logs.
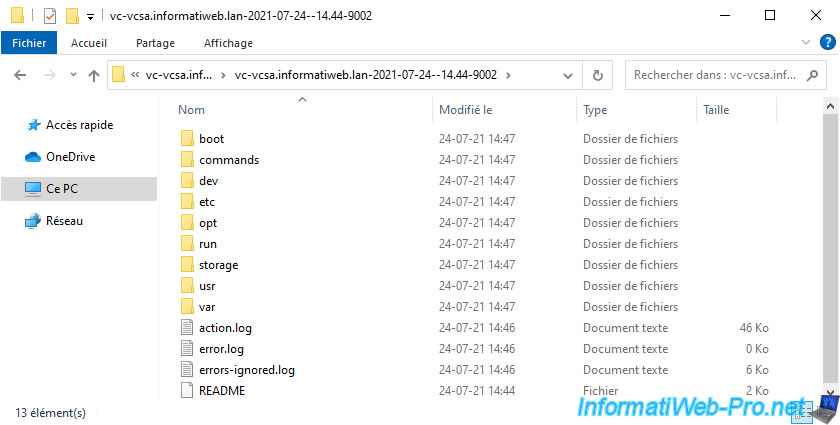
In the "var\log" subfolder you will also find many additional logs.
All of these files are intended to be sent to VMware Support so they have all the information they need to try to help you resolve your issue.

2.3. VMware vSphere Client
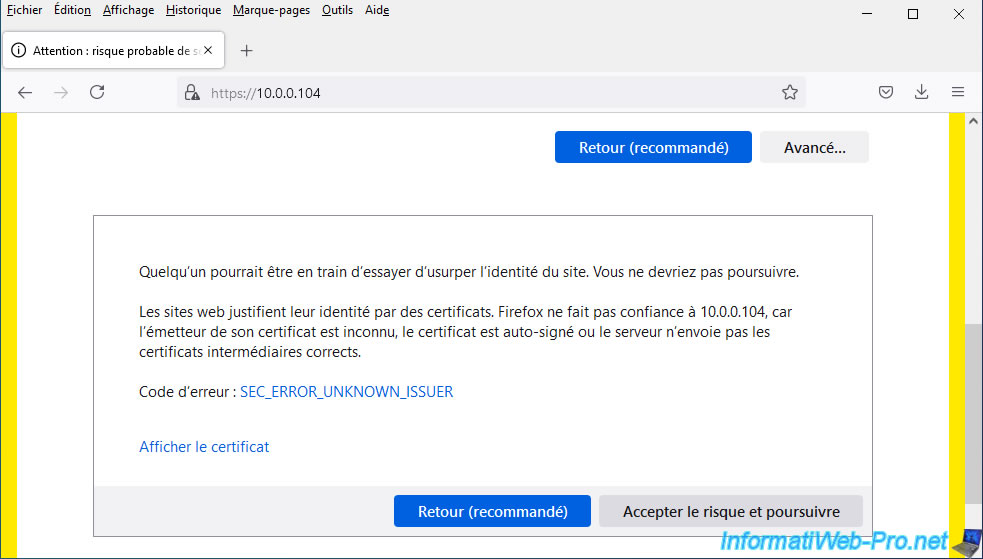
Finally, the last address indicated corresponds to the IP address of your VCSA virtual machine.
If you navigate to this address (in our case "https://10.0.0.104/"), a warning will be displayed since the certificate is self-signed and is not valid when you specify the IP address instead of domain name in the address bar.
In short, you can ignore this warning.
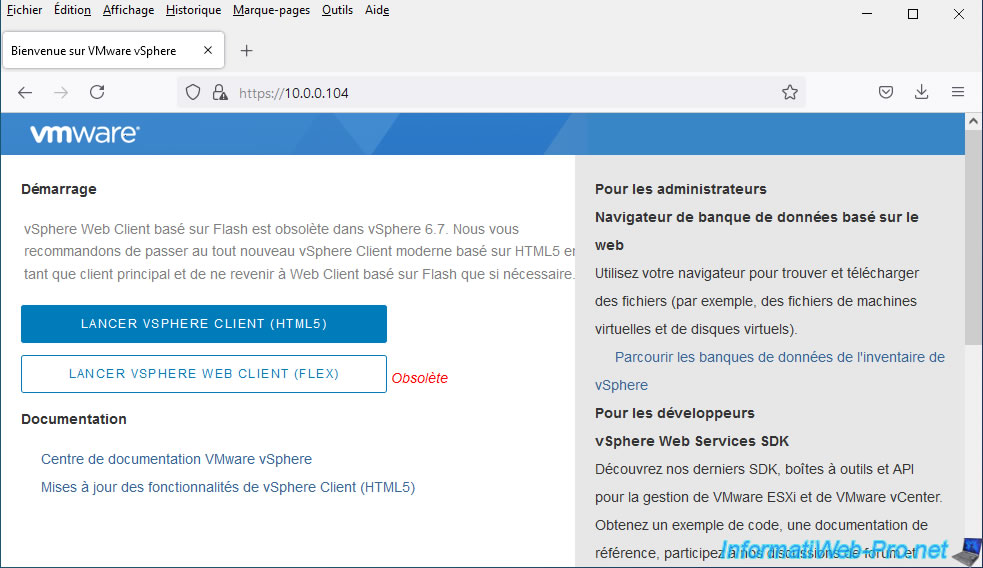
As you can see, you can choose between:
- Launch vSphere Client (HTML5)
- Launch vSphere Web Client (Flex)
Click "Launch vSphere Client (HTML5)" and make sure you are using a modern web browser (such as Mozilla Firefox or Google Chrome) to avoid issues in this vSphere web client.
Important : there is no need to attempt to run the old vSphere (Flex) client. Indeed, it requires the Adobe Flash Player plugin which no longer exists and which is no longer supported by recent versions of Mozilla Firefox, Google Chrome, ...
In addition, the new client using HTML5 is smoother than the old client (Flex) based on the Flash Player plugin.
Note that you can access the same page using the domain name of your VCSA virtual machine.
Which is more practical since the address is easier to remember.

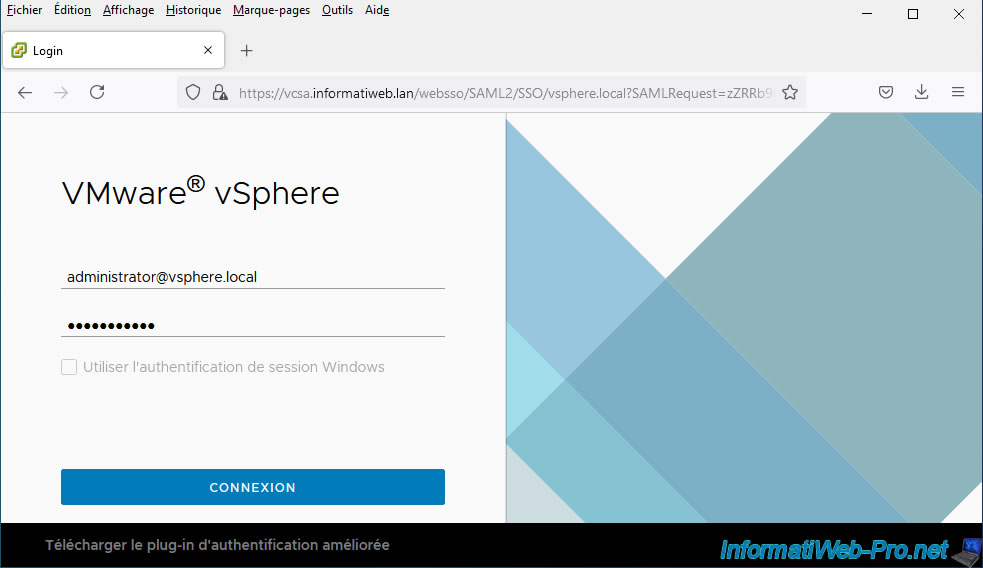
Once you click the blue "Launch vSphere Client (HTML5)" button, you will be redirected to the "VMware vSphere" login page.
On this page, you will be able to log in with the account "administrator@vsphere.local".
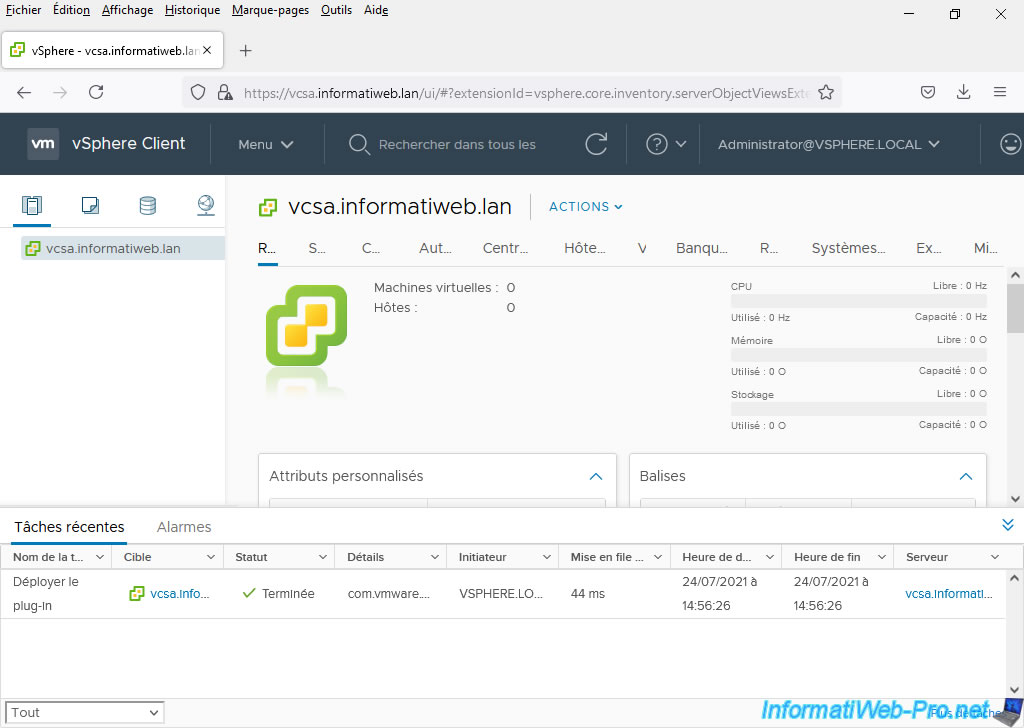
The "vSphere Client" page appears.
Share this tutorial
To see also
-
VMware 3/13/2024
VMware ESXi 6.7 - Synchronize the clock of ESXi hosts from a time server (NTP)
-
VMware 3/8/2024
VMware ESXi 6.7 - Synchronize the clock of VCSA from a time server (NTP)
-
VMware 7/31/2024
VMware vSphere 6.7 - Add an Active Directory identity source
-
VMware 5/22/2024
VMware vSphere 6.7 - Change default console
You must be logged in to post a comment