- VMware
- 22 March 2024 at 07:39 UTC
-

- 1/3
Once the deployment and configuration of the VCSA appliance is complete, you will be able to create the inventory (data centers and folders) and add your VMware ESXi hosts via the vSphere Client available on this VCSA appliance.
- Create a new data center
- Create a new folder in: Hosts and Clusters
- Create a new folder in: VMs and Templates
- Manage permissions on data centers and folders
- Synchronize the clock of your VMware ESXi hypervisor with an NTP server
- Synchronize your VCSA device's clock with an NTP server
- Add a VMware ESXi host to your VMware vCenter Server (VCSA) inventory
- Storage (datastores) added
- Networks (port groups) added
1. Create a new data center
To get started, connect to port 443 (HTTPS) of your VCSA device "https://vcsa.informatiweb.lan/ui/" and use the account "administrator@vsphere.local".
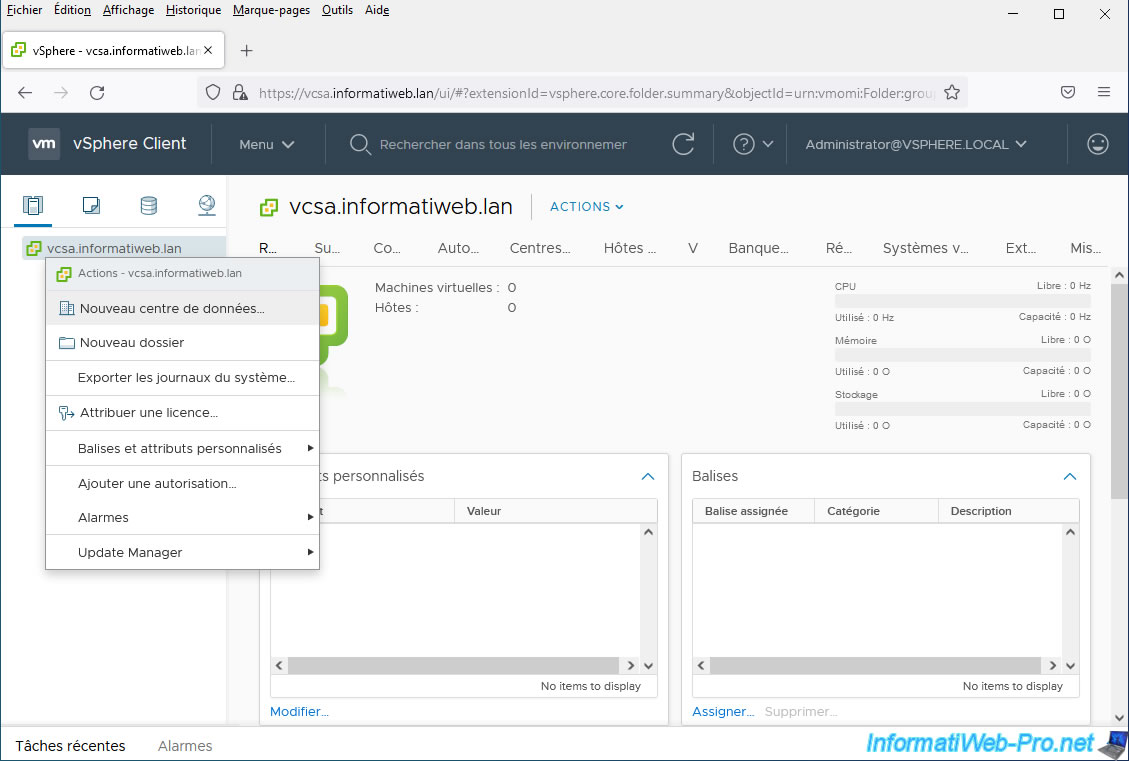
Once connected to this "vSphere Client", go to "Menu -> Hosts and Clusters" and right-click "New Datacenter" on the domain name of your VCSA device (vcsa.informatiweb .lan).
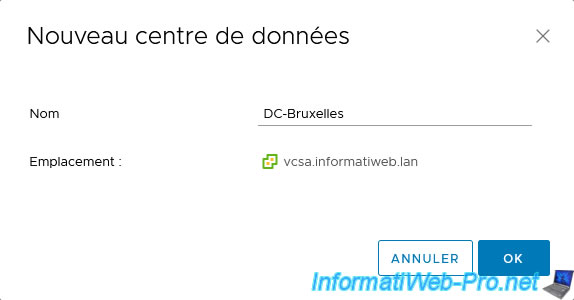
Specify a name for this new data center.
For example, in our case, we indicated "DC-Bruxelles" (for "Brussels Datacenter").
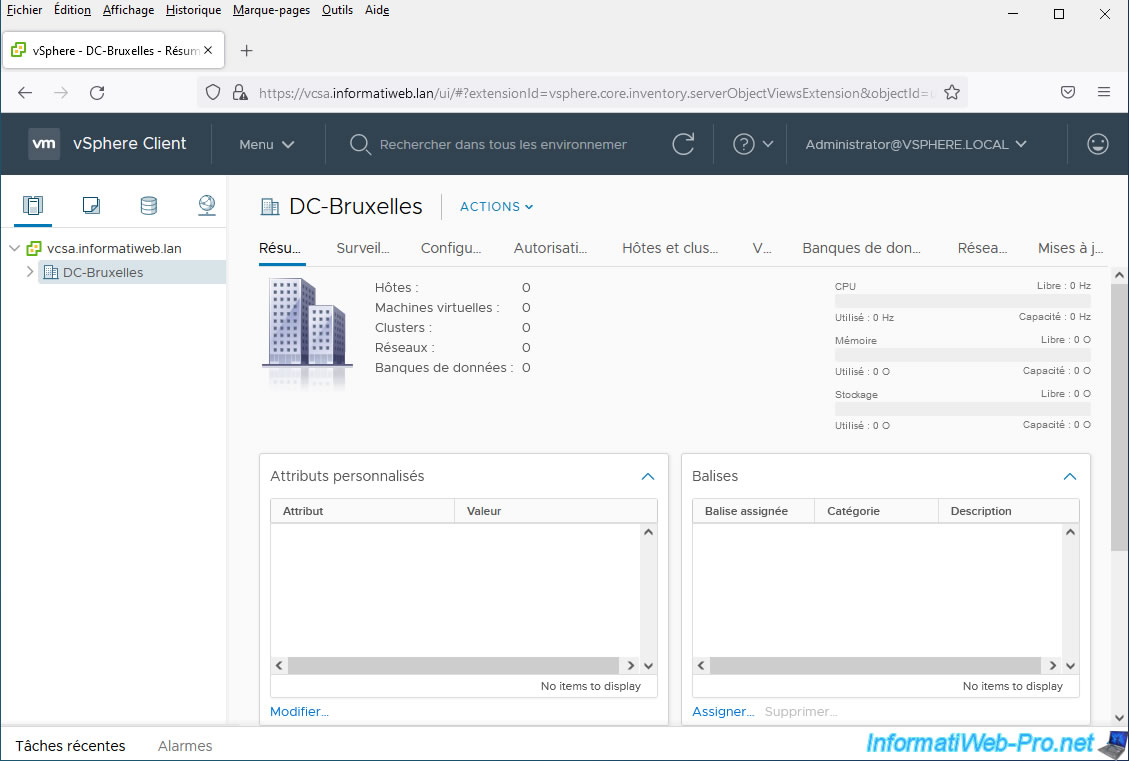
Your new data center appears.
2. Create a new folder in: Hosts and Clusters
To organize your different VMware ESXi hosts, you can create folders and subfolders in this "Hosts and Clusters" tab.
To do this, right-click on the data center you just created and click: New Folder -> New Host and Cluster Folder.
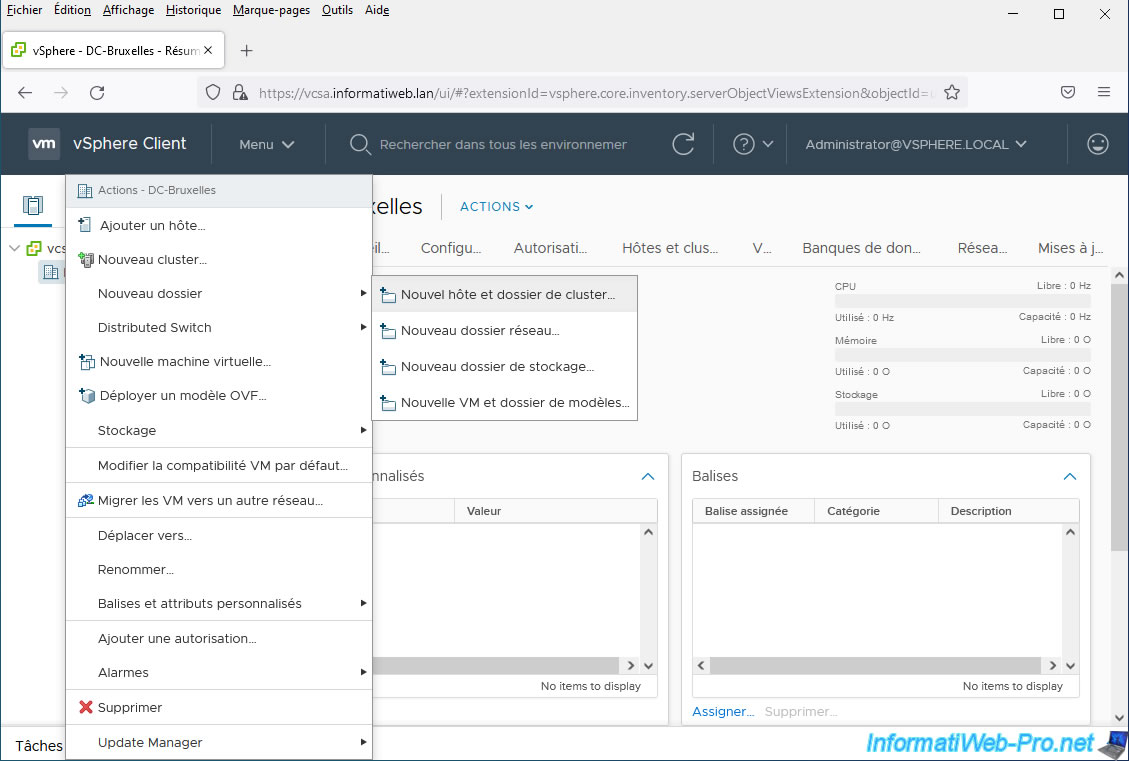
Specify a name for this folder.

In our case, we created 2 folders (Intel and AMD) to separate hosts that have an Intel processor from those that have an AMD processor.
Which will be very useful if you want to use virtual machine migration via vMotion later.
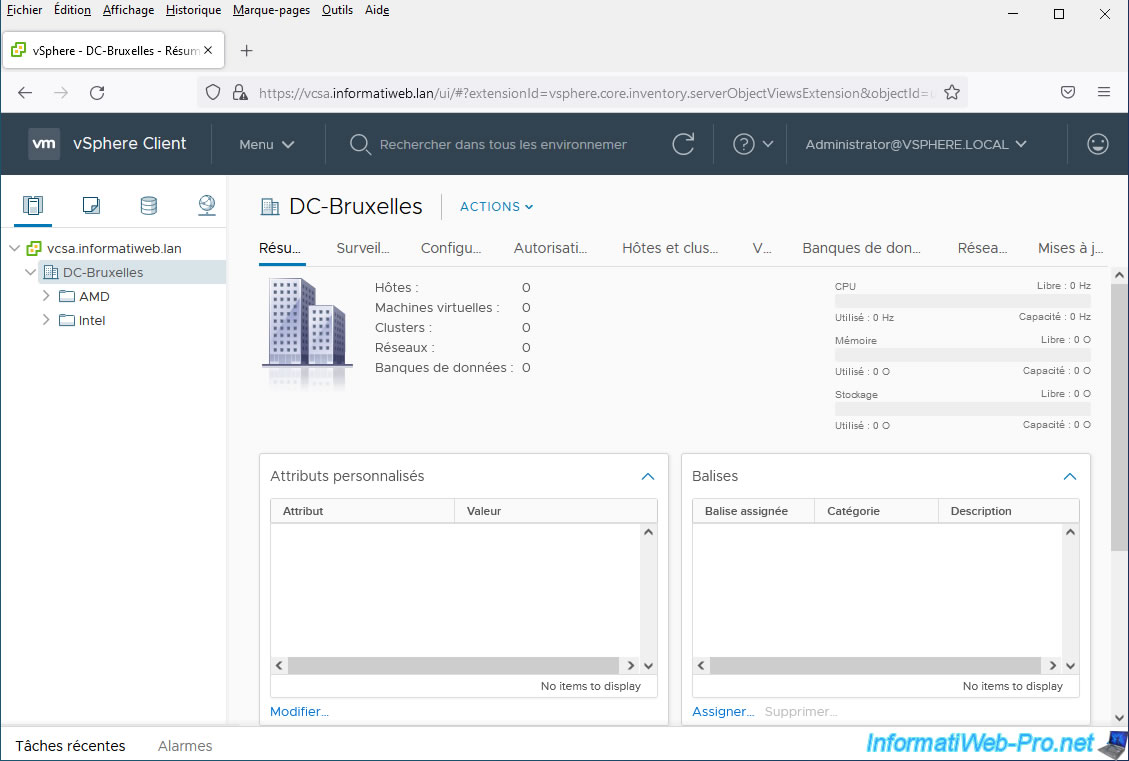
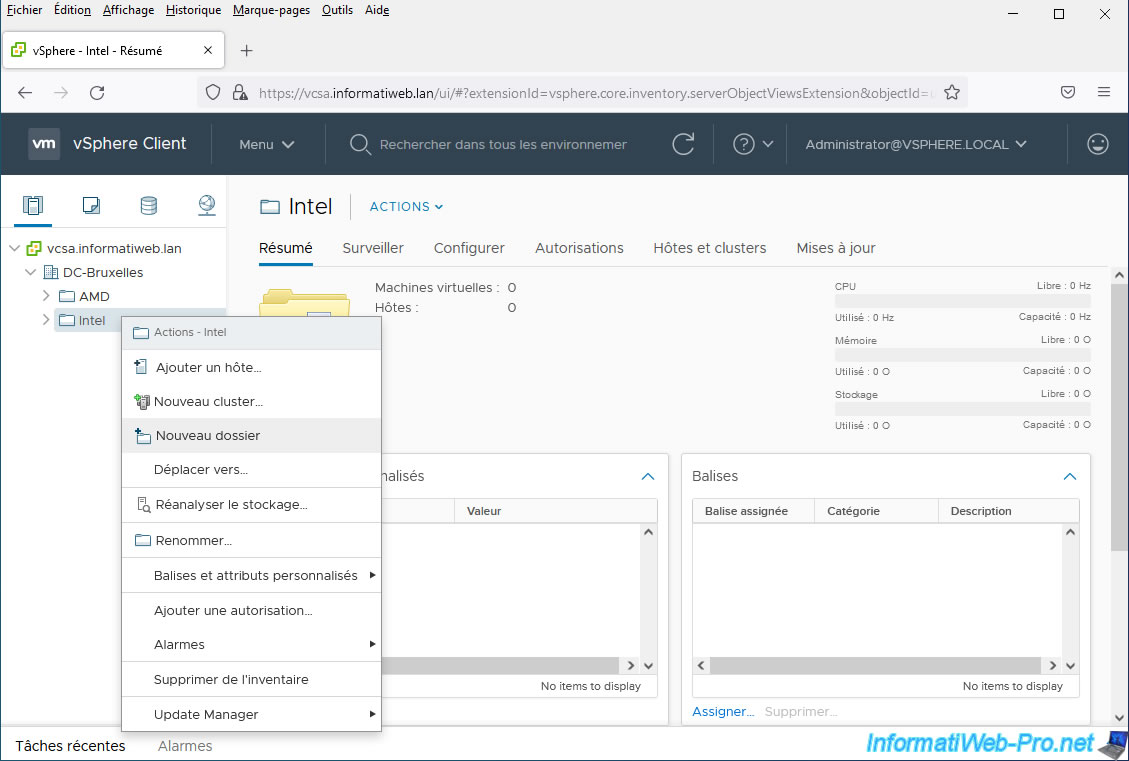
As indicated previously, you can also create subfolders in this "Hosts and Clusters" tab.
3. Create a new folder in: VMs and Templates
In the following tab (VMs and Templates) also accessible via the menu at the top of the page, you can also organize your virtual machines (VMs) by creating folders again.
Since this tab concerns virtual machines and not hosts, the folders previously created in the 1st tab (Hosts and Clusters) do not appear in this 2nd tab (VMs and Templates).
Conversely, the folders created here will not appear in the 1st tab (Hosts and Clusters).
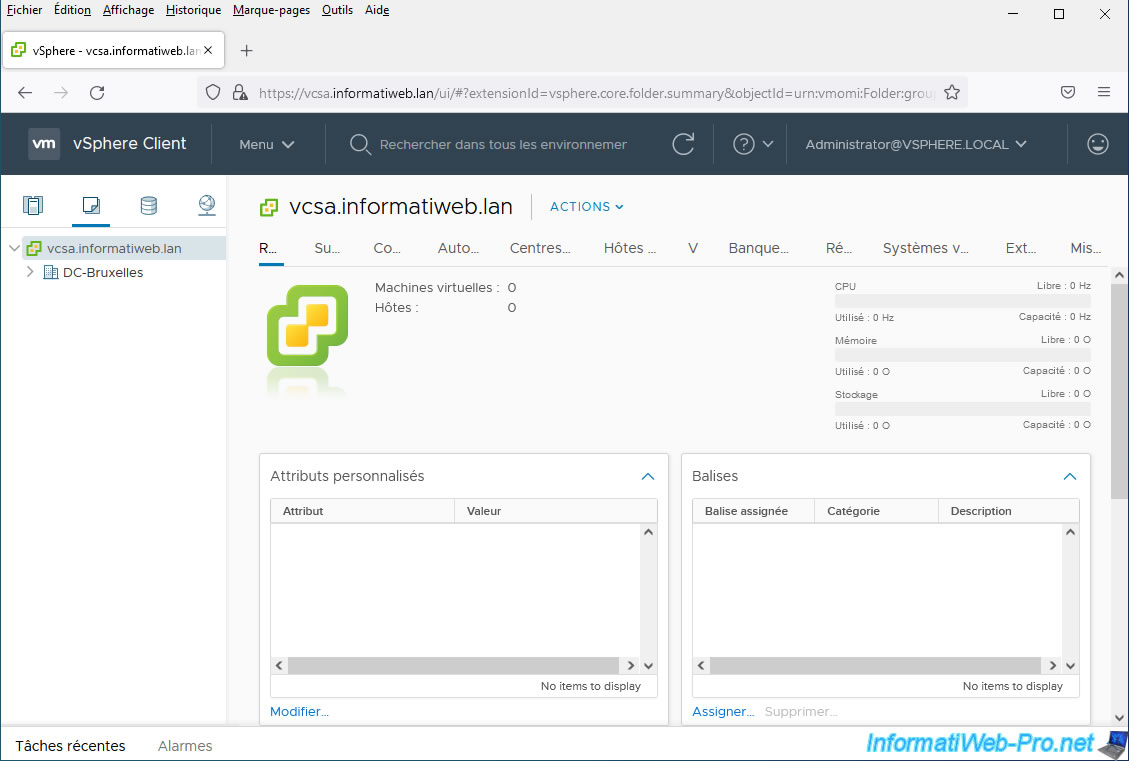
To create a new folder in this "VM and Templates" tab, right-click on your data center and click: New Folder -> New VM and Template Folder.
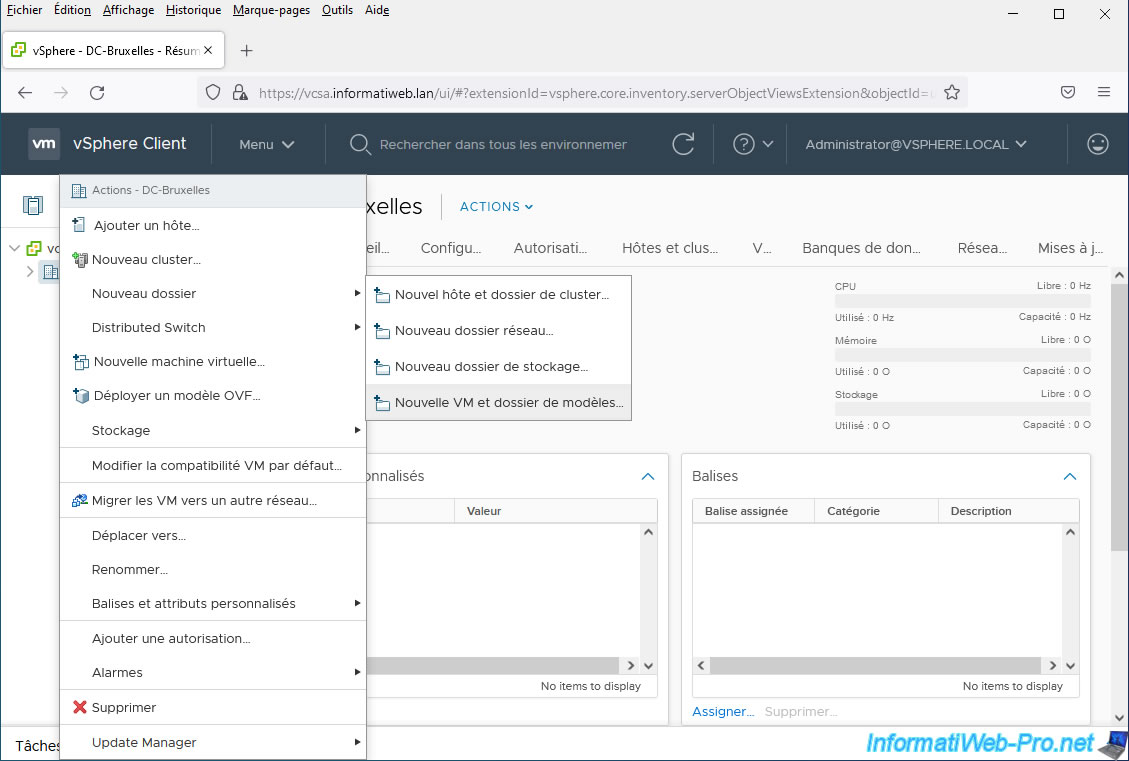
Specify a folder name based on how you want to group your virtual machines.
Note that the creation of folders allows you to visually group some virtual machines, but also to be able to manage the authorizations on several virtual machines at once by managing the authorizations on the created folder.

The folder has been created.
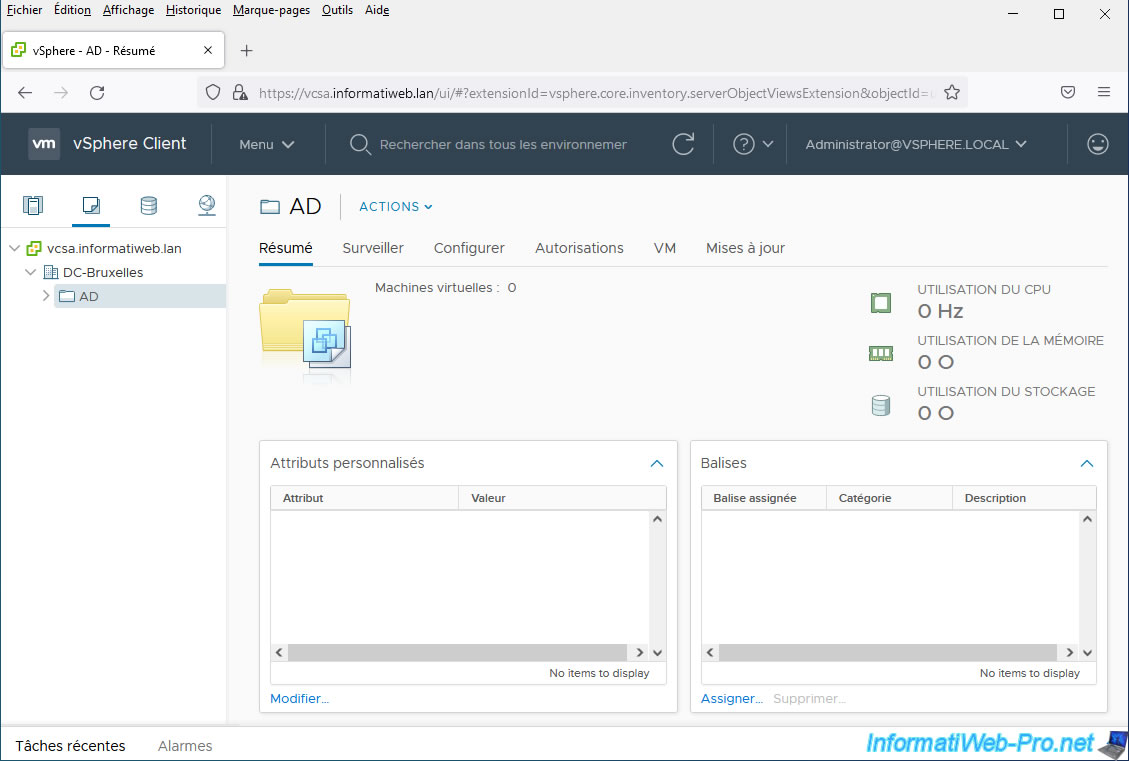
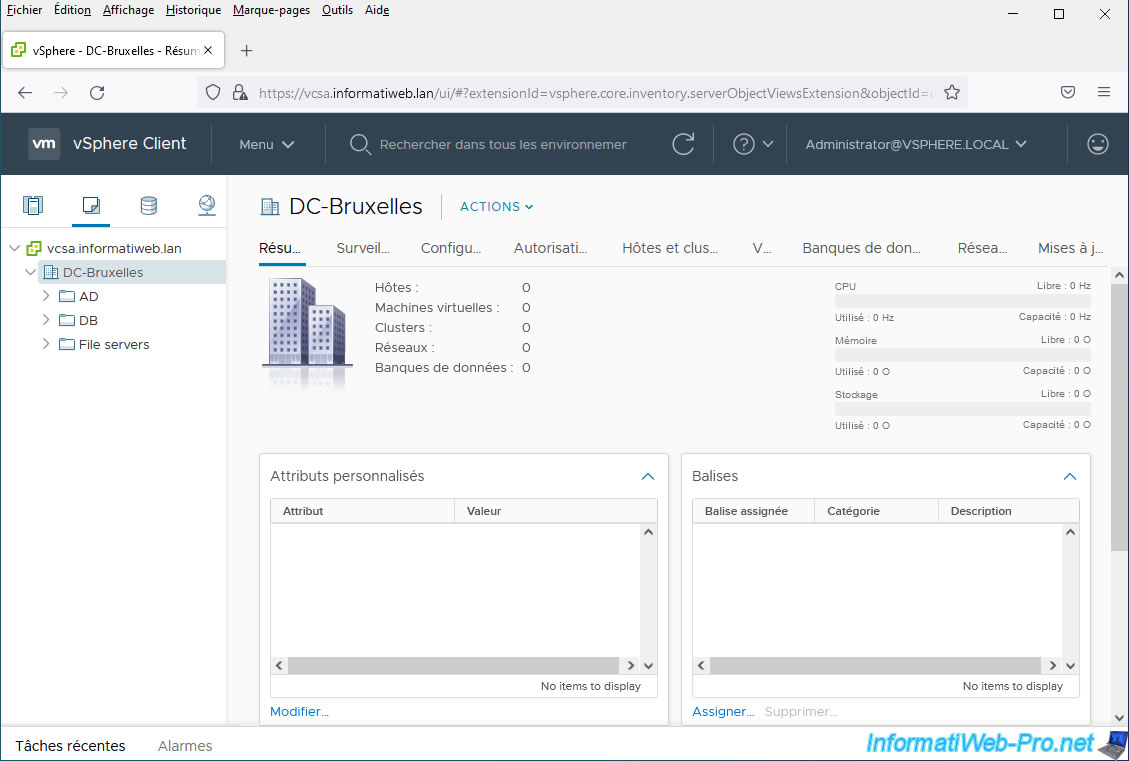
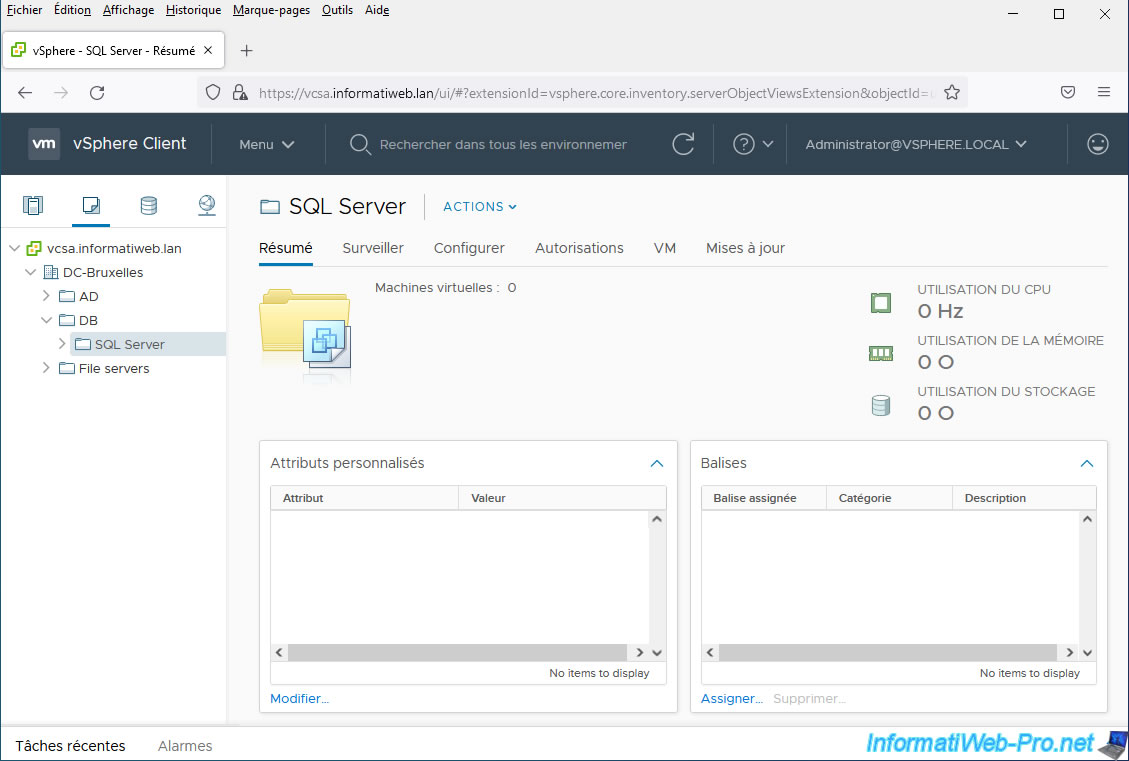
In our case, we created several folders as an example.
As before, you can also create subfolders by right-clicking "New Folder" on an existing folder.
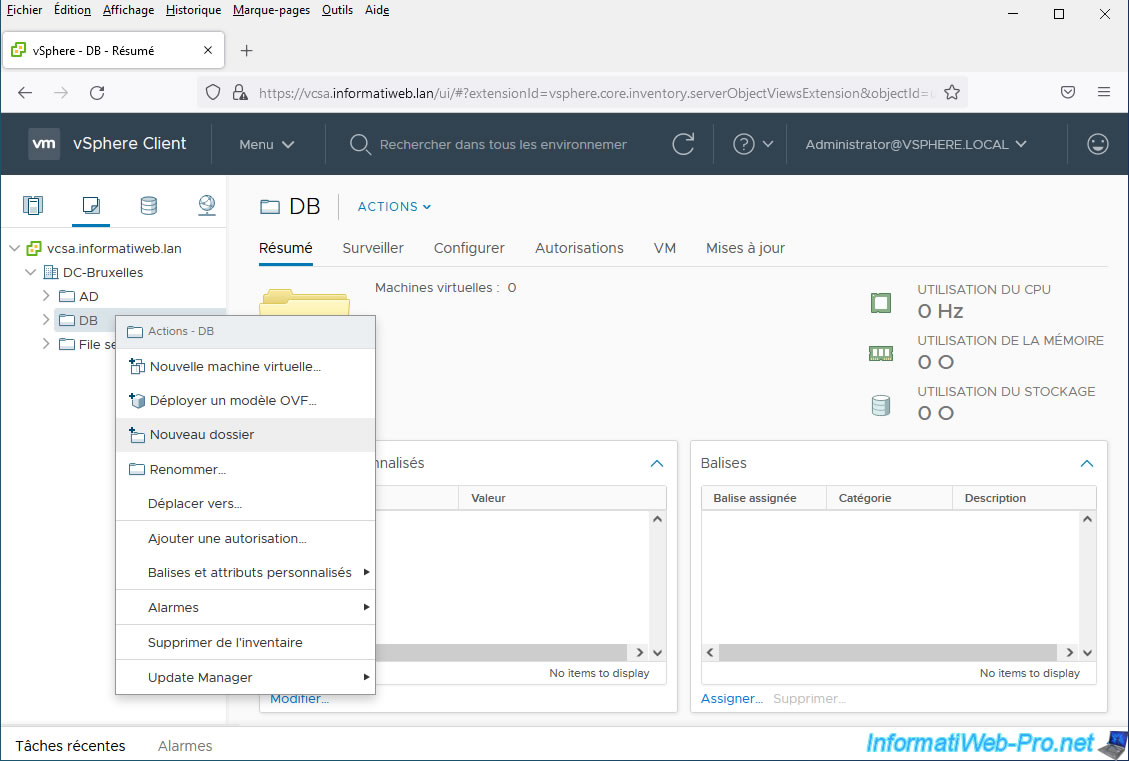
Specify a name for the subfolder to create.

The subfolder appears.
Share this tutorial
To see also
-
VMware 3/13/2024
VMware ESXi 6.7 - Synchronize the clock of ESXi hosts from a time server (NTP)
-
VMware 3/8/2024
VMware ESXi 6.7 - Synchronize the clock of VCSA from a time server (NTP)
-
VMware 7/31/2024
VMware vSphere 6.7 - Add an Active Directory identity source
-
VMware 5/22/2024
VMware vSphere 6.7 - Change default console

You must be logged in to post a comment