Secure access to VMware vCenter Server (VCSA) over HTTPS (via SSH) on VMware vSphere 6.7
- VMware
- 30 October 2024 at 08:20 UTC
-

- 2/3

5. Request a certificate from your certification authority on Windows Server
To request a certificate from your certificate authority on Windows Server, you must first retrieve the certificate request created on your VMware vCenter Server (VCSA).
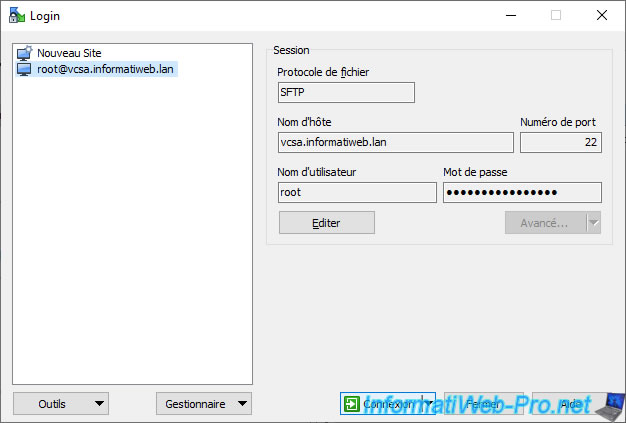
To do this, download the WinSCP program and connect to your VCSA server using the SFTP protocol.
Important : you must first configure WinSCP by referring to our tutorial "VMware vSphere 6.7 - Manage VCSA files via WinSCP" to be able to use the SFTP protocol with your VCSA server.
Indeed, by default, this does not work and an error "Received unexpected packet in response to authentication request, ..." appears.
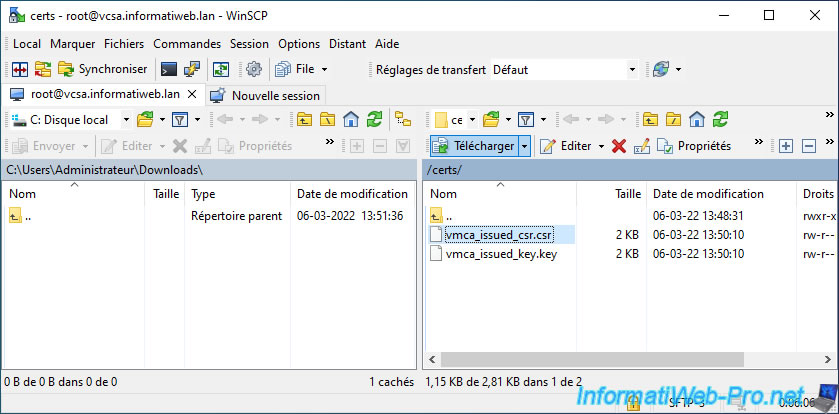
Once WinSCP is configured correctly, the connection via SFTP will succeed and you will see the contents of your VCSA server appear on the right.
In the right part of the window, enter the "certs" folder, then select the "vmca_issued_csr.csr" file and click on "Download".
Note: you can also drag this file from the right side to the left side to easily download this file.
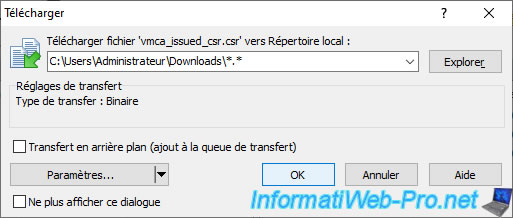
A "Download" window appears.
Simply click OK leaving the default settings.
Your certificate request "vmca_issued_csr.csr" appears on the left (on your computer).
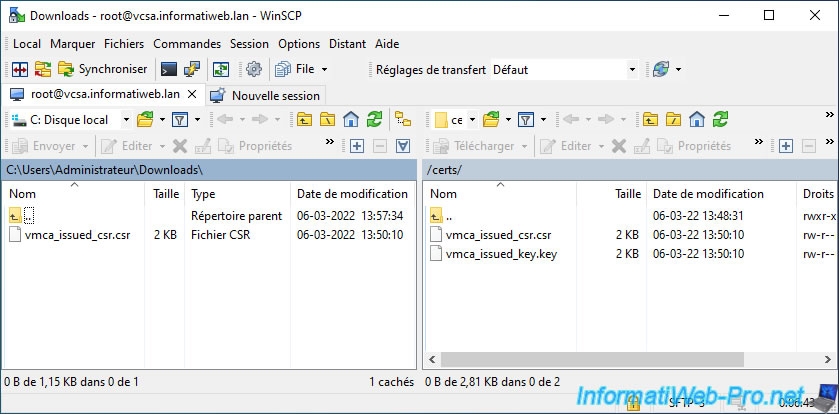
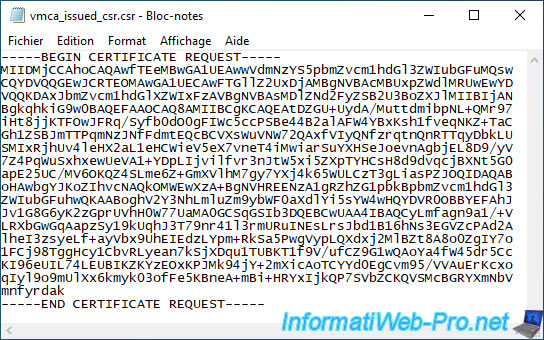
If you open this "vmca_issued_csr.csr" file with notepad, you will see that it is text that looks like this:
Plain Text
-----BEGIN CERTIFICATE REQUEST-----
xxxxxxxxxxxxxxxxxxxxxxxxxxxxxxxxxxxxxx...
-----END CERTIFICATE REQUEST-----
Note: this text corresponds to a certificate request encoded in base 64.
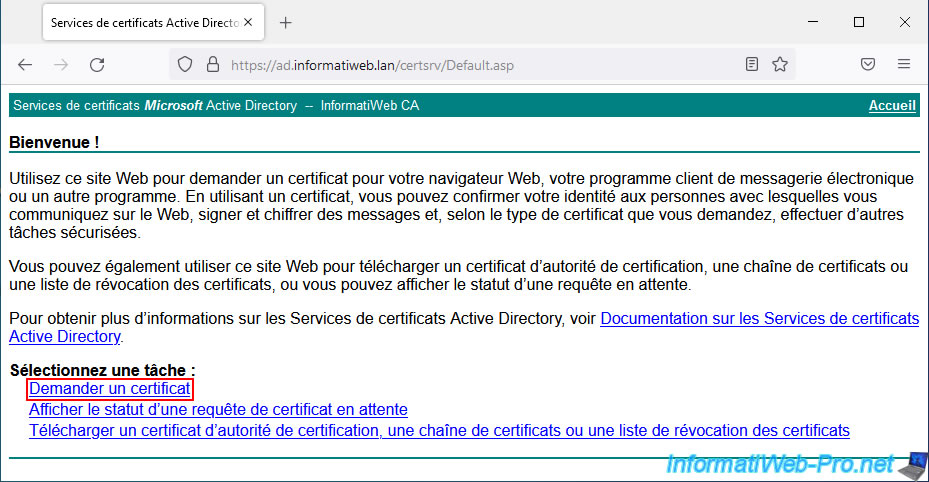
Log in to your certificate authority's web interface and authenticate (if necessary) as an Administrator (or a user who can enroll certificates using the "vSphere 6.x" certificate template created previously).
On the "Microsoft Active Directory Certificate Services -- [name of your certificate authority]" page that appears, click the link: Request a certificate.
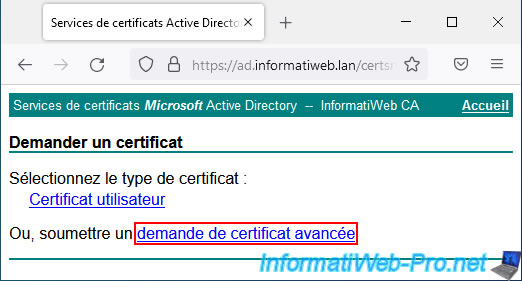
Next, click on the link: advanced certificate request.
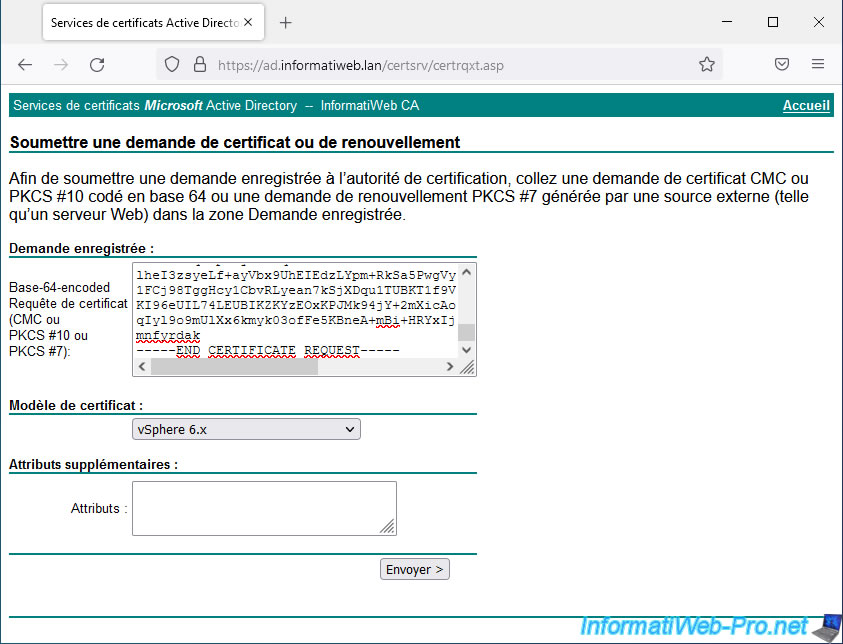
Paste the certificate request from the file contained in the previously downloaded "vmca_issued_csr.csr" file into the large "Base-64-encoded certificate request (CMC or PKCS #10 or PKCS #7)" box, then select the certificate template "vSphere 6.x" created previously and click Submit.
Once the certificate has been issued, select "Base 64 encoded" and click on: Download certificate chain.
Important : it is important to download the certificate chain and not just the certificate.
Source : Replace vCenter Machine SSL certificate Custom Certificate Authority Signed Certificate.
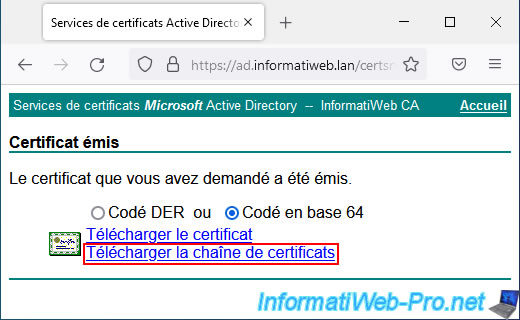
A "certnew.p7b" file will be offered for download.
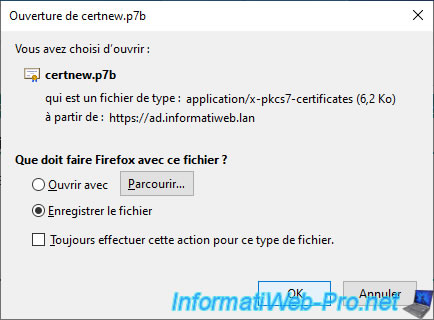
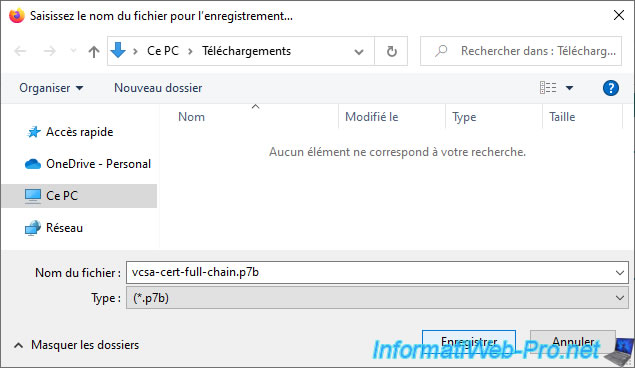
In our case, we will save this file under the name: vcsa-cert-full-chain.p7b.
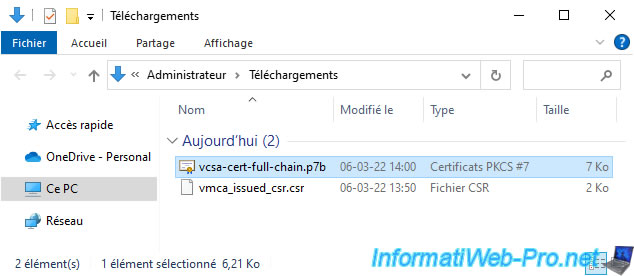
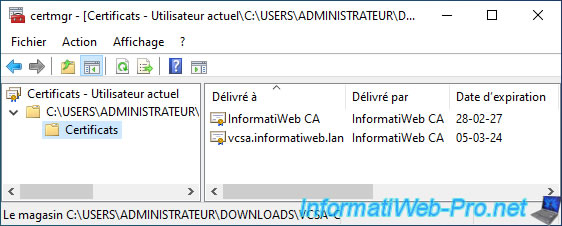
The downloaded certificate appears. Double click on it.
As you can see, this "vcsa-cert-full-chain.p7b" file contains several certificates:
- InformatiWeb CA: the certificate of your certification authority
- vcsa.informatiweb.lan: the certificate of your VCSA server issued by your certification authority
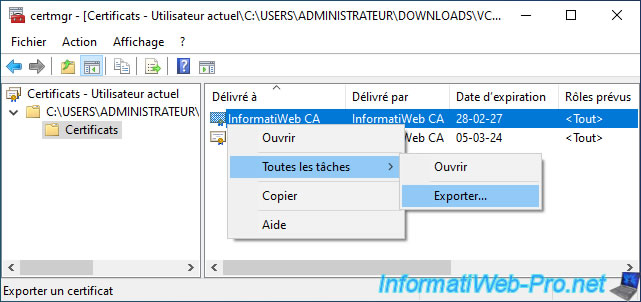
Export your CA's certificate by right-clicking "All Tasks -> Export" on its name.
In fact, you will need it a little later when replacing the SSL Machine certificate of your VCSA server.
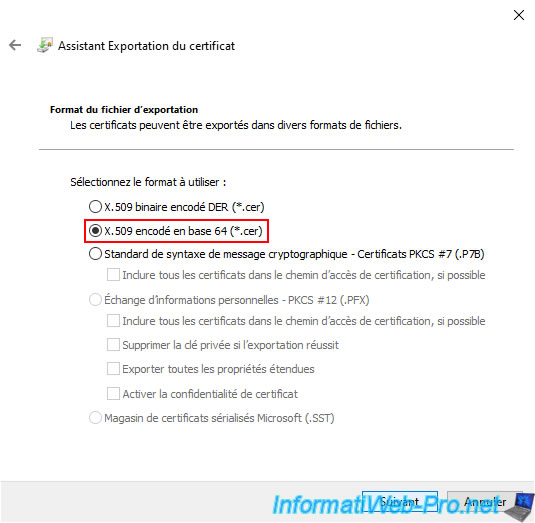
Select "X.509 base-64 encoded (*.cer)" to obtain the certificate in PEM format (requested by VMware) and click Next.
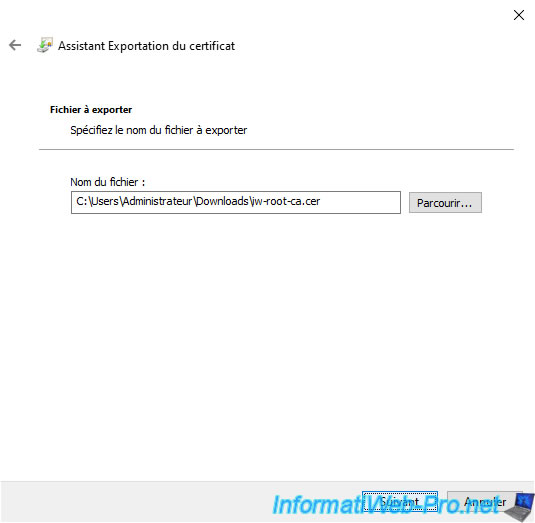
Click "Browse" to choose where you want to export this certificate, then click Next.
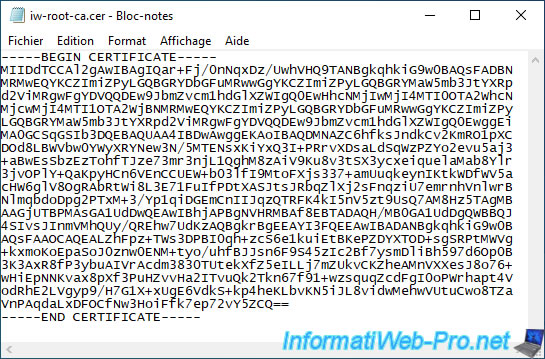
In our case, we exported it to our "Downloads" folder under the name: iw-root.ca.cer.
If you open this certificate with Notepad, you will see that it is text that looks like this:
Plain Text
-----BEGIN CERTIFICATE-----
xxxxxxxxxxxxxxxxxxxxxxxxxxxx...
-----END CERTIFICATE-----
Since VMware vCenter Server (VCSA) expects a certificate in the ".cer" format and not the ".p7b" format, you will first need to convert the previously downloaded VCSA certificate to the ".cer" format.
To do this, download OpenSSL and use the following command:
Bash
cd C:\OpenSSL
openssl pkcs7 -print_certs -in C:\Users\Administrator\Downloads\vcsa-cert-full-chain.p7b -out C:\Users\Administrator\Downloads\vcsa-cert-full-chain.cer

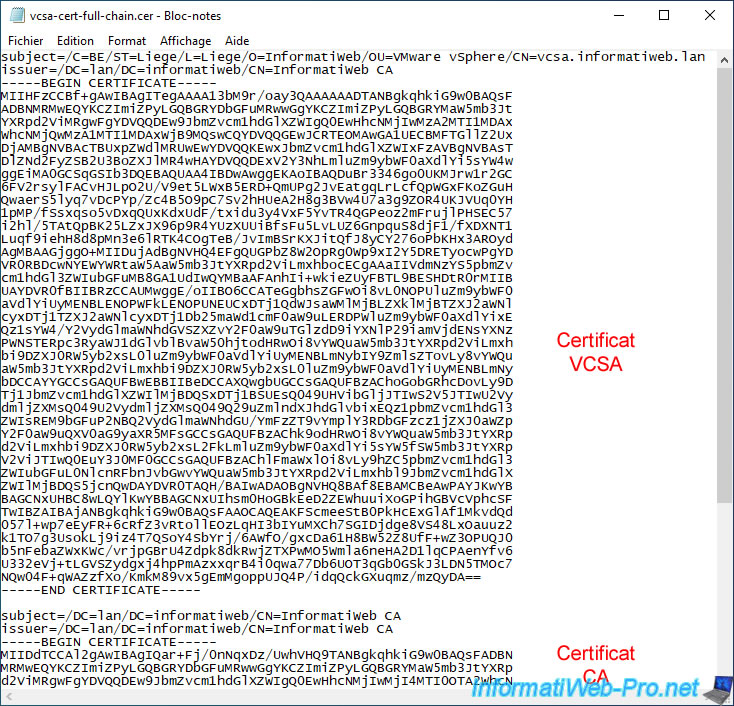
If you open the "vcsa-cert-full-chain.cer" file obtained, you will see that it contains:
- CN=vcsa.informatiweb.lan: the certificate of your VCSA server
- CN=InformatiWeb CA: the certificate of the certification authority that issued the certificate for your VCSA server
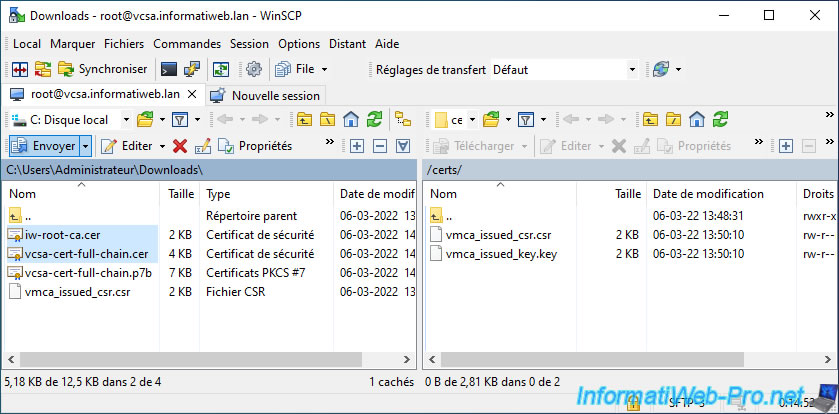
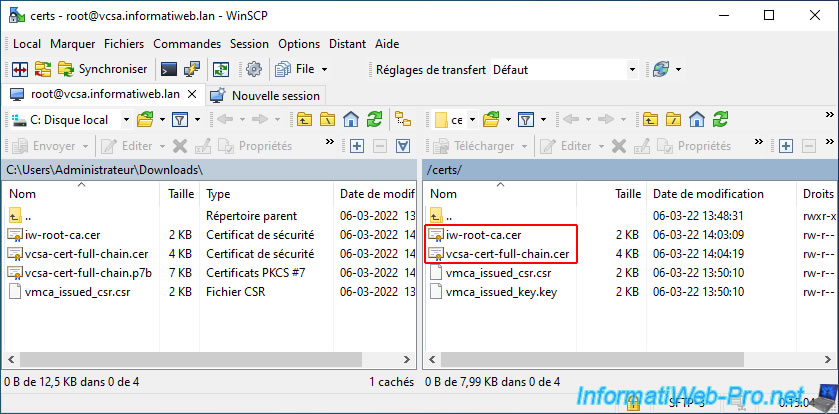
Now that you have the certificates you need, send the certificate of your certificate authority (iw-root-ca.cer in our case) and that of your VCSA server (vcsa-cert-full-chain.cer) in the "/certs" folder of your VCSA server.
To do this, select these 2 ".cer" files and click "Upload".
In the "Upload" window that appears, simply click OK.
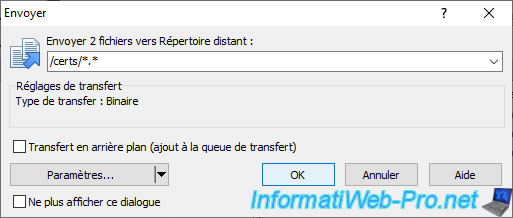
Sent certificates appear on the right.
Share this tutorial
To see also
-
VMware 3/13/2024
VMware ESXi 6.7 - Synchronize the clock of ESXi hosts from a time server (NTP)
-
VMware 3/8/2024
VMware ESXi 6.7 - Synchronize the clock of VCSA from a time server (NTP)
-
VMware 7/31/2024
VMware vSphere 6.7 - Add an Active Directory identity source
-
VMware 5/22/2024
VMware vSphere 6.7 - Change default console
No comment