- VMware
- 26 September 2025 at 11:25 UTC
-

- 1/2

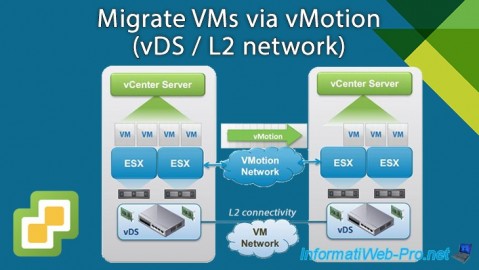
In our tutorial "VMware vSphere 6.7 - Migrate VMs via vMotion (vSS / L2 network)", we showed you how to configure a VMware vSphere infrastructure to be able to migrate virtual machines from one physical site to another without them losing their access to the network and the Internet.
However, in our previous tutorial we used standard virtual switches (vSS).
In this new tutorial, we will use Virtual Distributed Switches (vDS) instead of vSS.
Which is recommended by VMware, but requires an "Enterprise Plus" edition of VMware vSphere.
Important : before following this tutorial, follow our previous tutorial (cited previously) up to and including step "3. Add a network card to VMware ESXi hosts for VM networking".
- Create and configure virtual distributed switches (vDS)
- Enable VMware vSphere vMotion
- Migrate a VM connected to a network with L2 connectivity
1. Create and configure virtual distributed switches (vDS)
1.1. Create the Virtual Distributed Switch (vDS)
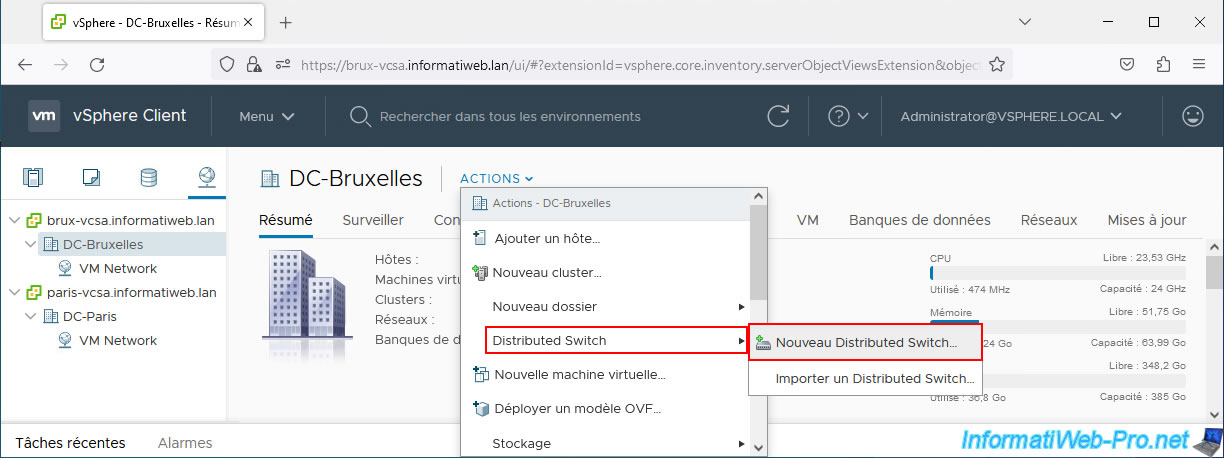
On the source physical site, in our case, in Brussels, go to the "Network" section and select a data center (DC).
Then click: Actions -> Distributed Switch -> New Distributed Switch.
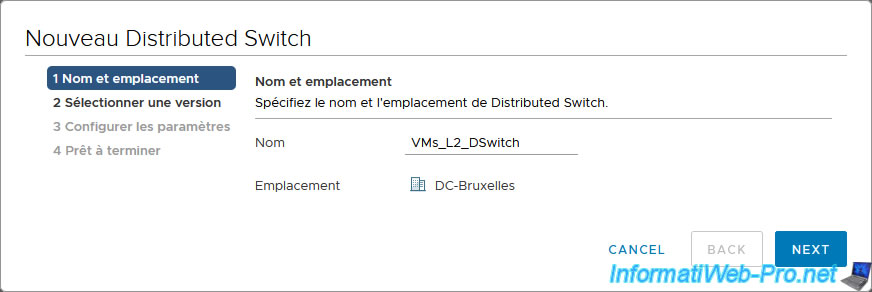
In the "New Distributed Switch" wizard that appears, provide a name for your new virtual distributed switch (vDS) and click Next.
In our case: VMs_L2_DSwitch.
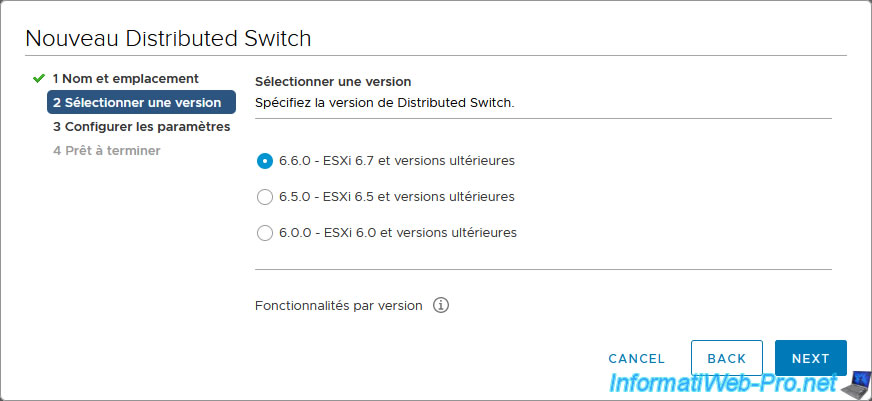
Leave the version selected by default to benefit from all the features offered by your version of VMware vSphere.
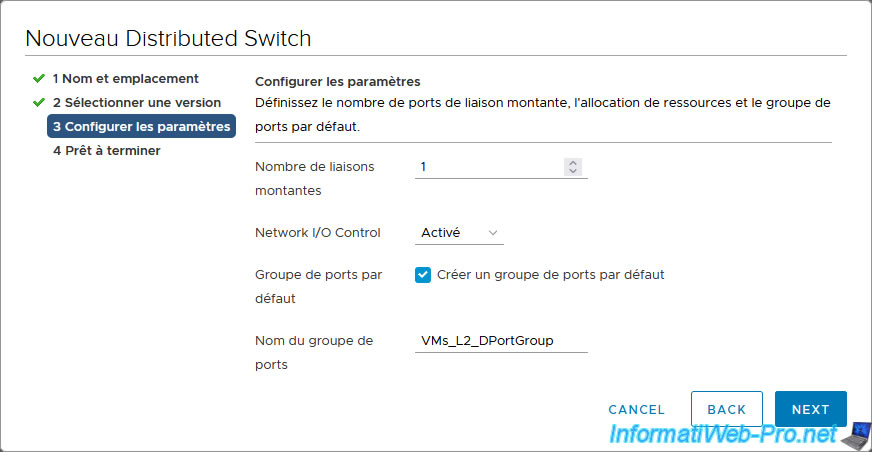
In the "Configure settings" step, indicate:
- Number of uplinks: 1. Because we will only use a physical network card for the L2 network which will be used by our future VMs.
- Network I/O Control: NIOC feature allows you to manage network bandwidth on vDSs.
You can leave this feature enabled or disable it. It doesn't matter in our case. - Default port group: check the "Create a default port group" box to directly create a new port group on this new vDS switch.
- Port group name: for example, "VMs_L2_DPortGroup". The name must be the same on both physical sites.
Cliquez sur Finish.
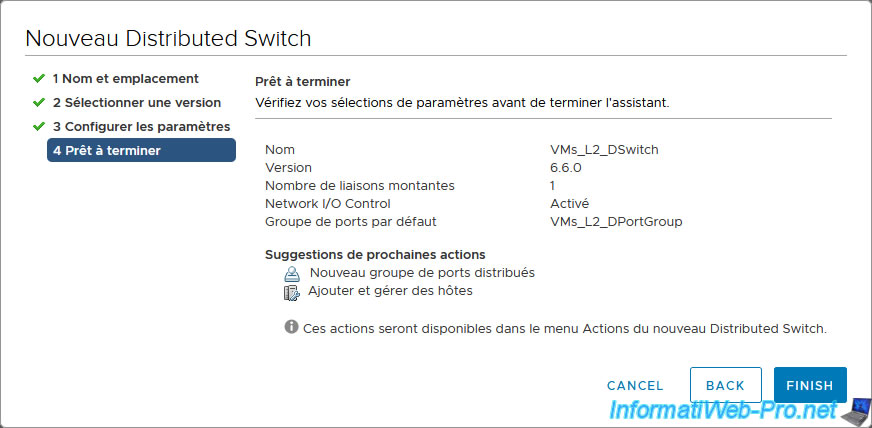
Your virtual distributed switch (vDS) was created in Brussels.
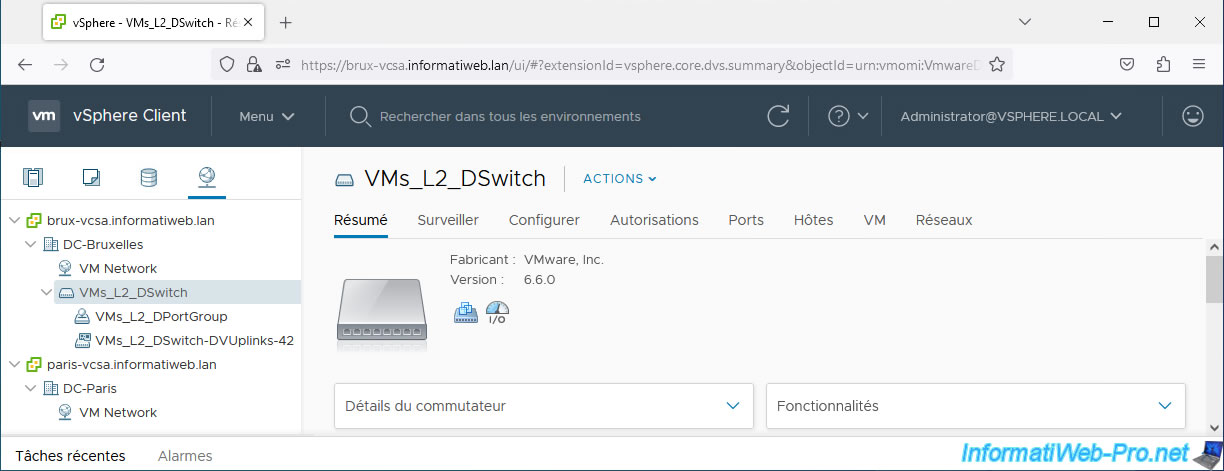
1.2. Add your hosts to your virtual distributed switch (vDS)
Now that your virtual distributed switch (vDS) is created, you need to add the hosts from this physical site (in our case: Brussels) to this vDS switch.
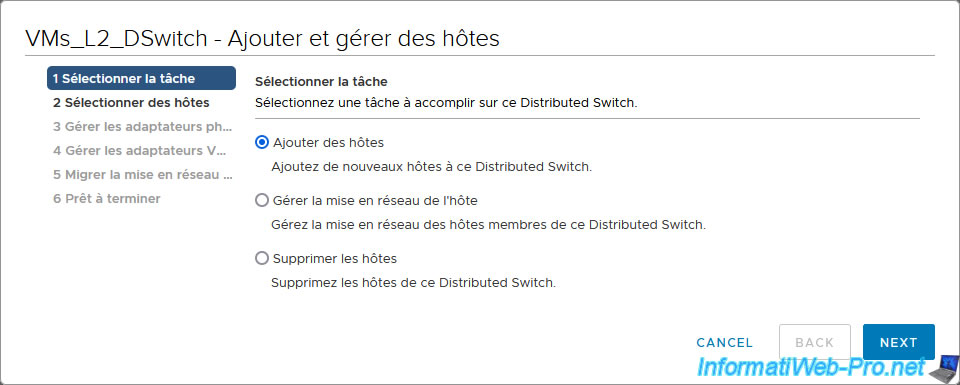
To do this, select your distributed virtual switch (vDS) "VMs_L2_DSwitch" and click: Actions -> Add and Manage Hosts.
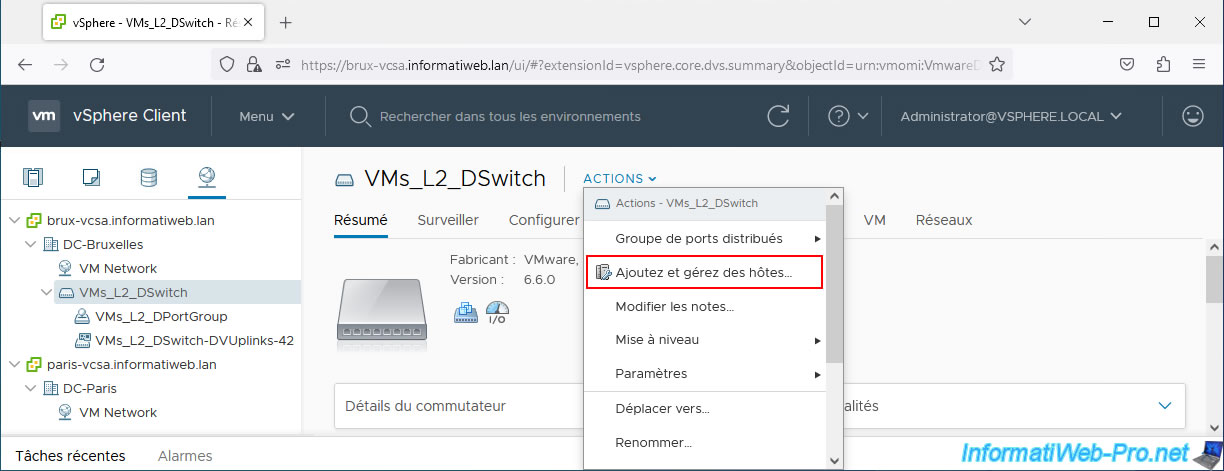
In the "VMs_L2_DSwitch - Add and Manage Hosts" wizard that appears, select "Add hosts".
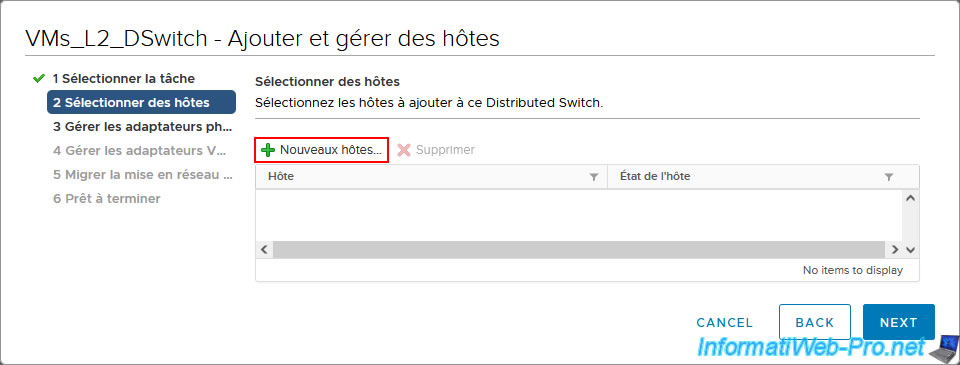
Click: New hosts.
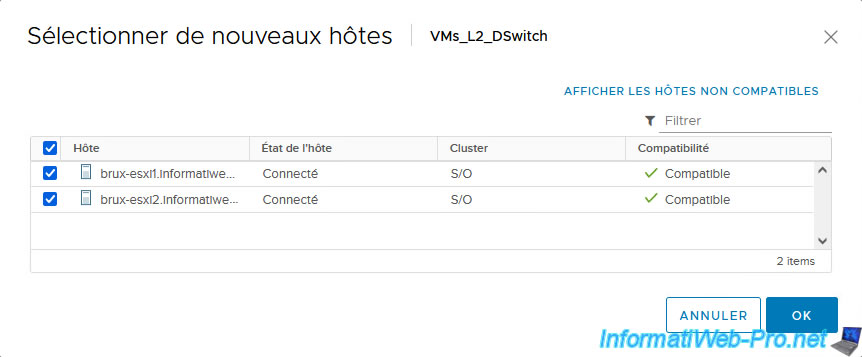
Select your hosts and click OK.
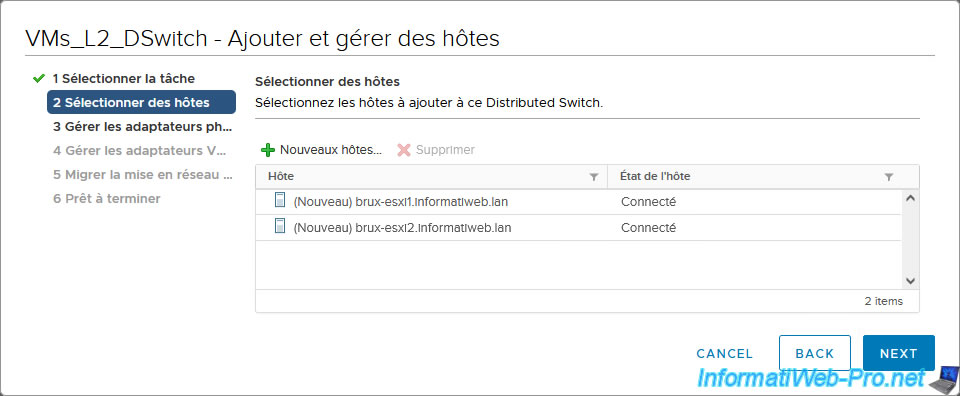
The selected hosts appear in the list.
Click Next.
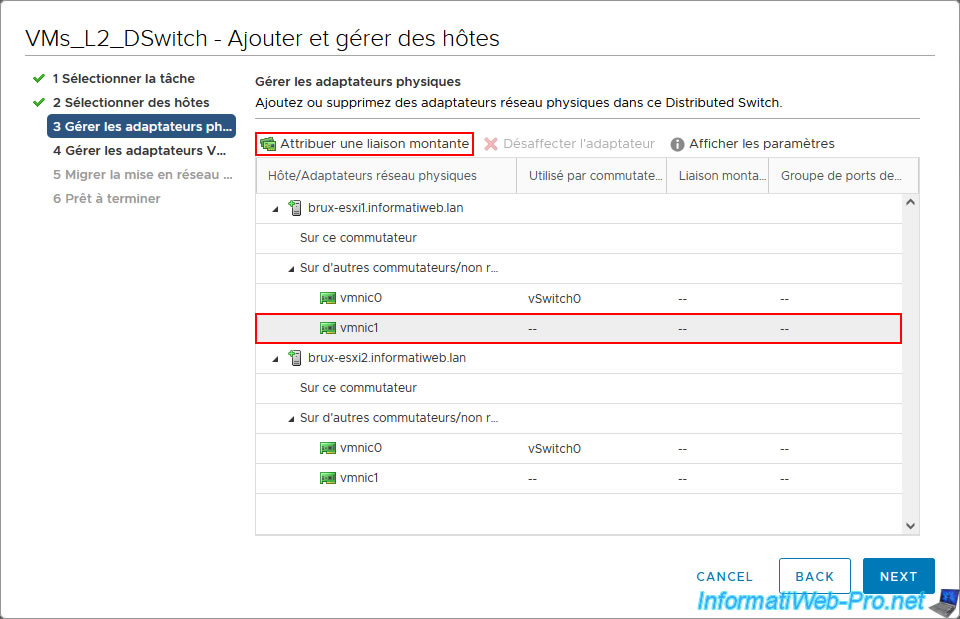
In the "Manage physical adapters" step, select the physical adapter of the 1st host that is not used by a switch and click: Assign uplink.
Indeed, this corresponds to the physical network card that you added to your host for the future network of your VMs.
In our case, this is the physical adapter "vmnic1".
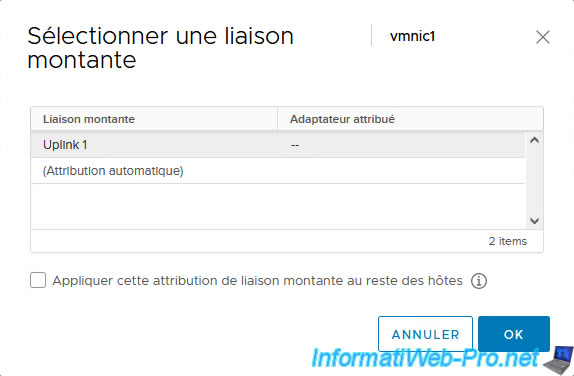
Select the uplink "Uplink 1" (which is the only value available since you created a vDS with only one uplink) and click OK.
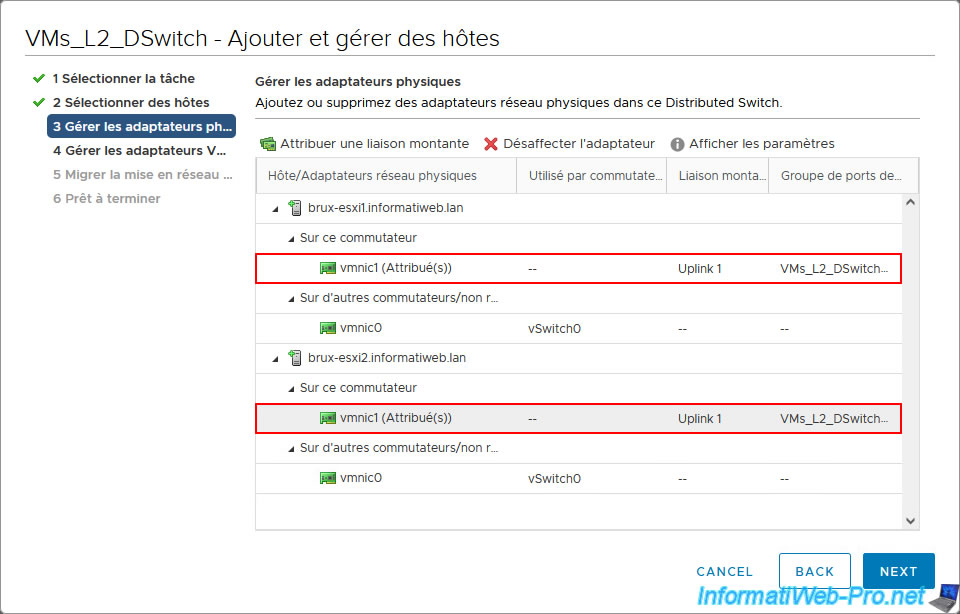
Also map the corresponding physical adapter "vmnic" (in our case it's "vmnic1" again) to the uplink "Uplink 1" of your vDS.
Which will give you this.
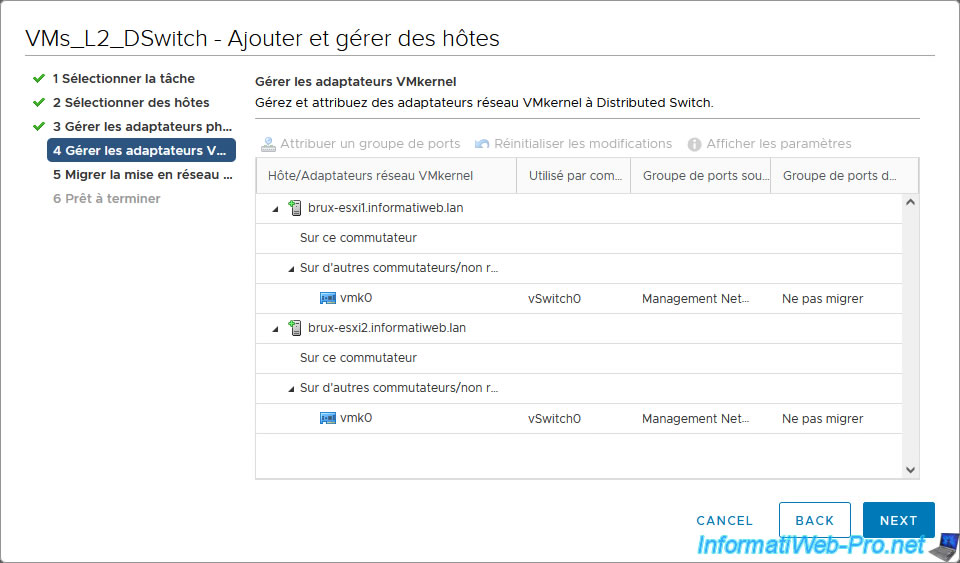
Skip the step regarding VMkernel adapters in this case.
If you wish, you can migrate existing virtual machines to this new vDS virtual network by first checking the "Migrate virtual machine networking" box.
However, in our case, we will create our virtual machine later.
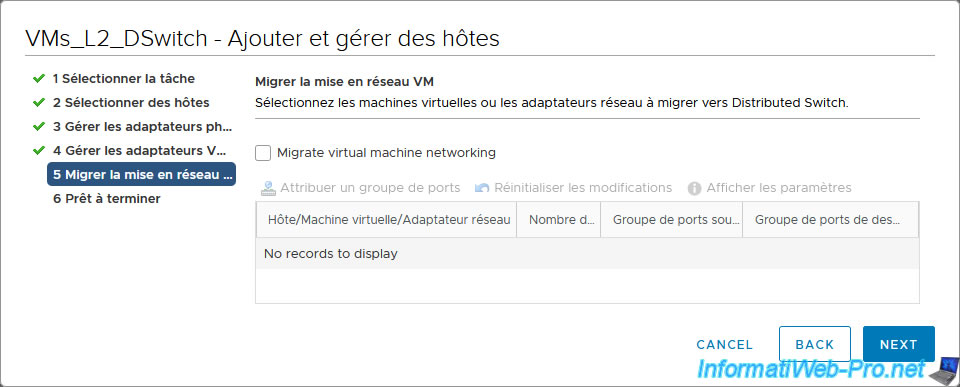
Click Finish.
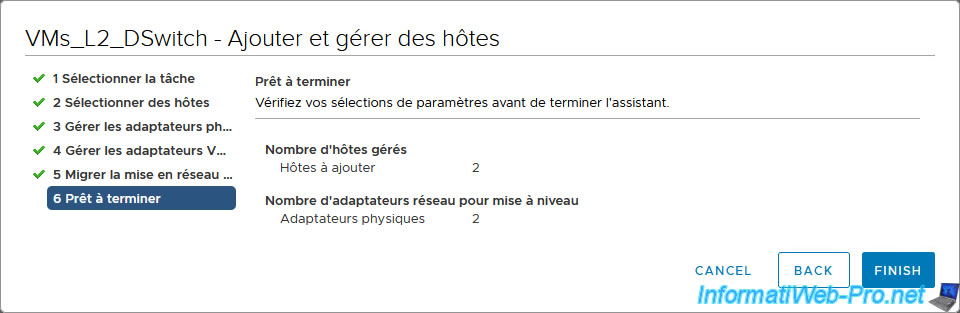
Your virtual distributed switch (vDS) has been configured.
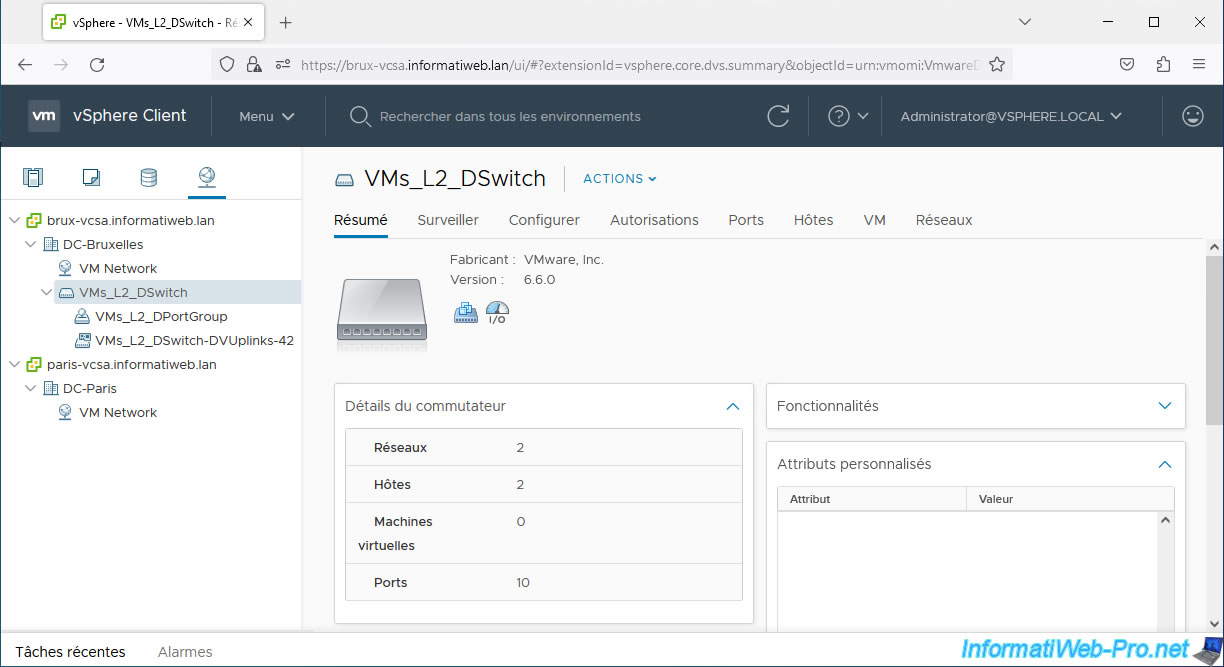
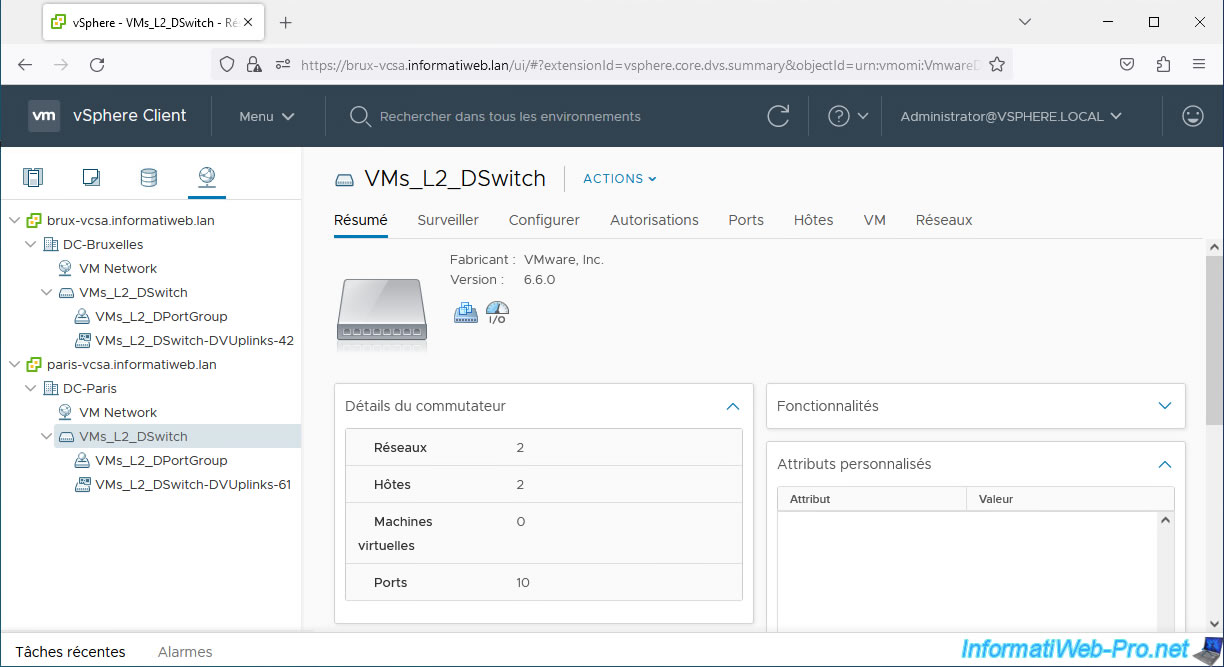
1.3. Create and configure a second vDS switch at the remote site
At the remote site (in our case, Paris), create a new virtual distributed switch (vDS) and configure it the same way.
The most important thing is that the name of the port group (in our case: VMs_L2_DPortGroup) created on this virtual switch is identical on both sites.
Share this tutorial
To see also
-
VMware 3/5/2025
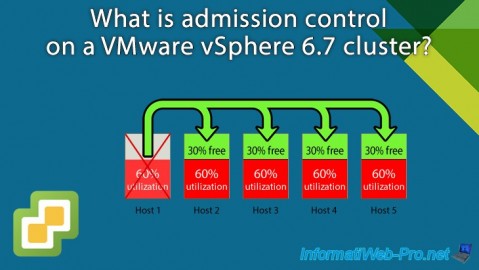
VMware vSphere 6.7 - Cluster admission control
-
VMware 2/14/2025
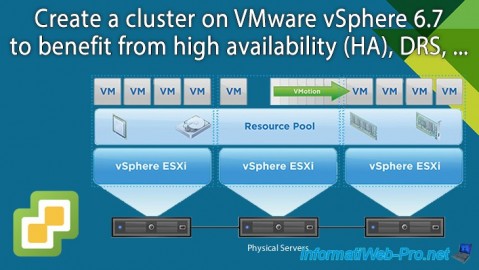
VMware vSphere 6.7 - Create a cluster
-
VMware 2/19/2025
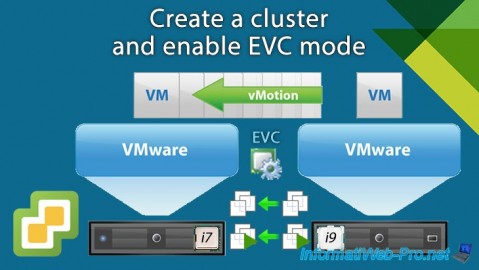
VMware vSphere 6.7 - Create a cluster and enable EVC mode
-
VMware 2/12/2025
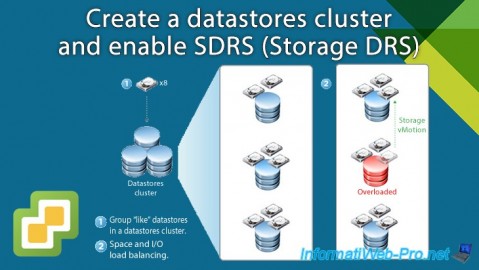
VMware vSphere 6.7 - Create a datastores cluster and enable SDRS
You must be logged in to post a comment