Migrate virtual machines (VMs) via vMotion on VMware vSphere 6.7
- VMware
- 08 November 2024 at 12:24 UTC
-

- 2/4

3.6. Configuring the destination VMware ESXi host for vSphere vMotion on VMware ESXi
On the destination VMware ESXi host (esxi2 in our case), you will need to perform the same manipulations.
Except that the IP address you assign to the new VMkernel interface "vmk1" must be different from the 1st host, but be on the same subnet as the source host.
In short, add an additional physical network adapter to your destination VMware ESXi host to separate vSphere vMotion traffic from regular network traffic.
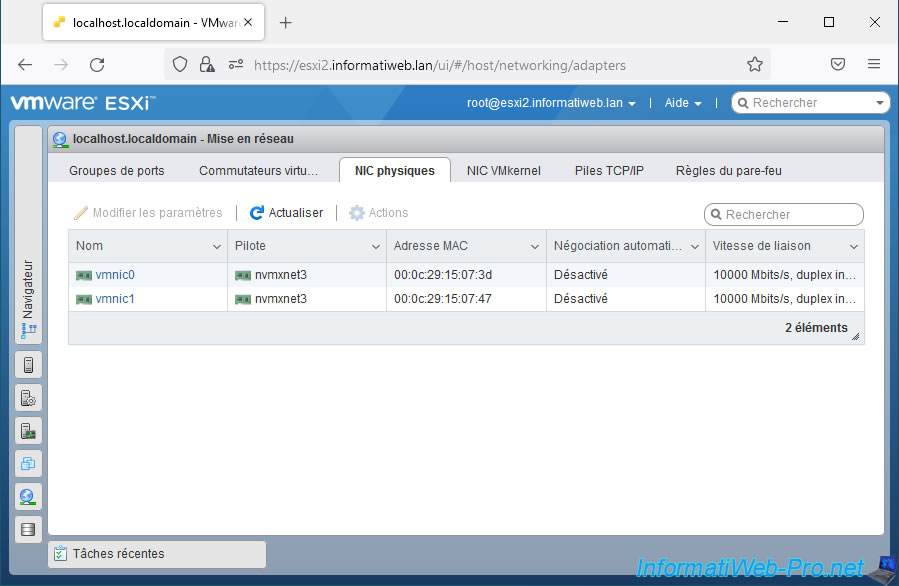
In our case, this is again the physical network card "vmnic1" visible in the section: Networking -> Physical NICs.
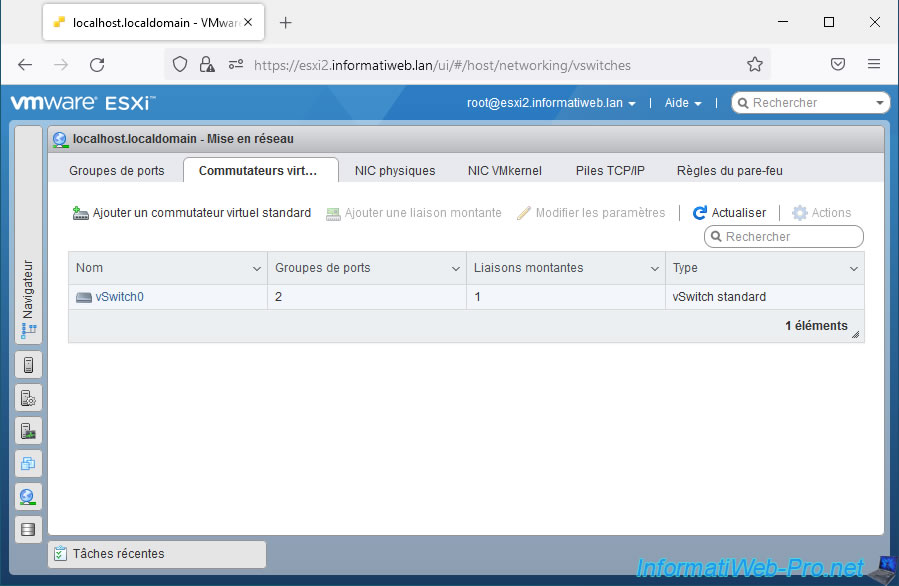
Add a new virtual switch for vMotion by going to the "Networking -> Virtual Switches" section and then clicking: Add standard virtual switch.
If necessary, refer to step "3.3. Create a virtual switch (vSwitch) for vSphere vMotion on VMware ESXi" of this tutorial.
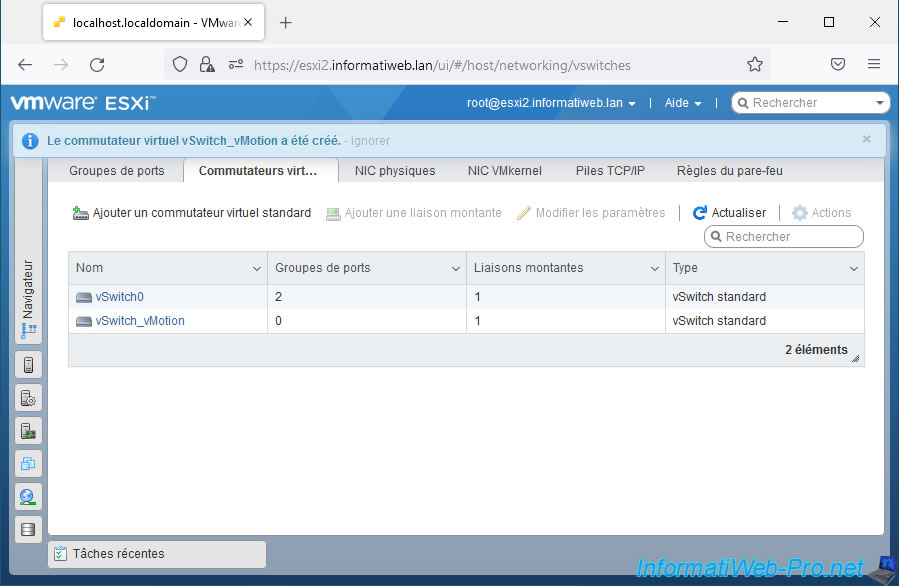
The new virtual switch vSwitch_vMotion has been created on your destination VMware ESXi host.
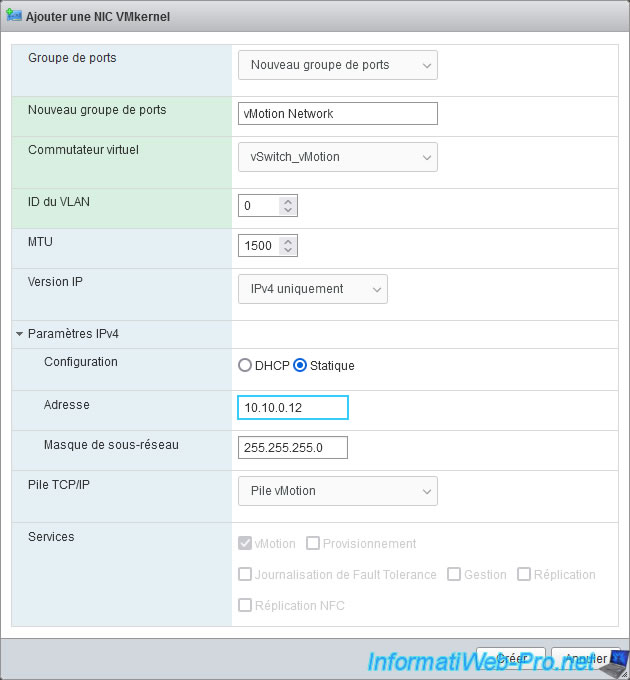
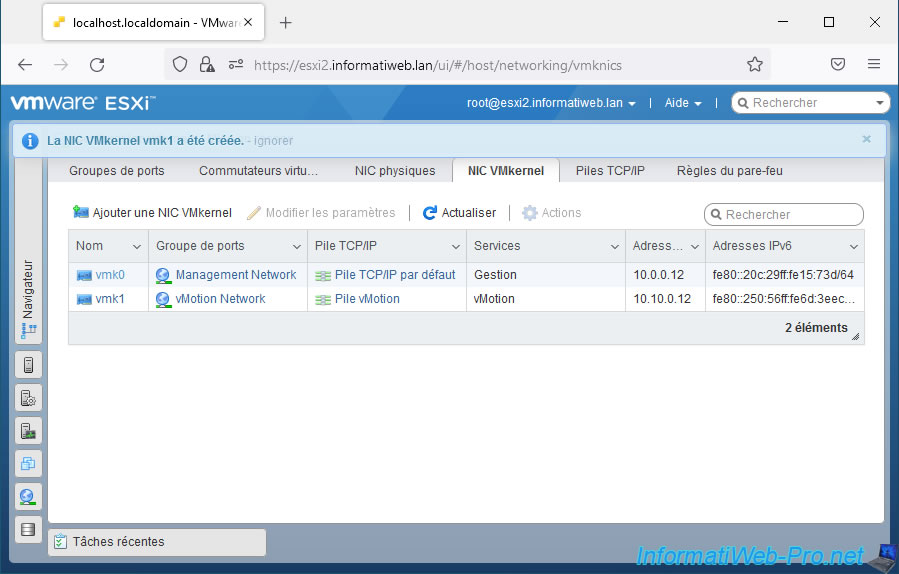
Then go to "Networking -> VMkernel NICs" and click: Add VMkernel NIC.

Configure the various available settings as before by changing only the IPv4 address that you want to assign to this destination VMware ESXi host for the subnet dedicated to vMotion.
If necessary, refer to step "3.4. Create a VMkernel interface for vSphere vMotion on VMware ESXi" of this tutorial.
In our case, this destination VMware ESXi host will have the IPv4 address "10.10.0.12" on this subnet dedicated to vMotion.
The vmk1 interface dedicated to vMotion traffic has been created.
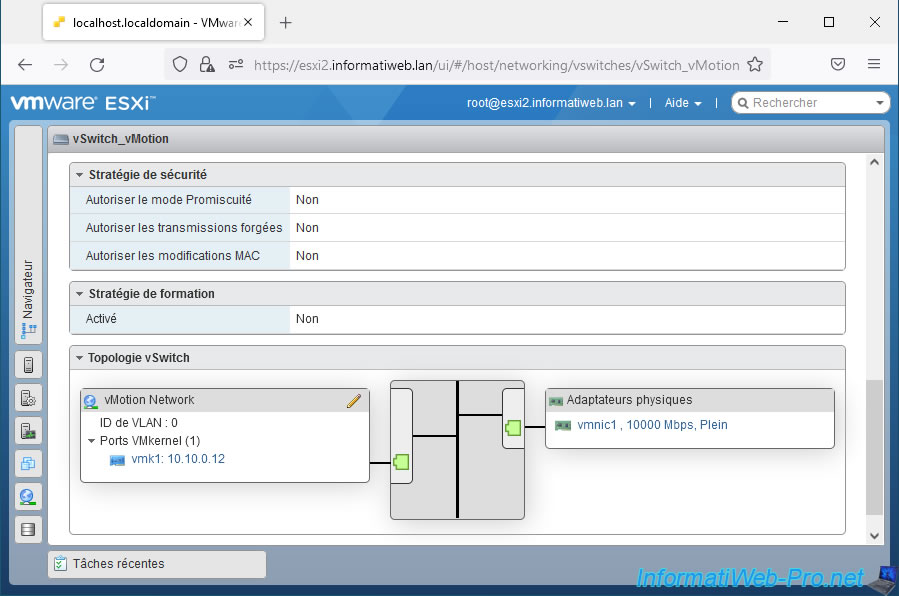
If you click on the "vSwitch_vMotion" switch created previously on this destination VMware ESXi host, you will again see that it contains:
- a port group named: vMotion Network
- a VMkernel interface: vmk1
- a physical network card (physical adapter): vmnic1
4. Configure prerequisites on VMware vCenter Server (VCSA)
4.1. Dedicated physical network card visible on VMware vCenter Server (VCSA)
In accordance with the previously mentioned prerequisites provided by VMware, vMotion requires a dedicated physical network card.
This allows you to separate vMotion network traffic from regular network traffic.
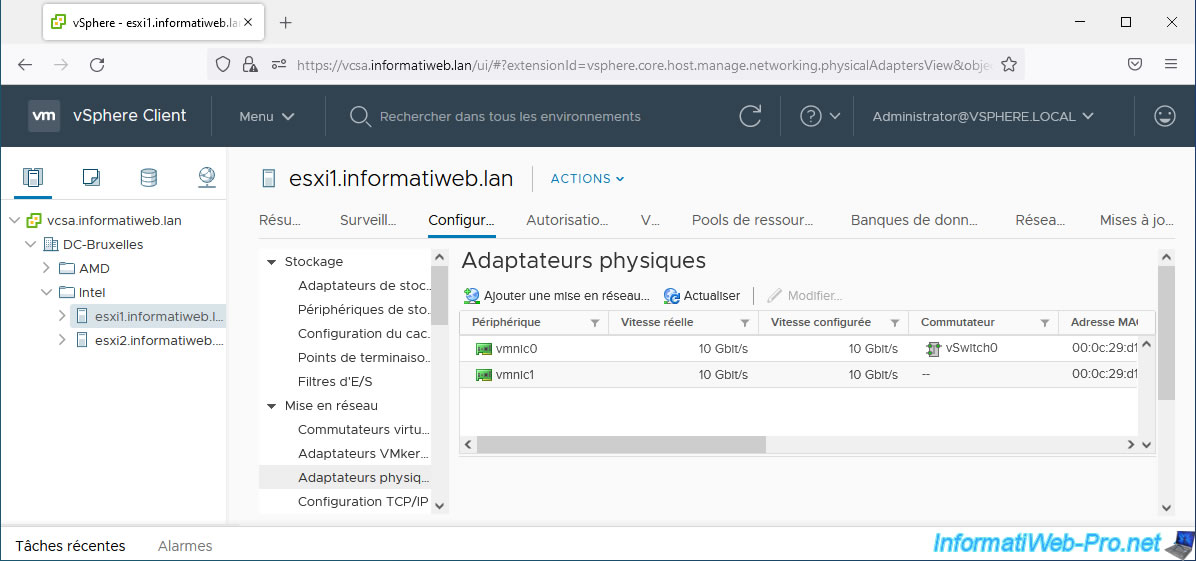
Once the physical network card has been added to your VMware ESXi host, select this host in the "VMware vSphere Client" client of your VMware vCenter Server to which it is linked and go to: Configure -> Networking -> Physical adapters .
As you can see, in our case we have 2 physical network cards:
- vmnic0: a 10 Gbit/s network card used by the vSwitch0 switch automatically created during the installation of VMware ESXi and which is currently used for the management of this VMware ESXi host.
- vmnic1: another 10Gbps network card that is not currently in use. Including the fact that no switch appears for this one.
4.2. Management network created by default visible on VMware vCenter Server (VCSA)
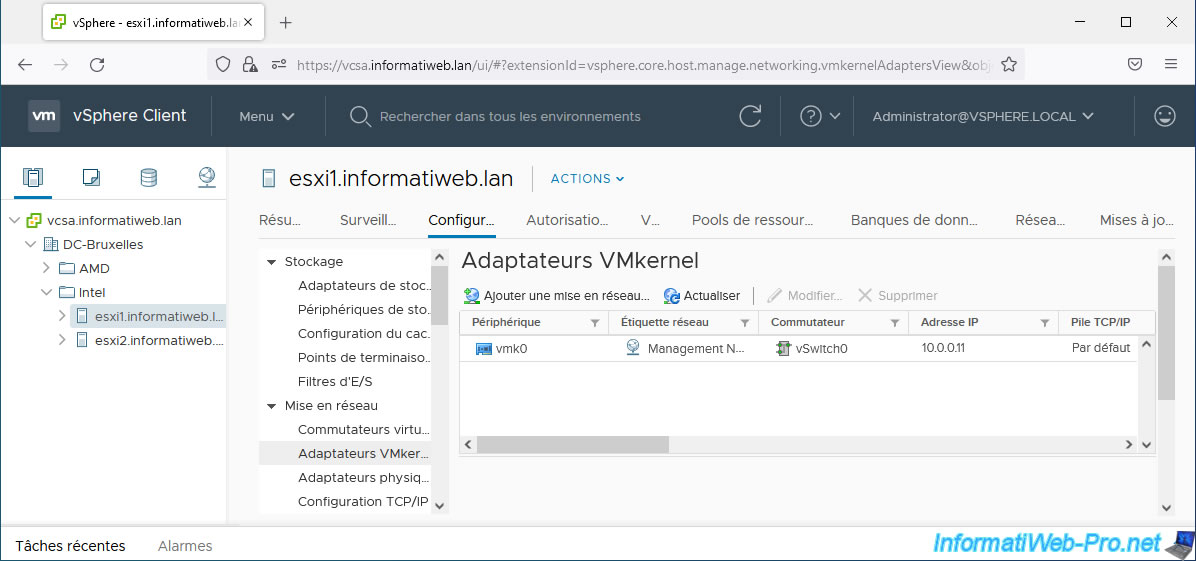
If you go to "Configure -> Networking -> VMkernel adapters", you will see that an interface "vmk0" is already there and that it corresponds to the network interface allowing you to manage your VMware ESXi host.
By default, this VMkernel interface "vmk0":
- is linked to the port group: Management Network (created by default)
- is linked to the virtual switch: vSwitch0 (created by default)
- uses the IP address defined from the DCUI console of this VMware ESXi host or the one that was received from the DHCP server on your network.
- uses TCP/IP stack: Default.
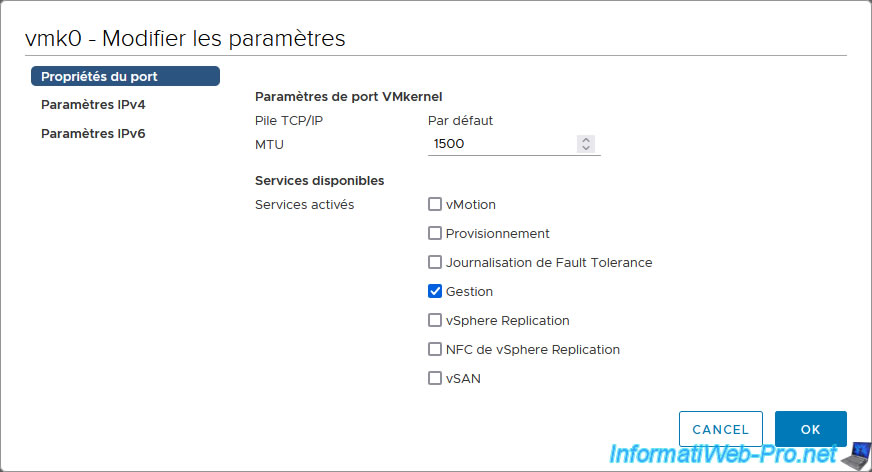
If you select this VMkernel interface "vmk0" and click "Edit", you will be able to enable vMotion on this VMkernel interface by checking the box of the same name.
However, you should only use this trick in a testing environment.
Indeed, in accordance with the prerequisites cited at the beginning of this tutorial, VMware recommends using an additional VMkernel interface which will be dedicated to vMotion.
4.3. Create a VMkernel interface for vSphere vMotion on VMware vCenter Server (VCSA)
To manage traffic between 2 VMware ESXi hosts, you need a VMkernel interface.
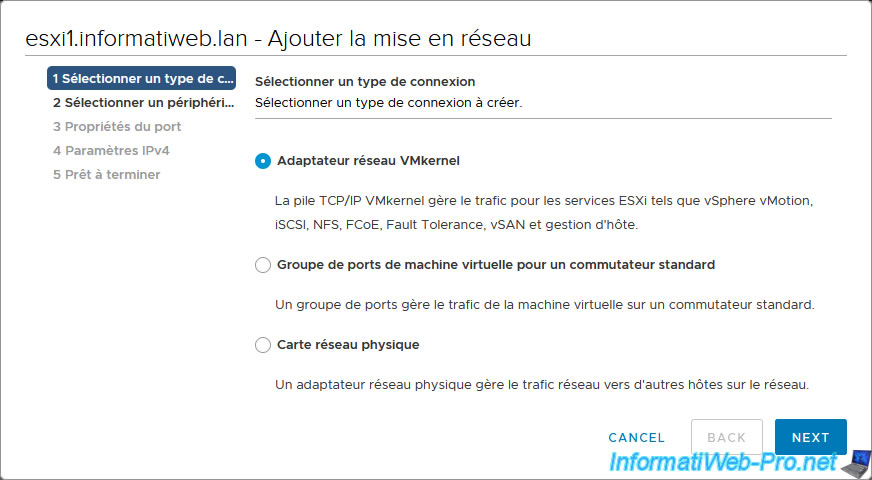
To create one on your VMware ESXi host from the VMware vCenter Server (VCSA) web client, go to "Configure -> Networking -> VMkernel adapters" and click: Add Networking.

In the "[VMware ESXi host name] - Add Networking" window that appears, select "VMkernel Network Adapter" and click Next.
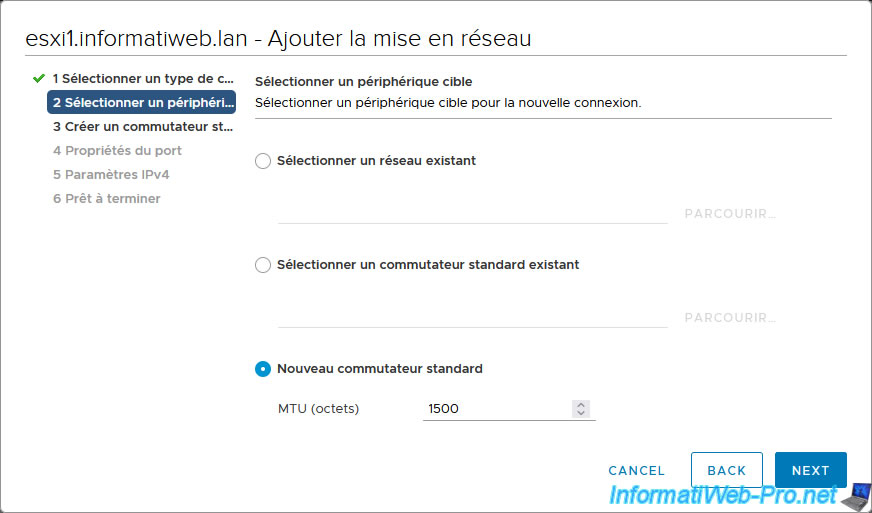
Then, in the "Select target device" step, select "New standard switch" and click Next.
This will allow you to link in particular the VMkernel interface that you are creating and the physical network card (vmnic1 for example) that you have physically added to your VMware ESXi server.
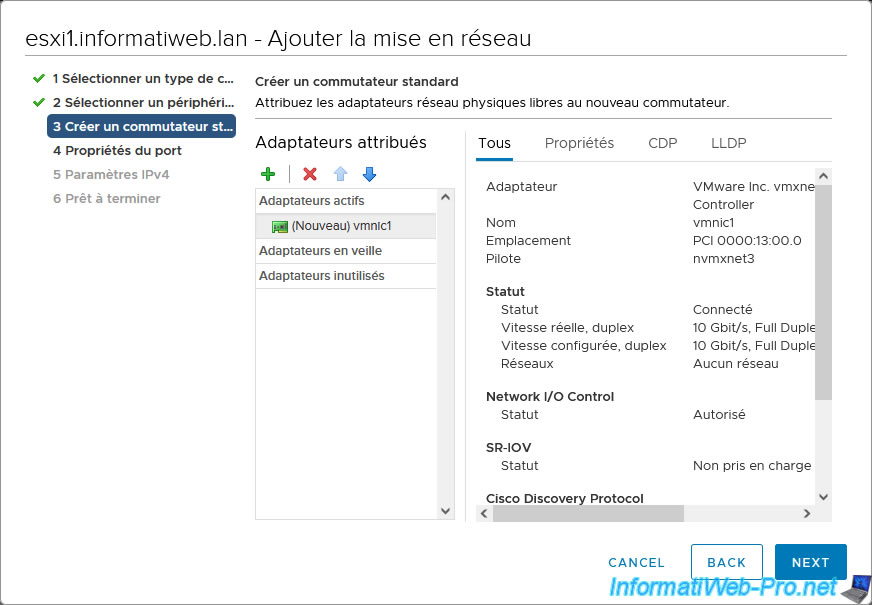
In the "Create a Standard Switch" step, click the "+" icon to add a physical adapter (physical network card) to the new standard switch (vSwitch) you want to create.
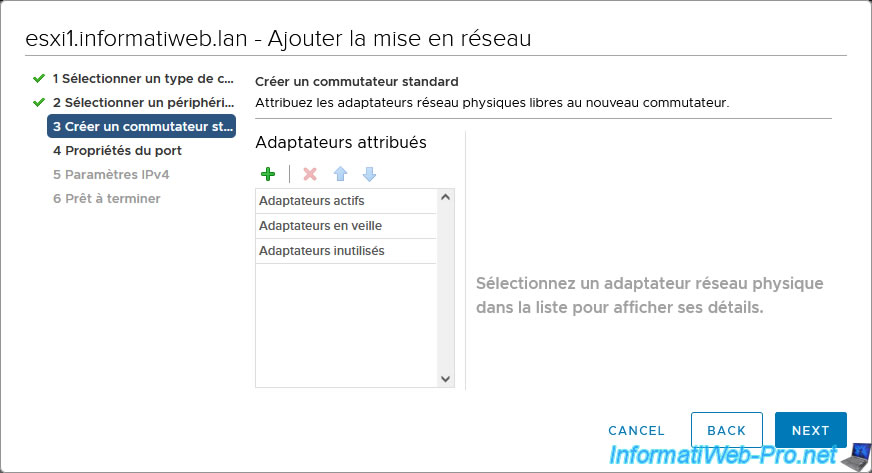
In the "Add Physical Adapters to the Switch" window that appears, select the network adapter (physical network adapter) that you added previously in your server to route vMotion traffic to a subnet other than your network. usual business and click OK.
In our case, this is the network adapter: vmnic1.
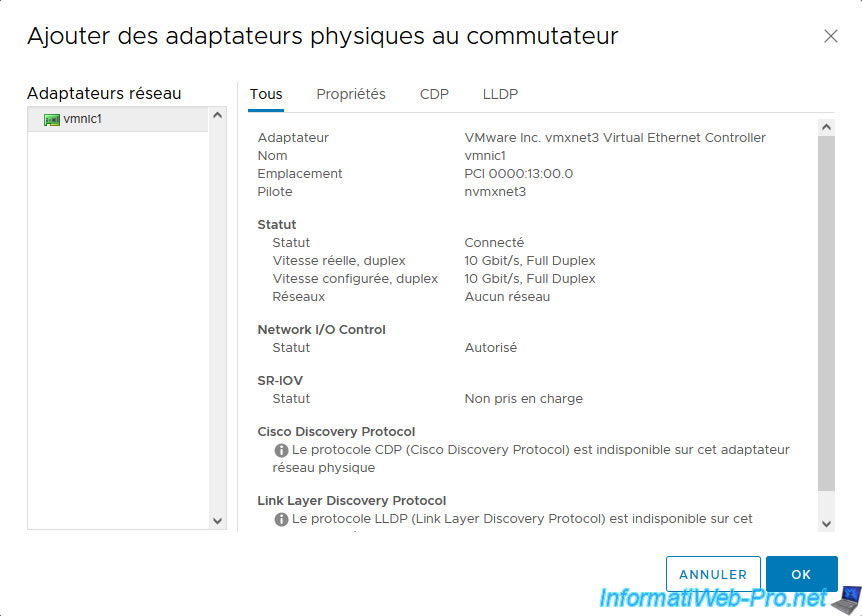
The desired network adapter appears in the "Active adapters" section and system information about it appears on the right.
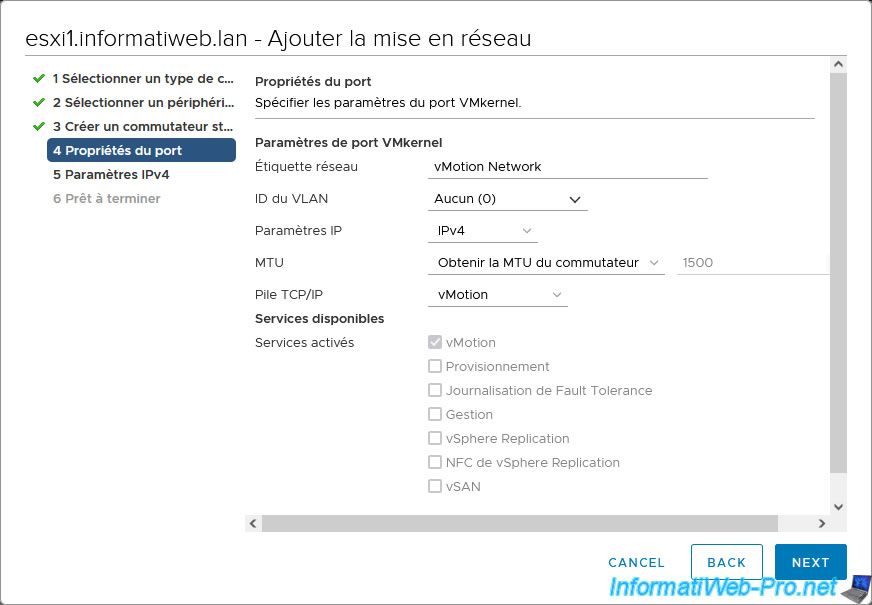
In the "Port properties" step, indicate:
- Network label: vMotion Network
- TCP/IP stack: preferably, use the "vMotion" TCP/IP stack which has the advantage of allowing you to use a default gateway address different from that used for the management network of your VMware ESXi host.
However, this is only available since vSphere 6.0. Otherwise, use the "Default" TCP/IP stack. - Enabled services: check only the "vMotion" box.
Note that if you selected the "vMotion" TCP/IP stack, all boxes will be grayed out and only the "vMotion" box will remain checked.
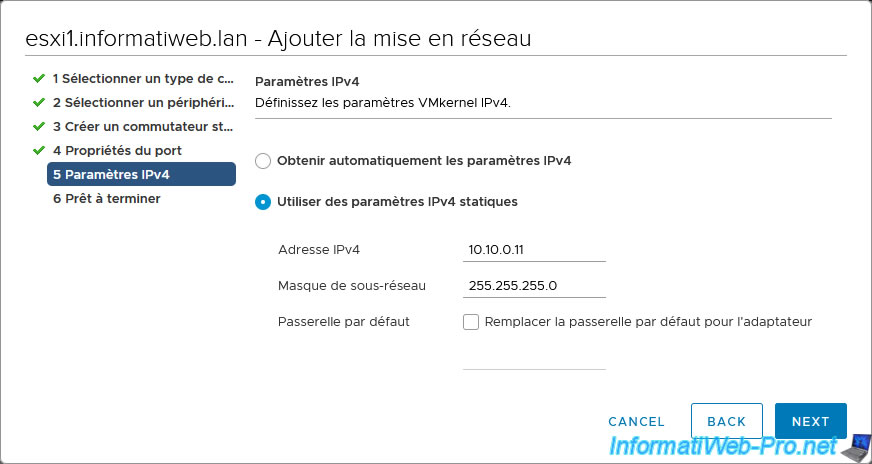
In the "IPv4 settings" step, select "Use static IPv4 settings" and indicate:
- IPv4 Address: The IPv4 address that your VMware ESXi host should use for the subnet dedicated to vMotion.
In our case, our 2 VMware ESXi hosts will use the IP address 10.10.0.11 and 10.10.0.12 respectively. - Subnet mask: The subnet mask used in your case for this vMotion dedicated subnet.
In our case: 255.255.255.0. - Default gateway: check the box "Override default gateway for this adapter" if a gateway is present on this subnet dedicated to vMotion and its address is therefore different from that used for the default TCP/IP stack of your VMware ESXi host.
In our case, our 2 VMware ESXi hosts are connected by a simple switch. So there is no default gateway for this network in our case.
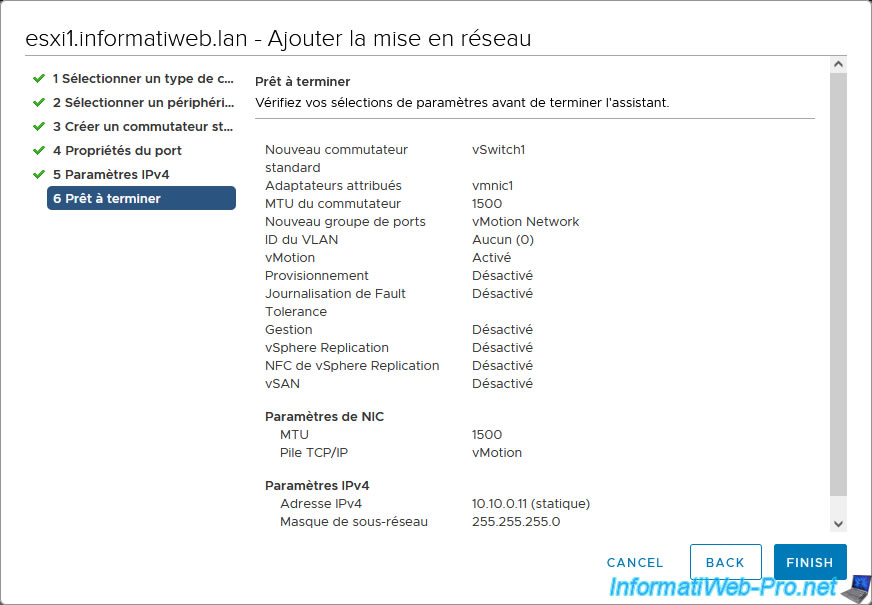
In the "Ready to complete" step, the wizard displays a summary of the network configuration that will be created.
Click Finish.
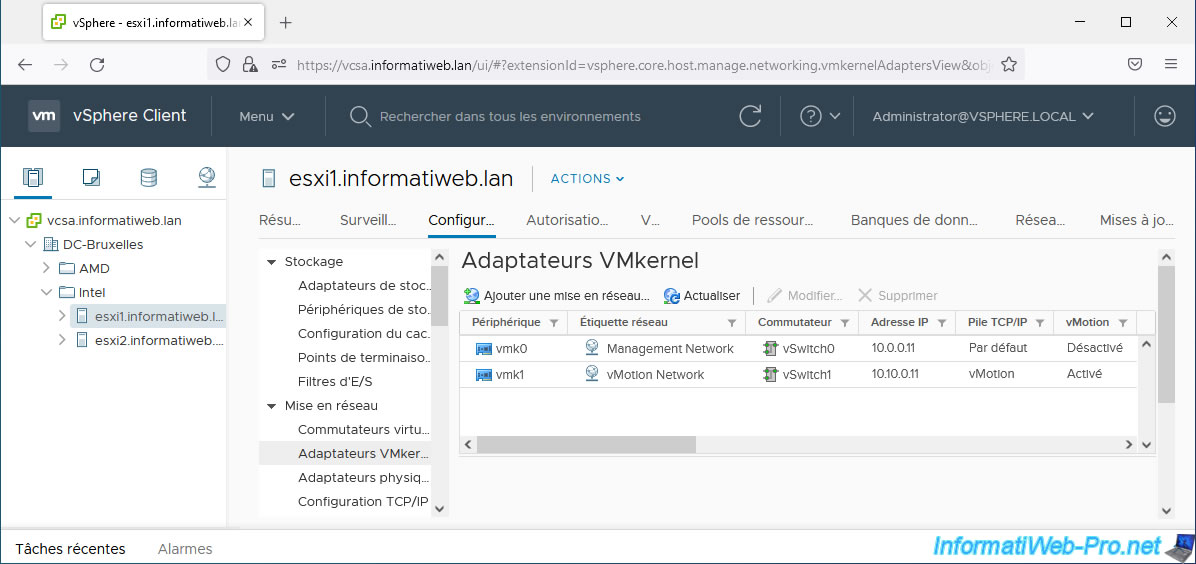
As you can see, you now have 2 VMkernel adapters:
- vmk0: for managing your VMware ESXi host
- vmk1: for migrating virtual machines between your VMware ESXi hosts
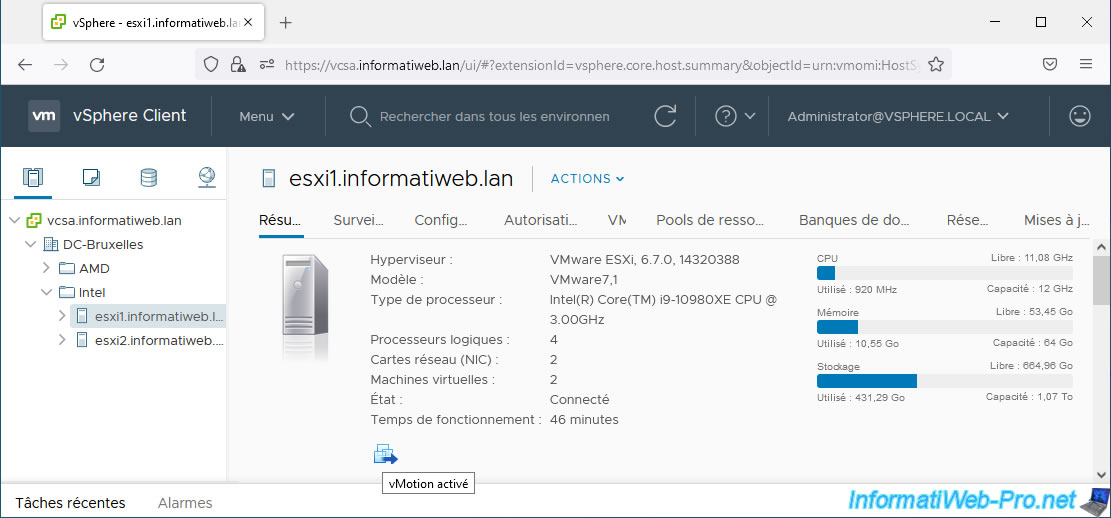
If you go to the "Summary" tab of the current VMware ESXi host, you will see an icon appear.
If you hover over this icon, it will display: vMotion enabled.
Share this tutorial
To see also
-
VMware 3/5/2025
VMware vSphere 6.7 - Cluster admission control
-
VMware 2/14/2025
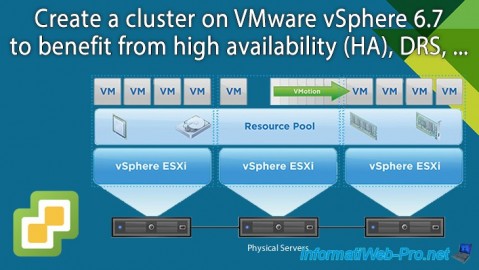
VMware vSphere 6.7 - Create a cluster
-
VMware 2/19/2025
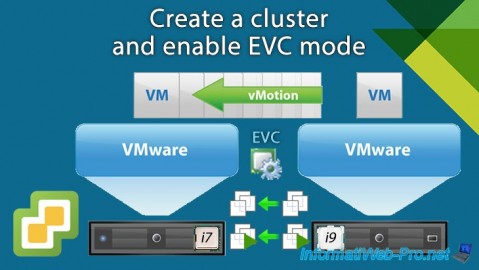
VMware vSphere 6.7 - Create a cluster and enable EVC mode
-
VMware 2/12/2025
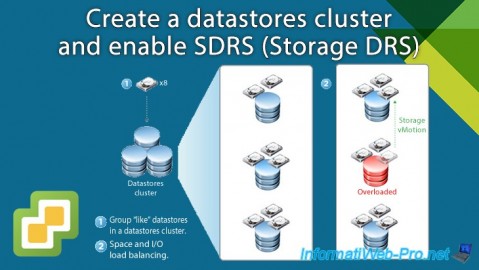
VMware vSphere 6.7 - Create a datastores cluster and enable SDRS
No comment