Deploy the StarWind Virtual SAN virtual appliance on VMware vSphere 6.7
- VMware
- 23 October 2024 at 13:00 UTC
-

- 10/15

5. Configure StarWind Virtual SAN data replication
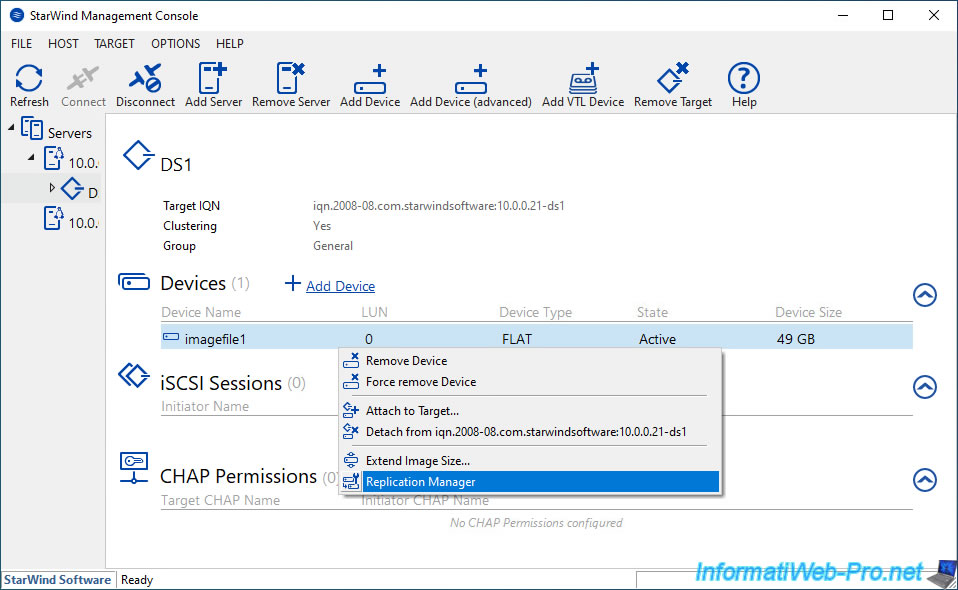
To ensure high availability of this virtual disk, right-click "Replication Manager" on your "imagefile1" disk.
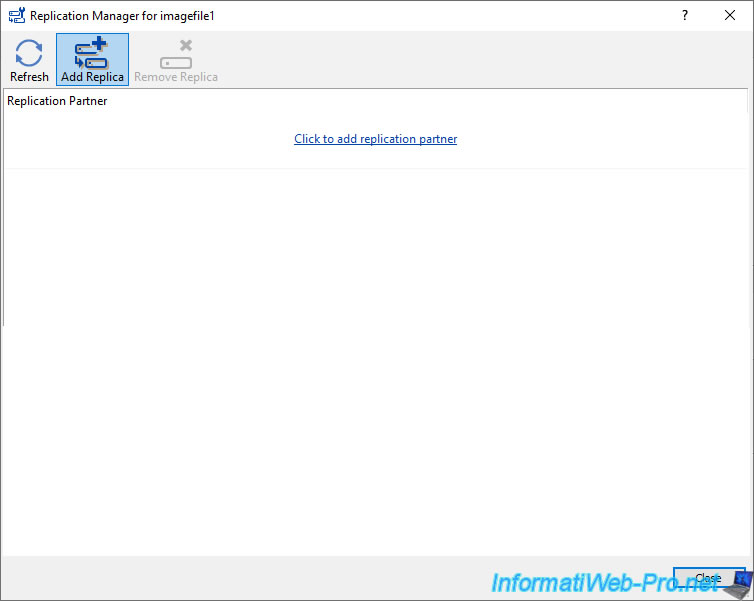
In the "Replication Manager for imagefile1" window that appears, click: Add Replica.
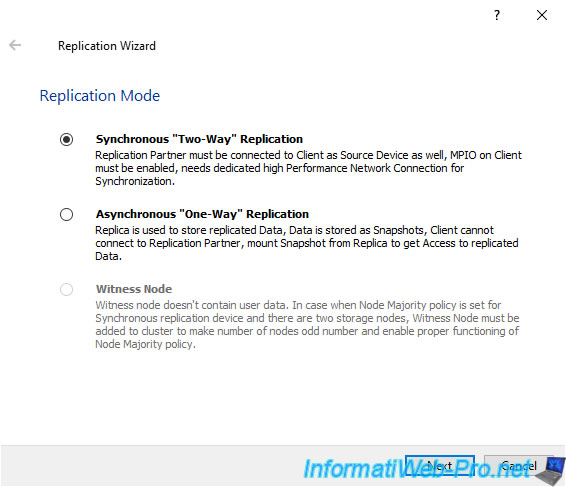
2 replication modes appear:
- Synchronous "Two-Way" Replication: ensures real-time replication of data, which allows load balancing between 2 or 3 servers in the same cluster.
- Asynchronous "One-Way" Replication: allows data to be replicated via a WAN network (therefore to a server located in another geographical location).
This option is recommended only for creating a backup or rescue environment.
So, in this case, select the replication mode: Synchronous "Two-Way" Replication.
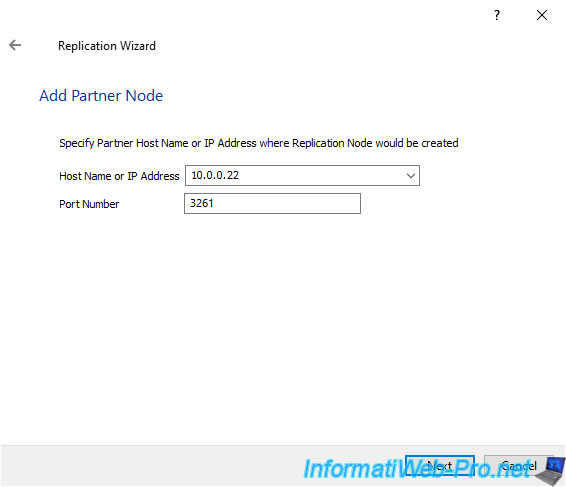
At the "Add Partner Node" step, indicate the IP address of your 2nd StarWind server.
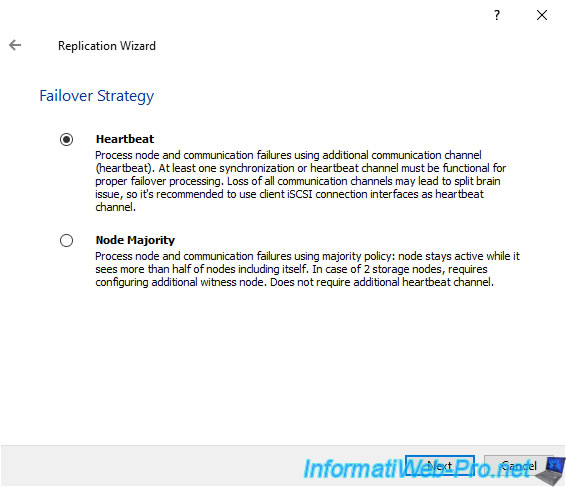
For the failover strategy, you have the choice between:
- Heartbeat: this strategy allows your StarWind cluster to continue functioning even with only one StarWind server available.
- Node Majority: this strategy is based on a voting system (as with failover clusters on Windows Server).
Which means that in the case of a cluster with 2 nodes, you will need a vote from a 3rd node (a witness disk or an SMB file share).
In this case, it is best to use the "Heartbeat" strategy given that our StarWind cluster is made up of only 2 nodes.
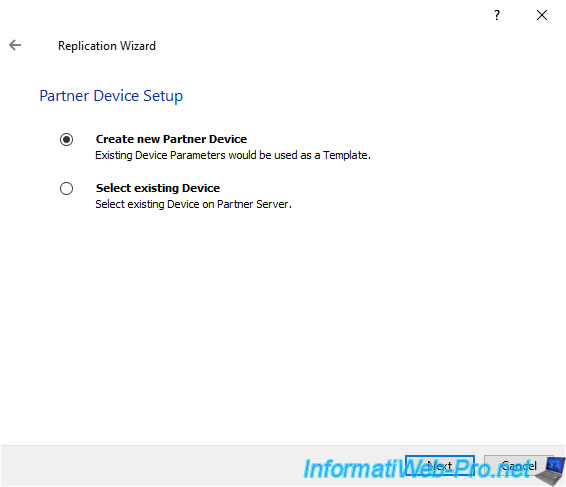
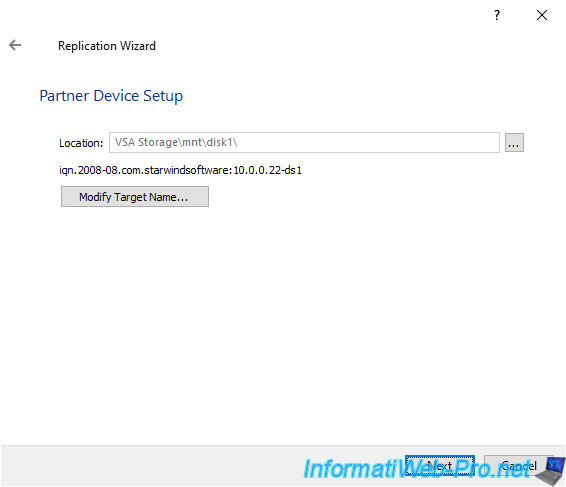
At the "Partner Device Setup" step, select "Create new Partner Device".
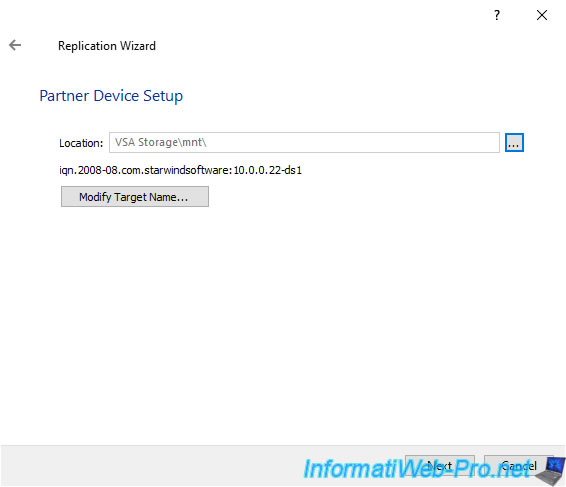
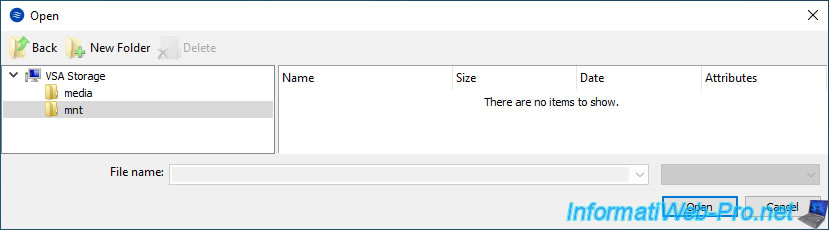
Click "..." to choose where the disk will be created on the partner server.
Select the "mnt" folder and double-click on the disk name (disk1).
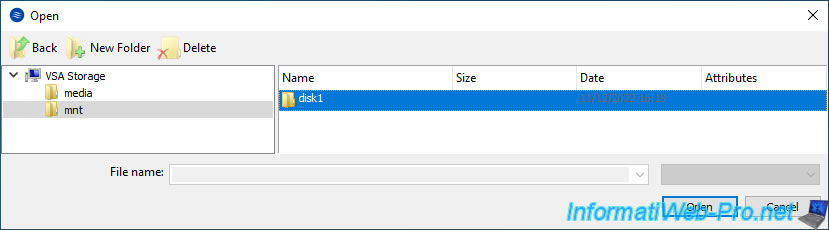
Then click Open.
Click Next.
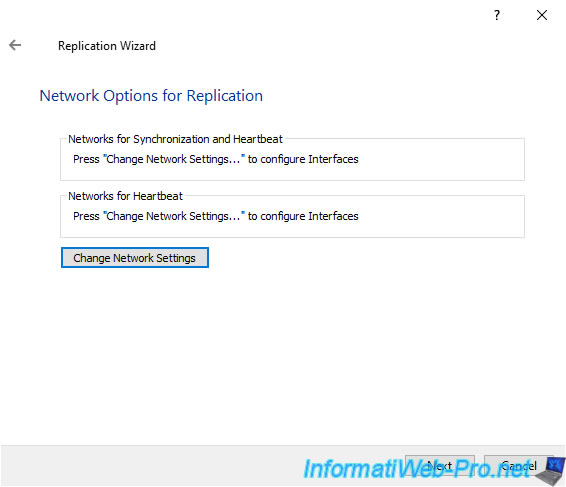
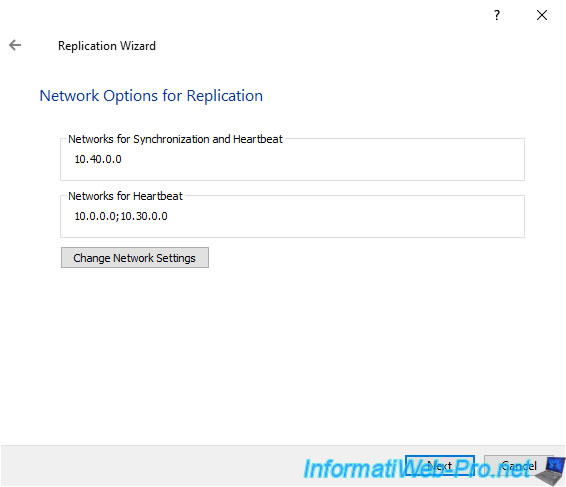
In the "Network Options for Replication" step, you will need to select the networks to use for "Heartbeat" traffic, as well as for synchronization traffic.
To do this, click on: Change Network Settings.
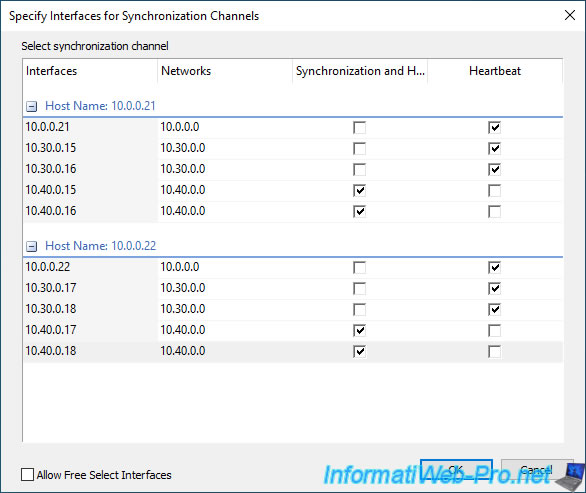
In our case, the subnets used in our case are:
- 10.0.0.x : the management network that you will also need to pass "Heartbeat" traffic over (as it must pass through 2 separate networks for fault detection to work properly).
- 10.30.0.x : the network for "iSCSI/Heartbeat" traffic.
- 10.40.0.x : the network for "Synchronization" traffic.
Once the corresponding boxes are checked, click OK.
The selected subnets appear.
Click Next.
In the "Select Partner Device Initialization Mode" step, select "Synchronize from existing Device".
Thus, the data from the existing disk (on your 1st StarWind server) will be copied to the new disk which will be created on the partner server (your 2nd StarWind server).
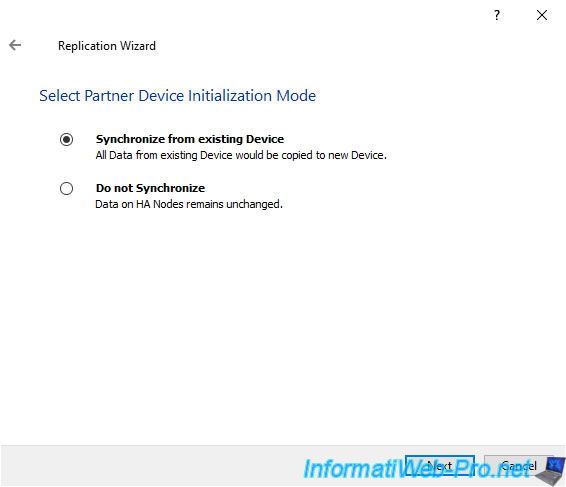
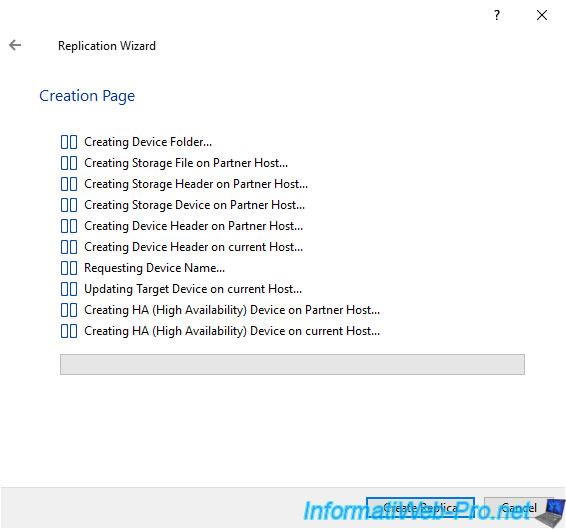
Click "Create Replica".
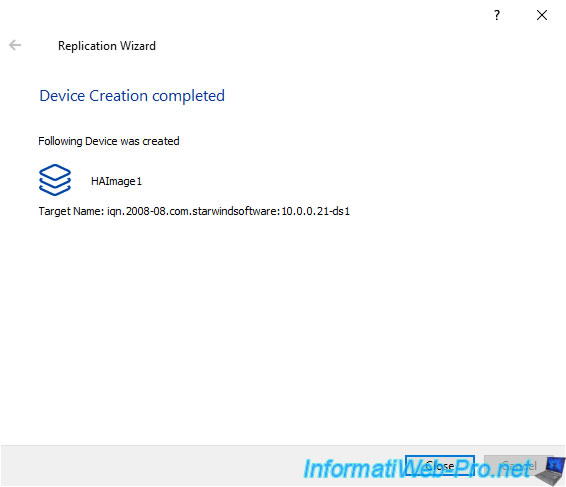
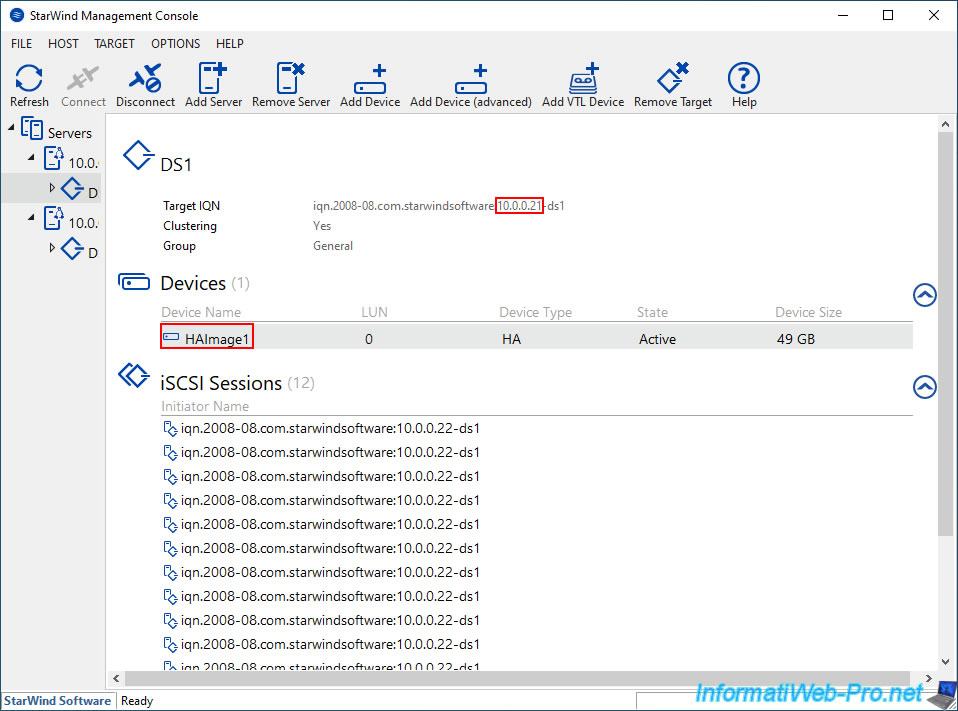
The disk "imagefile1" has been renamed "HAImage1" on the source server (the 1st StarWind server).
Click Close.
This message will appear for a few seconds:
Plain Text
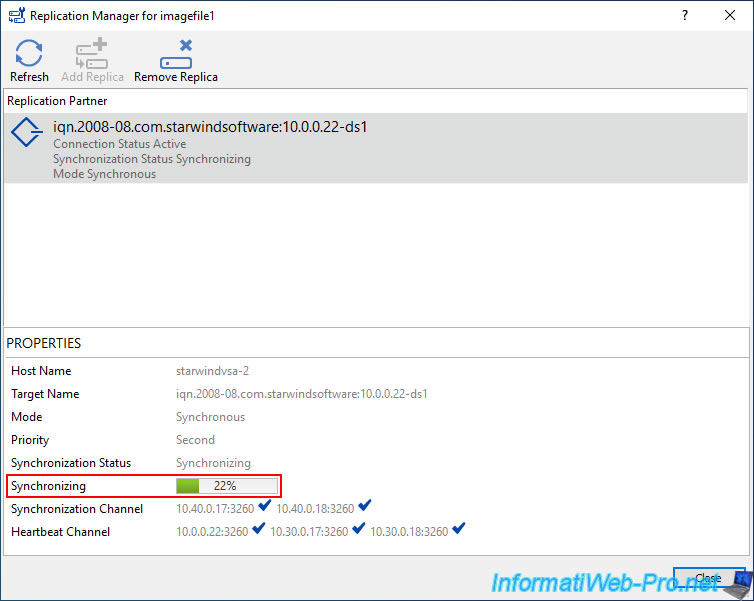
Initializing HA (High Availability) Device, Synchronization Type is "Synchronizing with Partner".

Wait while synchronizing with the partner server (the 2nd StarWind server).
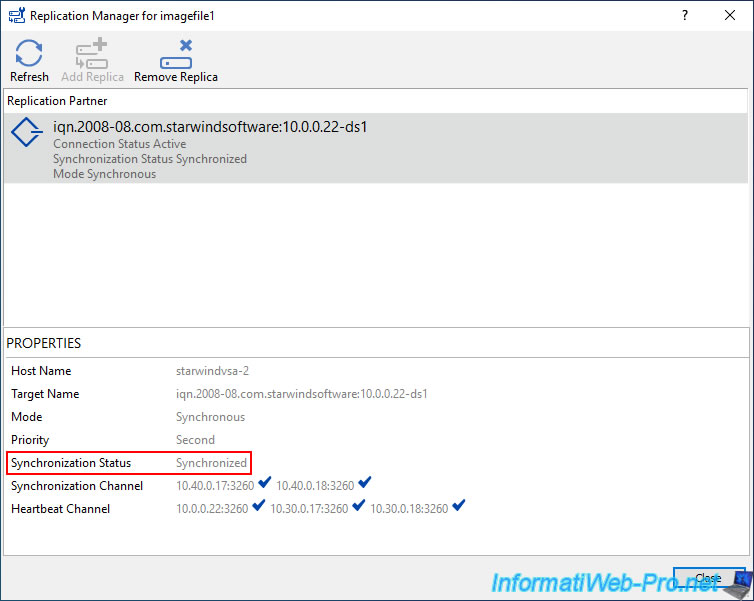
Once synchronization is complete, the status will be: Synchronized.
As you can see on the source server, the disk "imagefile1" has been renamed to "HAImage1".
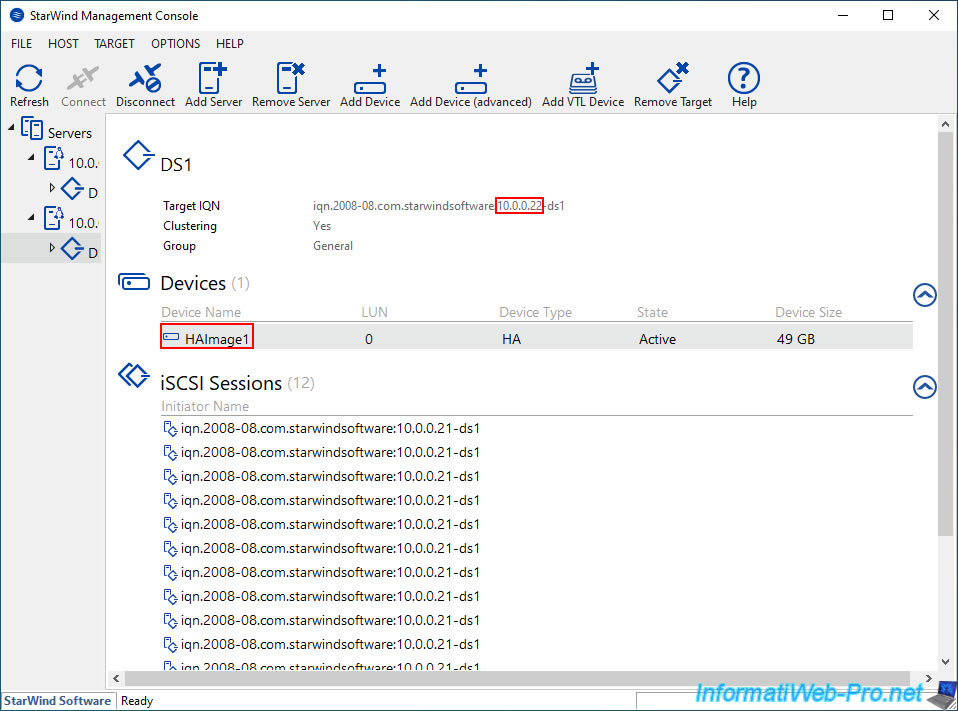
On the partner server, the created disk is also named "HAImage1".
Share this tutorial
To see also
-

VMware 5/15/2024
VMware vSphere 6.7 - Add a physical disk to host
-

VMware 9/27/2024
VMware vSphere 6.7 - Array integration APIs (VAAI)
-

VMware 9/6/2024
VMware vSphere 6.7 - Configure port binding (iSCSI traffic)
-

VMware 6/13/2024
VMware vSphere 6.7 - Configure Virtual Flash (SSD cache)
No comment