- VMware
- VMware ESXi, VMware vSphere
- 10 June 2022 at 11:26 UTC
-

- 1/2

On VMware ESXi 6.7, it's possible to virtualize Windows 11 by making a manipulation during the installation of it.
Warning : VMware ESXi doesn't allow you to add a Trusted Platform Module (TPM) in the virtual hardware of your virtual machine.
Nevertheless, with a manipulation during the installation of Windows 11, it will still be possible to virtualize Windows 11 on VMware ESXi.
Important : the technique used in this tutorial means that Windows 11 will be installed on hardware not officially supported by Microsoft. This means that some Windows 11 features may not be available and you will not have access to Windows 11 updates.
So, you should not use this technique in business.
If you want to virtualize Windows 11 in business, you will need to use VMware vCenter Server (VCSA). Indeed, this will allow you to add the missing TPM module.
- Create a new virtual machine for Windows 11
- Install Windows 11 in a virtual machine
- Install VMware Tools on Windows 11
1. Create a new virtual machine for Windows 11
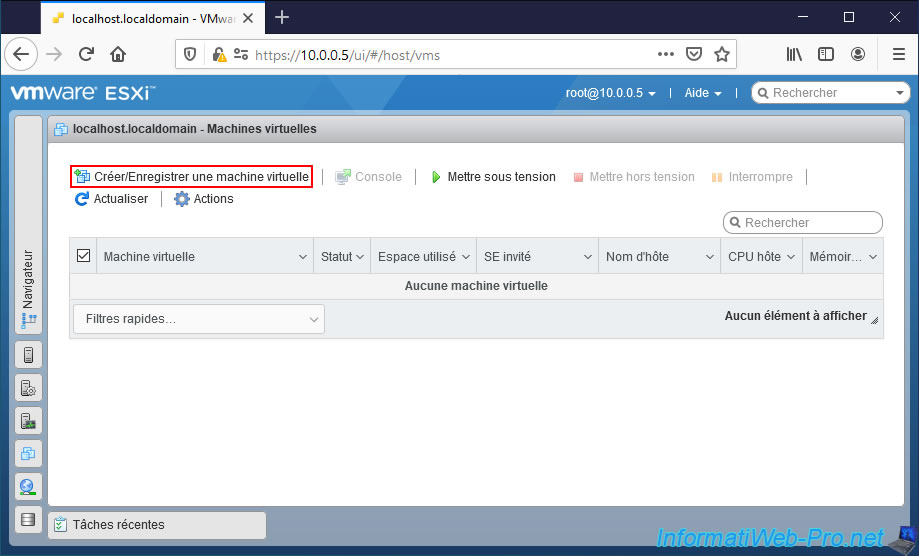
To begin, go to the "Virtual Machines" section of the VMware ESXi web interface and click on : Create / Register a VM.
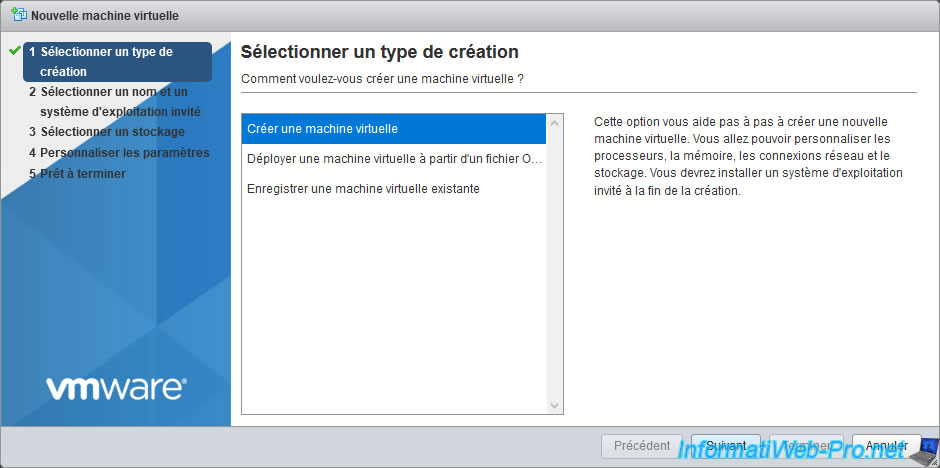
Choose "Create a new virtual machine" and click Next.
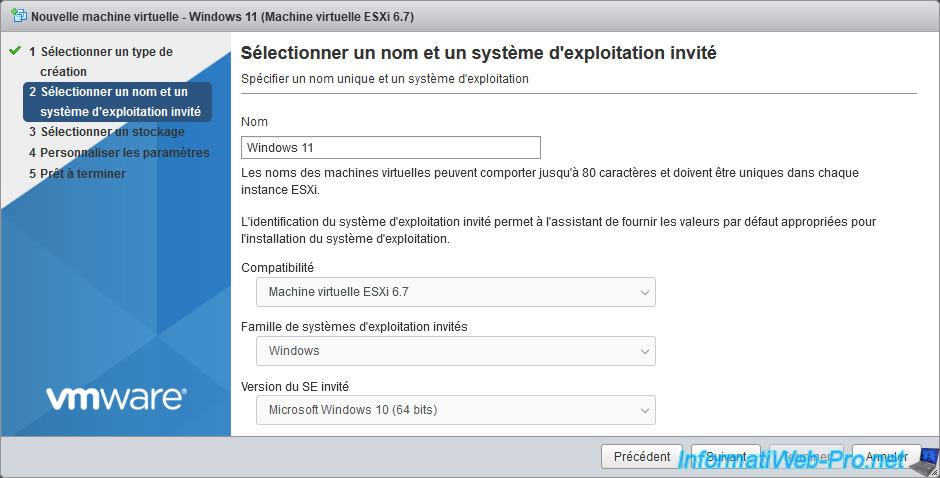
Enter "Windows 11" (for example) as the name for your virtual machine, then select :
- Guest OS family : Windows
- Guest OS version : Microsoft Windows 10 (64 bits).
Note : Windows 11 is not available on VMware ESXi 6.7.
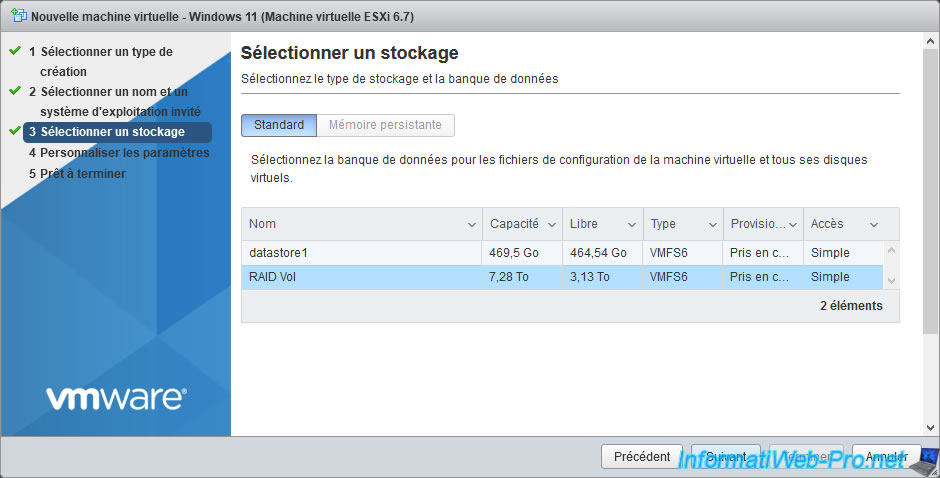
Select the datastore where you want to store your virtual machine.
For the virtual hardware of your "Windows 11" virtual machine, there are several things to check to meet most of the Windows 11 prerequisites.
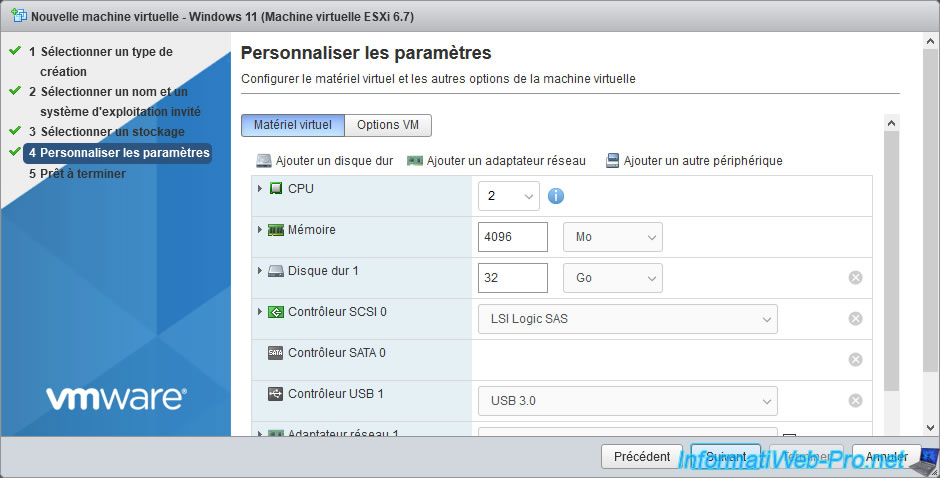
To begin, for the processor (CPU), you must use a processor with at least 2 (virtual) cores.
To do this, specify "2" for "CPU" and for "Cores per Socket" which will create a vCPU with 2 cores.
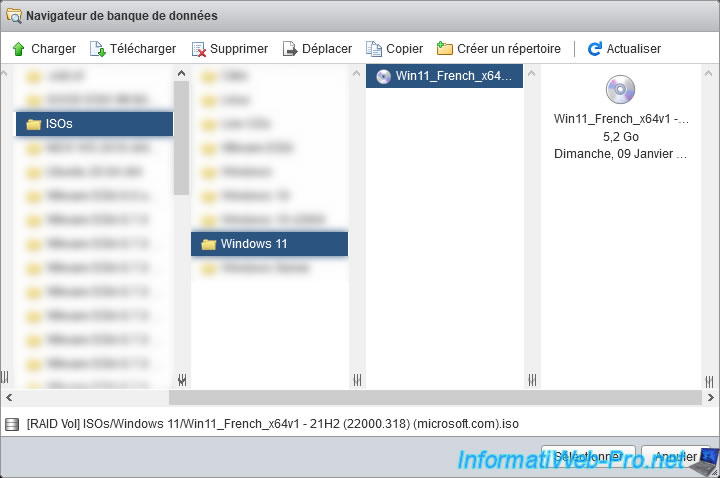
For the CD/DVD Drive, select "Datastore ISO file".
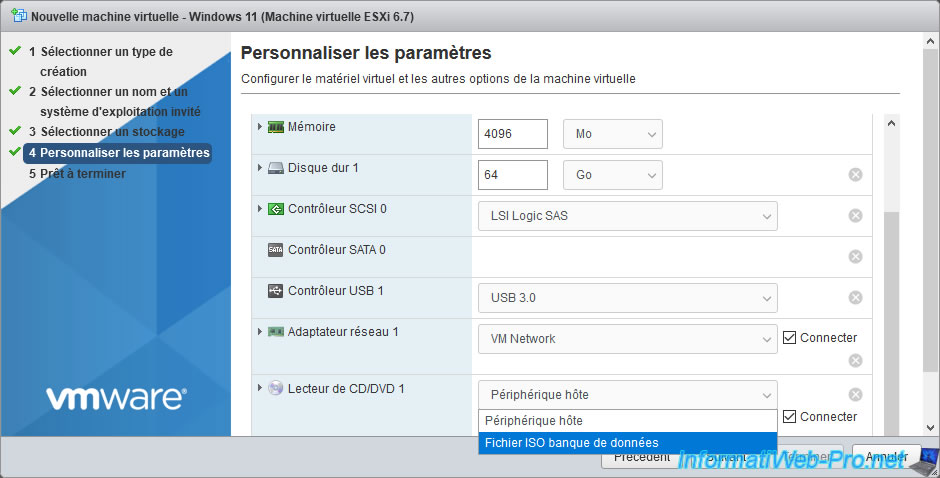
Select the Windows 11 ISO file previously stored in one of your datastore.
If needed, click "Upload" to send it from your computer to the datastore, then select it here for your virtual machine.
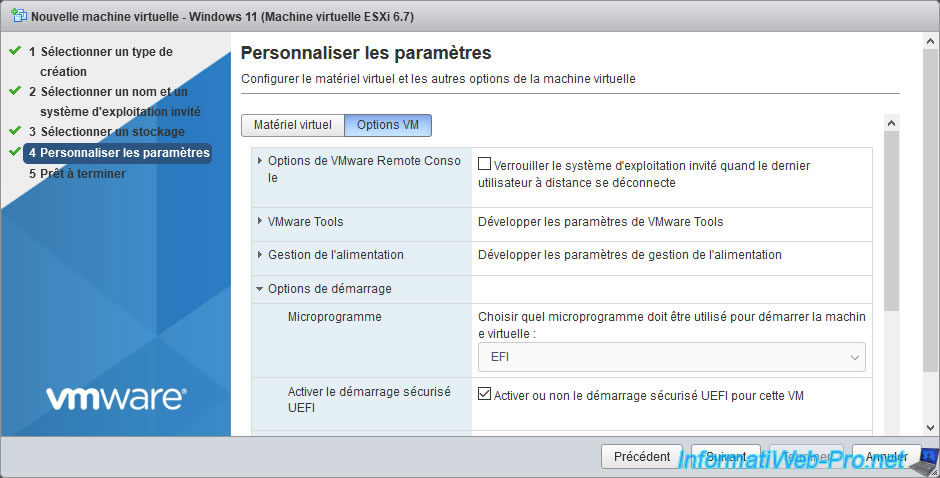
In the "Boot Options" section of the "VM Options" tab, ensure that :
- the "Firmware" option is set to "EFI".
- the "Whether or not to enable UEFI secure boot for this VM" box is checked.
Then, click Next.
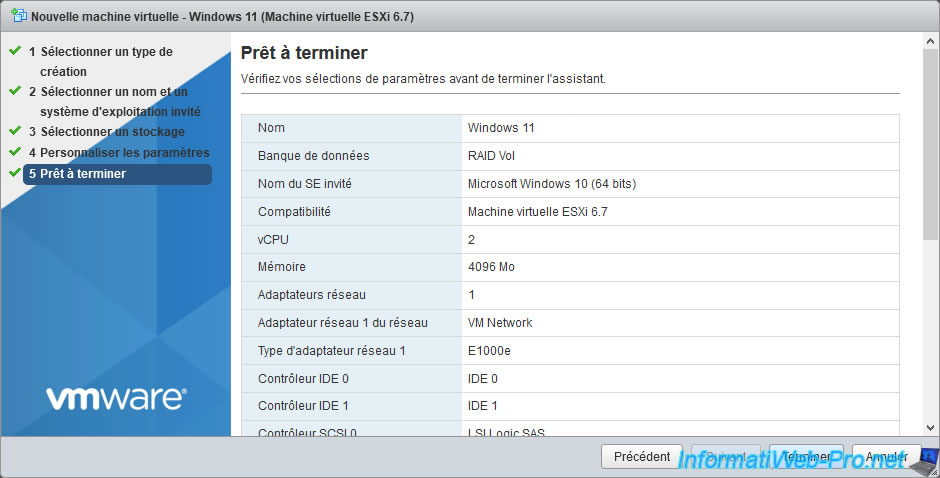
A summary of the configuration of your "Windows 11" virtual machine appears.
Click Finish.
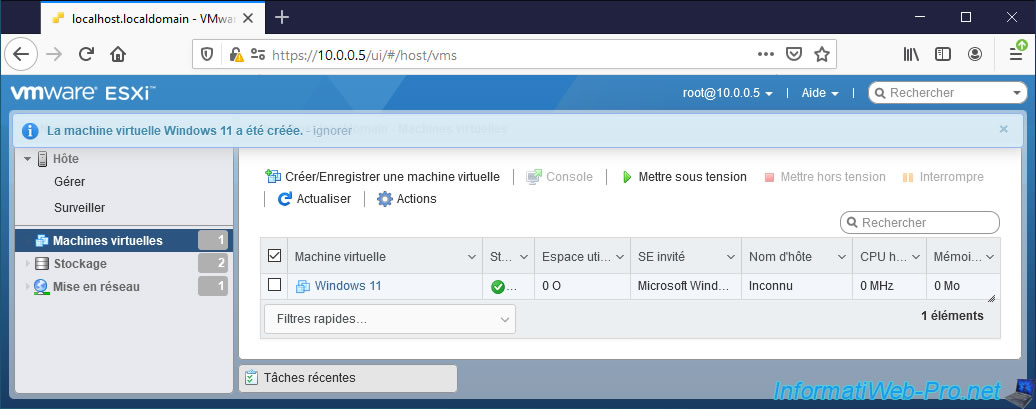
The "Virtual machine Windows 11 was successfully created " message appears.
2. Install Windows 11 in a virtual machine
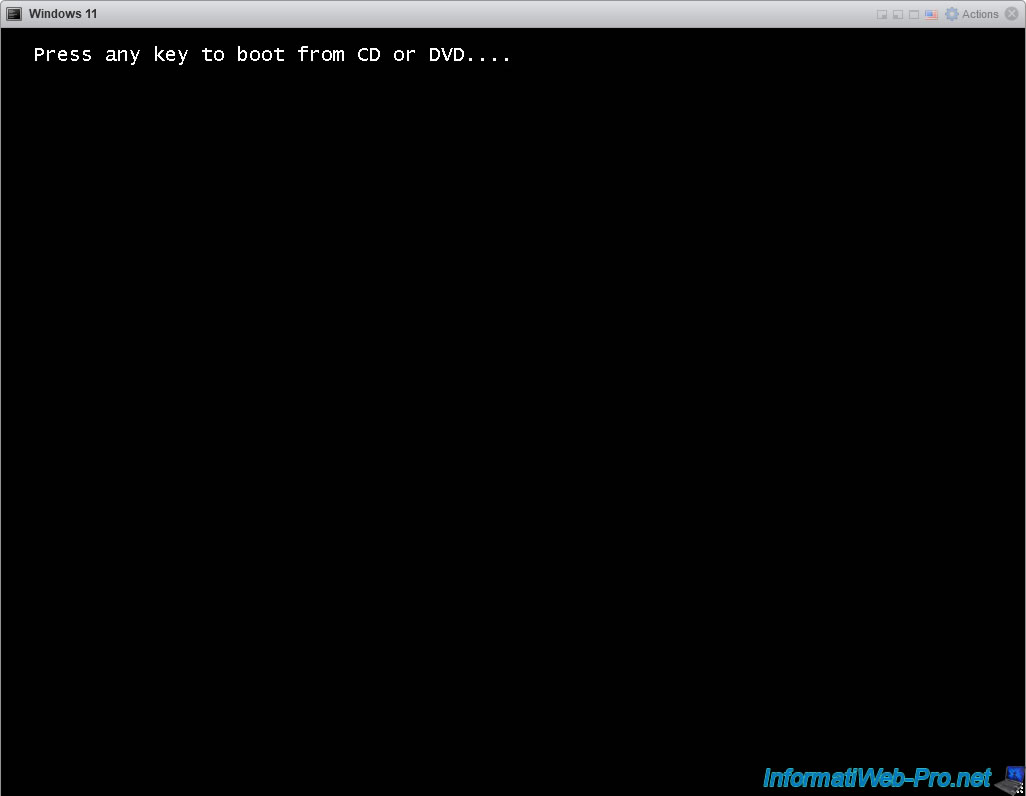
Start your new virtual machine.

Press any key (if needed) to boot to the Windows 11 installation DVD.
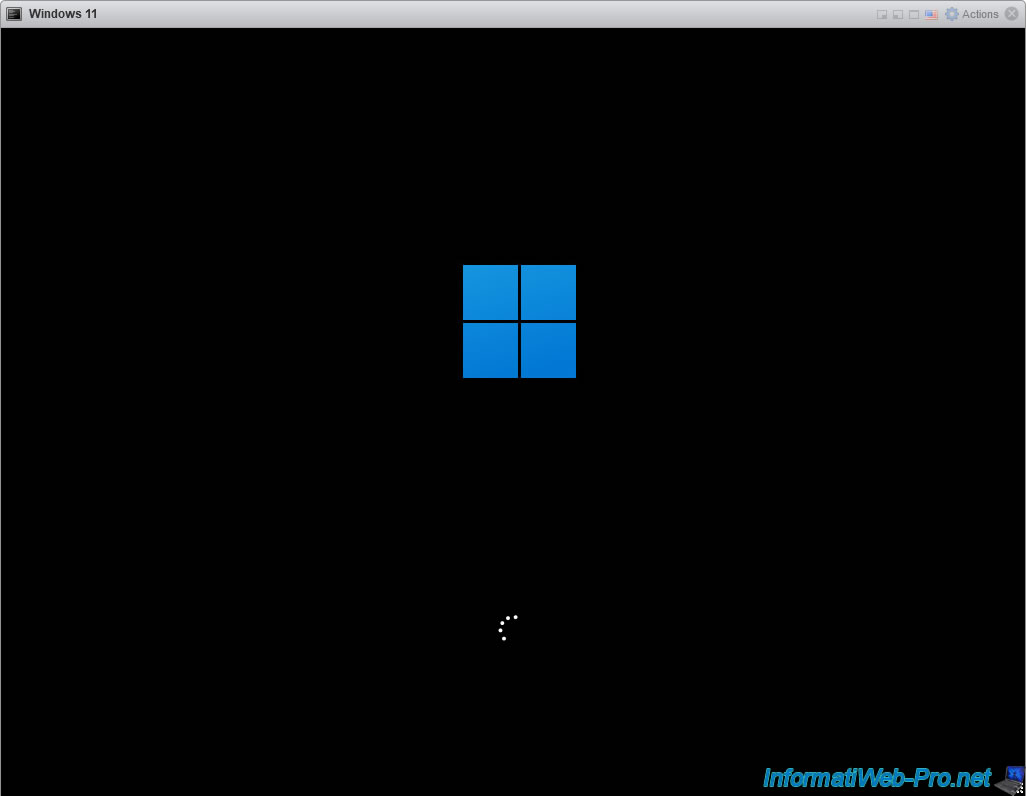
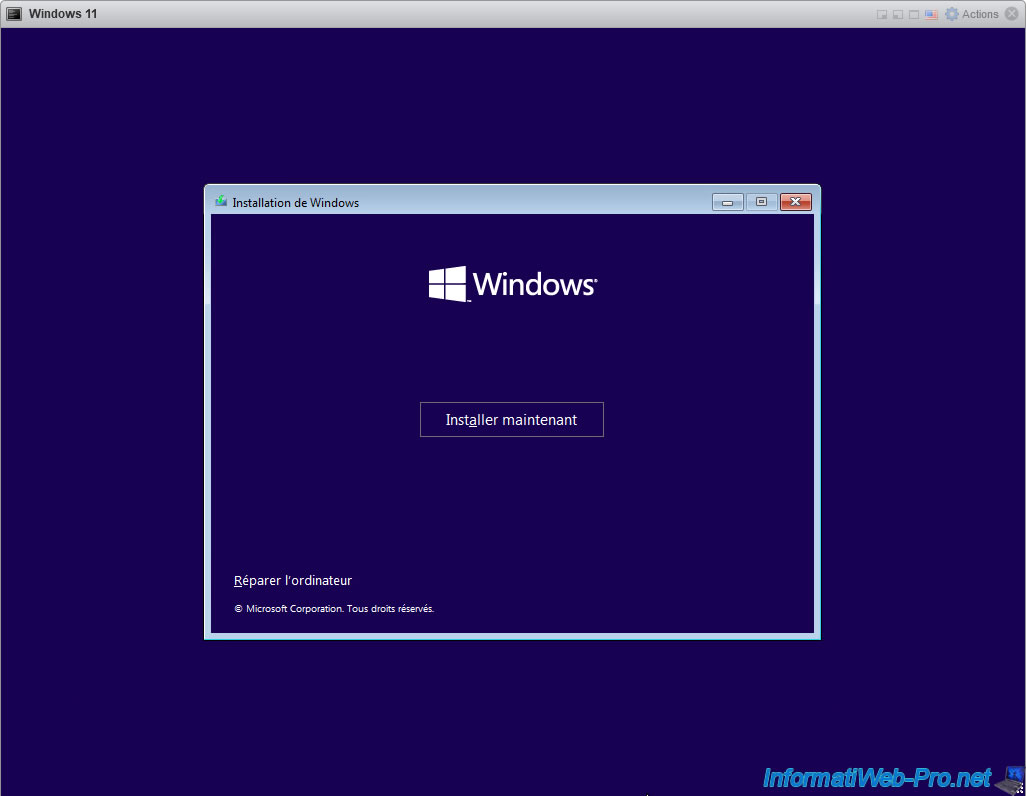
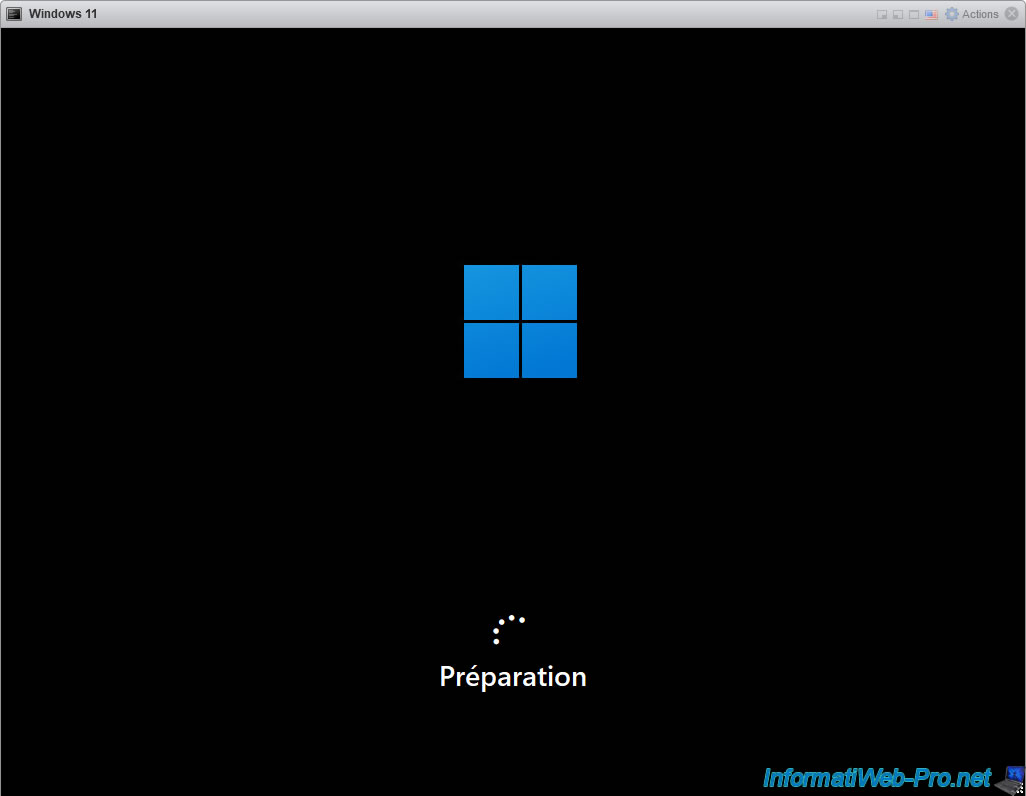
The Windows 11 logo appears.
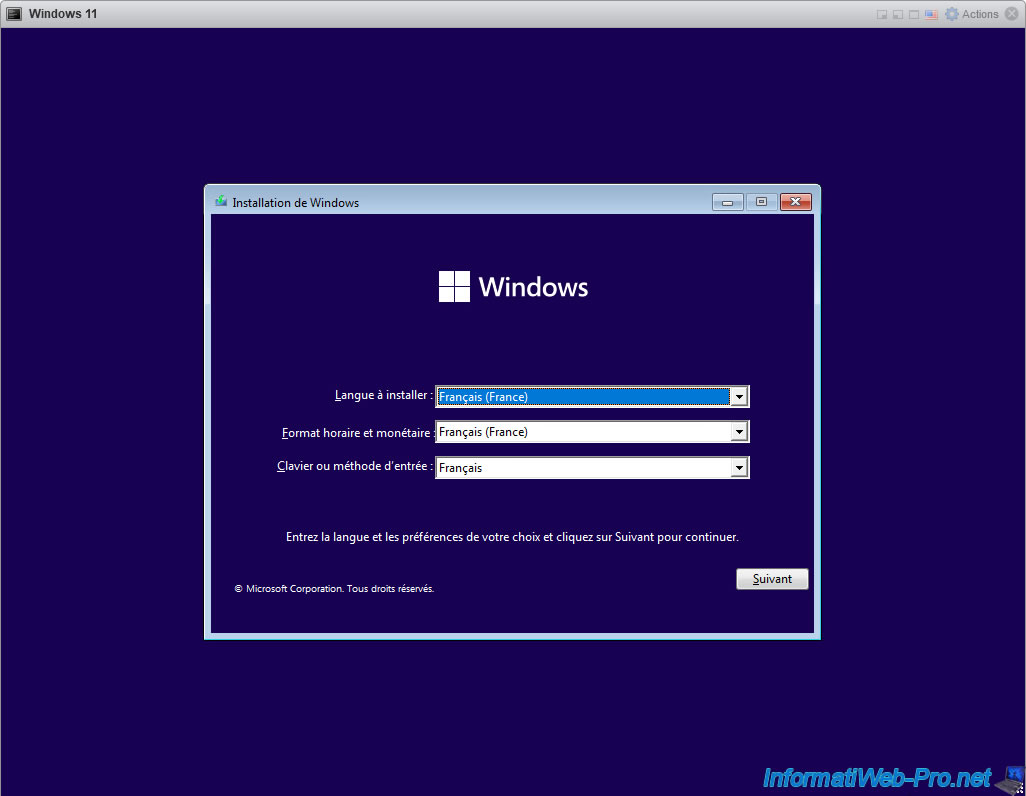
The Windows 11 installation wizard appears.
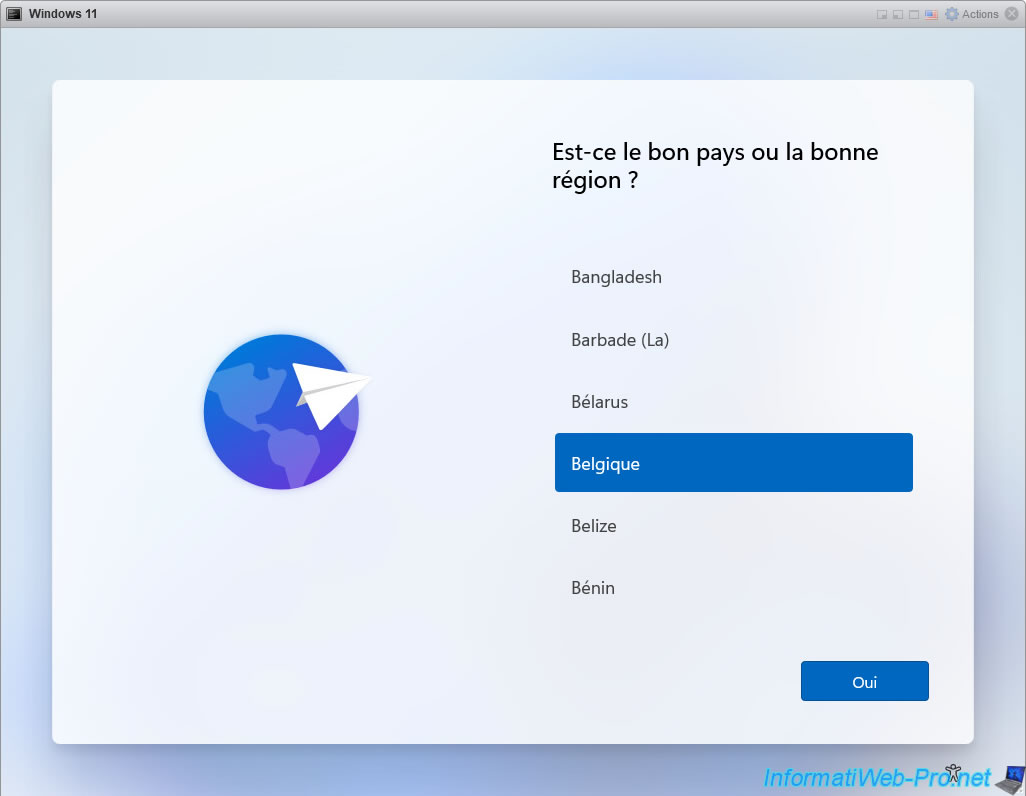
Select your country and language, then click Next.
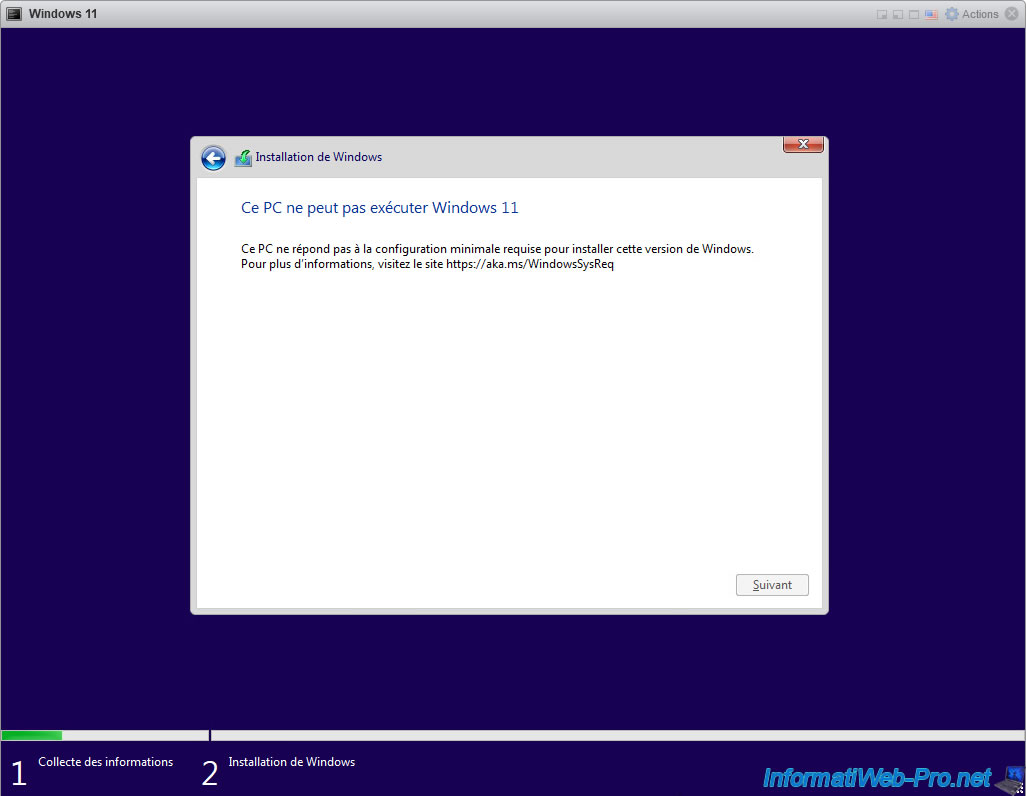
Warning : don't click directly on "Install now".

Indeed, as explained previously, VMware ESXi doesn't support the addition of a Trusted Platform Module (TPM) 2.0.
Since this prerequisite is not met in this case, this error would be displayed :
Plain Text
This PC can't run Windows 11

This PC doesn't meet the minimum systeme requirements to install this version of Windows. For more information, visit https://aka.ms/WindowsSysReq
Before clicking on the "Install now" button, press "SHIFT + F10" to bring up a command prompt and launch the registry editor by typing :
Batch
regedit
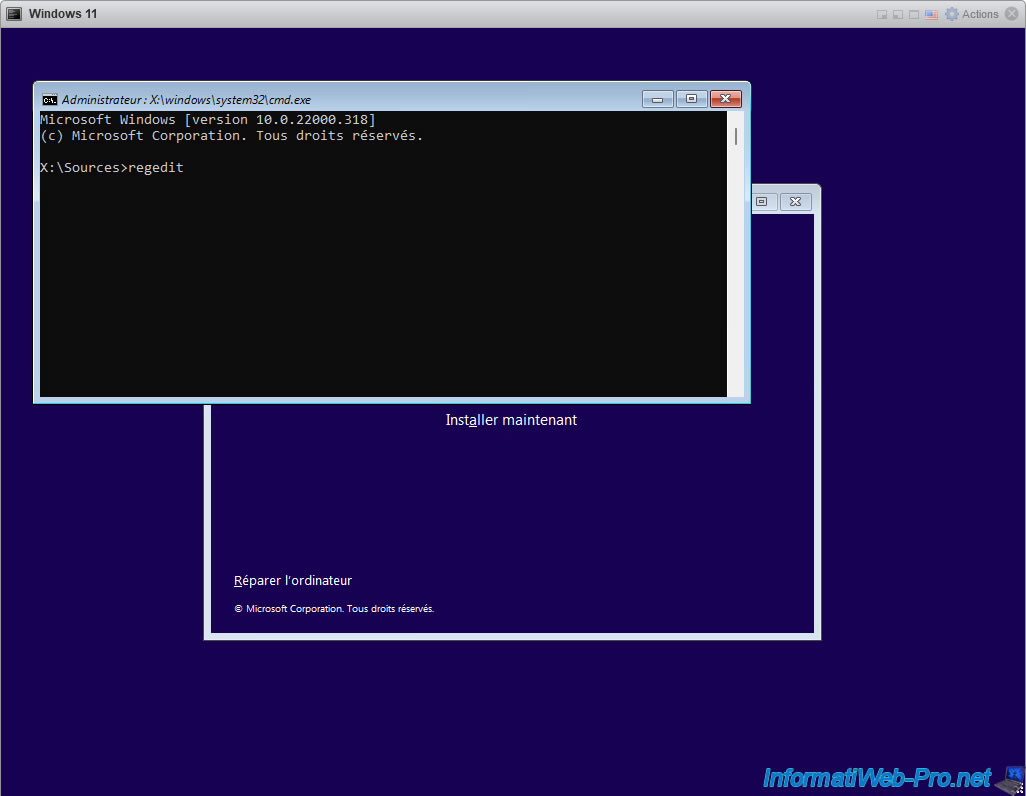
The Registry Editor appears.
Note : the registry that you are going to modify (temporarily) is that of the Windows PE environment on which all recent Windows installation DVDs (from Windows Vista) are based.
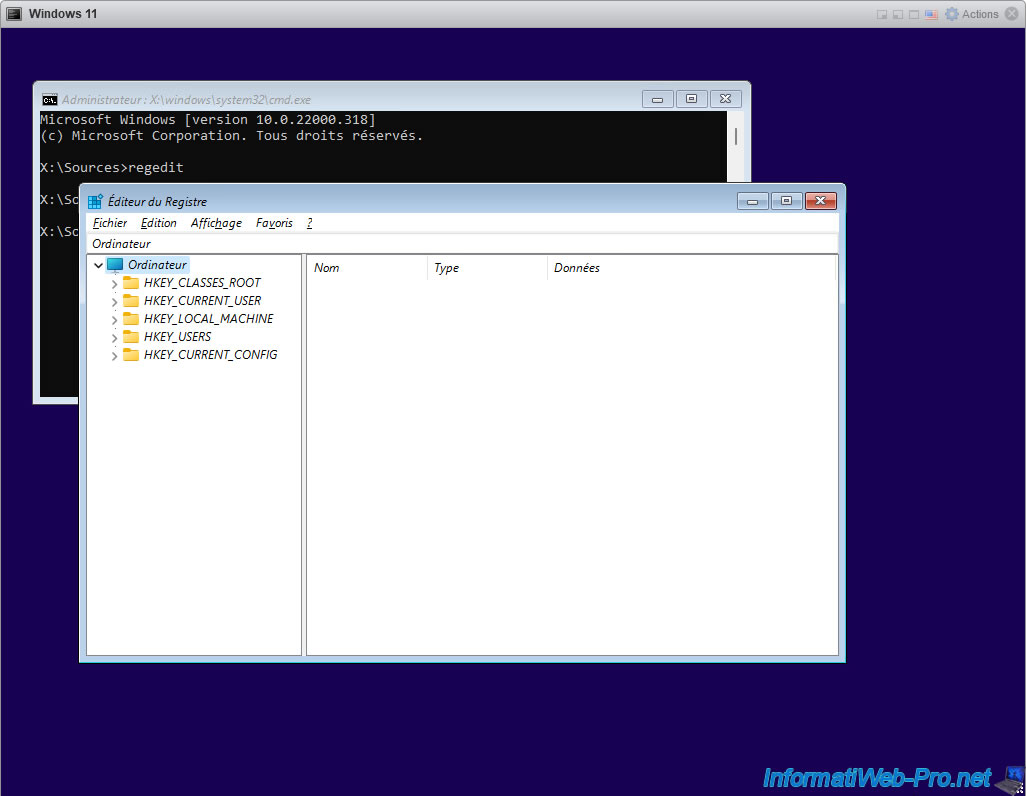
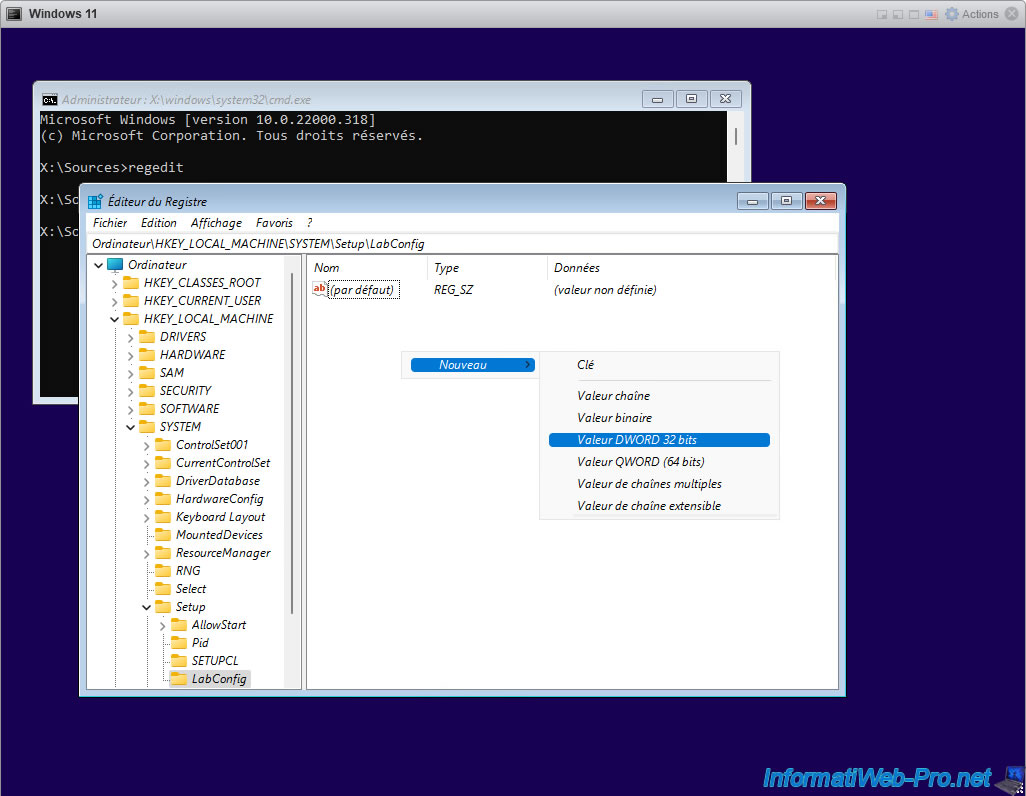
Go to the "HKEY_LOCAL_MACHINE\SYSTEM\Setup" registry key.
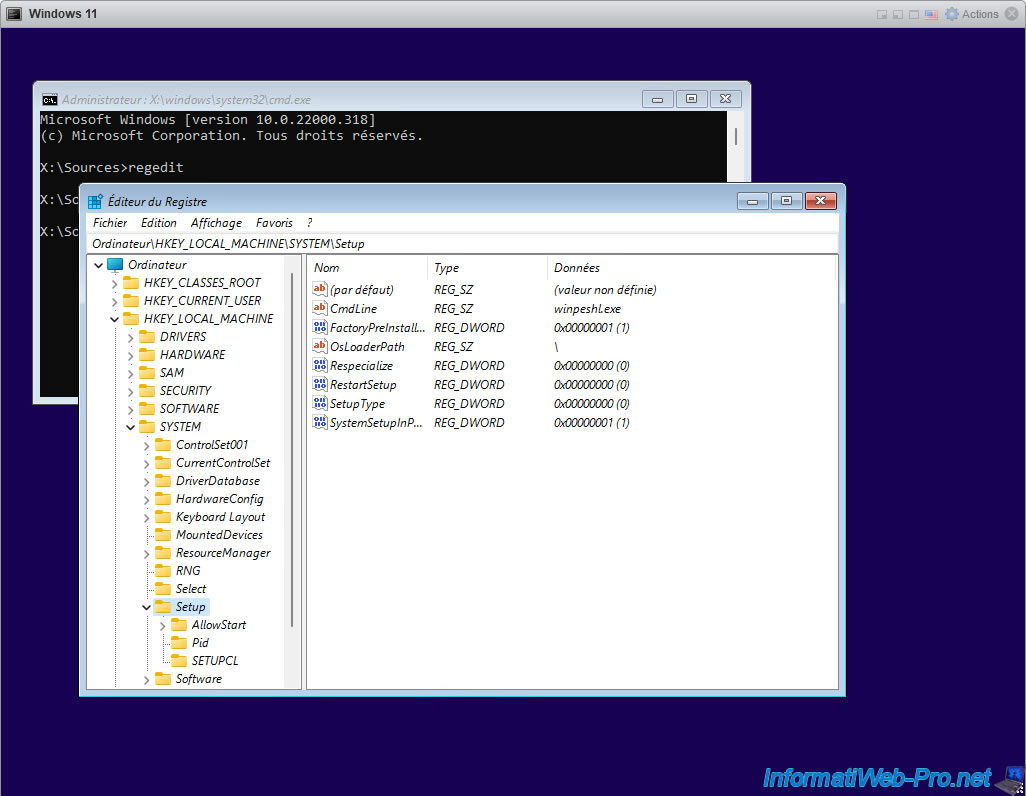
Right-click on the "Setup" folder and click on : New -> Key.
Name this new registry key : LabConfig.

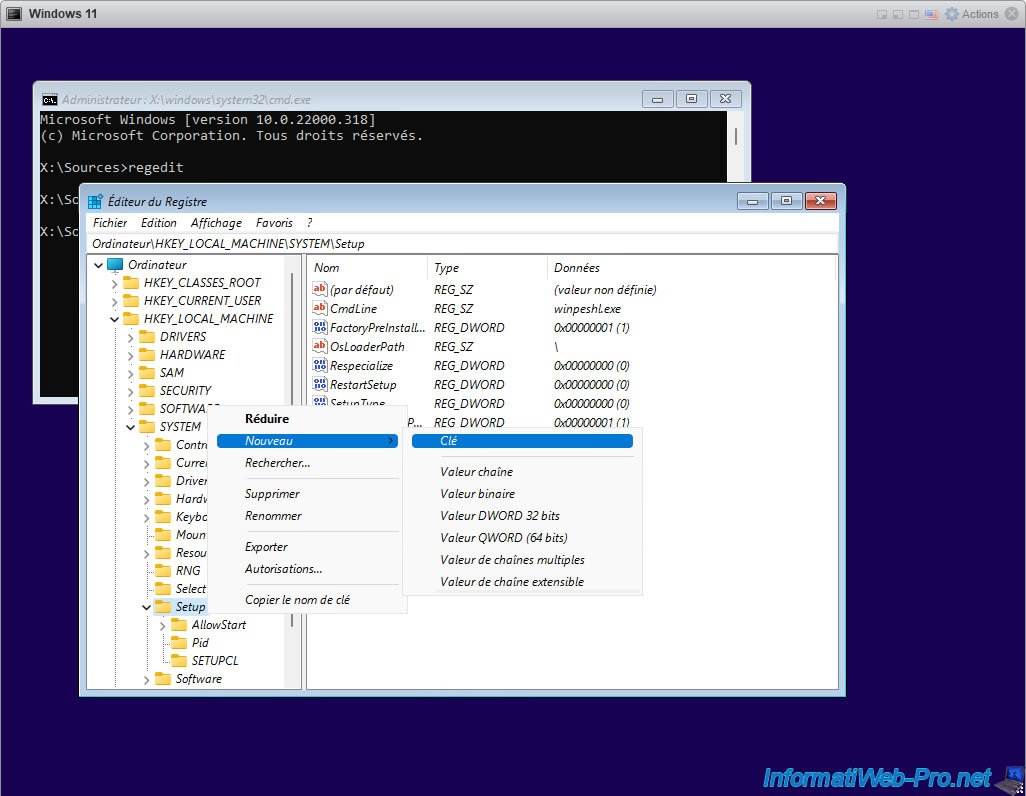
In this new "LabConfig" registry key, create a new data by right-clicking "New -> DWORD (32-bit) Value" in the right part.
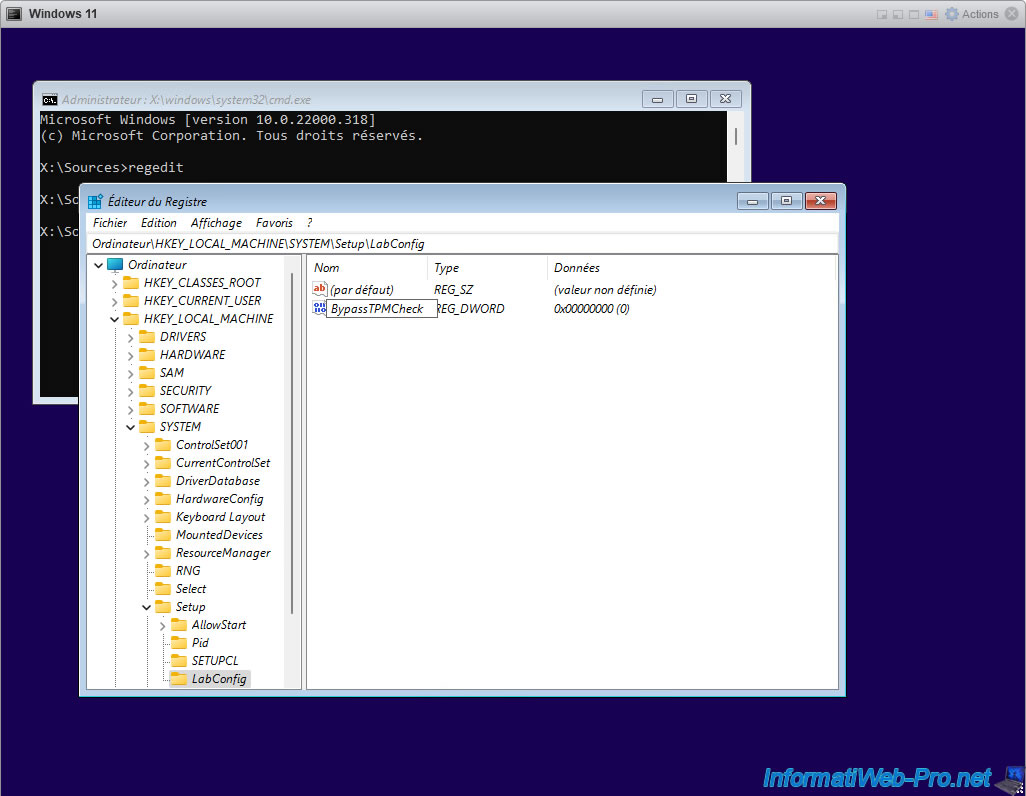
Name this new data : BypassTPMCheck.
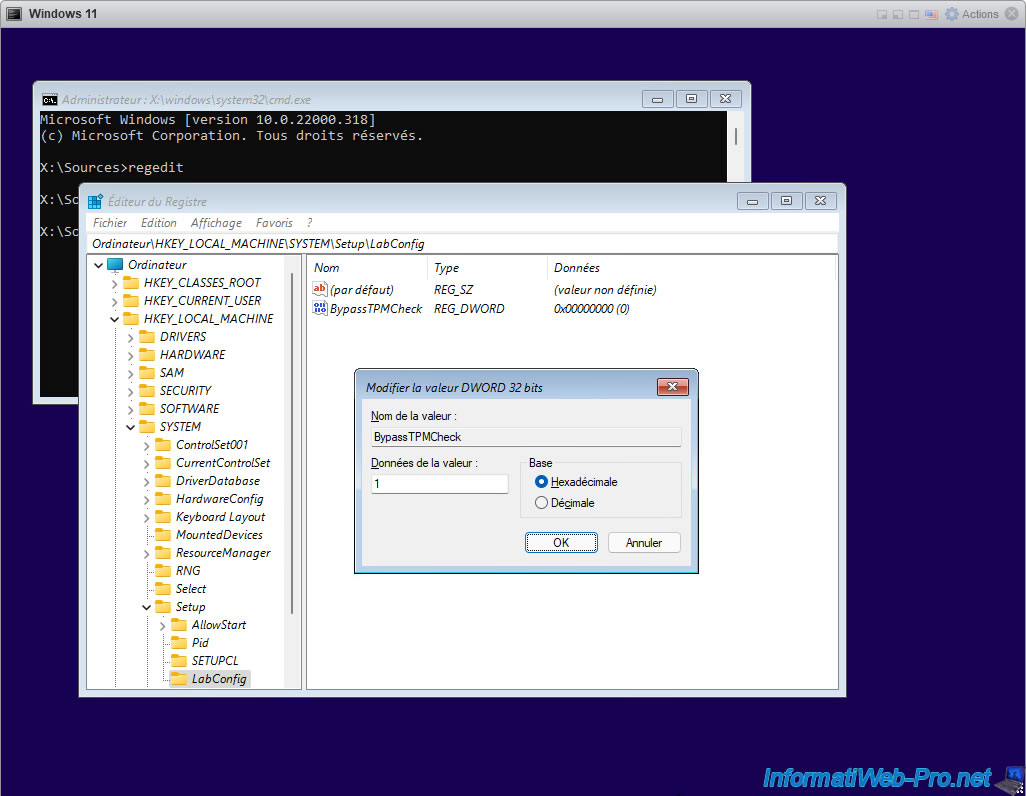
Double click on it and enter the value "1".
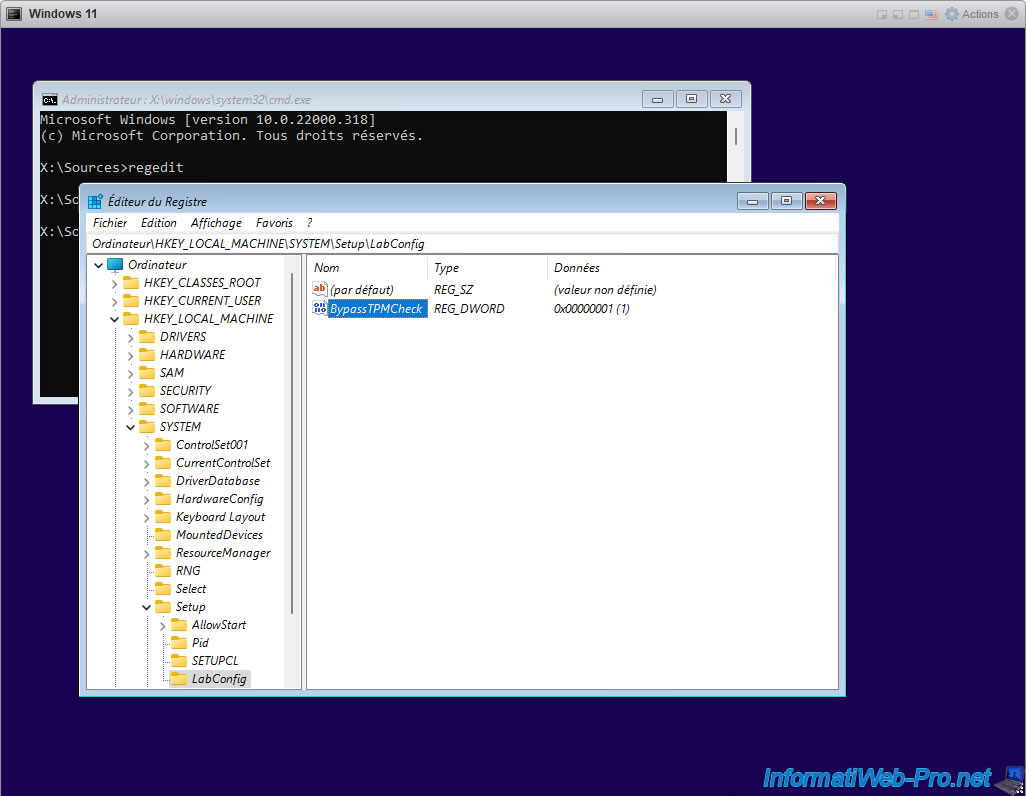
The "BypassTPMCheck" data item has been created.
Close Registry Editor and Command Prompt.
Then, click on : Install now.
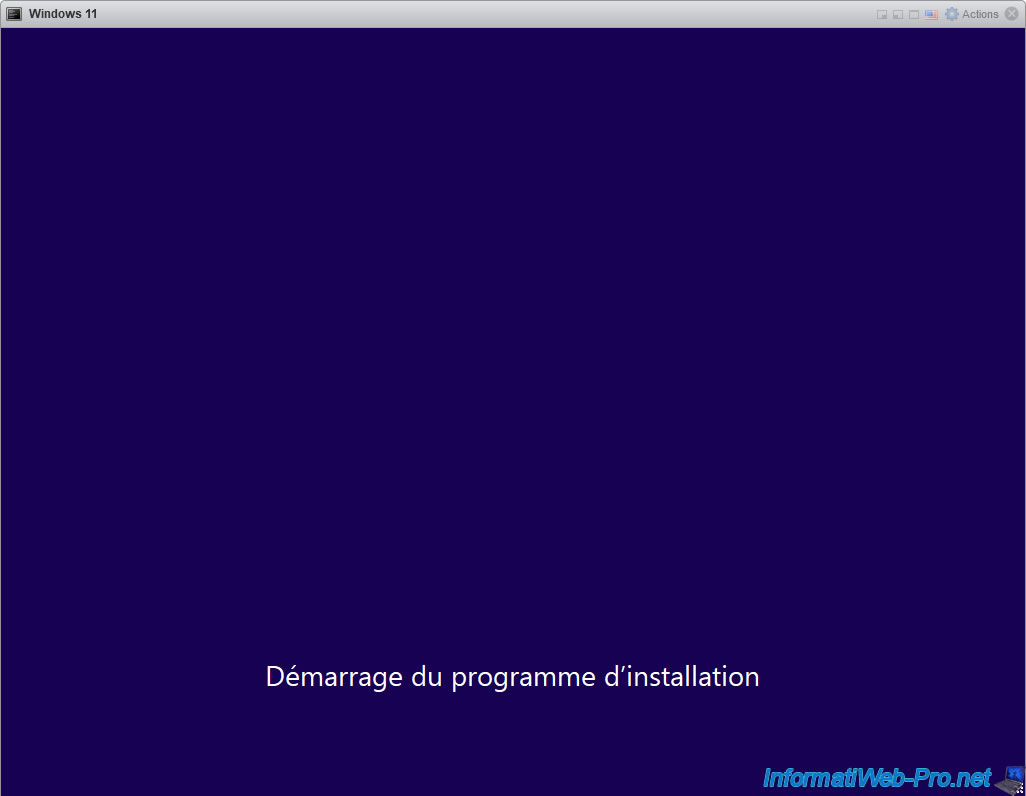
The "Setup is starting" message appears.
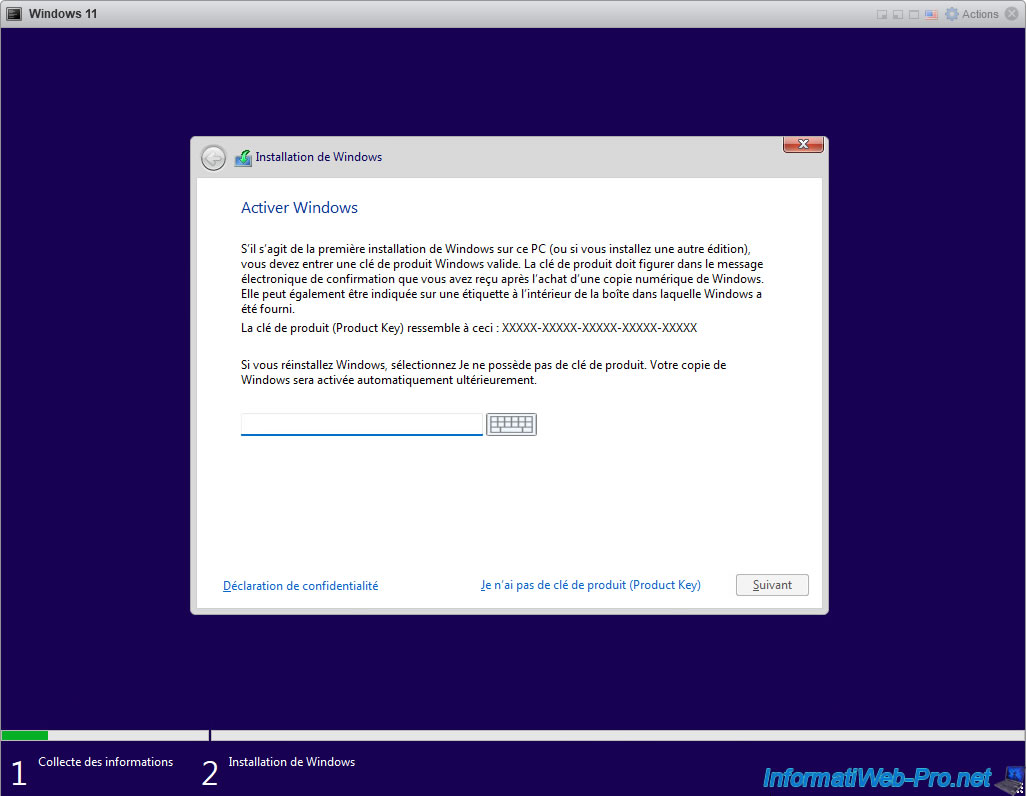
Click "I don't have a product key" if you don't have a serial number for Windows 11.
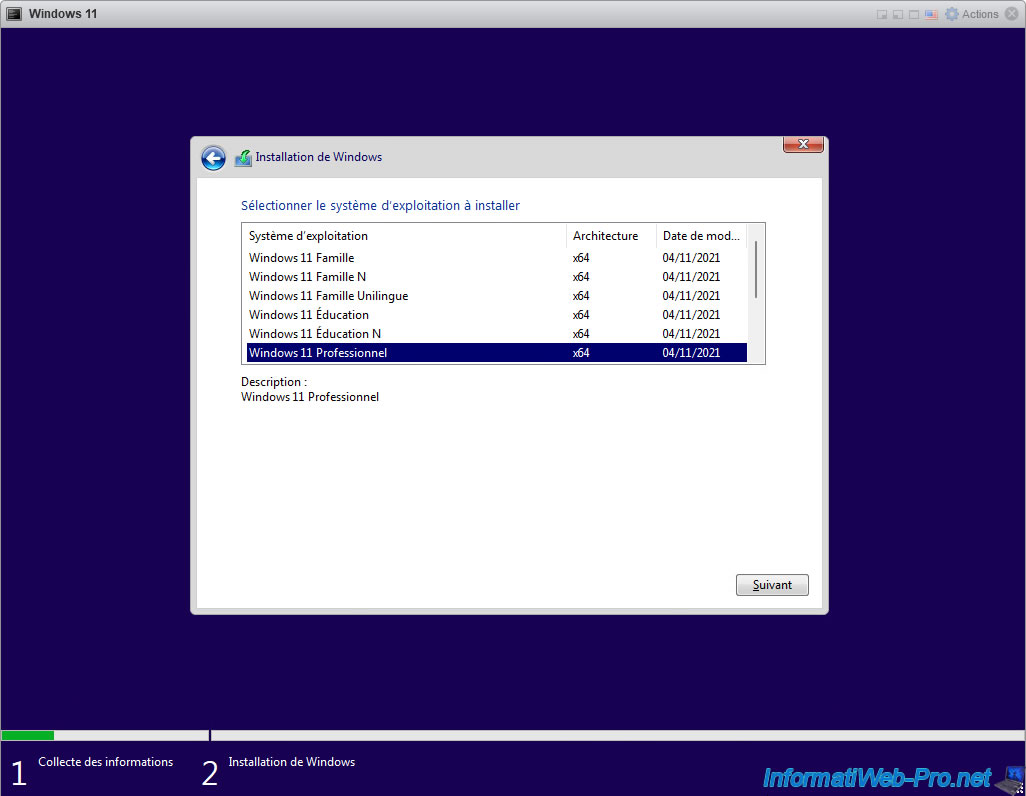
If you didn't provide a serial number, select the edition you want to install.
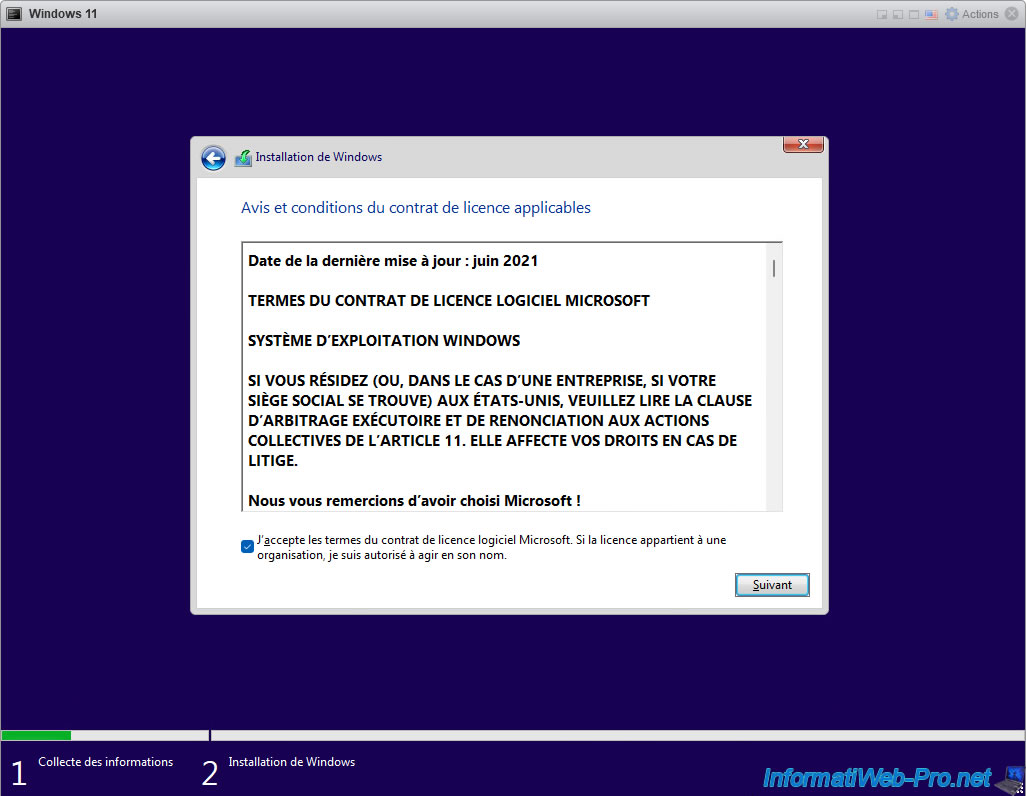
Accept the Windows 11 license terms.
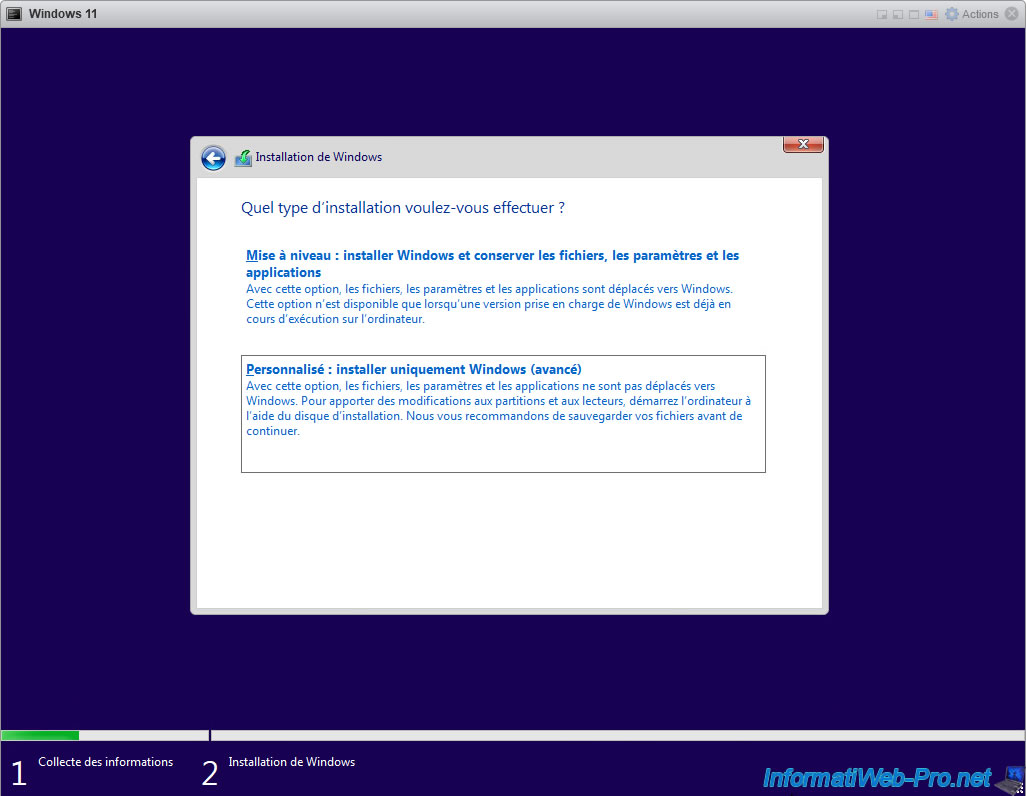
Click "Custom: Install Windows only (advanced)".
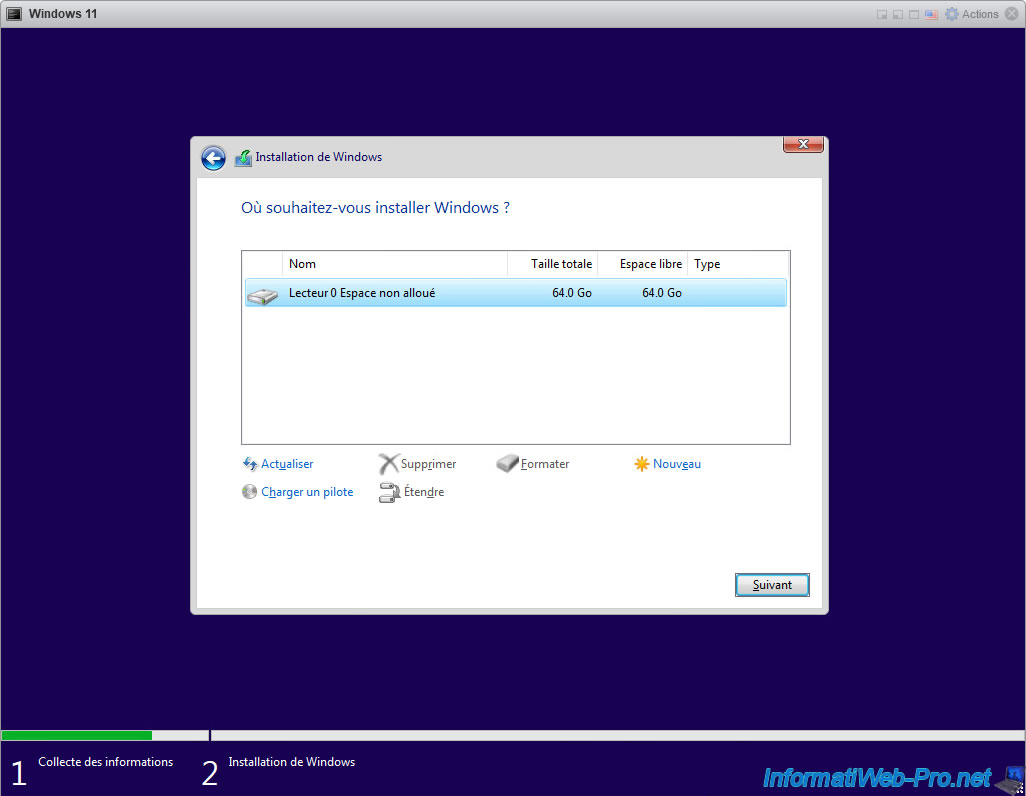
Partition your virtual machine's virtual hard disk beforehand if you wish, then click Next.
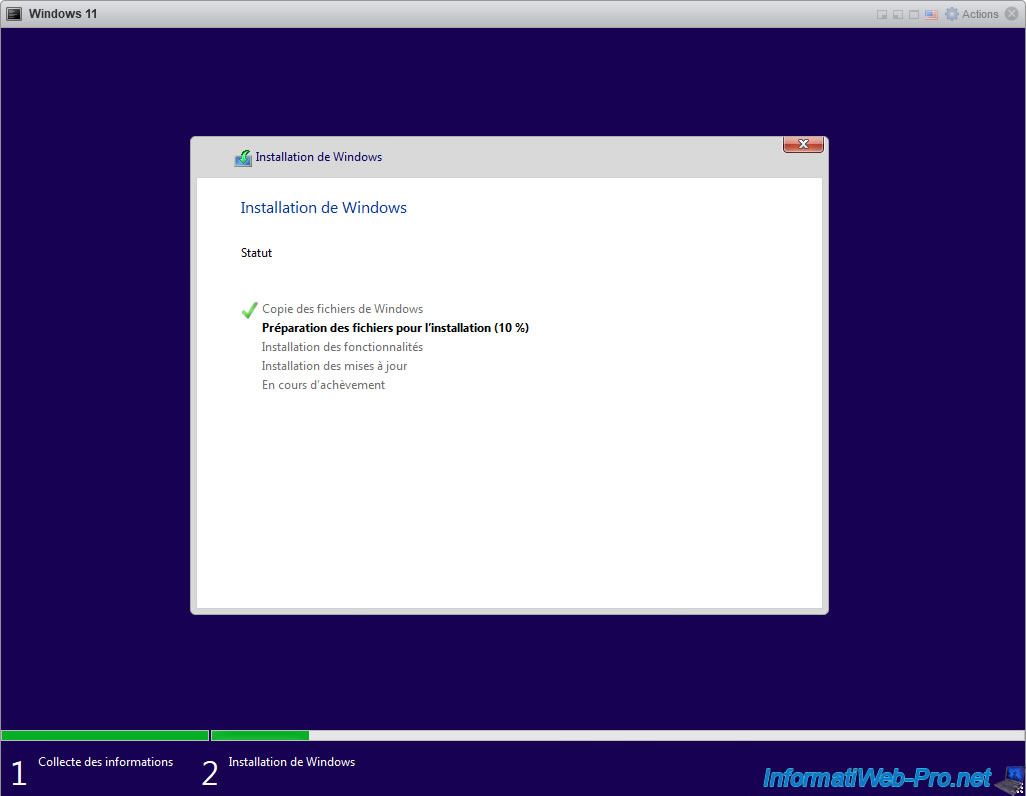
As you can see, the installation of Windows 11 starts without any problem.
Warning : keep in mind that the hardware used is not officially supported and therefore you will not have access to Windows 11 updates, as well as some features.
A little later, after an automatic restart, several messages will appear one after the other.
Then, the different Windows 11 configuration steps will appear.
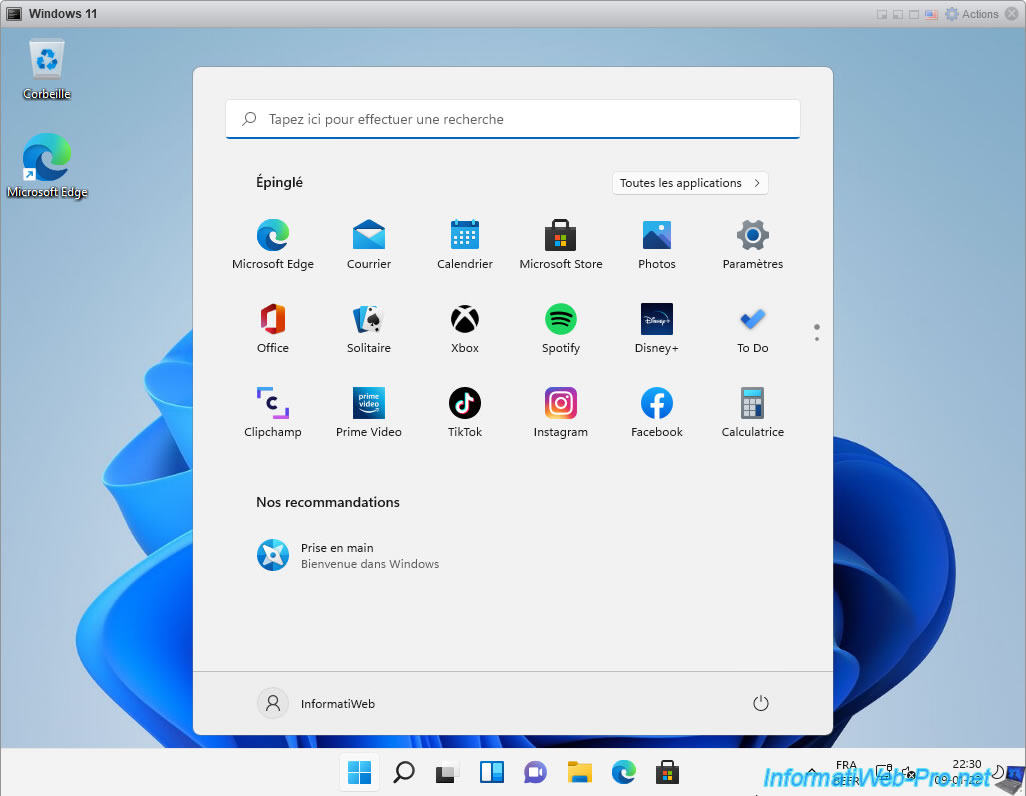
Once the Windows 11 setup is complete, you will arrive at your new Windows desktop.
Share this tutorial
To see also
-

VMware 2/3/2023
VMware ESXi 6.7 - Use an USB 3.0/3.1 controller with Win 7
-
VMware 10/4/2024
VMware vSphere 6.7 - Clone virtual machines
-
VMware 3/29/2024
VMware vSphere 6.7 - Create a Linux virtual machine
-
VMware 3/12/2025
VMware vSphere 6.7 - Enable VMCP on a VM in a cluster
You must be logged in to post a comment