Create and manage your VMware vSphere 6.7 infrastructure inventory
- VMware
- 22 March 2024 at 07:39 UTC
-

- 3/3

7. Add a VMware ESXi host to your VMware vCenter Server (VCSA) inventory
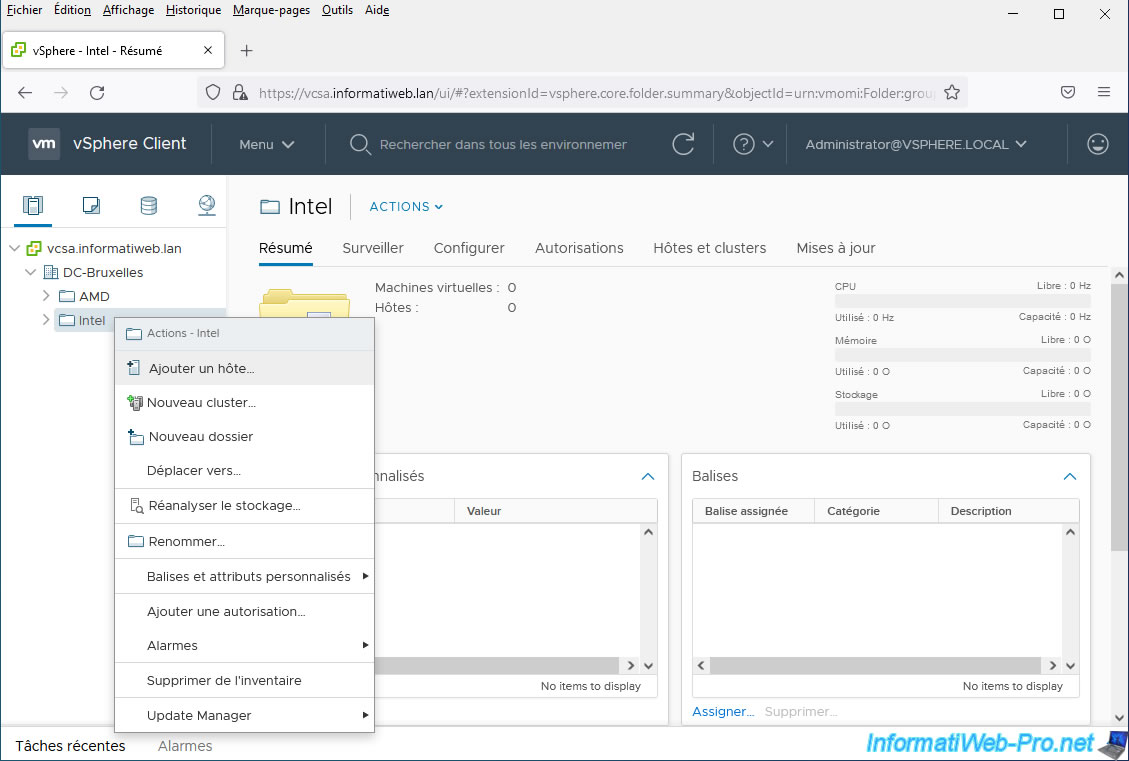
To add a VMware ESXi host to your VMware vCenter Server (VCSA) inventory, go to "Menu -> Hosts and Clusters".
Next, right-click on the datacenter or folder where you want to place your VMware ESXi host and click: Add Host.
In the "Add Host" window that appears, enter the domain name or IP address of the VMware ESXi host to add and click Next.
In our case, we will add our host: esxi1.informatiweb.lan.

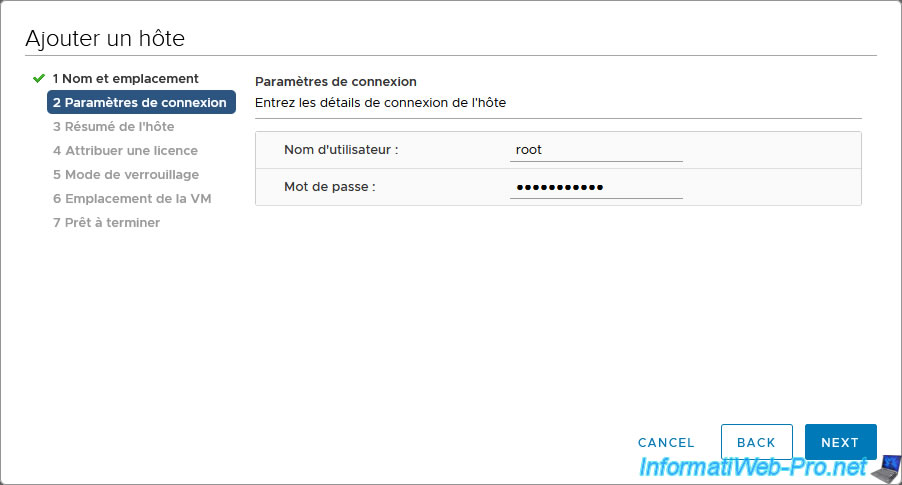
Next, provide the credentials of a user on your VMware ESXi host authorized to link it to a VMware vCenter Server (or VCSA).
In our case, we used the "root" account of our VMware ESXi host.
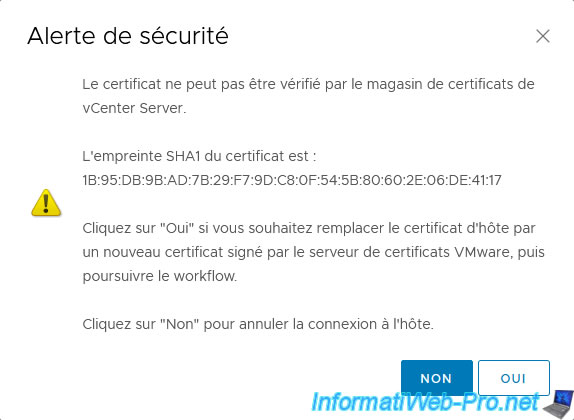
If your VMware ESXi host has a self-signed certificate, a security alert will appear.
In this case, ignore it by clicking on: Yes.
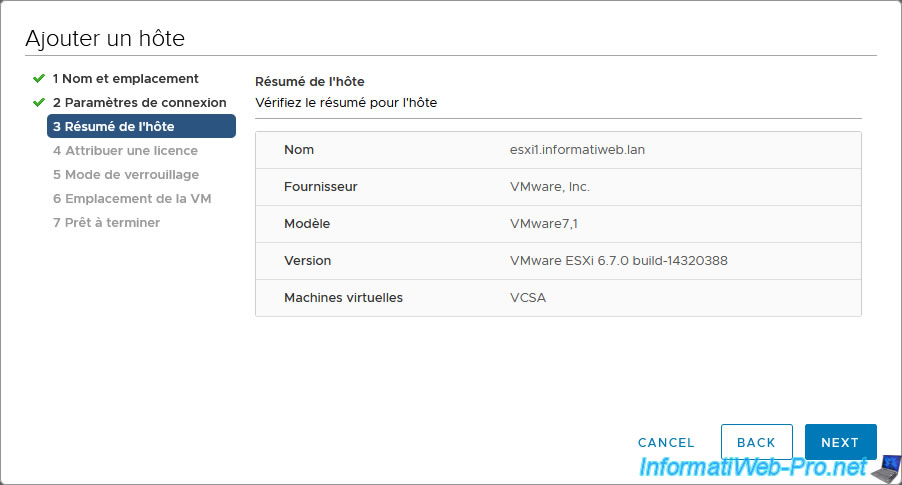
A summary of the VMware ESXi host to add appears with:
- Name: its domain name
- Vendor: the manufacturer of the physical server on which VMware ESXi is installed.
In our case, this host is itself virtualized on a physical VMware ESXi host. So it's "VMware, Inc." who appears as the supplier. - Model: the model of the physical server on which VMware ESXi is installed.
Again, given that it is a virtualized VMware ESXi host in our case, it is "VMware7.1" which appears in our case. - Version: the version and build number of VMware ESXi installed on the remote server.
- Virtual Machines: the list of virtual machines present on this VMware ESXi host.
In our case, there is only the "VCSA" virtual machine at the moment.
Click Next.
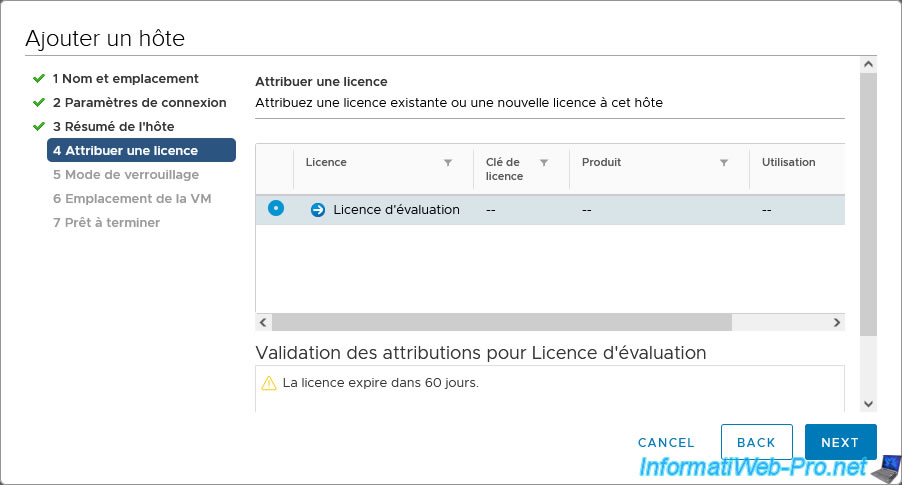
For license assignment, you can leave the existing one or assign a new license to this host.
In our case, this is an evaluation license and it therefore expires in 60 days.
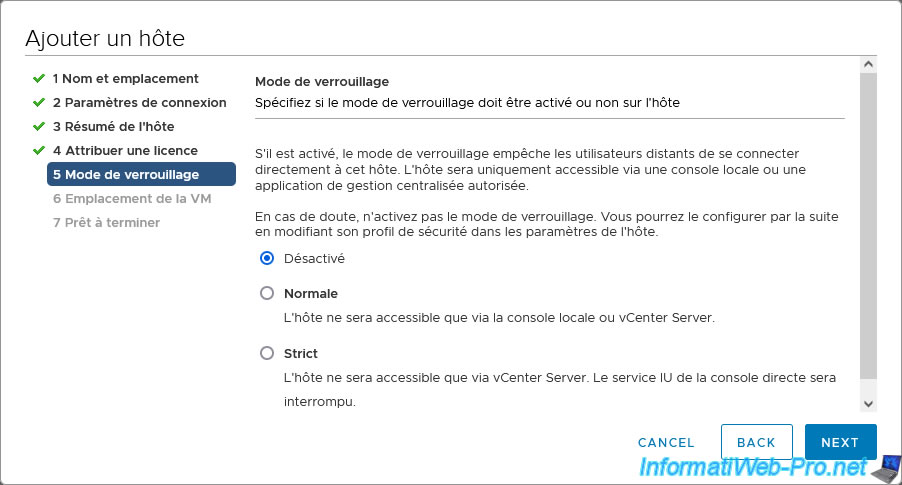
For Lockdown mode, this allows you to restrict direct access to the VMware ESXi host being added in vCenter Server:
- Disabled: lockdown mode will not be enabled on the affected VMware ESXi host and therefore no restrictions will be applied on it.
- Normal: your VMware ESXi host can only be managed from your VMware vCenter Server (or VCSA) and from the direct console (DCUI) of your VMware ESXi host.
- Strict: your VMware ESXi host can only be managed from your VMware vCenter Server (or VCSA).
Indeed, activating "Strict" locking mode will cause the DCUI service to stop. This console will therefore no longer work on your VMware ESXi host.
In our case, we left this lock mode disabled.
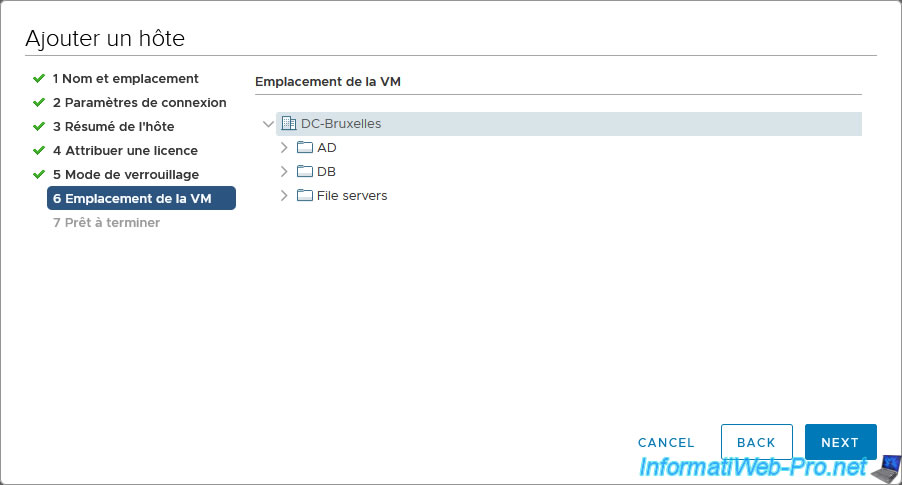
Select in which data center or folder the virtual machines on the VMware ESXi host being added should be placed, then click Next.
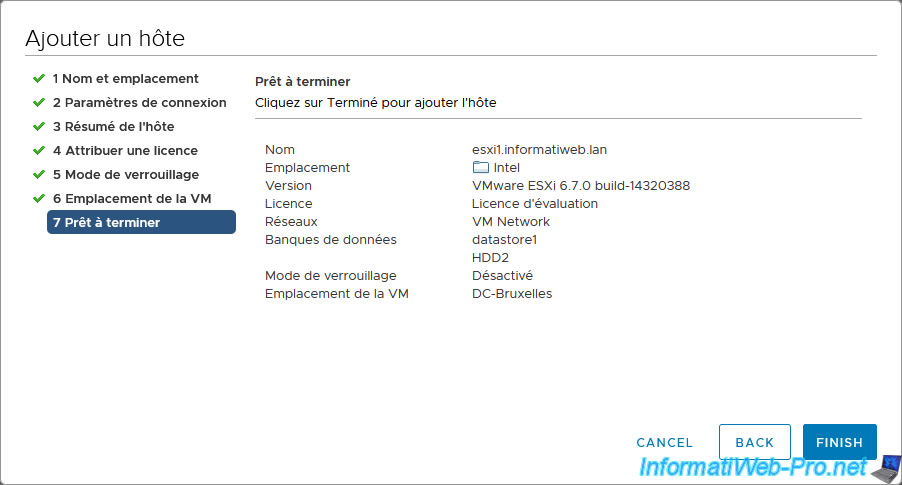
A summary of adding your VMware ESXi host appears with:
- Name: its domain name
- Location: the location (data center or folder) where your host will be added in the "Hosts and Clusters" tab
- Version: version and build number of this installation of VMware ESXi
- License: the license that will be assigned to it. In our case, the evaluation license.
- Network: the virtual network(s) (or "Port Group" on VMware ESXi) that will be added to the inventory of your VMware vCenter Server (or VCSA).
- Datastores: datastores present on the VMware ESXi host to add and which will be added to the inventory of your VMware vCenter Server (or VCSA).
- Lockdown mode: indicates whether or not lock mode will be enabled and how (depending on the mode you previously selected).
- VM location: location (data center or folder) where your virtual machines will be added in the "VMs and Templates" tab.
Cliquez sur Finish.
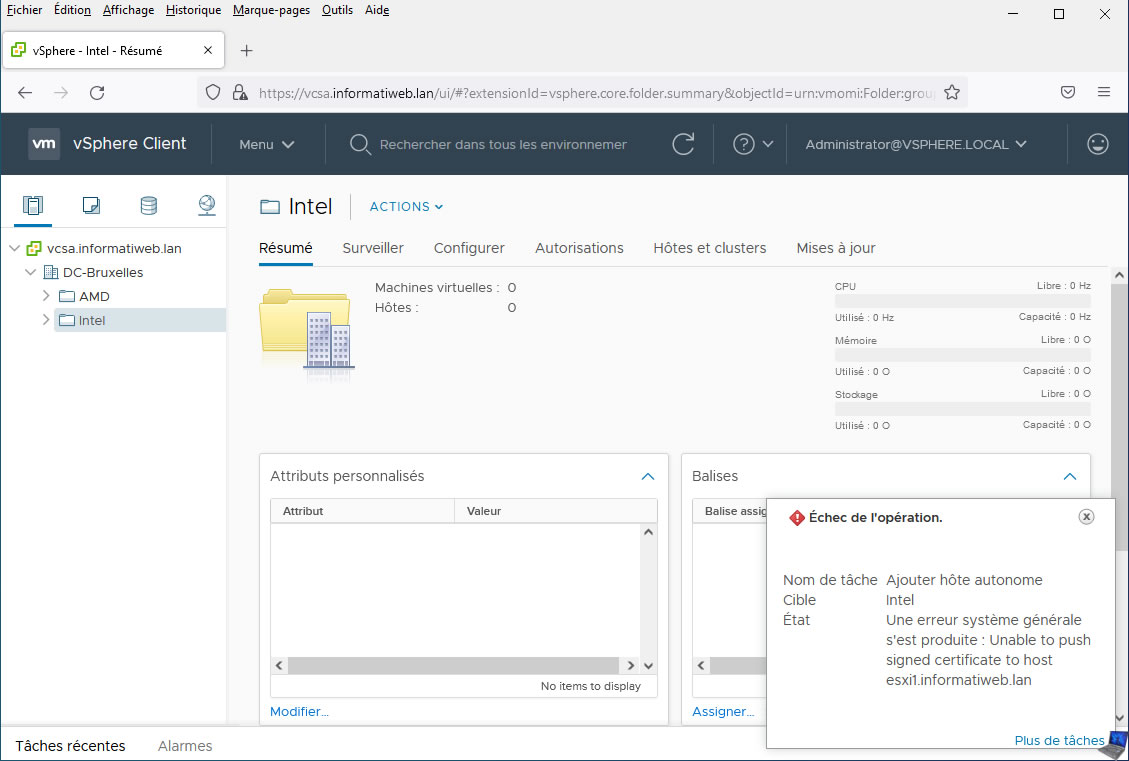
If the clock on your VMware ESXi host and your VMware vCenter Server (or VCSA) clock are not in sync, adding that VMware ESXi host may fail.
In this case, you will see this displayed at the bottom right of the window:
Plain Text
Operation failed

Task Name: Add Standalone Host
Target: [location selected in wizard]
Status: A general system error has occurred: Unable to push signed certificate to host [VMware ESXi host name]
To get more information regarding the error that occurred, click on the "More Tasks" link below this error.
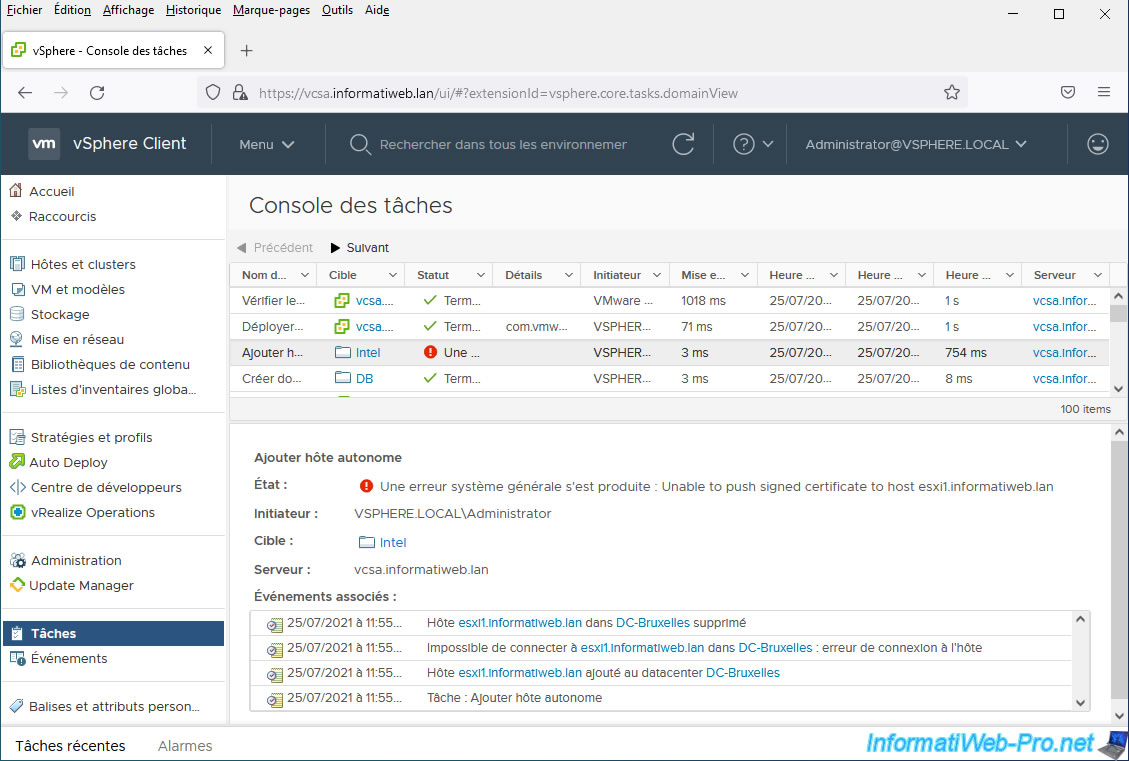
In the events associated with this error, you will see this:
Plain Text
Unable to connect to [VMware ESXi host name] in [affected data center name]: Host connection error.
In this case, make sure that the date and time of your VMware ESXi host and that of your VMware vCenter Server (or VCSA) are exactly the same.
Then try again and it will work.
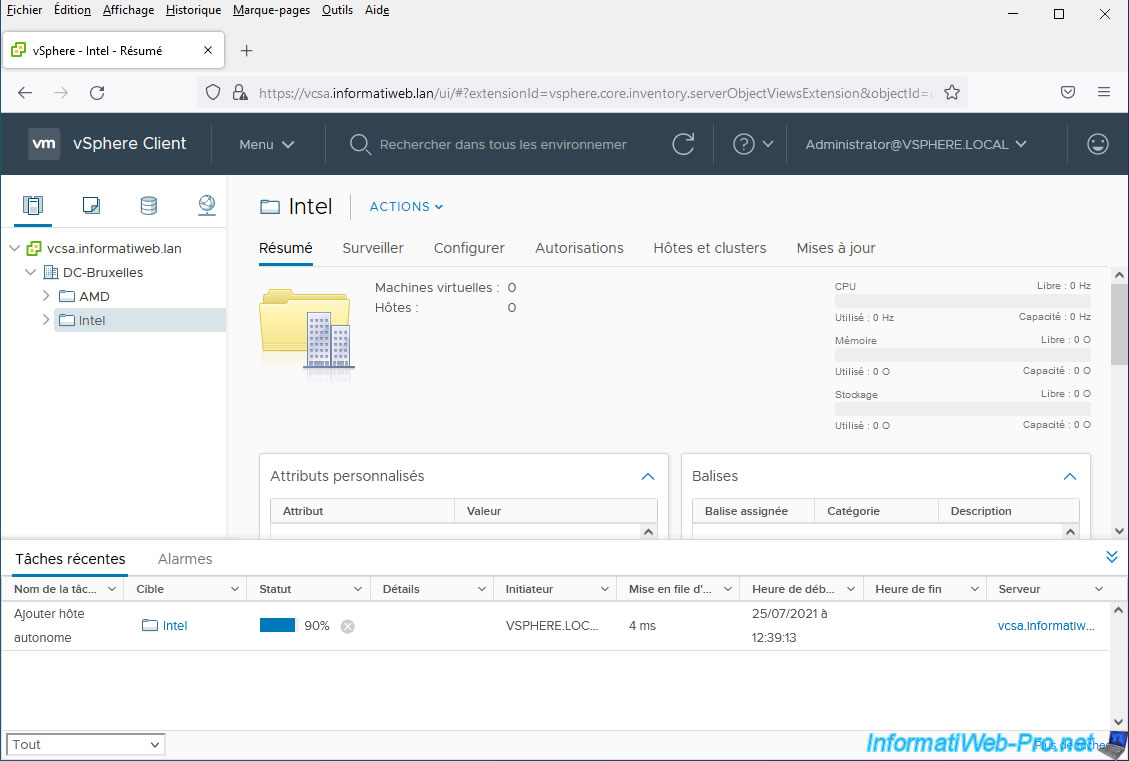
If the clock is well synchronized between ESXi and vCenter Server, the addition of the VMware ESXi host will start and you will see an "Add Standalone Host" task appear.
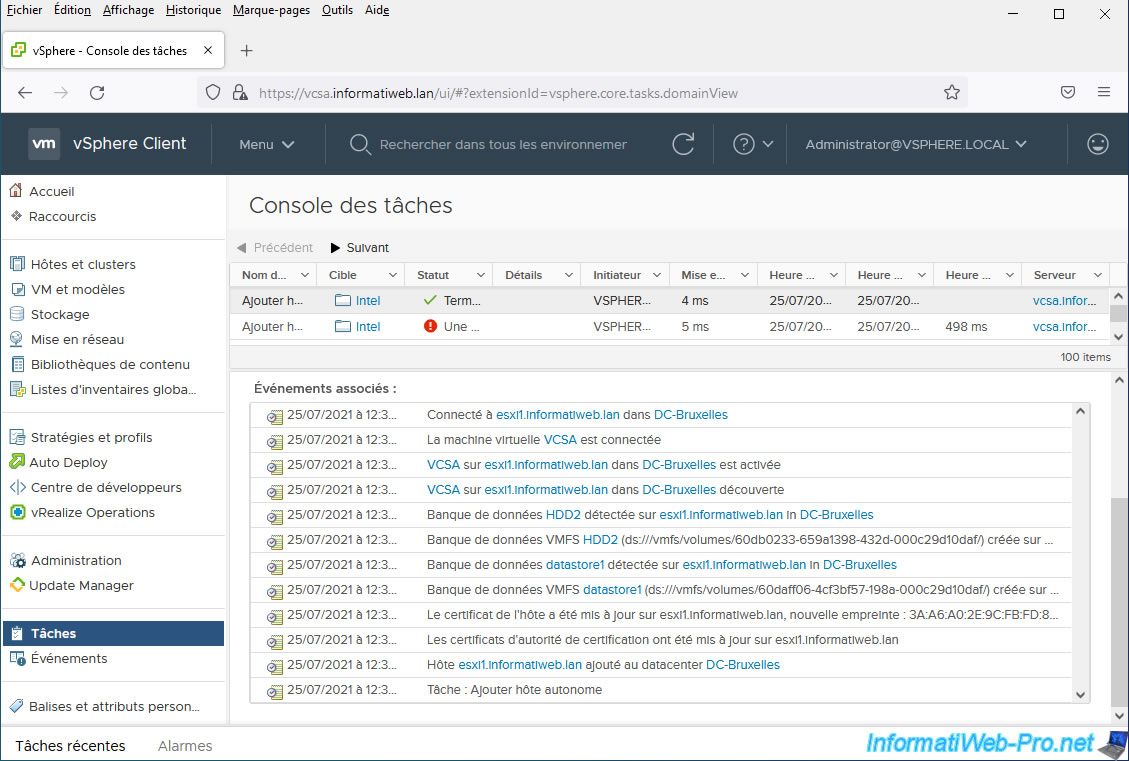
In "Menu -> Tasks", select this task "Add Standalone Host" and you will see that several events have taken place.
As you can see here, adding your VMware ESXi host will have caused:
- adding it to the desired data center. In our case: DC-Brussels.
- a certificate update on the VMware ESXi host added to vCenter Server
- adding host datastores in the desired data center
- adding virtual machines (VMs) to the desired data center
Although not stated here, this will also have caused your VMware ESXi host's networks to be listed in your vCenter Server inventory, as will be seen a little later.
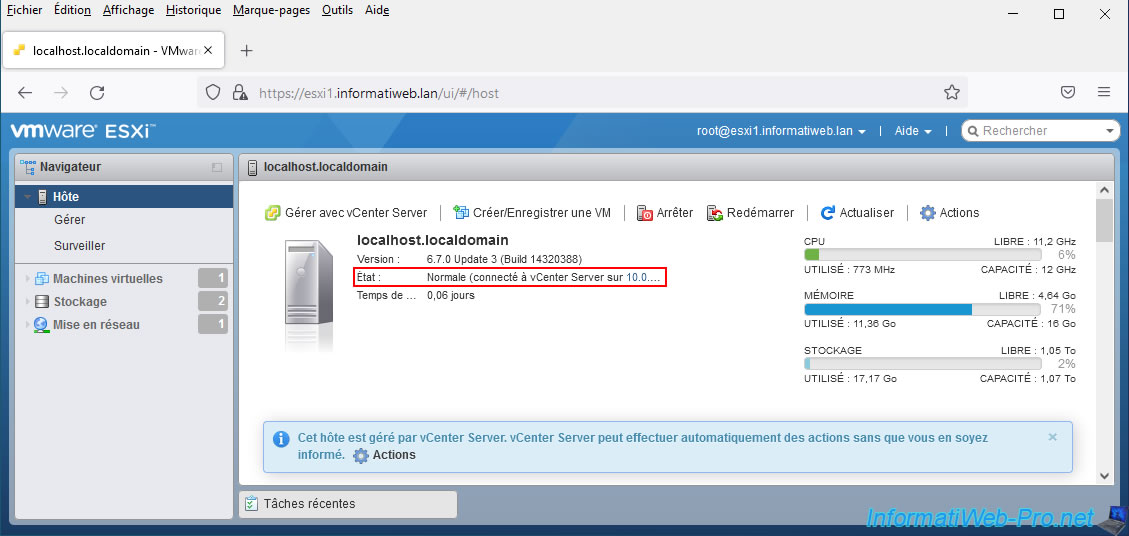
If you go to the web interface of your VMware ESXi host, you will see that it is now connected to vCenter Server.
You will also see this message appear on a blue background:
Plain Text
This host is being managed by vCenter Server. Actions may be performed by vCenter Server without your knowledge.
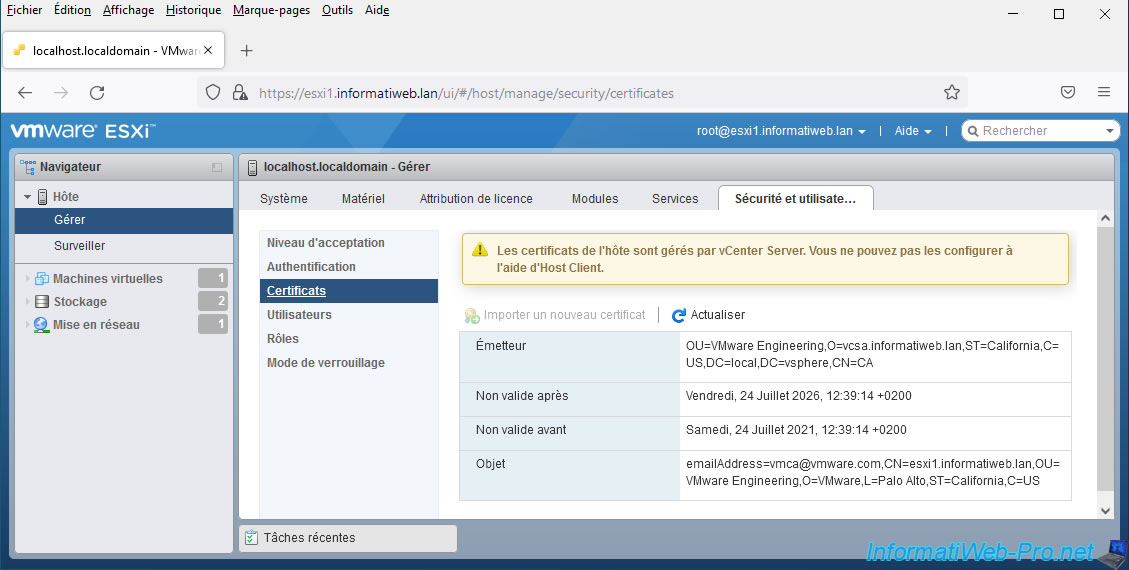
If you go to the "Host -> Manage -> Security and Users -> Certificates" menu of your VMware ESXi host, you will see a warning displayed:
Plain Text
This host's certificates are being managed by vCenter Server, you cannot configure them using the Host Client.
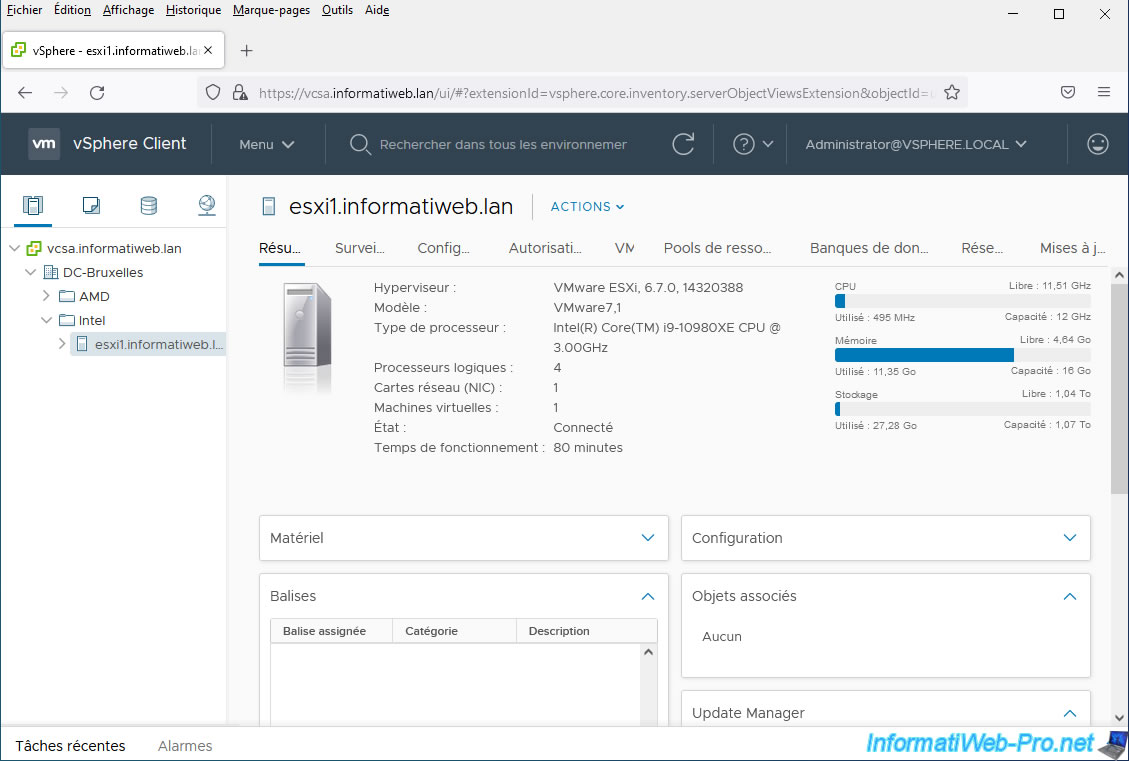
In the 1st tab (Hosts and Clusters) of the vSphere Client inventory, go to the location (datacenter or folder) where you just added your VMware ESXi host and select it.
As you can see, you will be able to know:
- Hypervisor: the version and build number of VMware ESXi used on this server
- Model: the model of your physical server.
In our case, this VMware ESXi server is itself virtualized since it is a test environment. Hence the mention "VMware7.1" in our case. - Processor Type: brand, model, and frequency of your physical server processor.
In our case, a processor: Intel(R) Core(TM) i9-10980XE CPU @ 3.00 GHz. - Logical Processors: the number of logical processors present on it.
Note that if your physical processor supports hyperthreading and this feature is enabled in your motherboard settings, the number of logical processors will be equal to twice the number of physical cores. - NICs: the number of network cards present in your server.
- Virtual Machines: the number of virtual machines present on this VMware ESXi host.
- State: connection status of this host.
If your host is connected and repeatedly disconnects randomly, it is possible that this is due to too much difference between the clock of your VMware ESXi host and your vCenter Server (or VCSA). - Uptime: how long this host has been on.
On the right, you will also see the system resource usage of this host in real time:
- CPU: utilization rate in MHz/GHz, max available "frequency" (= CPU frequency multiplied by the number of logical cores) and available (free) "frequency".
- Memory: quantity of RAM used in MB/GB on this host, quantity of RAM physically present on this server and quantity of unused (free) memory.
- Storage: used storage space in MB/GB/TB on this host, as well as total storage space and free space available on this host.
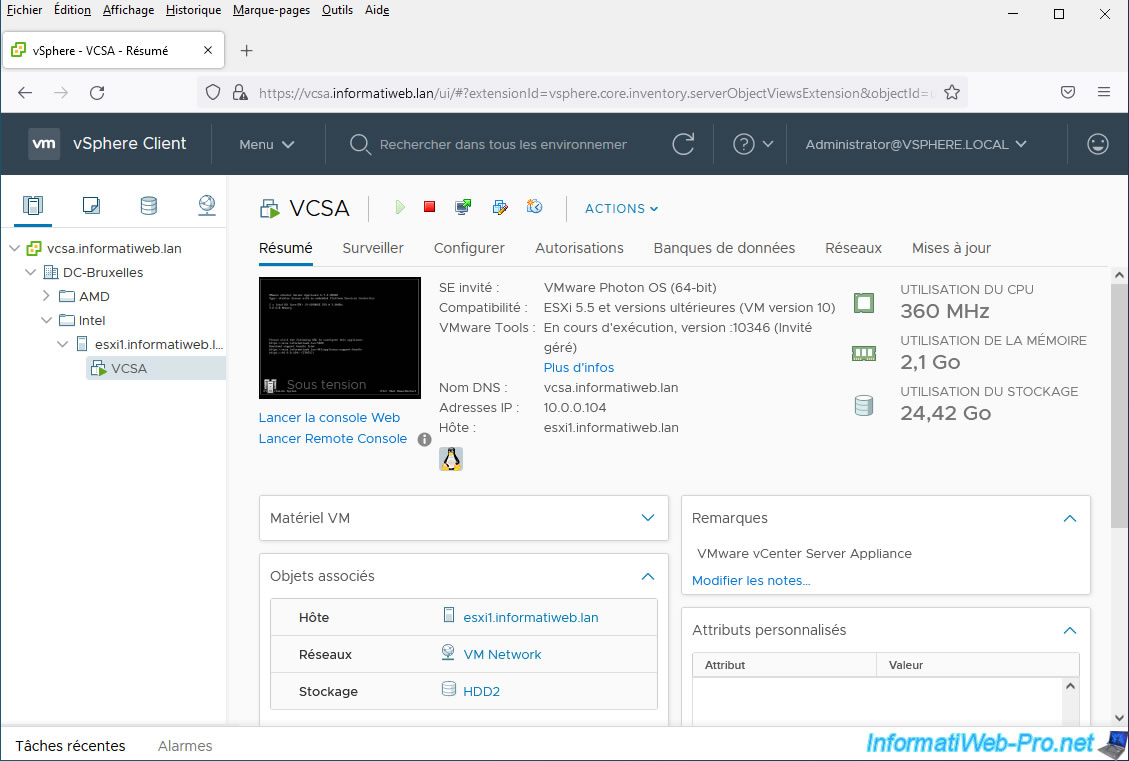
For virtual machines, you will also have a summary with:
- Guest OS: the name, version, and architecture of the guest operating system installed in the virtual machine.
In the case of VCSA, it is VMware Photon OS (64-bit). But, in the case of a classic VM, you might see the version of Windows or Linux distribution used. - Compatibility: version of the virtual machine (and its virtual hardware).
As you can see, VCSA was deployed with older virtual hardware: ESXi 5.5 and later (VM version 10). - VMware Tools: indicates whether VMware Tools are running (and therefore whether they are installed), as well as their version.
- DNS Name: the domain name (DNS) of this virtual machine
- IP Addresses: IP address of the virtual machine
- Host: VMware ESXi host running this virtual machine
On the right, you can see:
- CPU usage
- memory usage (RAM)
- storage usage
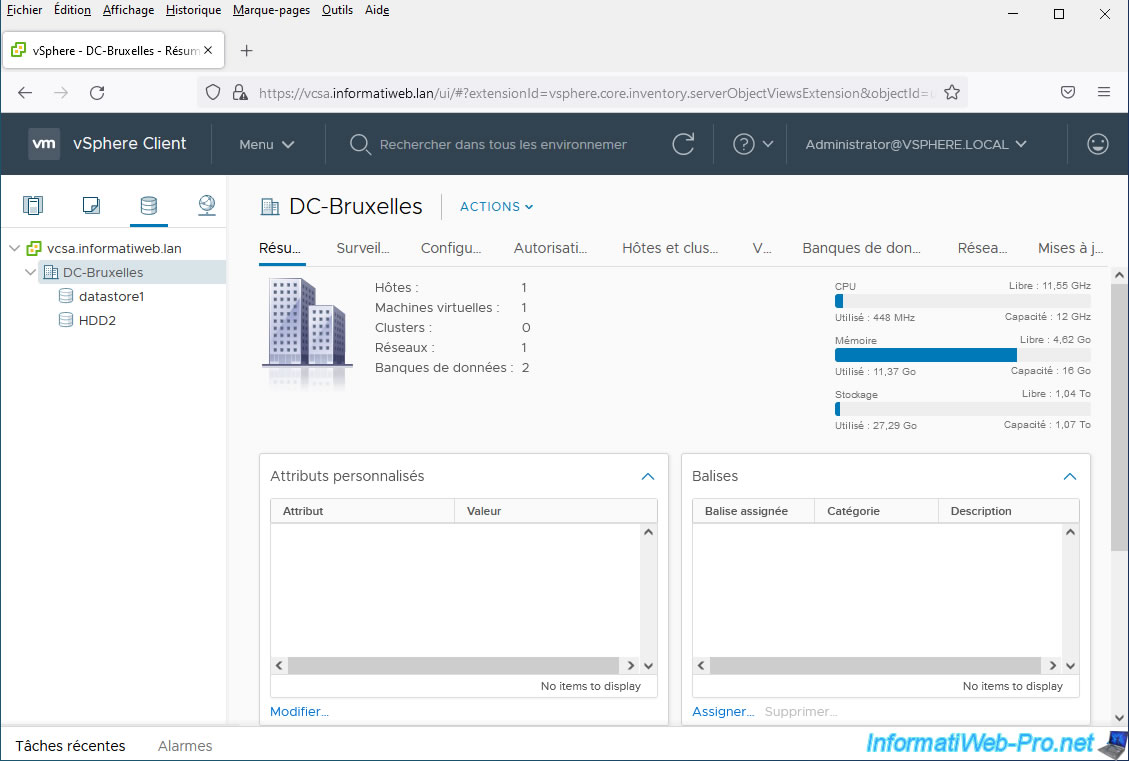
8. Storage (datastores) added
In the 3rd tab (Storage), you will see that the datastores of the added VMware ESXi host have also been added in the vCenter Server inventory.
In our case, we find the "datastore1" datastore present by default on VMware ESXi, as well as the one that we had created manually (HDD2).
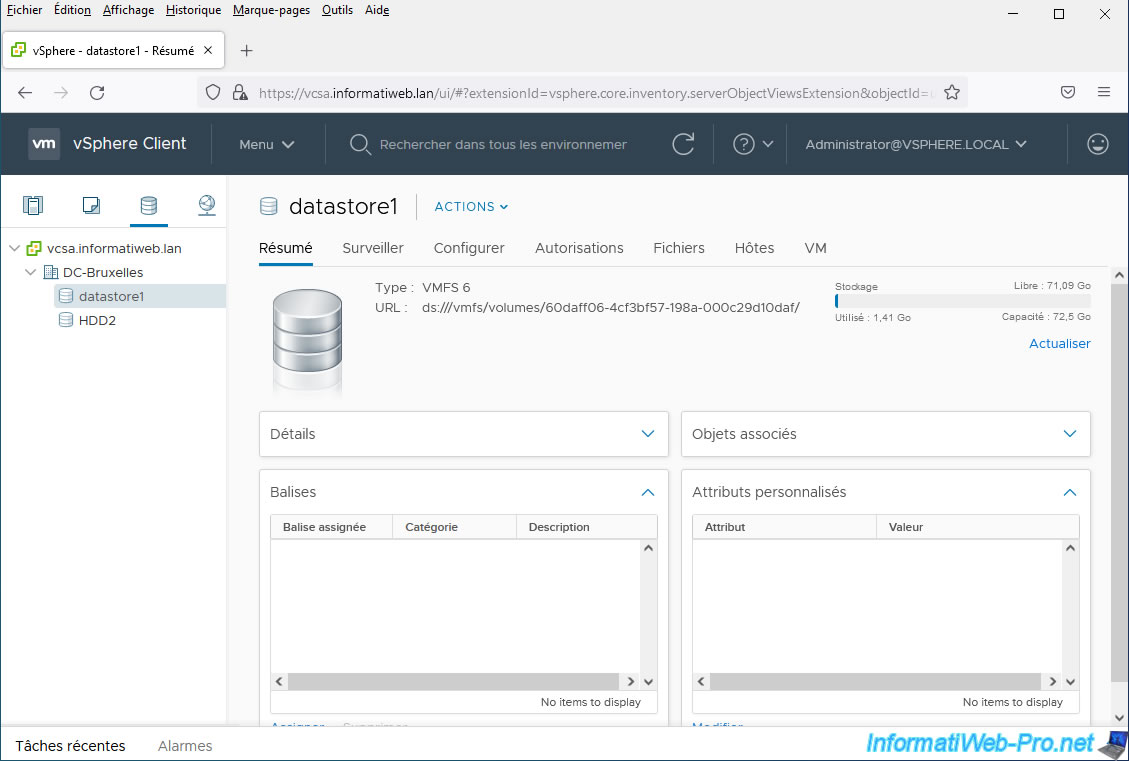
If you select the datastore "datastore1", you will be able to see its URL (location), its size, the space used and the free space available on it.
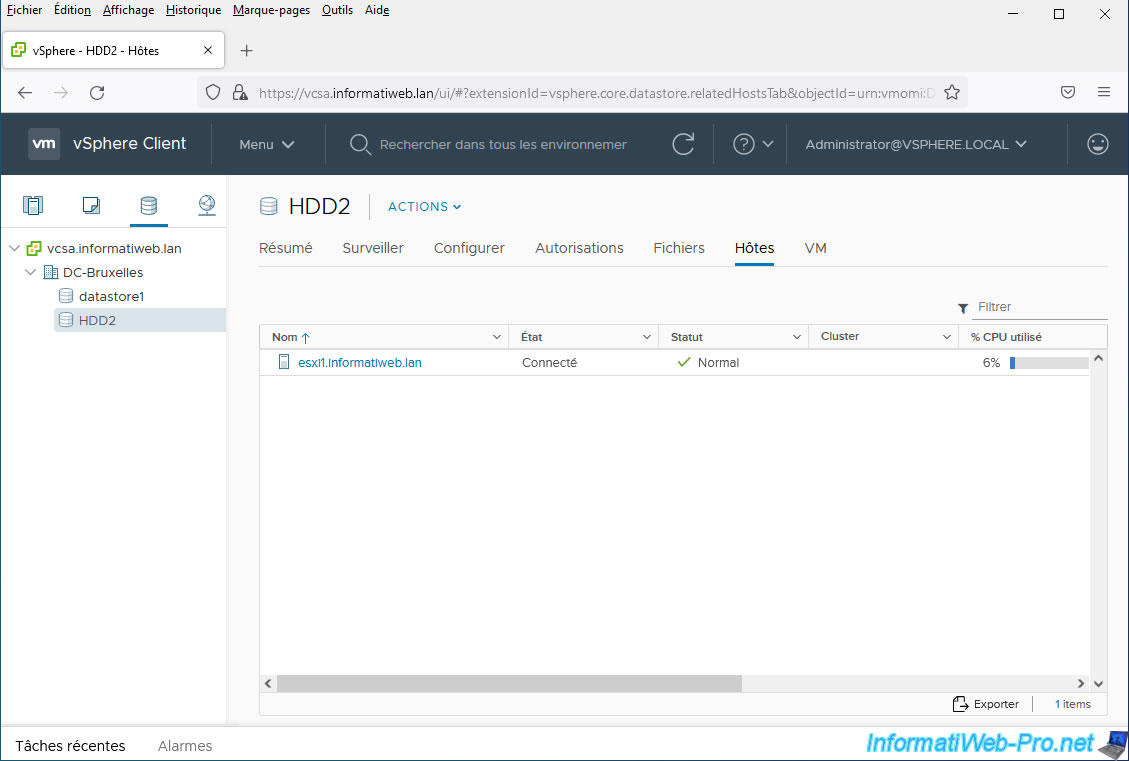
In the "Hosts" tab of this datastore, you will see the hosts affected by this datastore.
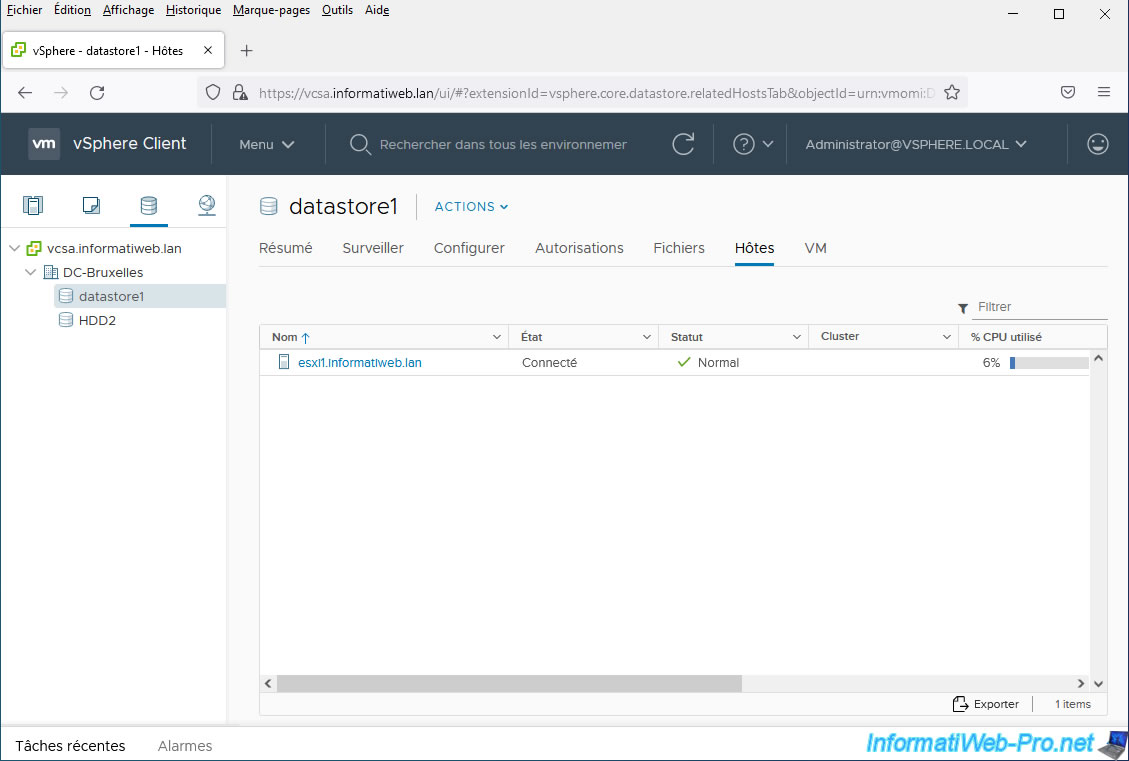
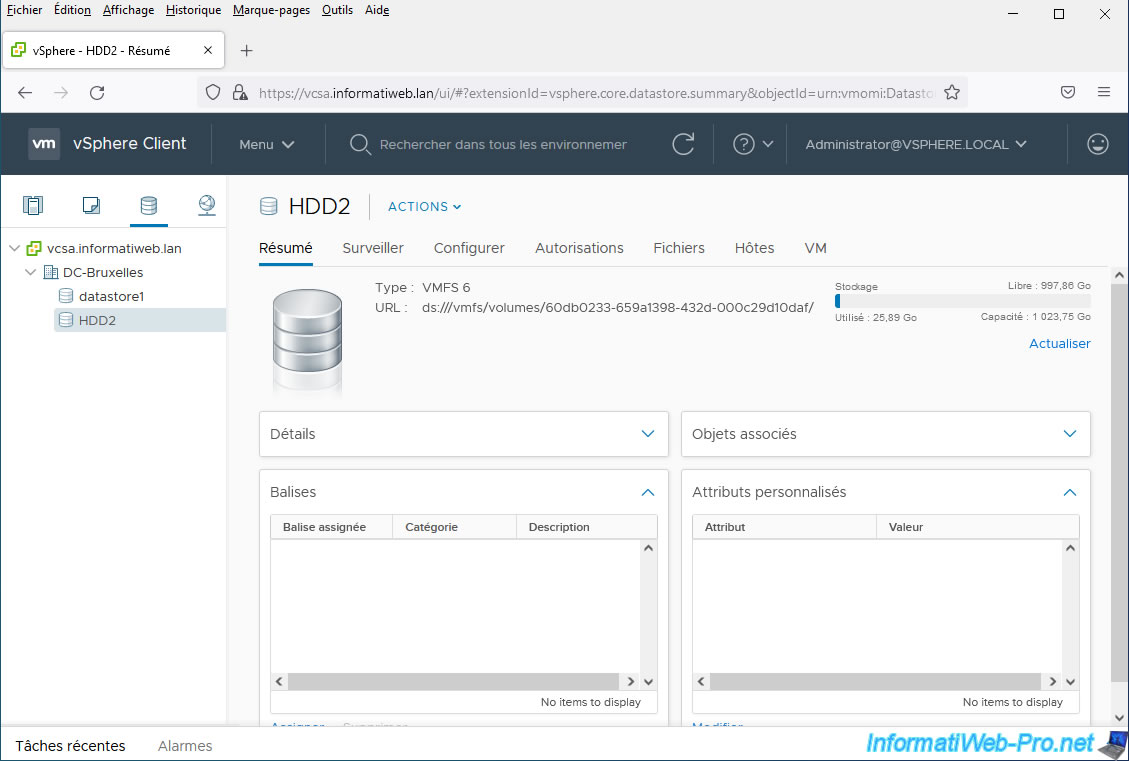
Same for other datastores.
In the "Configure" tab, you will find additional information regarding this datastore and in particular you will be able to know whether it is a hard drive or an SSD.

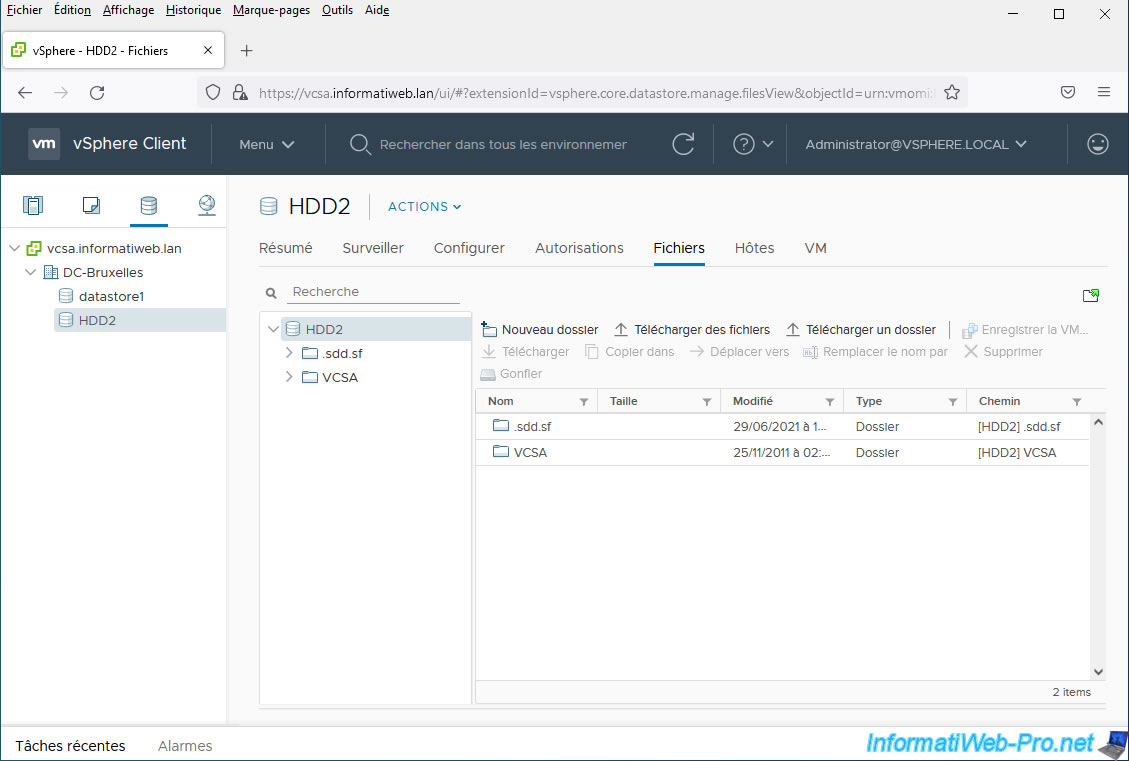
In the "Files" tab, you will be able to see the folders and files that are in this datastore.
As if you were using the VMware Host Client datastore browser (present on VMware ESXi).
Again, in the "Hosts" tab, you will be able to see which VMware ESXi hosts are using this datastore.
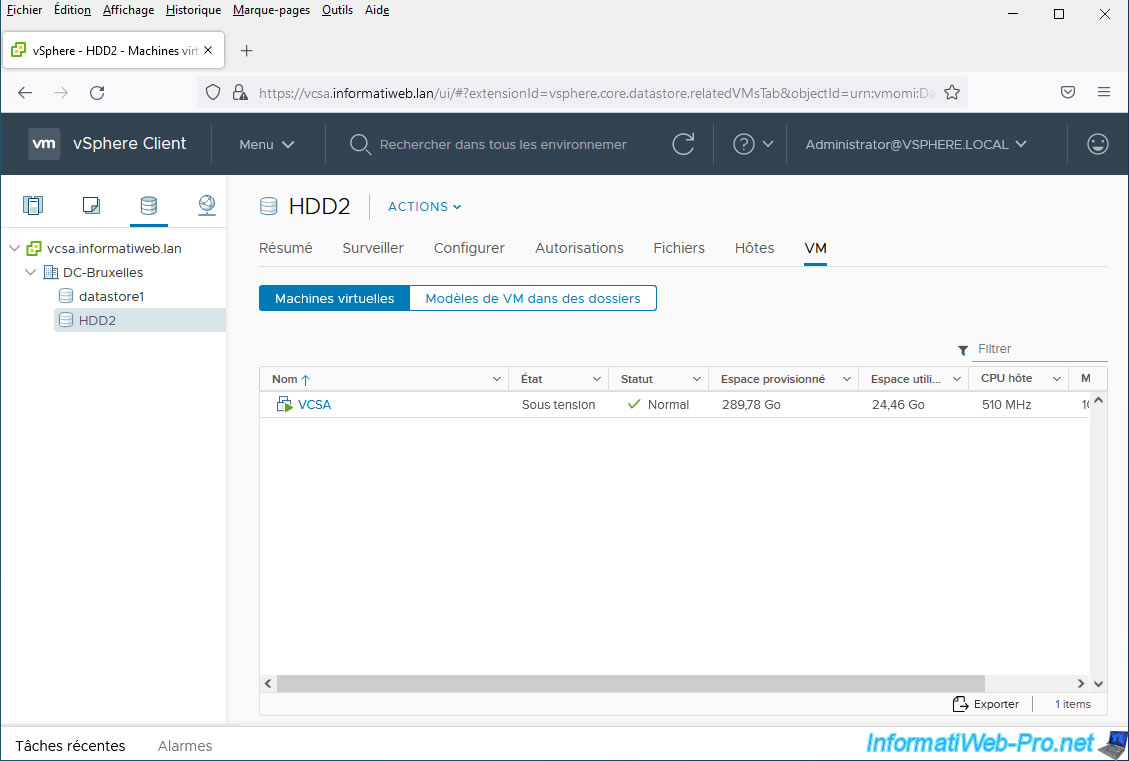
In the "VM" tab, you will be able to see which virtual machines are on this datastore.
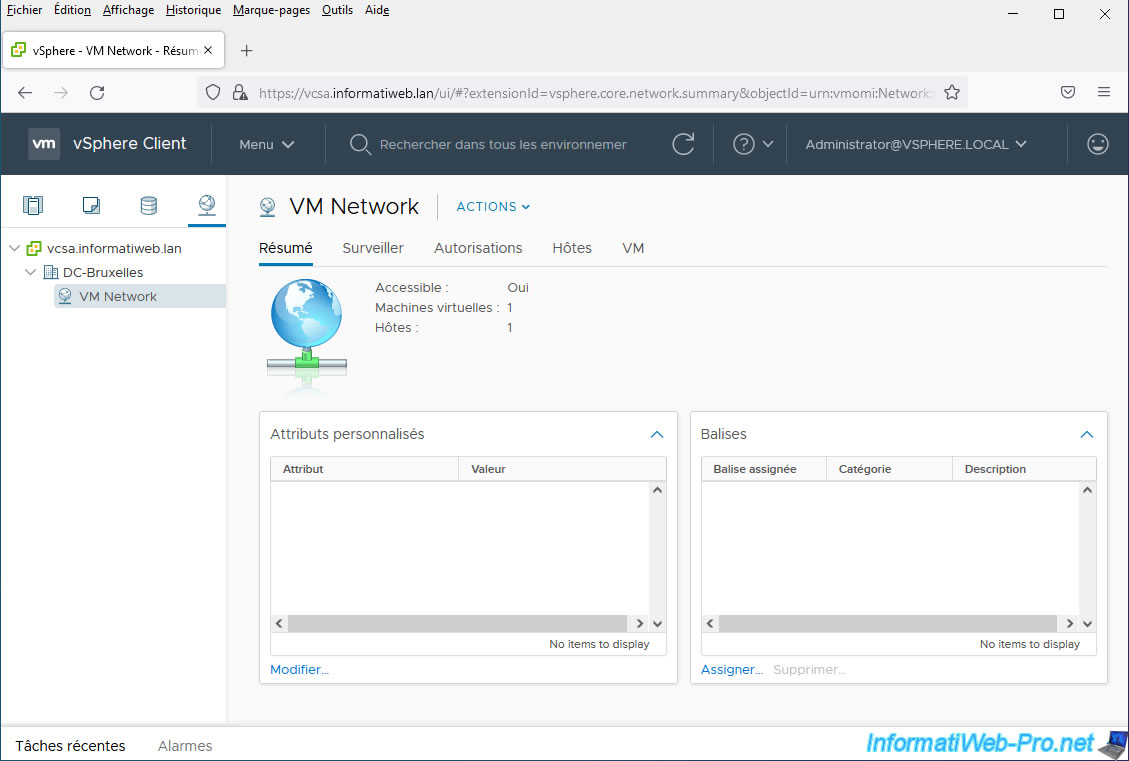
9. Networks (port groups) added
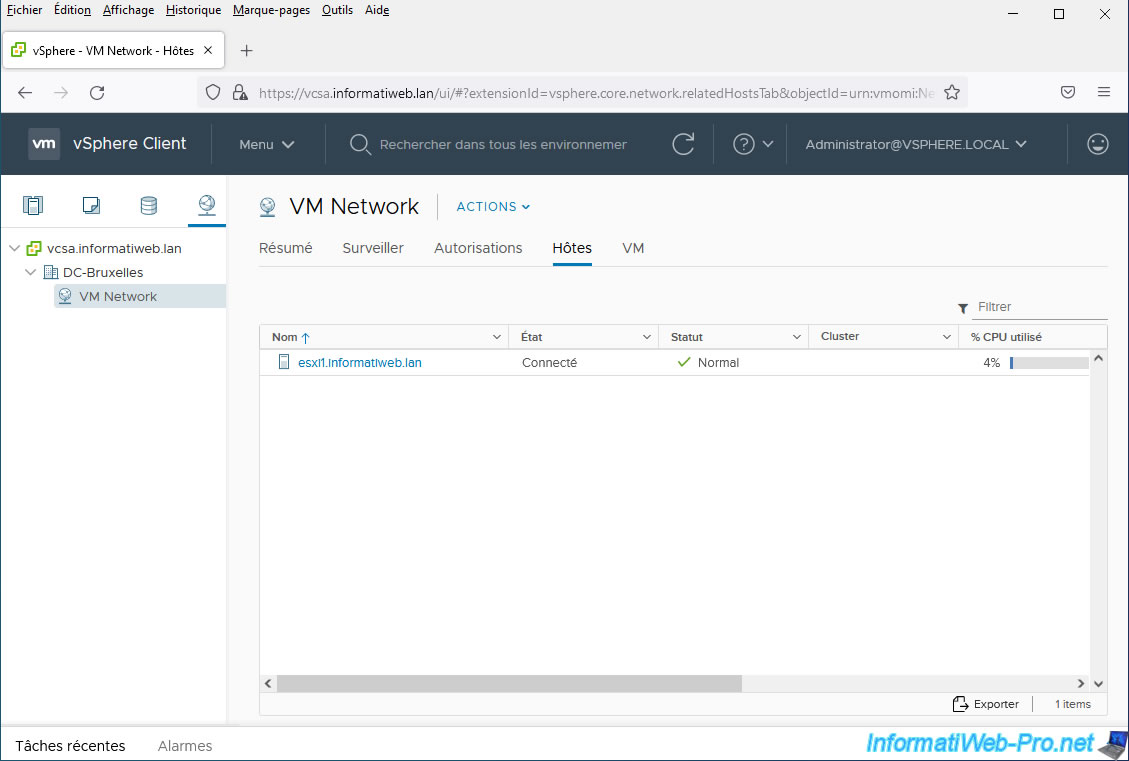
In the 4th tab (Networking), you will see that the port groups of the added VMware ESXi host have also been added in the vCenter Server inventory.
You will therefore find at least the "VM Network" port group present by default on VMware ESXi.
In the "Hosts" tab of this network, you will see the hosts affected by this network.
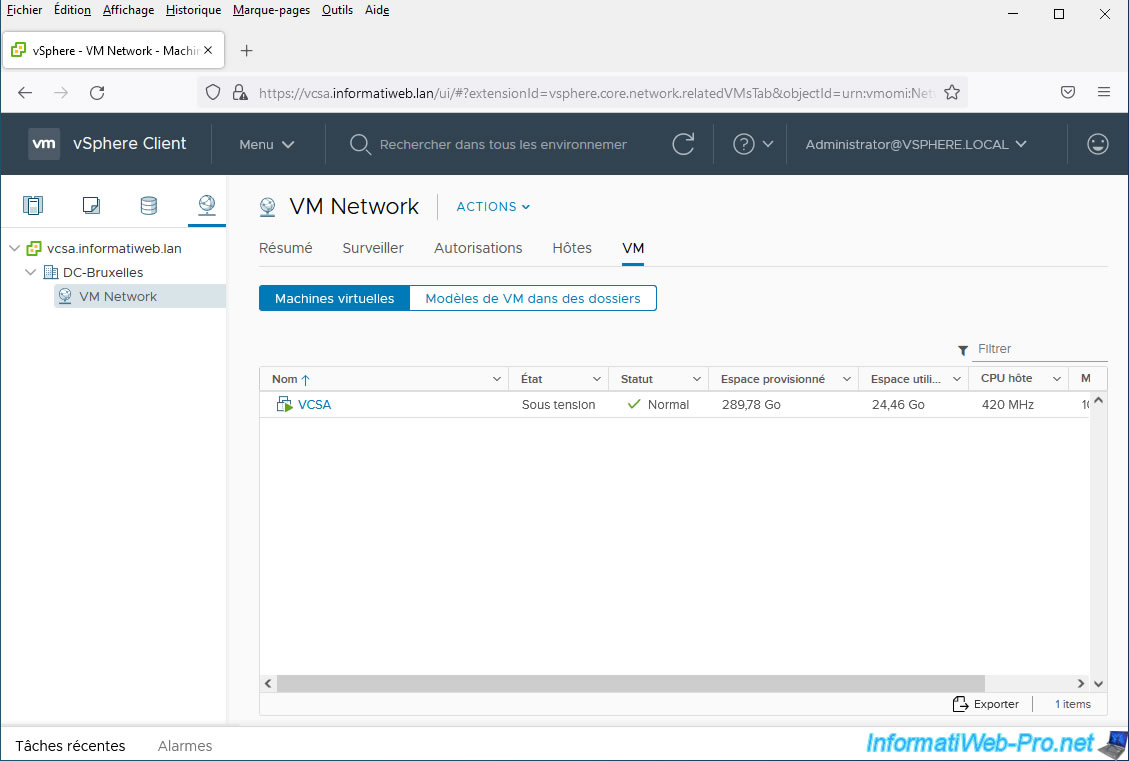
In the "VM" tab, you will find the virtual machines using this network.
Share this tutorial
To see also
-
VMware 3/13/2024
VMware ESXi 6.7 - Synchronize the clock of ESXi hosts from a time server (NTP)
-
VMware 3/8/2024
VMware ESXi 6.7 - Synchronize the clock of VCSA from a time server (NTP)
-
VMware 7/31/2024
VMware vSphere 6.7 - Add an Active Directory identity source
-
VMware 5/22/2024
VMware vSphere 6.7 - Change default console
No comment